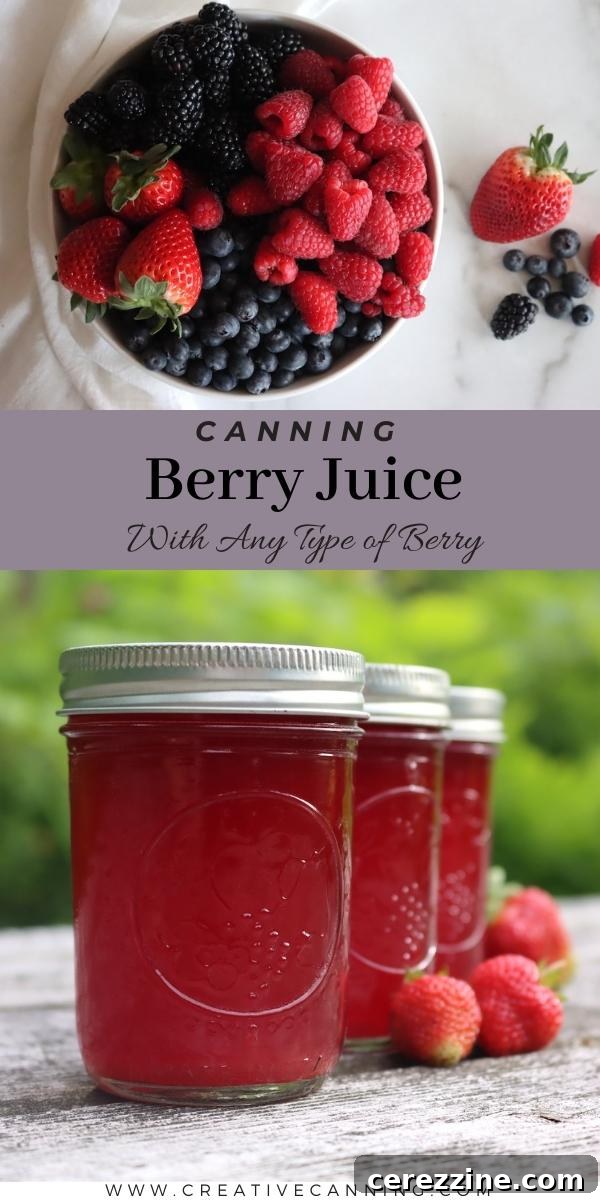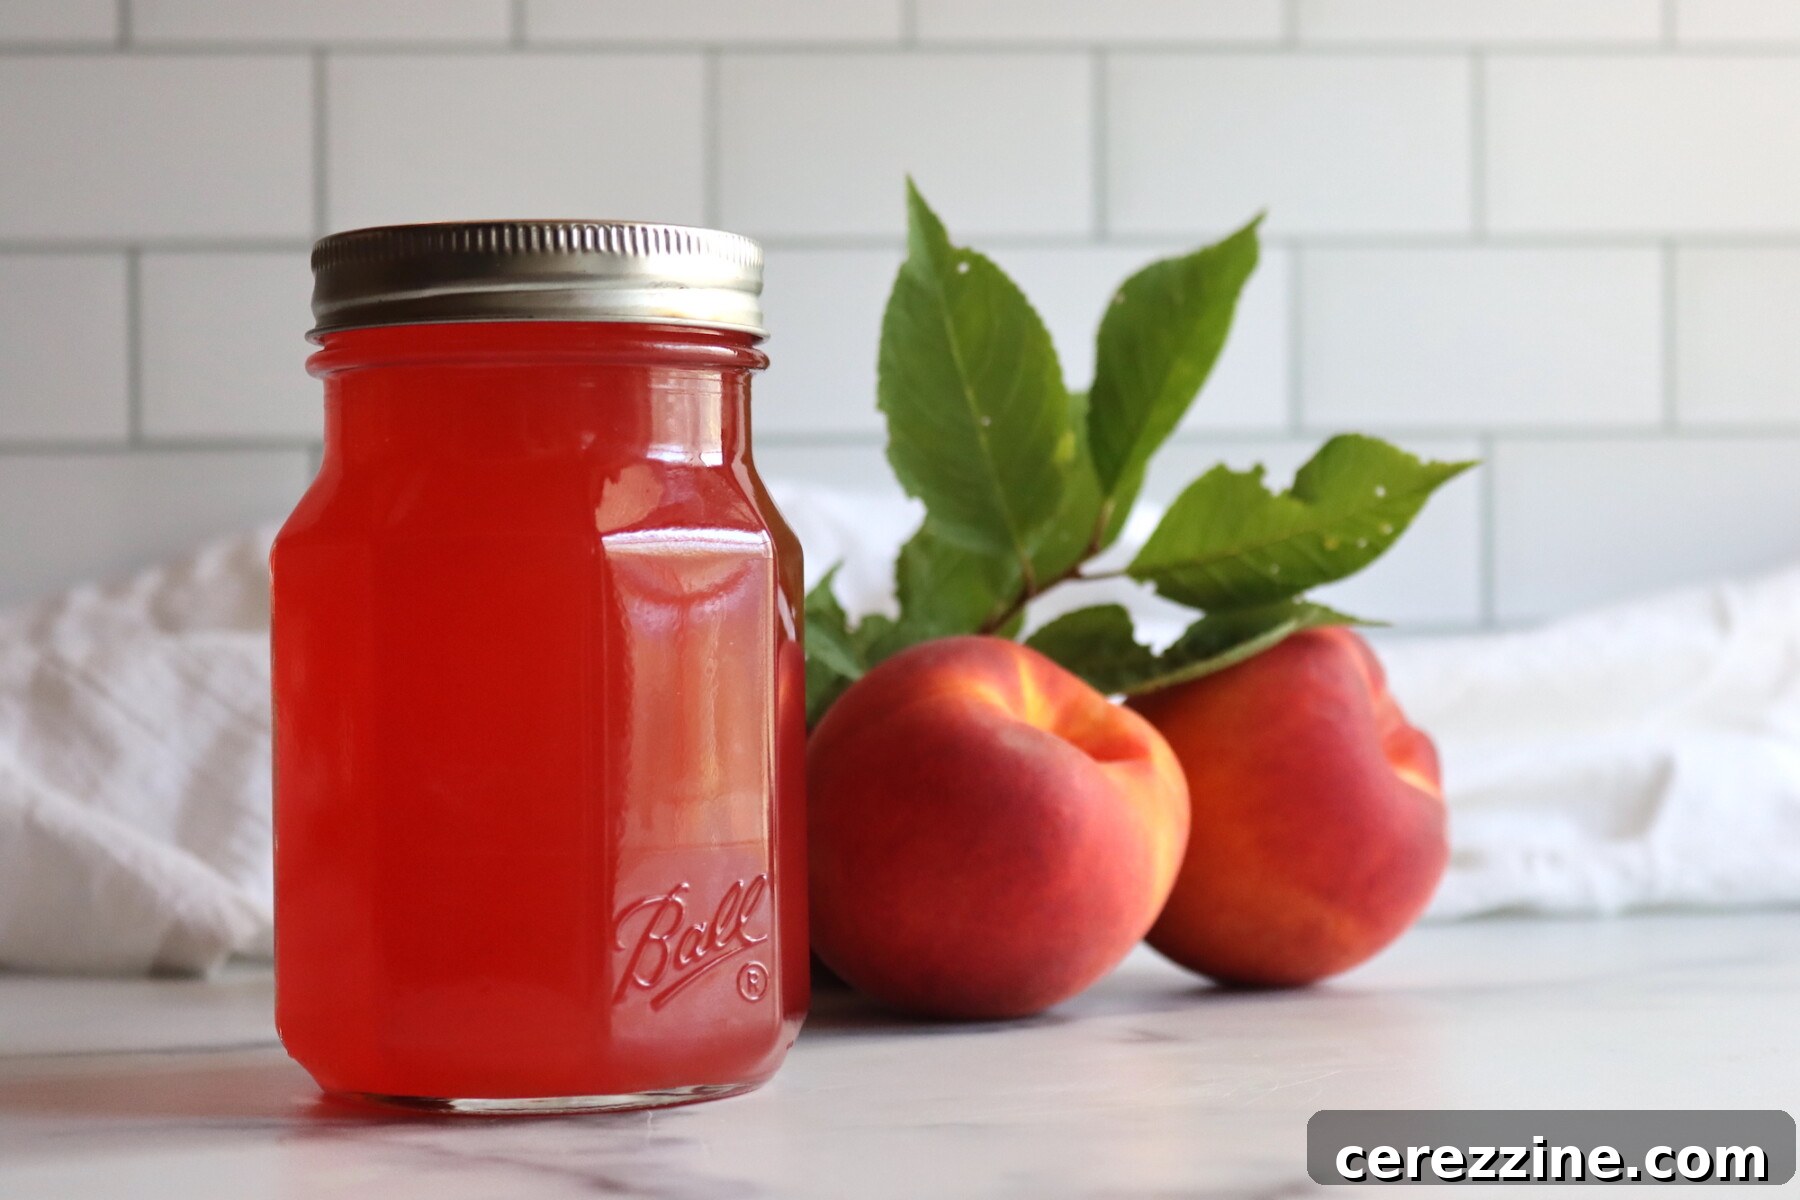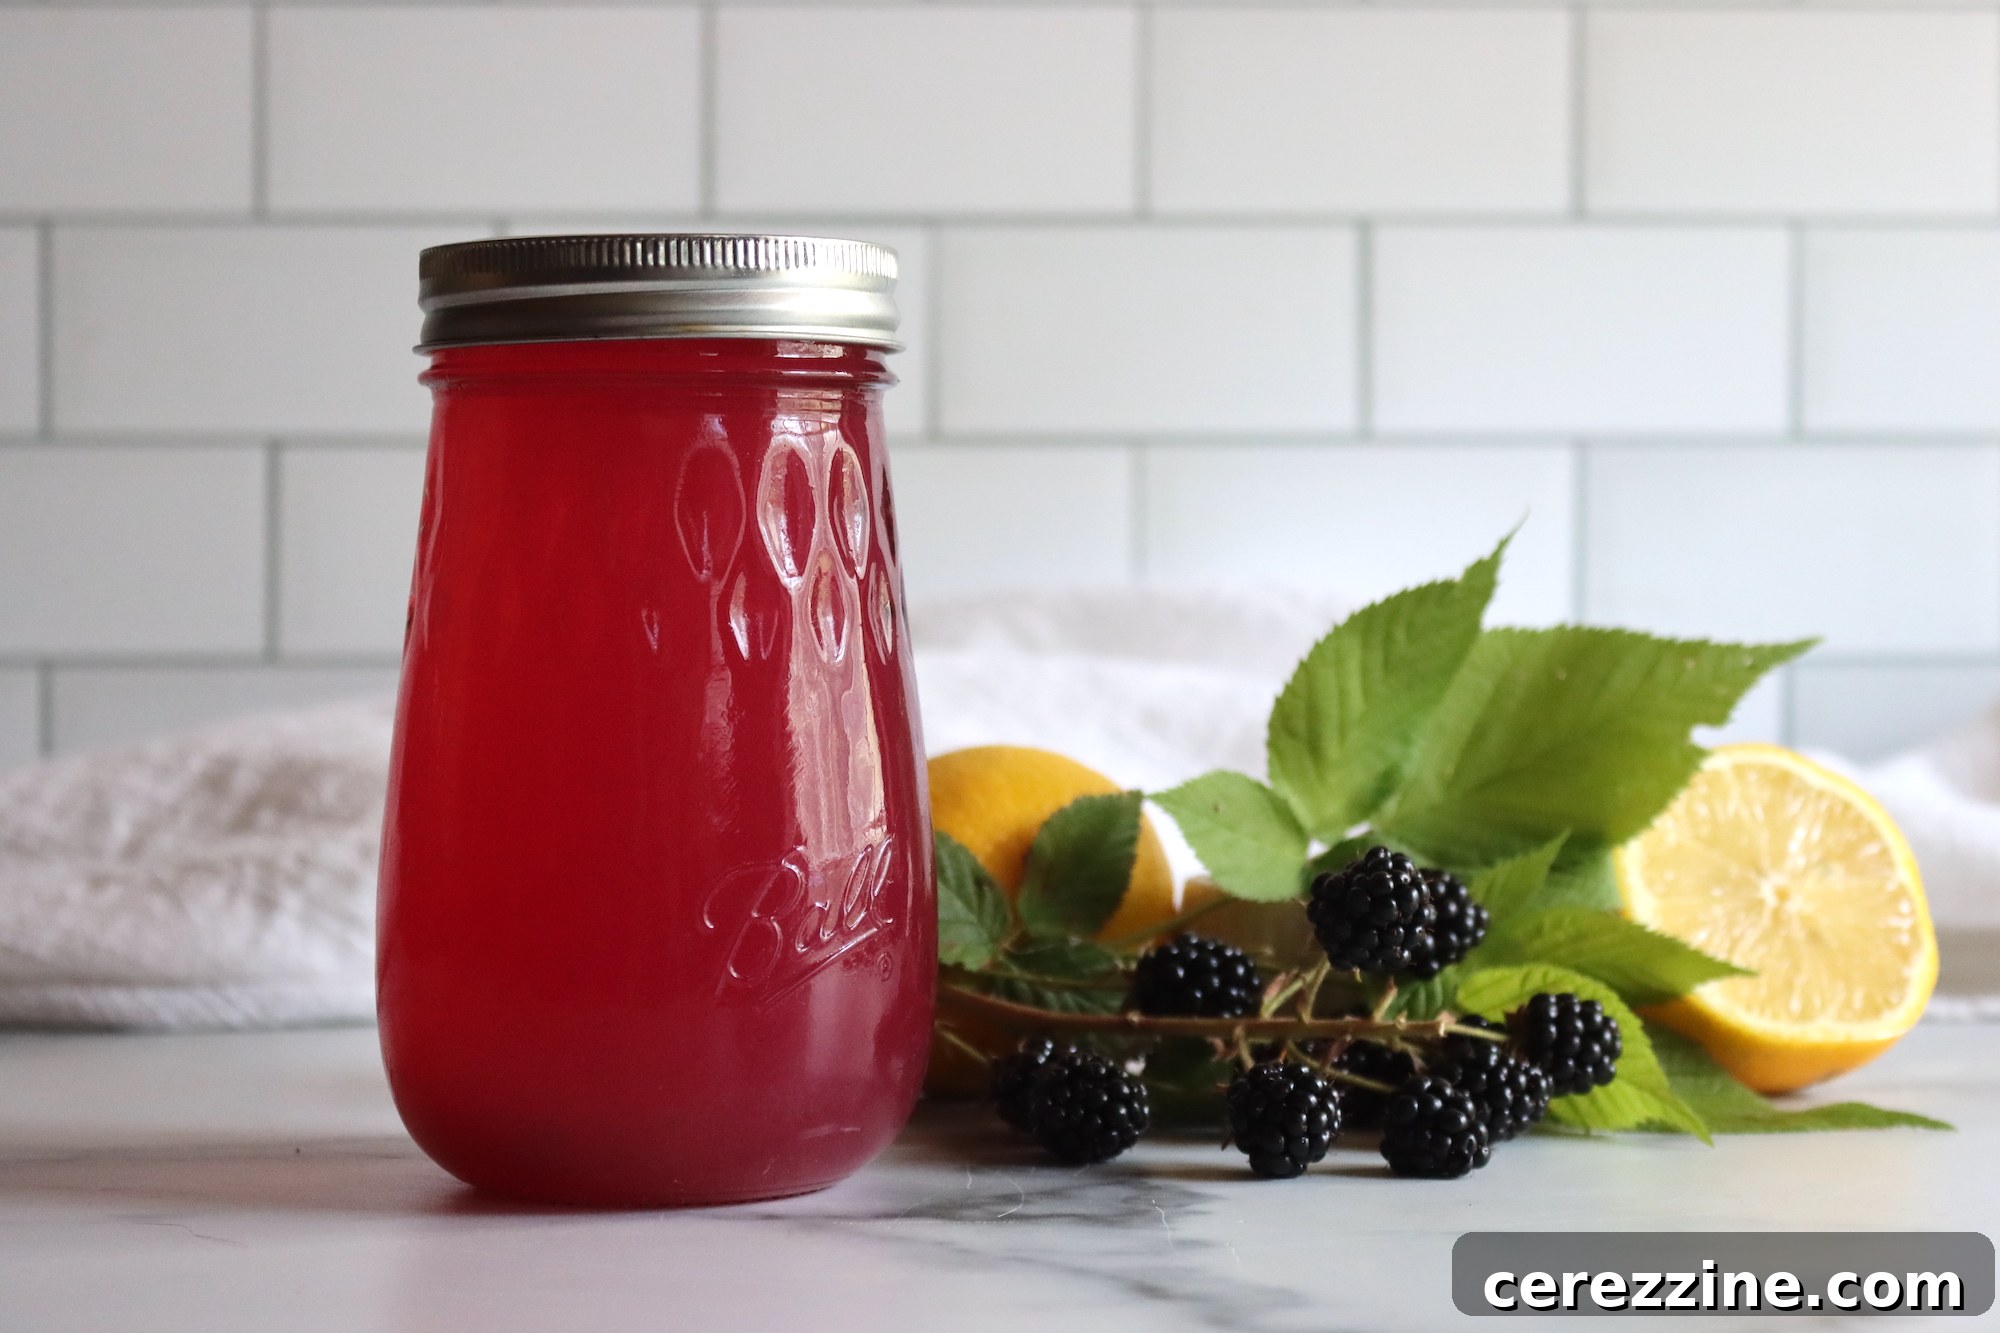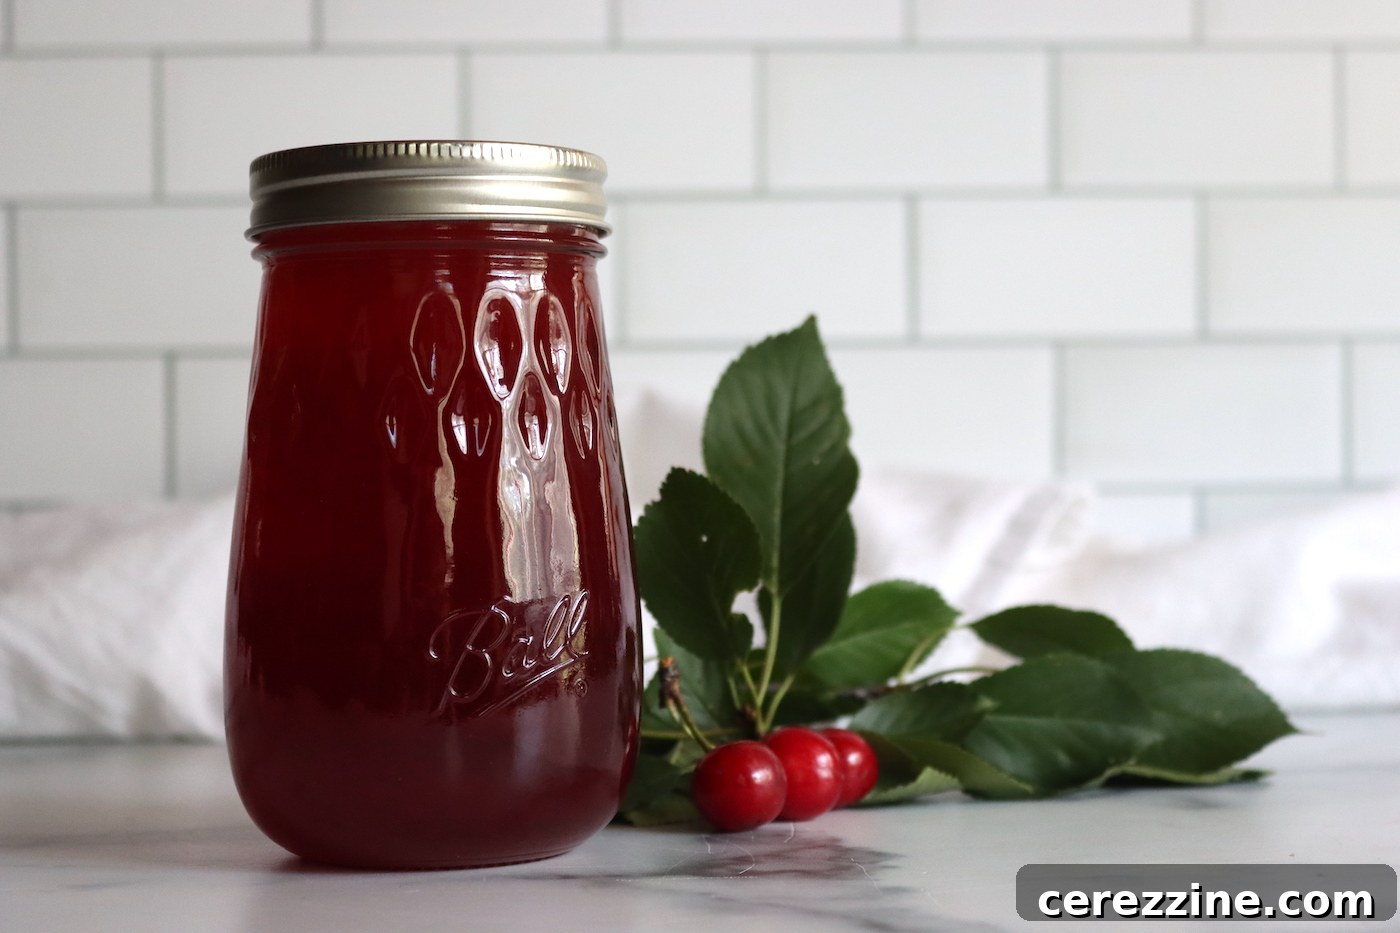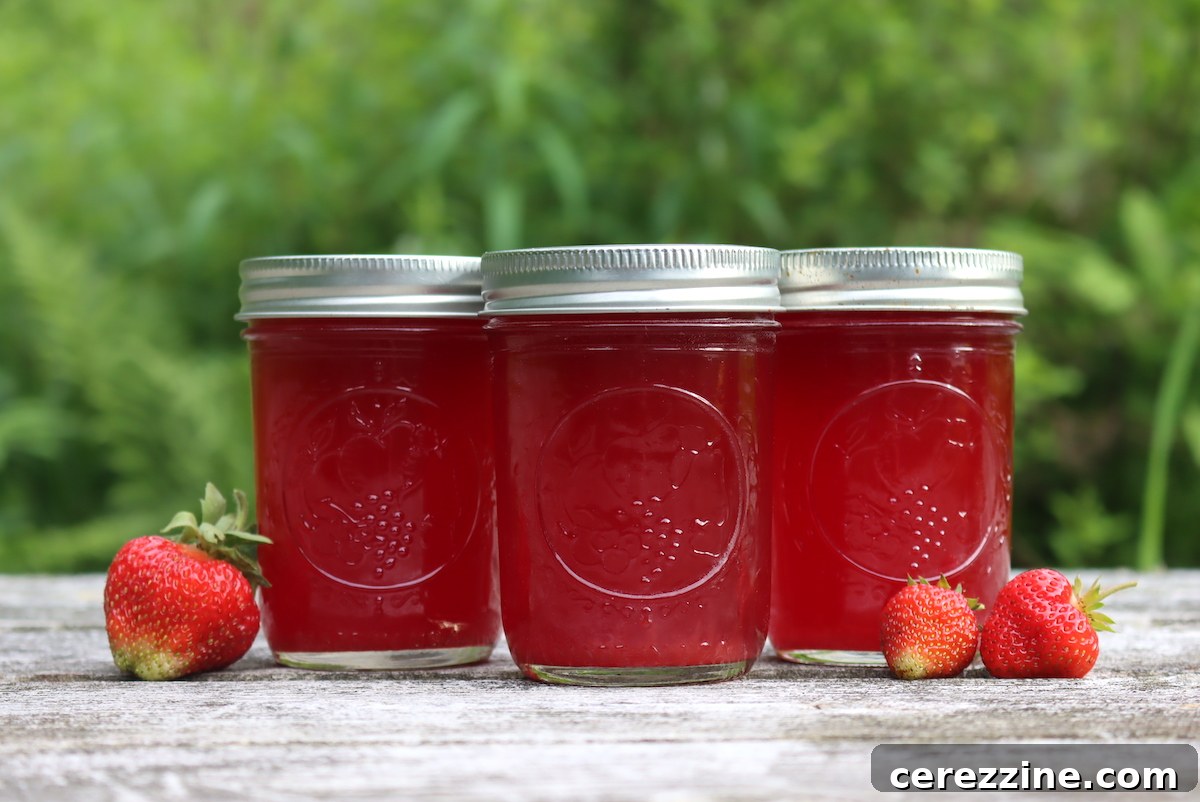
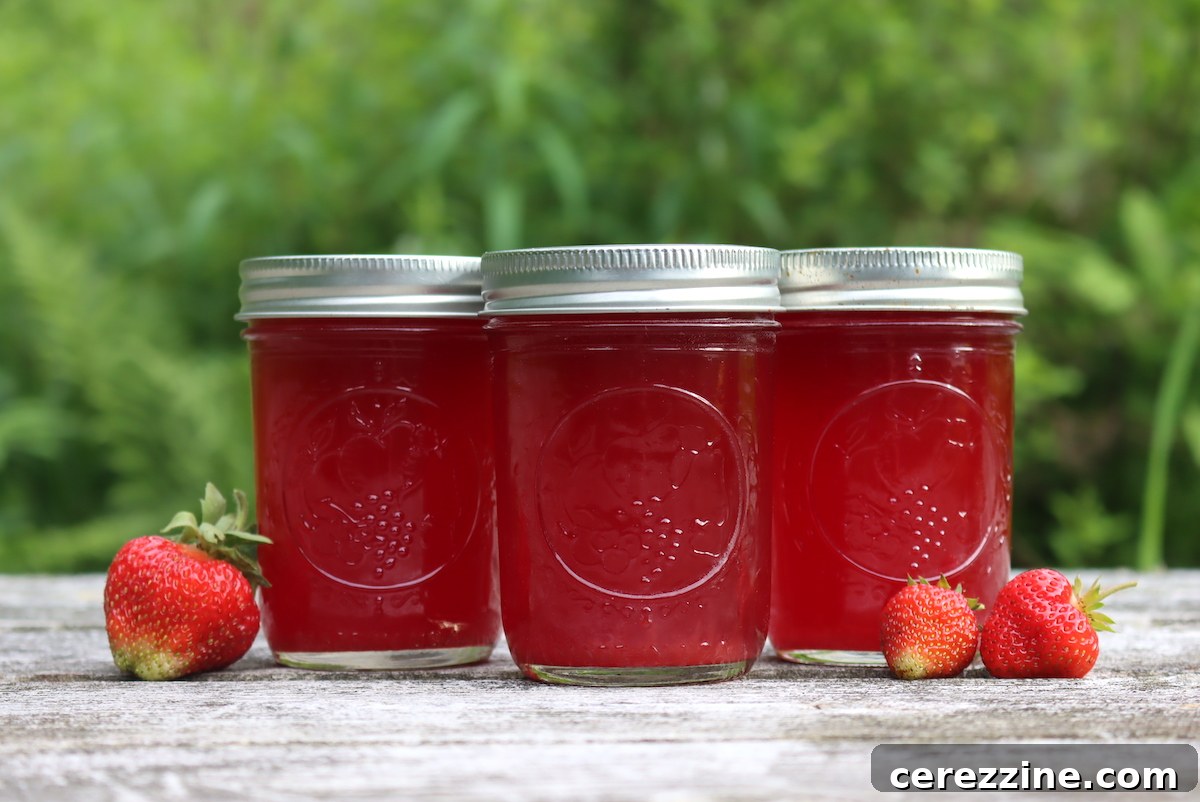
Canning berry juice is a fantastic way to capture the vibrant flavors and nutritional goodness of summer berries, making it an ideal method for preserving a bountiful harvest. Imagine enjoying the taste of fresh summer berries in the depths of winter – that’s the magic of homemade canned berry juice.
The peak of summer often brings an abundance of fresh produce, sometimes more than you can consume or process immediately. While freezing berries is a popular option, freezer space can quickly become a limiting factor. This is where canning berry juice shines, offering an efficient and delicious alternative for long-term preservation.
Beyond saving space, canning berry juice preserves the intense flavor and valuable nutrients of your harvest. It’s a quick and straightforward process, perfect for busy summer days when time is of the essence. You’ll be amazed at how easily you can transform a mountain of fresh berries into shelf-stable jars of delightful juice, ready to be enjoyed year-round.
This tried-and-true recipe for canning berry juice is versatile and works wonderfully with a wide array of soft summer fruits. Embrace the diversity of your garden or local market by juicing any of these delicious berries:
- Blackberries
- Blueberries
- Currants
- Dewberries
- Gooseberries
- Huckleberries
- Loganberries
- Mulberries
- Raspberries
- Strawberries
A special note on Elderberries: Elderberries are slightly less acidic than other berries on this list, requiring an adjustment for safe canning. To ensure proper acidity for elderberry juice, you’ll need to add 1/2 tablespoon of bottled lemon juice per cup of juice (or a full tablespoon per pint). Alternatively, you can use 1 teaspoon of citric acid for every 8 cups of juice (or 1/8th teaspoon per pint).
Extracting Fresh Berry Juice
The first step to canning delicious berry juice is extracting it from the fresh fruit. While countertop juicers can be convenient, many find that a stovetop method or a steam juicer extracts a richer, deeper flavor. The stovetop method also involves heating the fruit, which isn’t a concern since the juice will be heated again during the canning process.
Stovetop Berry Juice Extraction
To begin, thoroughly prepare your chosen berries. Remove any stems, leaves, or other foreign materials. For strawberries, hull them by removing the green tops. Place the cleaned fruit into a large saucepan or stockpot. The general rule of thumb is to add about 1/2 cup of water for every quart of berries. This small amount of water helps prevent scorching and aids in the initial juice extraction.
Gently simmer the berries over medium heat, mashing them occasionally with a potato masher. Continue this process until the berries have completely broken down and released their juices. This usually takes about 5 to 10 minutes. Be mindful not to overcook the berries, especially those high in pectin like currants and gooseberries, as they can quickly turn into jam. For high-pectin fruits, consider starting with double the amount of water and cooking for a shorter duration, around 5 minutes, with vigorous mashing.
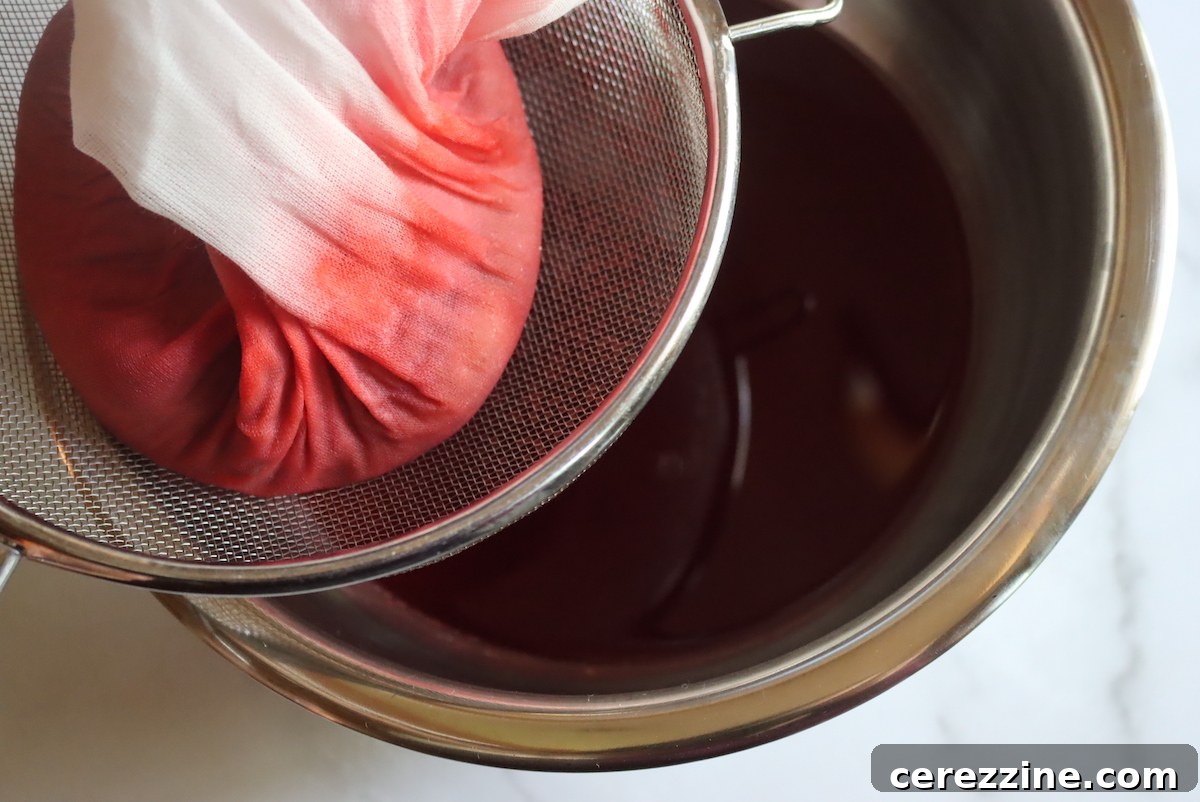
Once the berries have sufficiently cooked down, it’s time to strain the pulp to separate the juice. You can achieve this using a jelly bag, which allows the juice to drip through slowly, or by lining a fine-mesh strainer with a double layer of dampened cheesecloth. Allow the juice to drain naturally for the clearest result. Avoid squeezing the bag or cheesecloth, as this can force pulp through and result in cloudy juice.
The Advantage of a Steam Juicer
For larger batches or a more hands-off approach, a steam juicer is an invaluable tool. A steam juicer eliminates the need for messy straining through cheesecloth, making the process much cleaner and more efficient. It works by using steam to gently extract juice, which is particularly beneficial for high-pectin fruits like currants, gooseberries, and wild blackberries, as it doesn’t activate the pectin as much as direct simmering might.
Even for lower-pectin fruits, a steam juicer is often the most efficient method, yielding more juice with less effort. If you plan on juicing berries regularly, investing in a steam juicer can significantly simplify your preserving routine.
Estimating Berry Juice Yields
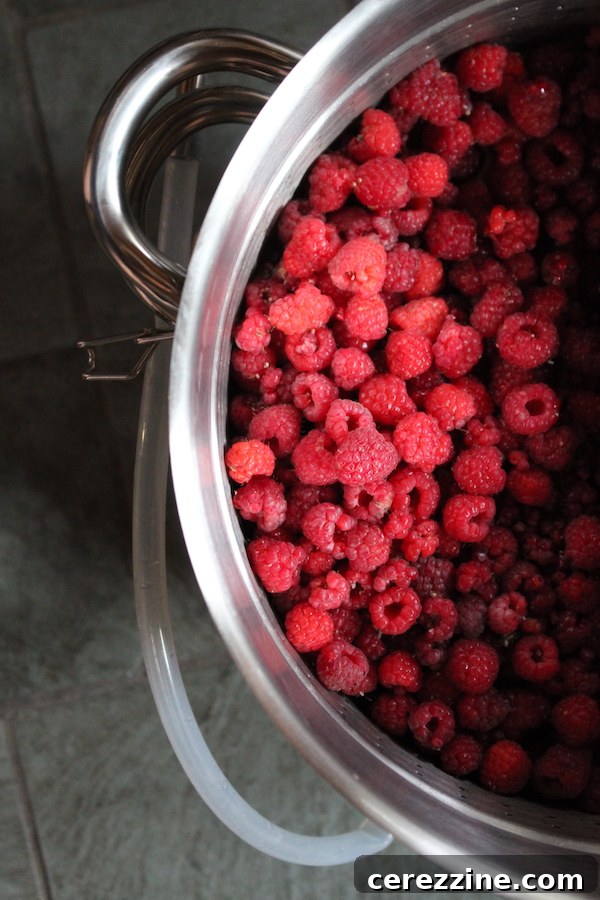
The amount of juice you’ll get from berries can vary depending on the fruit’s ripeness, variety, and growing conditions. As a general guide, using the stovetop method described above, you can expect to need about 2 to 4 cups of most berries (plus 1/2 cup water) to yield one cup of juice. A steam juicer often provides a slightly better yield with less effort.
A helpful tip for maximizing juice extraction is to freeze the fruit before juicing. Freezing helps break down the cell walls and pectin, allowing for greater juice release. For more precise yield estimates, resources like The Ball Book of Home Canning offer detailed guidance, often within their berry jelly recipes, as juice extraction is the foundational step for making jellies.
While exact yields are less critical when you’re simply canning whatever juice you get, having a general idea can help with planning your harvest and canning sessions. Here are some approximate fruit quantities needed for each cup of juice:
- Blackberries: Approximately 2 1/2 cups of berries
- Blueberries: Roughly 2 to 3 cups of berries (yield can be quite variable)
- Elderberries: About 1 pound of stemmed fruit (remember to add acidity for canning)
- Raspberries: Around 3 to 3 1/2 cups of berries
- Strawberries: Roughly 3 1/4 to 3 1/2 cups of chopped fruit (from 1 quart fresh)
- Currants (red or black): Approximately 1 pound of stemmed fruit (red currants typically yield more juice)
These figures provide a solid starting point, but always be prepared for slight variations based on your specific fruit.
Canning Berry Juice for Long-Term Storage
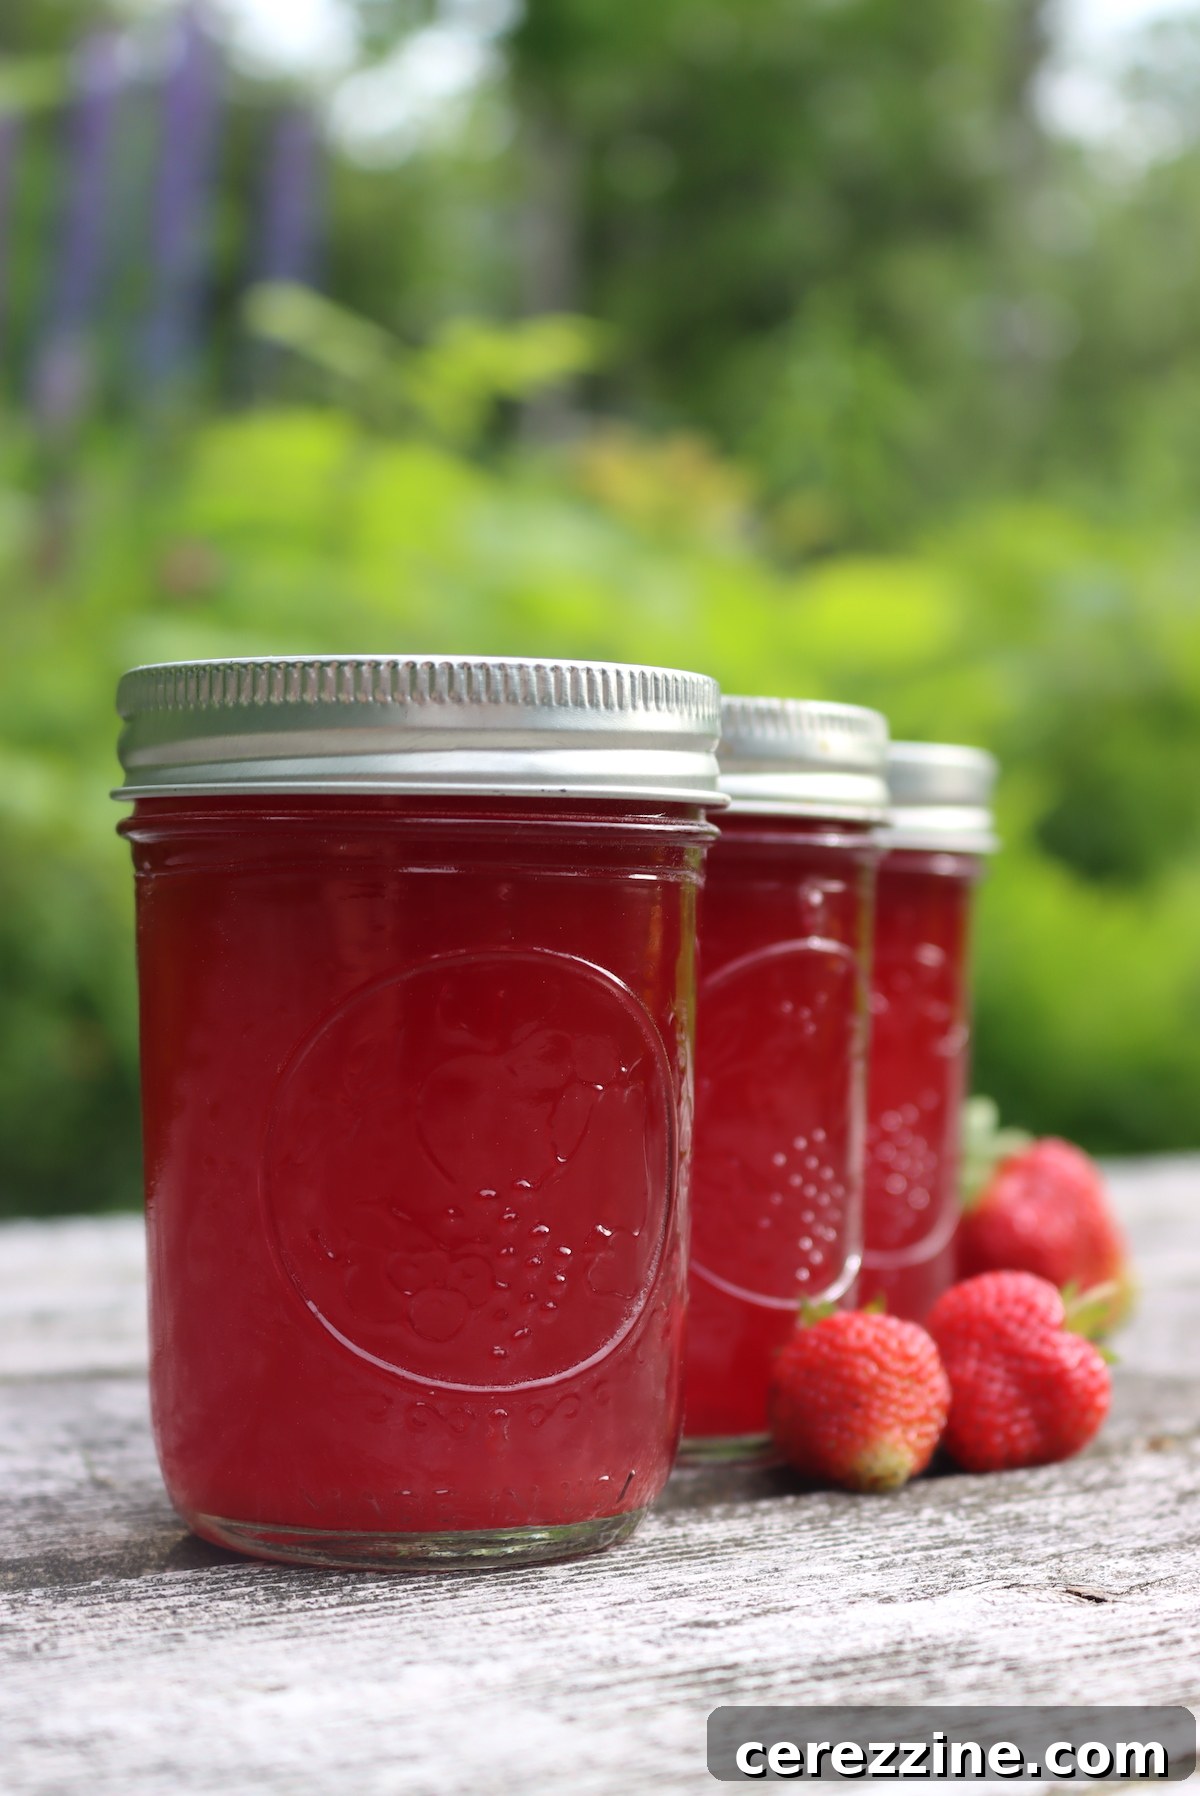
Once your berry juice is perfectly extracted and filtered, it’s time to move on to the canning process. If you’re new to home canning, it’s highly recommended to familiarize yourself with the basics of water bath canning. A comprehensive beginner’s guide to water bath canning can provide essential safety information and techniques.
The following canning instructions are adapted from the “Canning Berry Juice” recipe found on page 189 of The Ball Complete Book of Home Preserving, a trusted resource for home preservers. This method is suitable for canning juice from any of the berries previously mentioned, including blackberries, blueberries, raspberries, and strawberries.
Optional Sweetening
The Ball Book suggests, “For average sweetness, add 1 to 2 cups (250 to 500 ml) of sugar for each 16 cups (4 L) of juice.” This translates to approximately 1/4 to 1/2 cup of sugar per quart of juice, or 1 to 2 tablespoons per cup. Adding sugar is entirely optional and is not required for the safety of the canning process. Many prefer to can juice unsweetened and then add sugar to taste when preparing it for consumption. Personally, I find sugar is only truly necessary for very tart fruits like gooseberries, currants, or exceptionally tart raspberries.
Step-by-Step Water Bath Canning Process
- Prepare your equipment: Begin by setting up your water bath canner. Fill it with enough water to cover your jars by at least 1-2 inches. Place a canning rack at the bottom. Heat the water in the canner to a bare simmer (around 180°F / 82°C) in preparation for a hot pack. Wash and sterilize your canning jars, lids, and rings according to standard canning practices. Keep jars hot to prevent thermal shock.
- Heat the juice: Pour your strained berry juice into a clean saucepan. Heat the juice over medium-high heat until it reaches approximately 190°F (88°C), but do not allow it to come to a full boil. Once it reaches temperature, reduce the heat to low and maintain the 190°F (88°C) temperature for 5 minutes. If you are adding sugar, stir it in at this point until it is completely dissolved.
- Fill the jars: Carefully ladle the hot juice into your prepared hot jars, leaving a precise 1/4 inch of headspace at the top. This headspace is crucial for proper sealing. Wipe the rims of the jars clean with a damp cloth to ensure a good seal.
- Apply lids and rings: Center a clean canning lid on each jar. Screw on the canning rings “finger tight” – meaning just enough resistance that the lid won’t budge, but not overtightened, which can prevent proper sealing.
- Process in the canner: Gently place the filled jars into the simmering water bath canner, ensuring they are fully submerged and not touching each other. Bring the water back to a full, rolling boil. Process half-pints, pints, and quarts for 15 minutes. If you are at an elevation above 6,000 feet, increase the processing time to 20 minutes to account for the lower boiling point of water.
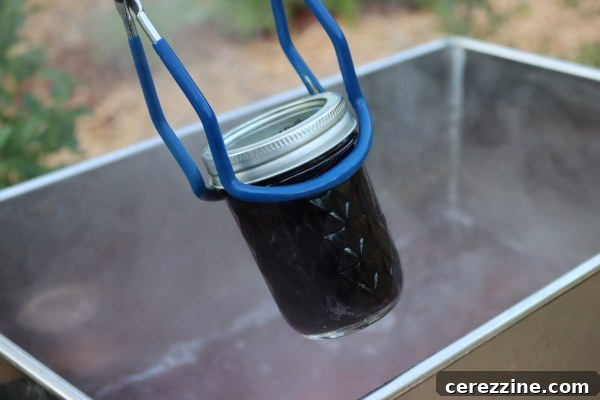
- Cool and seal: Once the processing time is complete, turn off the heat and allow the jars to remain in the hot water for an additional 5 minutes. This cooling period helps prevent siphoning (liquid loss) and aids in a more reliable seal. After 5 minutes, carefully remove the jars from the canner using a jar lifter and place them on a towel-lined counter or wire rack to cool completely for 12-24 hours.
- Check seals and store: After the cooling period, check the seals. Lids should be concave (curved inwards) and not flex when pressed. Remove the rings and try to lift the lid with your fingertips; it should resist removal. Any jars that have not sealed properly should be refrigerated and used within a few days. Properly canned and sealed jars of berry juice will maintain their peak quality on the pantry shelf for 18 months or even longer. Always refrigerate the juice after opening.
Making the Most of Berry Pulp
Often, after extracting the juice, the leftover berry pulp still retains a significant amount of flavor and nutritional value. It would be a shame to simply discard it! (Note: When using a steam juicer, the pulp tends to be less flavorful as the juicer is highly efficient at extracting all the goodness.)
Here are some creative ways to utilize your leftover berry pulp:
- Second extraction: For a lighter, secondary juice, you can add a bit more water to the pulp in the saucepan, simmer it again for a few minutes, and then strain. This yield might be suitable for adding to smoothies or for a less intense flavor.
- Berry jam: The pulp can be a fantastic base for making jam. To ensure a good texture and fresh flavor, I recommend using no more than half pulp in any jam recipe, combining it with an equal amount of fresh fruit. My mixed berry jam recipe works exceptionally well with leftover berry pulp.
- Fruit butter: Transform your pulp into a delightful fruit butter. Ball Canning has developed a truly spectacular recipe for Blueberry Butter specifically designed to use the pulp leftover after making blueberry juice. This is a wonderful way to minimize waste and create another delicious preserved treat.
- Fruit leather: Spread the pulp thinly on dehydrator trays and dry it to make homemade fruit leather, a healthy and tasty snack.
- Baked goods: Incorporate the pulp into muffins, quick breads, or even pancake batter for added flavor, moisture, and fiber.
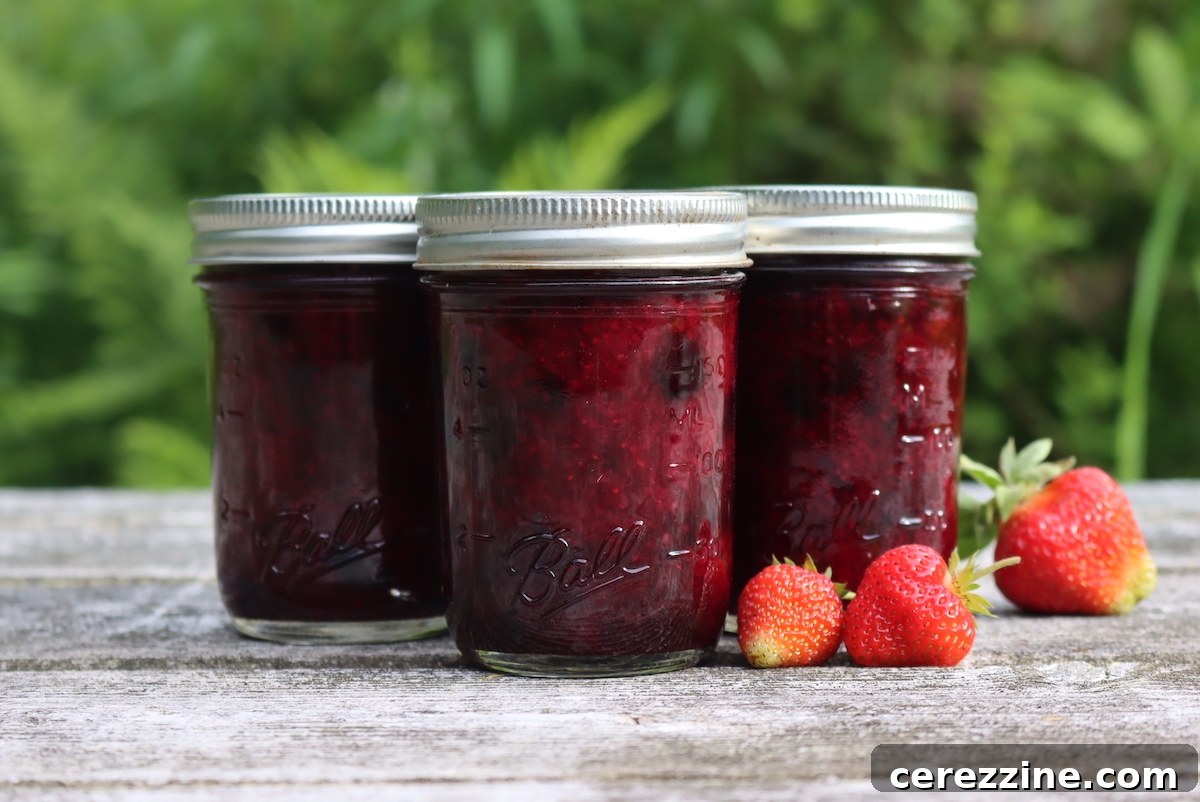
Canning berry juice opens up a world of culinary possibilities. It’s not just for drinking plain; you can use it as a base for vibrant cocktails, refreshing mocktails, glazes for meats, sauces for desserts, or even to make homemade popsicles and sorbets. The concentrated flavor of home-canned juice is far superior to store-bought varieties, making it a true pantry staple.
If you’re looking for specific recipes to can various types of berry juice, explore these dedicated guides:
- Canning Blueberry Juice
- Canning Strawberry Juice
Berry juices are also excellent for creating flavorful lemonade concentrates, offering a refreshing twist on a classic. Some popular options include Strawberry Lemonade Concentrate and Blueberry Lemonade Concentrate, perfect for mixing with water and enjoying a taste of summer any time of year.
Average Rating: 5 out of 5 stars from 3 votes
Yield: Varies, see notes
Canning Berry Juice
By Ashley Adamant
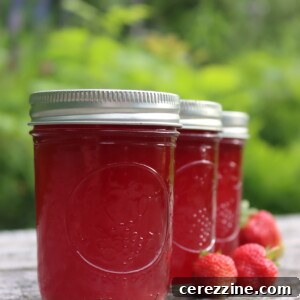
Canning berry juice is an easy way to preserve summer fruit quickly, and it makes for delicious drinks year-round.
- Prep Time: 15 mins
- Cook Time: 2 hrs (includes simmering berries and bringing canner to boil)
- Canning Time: 15 mins
- Total Time: 2 hrs 30 mins
Equipment
- Water Bath Canner
- Large Saucepan or Stockpot
- Jelly Bag or Fine-Mesh Strainer with Cheesecloth
- Canning Jars, Lids, and Rings
- Jar Lifter
- Potato Masher
- Optional: Steam Juicer
Ingredients
- Fresh Berries (e.g., Strawberries, Blueberries, Raspberries, Blackberries, Currants, Gooseberries, Mulberries, Dewberries, Huckleberries, Loganberries)
- Water
- Sugar, optional (see notes for recommendations)
- For Elderberries: Bottled Lemon Juice or Citric Acid (see notes for quantities)
Instructions
Extracting Berry Juice (Stovetop Method)
- Prepare fruit by thoroughly washing and stemming (or hulling strawberries). Remove any foreign material.
- Place the fruit in a pot with a small amount of water. Generally, use about 1/2 cup of water for every 2 to 4 cups of fruit. For high-pectin fruits like currants or gooseberries, consider doubling the water to prevent them from thickening too much.
- Bring the fruit and water to a gentle simmer over medium heat. Cook, mashing frequently with a potato masher, until the berries have completely fallen apart and released their juice. This typically takes about 5 to 10 minutes. Be careful not to overcook.
- Strain the cooked berry pulp through a jelly bag or a fine-mesh strainer lined with a double layer of dampened cheesecloth. Allow the juice to drip through naturally for the clearest juice; avoid squeezing.
Canning Berry Juice (Water Bath Method)
- Prepare your water bath canner, ensuring it has enough water to cover jars by 1-2 inches. Place a canning rack at the bottom. Heat the canner water to a bare simmer (180°F / 82°C). Wash and sterilize jars, lids, and rings, keeping jars hot until ready to fill.
- Heat the strained berry juice to approximately 190°F (88°C) over medium-high heat, but do not bring it to a boil. Reduce the heat to low and maintain the 190°F (88°C) temperature for 5 minutes. If using, add sugar at this point and stir until dissolved.
- Carefully ladle the hot juice into the prepared hot jars, leaving 1/4 inch of headspace. Wipe jar rims clean with a damp cloth.
- Center canning lids on the jars and apply screw-on rings to “finger tight” (just until resistance is met).
- Process the jars in the simmering water bath canner. Ensure jars are fully submerged. Bring the water to a rolling boil and process for 15 minutes for half-pints, pints, and quarts. For elevations above 6,000 feet, increase canning time to 20 minutes.
- After processing, turn off the heat and let the jars rest in the canner for 5 additional minutes to cool slightly and help prevent siphoning.
- Using a jar lifter, carefully remove the jars and place them on a towel-lined counter or wire rack to cool completely for 12-24 hours.
- Check seals after 24 hours. Lids should be concave and not move when pressed. Any unsealed jars should be refrigerated for immediate use. Properly canned and sealed jars of berry juice will maintain peak quality on the pantry shelf for 18+ months. Refrigerate after opening.
Notes
Berry Types
This tested recipe for canning berry juice works with all manner of soft summer fruits, including:
- Blackberries
- Blueberries
- Currants
- Dewberries
- Gooseberries
- Huckleberries
- Loganberries
- Mulberries
- Raspberries
- Strawberries
Elderberries aren’t quite acidic enough for safe canning of the juice without added acidity. For elderberries, you’ll need to add 1/2 tablespoon of bottled lemon juice per cup of juice (or a full tablespoon per pint). You can also add 1 teaspoon of citric acid to every 8 cups of juice (or 1/8th tsp per pint).
Yield Estimates
For each cup of juice yield, you’ll need the following amounts of fruit mixed with 1/2 cup of water (when using the stovetop method):
- Blackberries ~ 2 1/2 cups of berries
- Blueberries ~ 2 to 3 cups of berries (they’re highly variable in terms of juice)
- Elderberries ~ 1 pound stemmed fruit
- Raspberries ~ 3 to 3 1/2 cups of berries
- Strawberries ~ 3 1/4 to 3 1/2 cups chopped fruit (from 1 quart fresh)
- Currants (red or black) ~ 1 pound stemmed fruit
Sugar
Adding sugar is optional and not necessary for safe canning. In general, the recommendation is about 1/4 to 1/2 cup per quart of juice or 1 to 2 tablespoons per cup of juice. I don’t add sugar to most types of juice, and I tend to sweeten when I use them if necessary.
(Personally, I only think sugar is really necessary with very tart fruits, like gooseberries, currants, and maybe very tart raspberries.)
Nutrition
Serving: 0.5 cup, Calories: 53kcal, Carbohydrates: 13g, Sodium: 33mg, Potassium: 116mg, Sugar: 13g, Vitamin A: 7IU, Vitamin C: 48mg, Calcium: 1mg, Iron: 1mg
Nutrition information is automatically calculated, so should only be used as an approximation.
Like this? Leave a comment below!
More Ways to Preserve Berries
If you’re looking for additional creative and delicious ways to preserve your fresh summer berries, consider these options:
- Canning Gooseberries
- Canning Raspberries
- Making delicious homemade jams and jellies
- Dehydrating berries for healthy snacks or trail mix
- Freezing whole berries for later use in smoothies, pies, or crumbles
- Crafting fruit leathers or fruit sauces