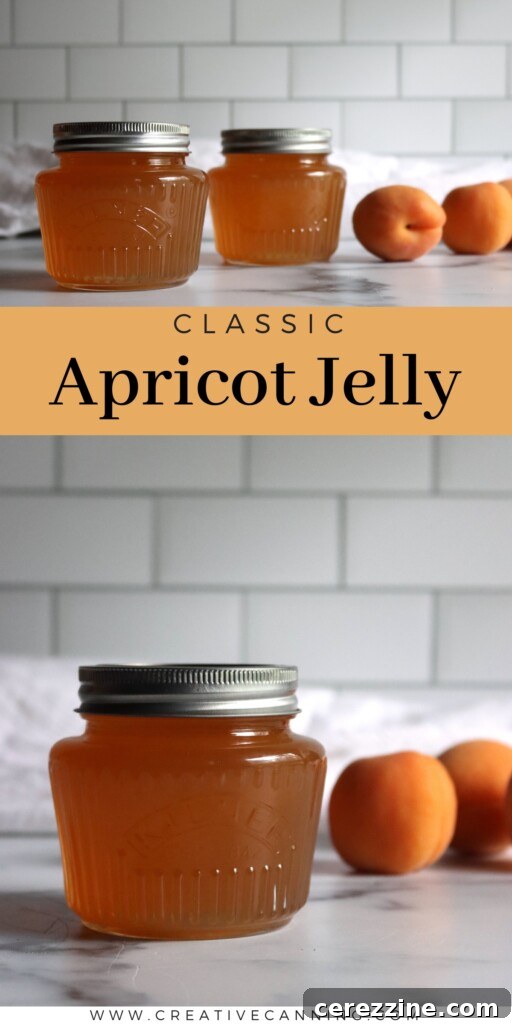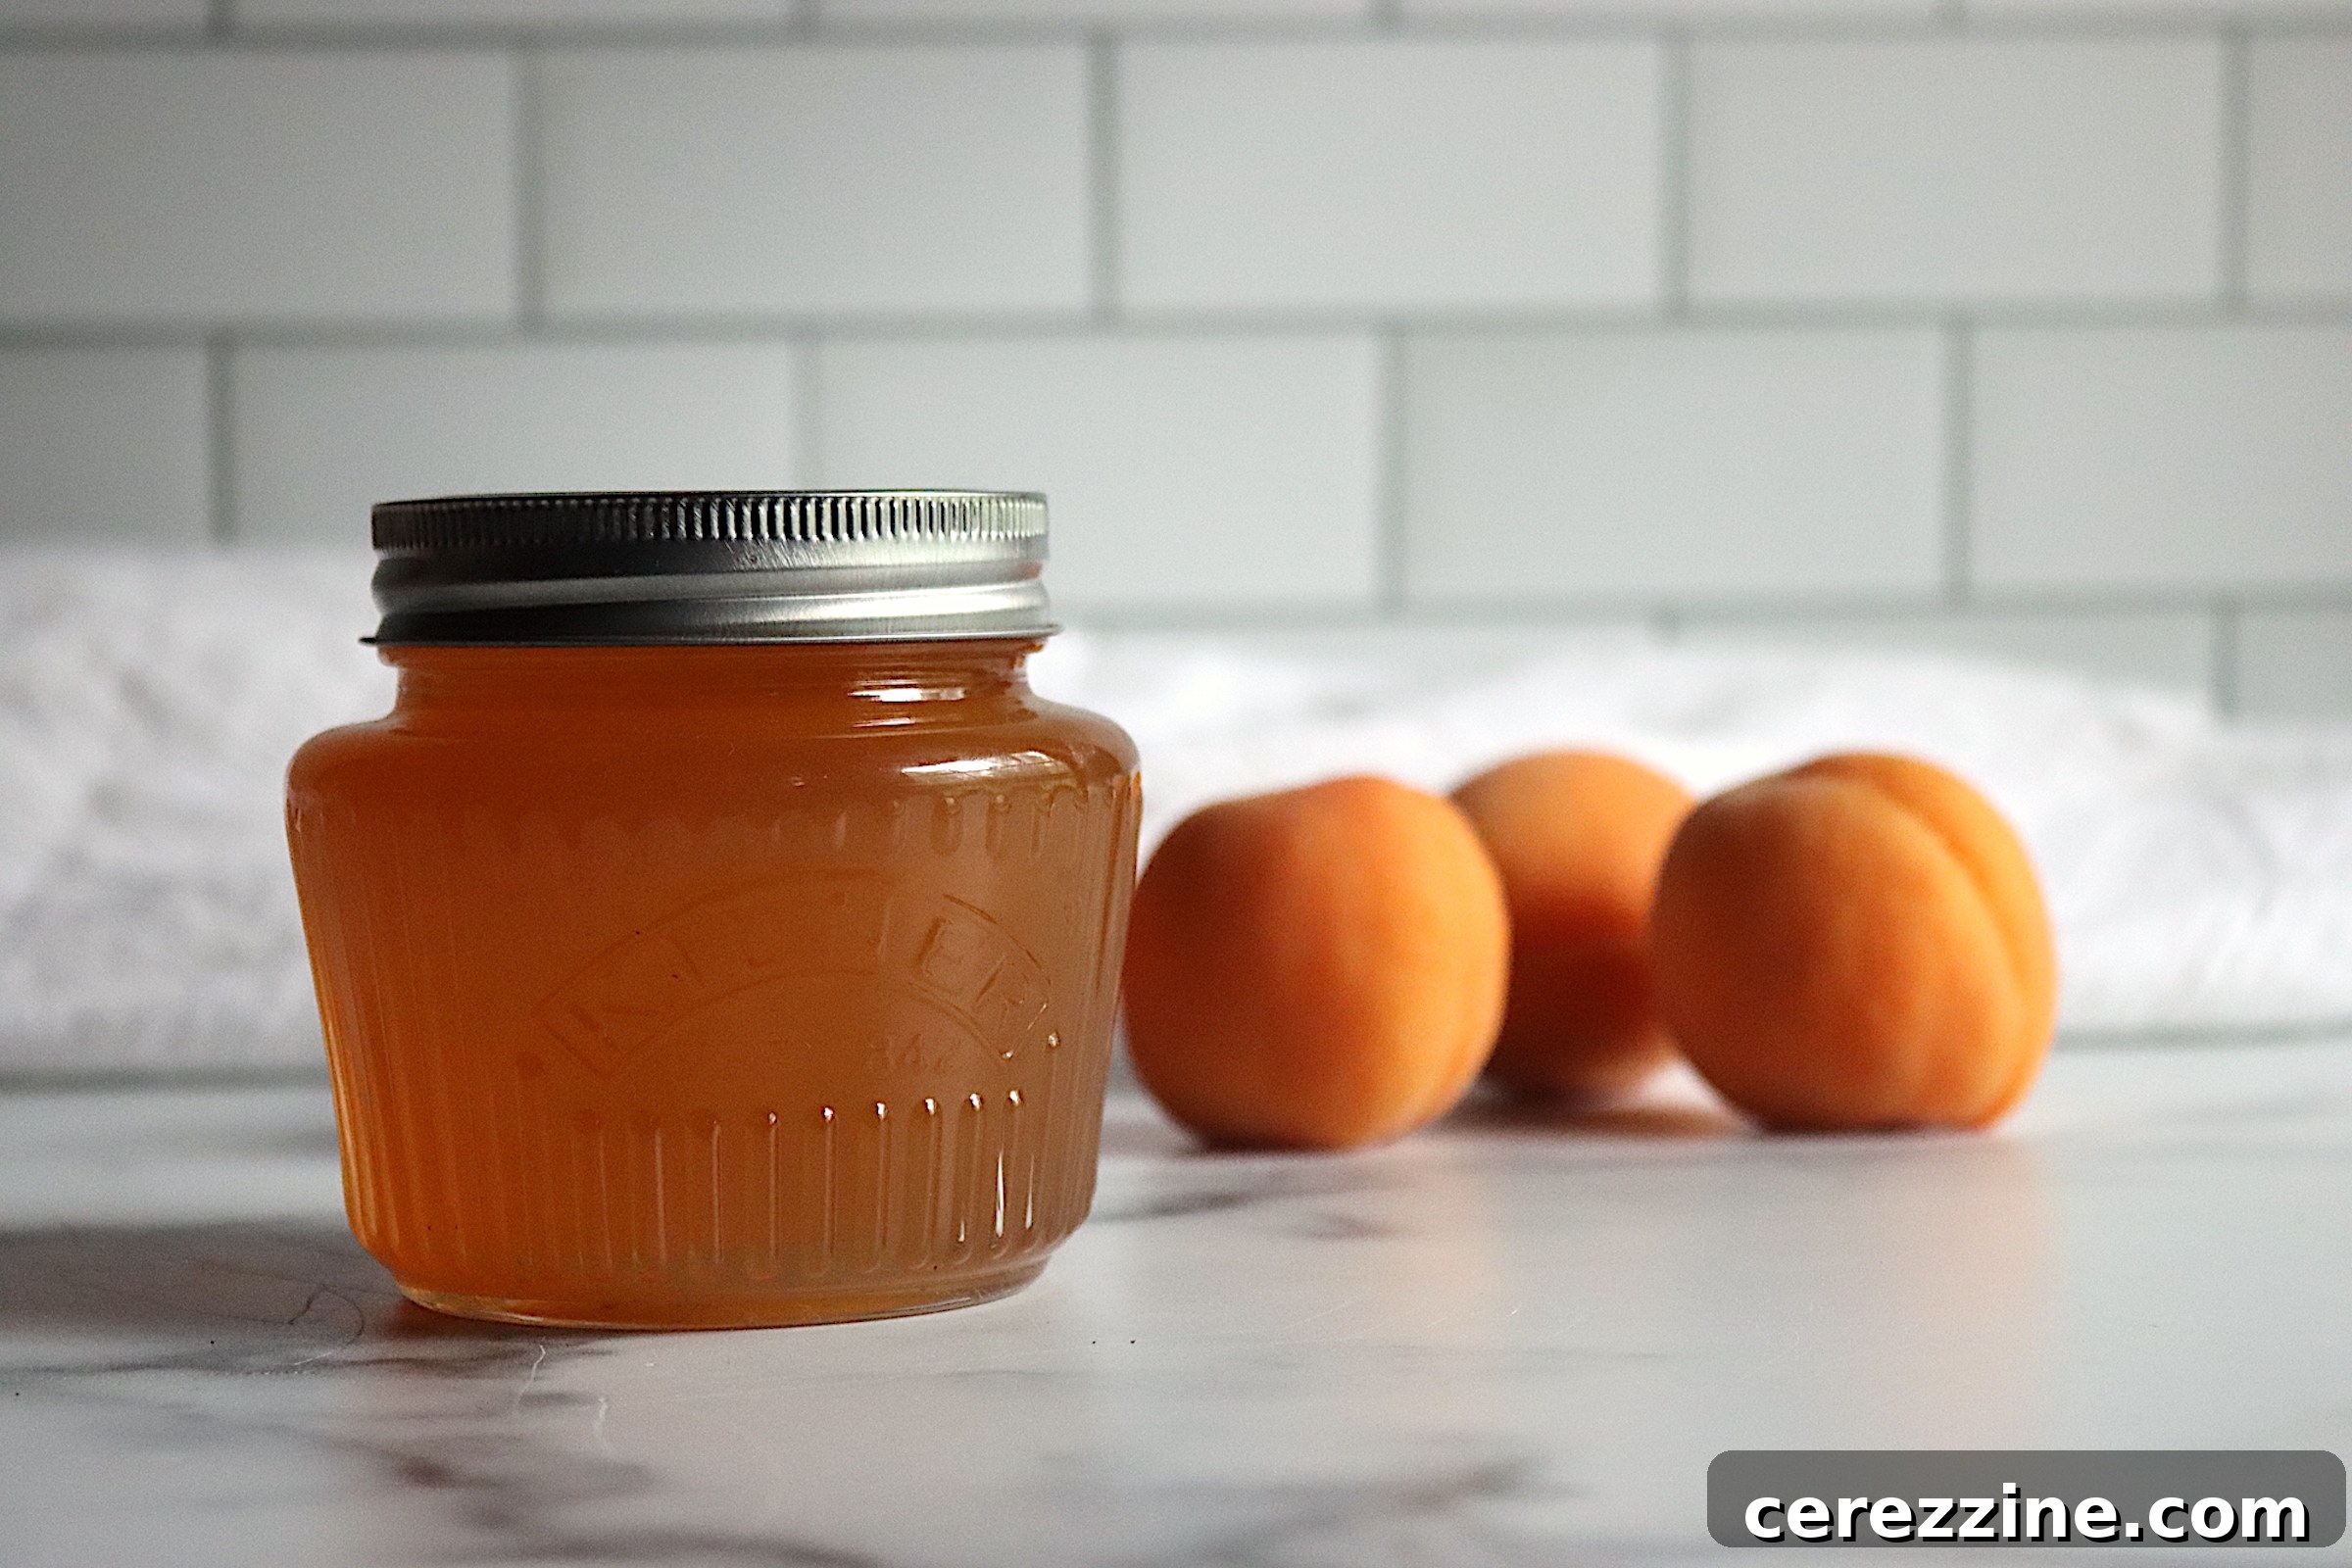
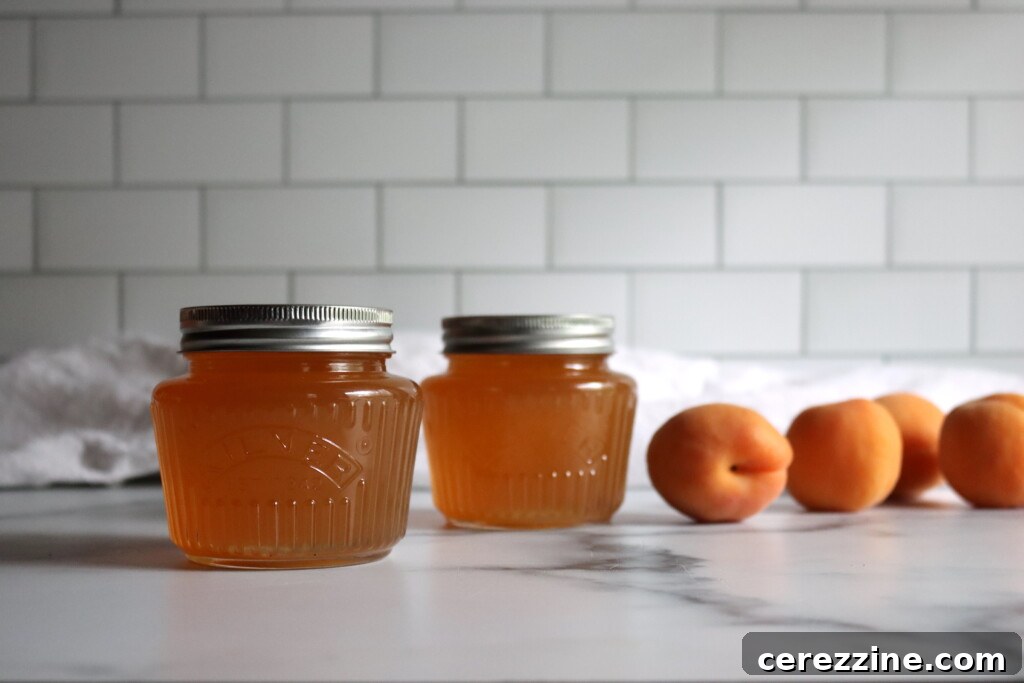
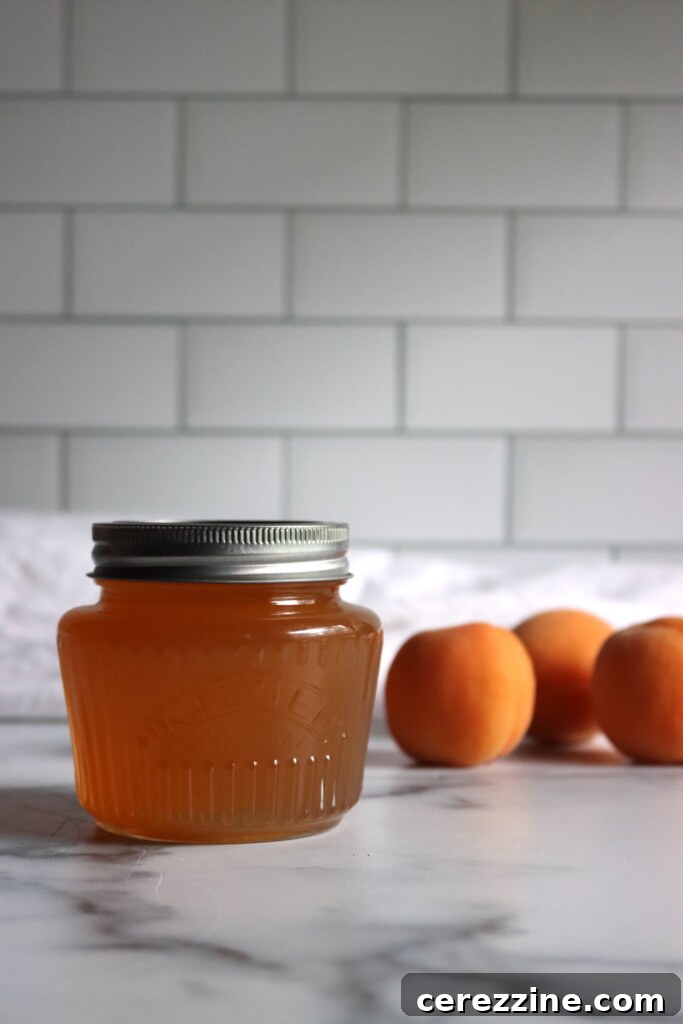
Discover the golden delight of homemade apricot jelly, a truly exquisite preserve that captures the vibrant essence of summer in every spoonful. Unlike jams that feature fruit pulp, apricot jelly is celebrated for its perfectly smooth, jewel-toned clarity, offering an unadulterated burst of sweet and delicately floral apricot flavor. It stands as one of the most rewarding and surprisingly simple preserves to craft in your own kitchen, transforming a bountiful apricot harvest into a treasure to enjoy all year round. With its bright, sunny hue and irresistible taste, this elegant jelly is far more than a simple spread—it’s a versatile ingredient perfect for enhancing breakfast toasts, elevating sophisticated pastries, or adding a glossy, fruity finish to savory glazes for meats and poultry.
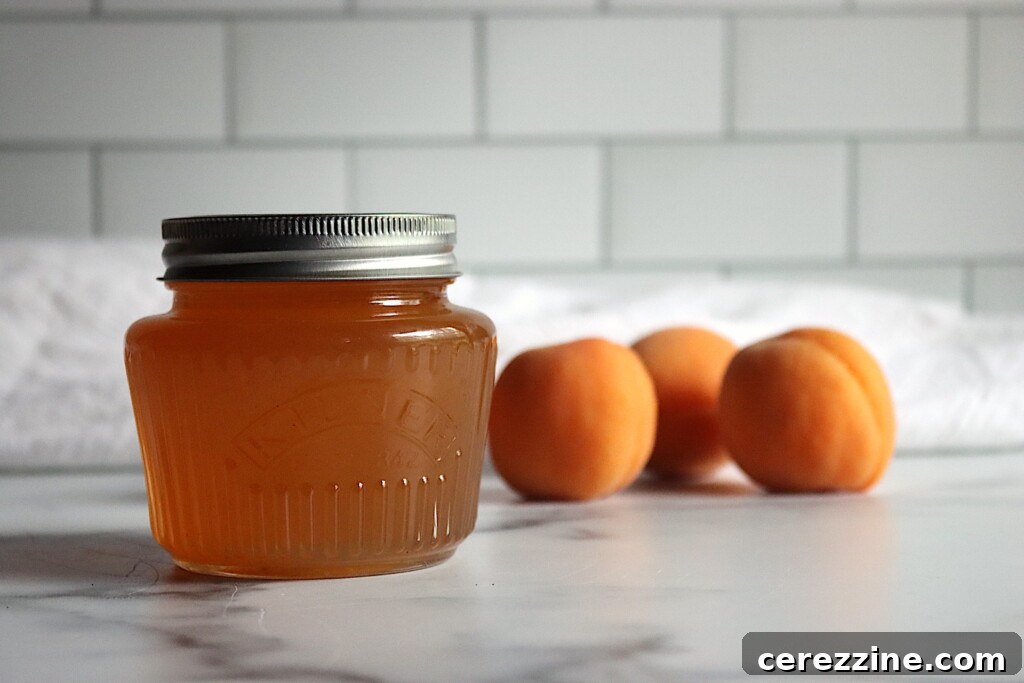
There’s a special magic in a jar of homemade apricot jelly, a potent reminder of sun-drenched days and orchard-fresh fruit. This timeless preserve encapsulates the delicate, sweet, and faintly tart flavor profile of ripe apricots, alongside their captivating floral aroma, all without any of the skins or pulp that can alter the texture. What remains is a glistening, jewel-toned jelly that is as beautiful to behold as it is delicious to taste. For anyone with an abundant apricot harvest, this recipe offers an ideal solution for preservation, particularly if you desire a refined, seedless product that’s perfect for elegant gifts, sophisticated breakfast spreads, or as a key ingredient in your baking endeavors.
The journey to creating this delightful apricot jelly begins by understanding its fundamental difference from jam. While jam incorporates crushed fruit, jelly focuses solely on the pure, clear fruit juice. This means your first step will involve gently simmering fresh apricots to coax out their exquisite flavor and natural liquids, followed by a meticulous straining process to remove all solids. What you’re left with is a pristine apricot juice, ready to be transformed. From this foundation, the process is surprisingly straightforward: a quick cooking session with sugar and pectin, orchestrated to achieve that perfect, shimmering set. The result is a vibrant, clear jelly that not only sets beautifully but also locks in its characteristic color and flavor, allowing you to savor the taste of fresh apricots long after their season has passed. Apricots are particularly forgiving for jelly-making novices, boasting ample natural pectin that aids in achieving a reliable set, and a robust flavor that shines brilliantly even in its smooth, pulpless form.
Mastering the Art of Apricot Juice Extraction for Perfect Jelly
The foundation of an exceptional apricot jelly lies in the quality and purity of its juice. To embark on this culinary adventure, you’ll need approximately 5 pounds of ripe, fresh apricots, weighed whole. Begin by thoroughly washing the apricots and then halving them to remove the pits. While technically optional since the fruit will be strained, pitting the apricots at this stage simplifies the subsequent mashing and also makes the leftover pulp suitable for other delicious creations, like apricot butter.
Place the pitted apricot halves into a large, heavy-bottomed pot and add about 2 cups of water. Bring the mixture to a gentle boil, then reduce the heat and let it simmer for roughly 10 minutes. As the apricots soften, use a sturdy spoon or a potato masher to gently mash them, encouraging them to break down and release their juices and flavorful compounds. The goal is to fully soften the fruit, making the extraction process more efficient.
Once the apricots have thoroughly broken down into a soft, pulpy consistency, it’s time for the crucial straining step. Carefully transfer the hot apricot mixture into a fine-mesh sieve, ideally one lined with several layers of cheesecloth or a specialized jelly bag, placed over a large bowl or another clean pot. Allow the juice to drip naturally for several hours, or even overnight, to ensure maximum clarity. Resist the urge to press the fruit through the sieve or squeeze the jelly bag aggressively, as this can force small particles of pulp through, resulting in a cloudy jelly. For truly clear jelly, patience is key.
After straining, you should aim to collect about 5 cups of pure, clear apricot juice. If your yield is slightly higher, you can set the extra juice aside for other delightful uses, such as crafting a homemade apricot syrup, blending into smoothies, or adding a fruity twist to cocktails. Conversely, if you have less than 5 cups, you might need to process a few more apricots or supplement with a high-quality store-bought apricot nectar (though fresh is always preferred for flavor). This precise measurement of juice is critical for ensuring the proper pectin-to-sugar ratio, which is vital for achieving a perfectly set jelly.
Crafting Your Own Apricot Jelly: A Step-by-Step Guide
With your fragrant, freshly extracted apricot juice ready, the transformation into shimmering jelly is a remarkably simple and satisfying process. Ensure all your equipment, especially your canning jars, are sterilized and ready to go before you begin the final cooking stage.
Preparing for the Cook
Before you start cooking, make sure your workspace is organized. You will need a large, clean, heavy-bottomed pot to prevent scorching, sterilized canning jars (half-pint is a popular size for jelly), new canning lids, and rings. Sterilize your jars by either boiling them in water for at least 10 minutes, running them through a dishwasher’s sanitizing cycle, or heating them in an oven at 225°F (107°C) for 20 minutes. Keep them hot until ready to fill to prevent thermal shock.
Combining Ingredients
Pour the measured 5 cups of strained apricot juice back into your large, clean cooking pot. Next, incorporate one box of regular powdered pectin – a standard 1.75-ounce box like Sure-Jell (ensure it’s the yellow box, not the pink low-sugar version) or 6 tablespoons of bulk powdered pectin. Pectin is the gelling agent that will give your jelly its signature firm, yet spreadable, texture. Stir these thoroughly to dissolve the pectin evenly into the cold juice.
For an added layer of flavor and to assist with the pectin’s gelling process, stir in about two tablespoons of bottled lemon juice. While apricots have natural acidity, the added lemon juice enhances the brightness of the apricot flavor and ensures the pH level is optimal for pectin activation, contributing to a more reliable set and canning safety. It also helps to preserve the vibrant golden color of the jelly.
The Crucial Boiling Process
Place the pot over high heat and bring the juice, pectin, and lemon juice mixture to a full, rolling boil. This is a boil that cannot be stirred down, characterized by vigorous, continuous bubbling across the entire surface of the liquid. Stir frequently during this stage to prevent scorching and ensure the pectin fully dissolves.
Once you achieve this robust rolling boil, it’s time to add the sugar. Pour all 5 cups of granulated sugar into the pot at once. Stir vigorously and constantly to ensure the sugar dissolves completely and the mixture returns quickly to a full rolling boil. Continue boiling for exactly one minute, maintaining that strong, unstoppable boil. Timing is crucial here; boiling for too long can break down the pectin, while not boiling enough may result in a soft set.
Filling and Sealing Your Jars
After the minute of intense boiling, promptly remove the pot from the heat. Carefully ladle the hot apricot jelly into your prepared, hot, sterilized canning jars, leaving precisely ¼ inch of headspace from the rim of the jar. This headspace is vital for creating a proper vacuum seal during the canning process. Use a clean, damp cloth to carefully wipe any jelly residue from the rims of the jars. This ensures a clean surface for the lids to seal properly.
Center a new, clean two-piece canning lid onto each jar, and then screw on the metal bands until they are fingertip tight. Avoid overtightening, as this can prevent air from escaping and hinder proper sealing.
Water Bath Canning for Shelf Stability
Gently place the filled jars into a boiling water bath canner, ensuring they are fully submerged in water by at least 1 inch. Bring the water to a rolling boil and process the jars for 10 minutes. If you live at an elevation above 6,000 feet, increase the processing time to 15 minutes to account for the lower boiling point of water at higher altitudes. Consult your local extension office for specific altitude adjustments if unsure.
Once the processing time is complete, carefully remove the jars from the canner using a jar lifter and place them upright on a clean towel on your countertop, ensuring there is space between each jar for air circulation. Let the jars cool undisturbed for 12 to 24 hours. During this cooling period, you will hear satisfying “pop” sounds as the lids seal, indicating a successful vacuum seal. After 24 hours, check each jar’s seal by pressing down on the center of the lid; if it doesn’t flex, the jar is sealed. Remove the screw bands before storing. Any jars that didn’t seal should be stored in the refrigerator and consumed within a few weeks.
Properly sealed and stored in a cool, dark pantry, your exquisite homemade apricot jelly will maintain its quality for 12 to 18 months, allowing you to enjoy the taste of summer throughout the colder seasons.
Creative Ways to Enjoy Your Apricot Jelly
Apricot jelly is far too delightful to be confined to just toast, though it excels there. Its bright, floral notes and balanced sweetness make it an incredibly versatile ingredient in both sweet and savory applications, elevating everyday dishes into something special.
- **Classic Pairings:** Spread generously over warm, buttery croissants, fluffy scones, or a fresh slice of sourdough toast for a truly luxurious breakfast experience. Its smooth texture melts beautifully.
- **Dessert Enhancer:** Stir a spoonful into plain Greek yogurt for a naturally sweetened, fruit-infused treat. Drizzle warmed apricot jelly over vanilla bean ice cream or panna cotta for a simple yet elegant dessert. It also makes an exceptional filling for thumbprint cookies or a glossy topping for fruit tarts, adding both flavor and a beautiful sheen.
- **Cheese Board Companion:** Pair it with a variety of soft cheeses like creamy brie, tangy goat cheese, or a mild mascarpone. The sweet apricot notes beautifully complement the richness of the cheese, creating a sophisticated appetizer.
- **Savory Glazes & Sauces:** Unleash its potential in savory cooking. Apricot jelly makes a fantastic glaze for roasted chicken, pork tenderloin, or ham, creating a caramelized, slightly sweet crust. Melt a few spoonfuls with a touch of Dijon mustard and a splash of vinegar for a quick and flavorful pan sauce or vinaigrette that adds depth to salads or grilled vegetables.
- **Baking & Pastries:** Beyond glazes, incorporate it into baking. Think of it as a vibrant filling for layer cakes, a sweet addition to turnovers, or even swirled into muffins or Danish pastries before baking for pockets of fruity goodness.
However you choose to enjoy it, your homemade apricot jelly is sure to bring a touch of sun-kissed sweetness to any occasion.
48
servings, Makes about 6 half-pint jars
Apricot Jelly Recipe
30
10
10
50
Equipment
-
Water Bath Canner
-
Large stockpot
-
Fine mesh sieve or jelly bag
-
Sterilized half-pint jars with lids and bands
-
Jar lifter
-
Ladle
Ingredients
- 5 lbs ripe apricots
- 2 cups water
- 1 box Powdered Pectin, 1.75 ounce box, regular pectin, or 6 tablespoons bulk pectin
- 2 Tbsp lemon juice, bottled, for acidity and flavor
- 5 cups granulated sugar
Instructions
-
Begin by washing your apricots thoroughly, then halve and pit them. While pitting is technically optional since you’ll be straining the fruit, removing the pits now makes mashing easier and allows you to save the leftover pulp for other uses, like a delicious apricot butter.
-
Combine the prepared apricots and 2 cups of water in a large stockpot. Bring the mixture to a boil over medium-high heat, then reduce heat to a simmer. Continue simmering for about 10 minutes, gently mashing the fruit with a potato masher or spoon as it softens to help release its juices and flavor.
-
Carefully strain the cooked apricot mixture through a fine-mesh sieve lined with cheesecloth or a jelly bag into a clean bowl or pot. Allow the juice to drip naturally without pressing, which can lead to cloudy jelly. Aim to collect exactly 5 cups of clear apricot juice. Discard the pulp or save it for another recipe.
-
Return the 5 cups of apricot juice to a clean cooking pot. Stir in the powdered pectin and the bottled lemon juice. Bring this mixture to a full, rolling boil over high heat, stirring frequently to ensure the pectin dissolves completely.
-
Once a vigorous, rolling boil is achieved (one that cannot be stirred down), add all the granulated sugar at once. Stir constantly until the sugar is fully dissolved and the mixture returns to a full rolling boil. Boil for exactly 1 minute, maintaining the strong boil. Remove the pot from the heat immediately.
-
Quickly ladle the hot jelly into hot, sterilized half-pint jars, leaving ¼ inch of headspace at the top. Wipe the rims of the jars thoroughly with a clean, damp cloth to ensure a perfect seal. Center new lids on the jars and apply the bands fingertip tight.
-
Process the jars in a boiling water bath canner for 10 minutes (or 15 minutes if you are above 6,000 feet elevation). After processing, remove the jars and place them on a towel-lined surface to cool undisturbed for 12 to 24 hours. Check seals by pressing the center of each lid; if it doesn’t flex, the seal is good. Store sealed jars in a cool, dark pantry. Refrigerate any unsealed jars and use within a few weeks.
Notes
This recipe yields approximately 6 to 7 half-pint jars of apricot jelly, which can vary based on the juiciness of your apricots and how much liquid evaporates during the cooking process. It is crucial to measure out **exactly 5 cups of juice** after straining. Using more juice than specified can result in a jelly that doesn’t set properly, as jelly recipes rely on a precise 1:1 ratio of sugar to juice for optimal gelling.
While apricots naturally contain pectin, adding commercial pectin helps ensure a consistently firm and beautiful set every time. For this recipe, we recommend using regular powdered pectin, such as Sure-Jell (the yellow box, not the pink low-sugar version) or other reputable brands like Ball Classic Powdered Pectin. If you choose to use Pomona’s Universal Pectin, please note that it requires a different method involving calcium water and adjustments to the sugar quantity, so be sure to follow their specific instructions carefully.
Nutrition
Calories: 106kcal, Carbohydrates: 27g, Protein: 1g, Fat: 0.3g, Saturated Fat: 0.01g, Polyunsaturated Fat: 0.04g, Monounsaturated Fat: 0.1g, Sodium: 3mg, Potassium: 124mg, Fiber: 1g, Sugar: 25g, Vitamin A: 910IU, Vitamin C: 5mg, Calcium: 7mg, Iron: 0.2mg
Nutrition information is automatically calculated, so should only be used as an approximation.
Enjoyed this recipe? Share your thoughts below!