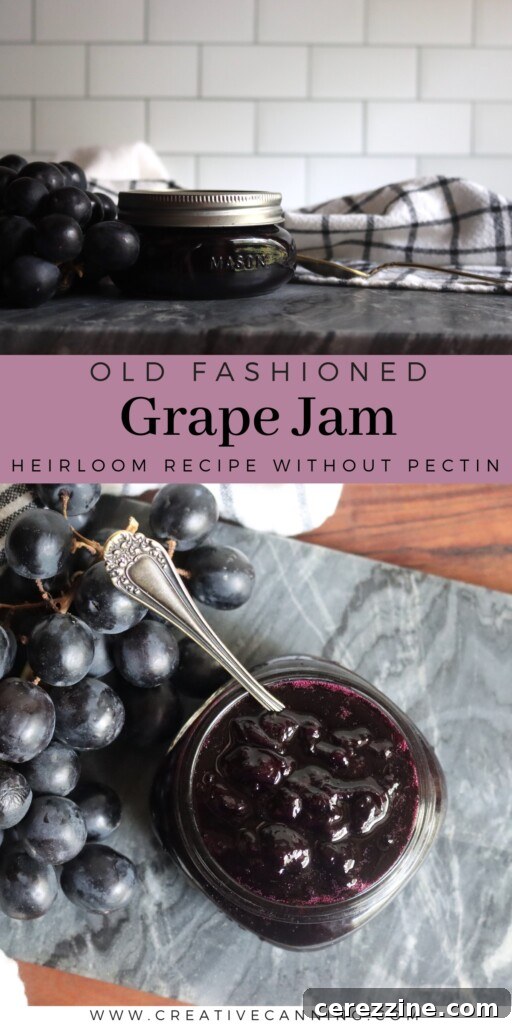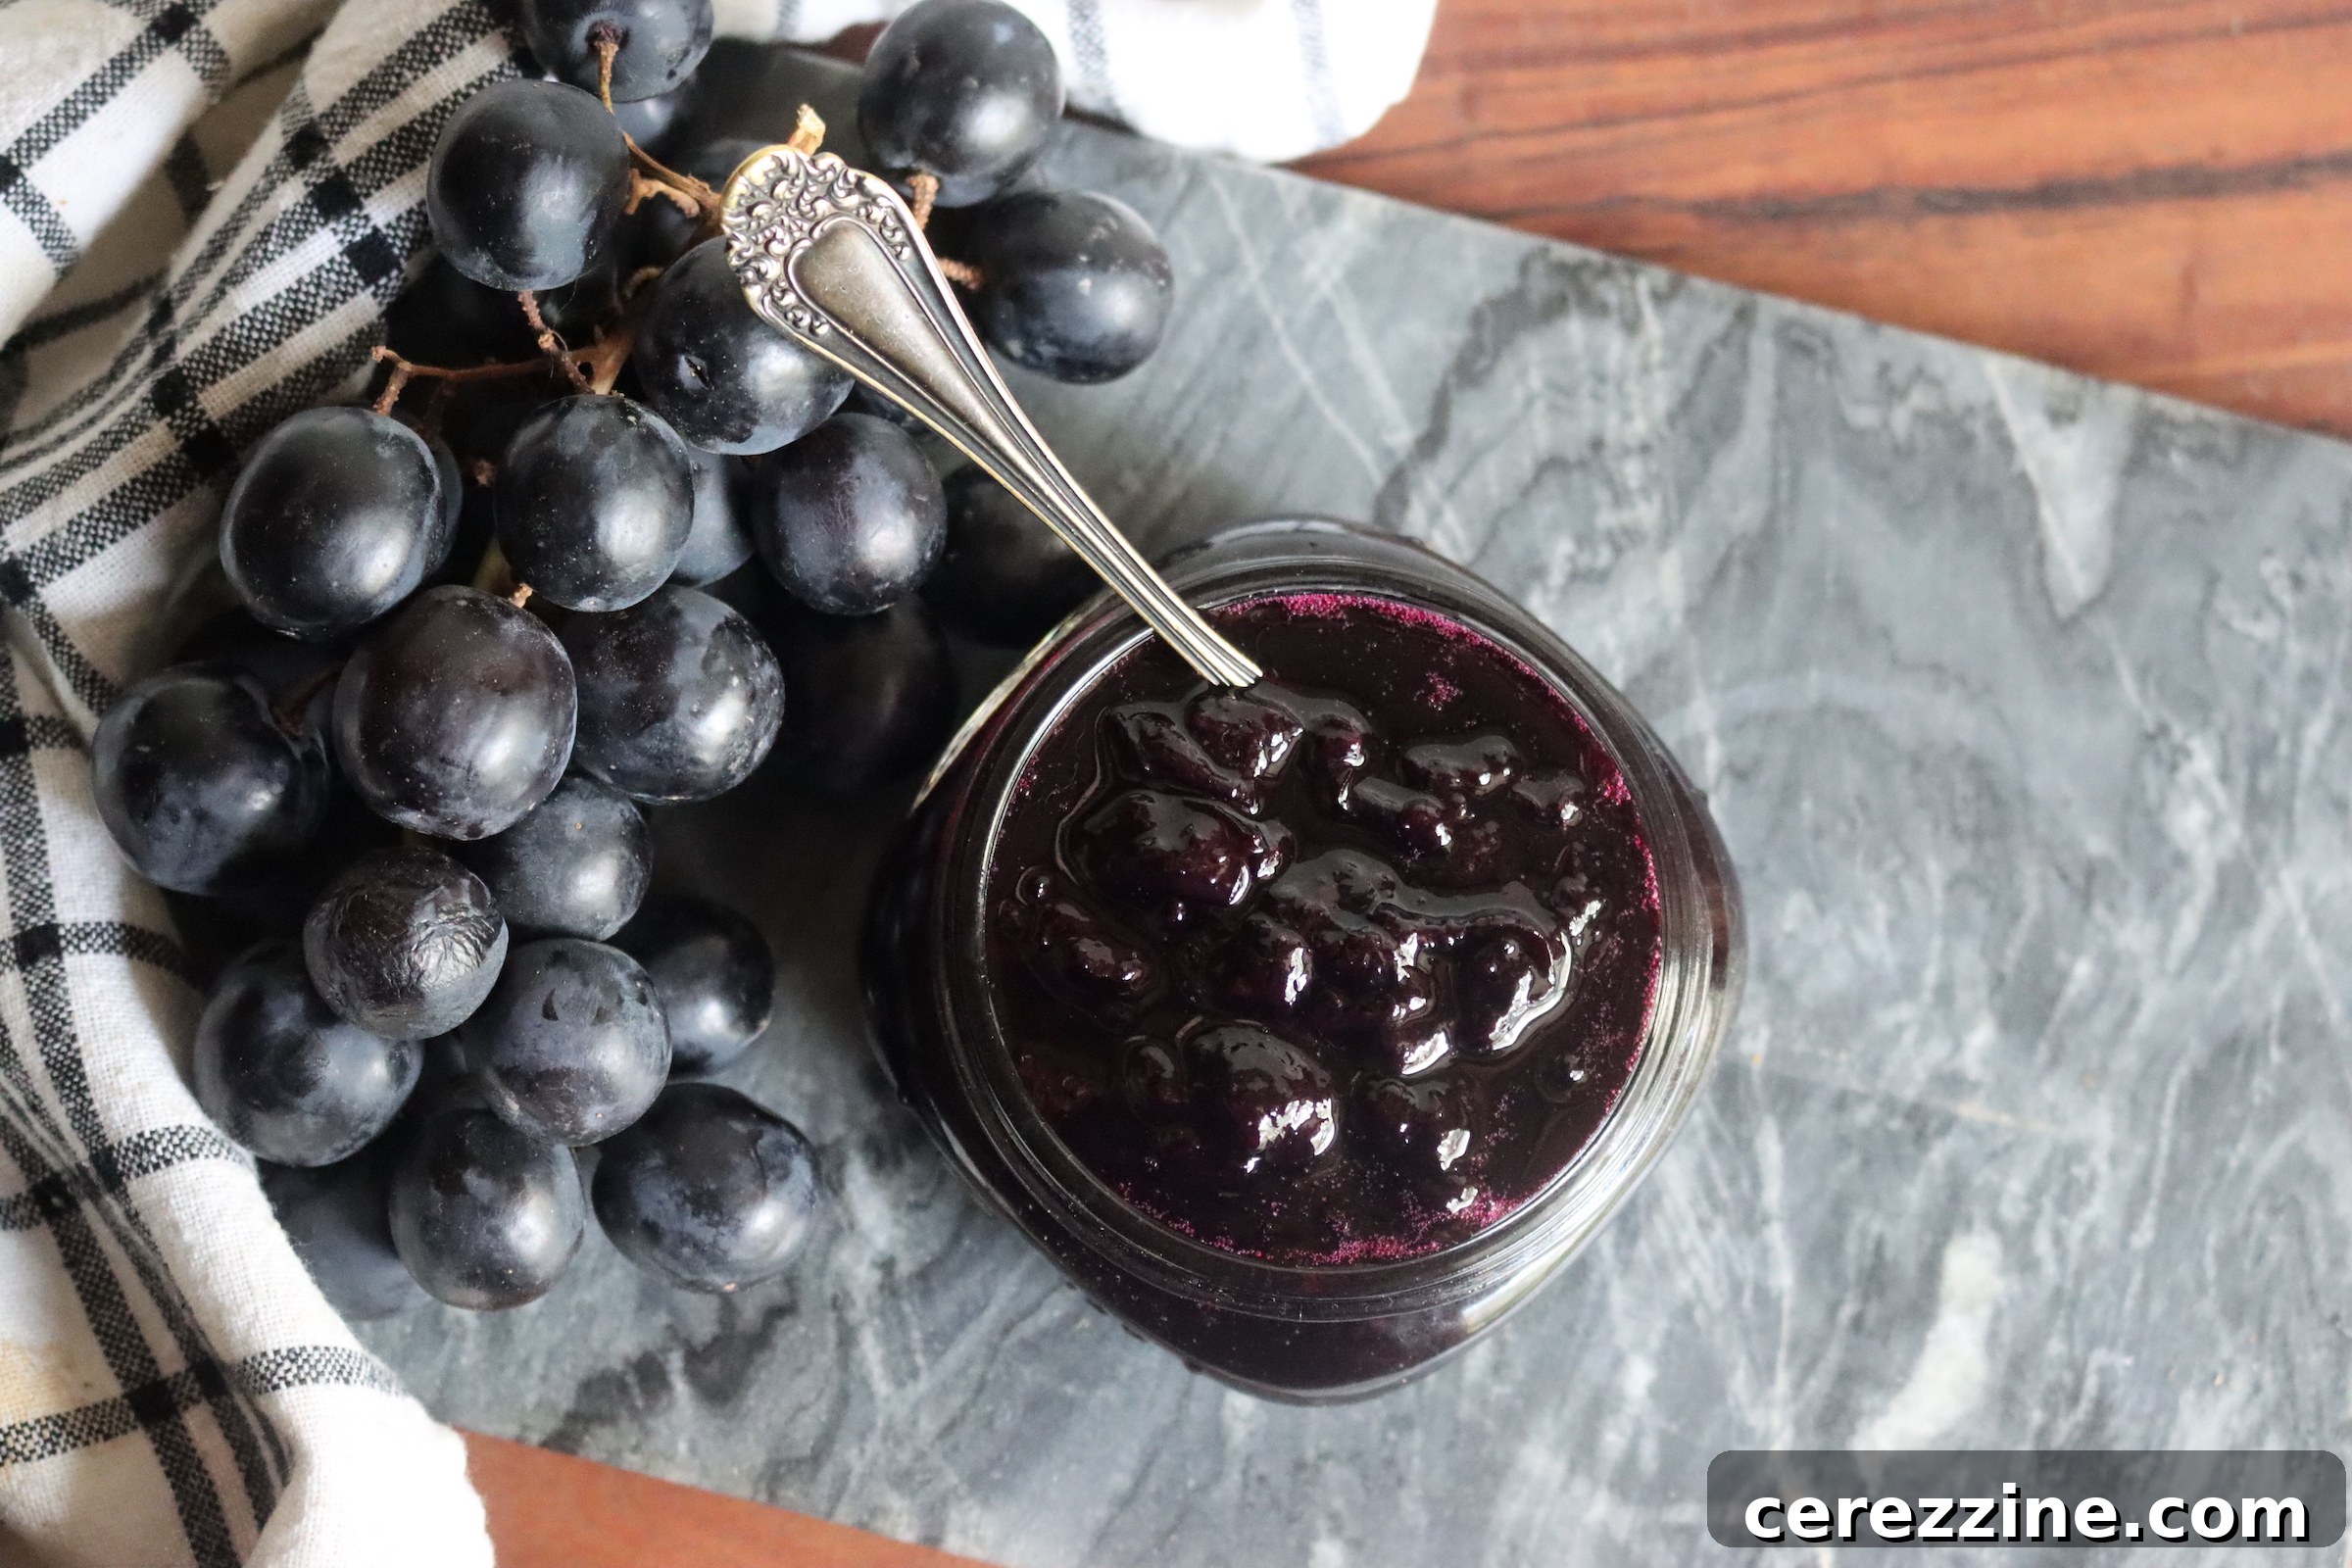
Step into a world of rich, authentic flavor with homemade grape jam. Far beyond the simple grape jelly of childhood memories, this classic preserve offers a delightful texture and an intensely fruity taste that truly stands out. Whether you’re fortunate enough to have a bounty of traditional Concord grapes, have access to old-fashioned seeded varieties, or are simply working with convenient store-bought seedless grapes, crafting your own jam is a deeply satisfying and surprisingly straightforward endeavor. It’s a return to pantry staples, where the true essence of fruit shines in every spoonful.
Rediscover the Magic of Homemade Grape Jam
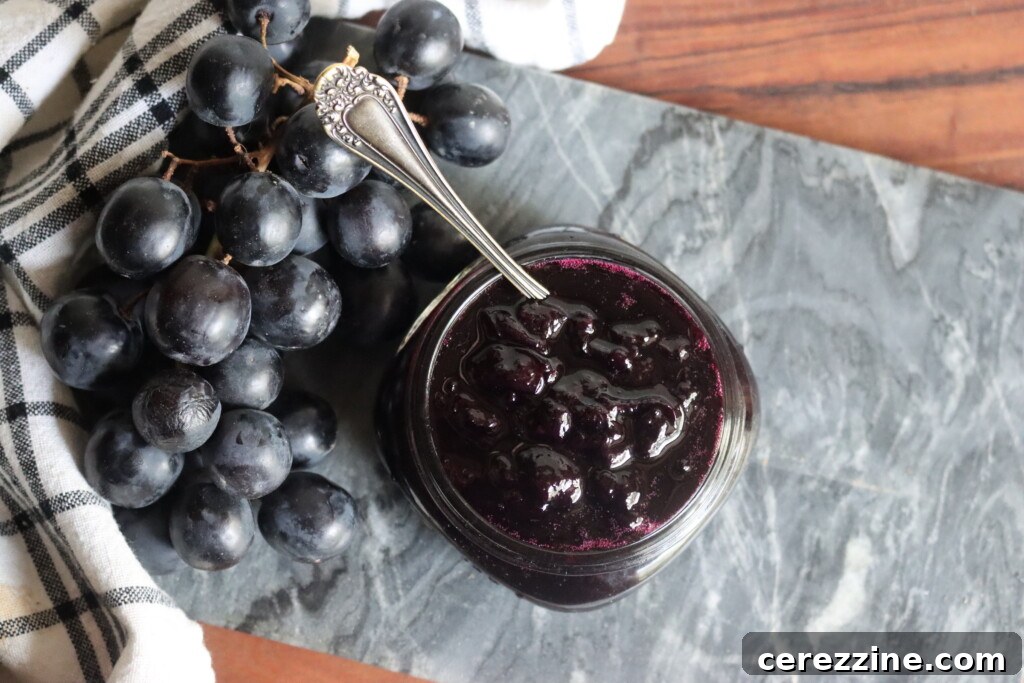
While grape jelly has long held its place as a classic favorite, gracing countless breakfast tables alongside peanut butter and sliced bread, grape jam offers a more profound experience. It’s a culinary treasure that, for a time, quietly faded into the background. But as interest in traditional food preservation and authentic flavors grows, this old-school recipe is poised for a well-deserved comeback. There’s an undeniable charm and depth to homemade jam that simply cannot be replicated by its store-bought, often pectin-heavy counterparts.
The reasons behind grape jam’s decline in popularity are understandable. Historically, making it was quite a labor-intensive process, especially when most grape varieties were laden with large seeds that required meticulous removal. This added effort made grape jelly, often made from juice, a more appealing and less time-consuming alternative. By the time seedless grapes became widely available in the 1980s, grape jelly had already cemented its status as the default. However, with the abundance of seedless grapes today and a plethora of modern kitchen tools like food mills and fine mesh strainers, the barriers to making incredible grape jam have virtually disappeared. Now, we can easily enjoy the sweet, textured, and vibrantly flavorful jam that tastes infinitely better than anything you’ll find on a supermarket shelf.
This timeless grape jam recipe draws inspiration from traditional methods, specifically adapted from the revered guide, So Easy to Preserve, published by the University of Georgia Extension. This highly respected resource is a cornerstone for home canners, ensuring reliable and safe preservation techniques. They also offer similar guidance for other delightful fruit preserves, such as a fantastic Muscadine Jam, highlighting the versatility of their foundational methods.
Is Crafting Your Own Grape Jam Truly Worth the Effort?
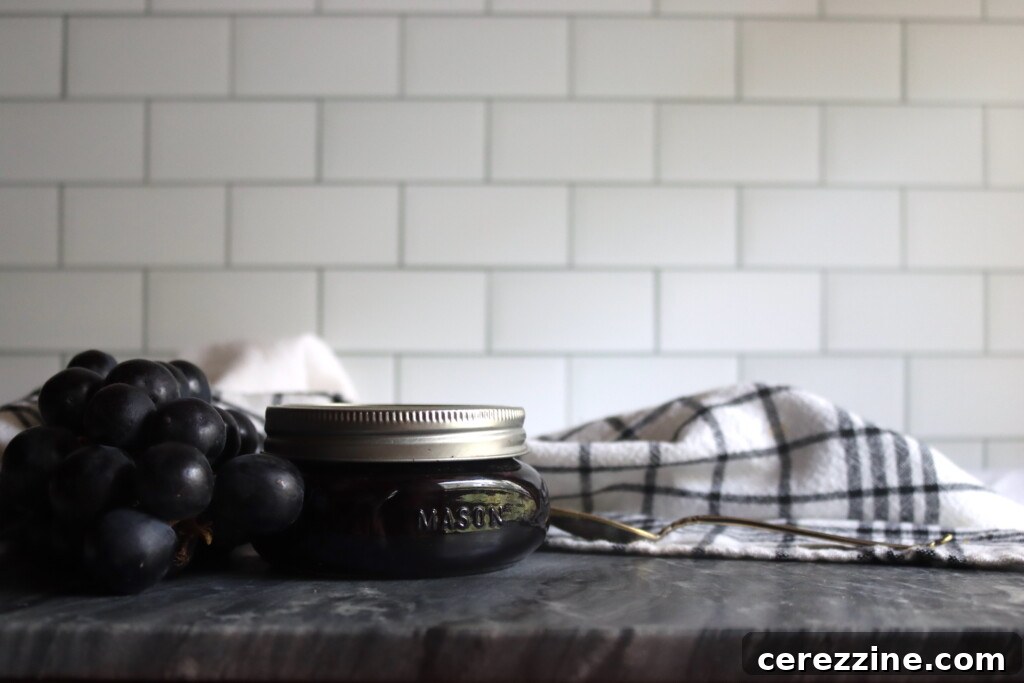
Absolutely! Homemade grape jam transcends mere spread; it possesses a distinct texture, a rich character, and a flavor that speaks of pure, unadulterated fruit, a stark contrast to the often artificial taste of commercial jellies. There’s a rustic elegance and a touch of comforting nostalgia baked into every batch. For me, dedicating a slow afternoon in the kitchen to this process is a cherished ritual. And the biggest bonus? My children adore it. They’re far more inclined to enjoy food they’ve had a hand in creating, making this a rewarding activity for the whole family.
Whether your garden is overflowing with homegrown grapes or you’ve simply snagged a few bags of fresh fruit on sale, I wholeheartedly encourage you to try making grape jam. The process is far simpler than many imagine, and the reward—a pantry stocked with jars of glistening, flavorful jam—is immeasurably more satisfying than buying another mass-produced jar from the store. It’s an investment in flavor, family memories, and the joy of wholesome, homemade goodness.
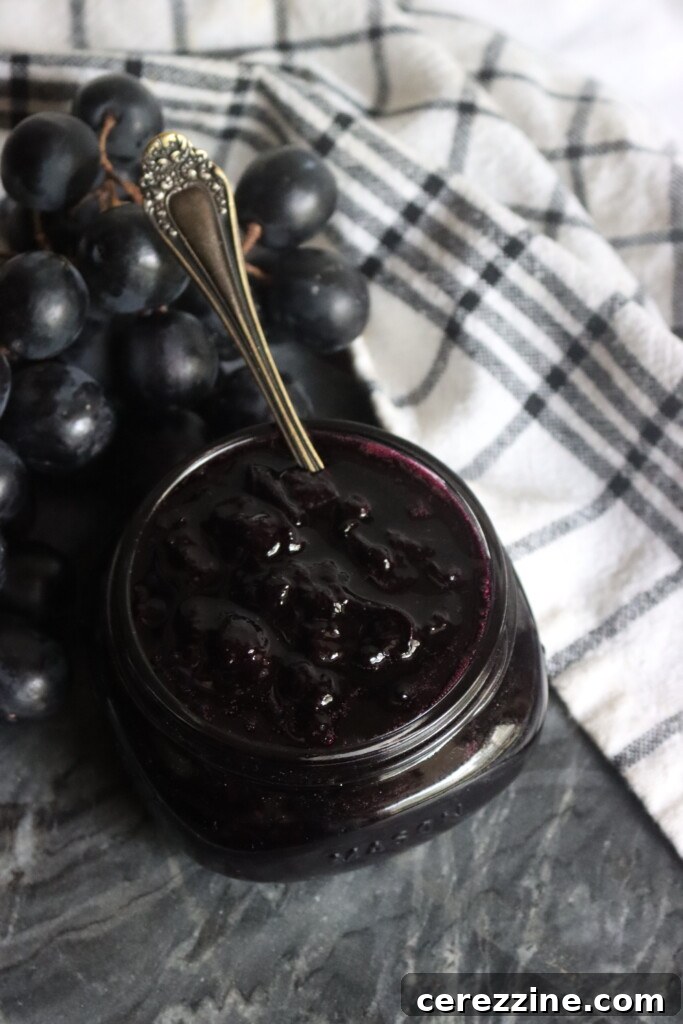
Choosing the Best Grapes for Your Homemade Jam
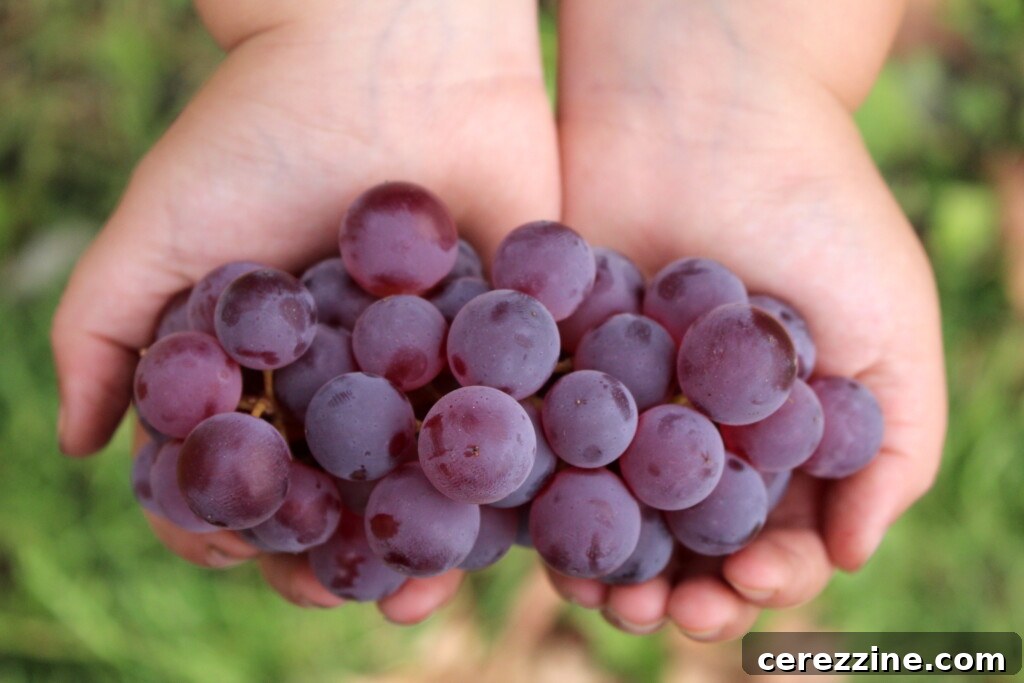
When you encounter grape jam recipes, many will specifically recommend Concord grapes. This iconic variety is indeed responsible for the signature robust, “grape-y” flavor synonymous with traditional grape jelly. However, unless you cultivate them yourself or have access to a local farm stand specializing in Concord grapes, they can sometimes be challenging to find in regular grocery stores. Supermarket aisles typically feature green or red table grapes, which, while different, are perfectly suitable for making excellent jam.
The beauty of homemade jam lies in its adaptability. I’ve successfully made delicious grape jam using a wide array of grape types: elegant wine grapes, flavorful wild grapes foraged from local thickets, and even the humble, everyday table grapes found at any grocery store. Each batch, with its unique nuances, has been consistently wonderful. For instance, here in Vermont, our cold climate necessitates growing cold-hardy wine grape varieties, as Concords struggle to survive our harsh winters. These often contain seeds, which means an extra step of removal, but the resulting flavor profile is extraordinarily rich and complex.
If you’re lucky enough to find Concords, or other notable varieties like Muscadines or Scuppernongs (known for their distinctive flavor and high natural pectin), absolutely seize the opportunity to use them. Their unique characteristics will lend an incredible depth to your jam. But critically, don’t let the unavailability of a specific grape type deter you. A simple bag of seedless grapes from the supermarket can still yield a remarkably good, satisfying jam. The most important ingredient is the desire to create something delicious from scratch.
Essential Equipment for Jam Making
While the process of making grape jam is quite simple, having the right tools can make the experience smoother and more enjoyable. Here’s a quick list of what you’ll likely need:
- **Large, Heavy-Bottomed Jam Pot:** A wide, shallow pot is ideal for even heat distribution and allows moisture to evaporate quickly, helping the jam thicken faster.
- **Fine Mesh Strainer or Food Mill:** Essential for removing seeds from pulp, especially with seeded varieties. A food mill is more efficient for larger batches.
- **Canning Jars:** Half-pint or pint jars are standard for jam. Ensure they are clean and sterilized.
- **Two-Piece Lids and Bands:** New lids are crucial for proper sealing. Bands can be reused.
- **Water Bath Canner**: A large pot with a rack, specifically designed for boiling water bath canning. This is vital for safe long-term preservation.
- **Jar Lifter, Canning Funnel, and Headspace Tool:** These specialized canning tools make handling hot jars safer and help ensure proper filling.
- **Candy Thermometer:** For precise temperature readings to determine when the jam has reached its setting point.
- **Long-Handled Spoon or Spatula:** For stirring the jam as it cooks, preventing scorching.
- **Chilled Ceramic Plate (optional, for gel test):** Keep a few in the freezer for testing the jam’s set.
Mastering Grape Preparation for Perfect Jam
If you’re using seedless grapes, you might be tempted to skip the seed removal step entirely. However, even varieties labeled “seedless” often contain tiny, undeveloped seeds that can introduce an unpleasant grit to the final texture. For grapes with noticeable seeds, this step is absolutely crucial for a smooth, delightful jam.
The process of separating pulp from skins might sound laborious, but it can actually be quite meditative and even enjoyable. It’s a task that lends itself wonderfully to involving children, offering a simple, hands-on activity. We often gather at the kitchen table, and my kids eagerly help by gently squeezing each grape, popping the juicy pulp into one bowl and setting the vibrant skins aside in another. This keeps their little hands busy and fosters a sense of ownership over the food they’re preparing. While their interest might wane once the cooking begins, the initial prep work is perfect for little helpers.
Once you’ve meticulously separated the pulp and skins, the next stage of preparation begins. Set the grape skins aside for a moment. Place the pulp into a saucepan – there’s no need to add any water, as the grapes will release their own liquid. Gently simmer the pulp over medium-low heat until the grapes thoroughly break down and become soft. As they cook, use the back of a spoon to mash them further, helping to release all the juice and soften any remaining seeds. When the pulp is sufficiently cooked, press it through a fine mesh strainer or a food mill. This step effectively removes all the seeds and any lingering fibrous bits, yielding a smooth, intensely flavored grape puree.
Now, it’s time to bring everything together. Combine the strained grape pulp with the reserved skins in your large, heavy-bottomed jam pot. At this point, you’ll already notice the rich, concentrated aroma of grape emanating from the mixture – a truly beautiful scent. Add your sugar, typically about six cups for a batch made from two quarts of grapes, and stir it in thoroughly until it dissolves. The sugar not only sweetens the jam but also plays a critical role in its setting and preservation, interacting with the fruit’s natural pectin.
How to Cook and Can Your Homemade Grape Jam
With your grape mixture and sugar combined, bring everything to a steady, rolling boil over medium-high heat. This is where the magic of pectin-free jam truly happens. Continue to cook, stirring regularly to prevent the jam from sticking to the bottom of the pot and scorching. The cooking process typically takes about 10 to 15 minutes, but keep a close eye on the consistency rather than the clock.
As the mixture thickens, you’ll observe several tell-tale signs: the bubbles on the surface will become larger, slower, and take on a glossy sheen. The jam will also begin to cling to your spoon differently, coating it more heavily. If you’ve made jam before, this subtle change in viscosity will be instantly recognizable. The natural pectin in the grapes, especially concentrated in the skins, activates with heat and sugar, leading to this transformation.
To confirm the jam has reached its perfect setting point, you have two reliable methods. The classic approach is the chilled plate test: spoon a small amount of hot jam onto a plate that has been chilled in the freezer for at least 10-15 minutes. Let it sit for about 30 seconds, then gently push the jam with your fingertip. If the surface wrinkles slightly and the jam holds its shape, it’s ready. Alternatively, for a more precise measurement, use a candy thermometer. Cook the jam until it consistently reaches 220°F (104°C) at sea level. This temperature indicates that enough water has evaporated and the sugar concentration is ideal for a good set. What’s fantastic about this particular pectin-free grape jam recipe is how quickly it comes together compared to other fruit preserves.
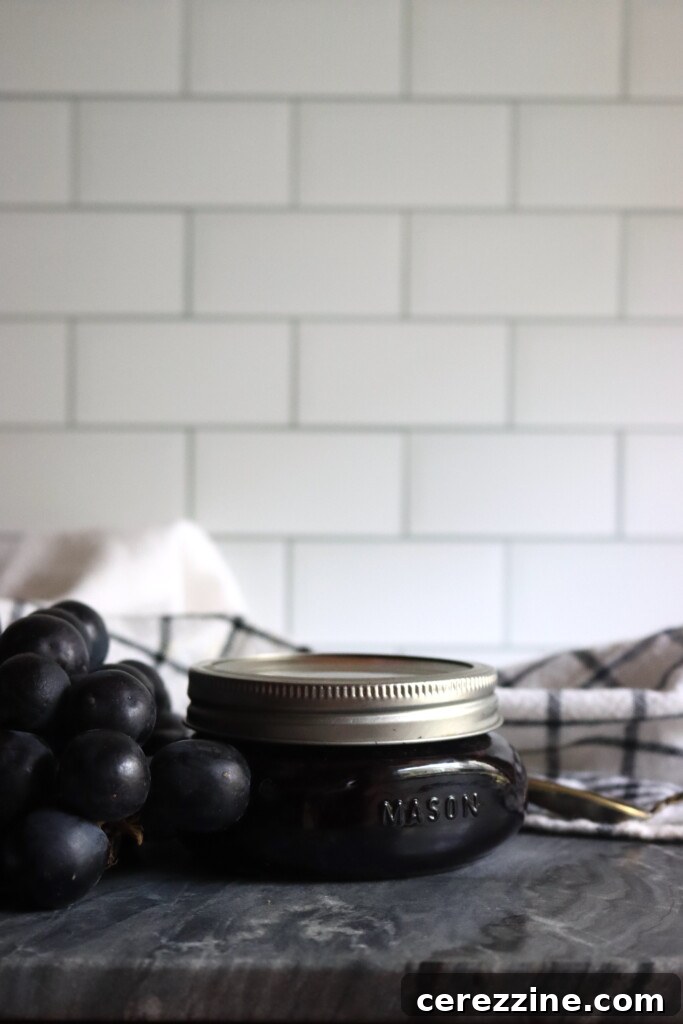
Once your jam has reached the desired consistency, carefully ladle the hot jam into your hot, sterilized canning jars, ensuring you leave ¼ inch of headspace at the top. This headspace is crucial for proper sealing and creating a vacuum. Wipe the rims of the jars meticulously with a clean, damp cloth to remove any sticky residue that could interfere with the seal. Center your two-piece canning lids on top and screw on the bands until they are fingertip tight.
Now, process the filled jars in a boiling water bath canner. For grape jam, the processing time is 10 minutes for elevations up to 6,000 feet. If you reside above 6,000 feet in elevation, you’ll need to increase the processing time to 15 minutes to ensure safe preservation. After the processing time is complete, turn off the heat, remove the canner lid, and let the jars sit in the hot water for 5 minutes before carefully removing them to a towel-lined counter.
Allow the jars to cool undisturbed for 12 to 24 hours. During this time, you should hear the satisfying “pop” of the lids as they seal. After cooling, check all seals: the center of the lid should be concave and not flex when pressed. It’s important to remember that it can take a full day or two for the jam to fully set and firm up, so don’t be alarmed if it seems a little loose immediately after processing. If, after proper cooling, your jam still hasn’t set to your liking, don’t despair! You can absolutely re-cook it. Simply return the jam to the pot, simmer it gently until it reaches the gel stage again, and then reprocess it in clean, hot jars.
3.50 from 2 votes
96 servings, makes 6 half pint jars or 3 pints
Grape Jam
40 minutes
40 minutes
10 minutes
1 hour 30 minutes
Pin
Equipment
-
Water Bath Canner
Ingredients
- 2 quarts Concord grapes, stemmed, about 4 pounds
- 6 cups sugar
- ½ cup water, for cooking skins
Instructions
-
Begin by sterilizing your jars and preparing a boiling water bath canner. Rinse the grapes thoroughly and remove the stems. Separate the skins from the pulp by squeezing each grape—set the skins in one bowl and the pulp in another. If desired, chop the skins using a food processor or knife for a finer texture.
-
Place the grape skins in a saucepan with about ½ cup of water and cook gently for 15 to 20 minutes, just until softened. In a separate pot, cook the grape pulp without any added water until it softens and begins to break apart. Once soft, press the pulp through a fine mesh sieve or food mill to remove the seeds.
-
Combine the strained pulp, cooked skins, and sugar in a large, heavy-bottomed jam pot. Stir well and bring the mixture to a boil. Continue boiling the jam for about 10 minutes, stirring frequently as it thickens to prevent sticking or scorching. Use the chilled plate test or a thermometer to check for gel stage (220°F at sea level).
-
Ladle the hot jam into hot, sterilized jars, leaving ¼ inch headspace. Wipe the rims with a clean, damp cloth and apply two-piece canning lids. Process in a boiling water bath canner for 10 minutes at elevations up to 6,000 feet or 15 minutes above 6,000 feet. Let jars cool undisturbed for 12 to 24 hours before checking seals.
Notes
Nutrition
Calories: 62kcal, Carbohydrates: 16g, Protein: 0.1g, Fat: 0.1g, Saturated Fat: 0.01g, Polyunsaturated Fat: 0.01g, Monounsaturated Fat: 0.001g, Sodium: 1mg, Potassium: 38mg, Fiber: 0.2g, Sugar: 16g, Vitamin A: 13IU, Vitamin C: 1mg, Calcium: 2mg, Iron: 0.1mg
Nutrition information is automatically calculated, so should only be used as an approximation.
Like this? Leave a comment below!
Serving Suggestions for Your Homemade Grape Jam
Once your delectable homemade grape jam has cooled and set, the possibilities for enjoying its rich flavor are endless. Beyond the classic peanut butter and jelly sandwich (which will be elevated to new heights!), here are some delicious ways to savor your efforts:
- **Breakfast Staple:** Spread generously on warm toast, English muffins, bagels, or fluffy homemade biscuits. It’s a perfect companion for a morning cup of coffee or tea.
- **Yogurt and Oatmeal Topping:** Swirl a spoonful into plain Greek yogurt or oatmeal for a burst of natural fruit sweetness and added texture.
- **Cheese Board Addition:** Grape jam pairs beautifully with a variety of cheeses, especially creamy Brie, sharp cheddar, or tangy goat cheese. Serve it alongside crackers and fresh fruit for an elegant appetizer.
- **Pastry Filling:** Use it as a filling for tarts, thumbprint cookies, or even in homemade pop tarts for a nostalgic treat.
- **Glaze for Meats:** A dollop of grape jam can be warmed and brushed over roasted chicken, pork tenderloin, or even meatballs for a sweet and savory glaze.
- **Cocktail or Mocktail Mixer:** A small amount can add a unique fruity depth to drinks – try it in a gin smash or a non-alcoholic spritzer.
Troubleshooting Common Jam Making Issues
While making jam is generally straightforward, sometimes things don’t go exactly as planned. Here are a few common issues and how to address them:
- **Jam Didn’t Set:** This is the most frequent concern. It could be due to not enough pectin (less ripe fruit), not enough sugar (sugar aids pectin in setting), or not cooking it long enough to reach the gel point. If your jam is too runny, you can reprocess it. Simply pour the jam back into a clean pot, bring it to a rolling boil, and cook it down further until it passes the gel test. You might consider adding a small amount of liquid pectin if your grapes were particularly low in natural pectin or if you reduced the sugar significantly.
- **Jam Burned/Scorched:** This happens when the jam isn’t stirred frequently enough, especially towards the end of the cooking process when it thickens. A heavy-bottomed pot helps, but constant stirring is key. Unfortunately, scorched jam often carries a burnt flavor and is difficult to salvage. Prevention is the best cure here.
- **Foam on Top:** A small layer of foam can sometimes appear on the surface of the jam as it cooks. While harmless, it can affect the appearance. You can skim it off with a spoon before filling jars, or add a tiny pat of butter (about ½ teaspoon) to the jam just before it’s finished cooking; this often helps dissipate the foam.
Frequently Asked Questions
Yes, seedless grapes are perfectly suitable for grape jam. While they are marketed as “seedless,” many still contain small, undeveloped seeds that can impact the texture. For the best result, it’s advisable to cook and then strain the pulp before combining it with the skins. This extra step ensures a smoother jam, free from any unwanted grittiness.
If you are using Concord grapes or any other seeded variety, separating the skins from the pulp is essential. This allows you to efficiently remove the seeds while retaining the flavorful skins, which are rich in natural pectin and contribute significantly to the jam’s color and texture. For truly seedless grapes, this step is technically optional, but I still prefer it as it leads to a more refined and consistent jam.
Grapes, particularly their skins, are naturally rich in pectin. When cooked with the appropriate amount of sugar and acidity, this natural pectin is activated, allowing the jam to set beautifully without the need for added commercial pectin. The result is a more traditional jam with a softer, more natural consistency and a pure fruit flavor.
There are two reliable ways to check for the gel stage. The most precise method is using a candy thermometer; the jam is ready when it reaches 220°F (104°C) at sea level. Alternatively, you can use the chilled plate test: place a small spoonful of hot jam on a plate that has been chilled in the freezer. Wait about 30 seconds, then push the jam with your finger. If it wrinkles slightly and holds its shape, it has reached its setting point.
You can certainly reduce the amount of sugar, but be aware that sugar plays a vital role in both the jam’s texture and its preservation. A lower sugar content will mean the jam will take longer to reach the gel stage and will likely yield a smaller quantity. For significantly reduced sugar jam, it’s highly recommended to use a special low-sugar or no-sugar pectin to ensure a proper set and safe canning.
When properly processed and sealed in a boiling water bath canner, jars of homemade grape jam can be stored in a cool, dark place for 12 to 18 months. Once a jar is opened, it should be kept in the refrigerator and consumed within 3 to 4 weeks to maintain optimal freshness and quality.