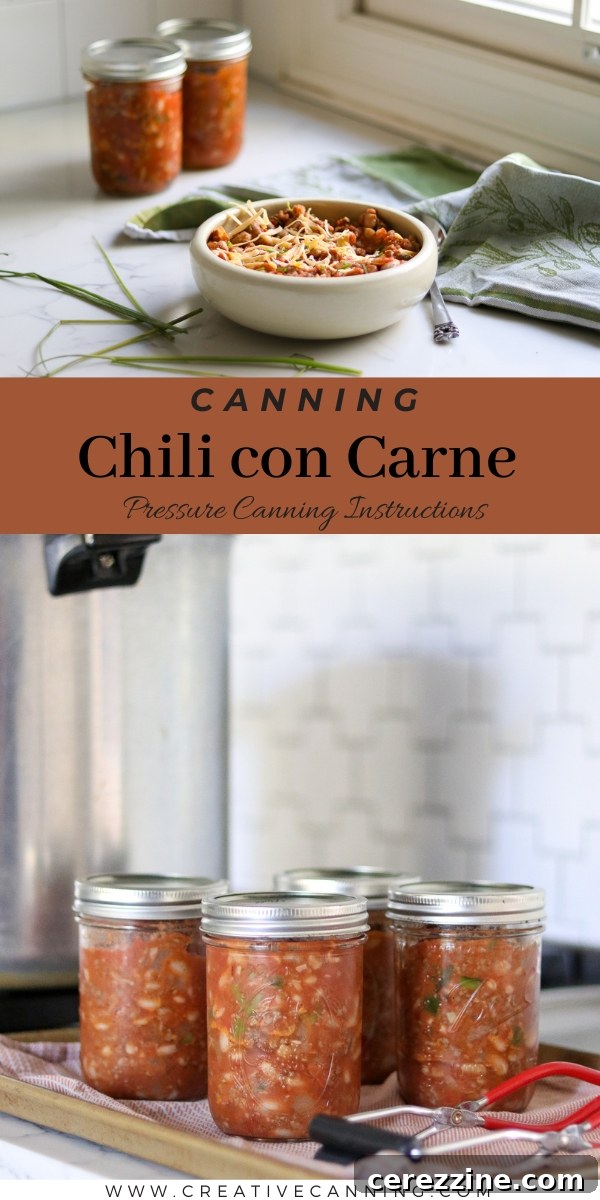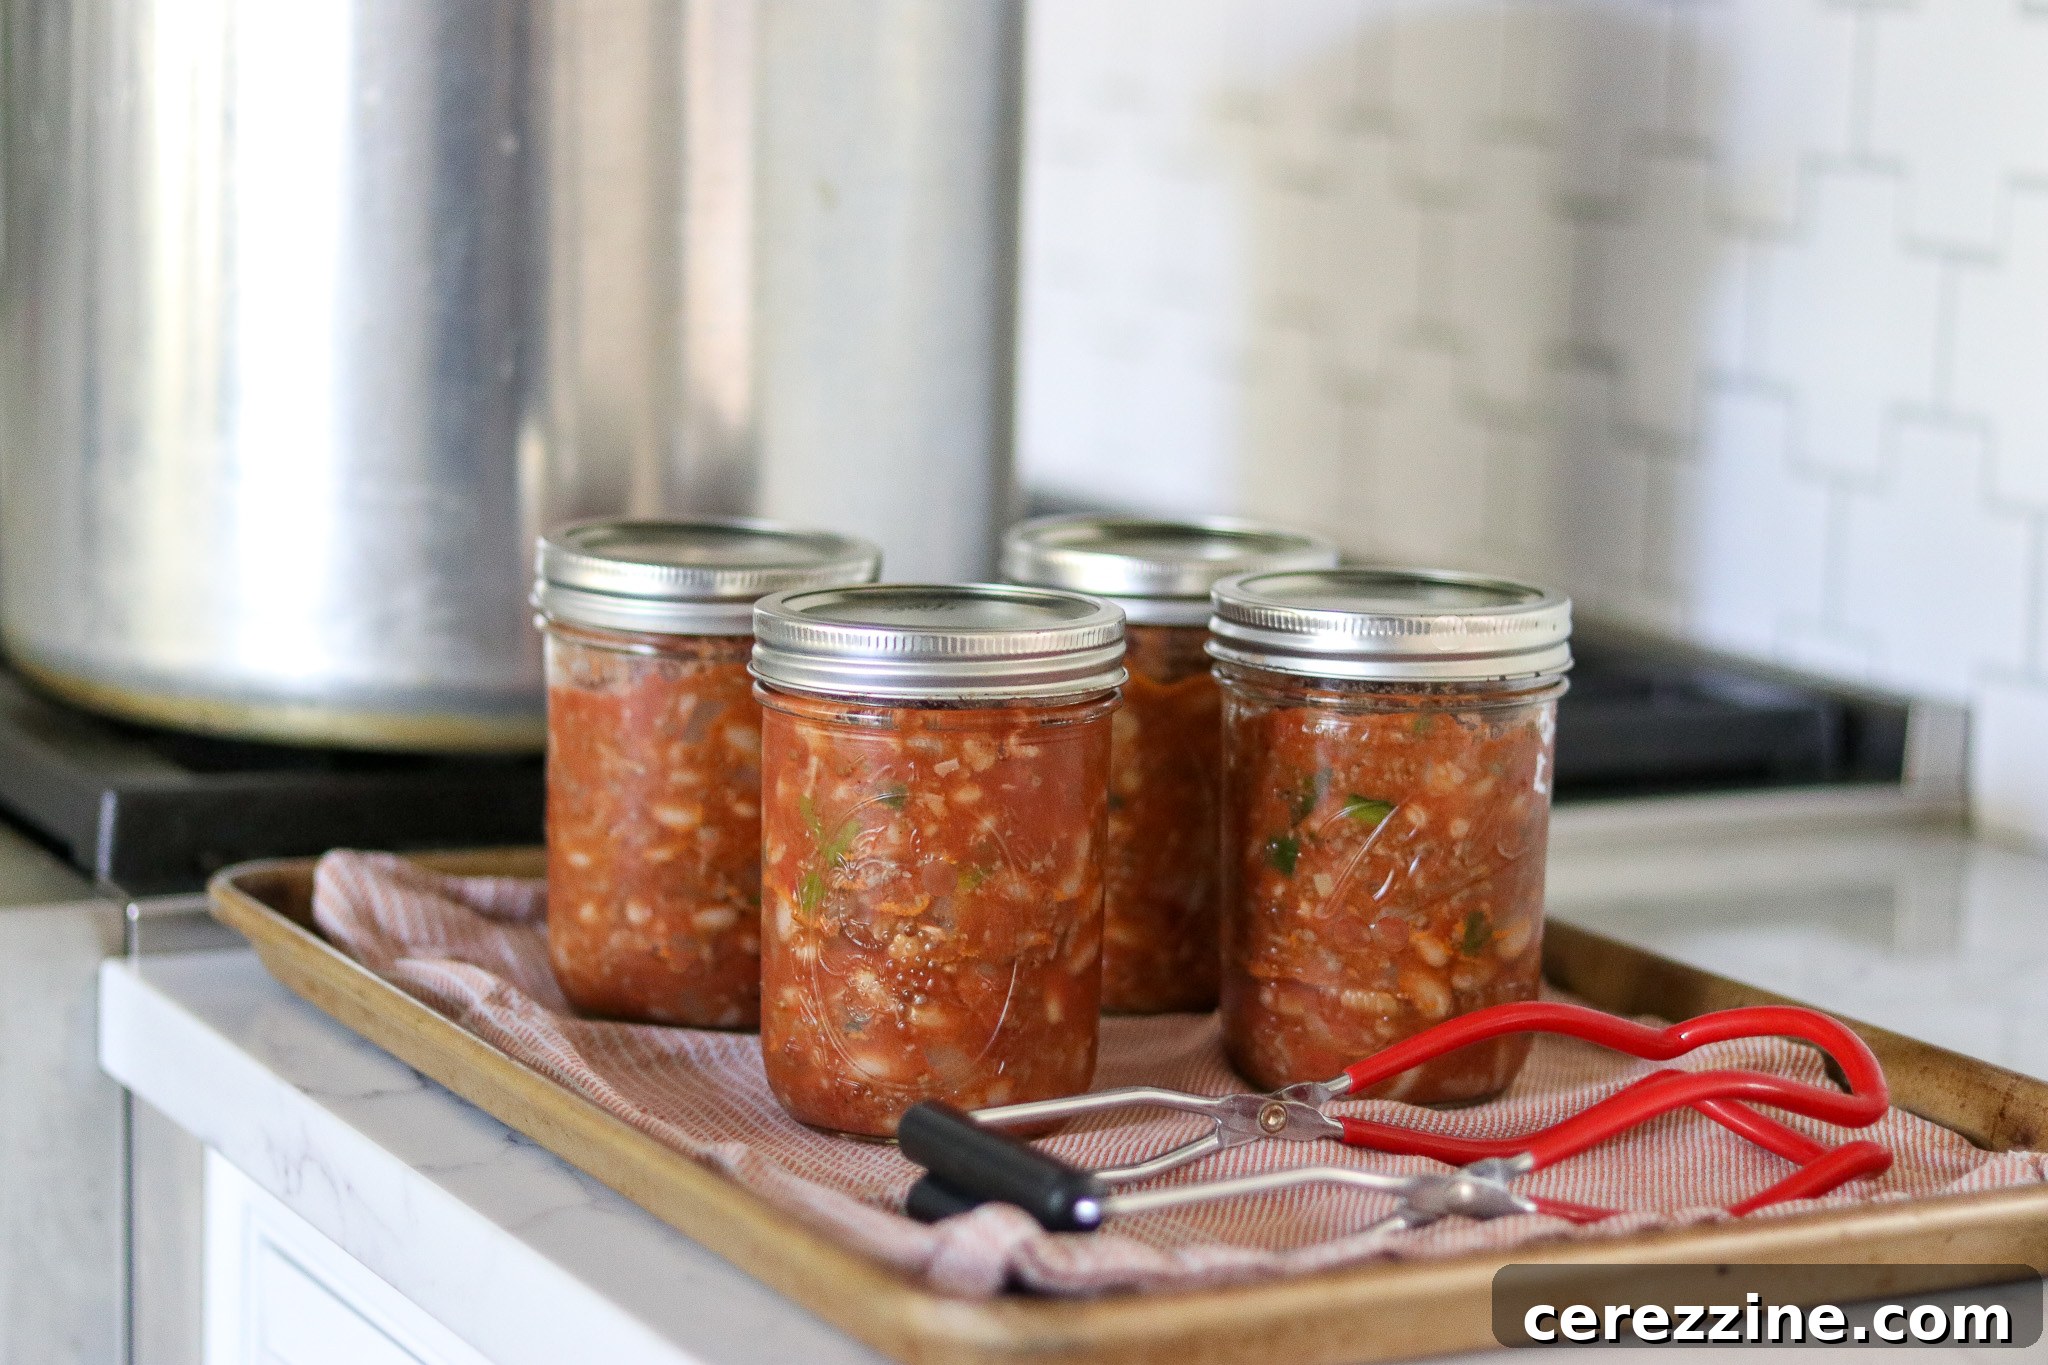
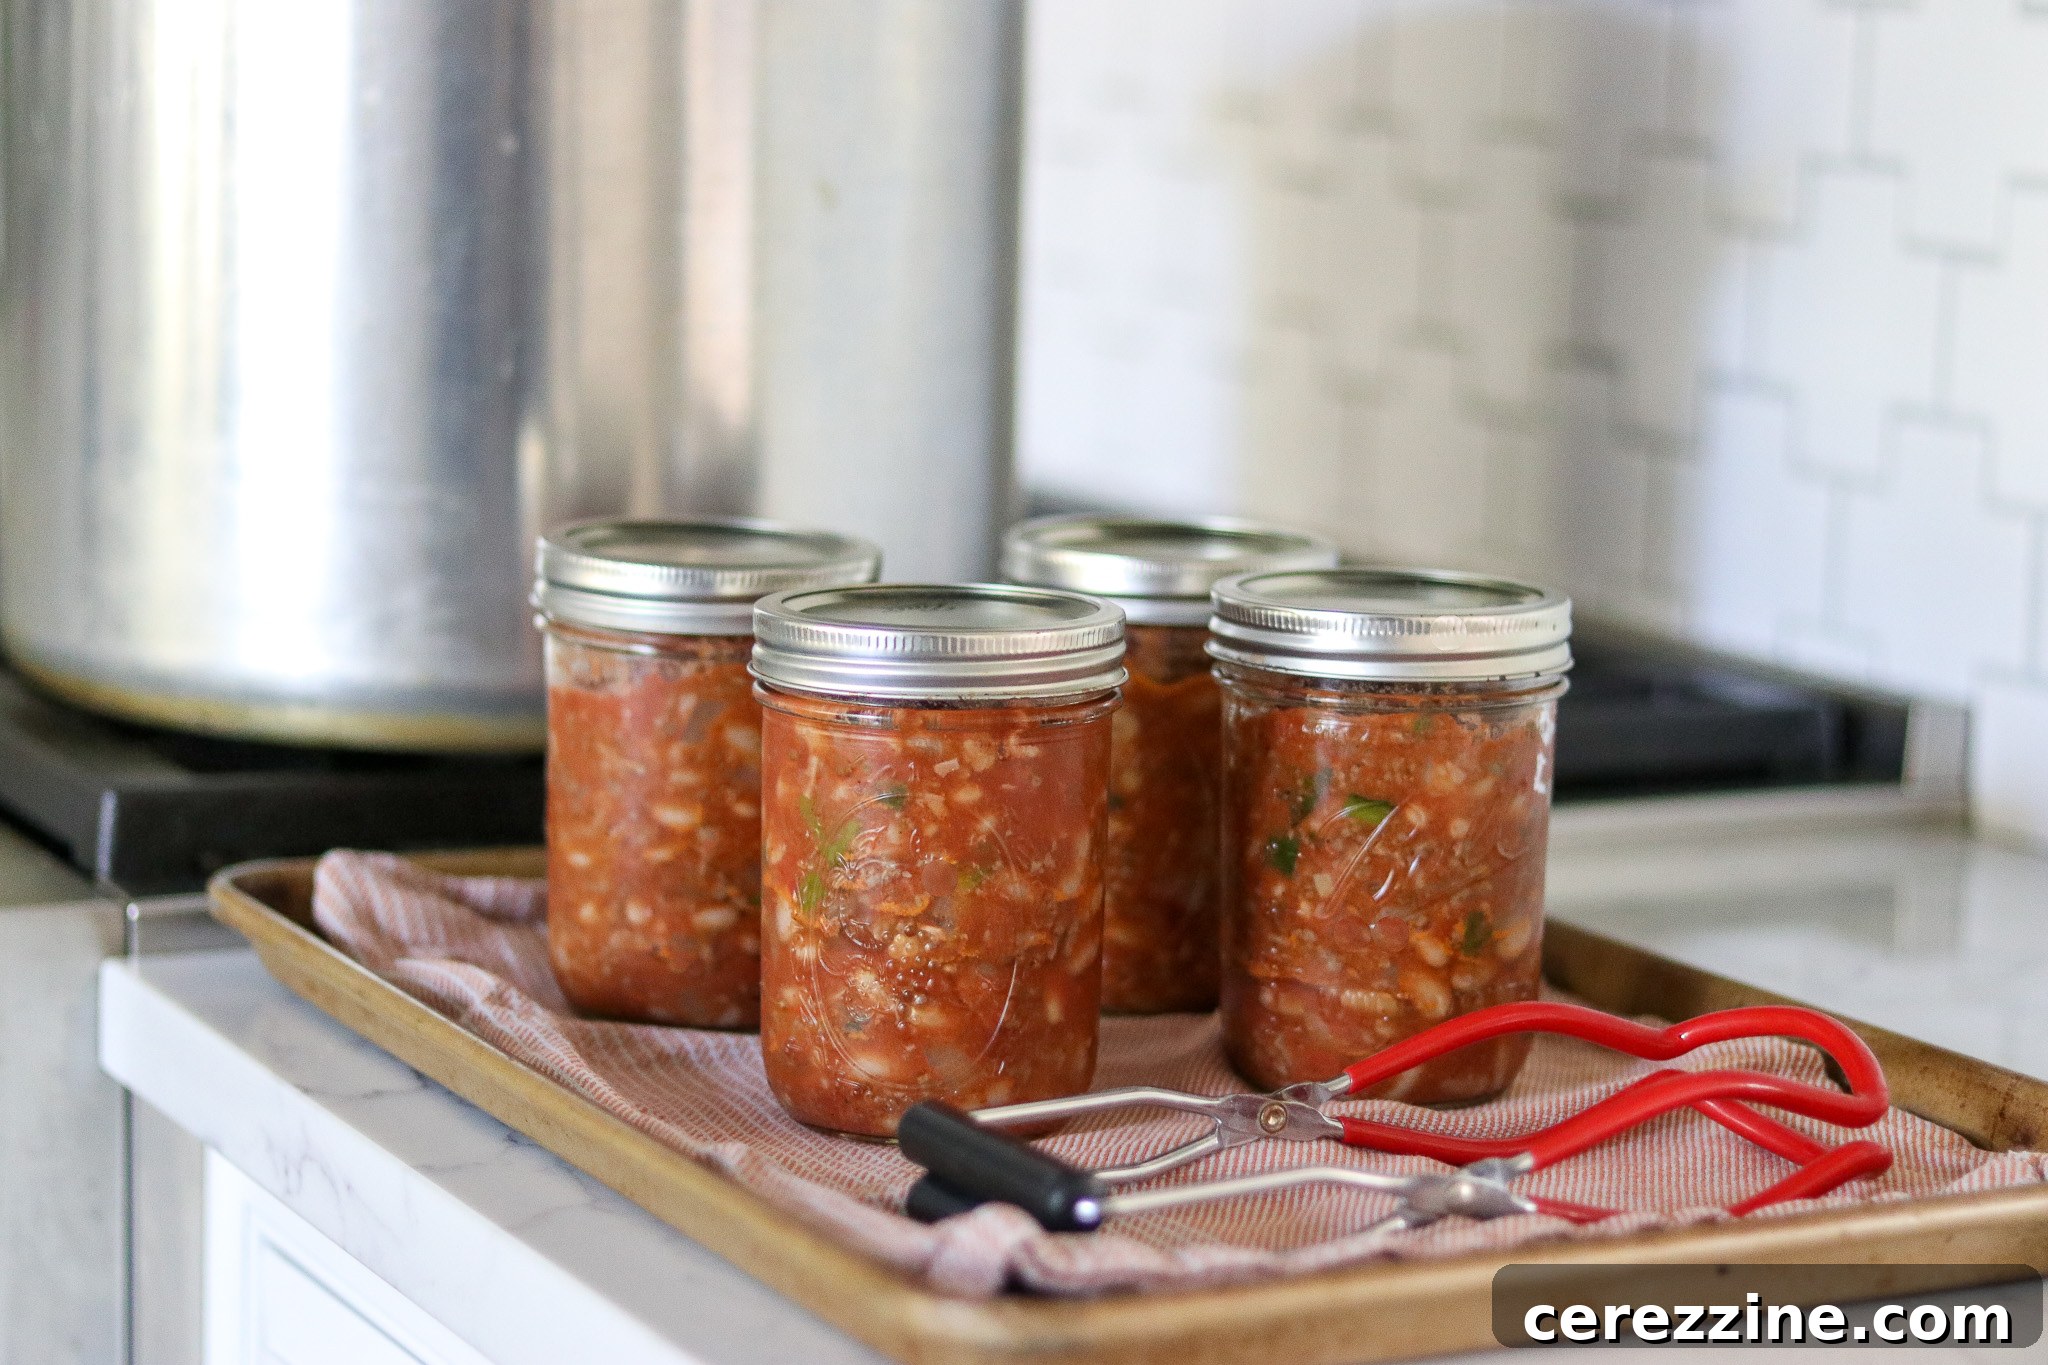
Chili con carne is a beloved, hearty dish, and preserving its rich flavors through pressure canning allows you to enjoy homemade goodness right from your pantry shelf, anytime inspiration strikes. This guide will walk you through the process of safely canning your own delicious chili con carne, ensuring convenience, economy, and the unparalleled taste of a meal made with care.
Canning homemade chili con carne is a remarkably smart way to stock your kitchen with wholesome, flavorful meals. Imagine the savory aroma of chili on a chilly evening, ready to be heated and served in minutes, without the need for extensive cooking. Beyond the sheer convenience, preserving your own chili offers significant economic benefits, allowing you to buy ingredients in bulk and avoid the higher costs and unknown additives of store-bought alternatives. Furthermore, crafting your chili from scratch means you have complete control over every ingredient, from the freshest herbs and spices to the quality of the meat and beans, tailoring the flavor profile precisely to your family’s preferences.
With its impressive shelf life, home-canned chili becomes an invaluable part of a well-stocked pantry, providing peace of mind and delicious meals for unexpected guests, busy weeknights, or even emergency preparedness. It’s more than just food storage; it’s an investment in your culinary independence and well-being.
Safety First: Pressure Canning Chili Con Carne
This comprehensive canning recipe for Chili con Carne has been rigorously developed and tested by the USDA, and it is a trusted method found in the USDA Complete Guide to Home Canning. Adhering to these tested guidelines is paramount for safety, especially when preserving low-acid foods like chili.
It is crucial to understand that chili con carne, containing low-acid ingredients such as beans, meat, and various vegetables (like peppers and onions), must be processed in a pressure canner. Due to its low acidity, it is not suitable for water bath canning. Water bath canning is only safe for high-acid foods. Pressure canning reaches temperatures high enough to destroy Clostridium botulinum spores, which can thrive in low-acid, anaerobic environments like sealed jars and produce a deadly toxin.
If you are new to the world of home pressure canning, we highly recommend consulting a reliable beginner’s guide to pressure canning before you begin. Understanding the basics of your equipment and the principles of safe canning practices is essential for successful and safe food preservation.
While many recipes offer processing times for both pint and quart jars, this specific USDA-tested recipe is currently only approved for pint-sized jars. Using quart jars for this chili recipe is not recommended, as the extended processing time required for larger jars has not been thoroughly tested for safety. Always follow the specified jar sizes to ensure proper heat penetration and food safety.
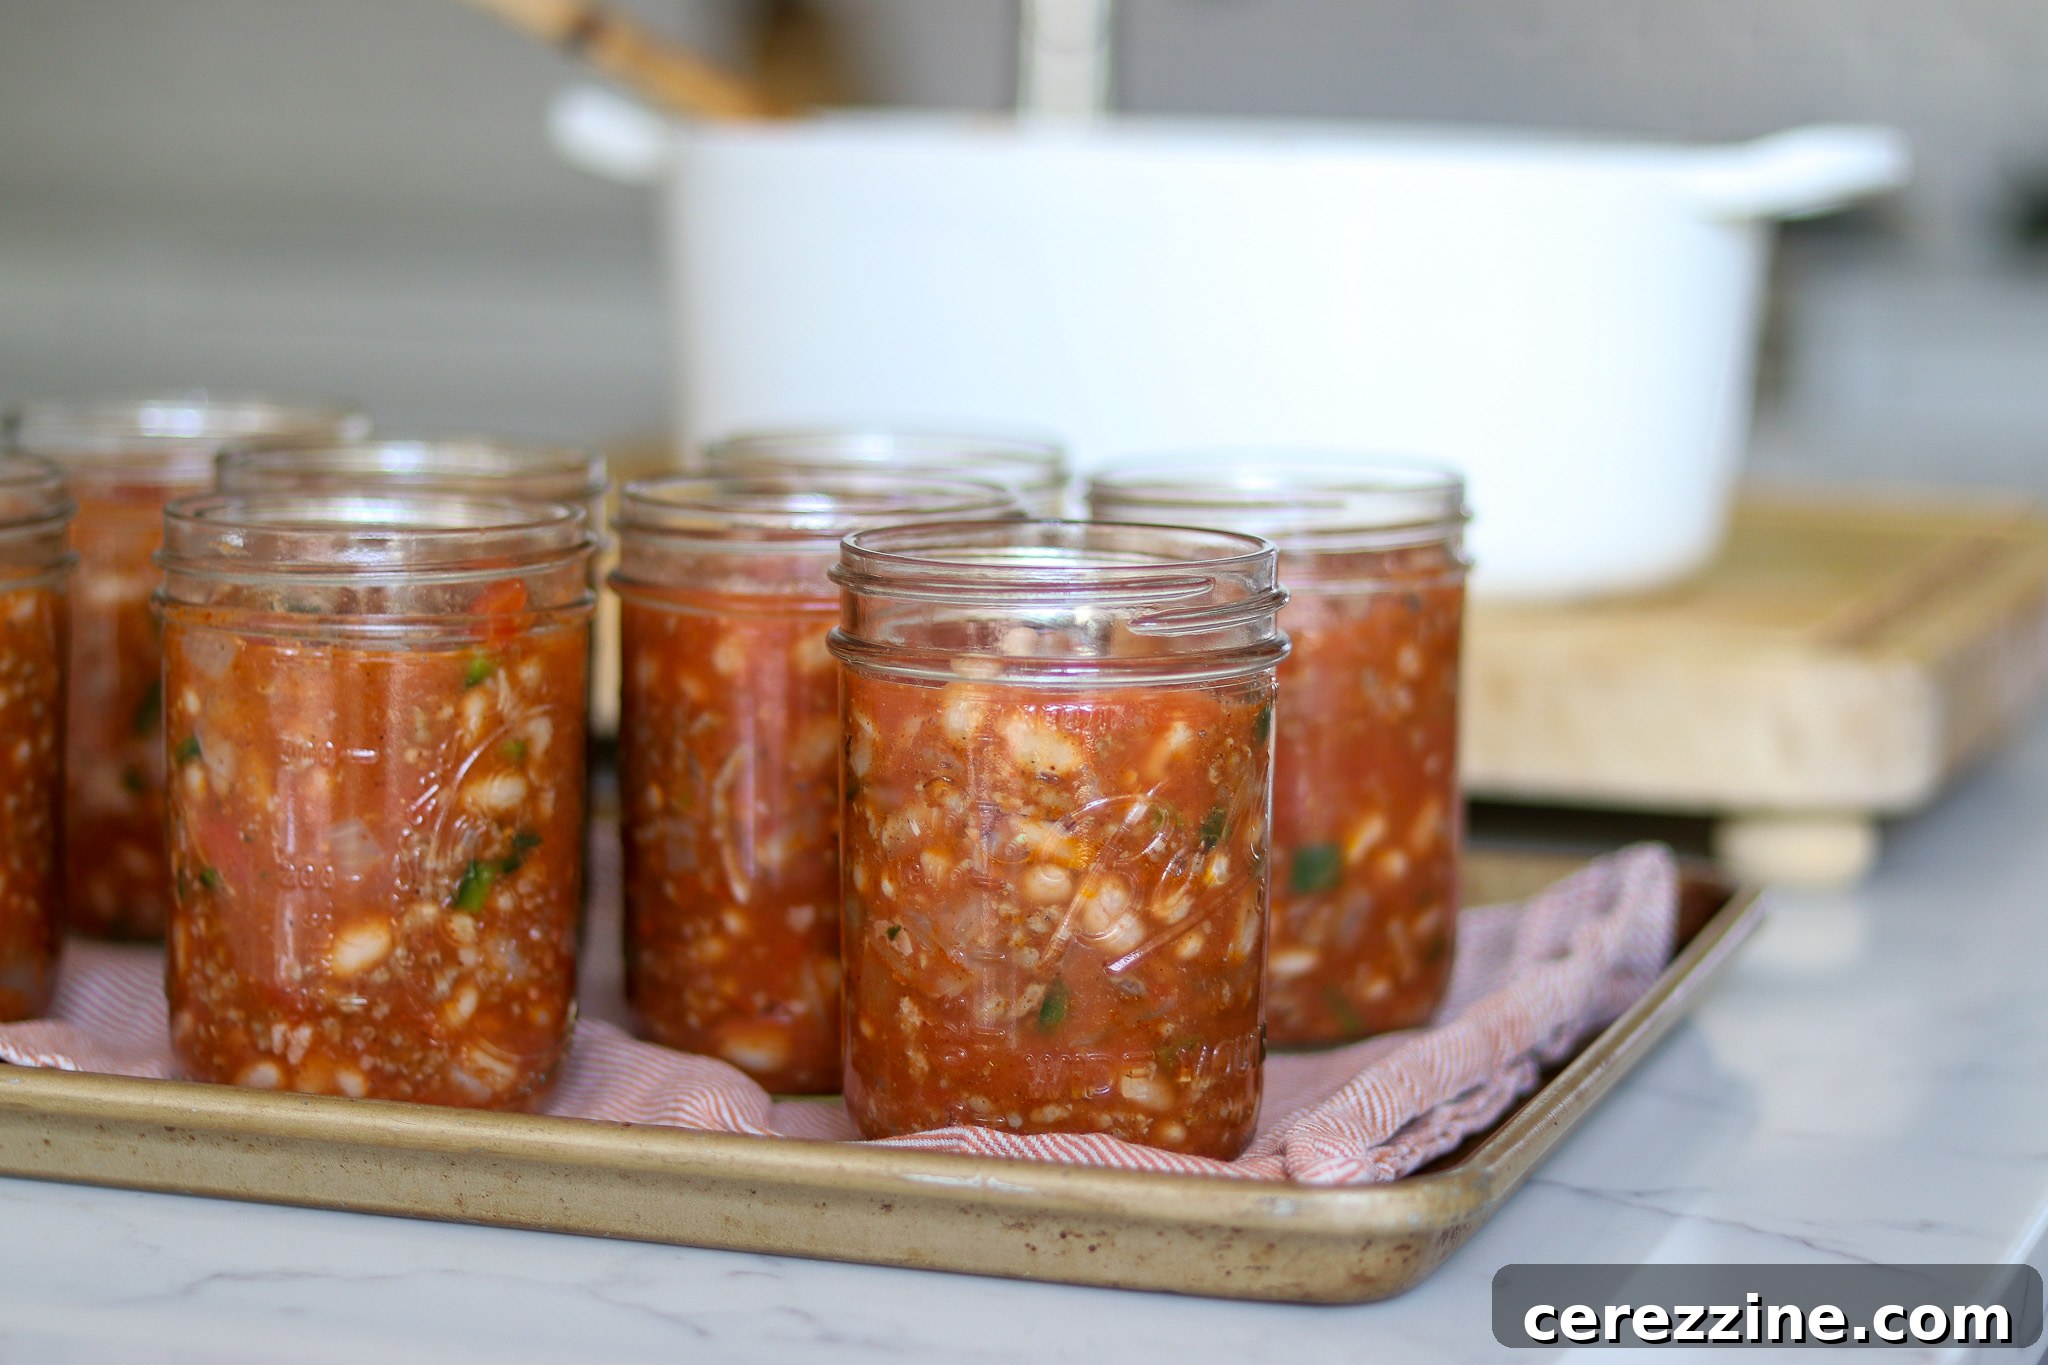
Ingredients for Your Homemade Chili Con Carne
Crafting a delicious batch of chili con carne for canning starts with quality ingredients. This recipe is designed to yield approximately 9 pints of chili, perfect for individual meals or small family servings. Here’s what you’ll need:
- 3 cups dried red kidney beans or pinto beans
- 3 lbs lean ground beef
- 1 ½ cups chopped onion
- 1 cup chopped peppers (optional, but highly recommended for flavor and texture)
- 2 quarts whole or crushed tomatoes
- 5 ½ cups of water
- 5 tsp salt (divided for different stages of preparation)
- 3-6 Tbsp chili powder (adjust to your heat preference)
- 1 tsp black pepper
Choosing Your Beans: The recipe suggests red kidney beans or pinto beans, both of which provide a classic chili texture and flavor. However, feel free to experiment with other varieties like black beans, white navy beans, or even chickpeas to customize your chili. Just ensure they are dried beans for proper pre-treatment.
Selecting Your Meat: While ground beef is the traditional choice for chili con carne, you can easily substitute it with ground venison, lamb, or pork. Opt for leaner cuts to minimize fat, which should be drained thoroughly during cooking to prevent safety issues and improve shelf stability during canning.
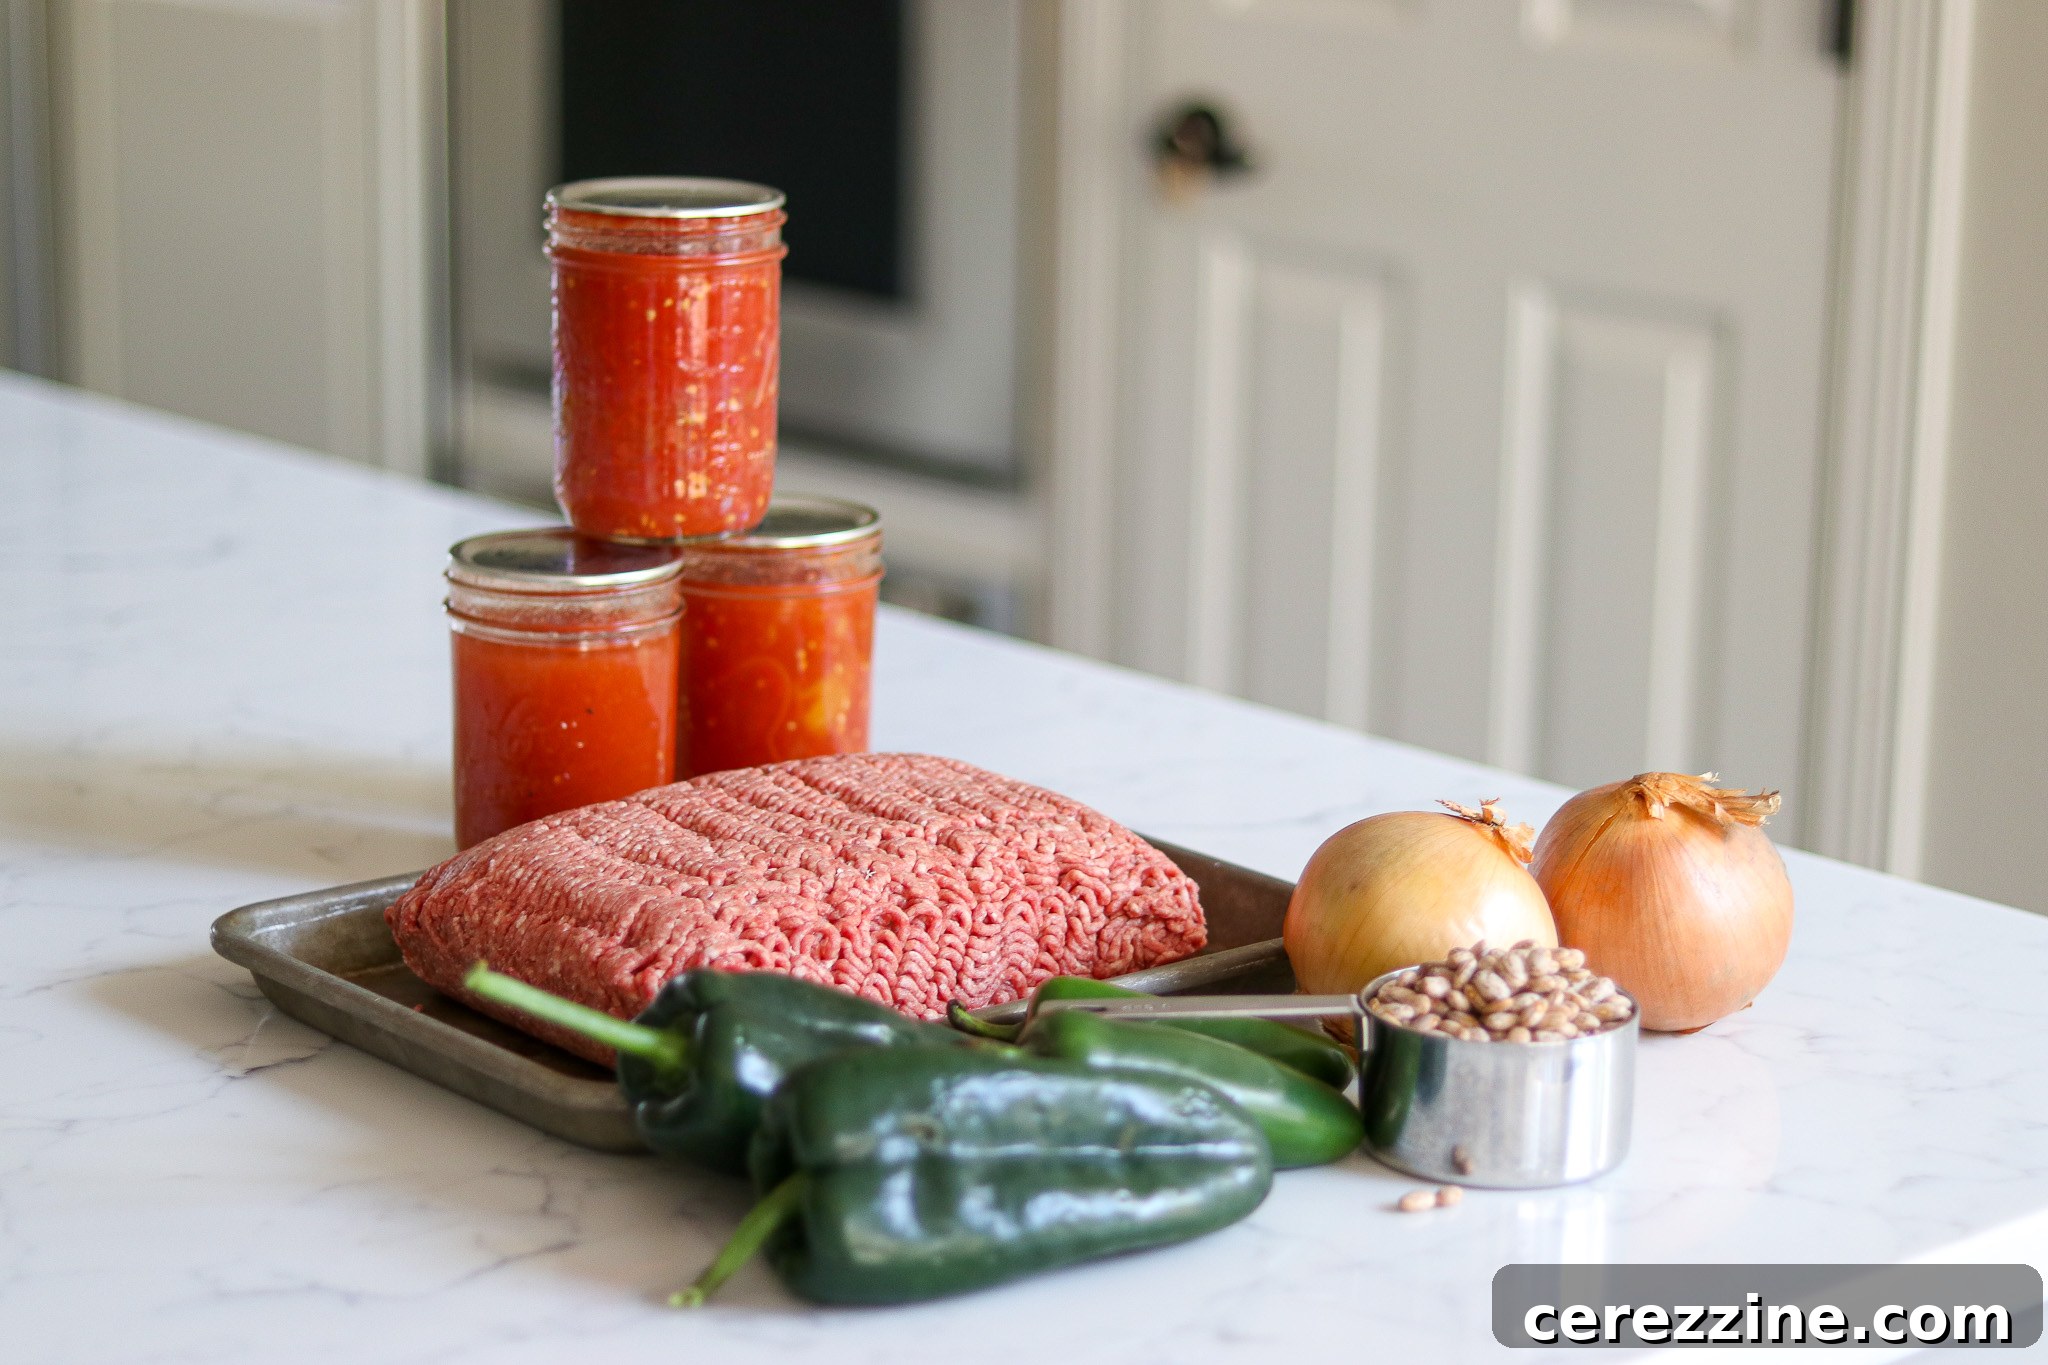
Adding Peppers for Flavor: The addition of peppers is optional, but they significantly enhance the chili’s depth and complexity. You can choose sweet peppers for a milder flavor or hot peppers like jalapeños, serranos, or poblanos for a spicier kick. A harmonious blend of poblano and jalapeño chilis often strikes a perfect balance, adding warmth without overwhelming heat. For a unique regional twist, incorporating hatch green chilis can impart a wonderfully distinct smoky flavor.
Spice Level Control: The recipe allows for three to six tablespoons of chili powder, giving you full control over the spice intensity. Use the higher end of the range for a robust, spicier chili, or stick to three tablespoons for a milder, family-friendly version. Remember, you can always add more heat when serving, but it’s hard to take it away once canned!
Step-by-Step Guide to Canning Chili Con Carne
Preparing the Beans: Soaking and Pre-cooking
Proper bean preparation is a critical step for safe and successful chili canning. It ensures the beans absorb enough moisture to prevent them from expanding too much in the jars, which could lead to jar breakage and unsafe seals.
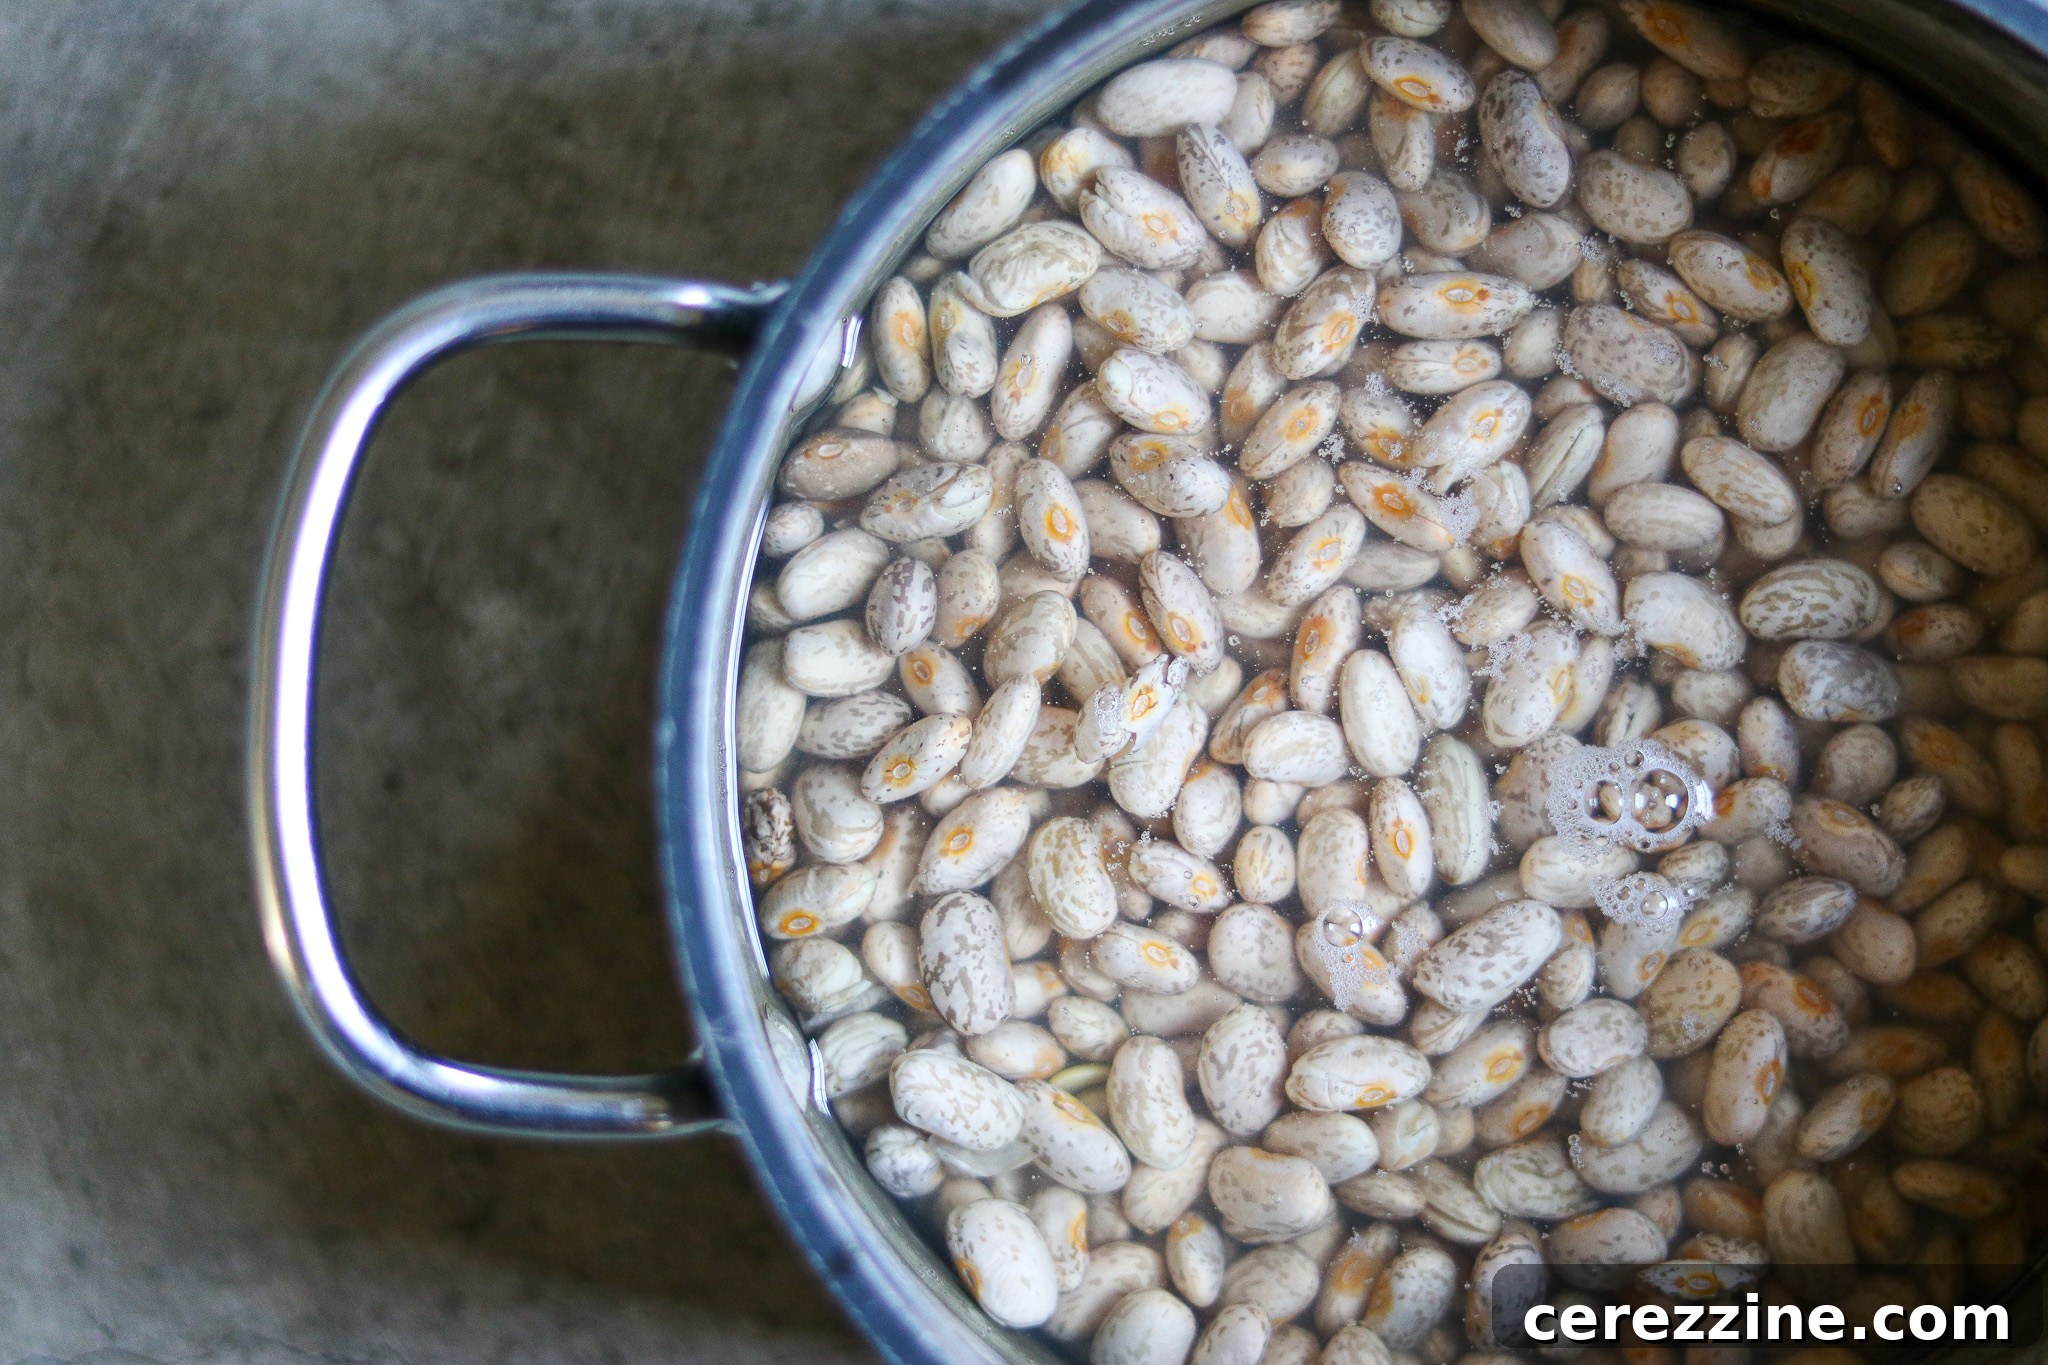
- Initial Soak: Begin by thoroughly washing your dried beans. Place them in a large saucepan (at least two-quart capacity) and cover them with cold water, ensuring the water level is about three inches above the beans. Allow them to soak for 12 to 18 hours. This slow hydration helps the beans soften evenly.
- Quick Soak Method (Alternative): If you’re short on time, you can use the quick soak method. Place the washed beans in a pot with ample water and bring them to a rolling boil on the stove. Boil vigorously for 1 minute, then turn off the heat and let the beans stand in the hot water for an hour.
- Drain and Refresh: Regardless of the soaking method used, drain and discard the soaking water. This removes indigestible sugars that can cause gas.
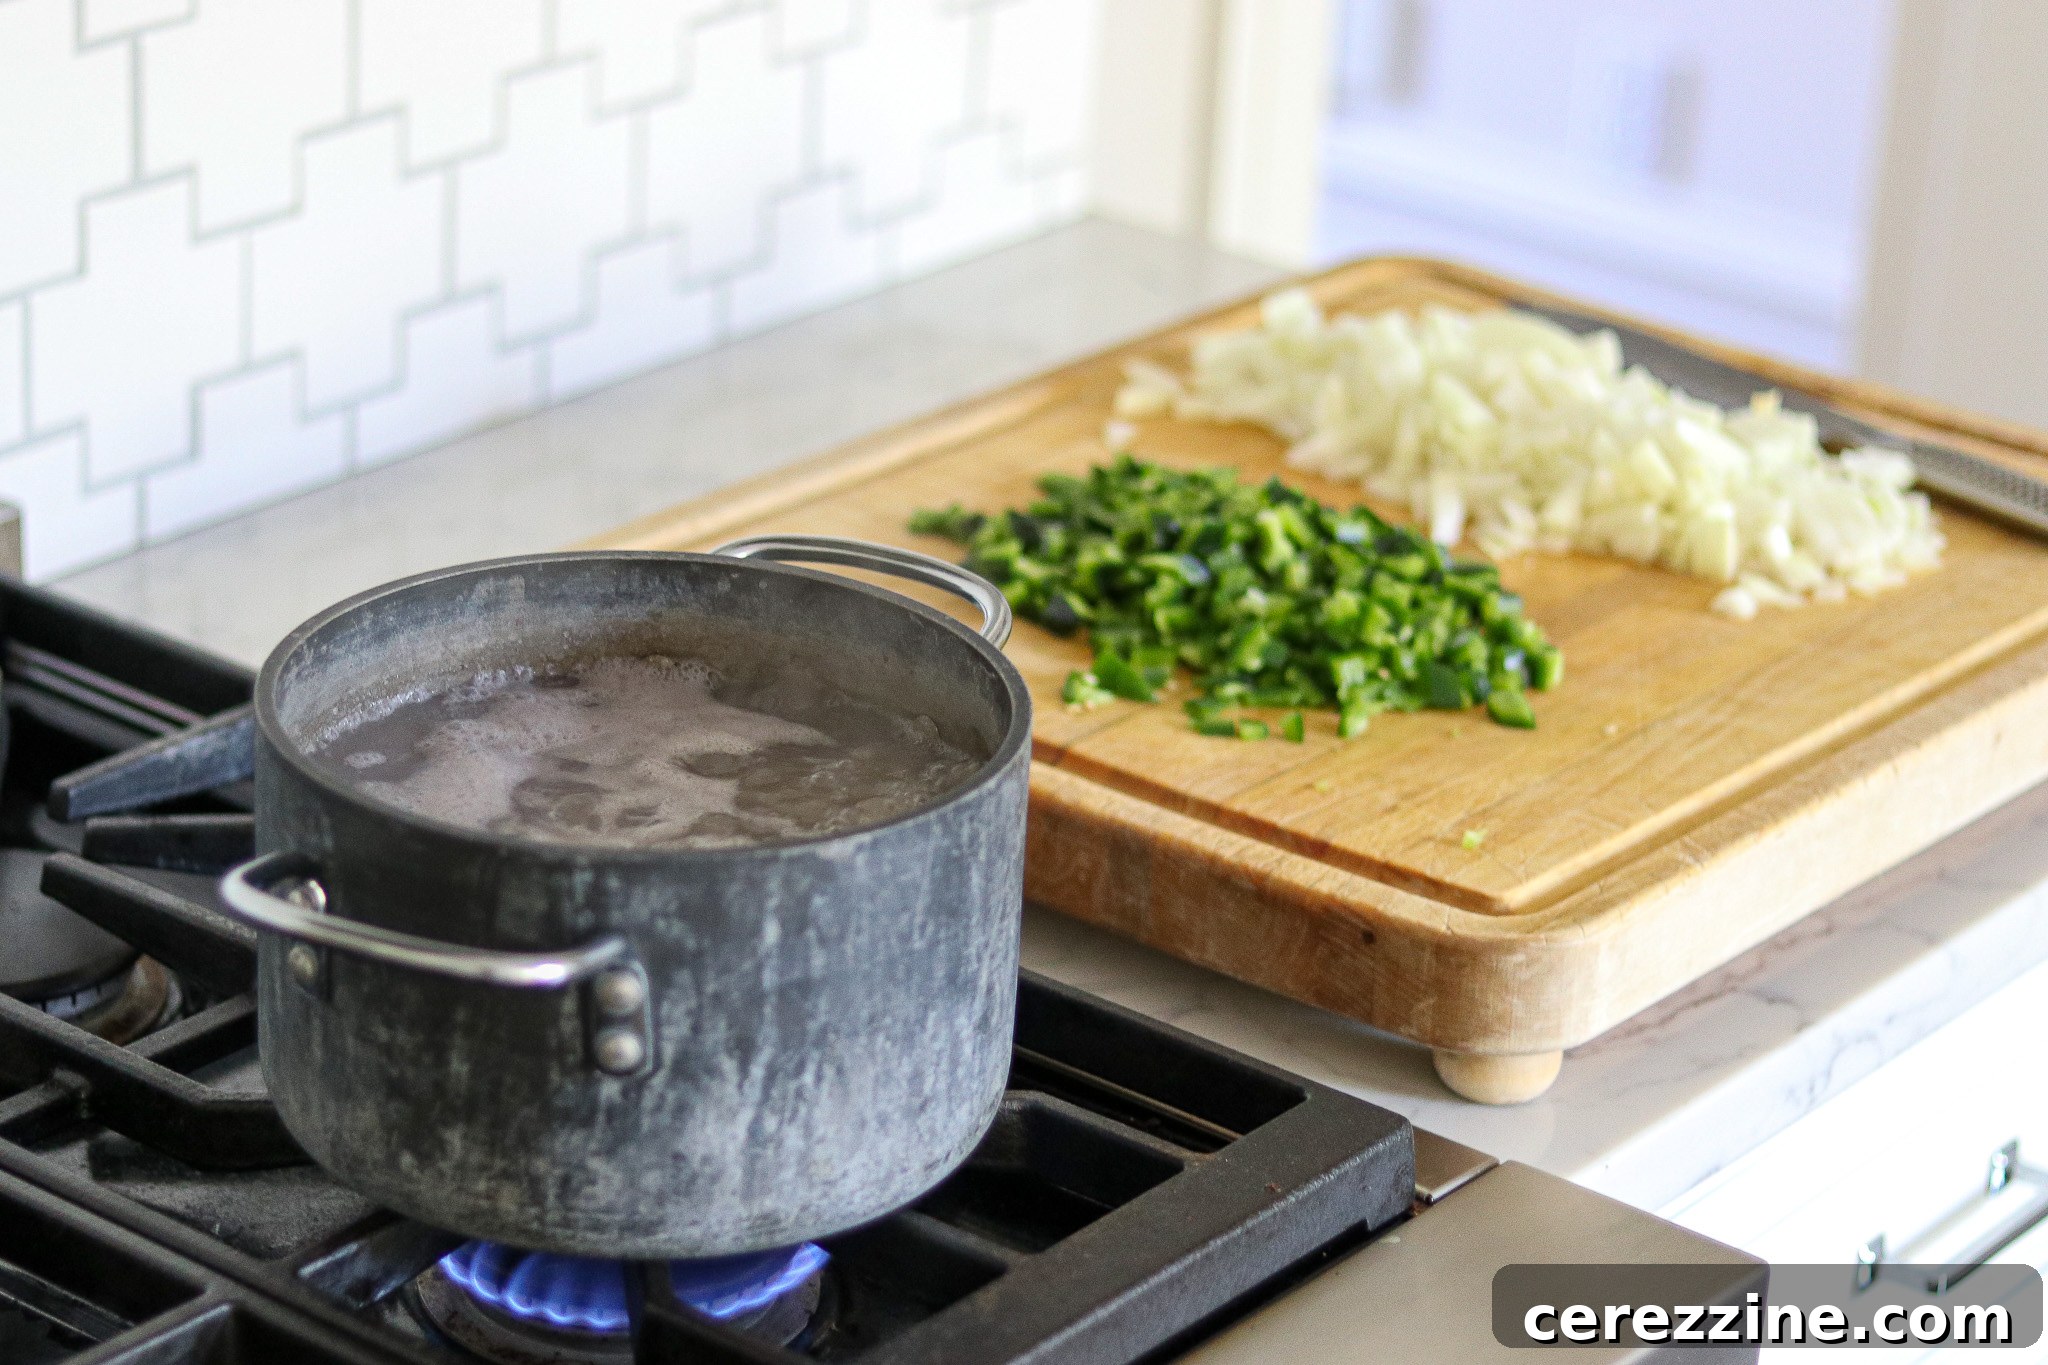
- Pre-Cook the Beans: Combine the drained beans with 5 ½ cups of fresh water and two teaspoons of salt. Bring the mixture to a boil, then reduce the heat and simmer gently for 30 minutes. This pre-cooking step is vital; it ensures the beans are adequately hydrated and partially cooked, preventing them from expanding too much during the pressure canning process and potentially cracking your jars. Once simmered, drain the beans again and discard the water.
Preparing Your Canner and Jars
While the beans are pre-cooking, prepare your pressure canner and canning supplies according to the manufacturer’s instructions. For most pressure canners, this involves placing the bottom trivet inside, adding 2-3 inches of water, and bringing the water to a gentle simmer (around 180°F) for hot pack canning. Also, ensure you have 9 clean pint jars, new two-part canning lids, and bands ready.
Cooking the Chili Base
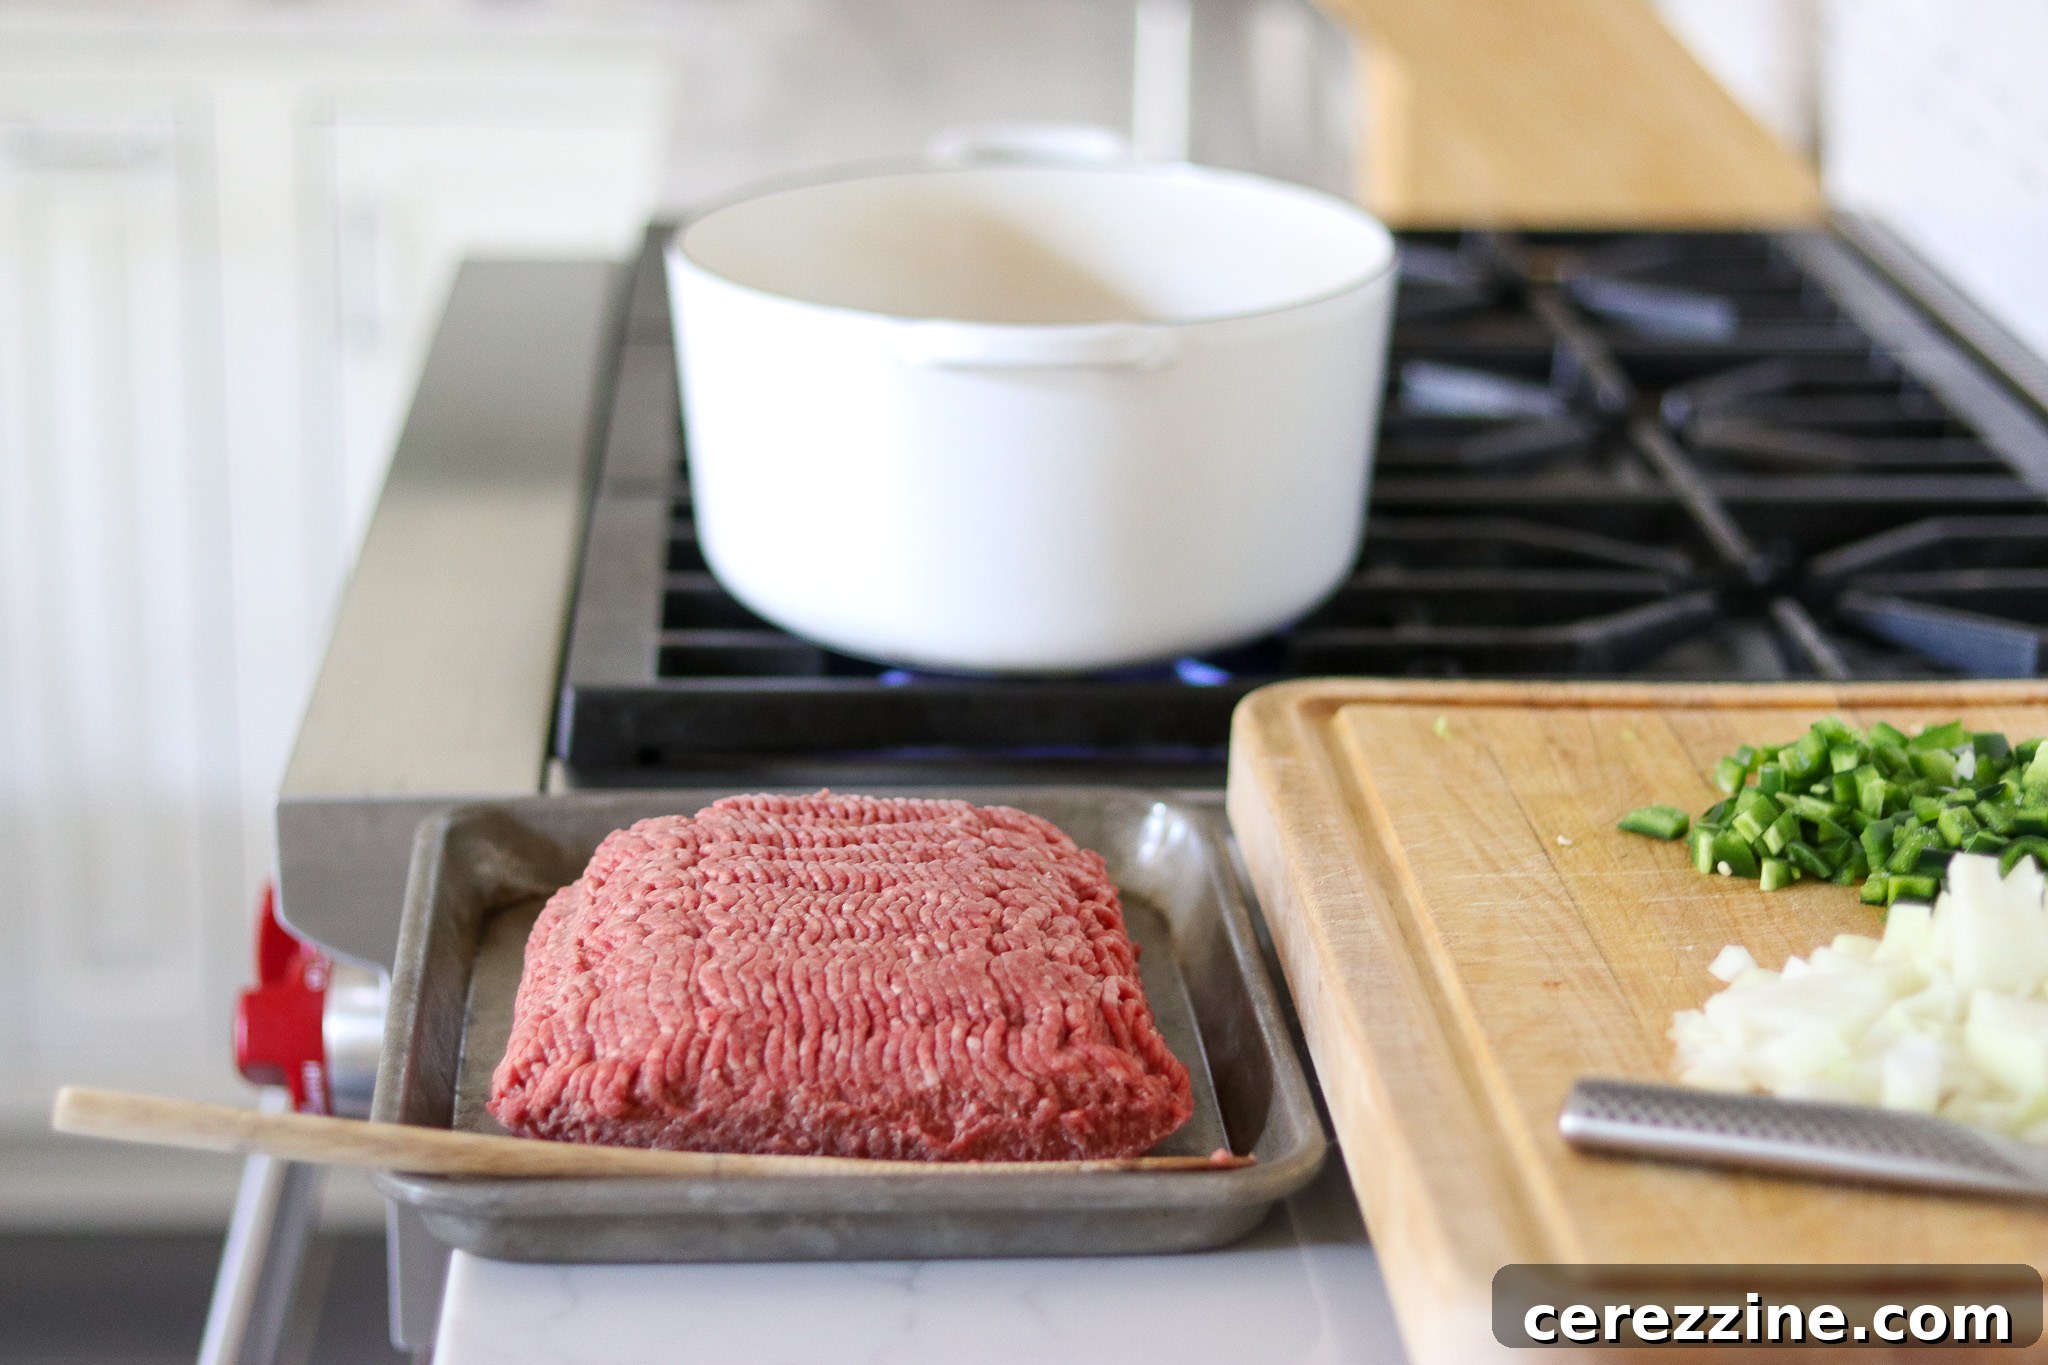
- Brown the Beef: In a large pan, brown the ground beef thoroughly. This step is essential for developing flavor.
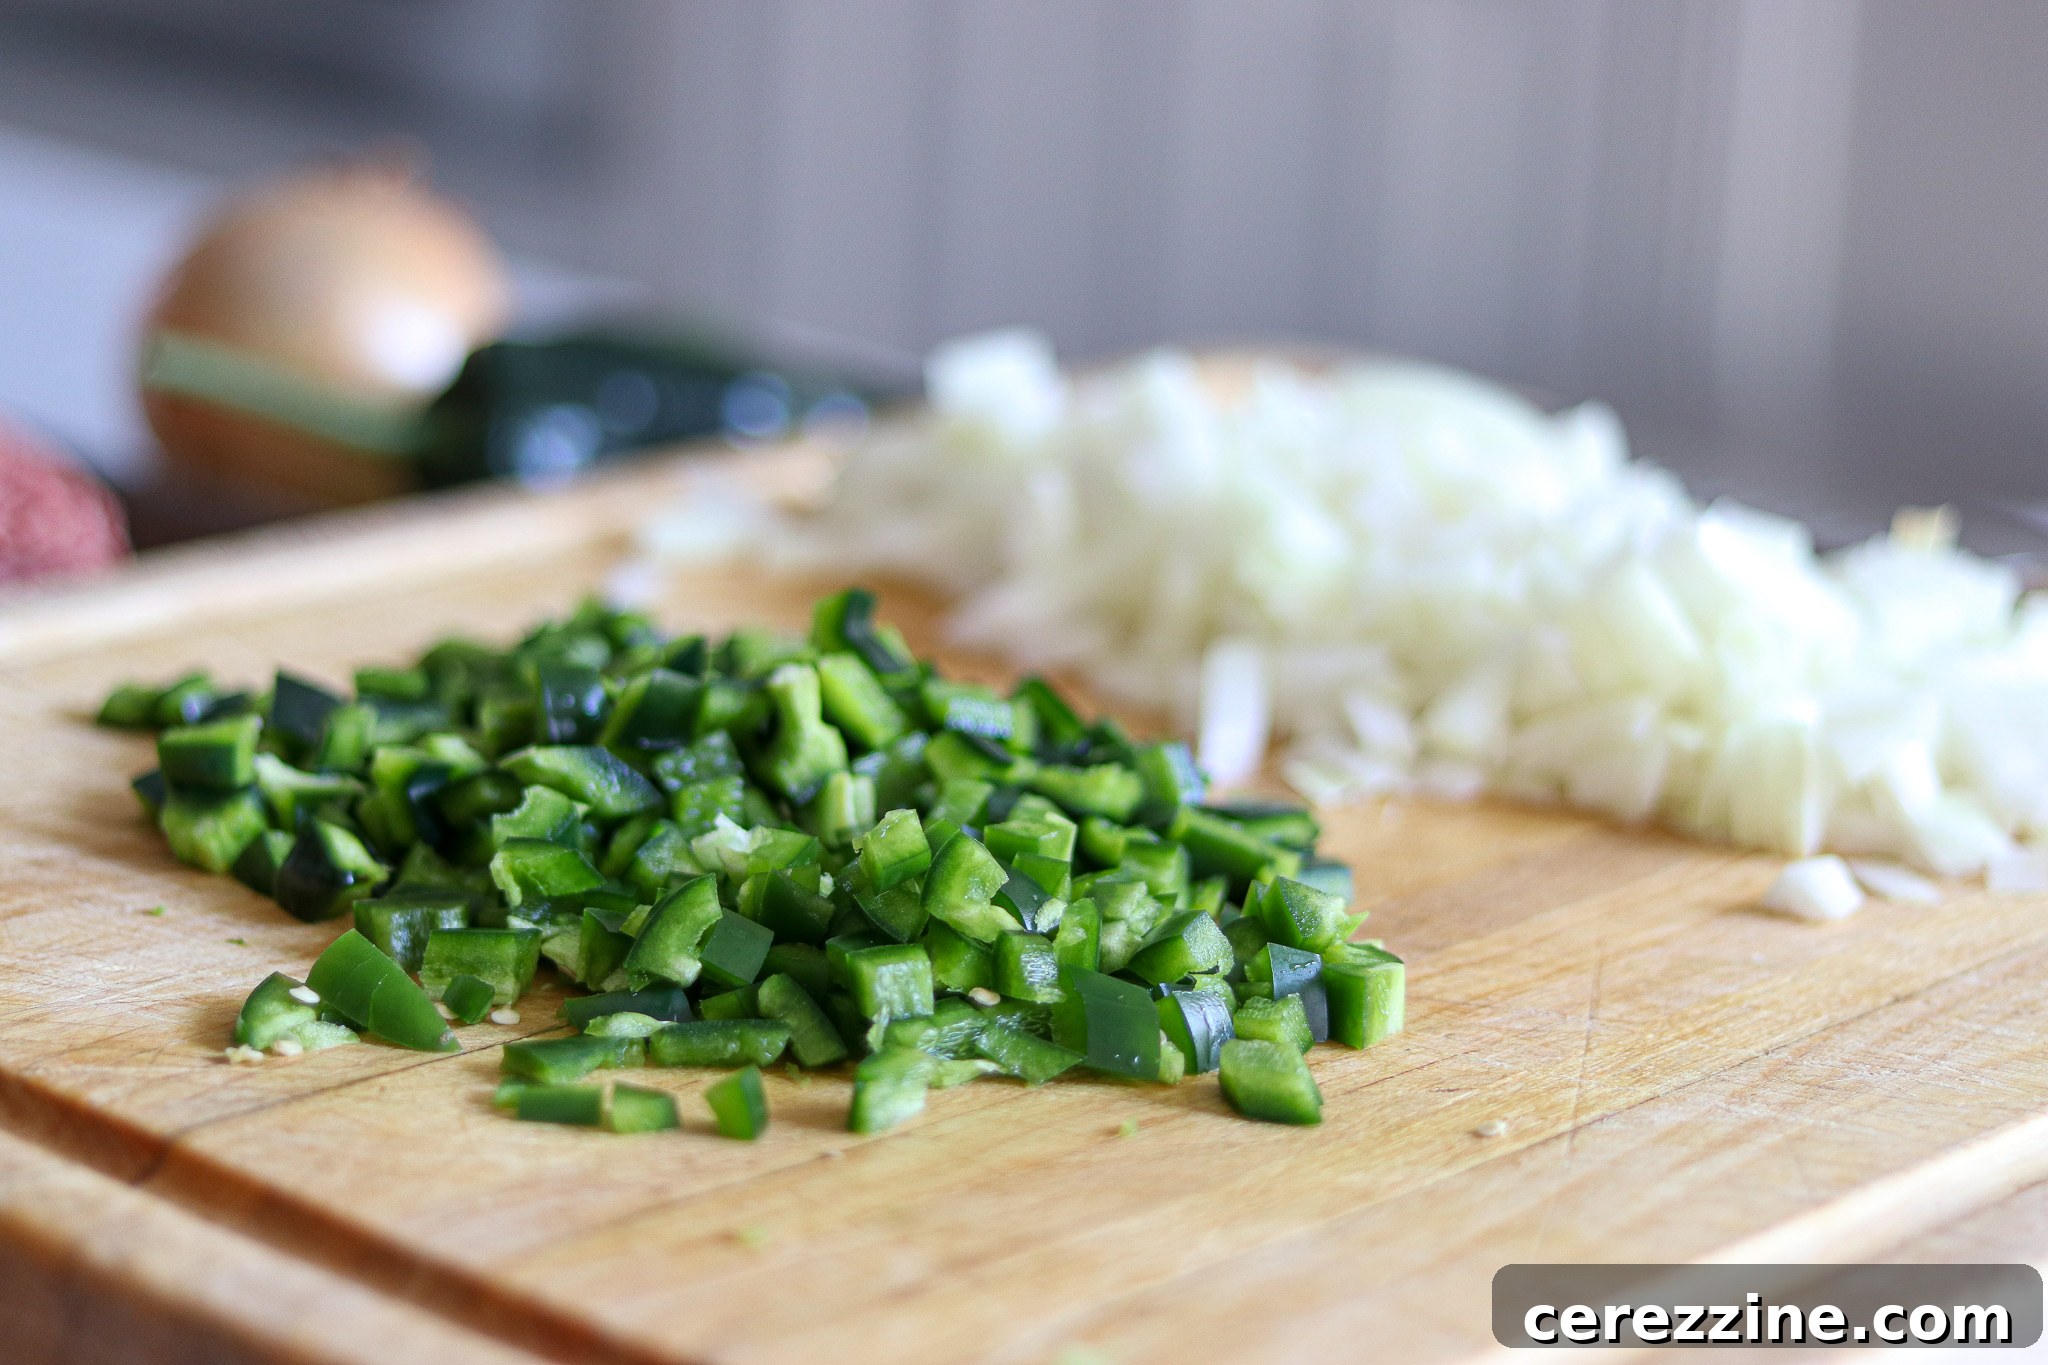
- Sauté Aromatics: Once the meat is browned, add the chopped peppers (if using) and onions to the pan. Sauté until the vegetables are softened and fragrant.
- Drain Fat: Carefully drain off any excess fat from the meat and vegetable mixture. Removing excess fat is crucial for both food safety and the quality of your home-canned product, as fat can interfere with sealing and can go rancid over time.
- Combine Ingredients: Add the remaining three teaspoons of salt, black pepper, chili powder, tomatoes (whole or crushed), and the pre-cooked, drained beans to the pan. Stir everything together to combine evenly.
- Simmer Briefly: Bring the chili mixture to a gentle simmer and cook for five minutes. This allows the flavors to meld and ensures the ingredients are hot for hot pack canning.
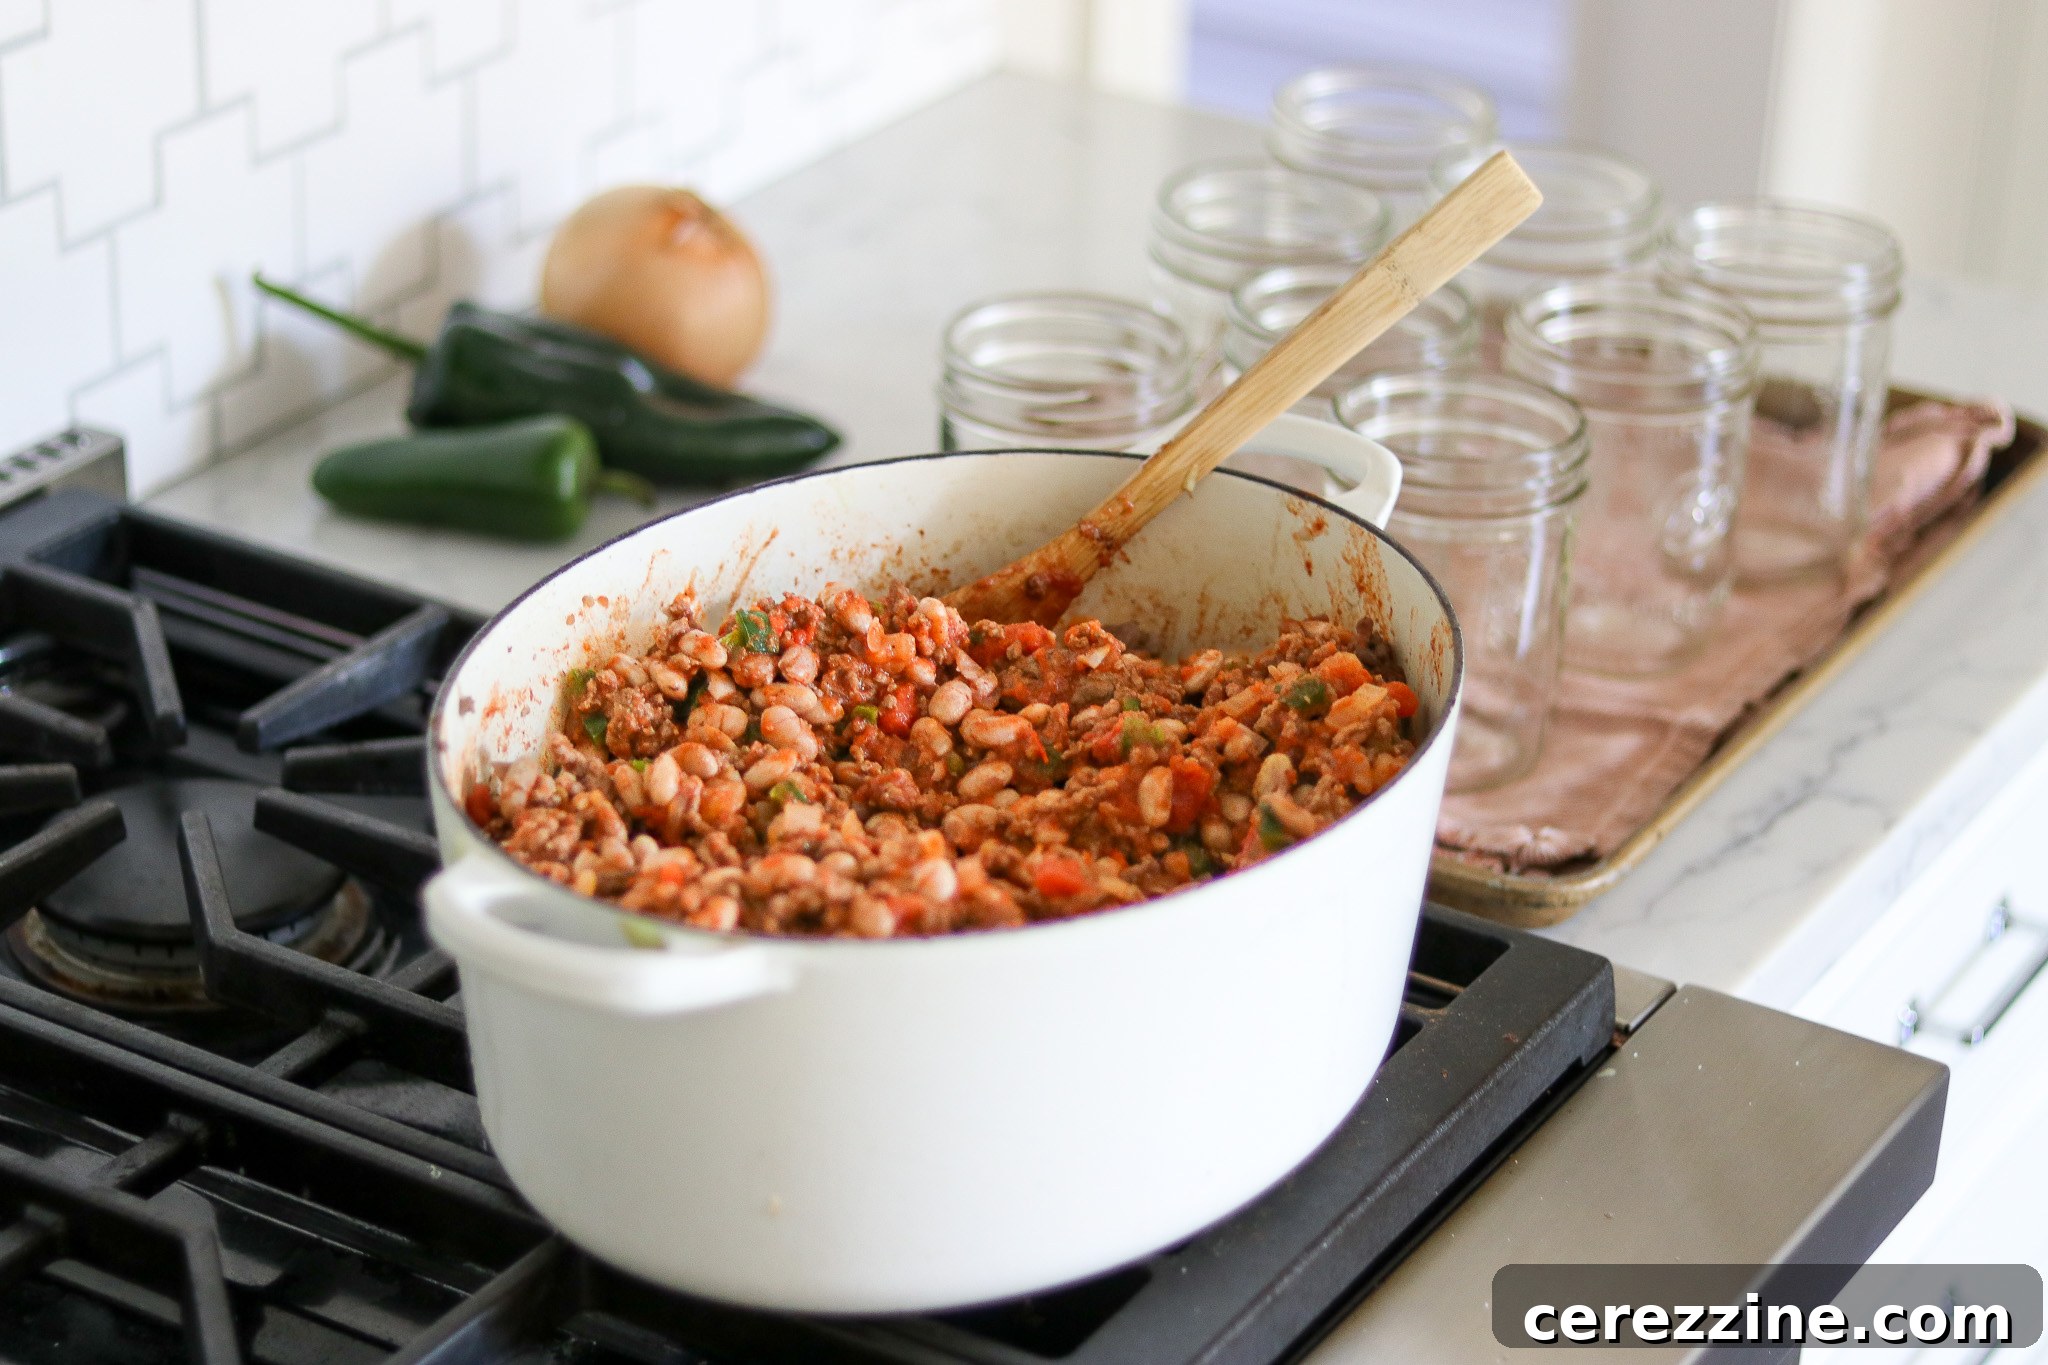
Important Note on Thickness: At this stage, your chili might appear thinner than you’d typically prefer for serving. Resist the urge to thicken it with flour, cornstarch, or other thickeners before canning. Adding thickeners can interfere with proper heat penetration during pressure canning, making the recipe unsafe. If you desire a thicker chili, you can always add thickeners like cornstarch slurry or flour after opening the jar and reheating, just before serving.
Filling the Jars
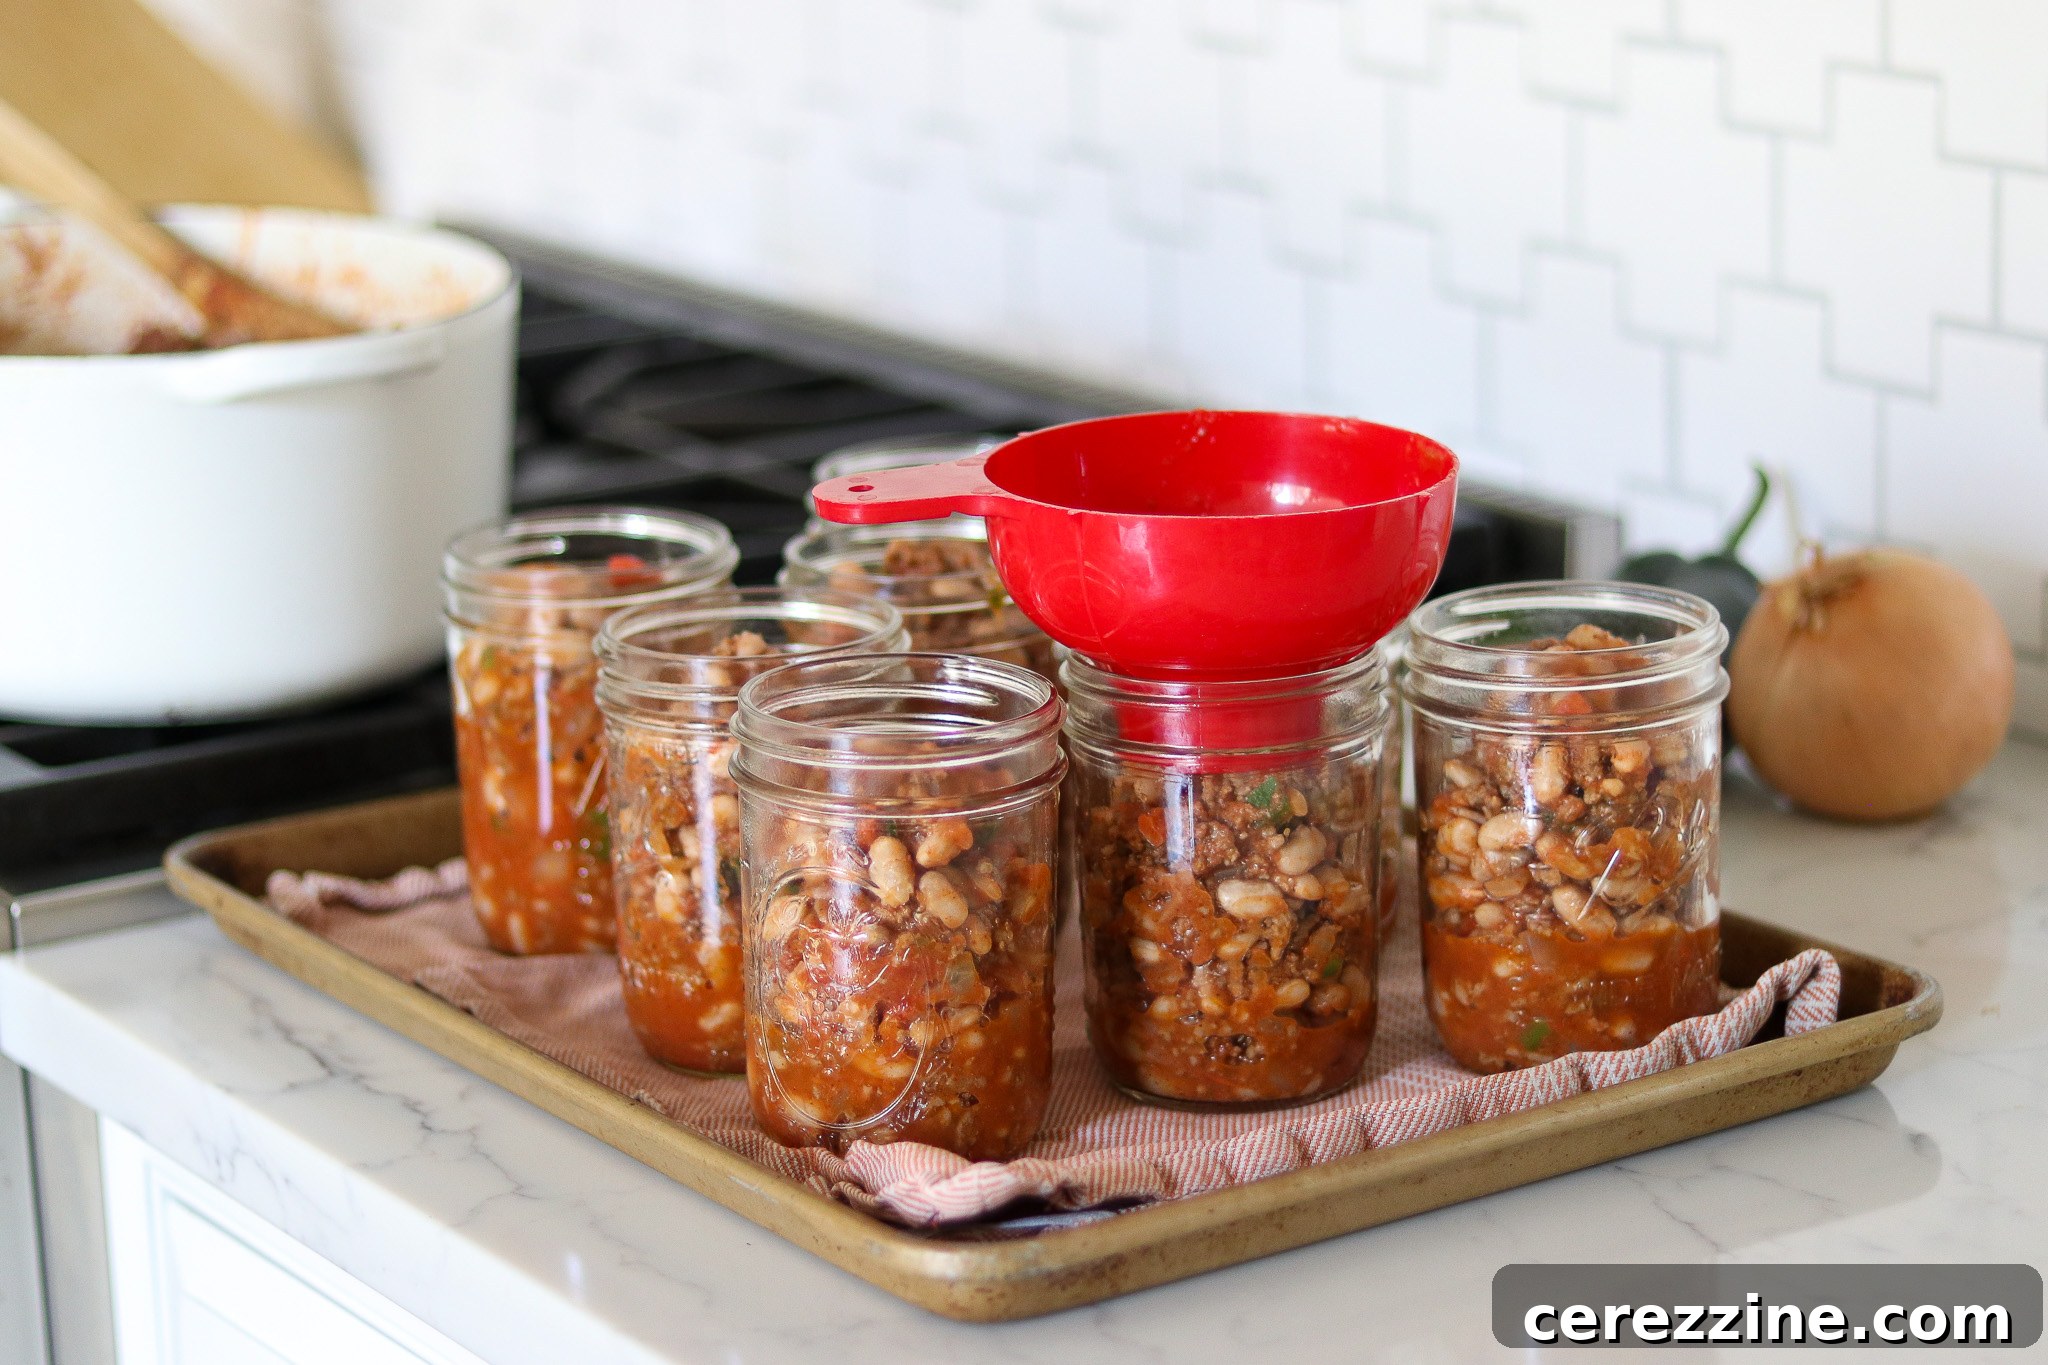
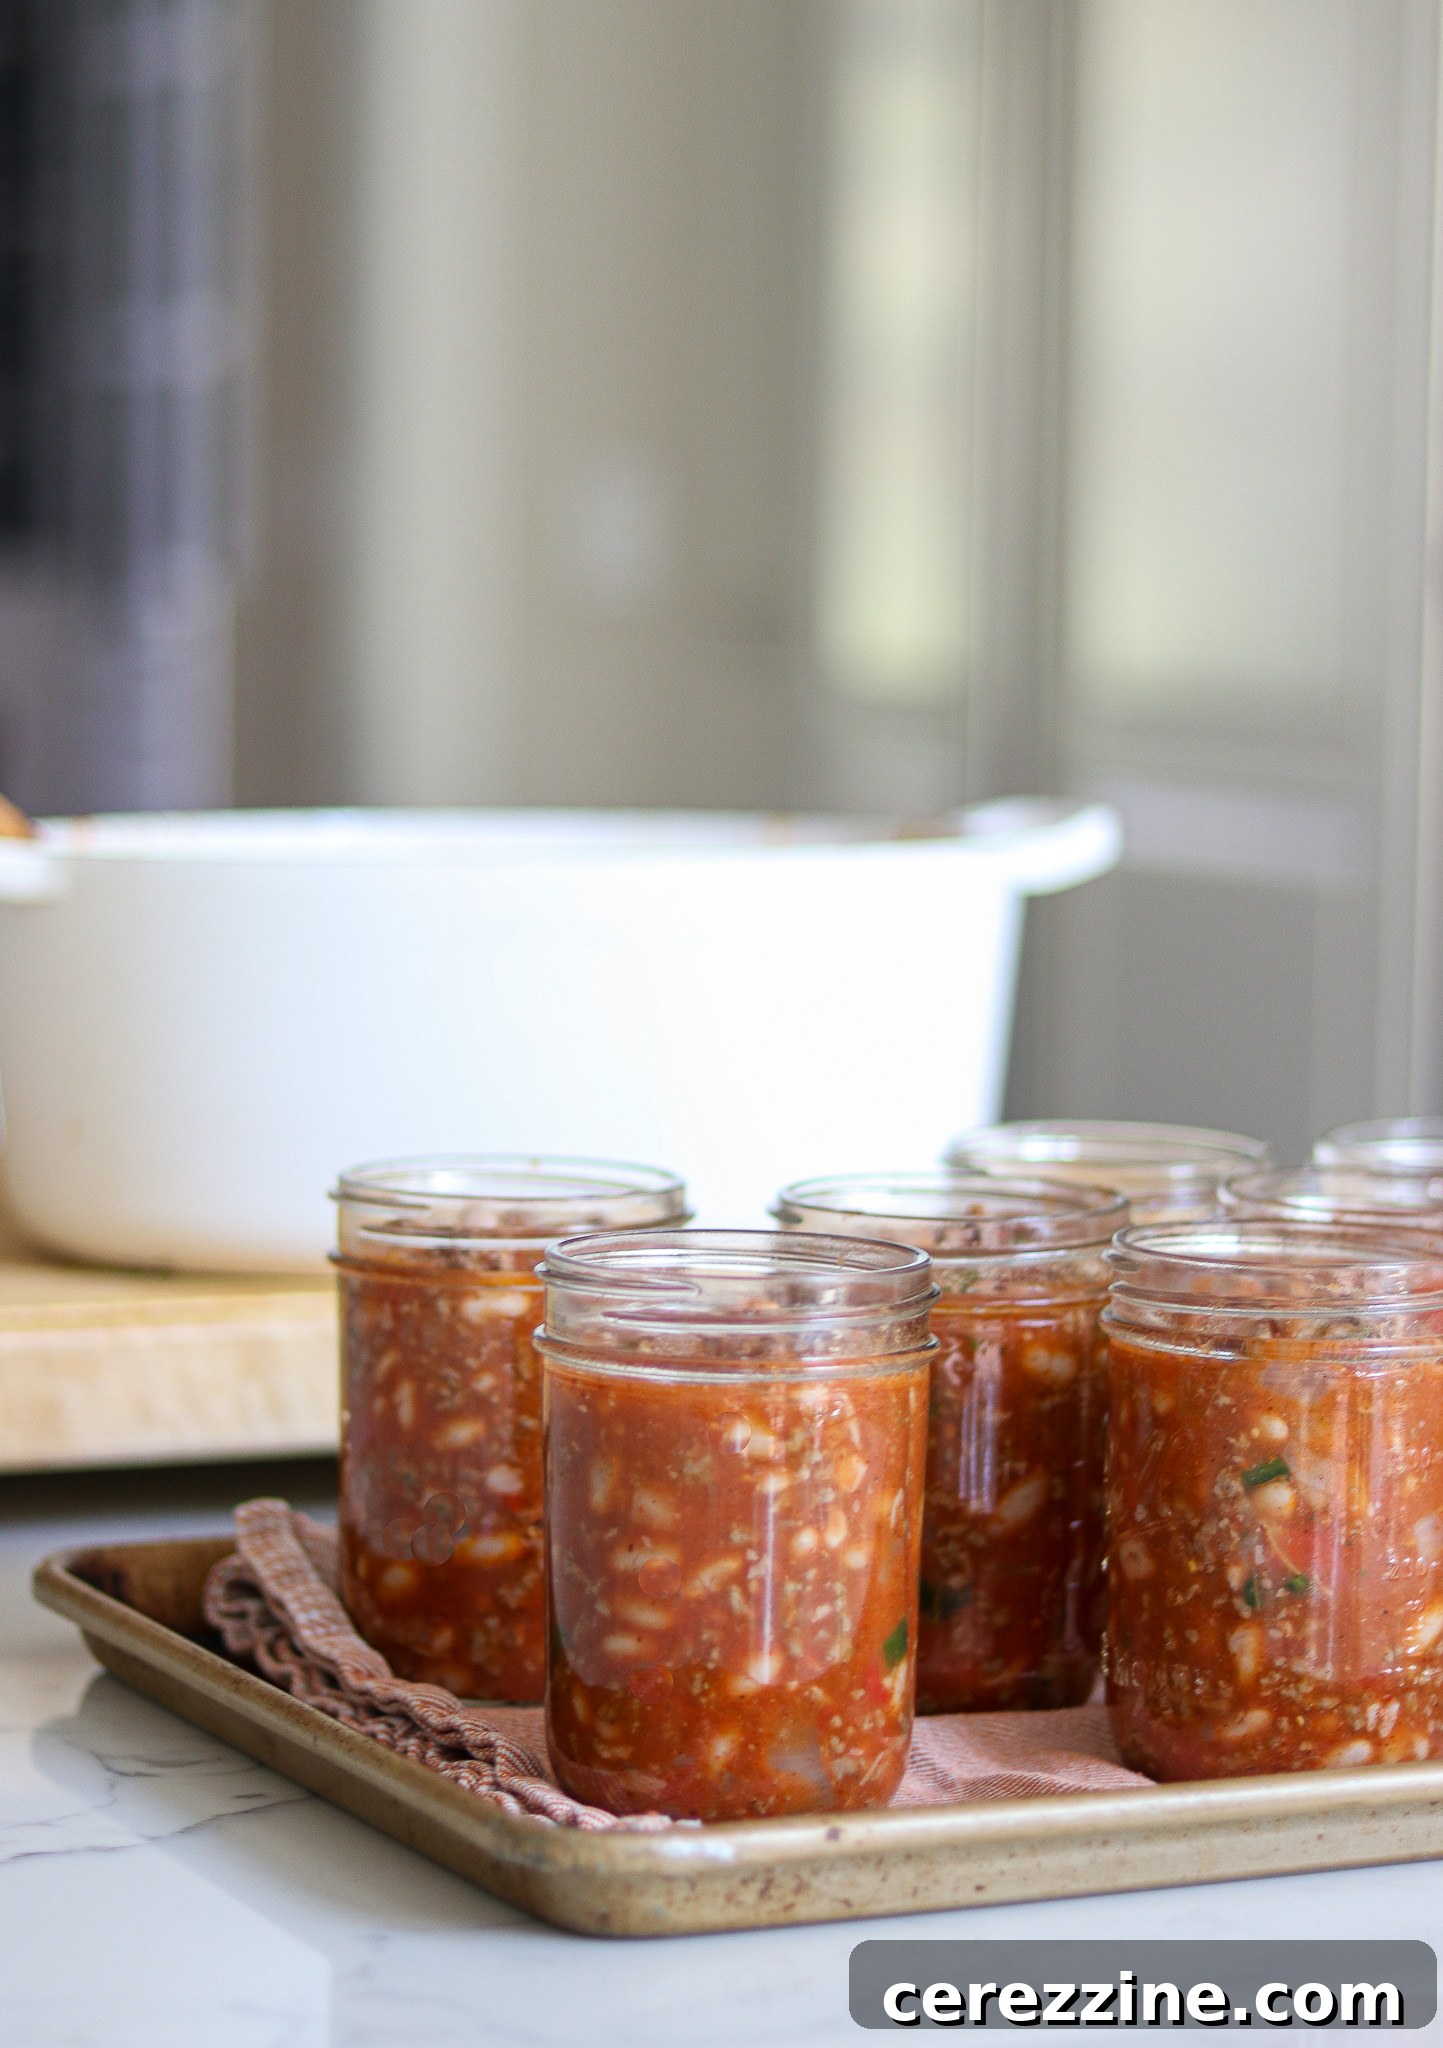
- Distribute Solids: Carefully fill each hot, sterilized pint jar with the prepared chili. Start by using a slotted spoon to evenly distribute the solid ingredients (meat, beans, peppers, onions) among all 9 jars. This ensures that each jar has a balanced mix of ingredients and helps with even heat distribution during processing.
- Add Liquid: Once the solids are distributed, top each jar with the simmering liquid from the chili pot. The recipe is designed to yield enough chili for 9 pints. If, for any reason, you find yourself slightly short on liquid to achieve the proper headspace, add boiling water to fill the jars to the correct level.
- Check Headspace: After filling, carefully check the headspace in each jar. You should aim for exactly 1 inch of headspace (the empty space between the food surface and the rim of the jar).
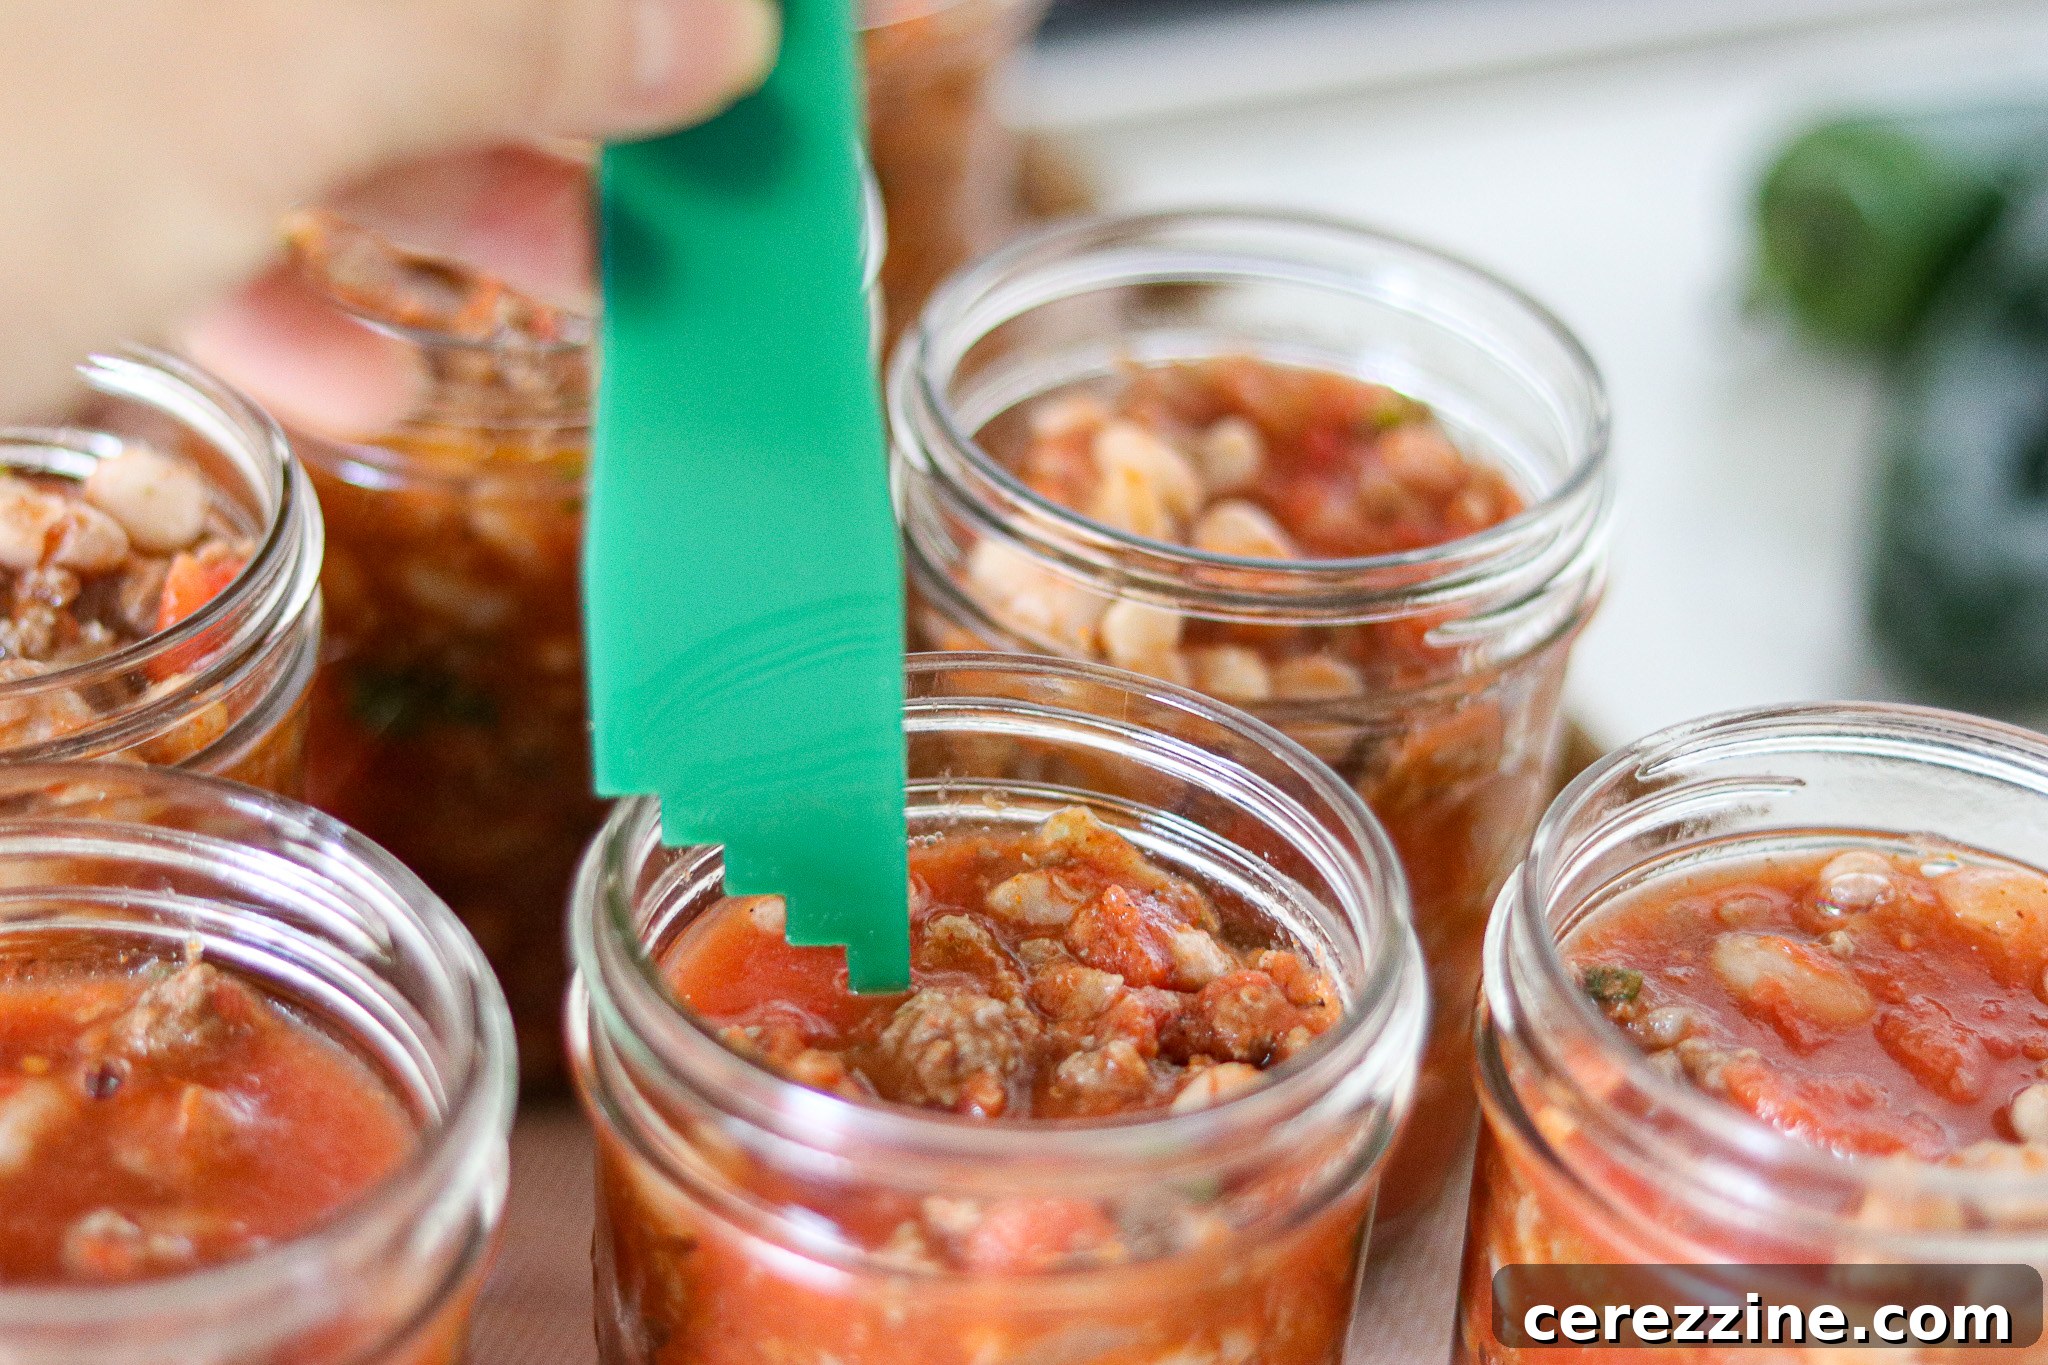
- De-bubble: Use a non-metallic de-bubbling tool (or a plastic knife/chopstick) to remove any trapped air bubbles from the jars. Gently slide the tool along the inside perimeter of the jar, allowing air to escape. Re-check the headspace after de-bubbling and adjust by adding more liquid if necessary to maintain the 1-inch headspace.
Sealing and Processing
- Clean Rims: Wipe the rims of each jar thoroughly with a clean, damp cloth to remove any food particles. Even a tiny speck of food can prevent a proper seal.
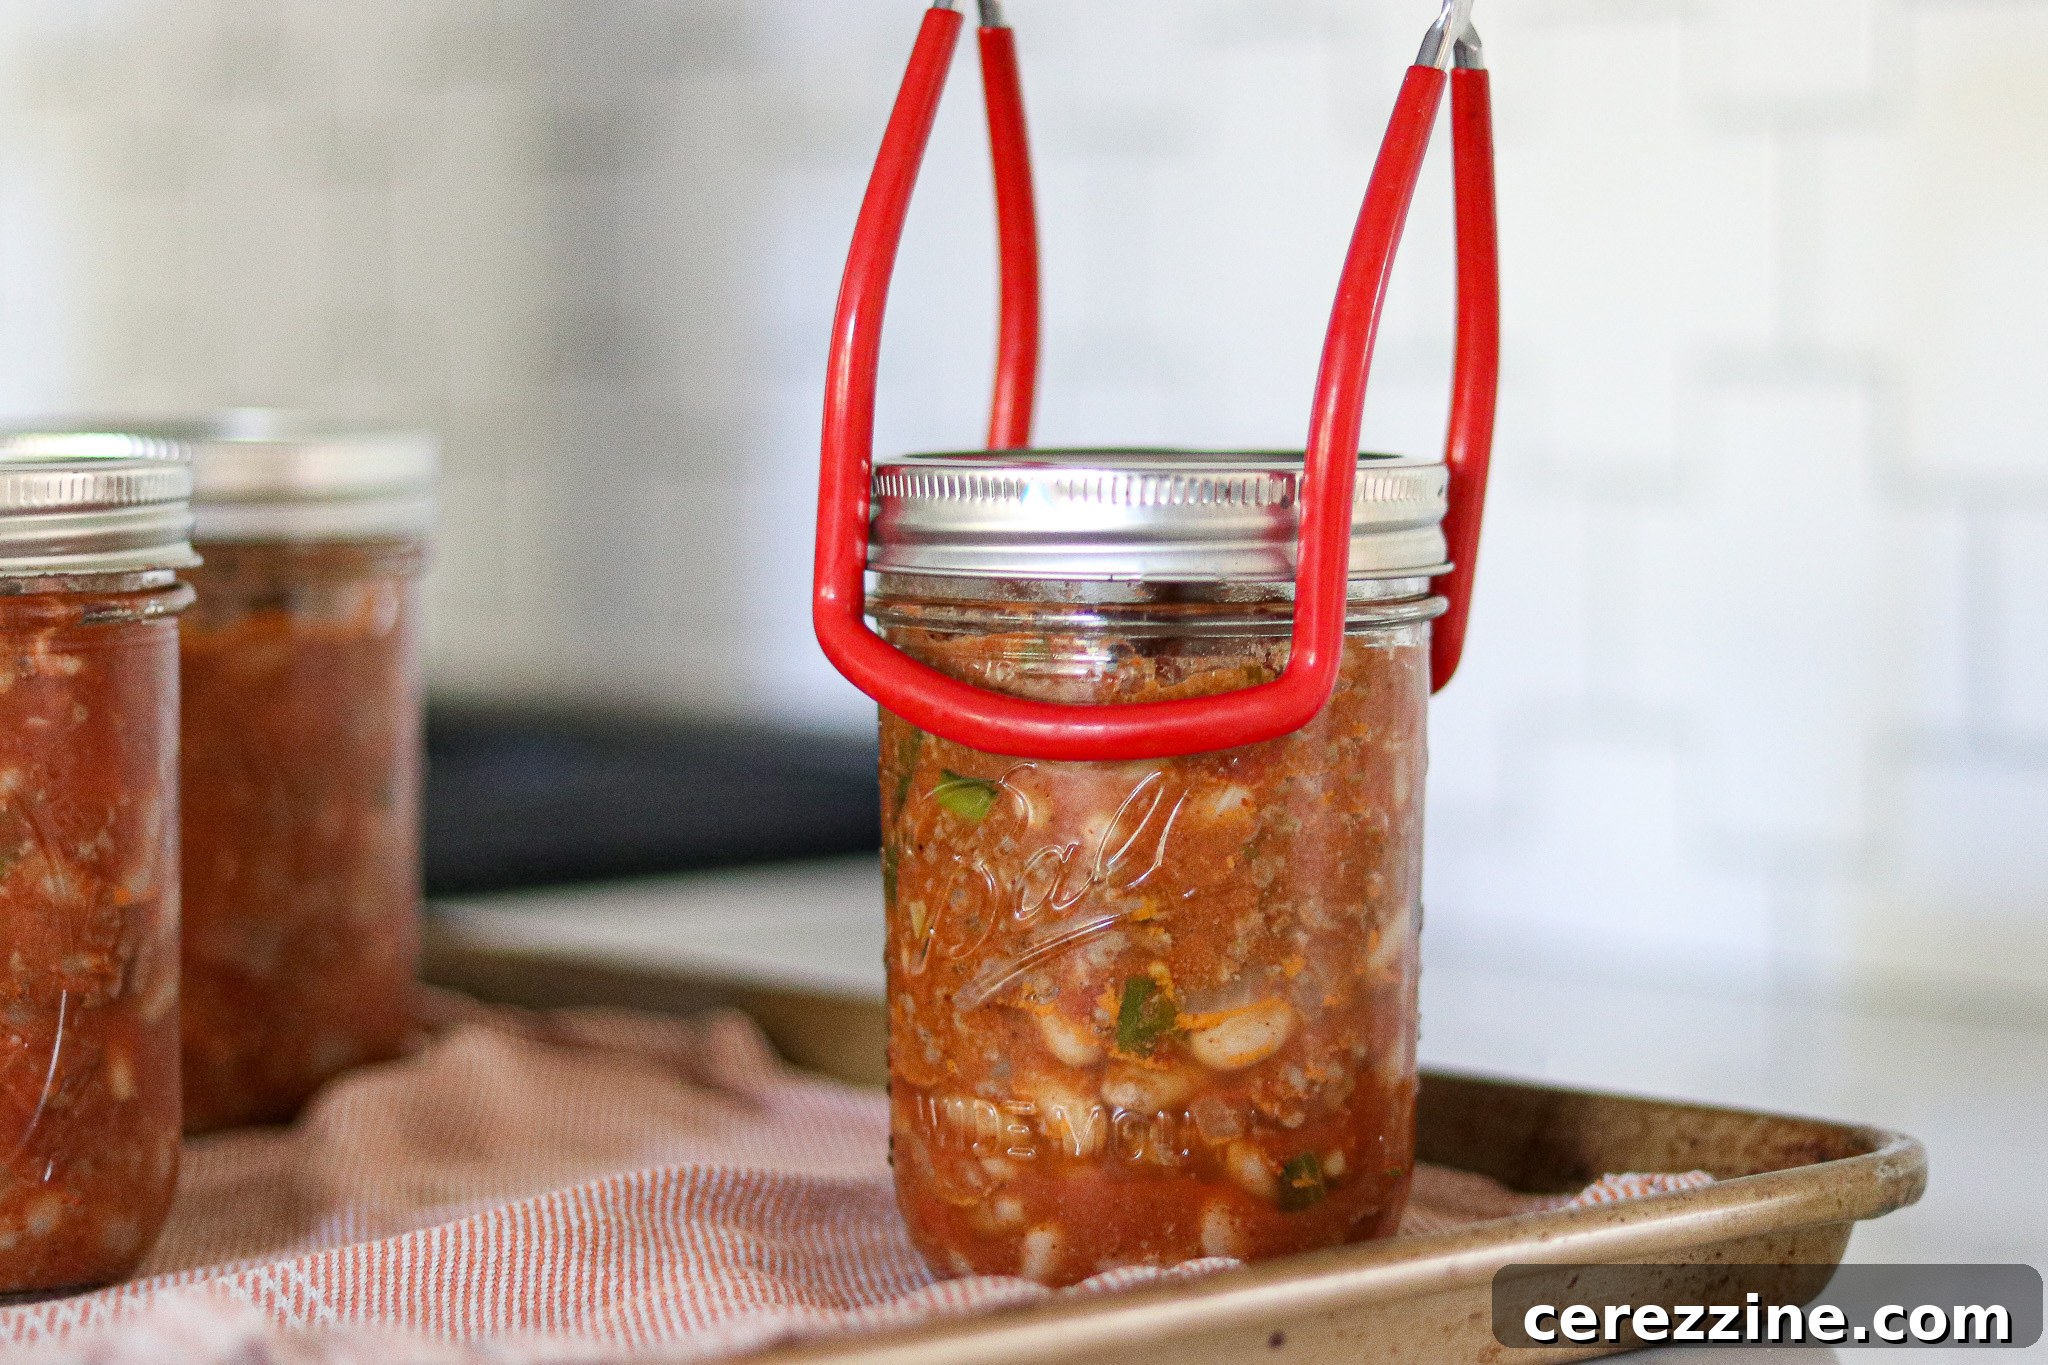
- Apply Lids and Bands: Center a new, properly prepared canning lid on each jar, then screw on the bands fingertip tight. This means tightening until you feel resistance, then giving it just a quarter-turn more. Over-tightening can prevent proper air venting and lead to seal failures.
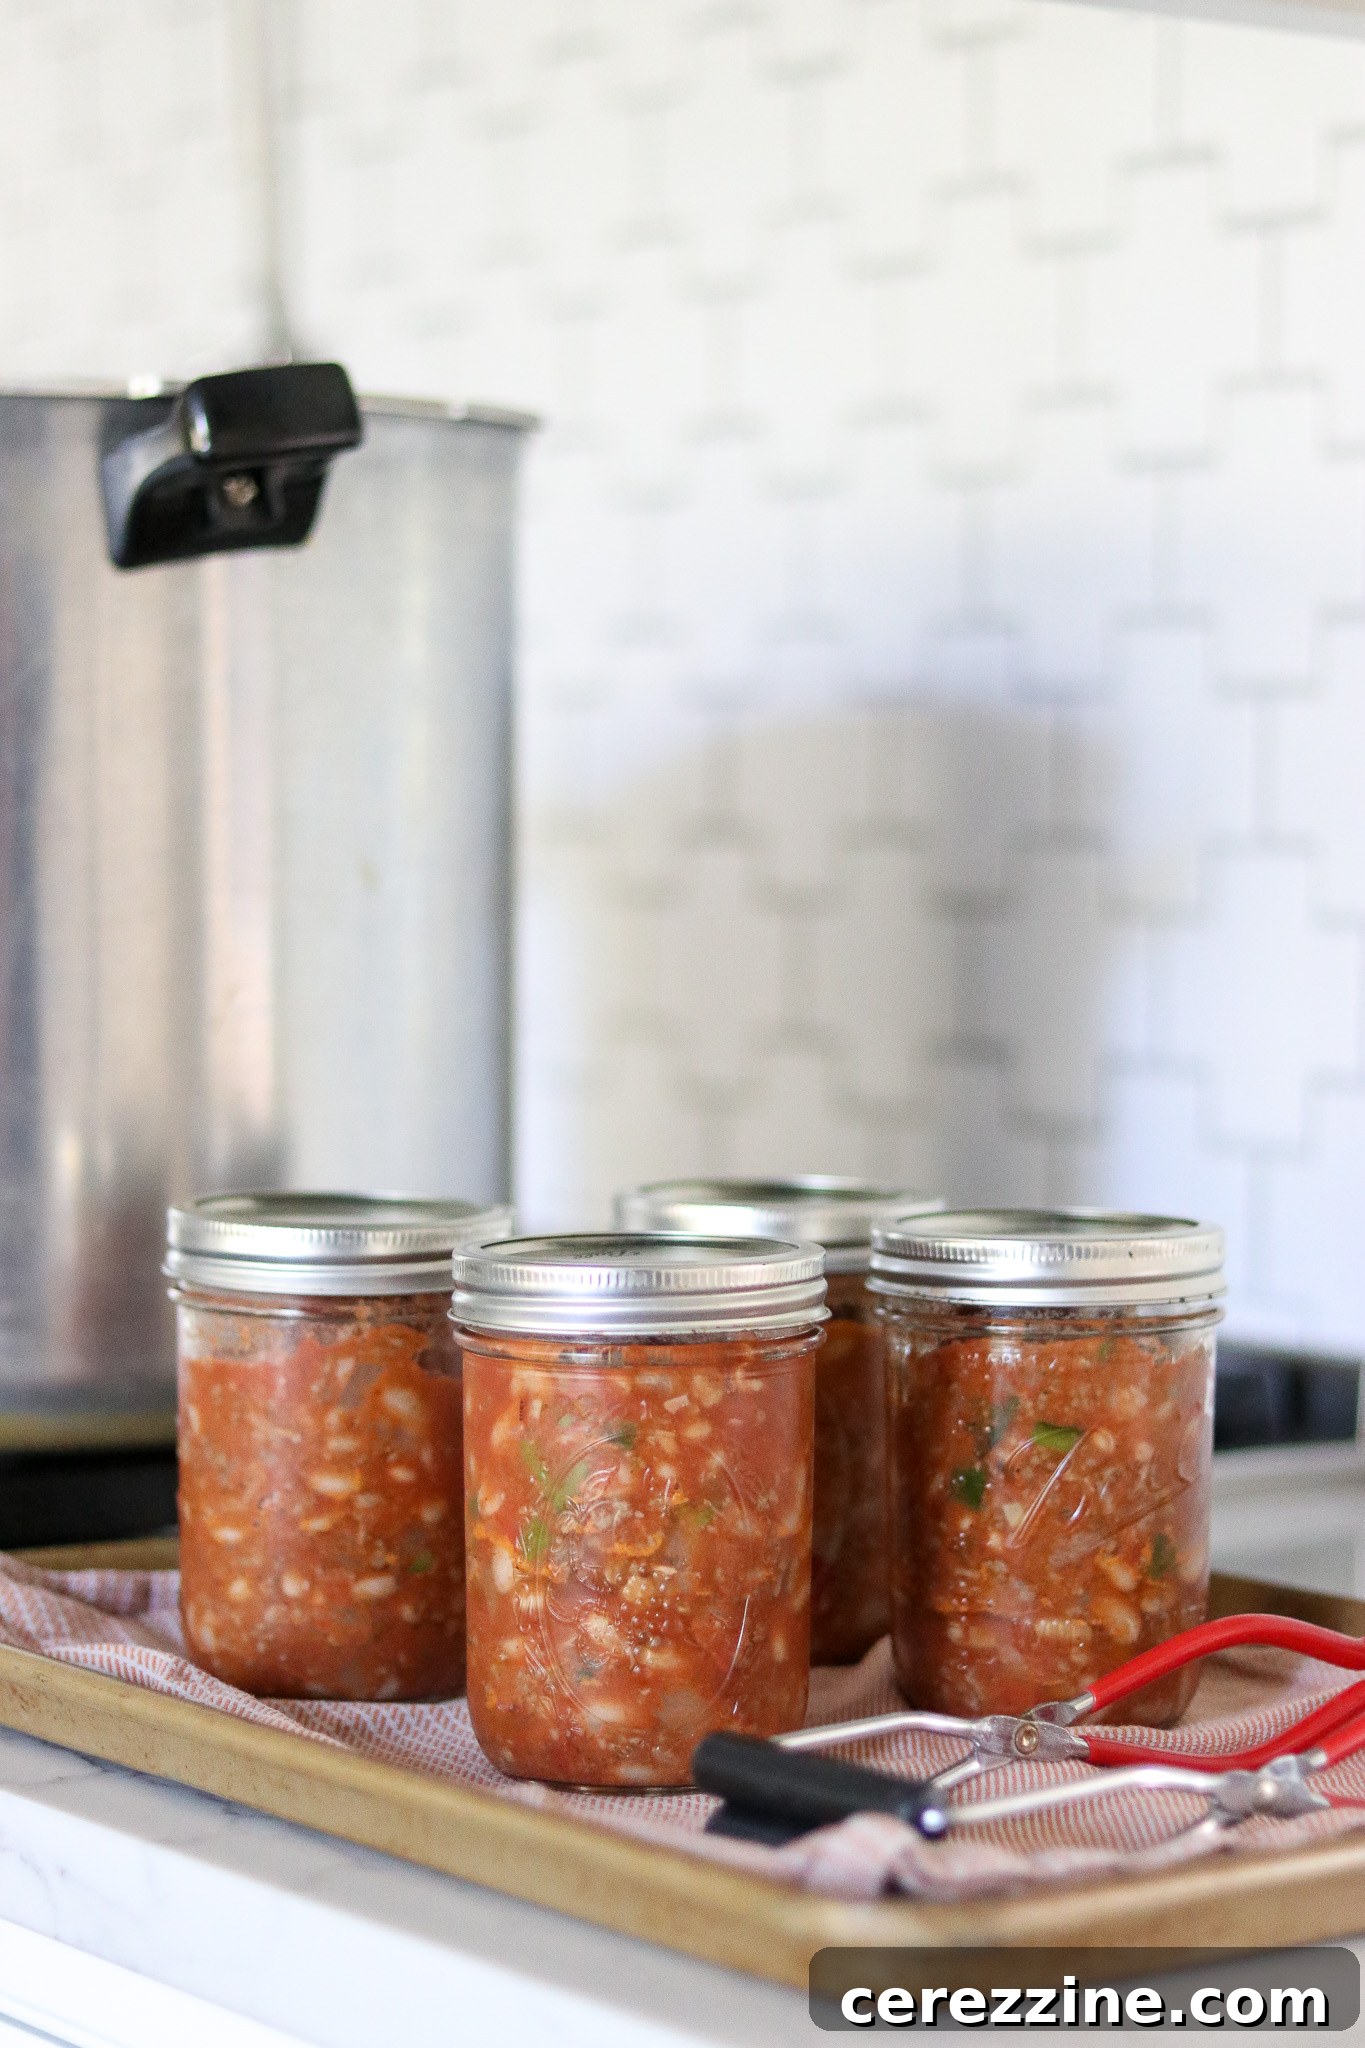
- Load Canner: Using a jar lifter, carefully place the filled jars onto the trivet in your simmering pressure canner. Be mindful of your canner’s capacity; while this recipe yields 9 pints, some smaller canners may not accommodate all jars at once. Always refer to your canner’s owner’s manual. This recipe can be halved for smaller batches, or doubled for high-capacity canners (making 18 pints).
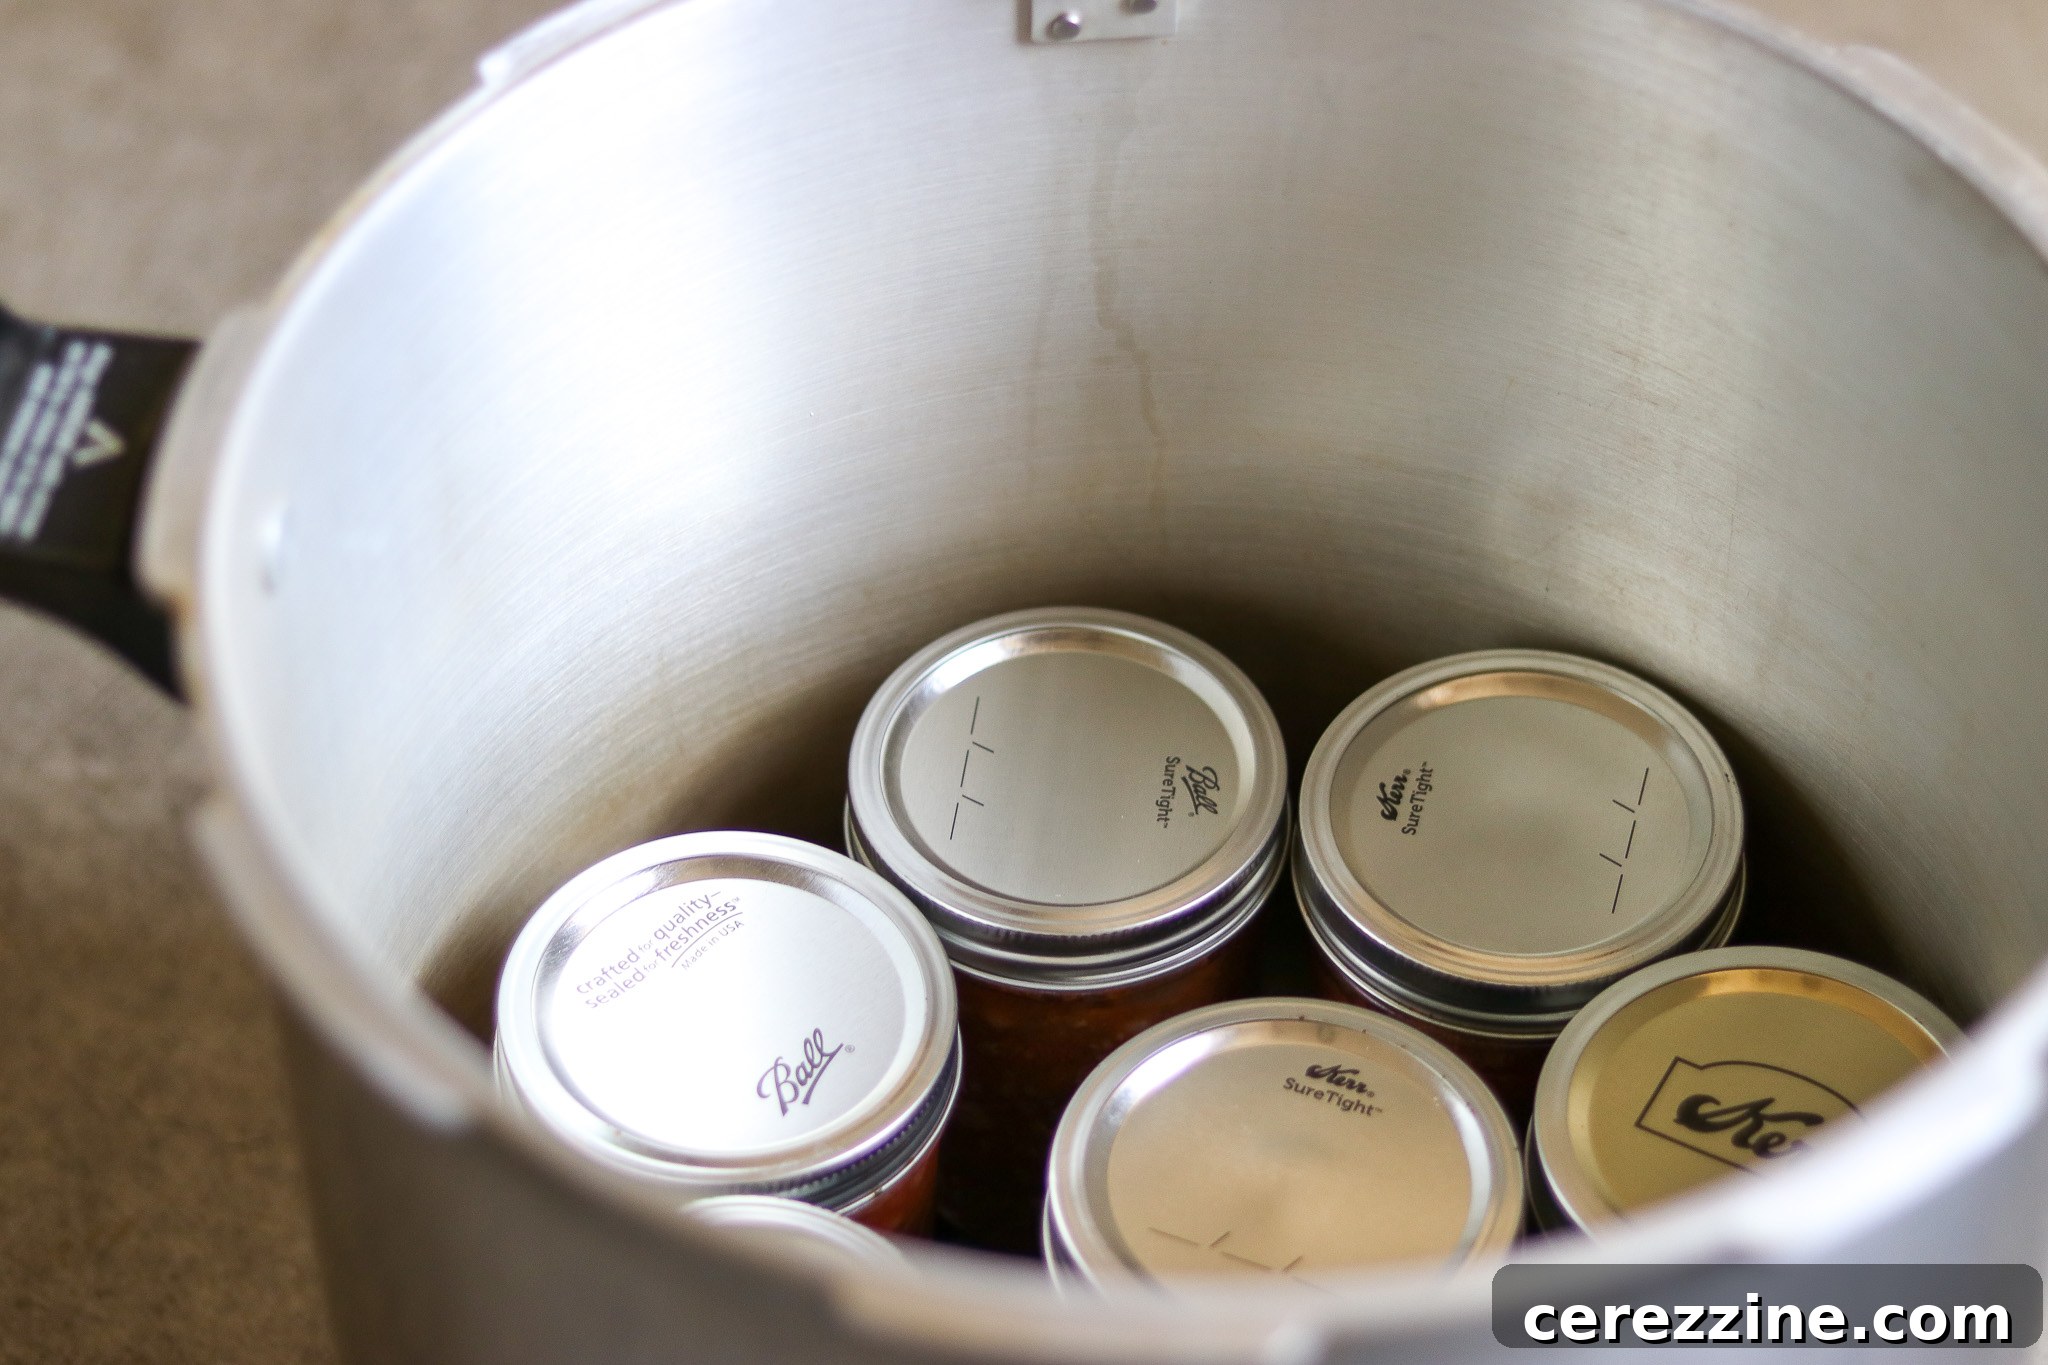
- Process: Secure the canner lid in the locked position. Turn up the heat and allow the canner to build pressure. Once a steady stream of steam vents from the petcock (vent pipe), allow it to vent for a full 10 minutes to ensure all air is purged from the canner. Then, add the weighted gauge (or close the vent if using a dial-gauge canner).
- Processing Time: Process pint jars for 75 minutes. Maintain 11 lbs of pressure if using a dial-gauge canner, or 10 lbs of pressure with a weighted gauge canner. Crucially, adjust the pressure for your altitude as necessary. Refer to the altitude adjustment table below.
- Cool Down: When the processing time is complete, turn off the heat and allow the pressure canner to depressurize naturally. Do not attempt to force the lid open or cool the canner quickly, as this can lead to siphoning (loss of liquid from jars) and seal failures.
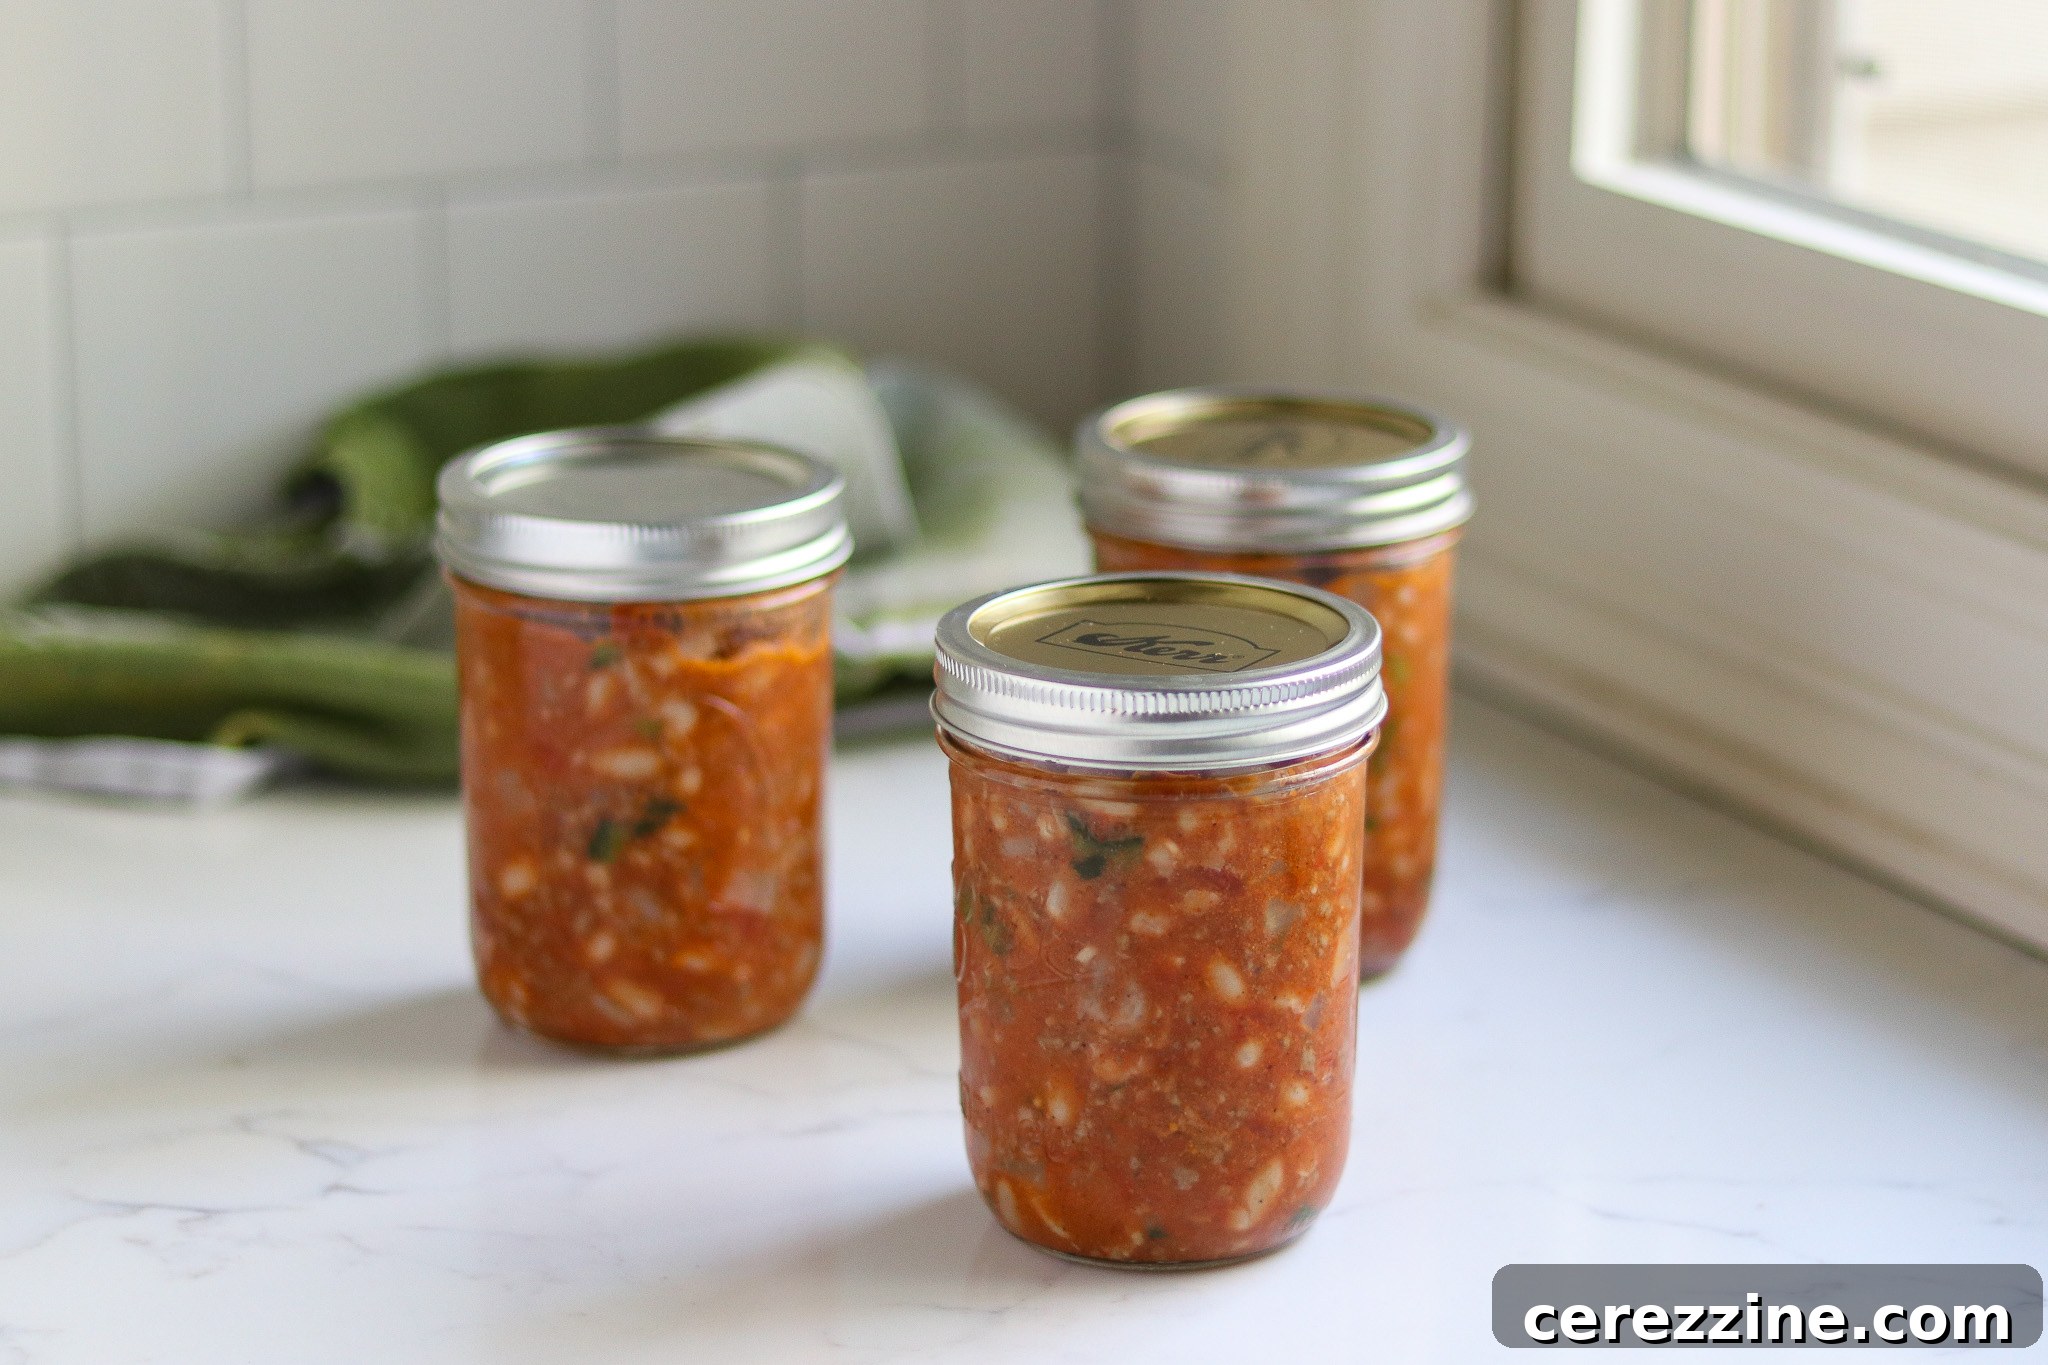
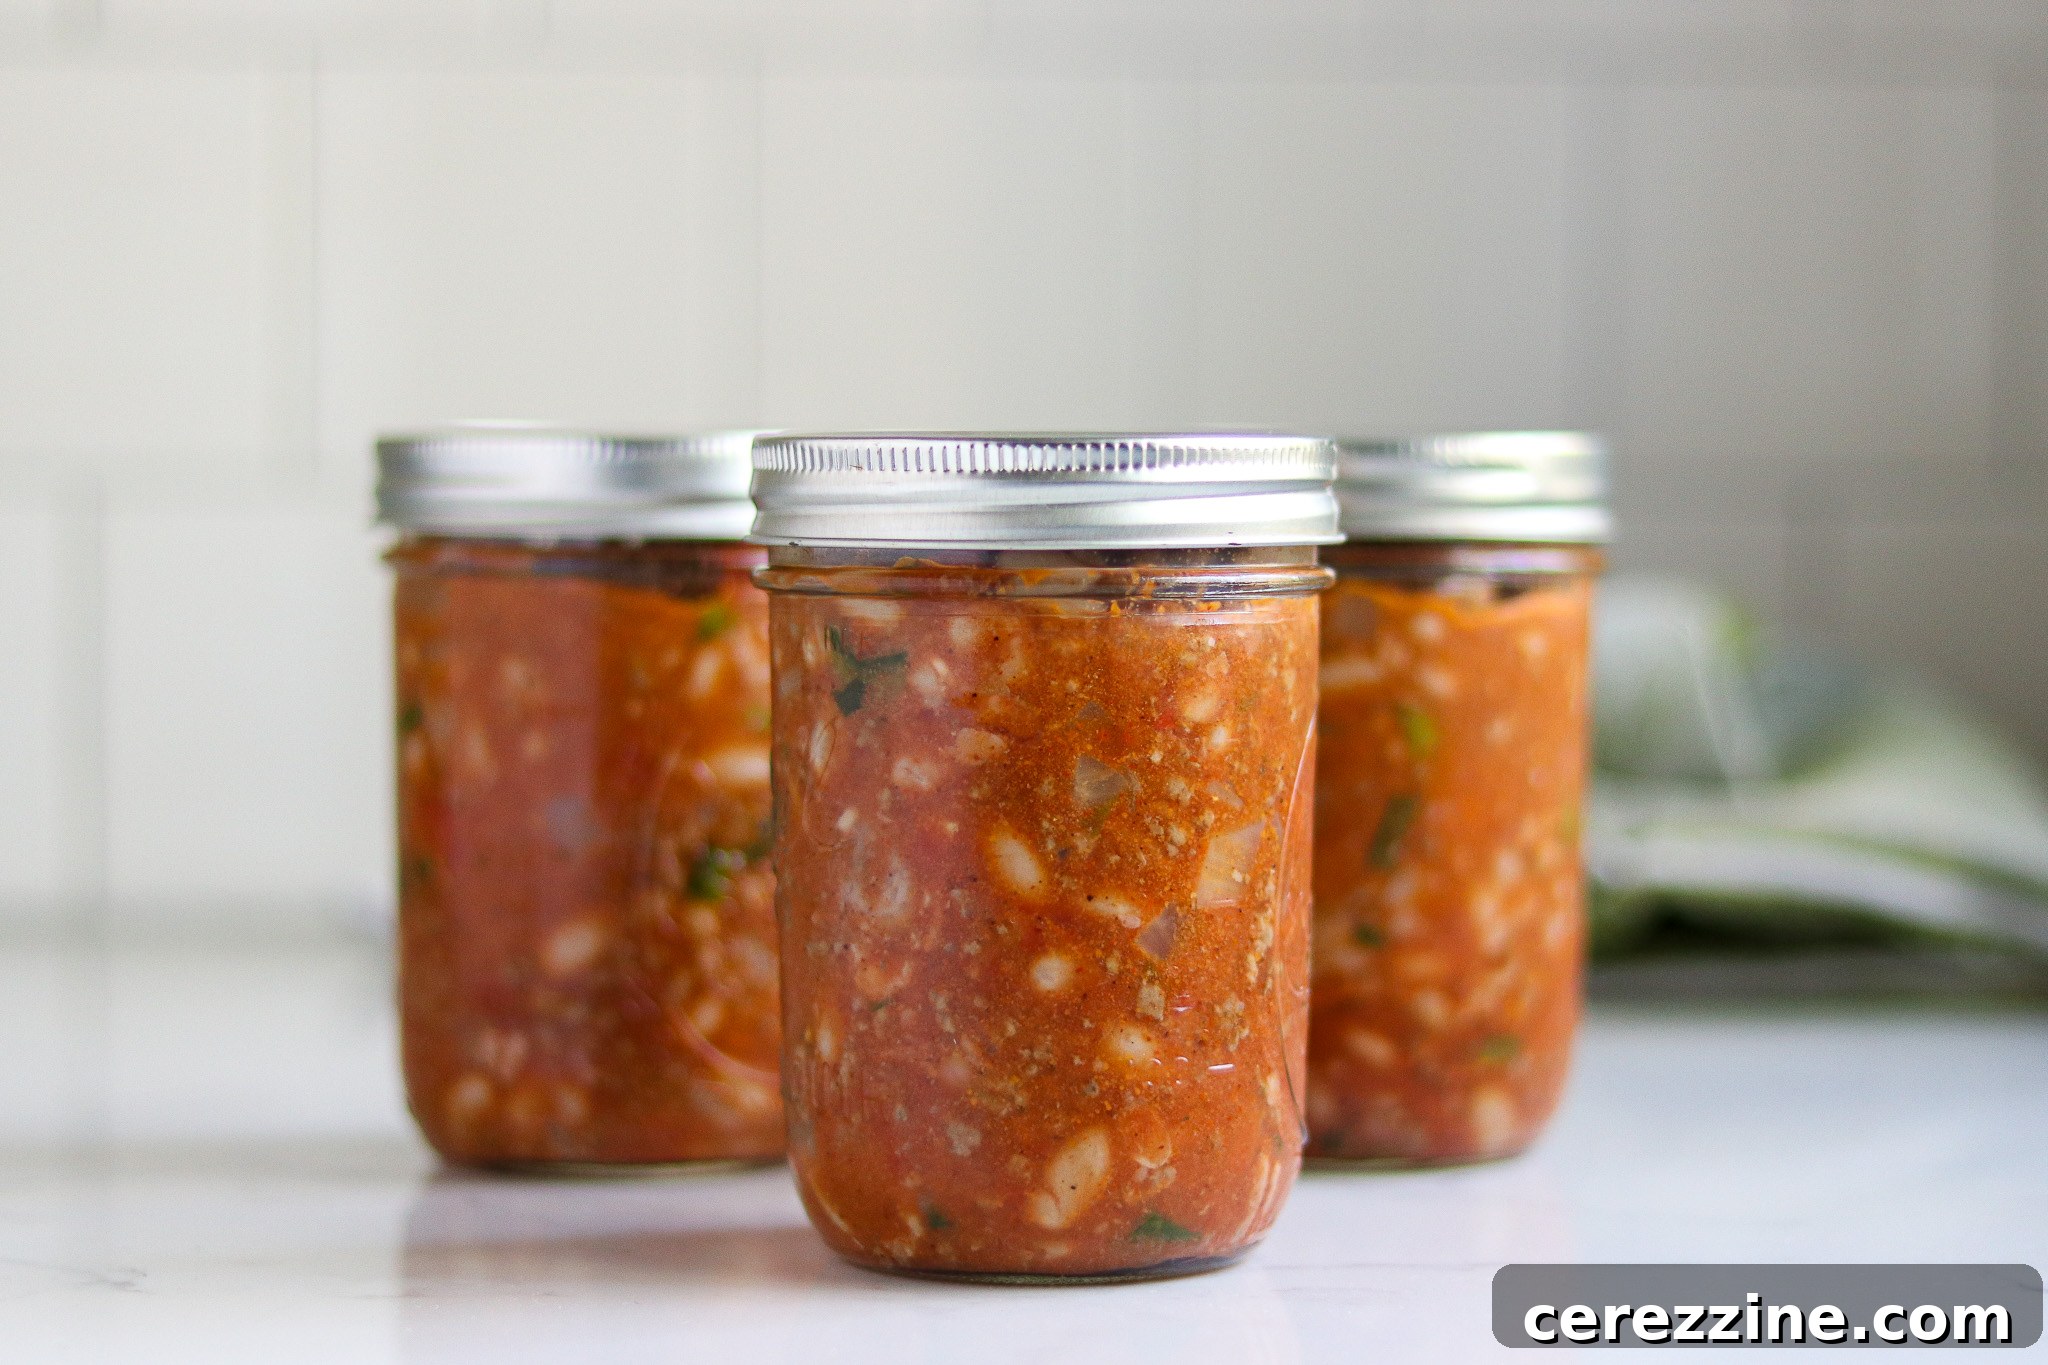
- Final Steps: Once the pressure has fully dropped to zero, carefully remove the canner lid. Using a jar lifter, transfer the hot jars to a clean towel on your countertop, ensuring they are not touching each other. Let them cool undisturbed at room temperature for 12 to 24 hours. After cooling, check all seals. A properly sealed lid will be concave (curved inward) and will not flex when pressed. Remove the bands, wipe down the jars, label them with contents and date, and store them in a cool, dark place.
Altitude Adjustments for Pressure Canning
While the canning time for chili con carne remains constant regardless of your altitude, the required processing pressure must be increased as your elevation rises. This adjustment ensures that the internal temperature within your canner reaches a safe level to eliminate harmful bacteria.
Please use the following table to determine the correct processing pressure if you are canning above 1,000 feet in elevation:
For Dial Gauge Pressure Canners:
- 0 to 2,000 feet in elevation – 11 lbs pressure
- 2,001 to 4,000 feet in elevation – 12 lbs pressure
- 4,001 to 6,000 feet in elevation – 13 lbs pressure
- 6,001 to 8,000 feet in elevation – 14 lbs pressure
For Weighted Gauge Pressure Canners:
- 0 to 1,000 feet in elevation – 10 lbs pressure
- Above 1,000 feet – 15 lbs pressure
Chili Canning Recipe Variations and Customization
The beauty of homemade chili lies in its versatility. While this recipe provides a solid foundation, don’t hesitate to personalize it to your taste. There are countless chili canning recipes to explore, and this one offers great flexibility within safe canning guidelines.
- Meat Options: Instead of ground beef, consider using chunks of beef, venison, or even pork. If using chunks, ensure they are cut into uniform, small pieces (no larger than 1-inch cubes) to facilitate even cooking. Always brown meat thoroughly and drain fat before combining with other ingredients. For an even leaner option, ground turkey or chicken can also be used, ensuring proper browning.
- Bean Alternatives: While kidney and pinto beans are classic, black beans, cannellini beans, or a mix of several bean types can add different textures and flavors. Always use dried beans and follow the soaking and pre-cooking steps meticulously.
- Spice Profile: This is where you can truly make the chili your own. As long as you stick to dry spices, the possibilities are endless. Beyond standard chili powder, consider adding cumin for earthy notes, smoked paprika for depth, a touch of cayenne for extra heat, or even a blend of your favorite Mexican-inspired seasonings. Hatch green chili powder, as mentioned, offers a distinctive and delicious profile.
- Vegetable Additions: While peppers and onions are foundational, you might consider adding other approved vegetables like corn (ensure it’s well-drained) or small diced carrots. Always refer to a tested canning guide for safe additions, especially for low-acid vegetables.
Serving Your Home-Canned Chili Con Carne
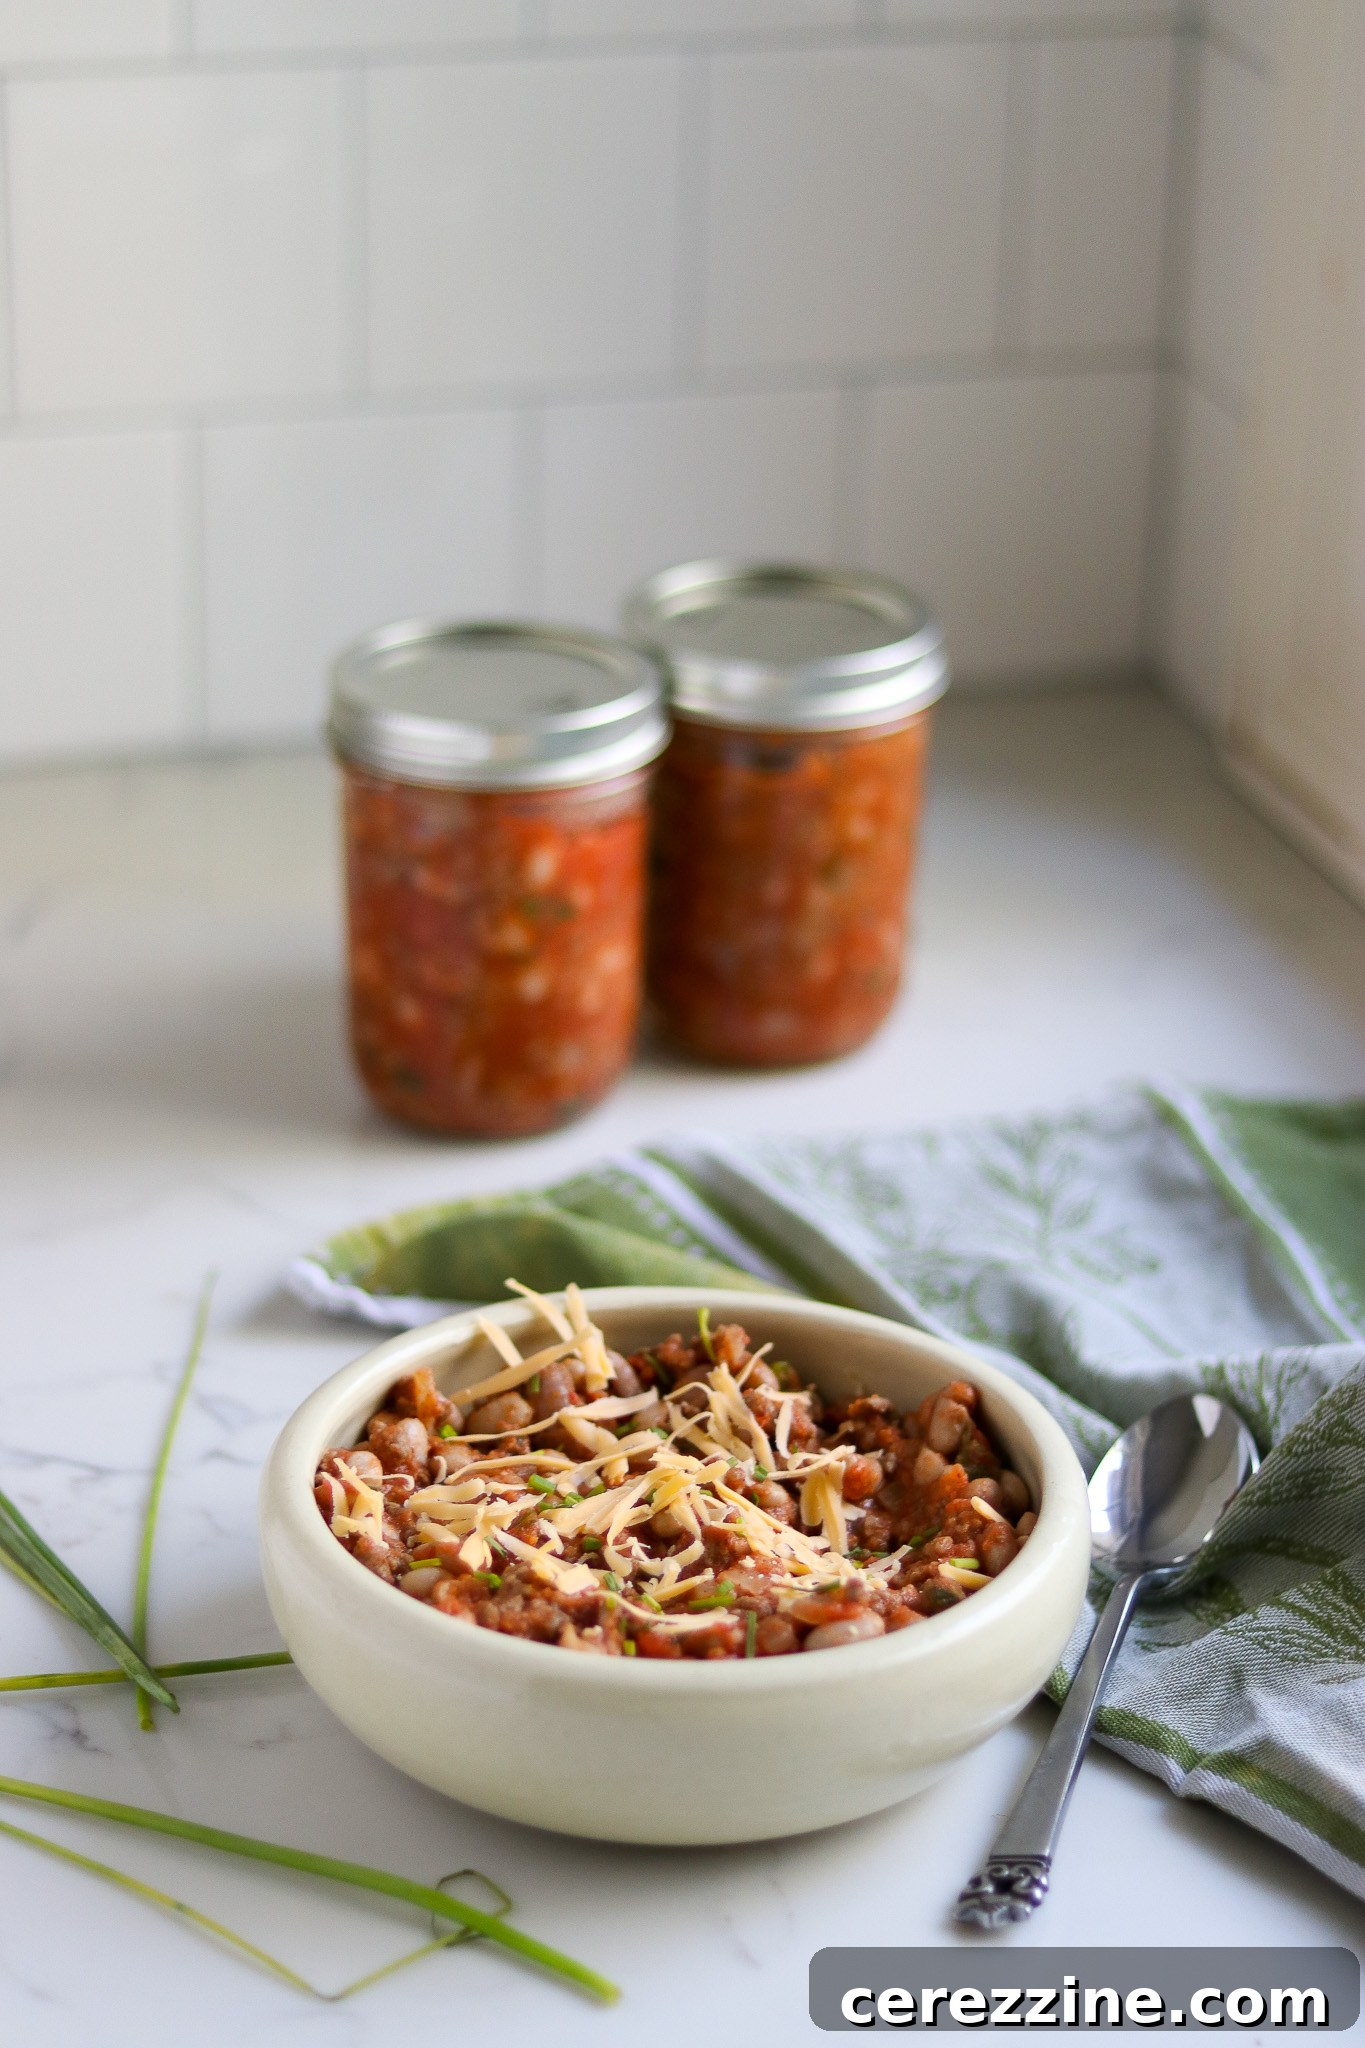
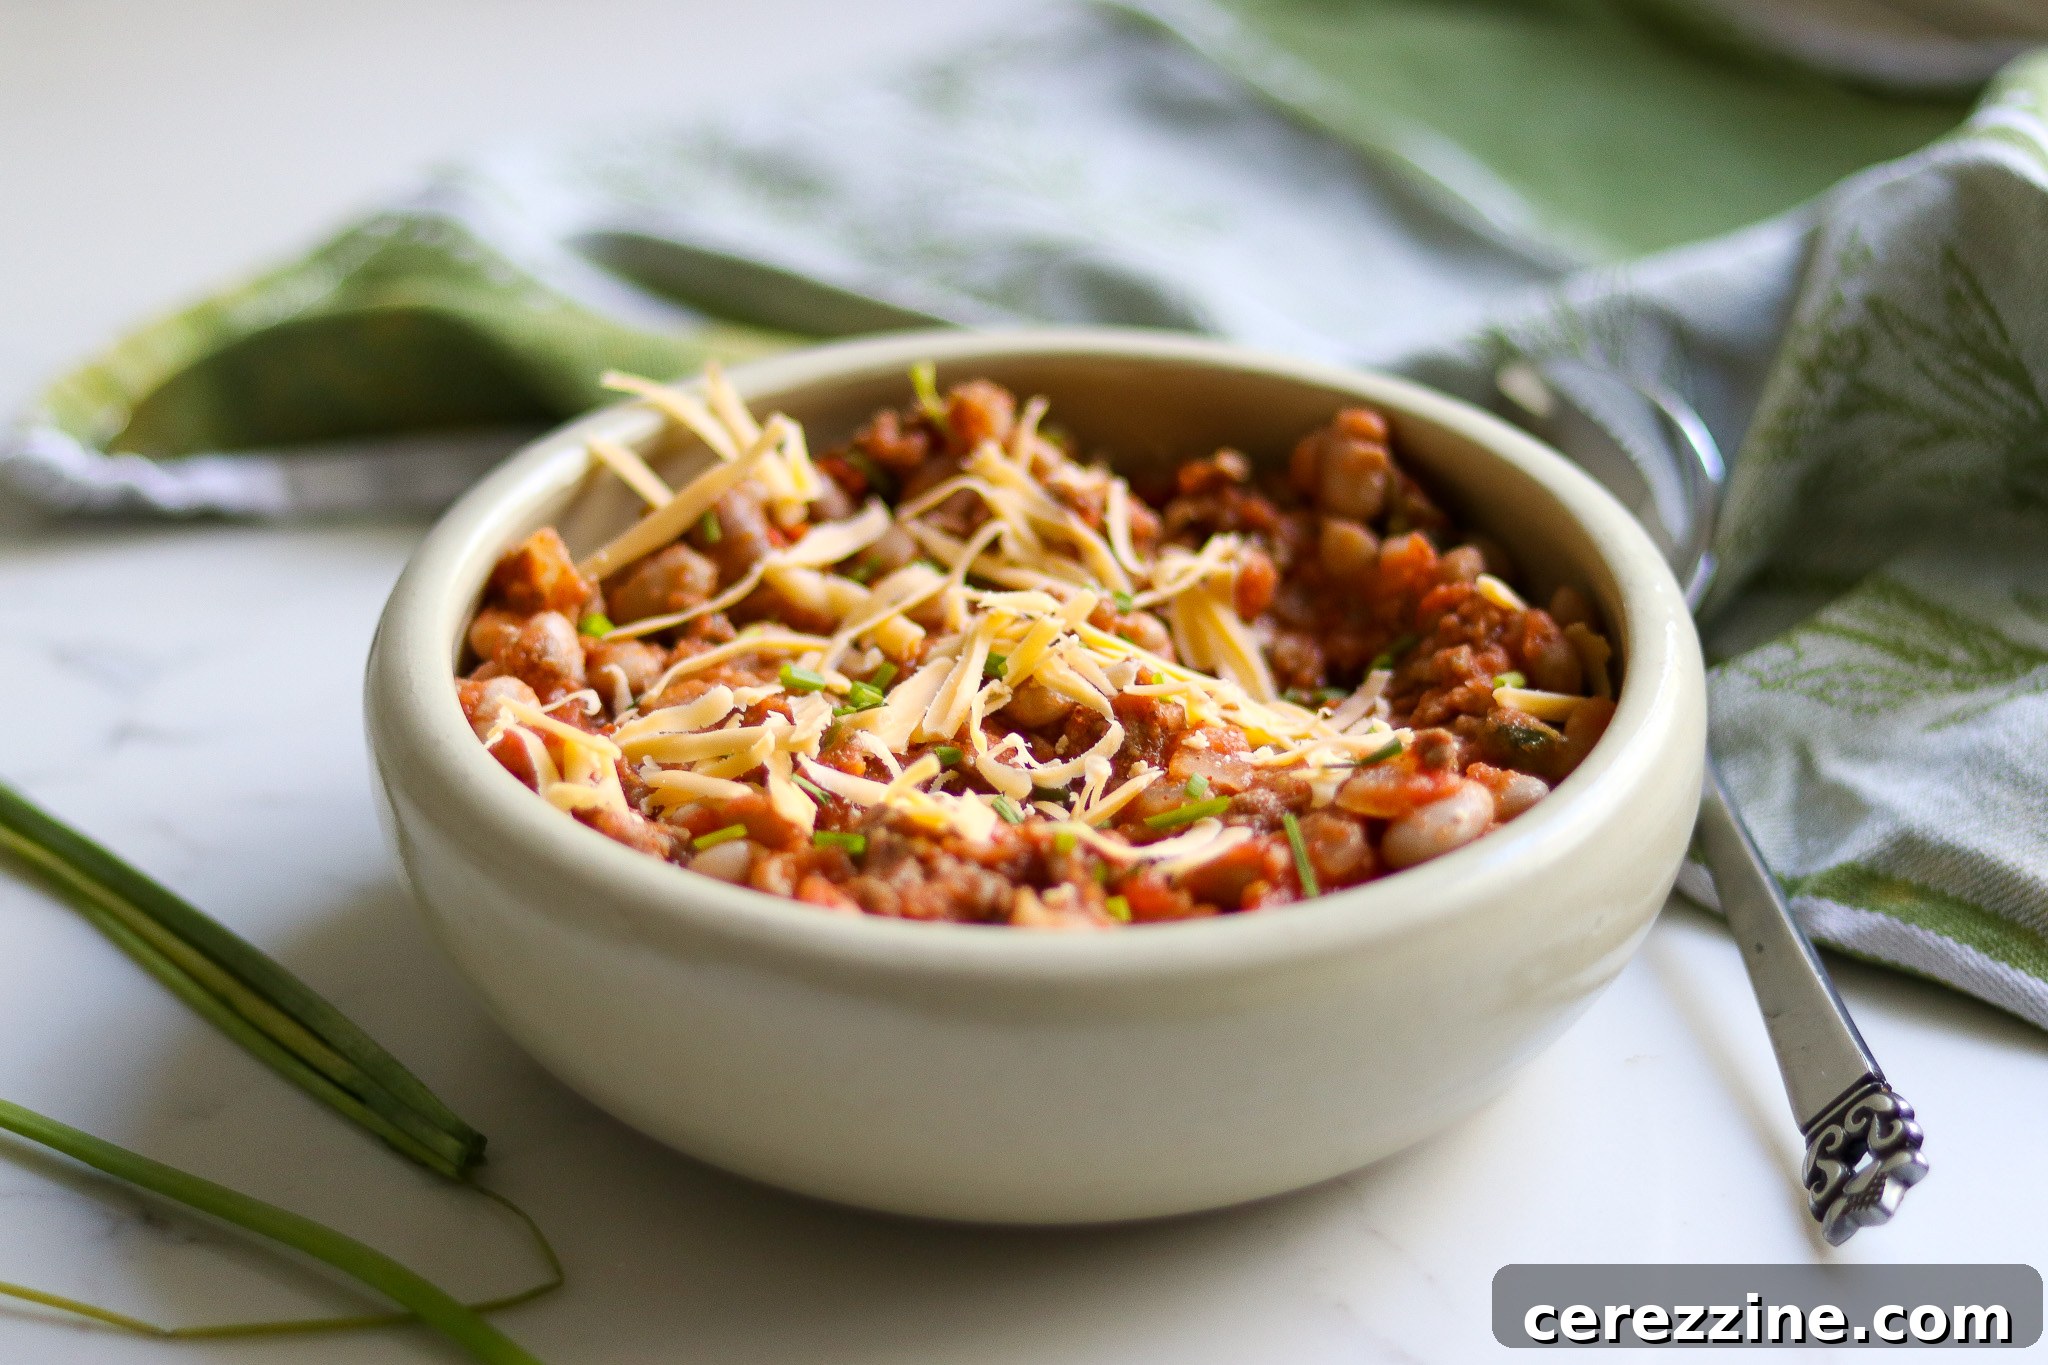
One of the greatest advantages of home-canned chili con carne is the sheer ease of serving. It’s a guaranteed crowd-pleaser, perfect for a casual weeknight dinner or a lively gathering. With your chili safely preserved on the pantry shelf, a hearty, satisfying meal is just minutes away.
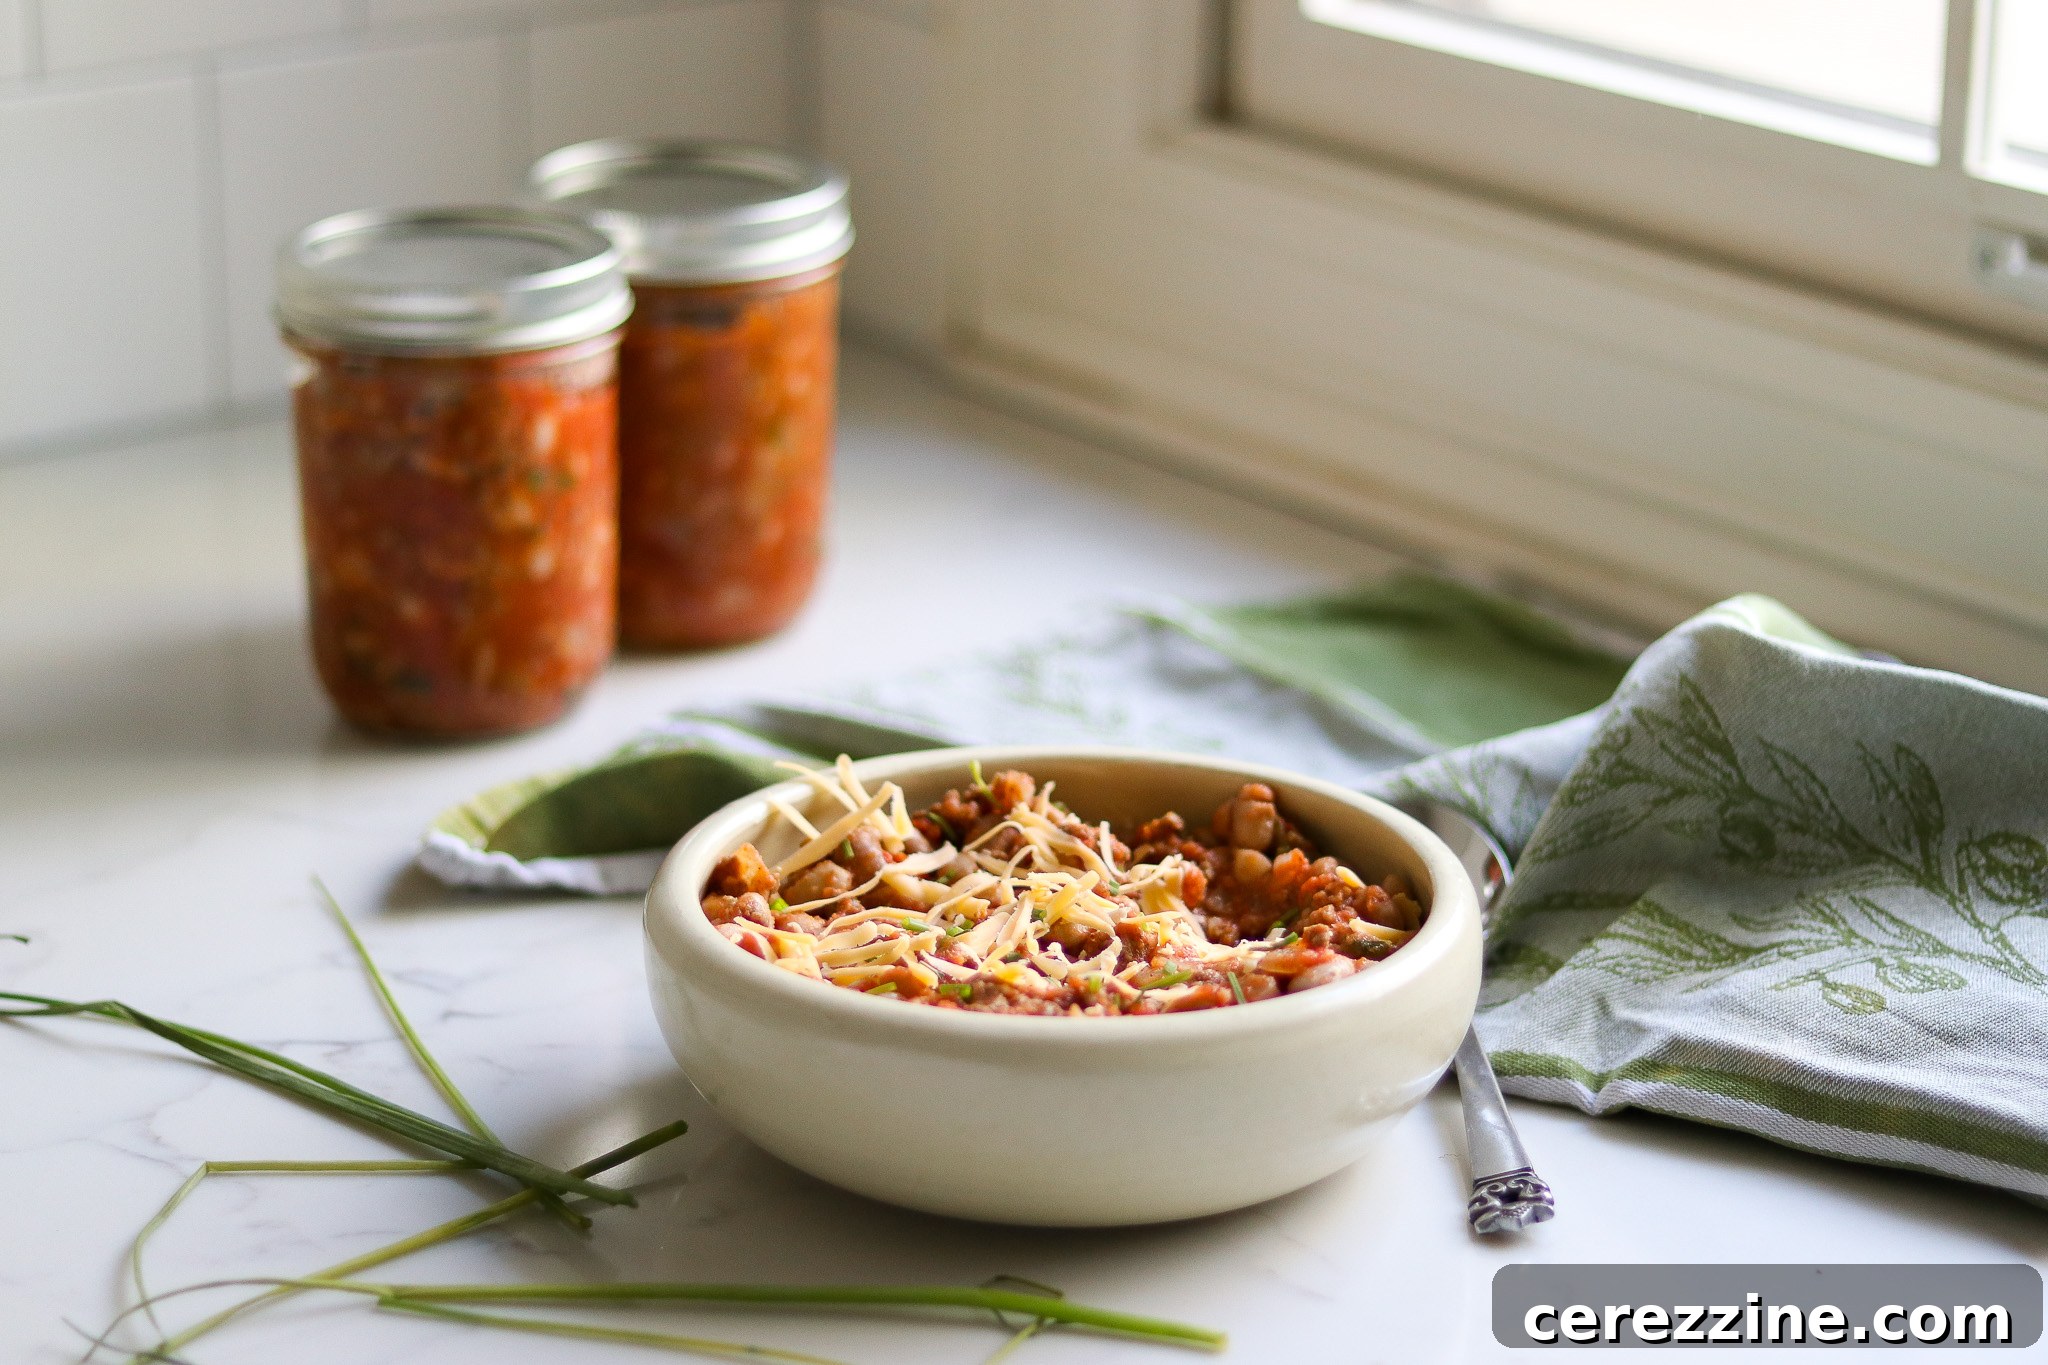
To serve, simply pour the contents of a jar into a bowl and reheat gently on the stovetop or in the microwave until thoroughly warm. It’s truly a meal in a jar, ready to nourish and delight!
Elevate your chili experience with an array of delectable toppings and sides:
- Classic Toppings: A sprinkle of grated sharp cheddar or Monterey Jack cheese, a dollop of cool sour cream or Greek yogurt, and a scattering of fresh diced red onion or green onions are timeless choices.
- Freshness: Add a burst of freshness with chopped cilantro, sliced avocado, or a squeeze of lime juice.
- Crunch: Crumbled tortilla chips, oyster crackers, or a side of crispy cornbread provide a delightful textural contrast.
- Creative Pairings: Serve your chili over fluffy rice, a bed of pasta, or even as a robust topping for baked potatoes, hot dogs, or nachos.
- Accompanying Sides: Complement your chili with a fresh green salad, steamed vegetables, or crusty bread for a complete and balanced meal.
However you choose to customize and serve it, your homemade, pressure-canned chili con carne is sure to be a winning dish that brings comfort and flavor to your table.
Chili Con Carne Canning Recipe (Simplified)
Canning Chili Con Carne
By Ashley Adamant
Home-canned chili is a delicious meal in a jar just waiting on your pantry shelf. Once it’s pressure canned, all you have to do is heat and serve!
Prep: 1 hour | Cook: 30 mins | Canning Time: 1 hr 15 mins | Total: 2 hrs 45 mins
Yields: 9 Pints (Serves 18)
Equipment
- Pressure Canner
Ingredients
- 3 cups dried red kidney beans or pinto beans
- 3 lbs ground beef
- 1 ½ cups chopped onion
- 1 cup chopped peppers, optional
- 2 Quarts tomatoes, whole or crushed
- 5 ½ cups water
- 5 tsp salt, separated
- 3-6 Tbsp chili powder
- 1 tsp black pepper
Instructions
- Wash the beans and place them in a large 2-quart saucepan. Add cold water to three inches above the beans, then soak for 12-18 hours. (Alternatively, use the quick soak method: Place the beans in plenty of water and bring them to a boil in a pot on the stove. Boil 1 minute, then turn off the heat and leave them standing in hot water for an hour. Drain, and proceed with the recipe using the drained “quick soaked” beans.)
- Drain and discard the soaking water. Combine the beans with 5 ½ cups of fresh water and 2 tsp of salt. Bring to a boil, reduce the heat, and simmer for 30 minutes.
- Drain the beans again and discard the water.
- Prepare a pressure canner, jars, lids, and rings. For most brands of pressure canner, this means adding 2-3 inches of water to the bottom, along with the bottom trivet, and then bringing the water up to a gentle simmer (180 F) for hot pack canning.
- Brown the ground beef in a pan, then add peppers and chopped onions. Drain off the fat. Add the remaining 3 tsp of salt, along with the pepper, tomatoes, chili powder, and the pre-cooked beans.
- Simmer for 5 minutes.
- Fill each hot, sterilized pint jar with chili, allowing for an inch of headspace. Distribute solids evenly, then top with liquid. Add boiling water if needed to achieve 1 inch headspace.
- De-bubble jars and re-check headspace, adjusting if necessary.
- Wipe the rims of the jars to remove food particles, then add new lids and bands, tightening until fingertip tight.
- Load the jars into the simmering canner. Turn the canning lid into the locked position.
- Vent steam for 10 minutes, then add the weighted gauge (or close the vent for dial gauge).
- Process pint jars for 75 minutes at 11 lbs pressure (dial-gauge canner) or 10 lbs pressure (weighted gauge canner), adjusting for altitude as needed. (See altitude notes below).
- After the processing time has ended, allow the canner to depressurize naturally, then carefully remove the jars.
- Let the jars cool undisturbed for 12-24 hours. Check the seals, then store them in a cool, dark place.
Nutrition (Approximation per serving)
Calories: 262kcal, Carbohydrates: 14g, Protein: 17g, Fat: 16g, Saturated Fat: 6g, Polyunsaturated Fat: 1g, Monounsaturated Fat: 7g, Trans Fat: 1g, Cholesterol: 54mg, Sodium: 858mg, Potassium: 638mg, Fiber: 5g, Sugar: 4g, Vitamin A: 1302IU, Vitamin C: 22mg, Calcium: 48mg, Iron: 3mg
Nutrition information is automatically calculated, so should only be used as an approximation.
More Meal-in-a-Jar Canning Recipes
Looking to further expand your collection of convenient, ready-to-heat meals? Explore these other fantastic meal-in-a-jar canning recipes that make stocking your pantry a breeze:
- Boston Baked Beans
- Thai Curry Duck
- White Bean Chicken Chili
- Cajun Red Beans and Sausage
Meat Canning Recipes for a Stocked Pantry
Beyond chili, explore these reliable recipes for preserving various meats, ensuring you always have protein on hand for quick meals and emergency supplies:
- Canning Beef
- Canning Ground Beef
- Canning Leftover Turkey
- Canning Beef Pot Pie Filling
Bean Canning Recipes to Diversify Your Pantry
Beans are incredibly versatile and nutritious, making them ideal for home canning. Expand your pantry with these delicious bean-based canning recipes:
- Cuban Black Bean Soup
- Chipotle Black Bean Soup
- Canning Boston Baked Beans
- Canning White Bean and Greens Soup
- Butternut Squash and White Bean Soup
- Cajun Red Beans and Sausage