
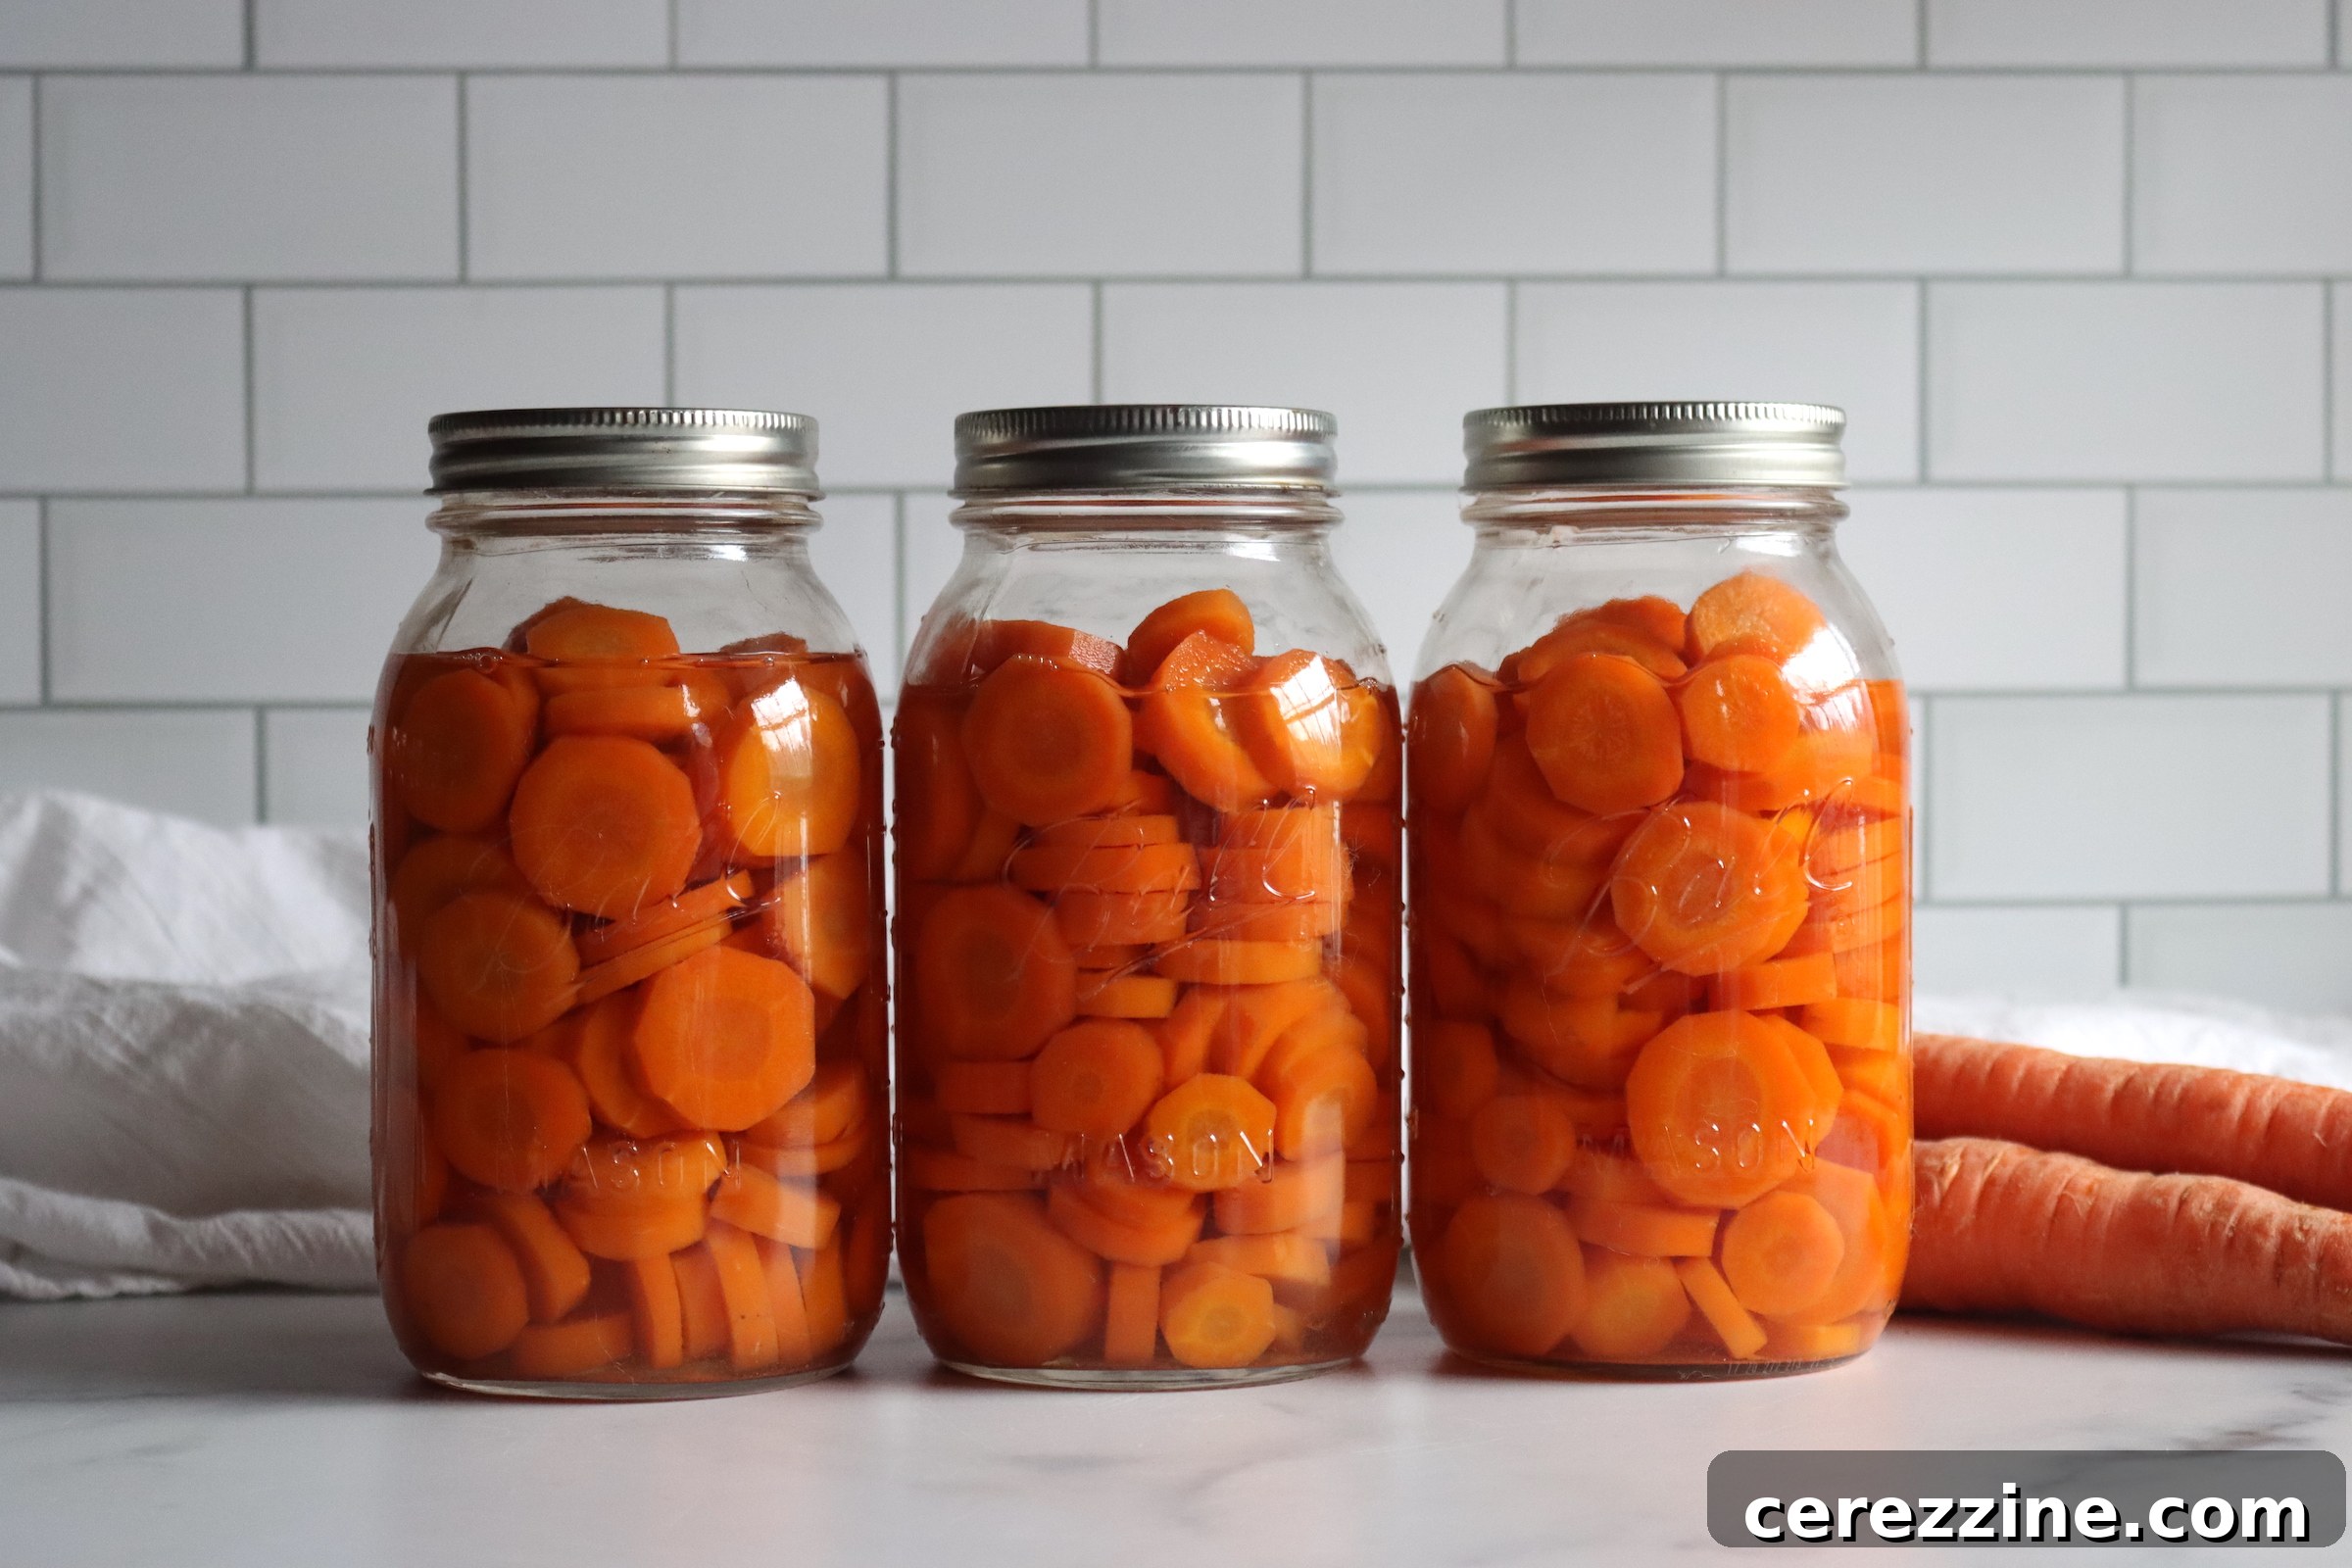
Canning carrots is a remarkably straightforward and efficient method for preserving this versatile and nutritious root vegetable. By transforming fresh carrots into shelf-stable jars, you unlock a world of convenience for meal preparation throughout the year. Whether harvested from your garden or purchased in bulk, pressure canning ensures these sweet gems are ready for everything from hearty soups and comforting stews to quick side dishes and casseroles, without the need for last-minute peeling or chopping. This practical preservation technique not only saves valuable time in the kitchen but also allows you to make the most of your harvest, ensuring a continuous supply of wholesome goodness.
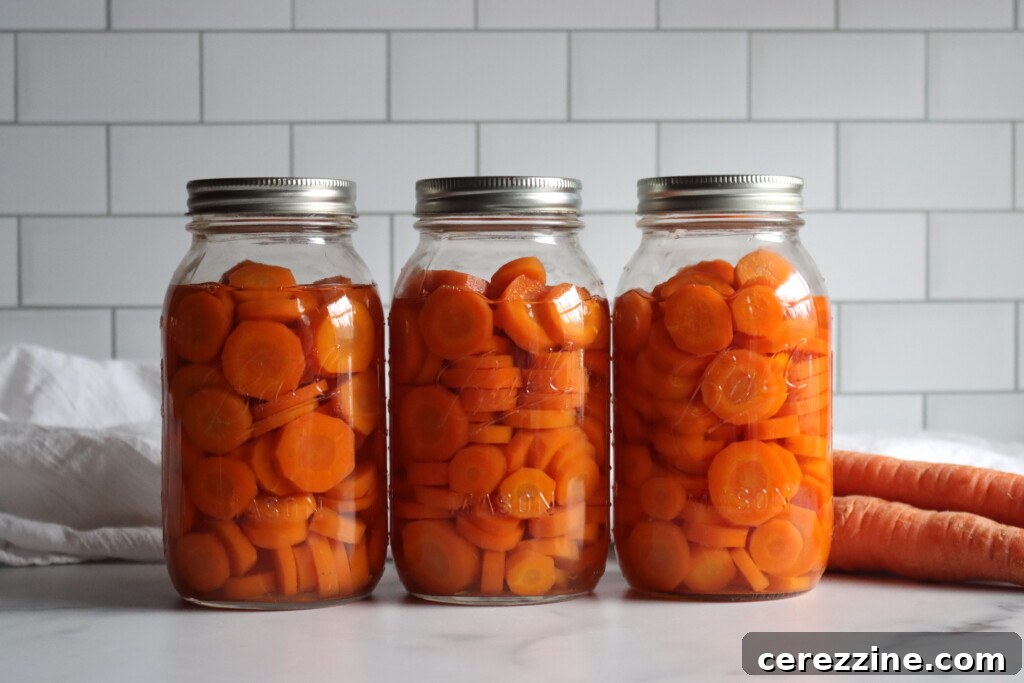
Carrots stand out as one of the easiest vegetables to preserve using a pressure canner, proving to be an invaluable pantry staple. The beauty of having home-canned carrots readily available lies in their sheer convenience. Imagine whipping up a weeknight dinner and simply opening a jar to add pre-cooked, pre-prepped carrots directly into your dish. No more scrubbing, peeling, or dicing when you’re pressed for time. We incorporate pressure-canned carrots into our meals regularly; they effortlessly enhance the flavor and nutrition of our favorite recipes, whether mashed with butter for a quick side or tossed into a casserole.
Given that carrots are a low-acid vegetable, pressure canning is not just a preference but a safety requirement to prevent the growth of harmful bacteria, such as Clostridium botulinum. While the science behind it is crucial, the process itself is surprisingly simple and accessible to home canners. You have the flexibility to choose between raw packing or hot packing your carrots, and you can add a touch of salt for flavor or opt to preserve them in plain water or even a light broth. This comprehensive guide adheres strictly to USDA-tested guidelines for pressure canning carrots in both pint and quart jars, empowering you to confidently stock your pantry with safe, delicious, and shelf-stable produce.
Why Pressure Canning is Essential for Carrots
The method you choose for canning is paramount to food safety, especially when dealing with low-acid foods like carrots. Carrots, along with green beans, potatoes, corn, and beets, naturally lack the high acidity needed to inhibit the growth of bacteria that cause botulism, a serious foodborne illness. This is why these vegetables **must be pressure canned** for safe, long-term preservation.
Water bath canning, even with added vinegar, does not create the necessary conditions to destroy botulism spores in low-acid foods. A pressure canner works by creating a high-pressure environment, which allows the internal temperature within the jars to reach significantly higher levels than boiling water. These elevated temperatures are critical for safely preserving low-acid vegetables by eliminating harmful bacteria and their spores, ensuring your home-canned carrots are safe to consume.
Preparing Carrots for Preservation
The journey to perfectly canned carrots begins with selecting the finest quality vegetables. Always start with fresh, firm carrots, whether they come directly from your garden or a local market. Avoid any carrots that appear soft, blemished, or have signs of spoilage, as quality input leads to quality output.
Once selected, thoroughly wash your carrots under cool running water to remove any dirt or debris. Peeling is a mandatory step for canning root vegetables, as it helps eliminate any potential bitterness from the skin and, more importantly, removes soil-borne microbes that could compromise the safety of your canned goods. A simple vegetable peeler makes this task quick and easy.
After peeling, you can prepare the carrots to your desired size and shape. Consider how you intend to use them in future meals. For soups and stews, dicing them into small, uniform chunks works well. For side dishes or roasting, slicing them into rounds or cutting them into sticks might be preferable. Aim for pieces of relatively uniform size to ensure even heat penetration during the canning process.
You have two primary packing options when pressure canning carrots: raw pack or hot pack. Both methods are USDA-tested and safe, and your choice often depends on personal preference and the time you have available.
- Raw pack: This method involves packing raw, prepared carrots directly into clean jars. Hot water or broth is then poured over them. The raw pack is quicker to prepare initially, but carrots may shrink slightly or float to the top of the jar during processing. This is purely an aesthetic issue and does not affect safety.
- Hot pack: With the hot pack method, sliced or diced carrots are simmered in boiling water for approximately 5 minutes before being packed into jars. This pre-cooking step helps to remove air from the carrot tissues, which generally results in a denser, more attractive pack and reduces the likelihood of floating. It can also lead to a slightly better texture in the finished product.
Choosing the Right Jar Size
For pressure canning carrots, you can safely use either pint jars or quart jars. The ideal size depends on your household’s needs and how you plan to use the carrots.
- Pint jars: These are excellent for smaller households, individual servings, or recipes that only require one to two cups of carrots. They are convenient for quick weeknight meals.
- Quart jars: Perfect for larger families, bulk cooking, or when preparing meals that call for a generous amount of vegetables. Using quart jars can be more efficient if you’re canning a large batch of carrots.
Ensure all jars are standard canning jars made for heat processing and are free from chips or cracks.
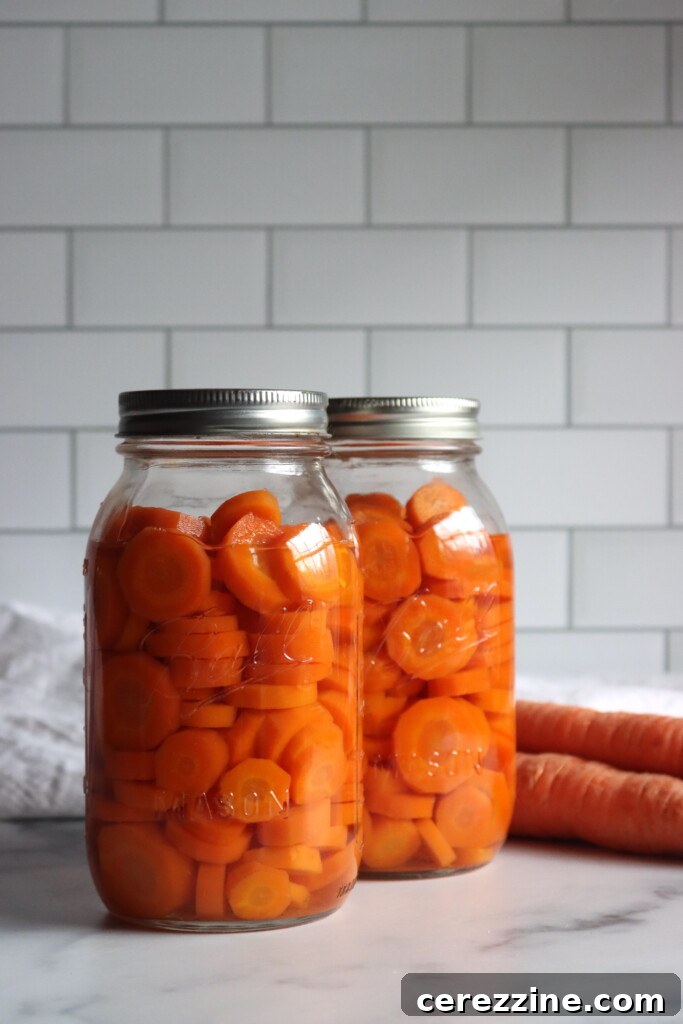
Step-by-Step Guide: How to Pressure Can Carrots
Pressure canning carrots is a rewarding process that, when followed correctly, yields safe and delicious results. Here’s a detailed breakdown of each step:
1. Prepare Your Equipment and Jars
Before you even touch the carrots, ensure your pressure canner is in good working order and that you have all necessary canning supplies. Wash your canning jars, lids, and screw bands in hot, soapy water. While lids generally don’t require pre-heating anymore according to current guidelines, keeping your jars warm until filling is crucial to prevent thermal shock when hot food or liquid is added. Add 2-3 inches of water to your pressure canner and begin heating it on the stove, maintaining a gentle simmer (around 180°F).
2. Prepare the Carrots
Start with about 2 to 3 pounds of fresh carrots per quart jar, or 1 to 1½ pounds per pint. Wash them thoroughly to remove all surface dirt. Using a vegetable peeler, carefully peel all root vegetables. This step is critical for safety, as microbes found in garden soil can be detrimental in canning jars. Once peeled, you can slice them into uniform rounds (¼ to ½ inch thick), dice them into small chunks, or cut them into sticks, depending on your preferred future use. Consistency in size helps ensure even processing.
3. Choose Your Packing Method: Raw or Hot
For Hot Pack: Place your prepared carrot pieces into a large pot of boiling water and simmer for 5 minutes. This helps to eliminate air from the carrot tissues, resulting in a more compact pack and reducing the chances of carrots floating in the jars. After simmering, use a slotted spoon to transfer the hot carrots to your warm canning jars.
For Raw Pack: If you prefer the quicker raw pack method, simply fill your warm canning jars directly with the prepared, raw carrot pieces.
4. Pack Jars and Add Liquid
Carefully pack the carrots into the clean, warm jars, leaving a precise 1 inch of headspace at the top of each jar. This headspace is vital for proper sealing and to allow for food expansion during processing. If desired, you can add canning salt for flavor: ½ teaspoon per pint jar or 1 teaspoon per quart jar. Salt is entirely optional and does not contribute to the safety of the canning process.
Next, pour fresh boiling water or pre-heated broth over the carrots, ensuring that the 1-inch headspace is maintained. Using a bubble remover or a clean, non-metallic utensil, gently run it around the inside of each jar to release any trapped air bubbles. Top off with more boiling water or broth if necessary to readjust the headspace to the 1-inch mark.
5. Clean Rims and Seal Jars
Wipe the rims of all filled jars with a clean, damp cloth. This critical step removes any food particles or liquid that could prevent a proper seal. Place new, clean canning lids on the jars and screw on the bands until they are “fingertip tight”—meaning secure but not overly tightened, allowing air to escape during processing.
6. Process in the Pressure Canner
Load the prepared jars into your pre-heated pressure canner, ensuring they are spaced evenly on the rack to allow for proper water and steam circulation. Securely lock the canner lid in place. Turn the heat to high. Allow a steady stream of steam to escape from the vent or petcock for 10 full minutes. This venting process is crucial for expelling all air from the canner, ensuring that the processing occurs in a pure steam environment at the correct temperature.
After venting, close the vent or apply the weighted gauge to bring the canner up to the required pressure. Once the target pressure is reached (refer to the altitude adjustment chart below), begin timing the processing. Process pint jars for 25 minutes and quart jars for 30 minutes. Adjust the pressure as needed based on your altitude.
7. Cool and Check Seals
Once the processing time is complete, turn off the heat and allow the pressure canner to cool naturally until the pressure gauge reads zero. Do not attempt to force-cool the canner, as this can cause siphoning (loss of liquid from jars) or jar seal failures. Once the pressure is completely down, wait an additional 5 minutes before carefully opening the lid, tilting it away from your face to avoid steam burns.
Using a jar lifter, carefully remove the hot jars from the canner and place them upright on a towel-lined counter or a wire rack, ensuring they are not touching each other. Let them cool undisturbed for 12 to 24 hours. During this cooling period, you will hear the satisfying “ping” sound as the lids seal.
After the jars are completely cool, check the seals by pressing the center of each lid. A properly sealed lid will be concave and will not flex when pressed. If a lid does flex, the jar is not sealed. Any unsealed jars should be refrigerated immediately and consumed within a week. Properly sealed jars should be wiped clean, labeled with the contents and date, and stored in a cool, dark place, where they will maintain their quality for at least a year.
Pressure Canning Altitude Adjustments
When pressure canning, processing times remain constant regardless of altitude, but the required pressure levels must be adjusted to ensure food safety. Refer to these guidelines based on your elevation:
For dial gauge pressure canners:
- 0 to 2,000 feet in elevation – 11 lbs pressure
- 2,001 to 4,000 feet in elevation – 12 lbs pressure
- 4,001 to 6,000 feet in elevation – 13 lbs pressure
- 6,001 to 8,000 feet in elevation – 14 lbs pressure
For weighted gauge pressure canners:
- 0 to 1,000 feet in elevation – 10 lbs pressure
- Above 1,000 feet – 15 lbs pressure
Enhancing Flavor: Canning Liquid Options
While plain boiling water is the standard canning liquid for carrots, you have several options to infuse additional flavor, none of which affect the safety of the preservation process (as long as they are not thick or dairy-based, which would interfere with heat penetration).
As mentioned, canning salt is optional but highly recommended for enhancing flavor. Many canners prefer to add ½ teaspoon per pint or 1 teaspoon per quart.
For those who enjoy a sweeter profile, you can experiment with adding a bit of sugar to the canning liquid. Some recipes suggest incorporating acidic fruit juices like pineapple juice or orange juice (up to ½ cup per quart) combined with water, or even a touch of maple syrup (about ¼ cup per quart) for a unique sweet and savory carrot that’s delightful when reheated with a pat of butter. Remember, for safety, always stick to water or acidic fruit juices as the primary canning liquid; avoid using meat stock or vegetable broth for pressure canning carrots, as their density and pH can impact heat penetration and safety.
1
Yield Varies
Pressure Canned Carrots Recipe
Pressure canning carrots is a simple and reliable way to preserve them for long-term storage. This tested method guides you through raw or hot packing carrots in pint or quart jars, with clear steps for safe processing. Once sealed, the jars are shelf-stable and ready to use in soups, stews, casseroles, or quick side dishes.
25
mins
5
mins
30
mins
1
hr
Equipment
-
Pressure Canner
Ingredients
- Fresh carrots, about 2 pounds per quart jar
- Boiling water
- Canning salt, optional (½ tsp per pint, 1 tsp per quart)
Instructions
-
1. Prepare Jars and Canner: Wash jars, lids, and rings. Heat jars in warm water and bring water in the pressure canner to a simmer (180°F).
-
2. Prepare Your Carrots: Wash and peel fresh carrots. Slice into rounds, dice, or cut into sticks.
-
3. Prepare for Packing Jars: For hot pack, simmer carrots in boiling water for 5 minutes. For raw pack, skip simmering and pack directly into jars.
-
4. Pack the Jars: Fill jars with carrots, leaving 1 inch headspace. Add ½ tsp salt per pint or 1 tsp per quart, if using. Pour boiling water or broth over the carrots, maintaining 1 inch headspace.
-
5. Remove Air Bubbles and Seal: Use a bubble remover to release any trapped air. Adjust headspace as needed. Wipe jar rims clean, apply lids, and screw on bands until fingertip tight.
-
6. Process in Pressure Canner: Place jars in the canner. Lock the lid and vent steam for 10 minutes, then bring to pressure. (See altitude adjustments section for specific pressures.) Once at pressure, process pint jars for 25 minutes and quart jars for 30 minutes.
-
7. Cool and Store: Allow pressure to return to zero naturally. Wait 5 minutes, then open the lid. Remove jars and let cool undisturbed for 12–24 hours. Check seals. Store in a cool, dark place for up to 12–18 months. Refrigerate after opening.
Notes
Carrot Yield: It takes about 2 to 3 pounds of carrots per quart jar, or about 1 to 1½ pounds per pint.
Texture Tip: Hot packing helps reduce floating and shrinkage in the jars, leading to a firmer texture.
No Salt?: Salt is purely for flavor and can be omitted without affecting safety. However, adding salt is strongly recommended for taste.
Pressure Canning Altitude Adjustments
With pressure canning, the processing times stay the same at higher altitudes, but the pressures change. Here are the altitude adjustments for pressure canning:
For dial gauge pressure canners:
- 0 to 2,000 feet in elevation – 11 lbs pressure
- 2,001 to 4,000 feet in elevation – 12 lbs pressure
- 4,001 to 6,000 feet in elevation – 13 lbs pressure
- 6,001 to 8,000 feet in elevation – 14 lbs pressure
For weighted gauge pressure canners:
- 0 to 1,000 feet in elevation – 10 lbs pressure
- Above 1,000 feet – 15 lbs pressure
Nutrition Facts (Approximate per serving)
Calories: 52kcal,
Carbohydrates: 12g,
Protein: 1g,
Fat: 0.3g,
Saturated Fat: 0.04g,
Polyunsaturated Fat: 0.1g,
Monounsaturated Fat: 0.02g,
Sodium: 88mg,
Potassium: 410mg,
Fiber: 4g,
Sugar: 6g,
Vitamin A: 21384IU,
Vitamin C: 8mg,
Calcium: 42mg,
Iron: 0.4mg
Nutrition information is automatically calculated and should only be used as an approximation.
Serving Suggestions and Culinary Uses
Once you’ve successfully canned your carrots, the culinary possibilities are endless. These convenient, shelf-stable vegetables are incredibly versatile and can elevate a wide array of dishes:
- Quick Side Dish: Drain the liquid, warm the carrots, and toss them with butter, a sprinkle of fresh herbs (like parsley or dill), and a pinch of salt and pepper for an effortless side.
- Soups and Stews: Canned carrots are pre-cooked, making them perfect for adding directly to simmering soups, stews, and chili during the last few minutes of cooking. They contribute sweetness and a hearty texture.
- Casseroles: Fold drained carrots into your favorite casserole recipes, such as chicken pot pie casserole or shepherd’s pie, for added flavor and nutrients.
- Mashed Carrots: For a comforting dish, mash softened canned carrots with butter, cream, and a touch of nutmeg or cinnamon.
- Roasted Carrots: While pre-cooked, you can still achieve a roasted flavor by draining and tossing them with olive oil, herbs, and spices, then roasting briefly in a hot oven until slightly caramelized.
- Salads: Chilled canned carrots can be a vibrant addition to green salads or pasta salads.
Having a supply of home-canned carrots means you’re always just a jar away from adding a burst of fresh, sweet flavor to your meals, even on the busiest days.
Explore More Pressure Canning Recipes
If you’re building a pantry full of wholesome, shelf-stable vegetables, expand your canning repertoire with these other tried-and-true pressure canning recipes:
- Pressure Canning Potatoes – A fantastic base for hearty soups, stews, or quick home fries.
- Canning Green Beans – Enjoy crisp-tender beans ready to use straight from the jar for easy meals.
- Canning Sweet Corn – Preserve the sweetness of summer corn for chowders, salsas, and casseroles.
- Canning Vegetable Soup – A complete, garden-fresh meal in a convenient jar.
- Canning Carrot Soup – Another excellent way to preserve carrots, transformed into a smooth, flavorful soup.
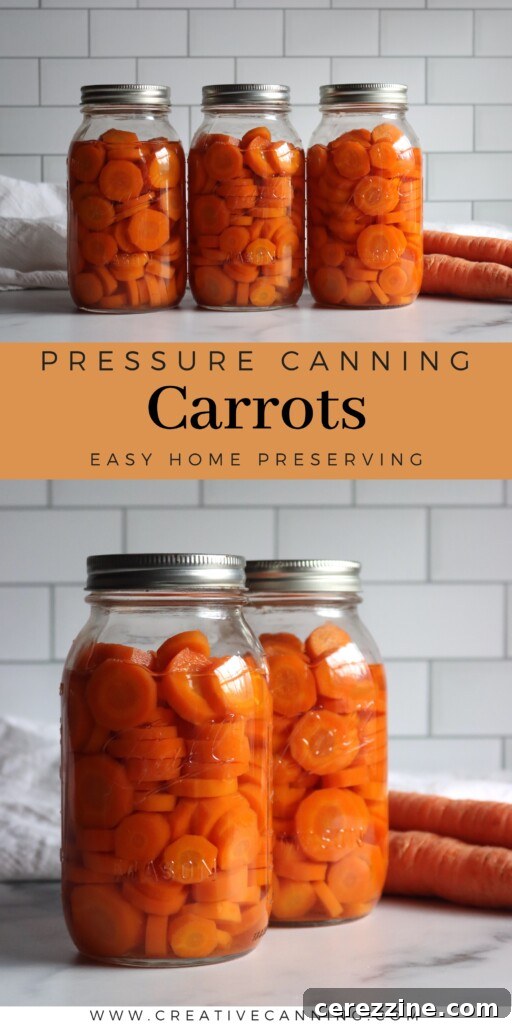
Canning carrots is more than just a method of preservation; it’s a step towards greater self-sufficiency and a deeper connection to your food supply. With a well-stocked pantry of home-canned carrots, you’re always prepared to create nourishing and delicious meals, regardless of the season.