
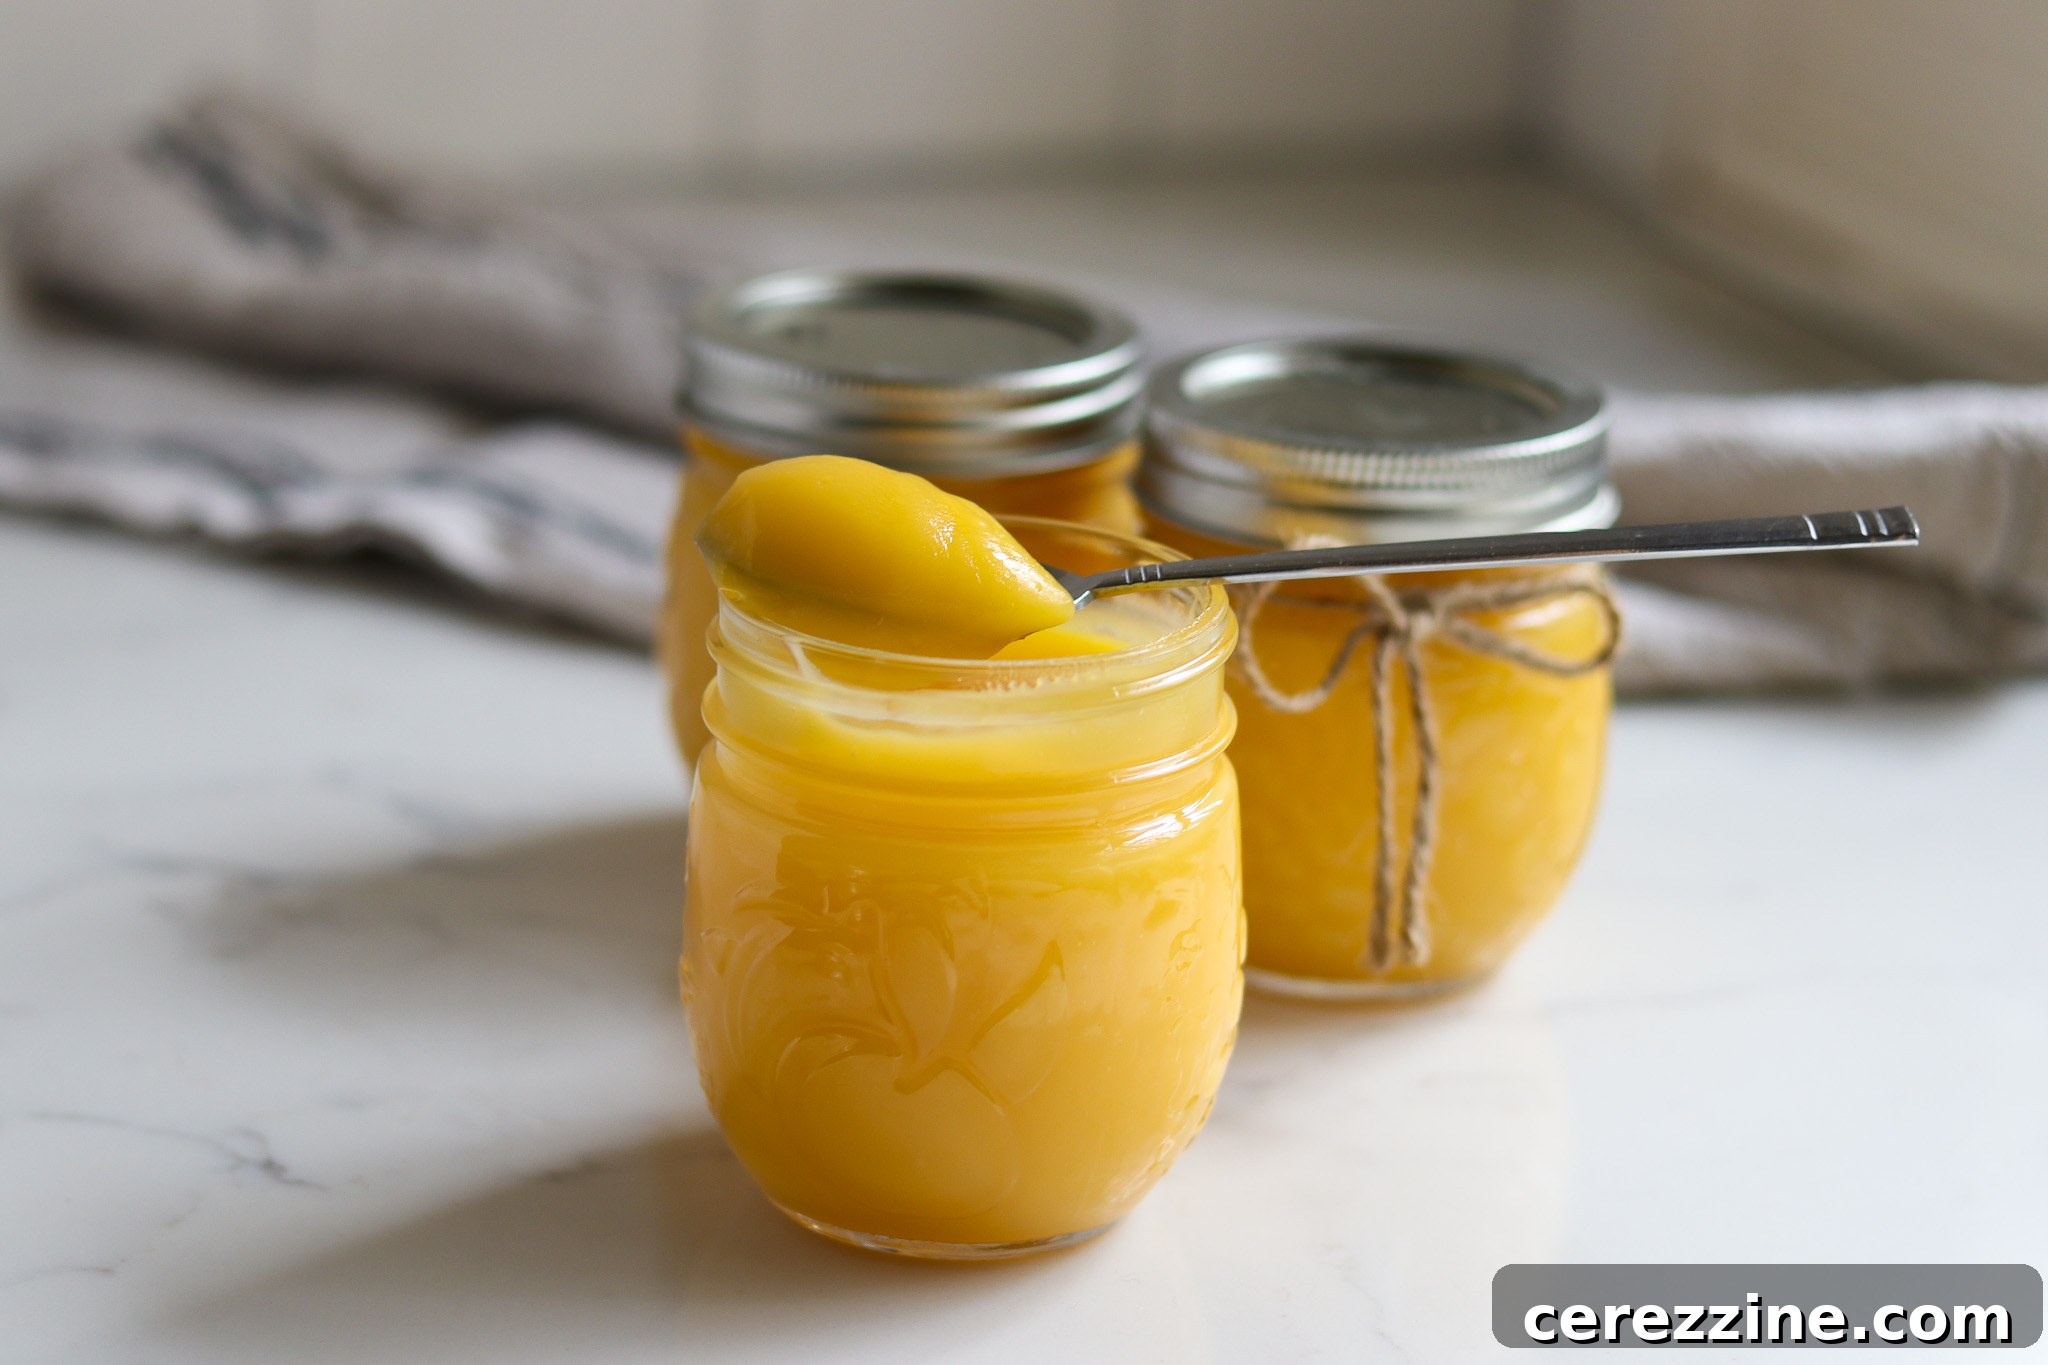
Master the Art of Canning Lemon Curd: Your Guide to Preserving Zesty Goodness
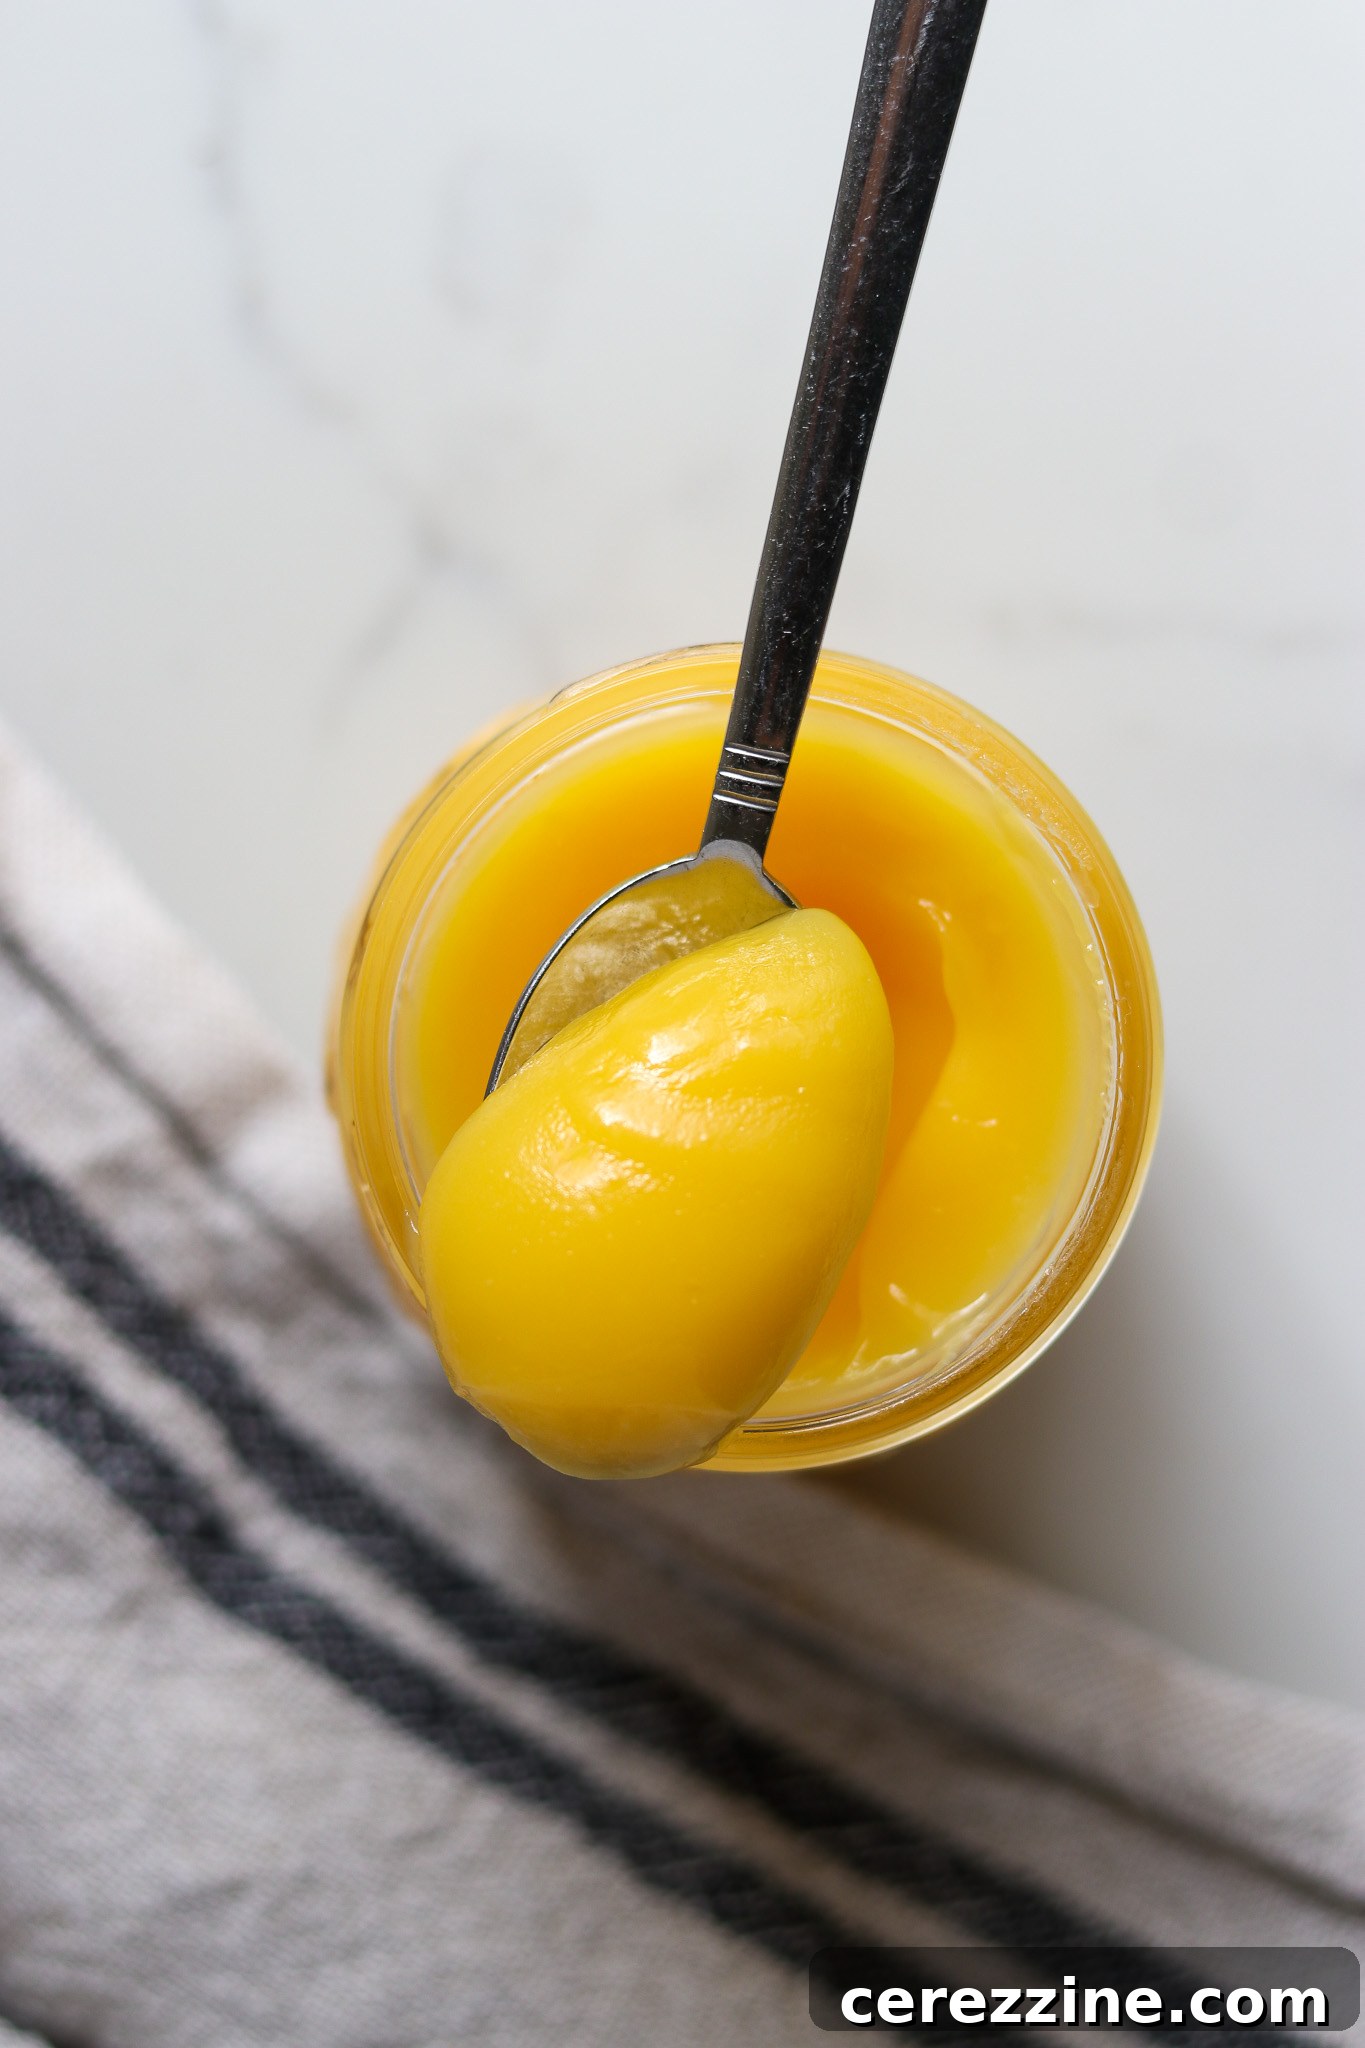
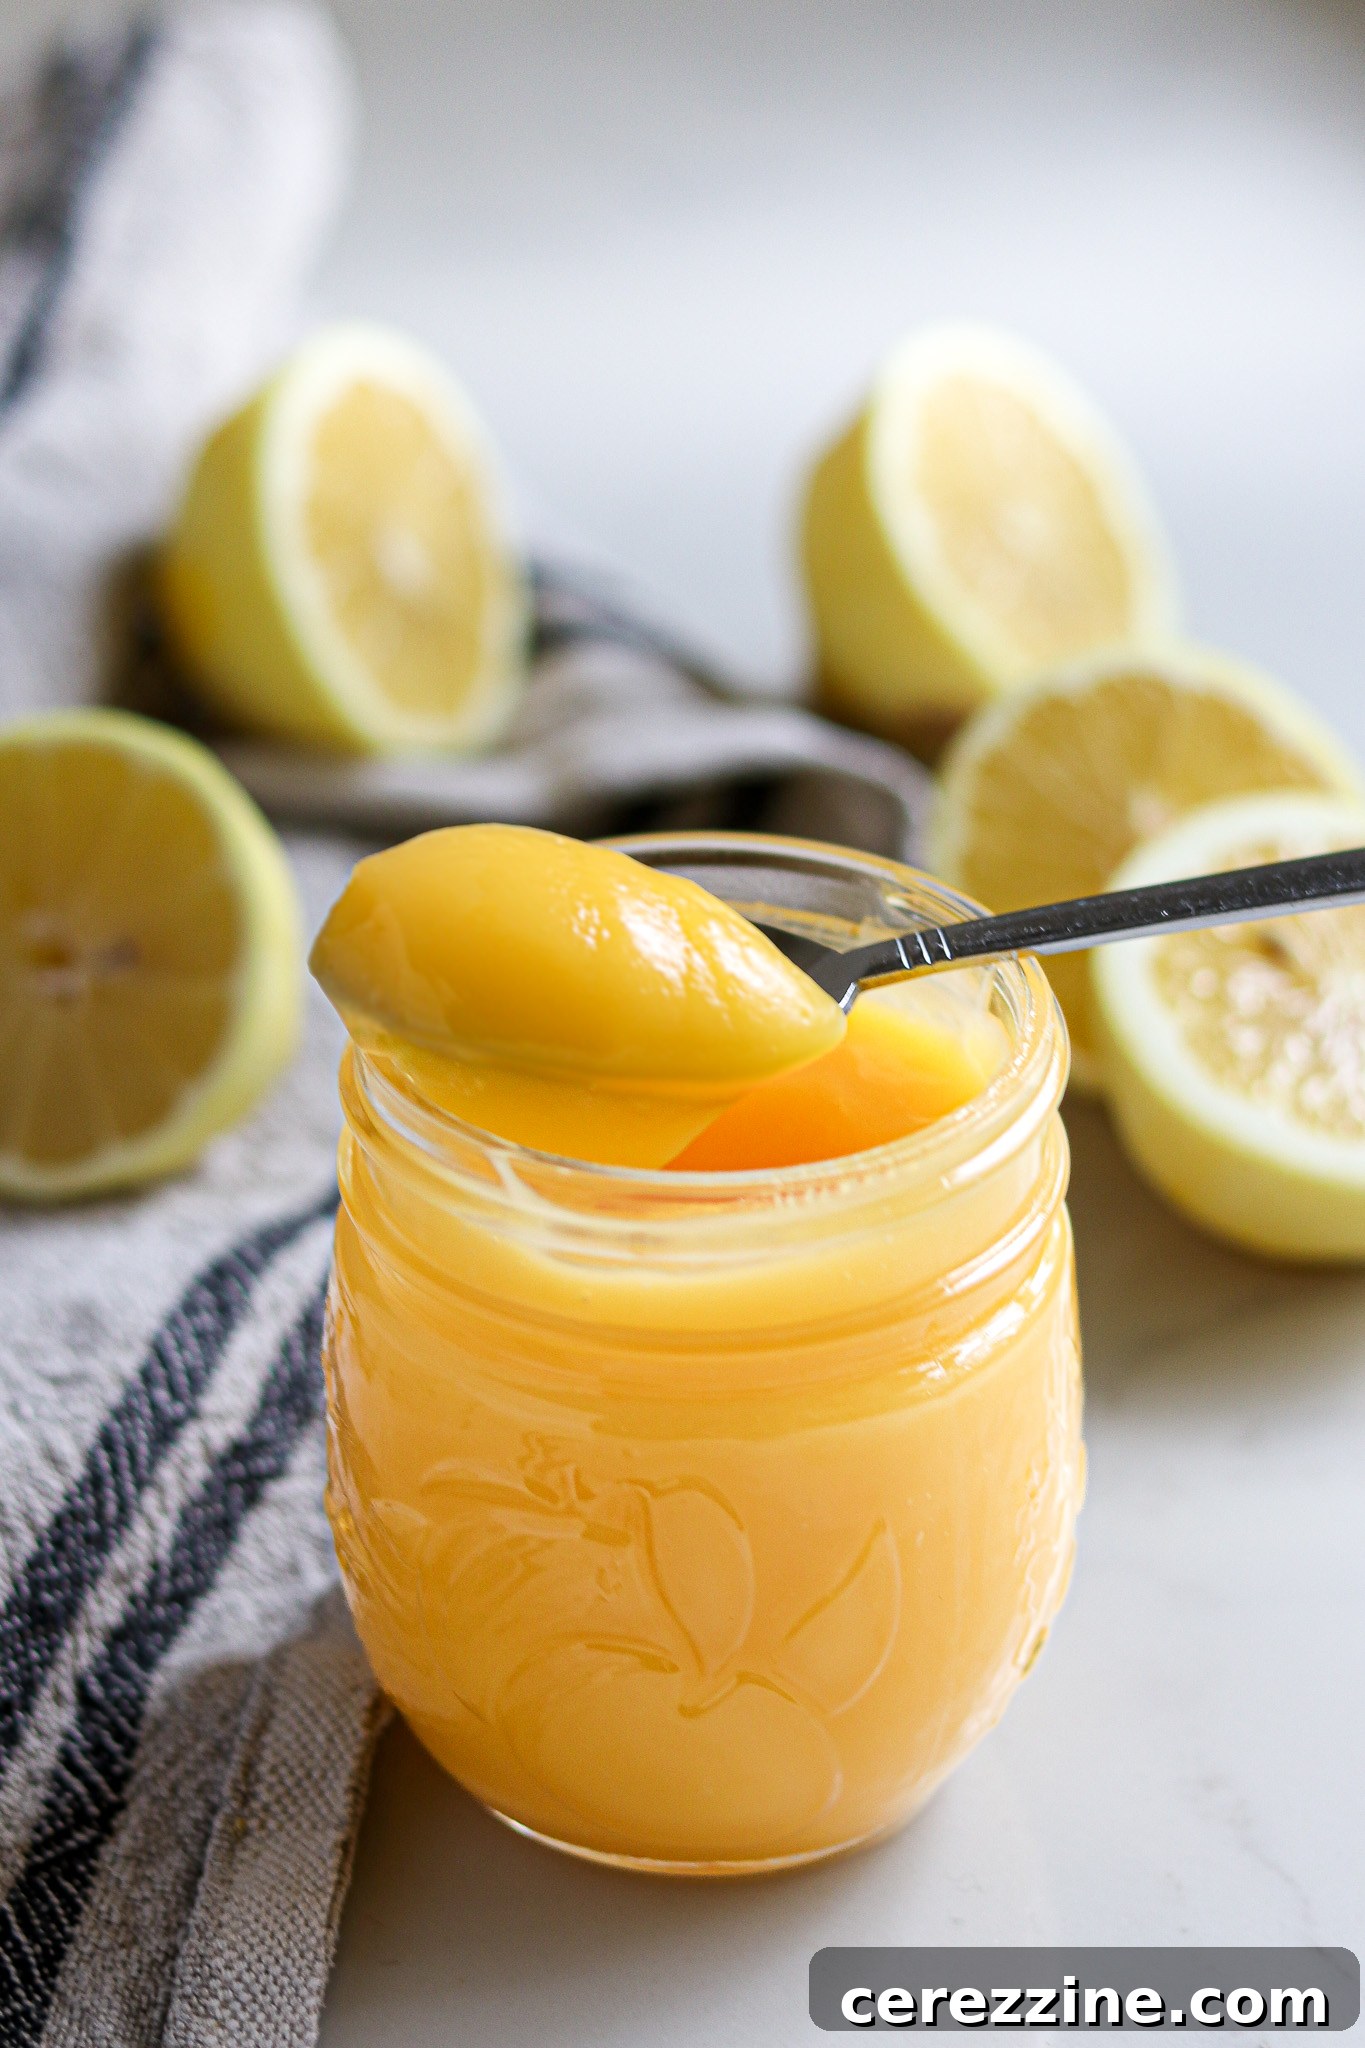
There’s nothing quite like the bright, tangy flavor of fresh lemons, and canning lemon curd is a truly delightful way to capture that vibrant essence, preserving it right on your pantry shelf. This luxurious, creamy spread isn’t just delicious eaten straight from the jar; it’s an incredibly versatile ingredient that elevates an array of desserts. Imagine it nestled between delicate cake layers, generously dolloped on flaky tarts, swirled into cookies, or even spooned over a scoop of vanilla ice cream. Beyond its culinary uses, a beautifully canned jar of homemade lemon curd makes for a thoughtful and impressive gift, bringing a touch of gourmet elegance to any occasion.
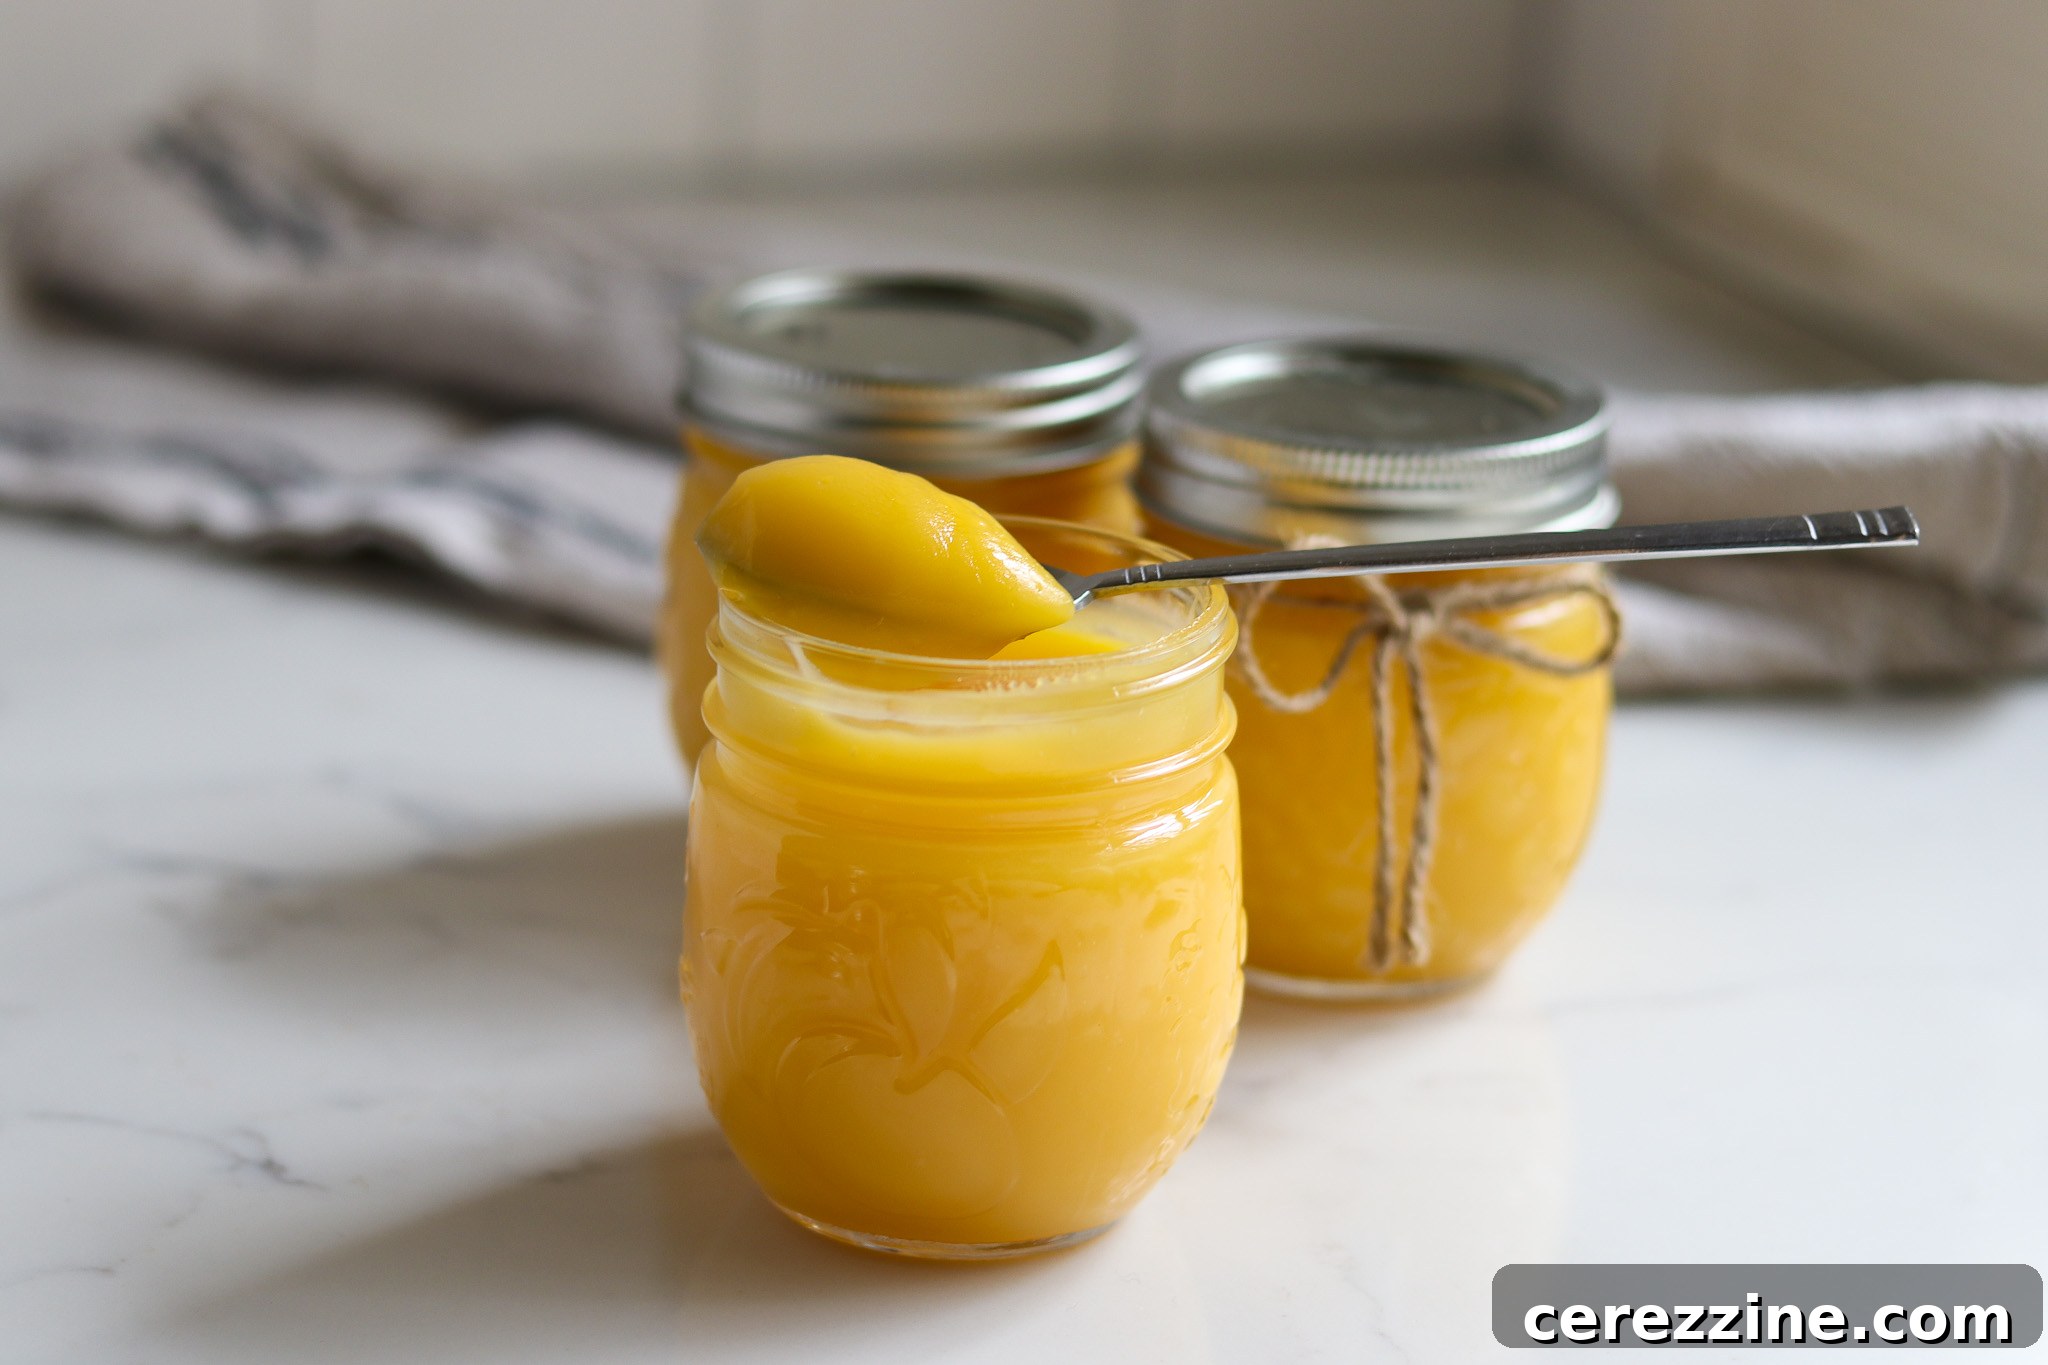
Why Canning Lemon Curd is a Culinary Delight
Lemon curd holds a special place in the hearts of many, a beloved spread often admired but rarely made at home due to perceived complexity. However, mastering the art of homemade lemon curd, especially canning it, unlocks a world of culinary possibilities. Giving a jar of this golden delight transforms an ordinary gift into a heartfelt expression of homemade love, sure to surprise and delight friends, family, and coworkers during holidays or any special moment. The convenience of having a shelf-stable supply of this luscious spread means you can enjoy its bright flavor year-round, regardless of lemon season.

The Science of Safe Canning: Understanding Lemon Curd’s Unique Recipe
For devoted home canners, the idea of preserving lemon curd might raise an eyebrow. Traditional lemon curd recipes typically include ingredients like butter and eggs, which are generally not approved for safe water bath canning due to their low acidity and potential for spoilage. This is where the National Center for Home Food Preservation (NCHFP) steps in. Recognizing the immense popularity and deliciousness of lemon curd, the NCHFP undertook extensive research to specifically develop a safe, tested canning recipe. This meticulous development ensures that you can preserve this delicate spread with confidence, transforming it into a shelf-stable pantry staple.
It is absolutely critical to understand that you cannot simply can any lemon curd recipe you find. Only this particular, scientifically tested recipe should be used for canning. Deviating from the precise proportions, especially concerning the acid level or the amount of eggs and butter, can compromise the safety and shelf life of your product. Fortunately, this approved recipe is not only safe but also delivers an incredibly flavorful and perfectly textured lemon curd that’s truly irresistible.
The fact that this recipe has been rigorously tested and approved for safe canning is a game-changer. It means you can prepare batches ahead of time, ensuring you have beautiful, homemade gifts ready to wrap and place under the tree without any worry about refrigeration. This assurance of safety makes the effort of canning lemon curd all the more rewarding.
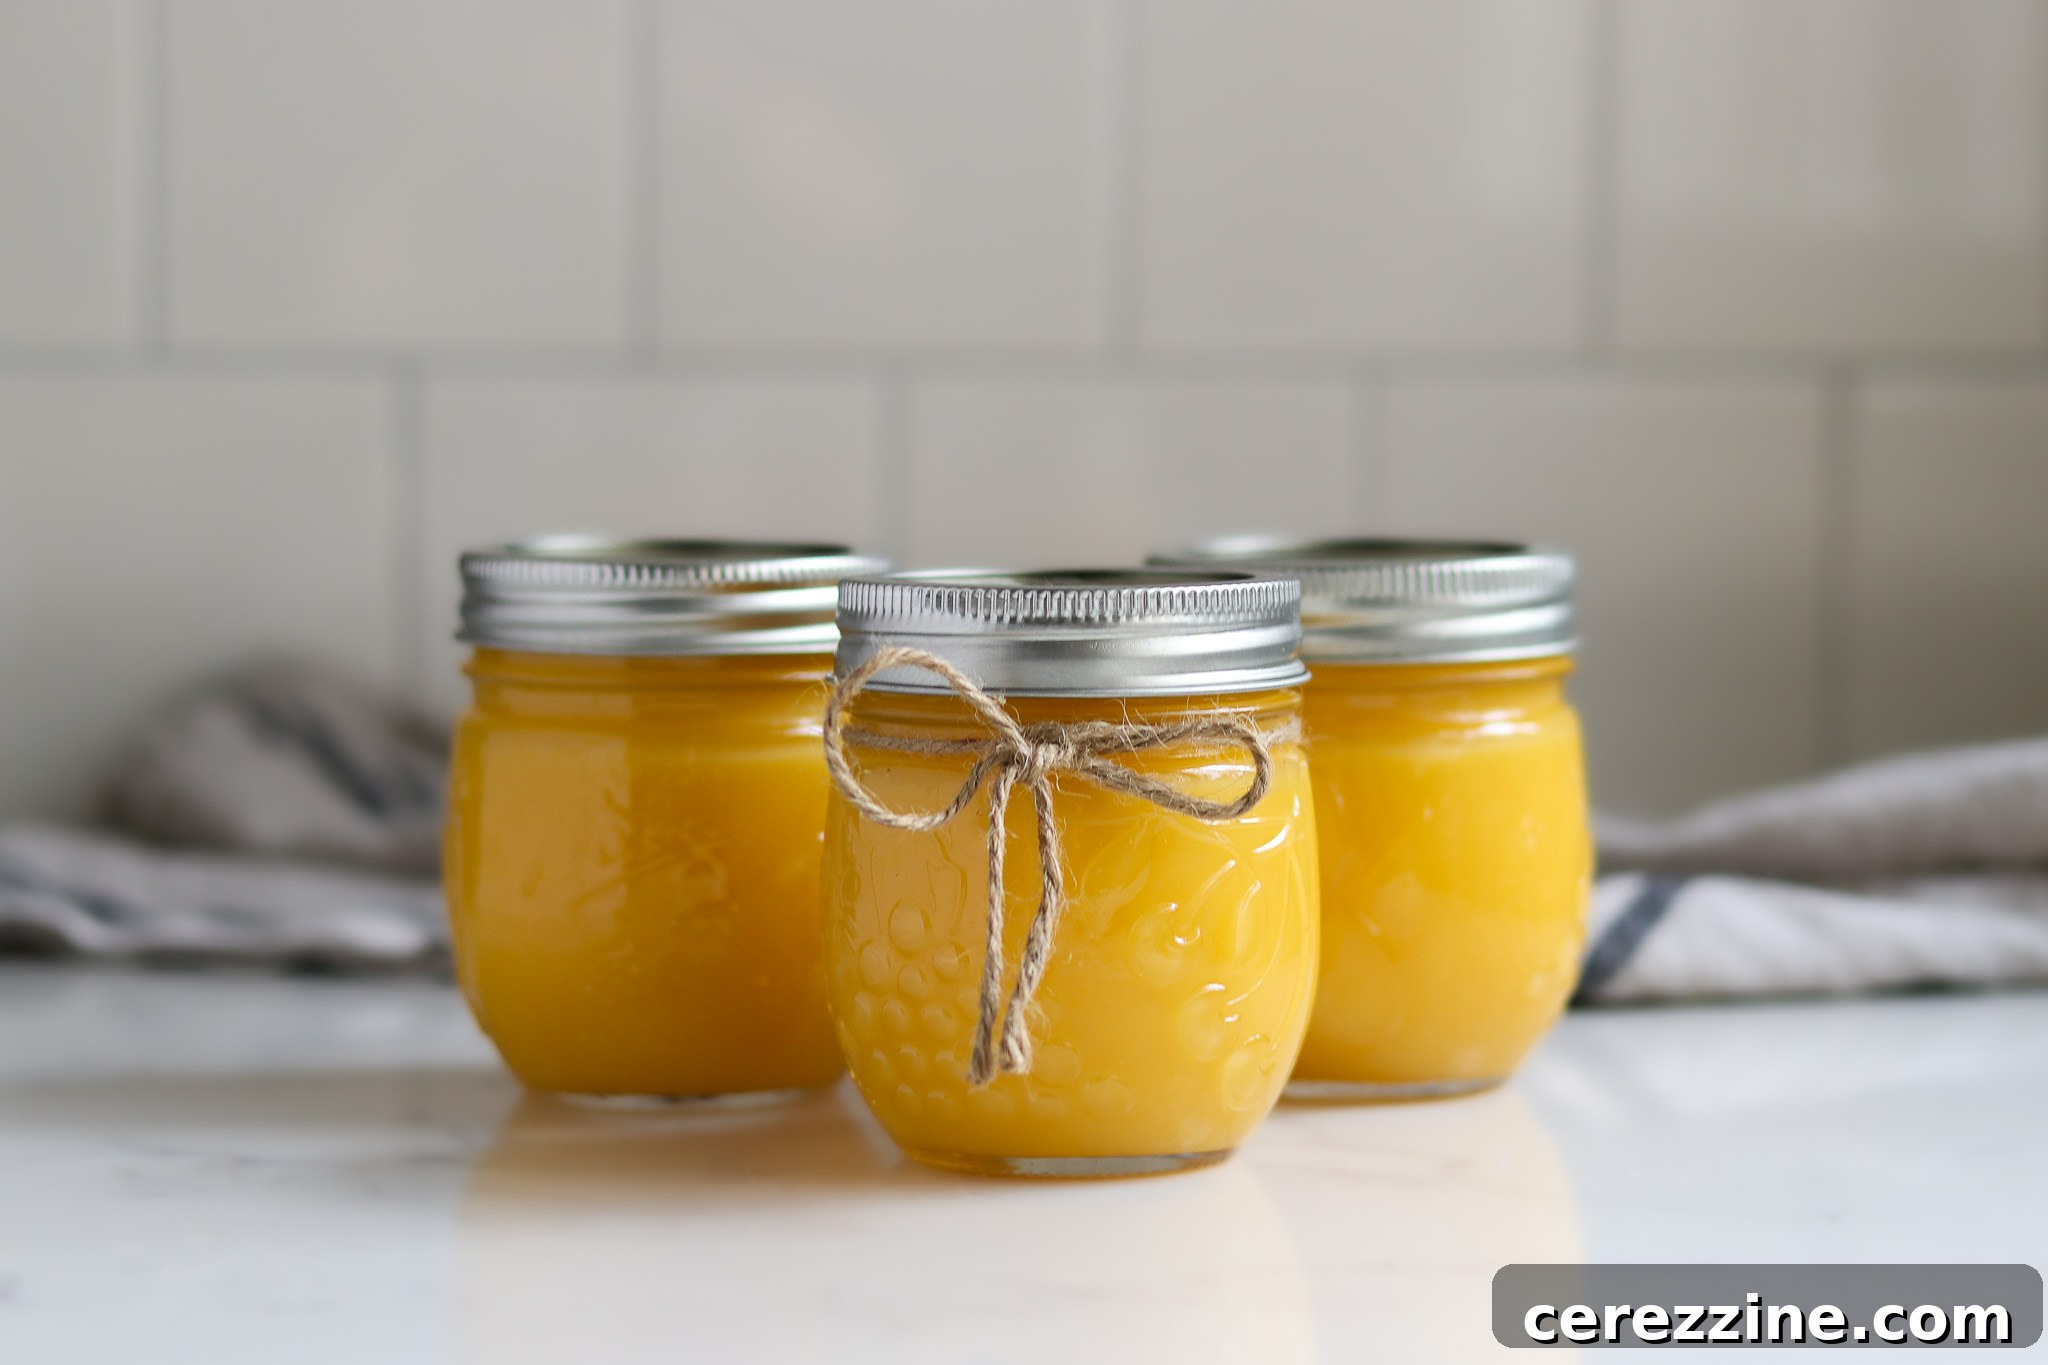
Essential Ingredients for Perfect Canned Lemon Curd
Homemade lemon curd, when prepared correctly, boasts a vibrant flavor and luxurious consistency without the need for artificial preservatives. The key to its safe preservation lies in the precise balance of ingredients. In this approved recipe, bottled lemon juice provides the consistent acidity required for safe canning, while sugar also plays a vital role in preservation and texture. It is paramount that you do not reduce the specified amounts of lemon juice or sugar, as these are critical for safety.
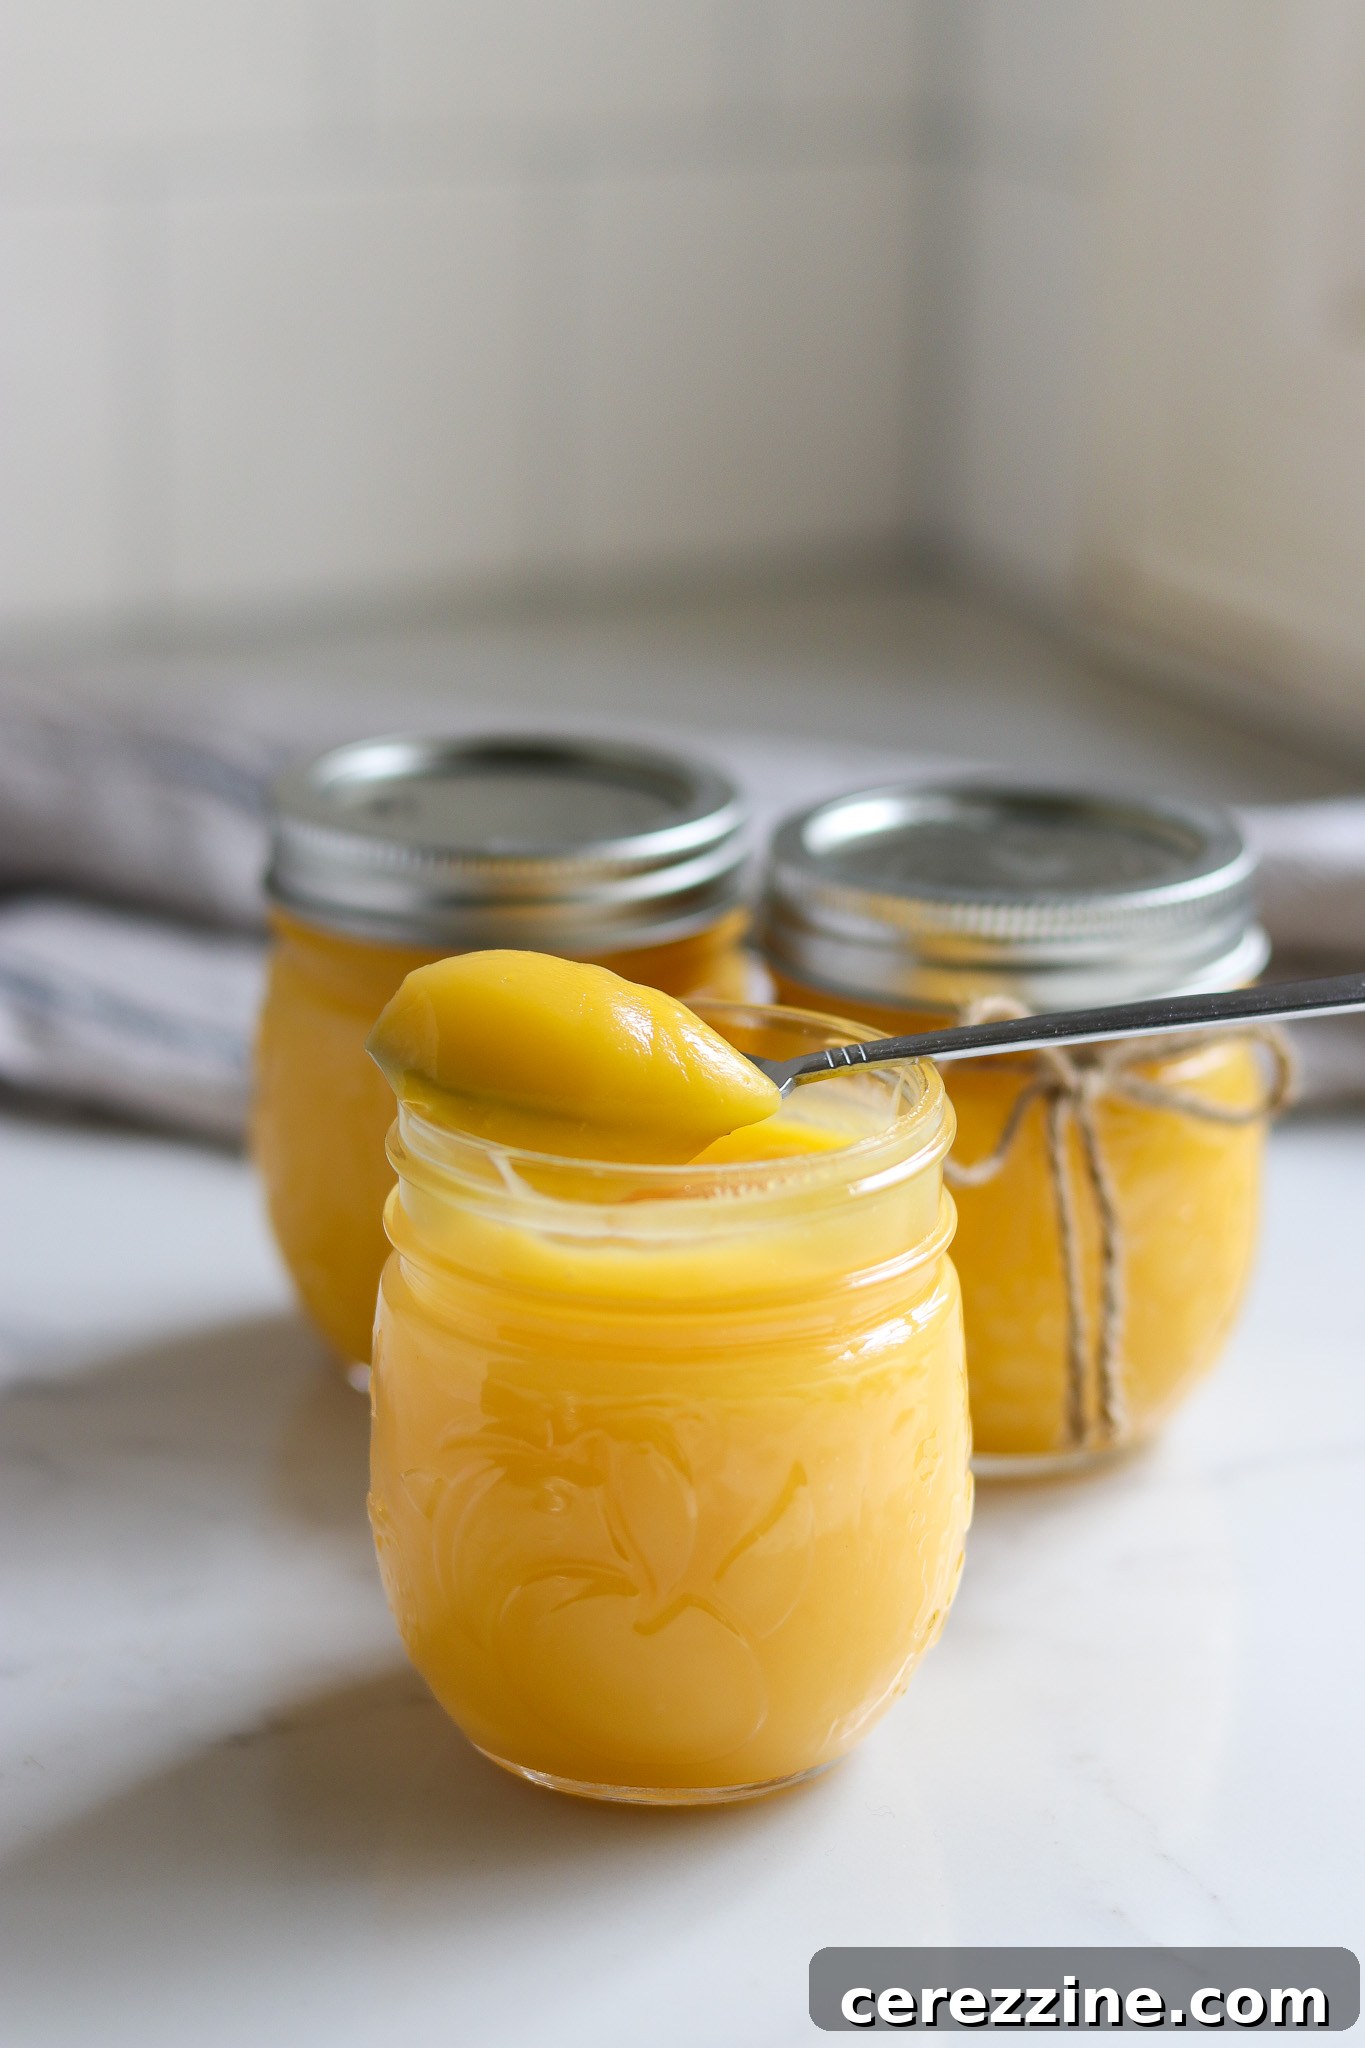
Why Bottled Lemon Juice is Non-Negotiable for Canning
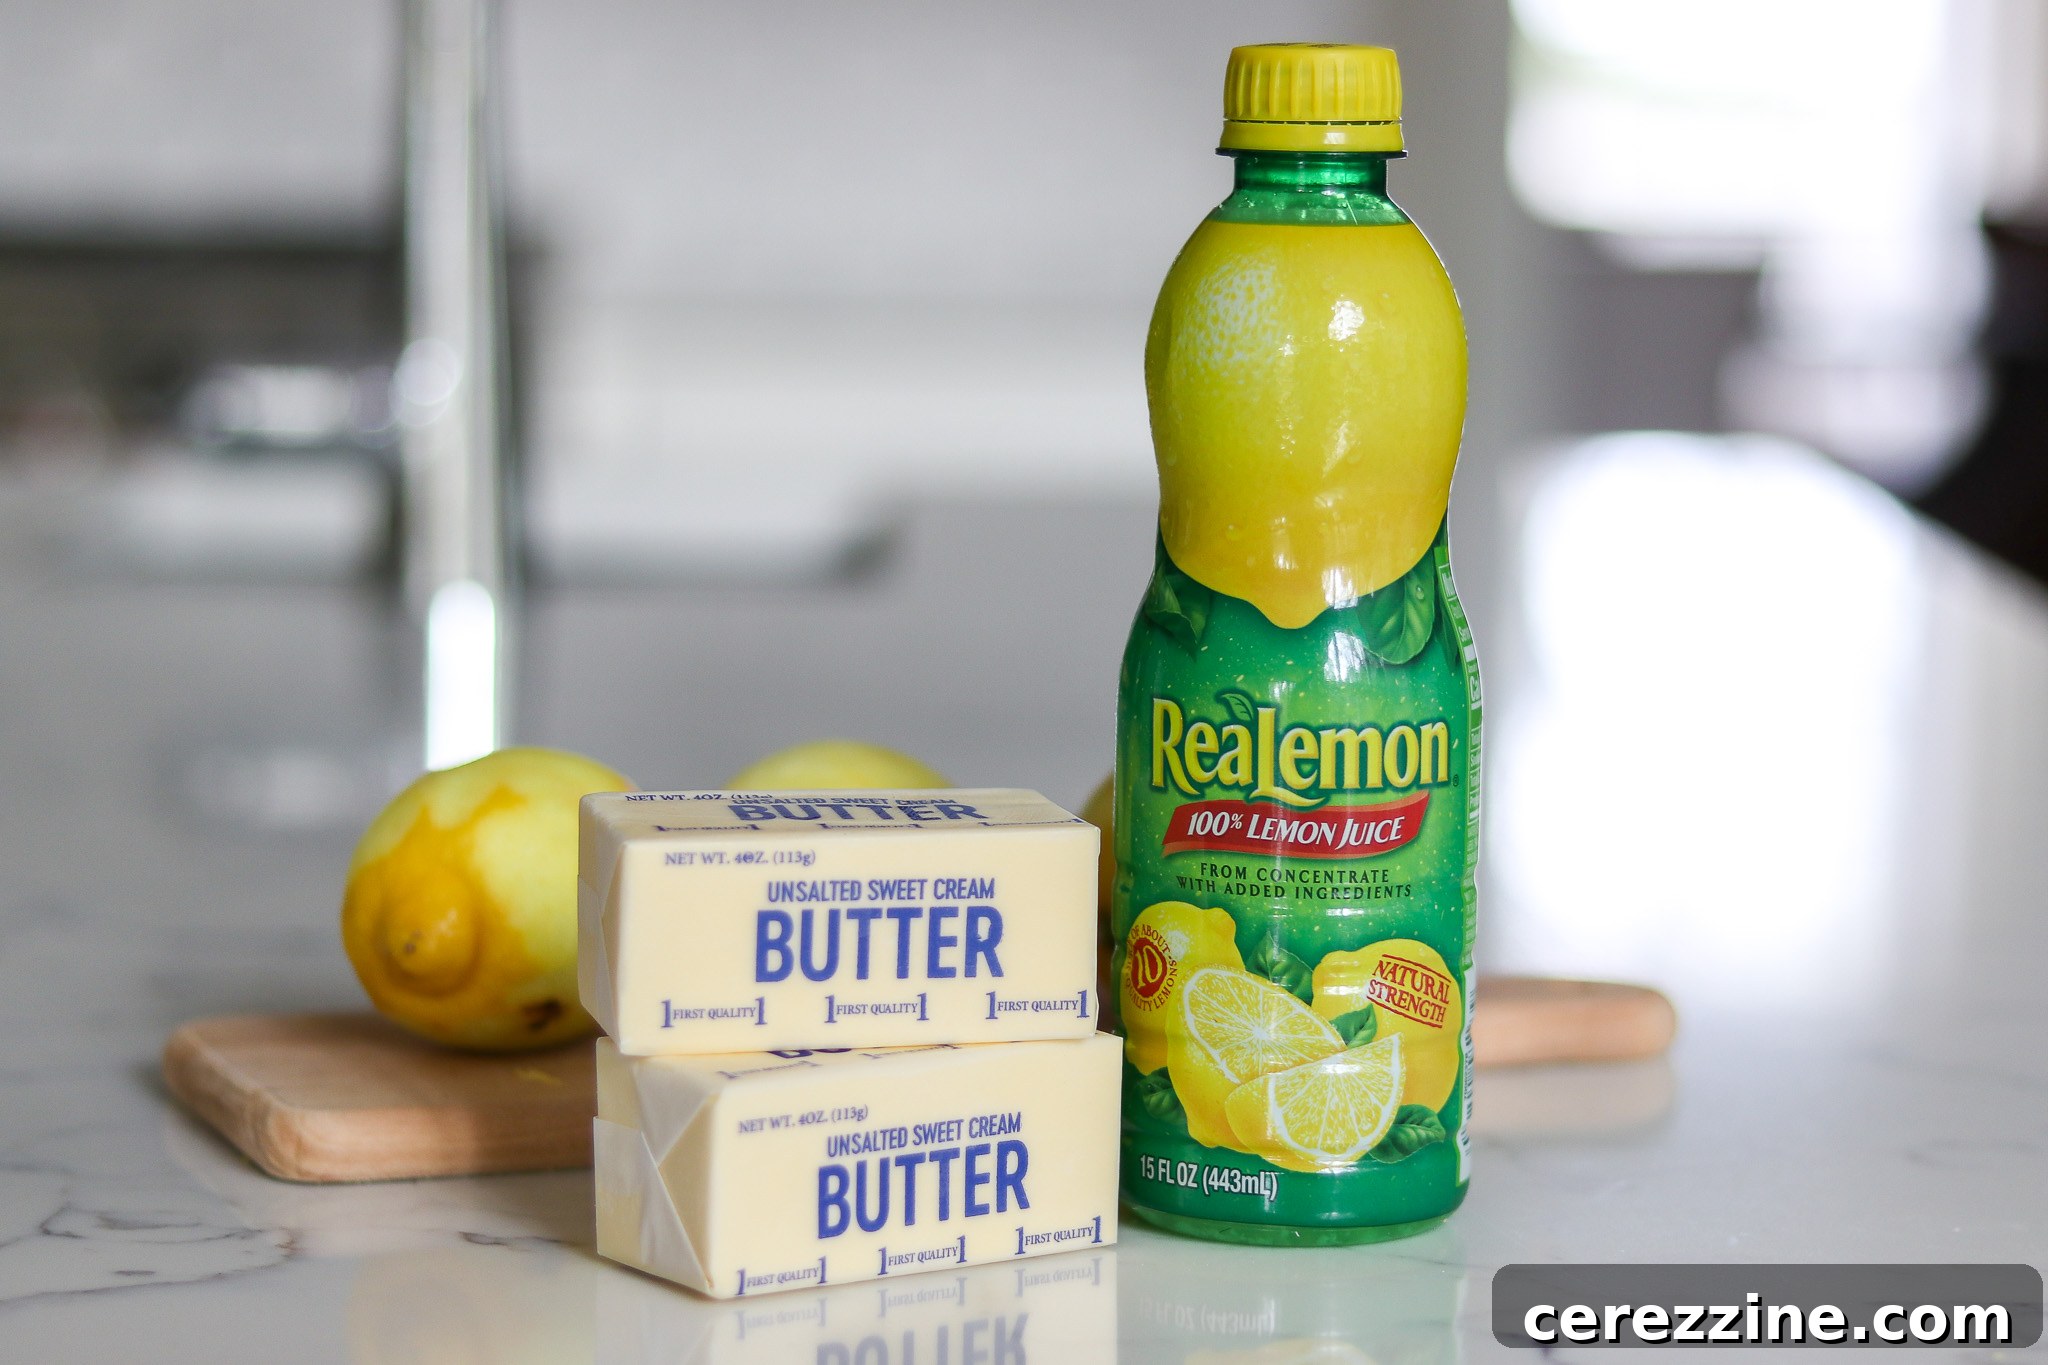
While this recipe brilliantly incorporates fresh lemons for their zest, the use of bottled lemon juice for the liquid component is absolutely essential for safe canning. The acidity level of fresh lemons can vary significantly depending on the variety, ripeness, and growing conditions. Bottled lemon juice, on the other hand, provides a consistent and tested pH level, which is crucial for ensuring the safety of your home-canned curd. Do not substitute fresh lemon juice for bottled lemon juice in this canning recipe. However, don’t let those freshly zested lemons go to waste! The leftover juice can be deliciously repurposed for other recipes, such as making canned lemonade concentrate or strawberry lemonade concentrate, as those recipes are specifically tested for use with fresh lemon juice.
When canning recipes that include butter and eggs, such as this lemon curd, strict adherence to the tested proportions is vital. Any alteration to the amounts of ingredients or the substitution of fresh lemon juice could render the product unsafe for shelf storage.
Batch Size for Optimal Results
This recipe is designed for a relatively small batch, yielding approximately 3 to 4 half-pint (8 oz) jars. It is strongly advised not to double the recipe. Larger batches may not cook evenly or reach the necessary temperature for proper thickening and safety. If you wish to make more lemon curd for gifting or stocking your pantry, simply prepare multiple separate batches.
Ingredients List:
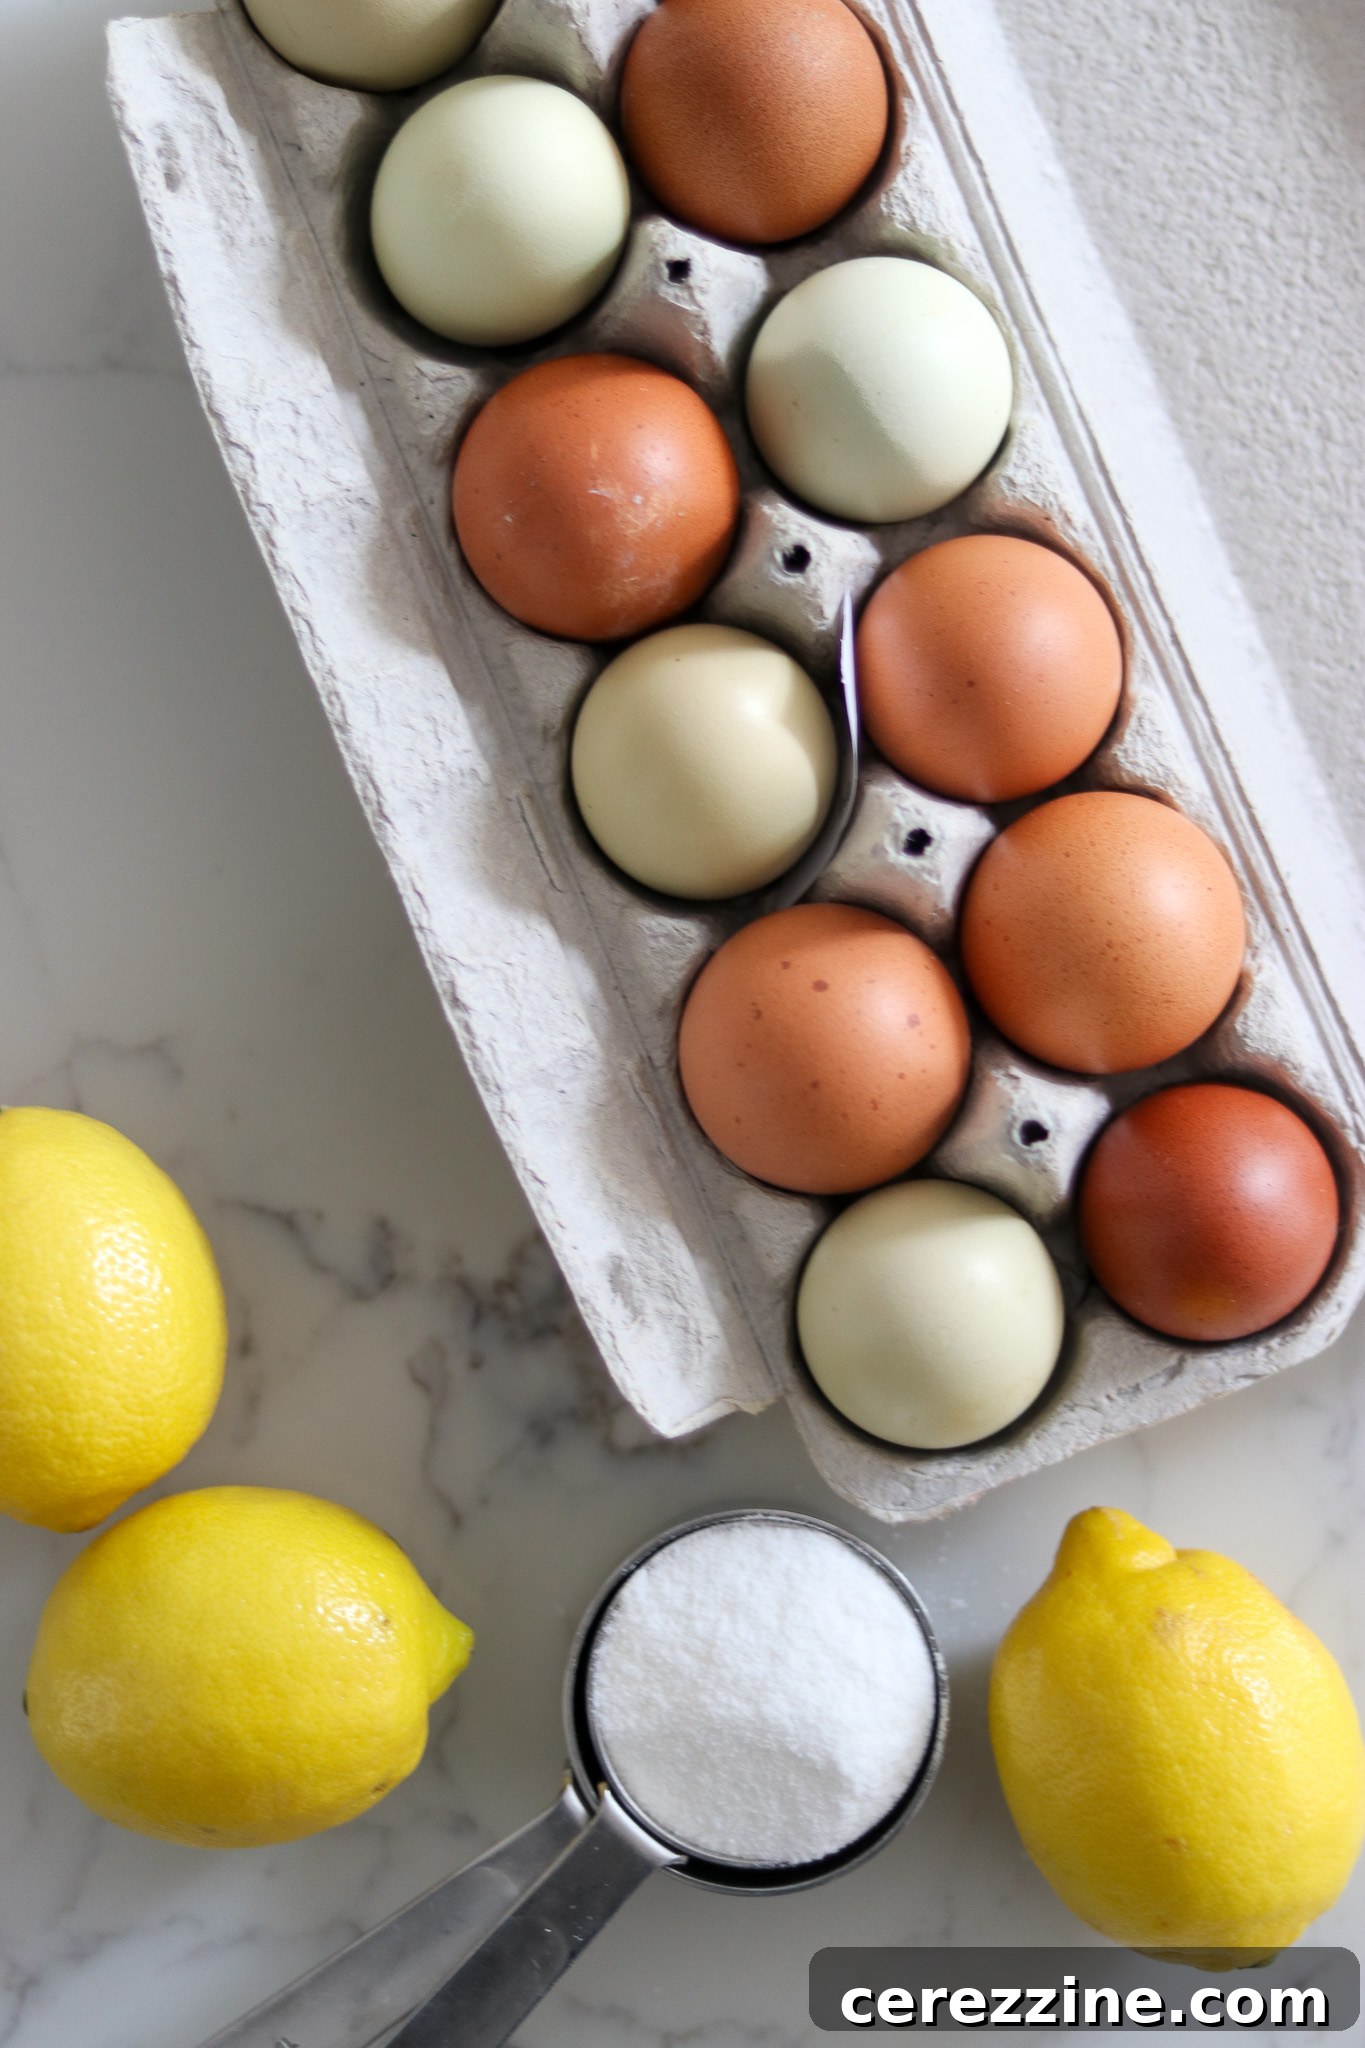
To make a batch yielding 3 to 4 half-pint jelly jars (8 oz each), you will need the following:
- 2½ cups superfine sugar (see note below)
- ½ cup fresh lemon zest
- 1 cup bottled lemon juice
- ¾ cup unsalted butter, chilled and cut into small pieces
- 7 large egg yolks
- 4 large whole eggs
Again, it bears repeating: use bottled lemon juice for the liquid component when canning. While the bottled juice ensures preservation, the fresh lemon zest is indispensable for imparting the vibrant, intense lemon flavor that defines a truly exceptional lemon curd.
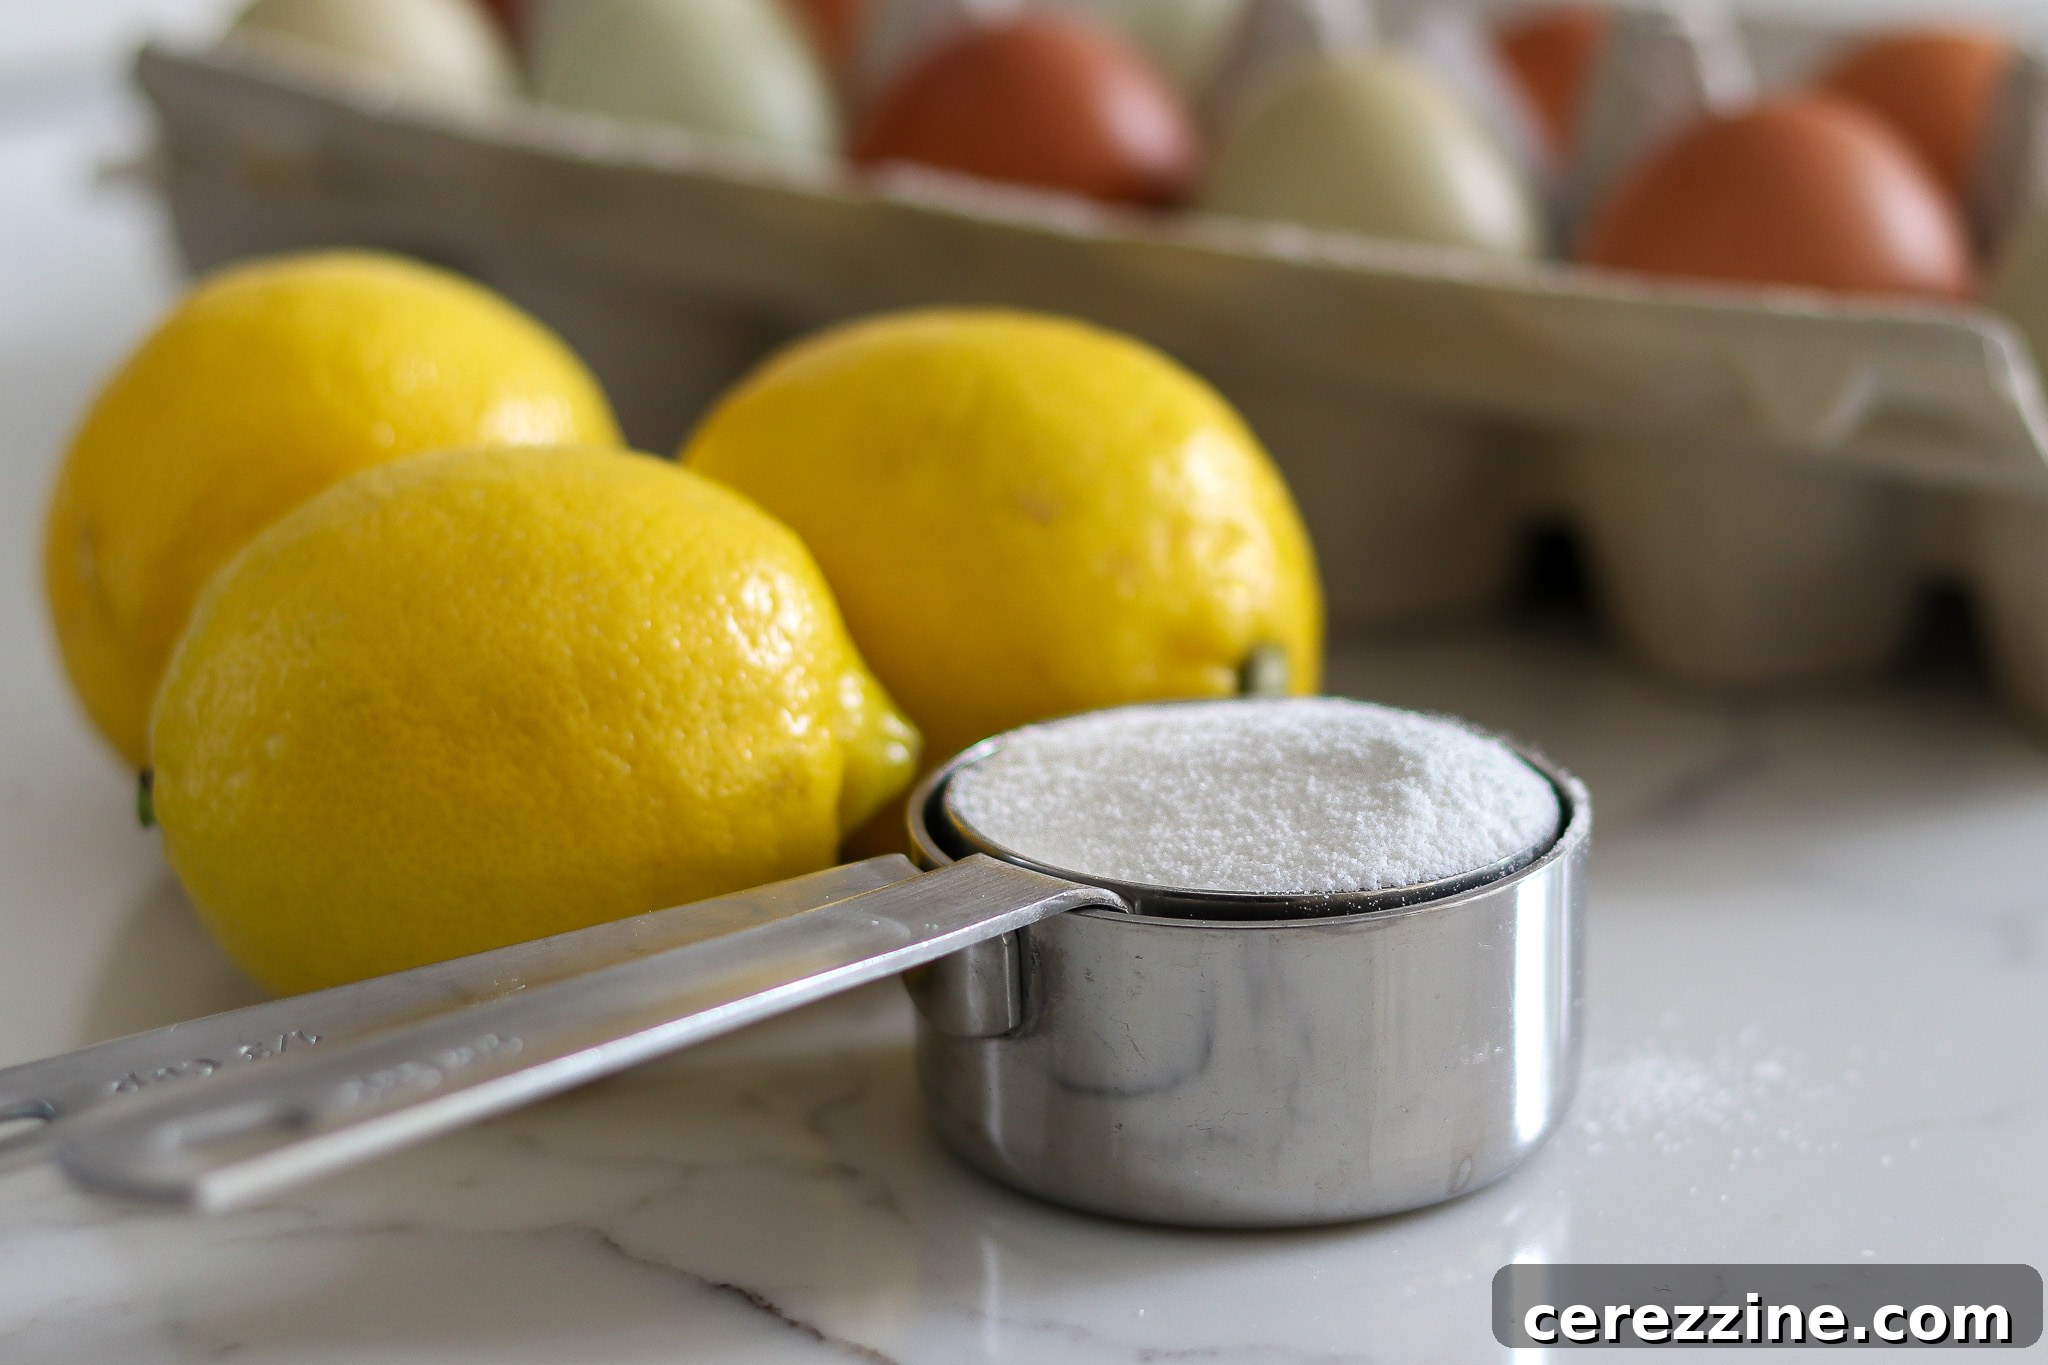
Understanding Superfine Sugar
Superfine sugar is the preferred choice for this recipe because its finer granules dissolve more easily and blend smoothly, especially when mixed with lemon zest. This contributes to the curd’s desirable silky texture.
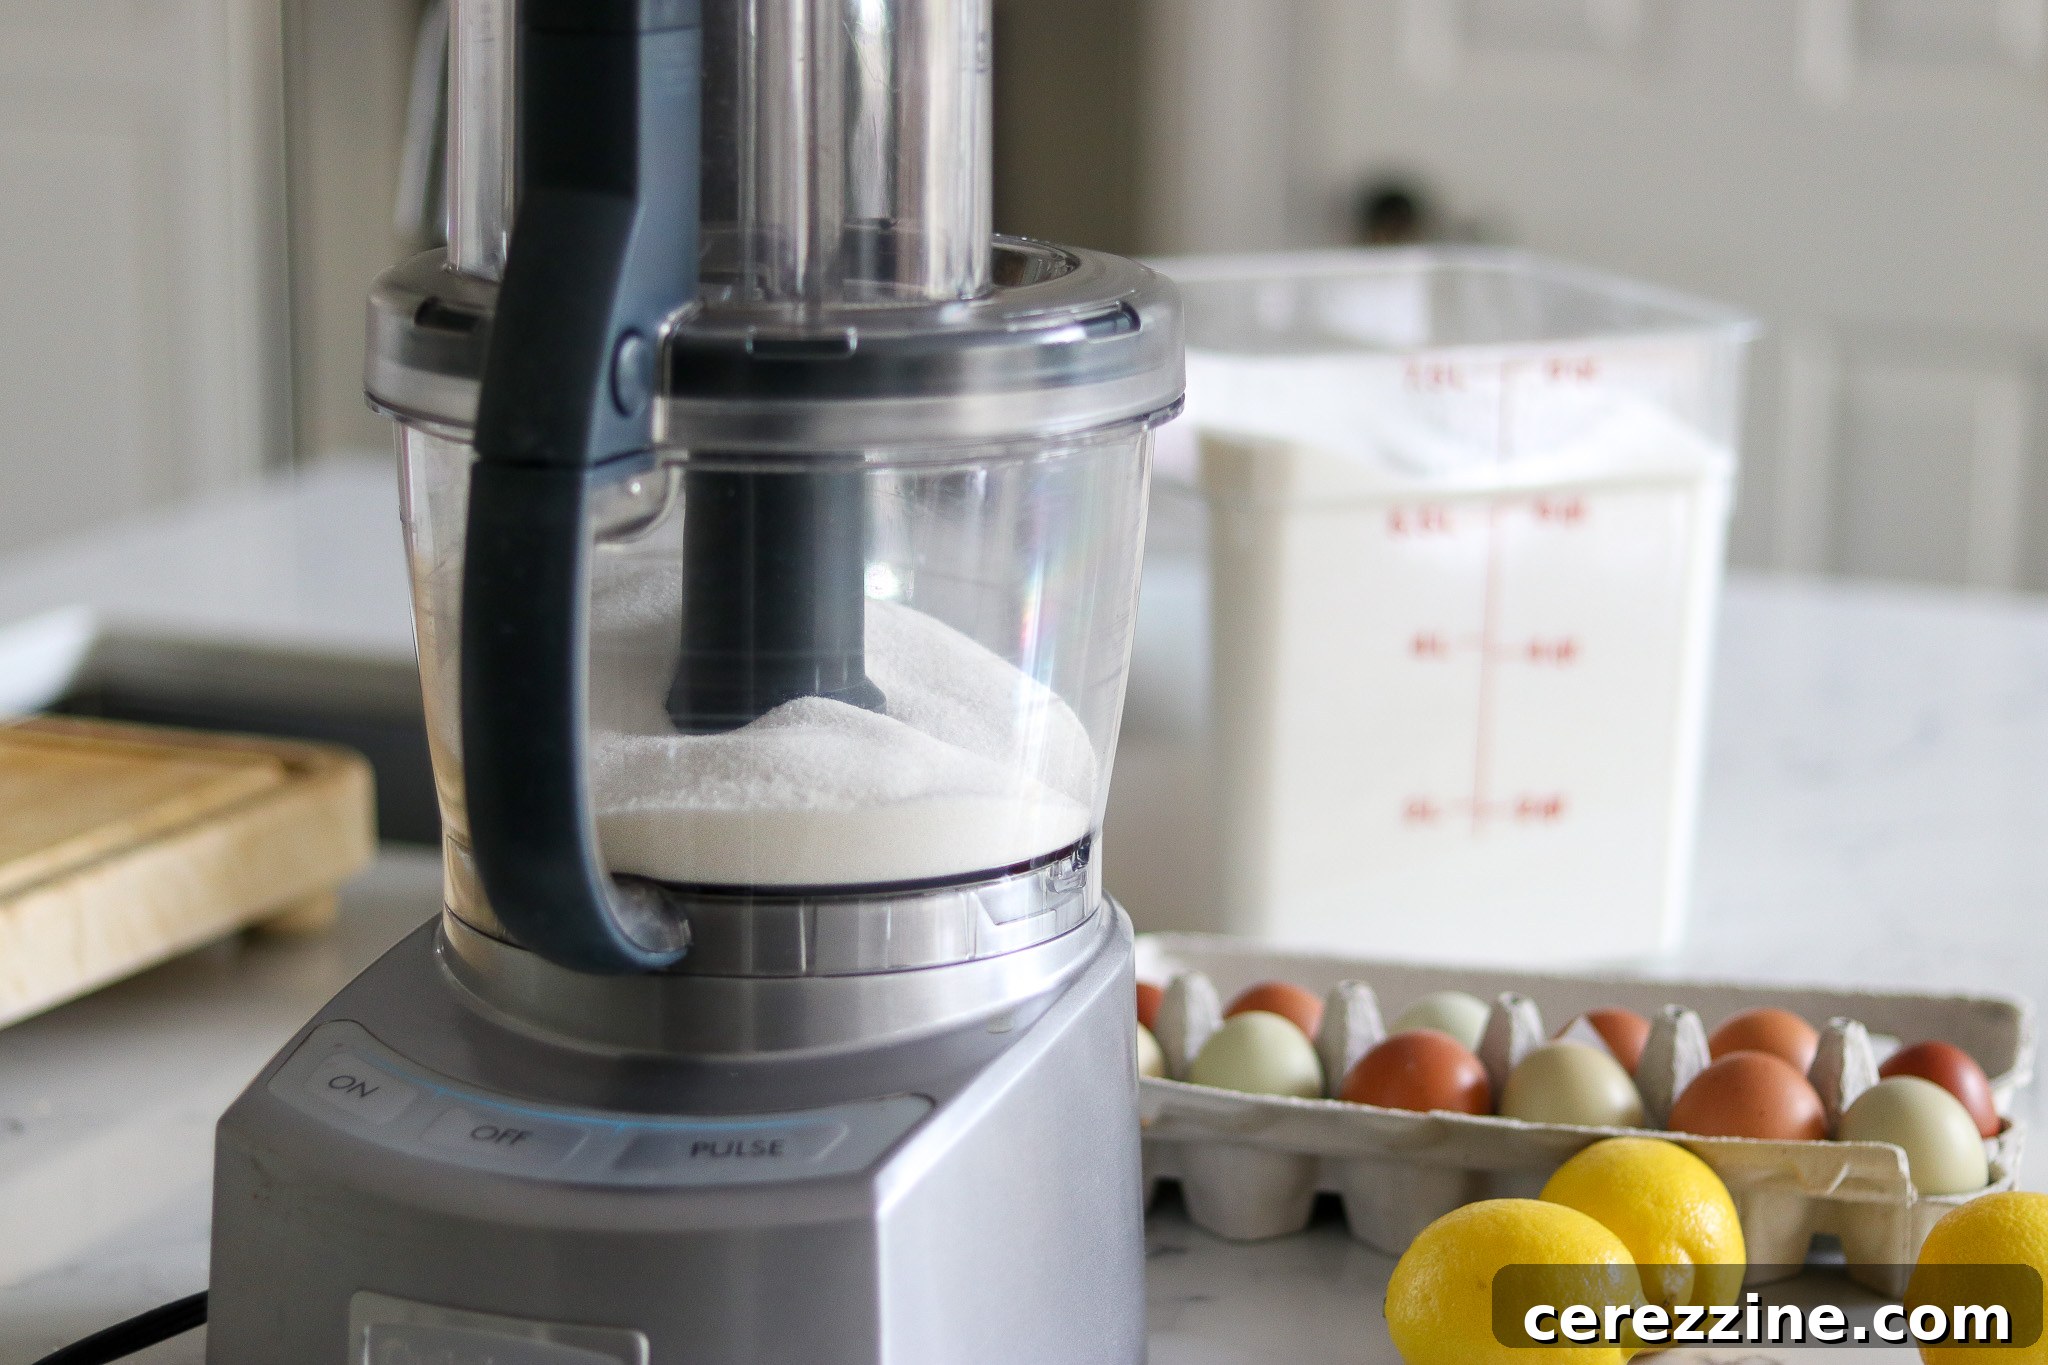
If superfine sugar isn’t readily available, you can easily create your own from regular granulated sugar using a food processor. Simply measure 2½ cups of granulated sugar into a food processor and pulse or grind for approximately 1 minute. Allow the fine sugar “dust” to settle before opening the processor. This will yield a suitable substitute. It is crucial to note: Do not use powdered sugar or confectioners’ sugar, as these often contain cornstarch or other anti-caking agents that can alter the texture and safety of your lemon curd for canning.
The Importance of Fresh Lemon Zest
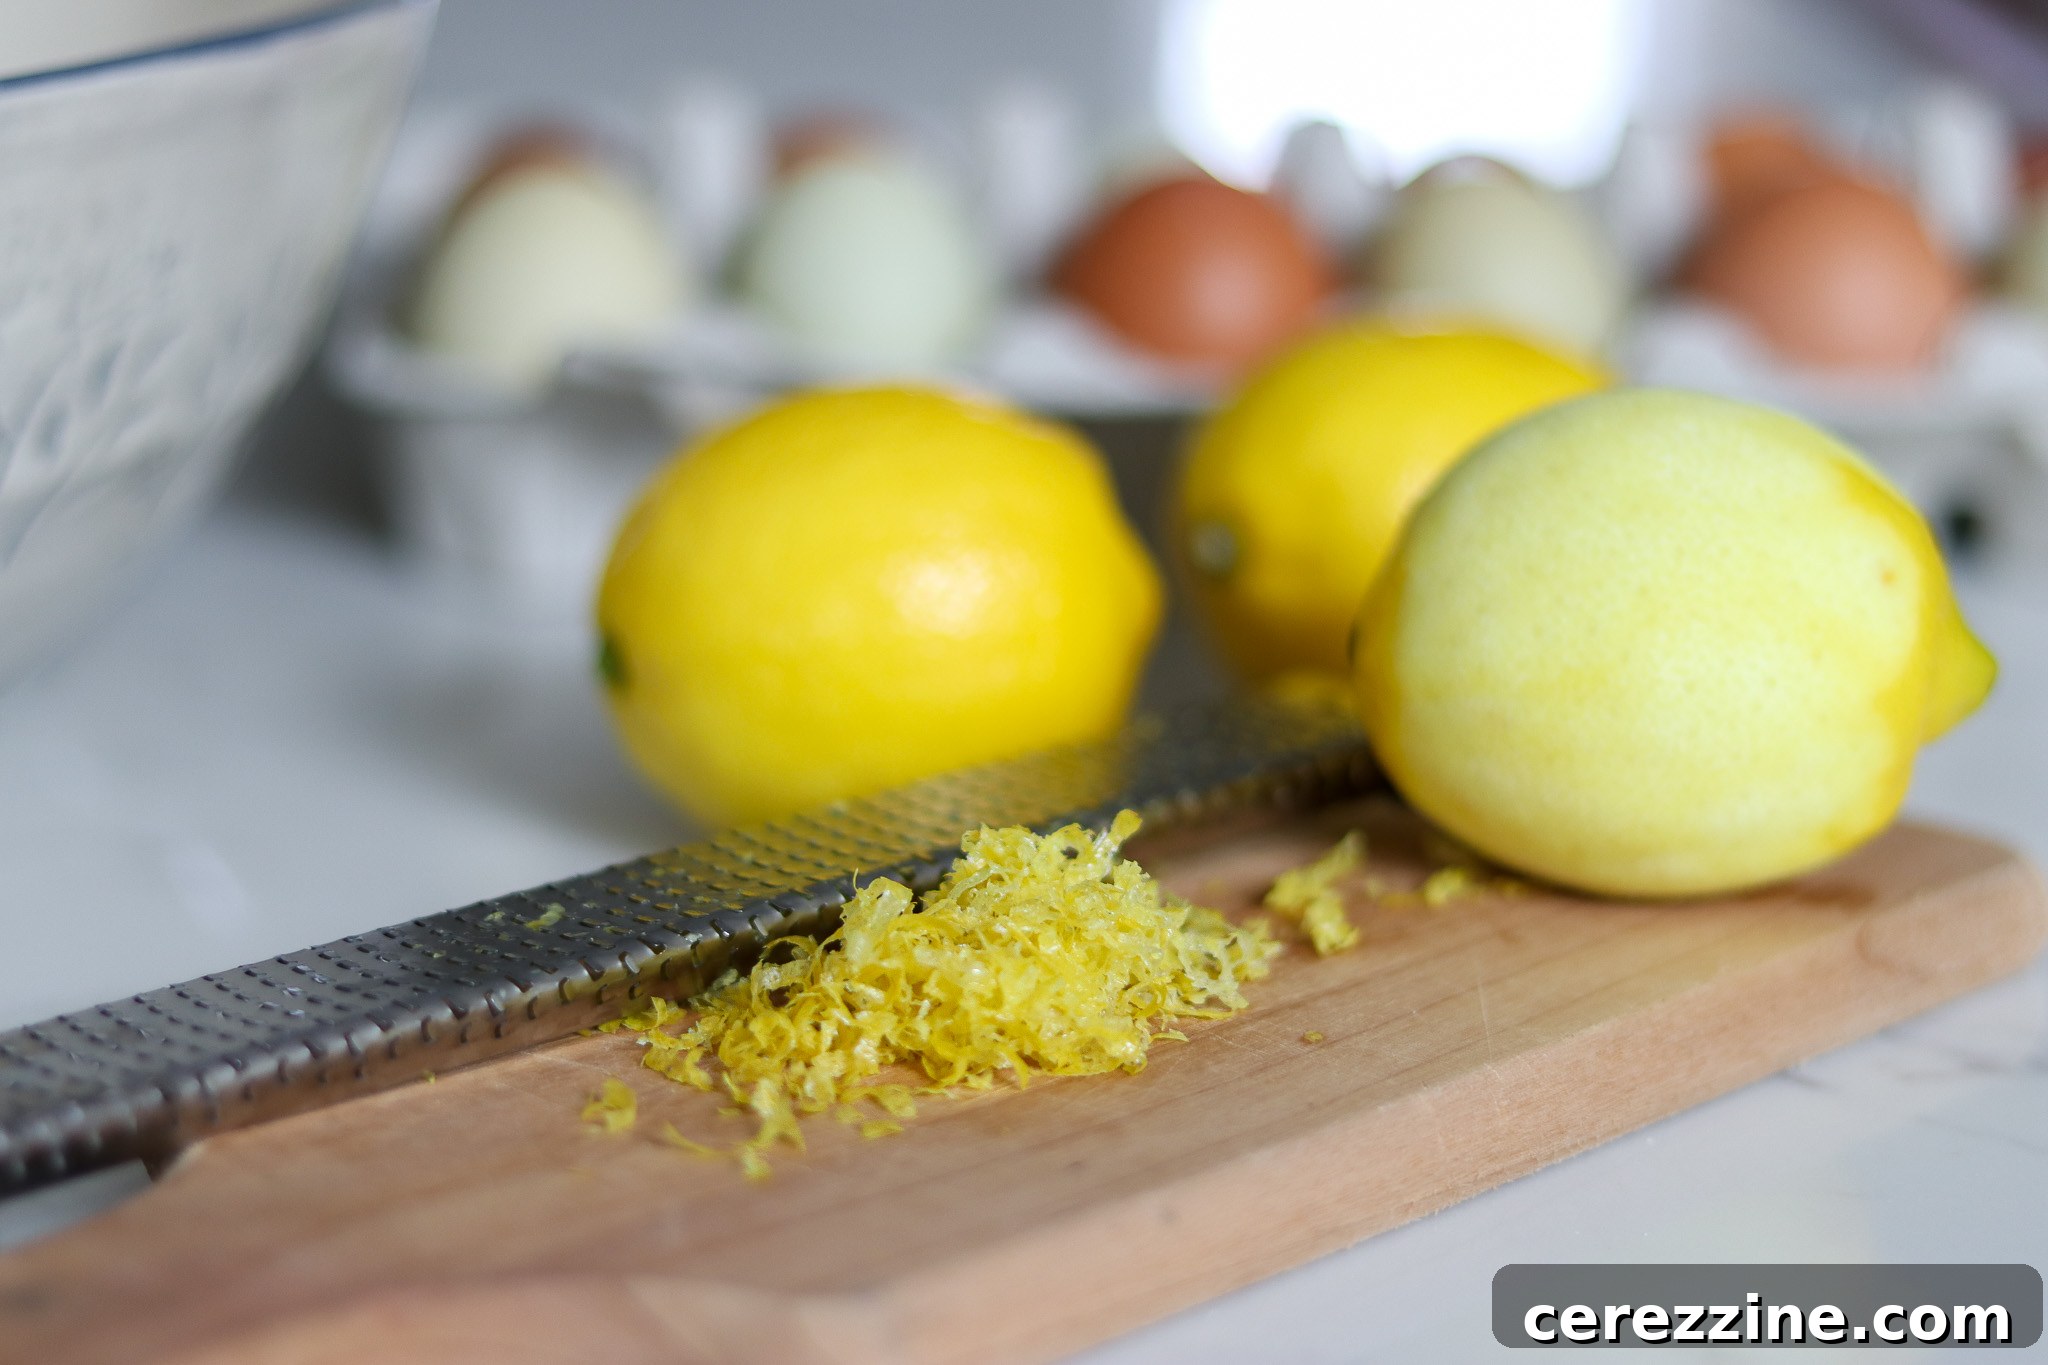
Fresh lemon zest is paramount for achieving the authentic, intense flavor of homemade lemon curd. On average, one medium-sized lemon yields about one tablespoon of zest. To obtain the required ½ cup (which is 8 tablespoons), you’ll need approximately 8-9 medium lemons. Even though the zest will be strained out after cooking, the flavorful volatile oils released during the cooking process are essential. They infuse the curd with that unmistakable bright, citrusy essence that makes it so delicious.
Reiterating Bottled Lemon Juice for Acidity
It’s easy to be tempted to use the fresh juice from the lemons you just zested, but as emphasized, this is one of the most critical deviations to avoid when canning. The consistent acidity level of bottled lemon juice is absolutely vital for the safety of preserved curds, jams, and jellies. Fresh lemons’ acidity can vary widely, making them unreliable for tested canning recipes. Rest assured, the juice from your freshly zested lemons can still be put to good use for other culinary delights, such as homemade lemonade or vibrant salad dressings, just not for this specific canning recipe.
Indispensable Equipment for Crafting Lemon Curd
To successfully make lemon curd, especially for canning, having the right equipment is key. One of the most important tools is a double boiler, ideally one with at least a 1½ quart capacity for the top pot.
The Essential Double Boiler
A double boiler consists of two pots: a larger pot at the bottom that holds simmering water, and an upper pot that rests above it. The design ensures that the upper pot never directly touches the heat source but is instead gently heated by the steam from the water below. This indirect heating method is absolutely critical for making lemon curd. It allows the curd to thicken slowly and evenly, preventing the eggs from scrambling or curdling, which would result in a lumpy, unpleasant texture. Without a double boiler, you risk turning your delicate lemon curd mixture into lemon-flavored scrambled eggs, so don’t skip this crucial setup.
If you don’t own a traditional double boiler, you can easily improvise. Find two pots, one slightly smaller than the other, such that the smaller pot (with handles) can sit securely inside the larger one without touching the bottom. Alternatively, a large, microwave-safe glass bowl or Corningware dish with handles or a pouring spout can serve as the top pot, ensuring it rests above the simmering water in the bottom pot. The critical rule is that the bottom of the upper pot, which holds your curd mixture, must not touch the boiling water in the lower pot; only the steam should provide the heat.
The upper pot needs to be large enough to comfortably hold your ingredients and allow for stirring, ideally at least 1½ quarts. Position it carefully to ensure sufficient clearance from the water below to avoid scorching the curd.
Other Necessary Tools
In addition to your double boiler, you will need a few other standard kitchen items: a fine zester (or a fine cheese grater) for extracting the lemon zest, a sturdy whisk for thoroughly blending ingredients, a fine-mesh strainer for a silky-smooth finish, a reliable kitchen thermometer capable of measuring up to at least 170°F (this is crucial for food safety), and a heat-resistant glass or stainless steel mixing bowl.
Step-by-Step Guide to Making and Canning Lemon Curd
Embark on your lemon curd journey with careful preparation and precise execution to ensure both a delicious and safely preserved product.
1. Prepare Your Lemons
Begin by thoroughly washing your lemons under cool, fresh water. Gently rub the outer skin with your hands or a soft vegetable brush to remove any surface residue. The USDA recommends avoiding soap, detergent, or commercial produce washes. An excellent alternative is to create a mixture of 2 tablespoons of baking soda with 1 cup of water; gently rub the lemons with this solution, then rinse them very well under cool water. Baking soda’s alkaline properties can help neutralize common pesticides and other chemicals found on fruit. For the best peace of mind, especially when using zest, consider purchasing organic lemons, but always wash them thoroughly regardless.
2. Zest and Infuse the Sugar
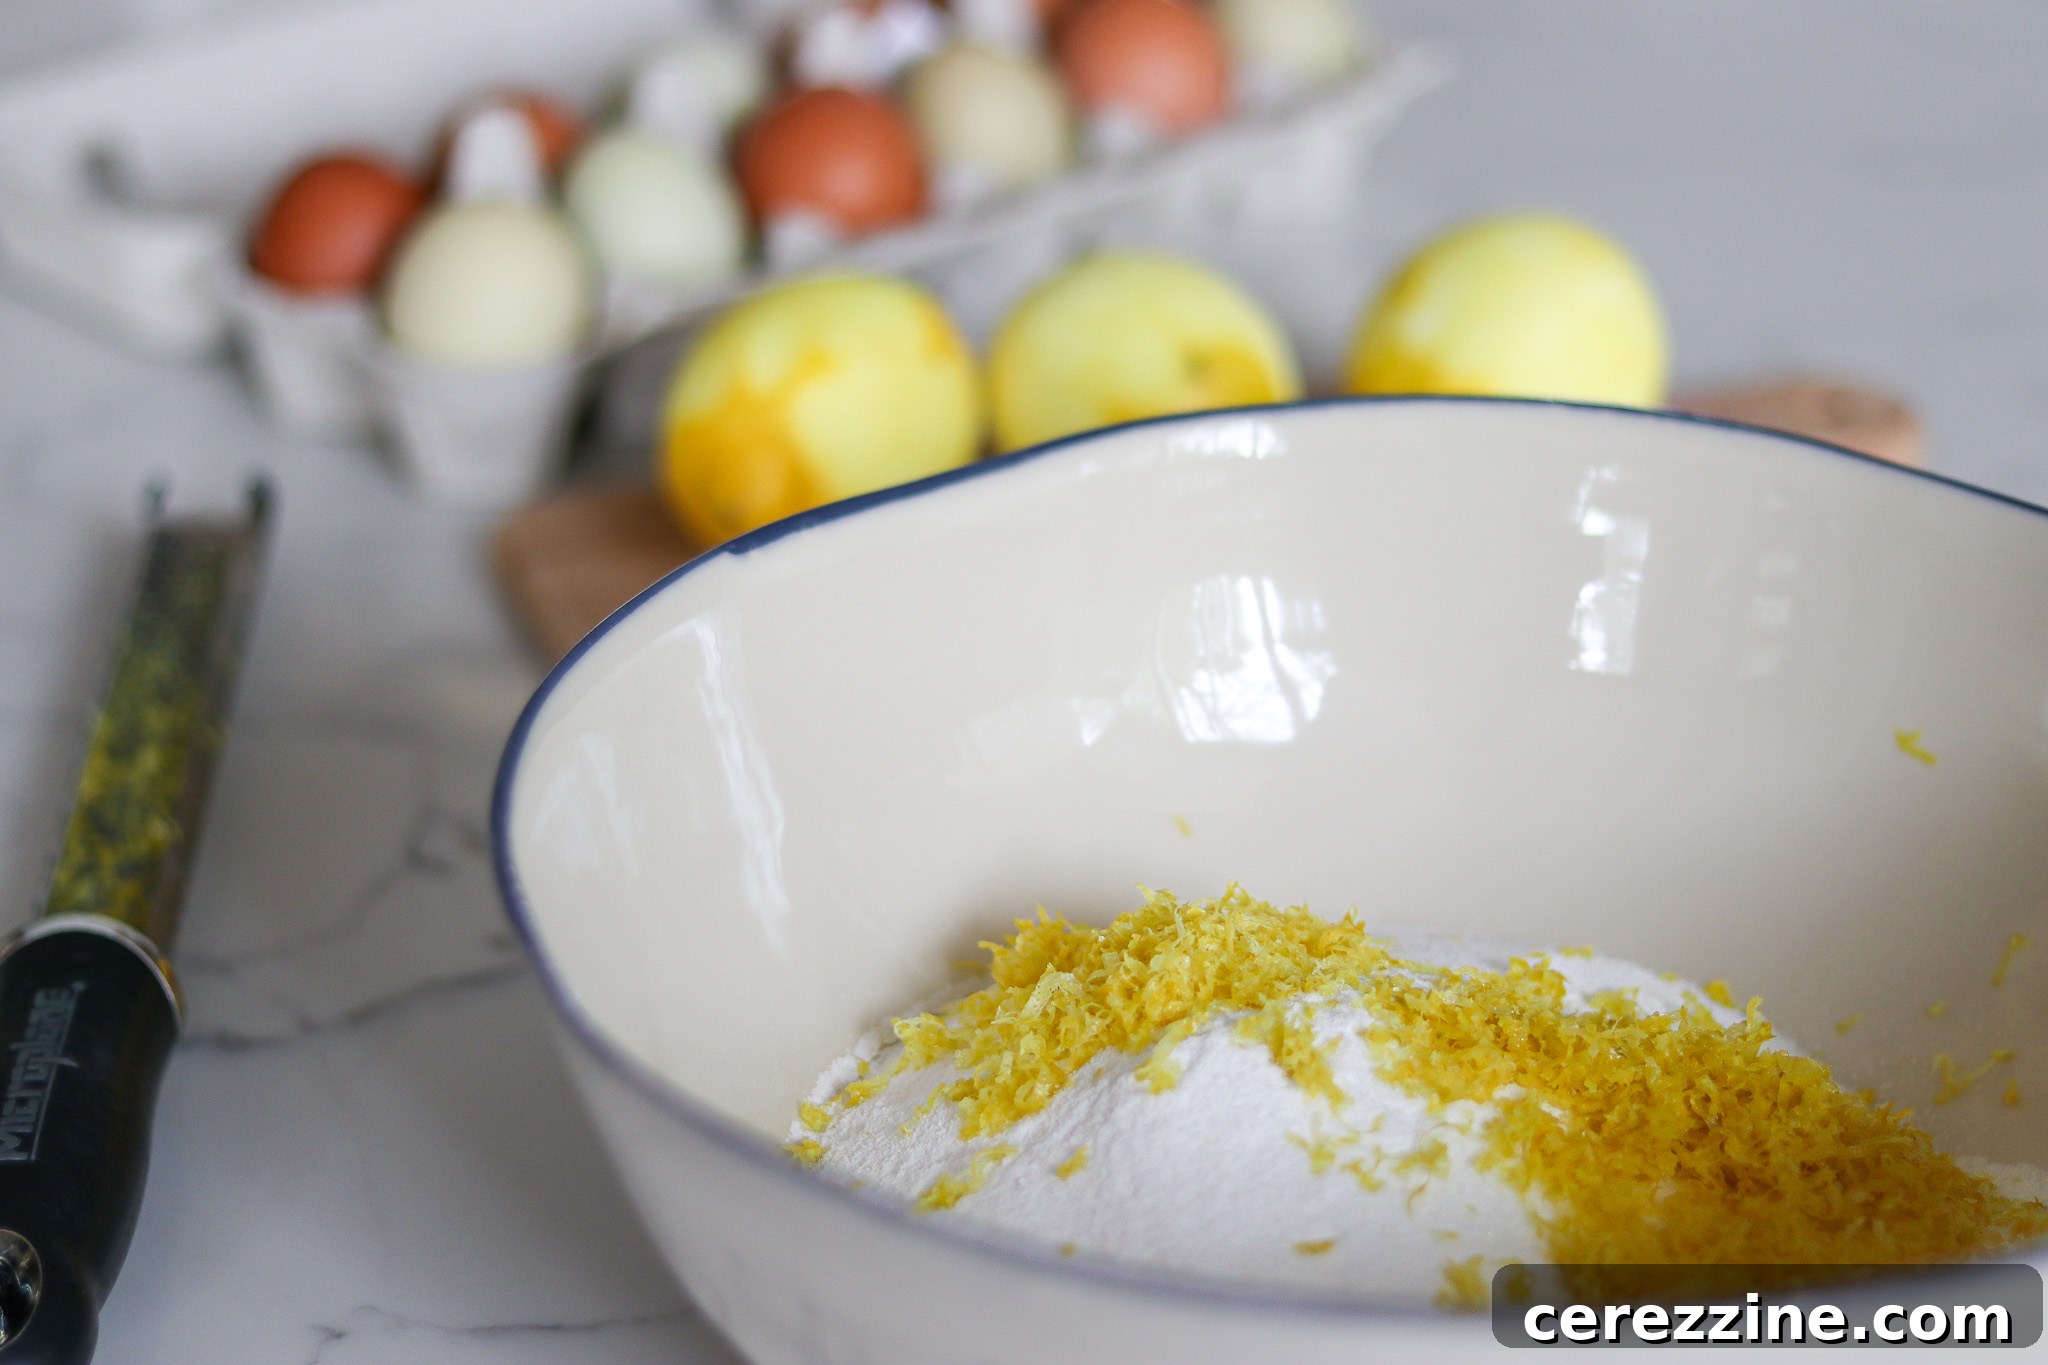
Using a fine zester or a fine cheese grater, carefully zest only the bright yellow outer layer of the lemon skin. Avoid grating into the softer, white pith beneath the yellow skin, as the pith can impart a bitter taste to your curd. Continue zesting until you have collected ½ cup of lemon zest.
In a small mixing bowl, combine the 2½ cups of superfine sugar (or homemade fine sugar) with the ½ cup of fresh lemon zest. Stir thoroughly to ensure the zest is evenly distributed through the sugar. Set this mixture aside for approximately 30 minutes. This resting period is crucial; it allows the lemon zest to infuse its wonderful flavor into the sugar, helping to extract those fragrant, volatile lemon oils. This step ensures that the vibrant lemon flavor is locked in and will endure throughout the cooking and canning process.
3. Prepare Butter and Double Boiler
While the sugar and zest are infusing, cut the chilled unsalted butter into small pieces, no larger than ¾ inch, and keep them refrigerated until ready to use. Set up your double boiler. Fill the bottom pan with enough water so that it will not touch the upper pan, but also enough to avoid evaporating too quickly during cooking. Begin heating the water to a gentle boil.
4. Combine Wet Ingredients
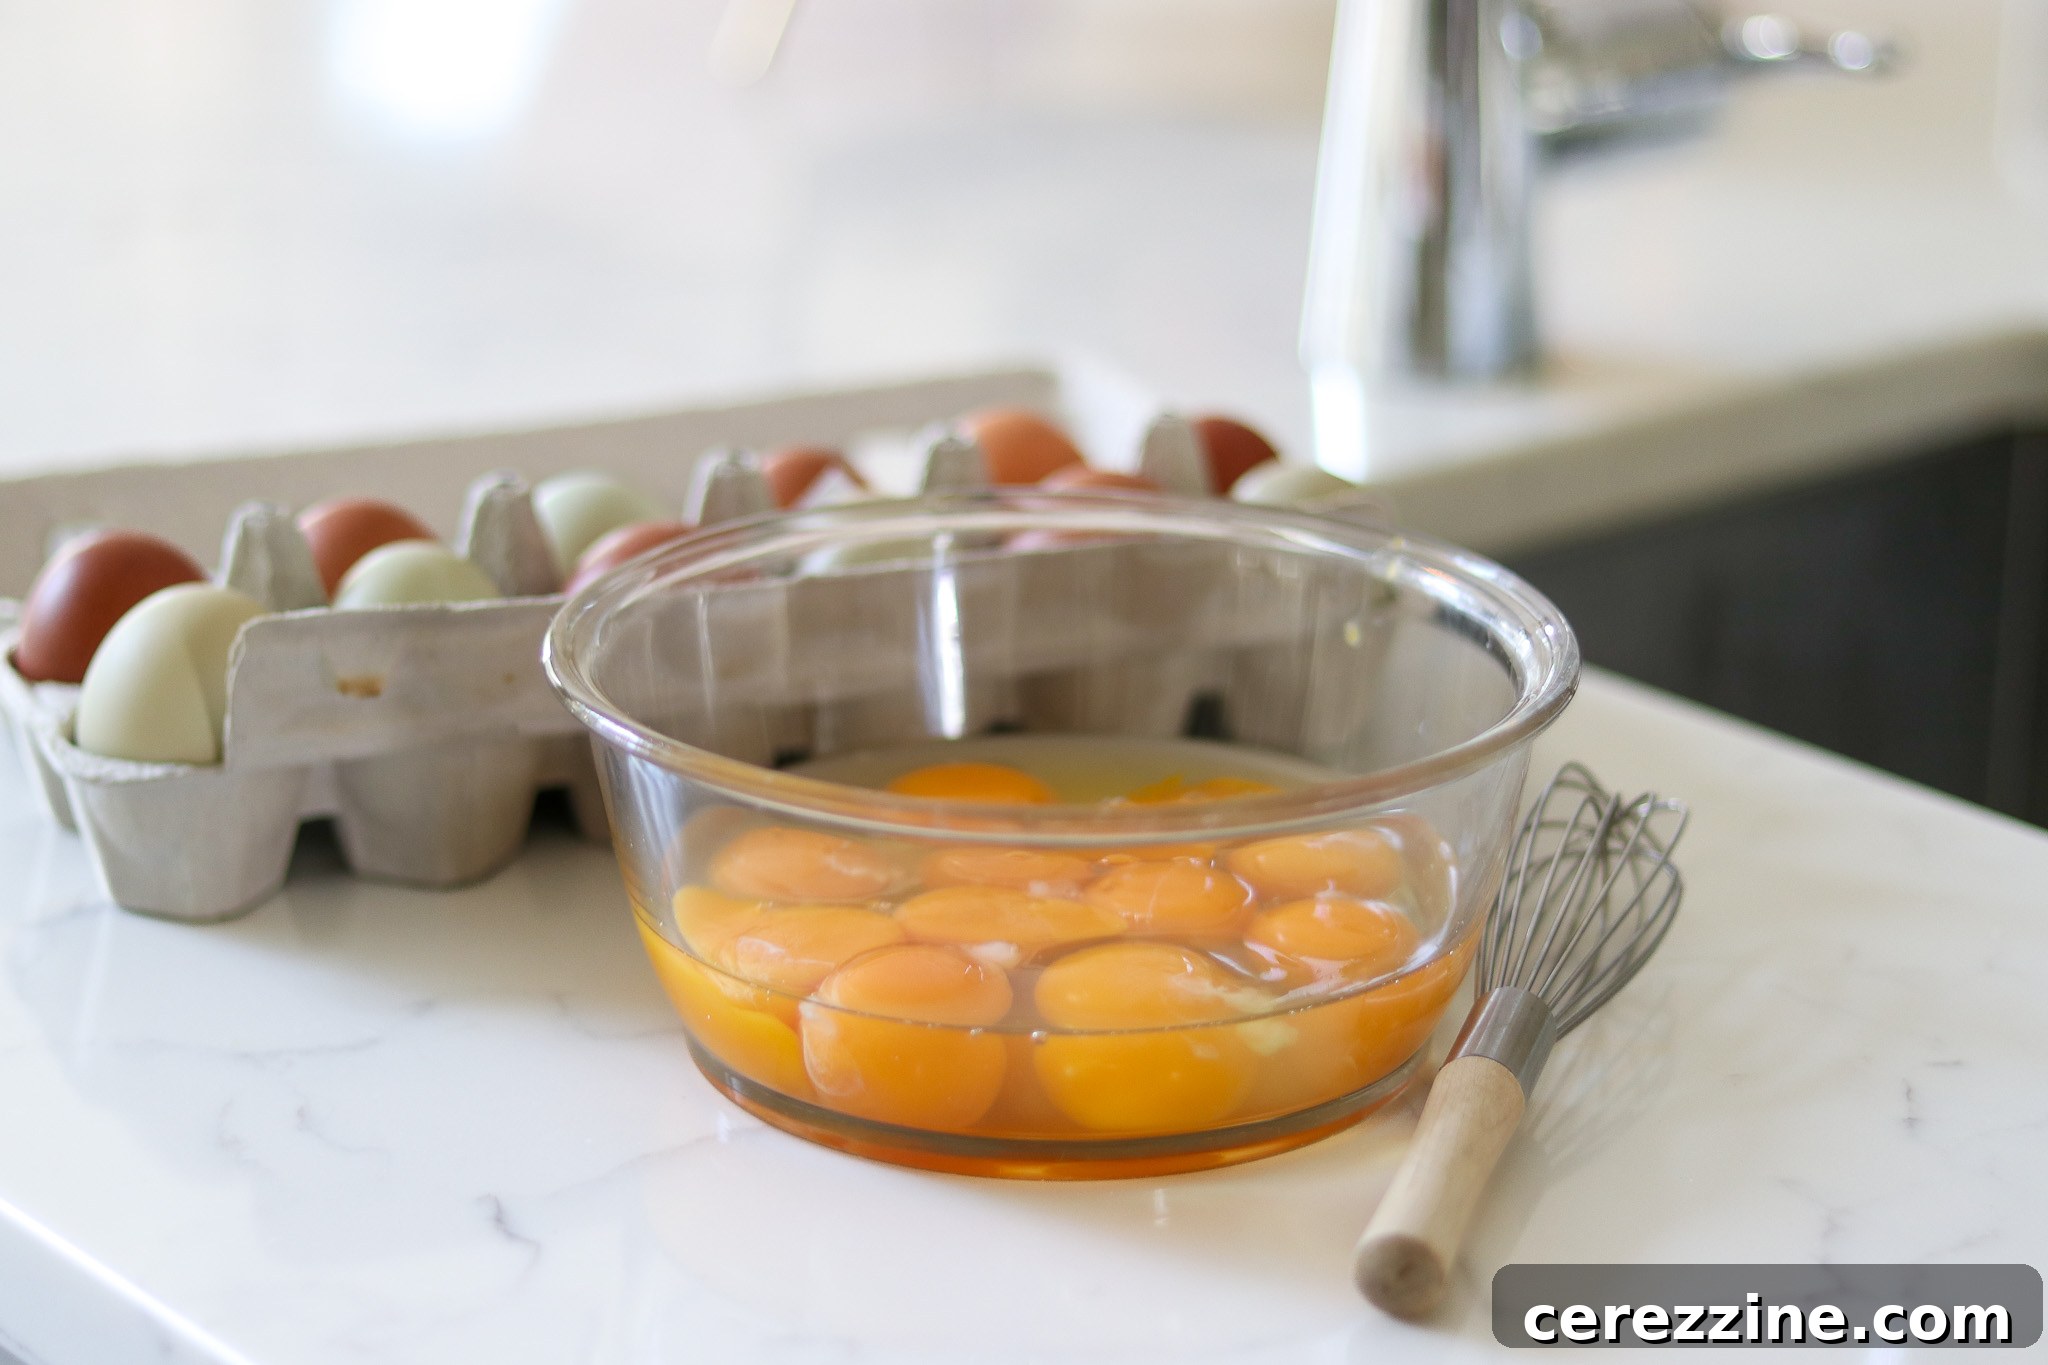
In the top pan of your double boiler, vigorously whisk together the 7 large egg yolks and 4 large whole eggs until they are thoroughly blended and smooth.
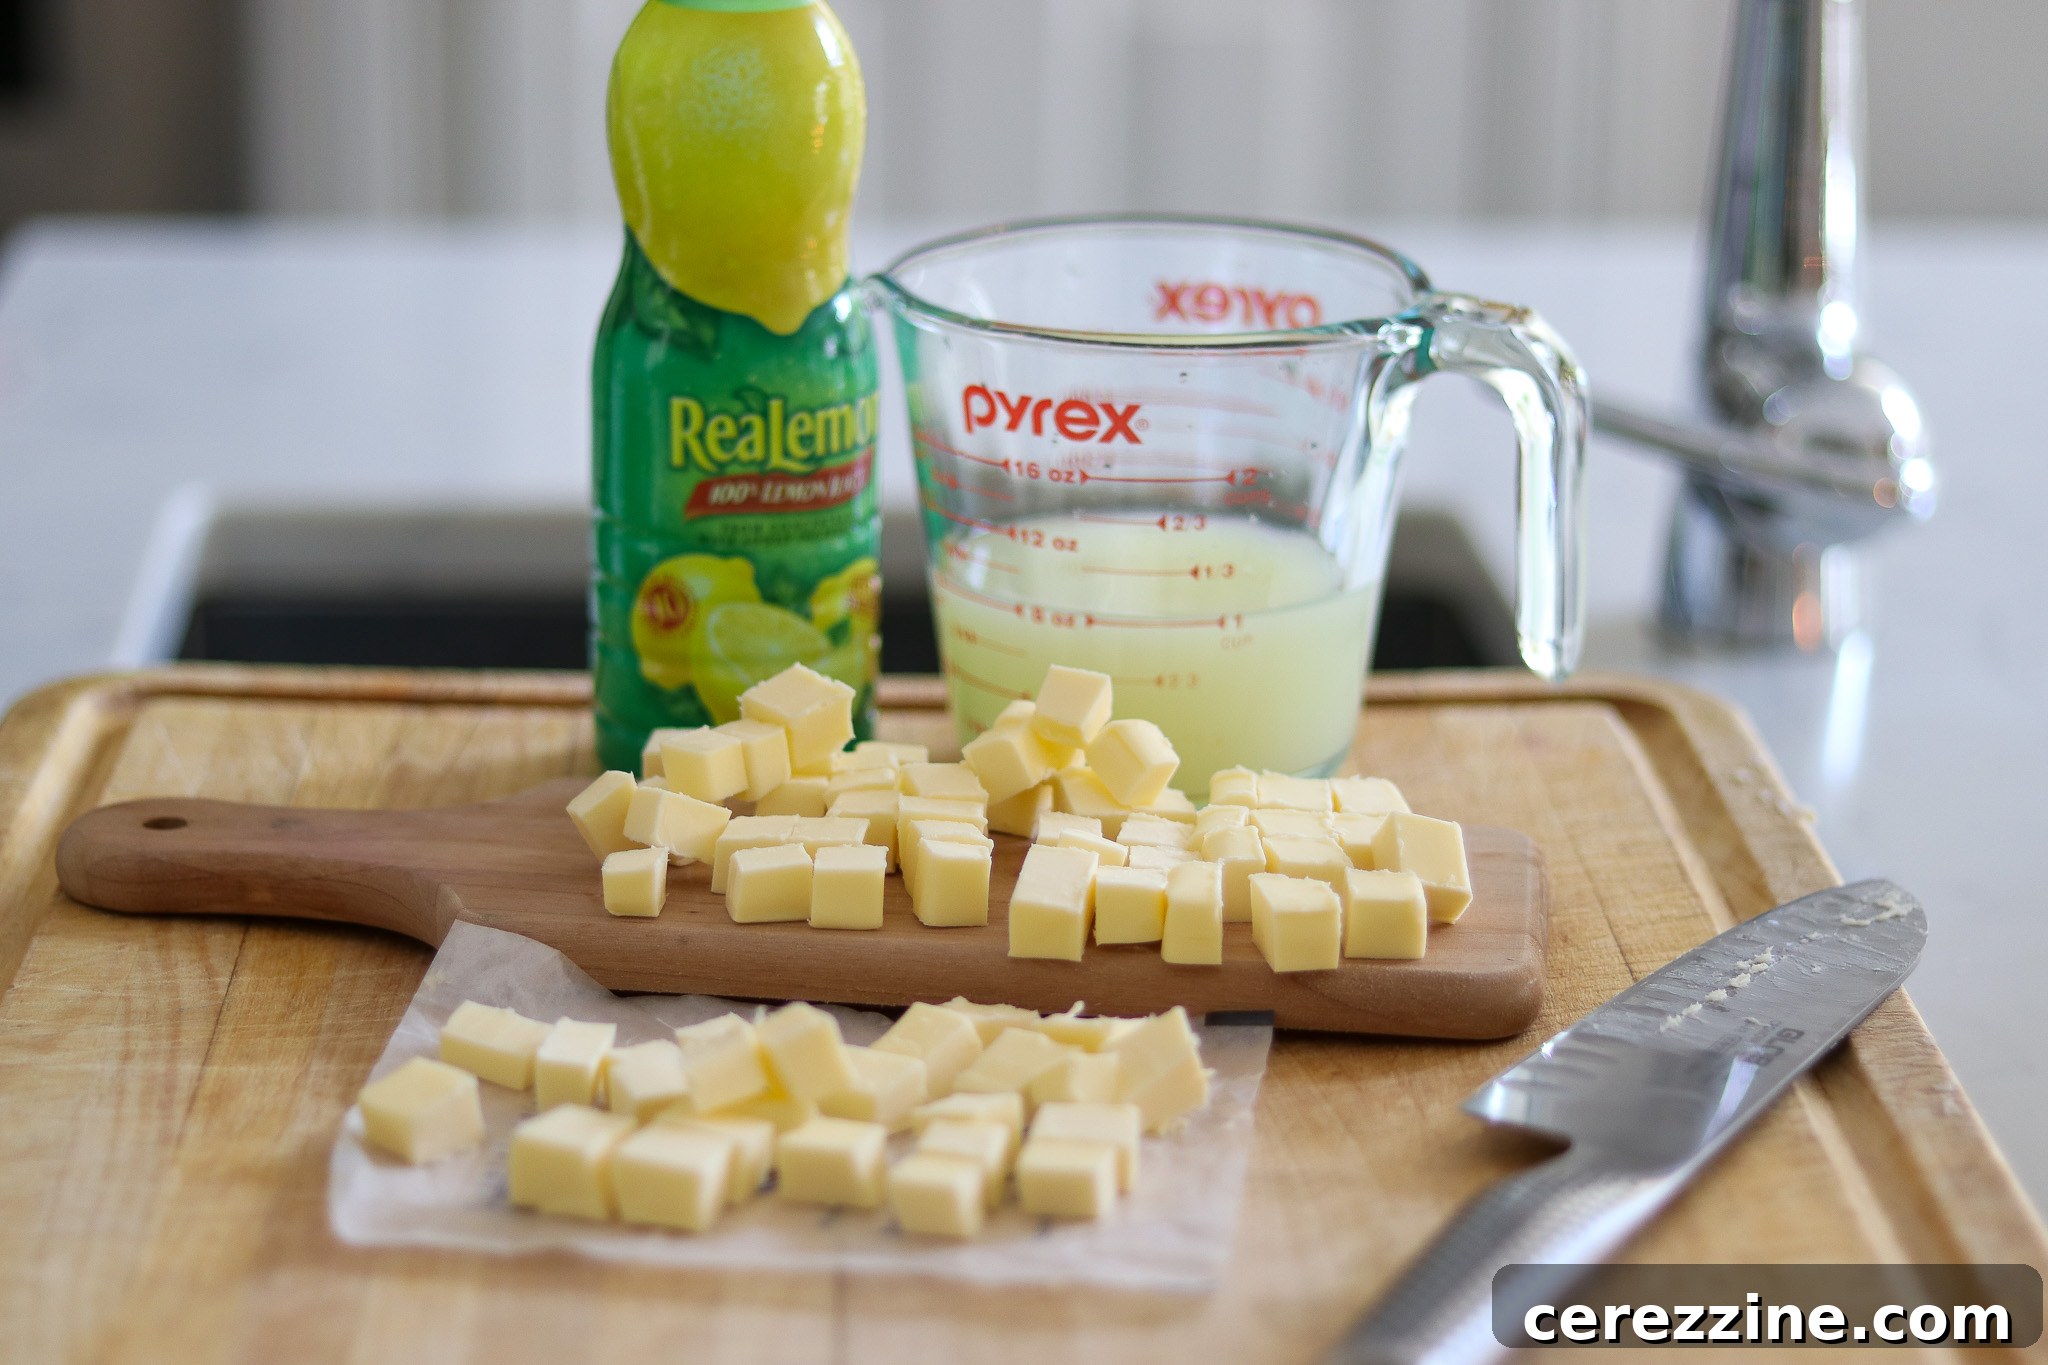
Gradually add the lemon zest and sugar mixture to the whisked eggs, continuing to whisk constantly to maintain a smooth, lump-free texture. Finally, blend in the 1 cup of bottled lemon juice, mixing it thoroughly. Once combined, add the small pieces of chilled butter.
5. Cook the Curd
Carefully place the top pan, containing your curd mixture, over the bottom pan of the double boiler, ensuring it does not touch the simmering water below. The steam from the gently boiling water will provide the necessary heat to cook your curd.
Stir the curd mixture continuously and gently using a silicone spatula. Make sure to scrape the bottom and sides of the pan regularly to prevent any sticking or scorching. Continue cooking the lemon mixture, stirring constantly, until it reaches a temperature of 170°F (77°C) on your kitchen thermometer. This temperature is crucial for the safety and proper thickening of the curd.
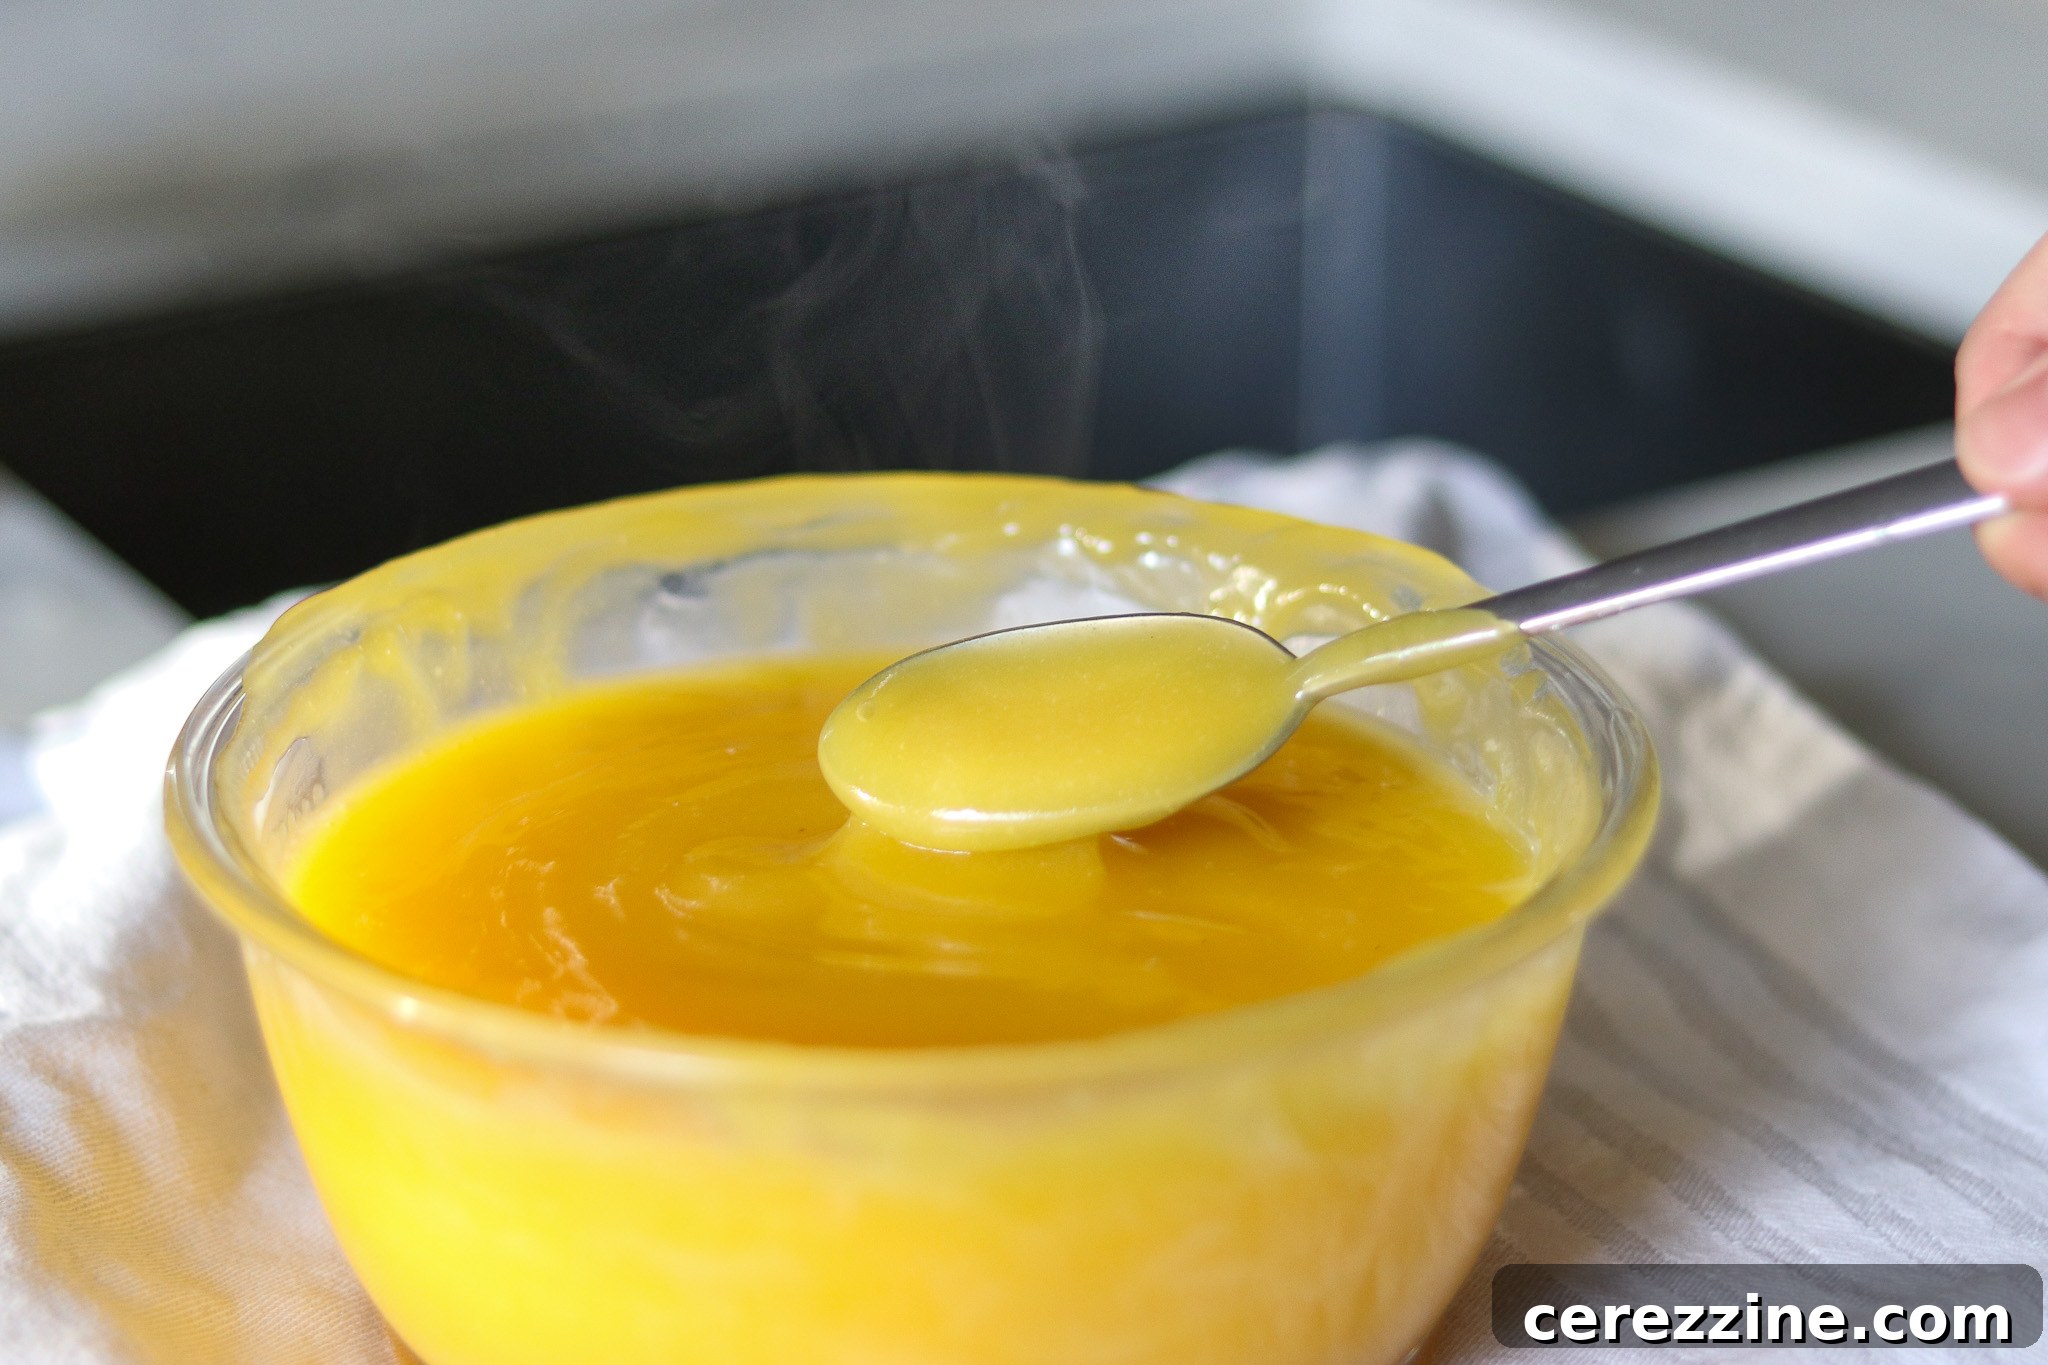
Once the curd reaches 170°F, immediately remove the top pan from the double boiler and place it on a heat-resistant surface or pot holder on your countertop. Continue to stir the curd gently for approximately 5 more minutes. This continued stirring off the heat helps the curd to thicken further and achieve its smooth, luxurious consistency.
6. Strain for Smoothness
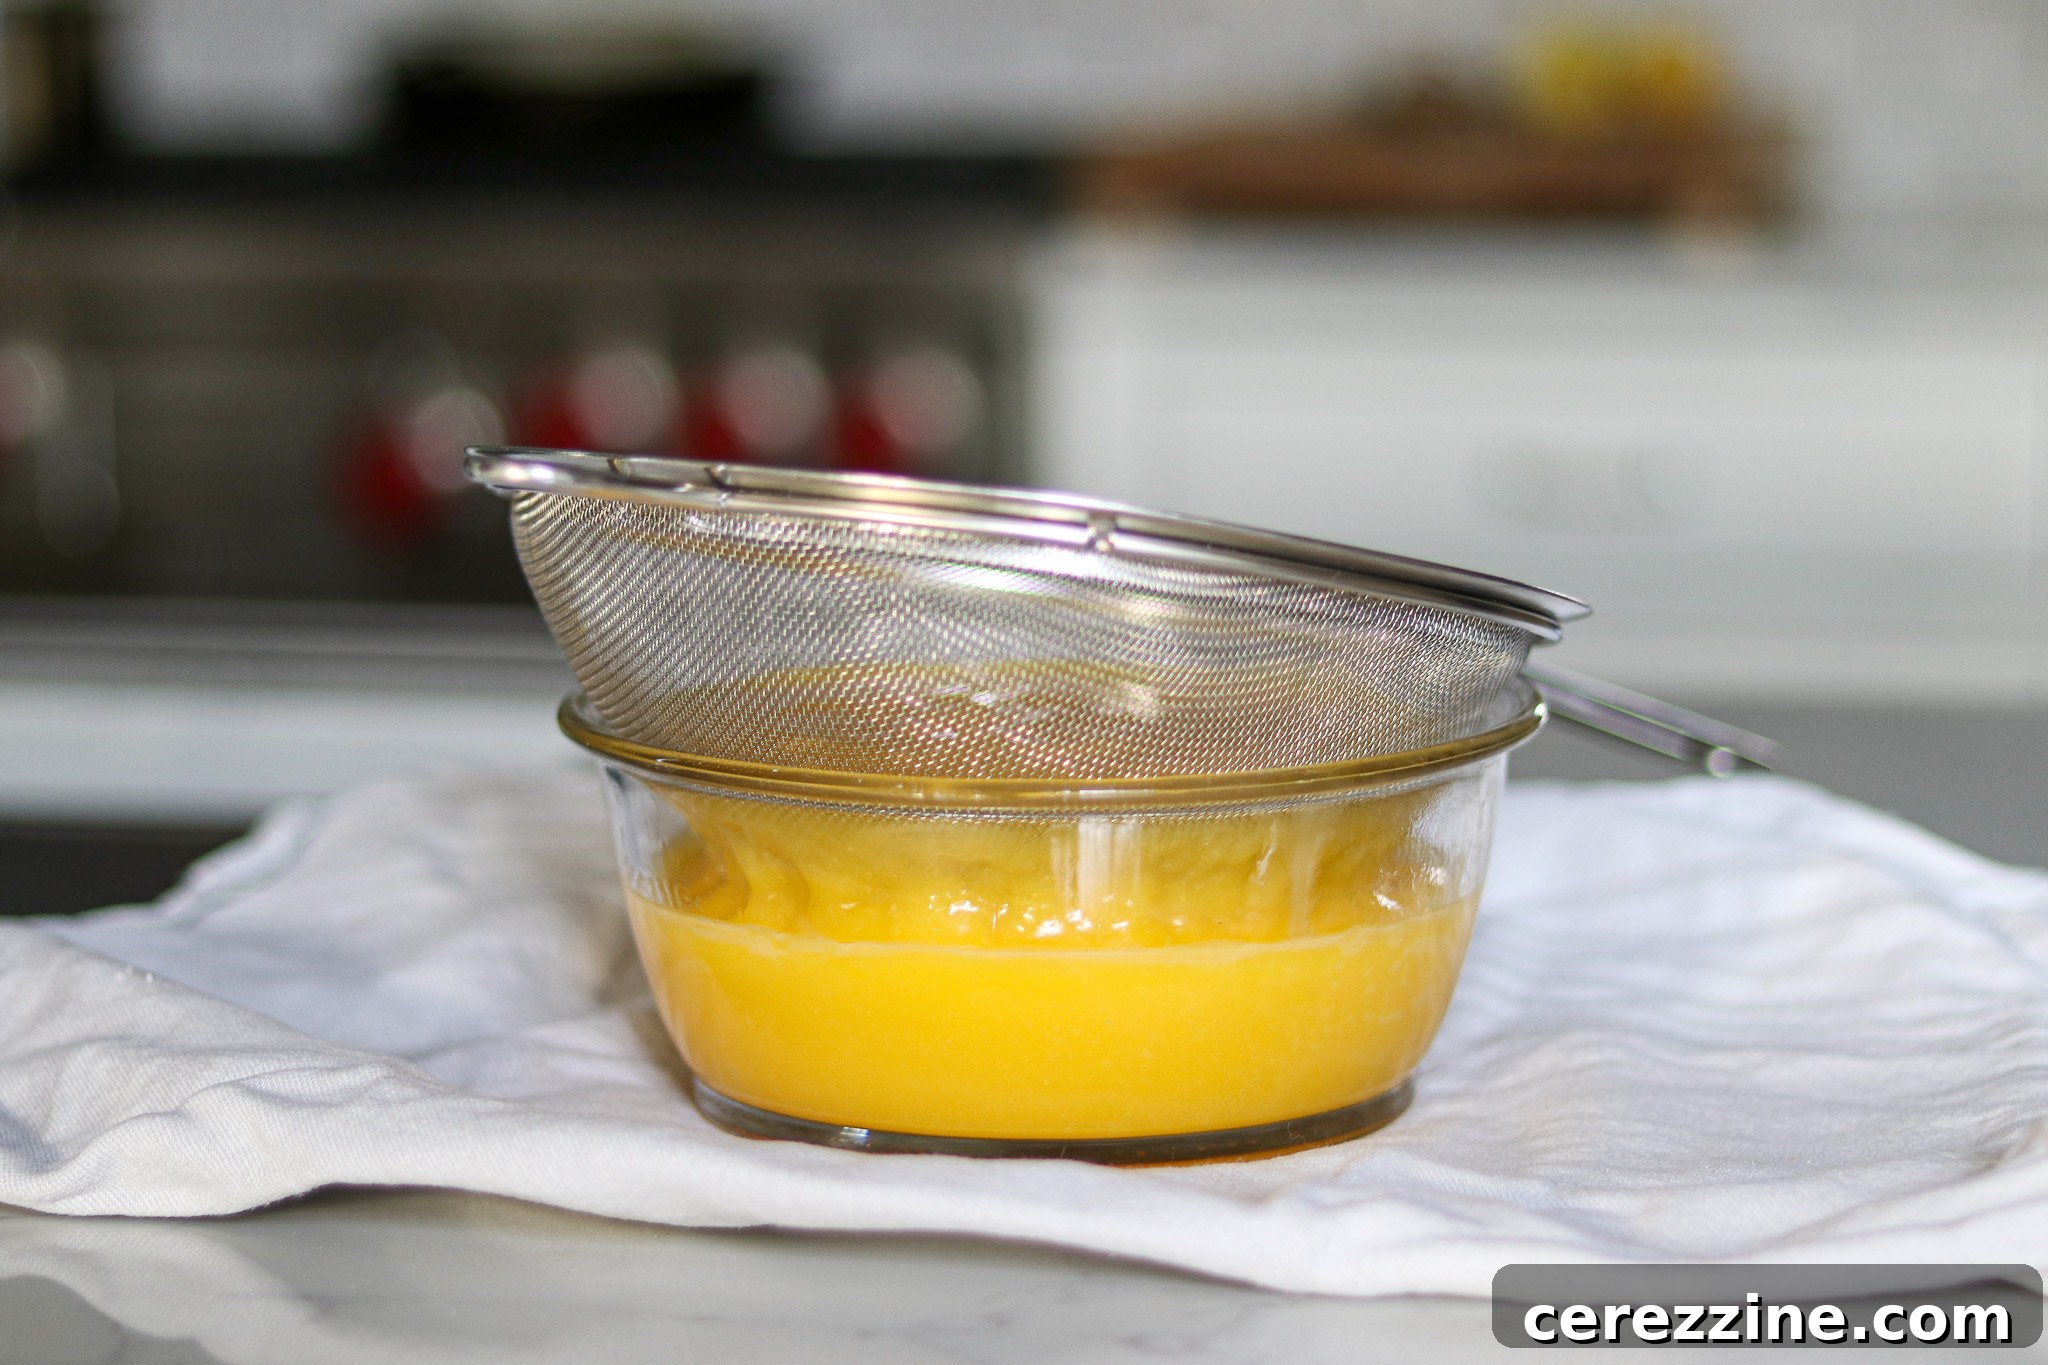
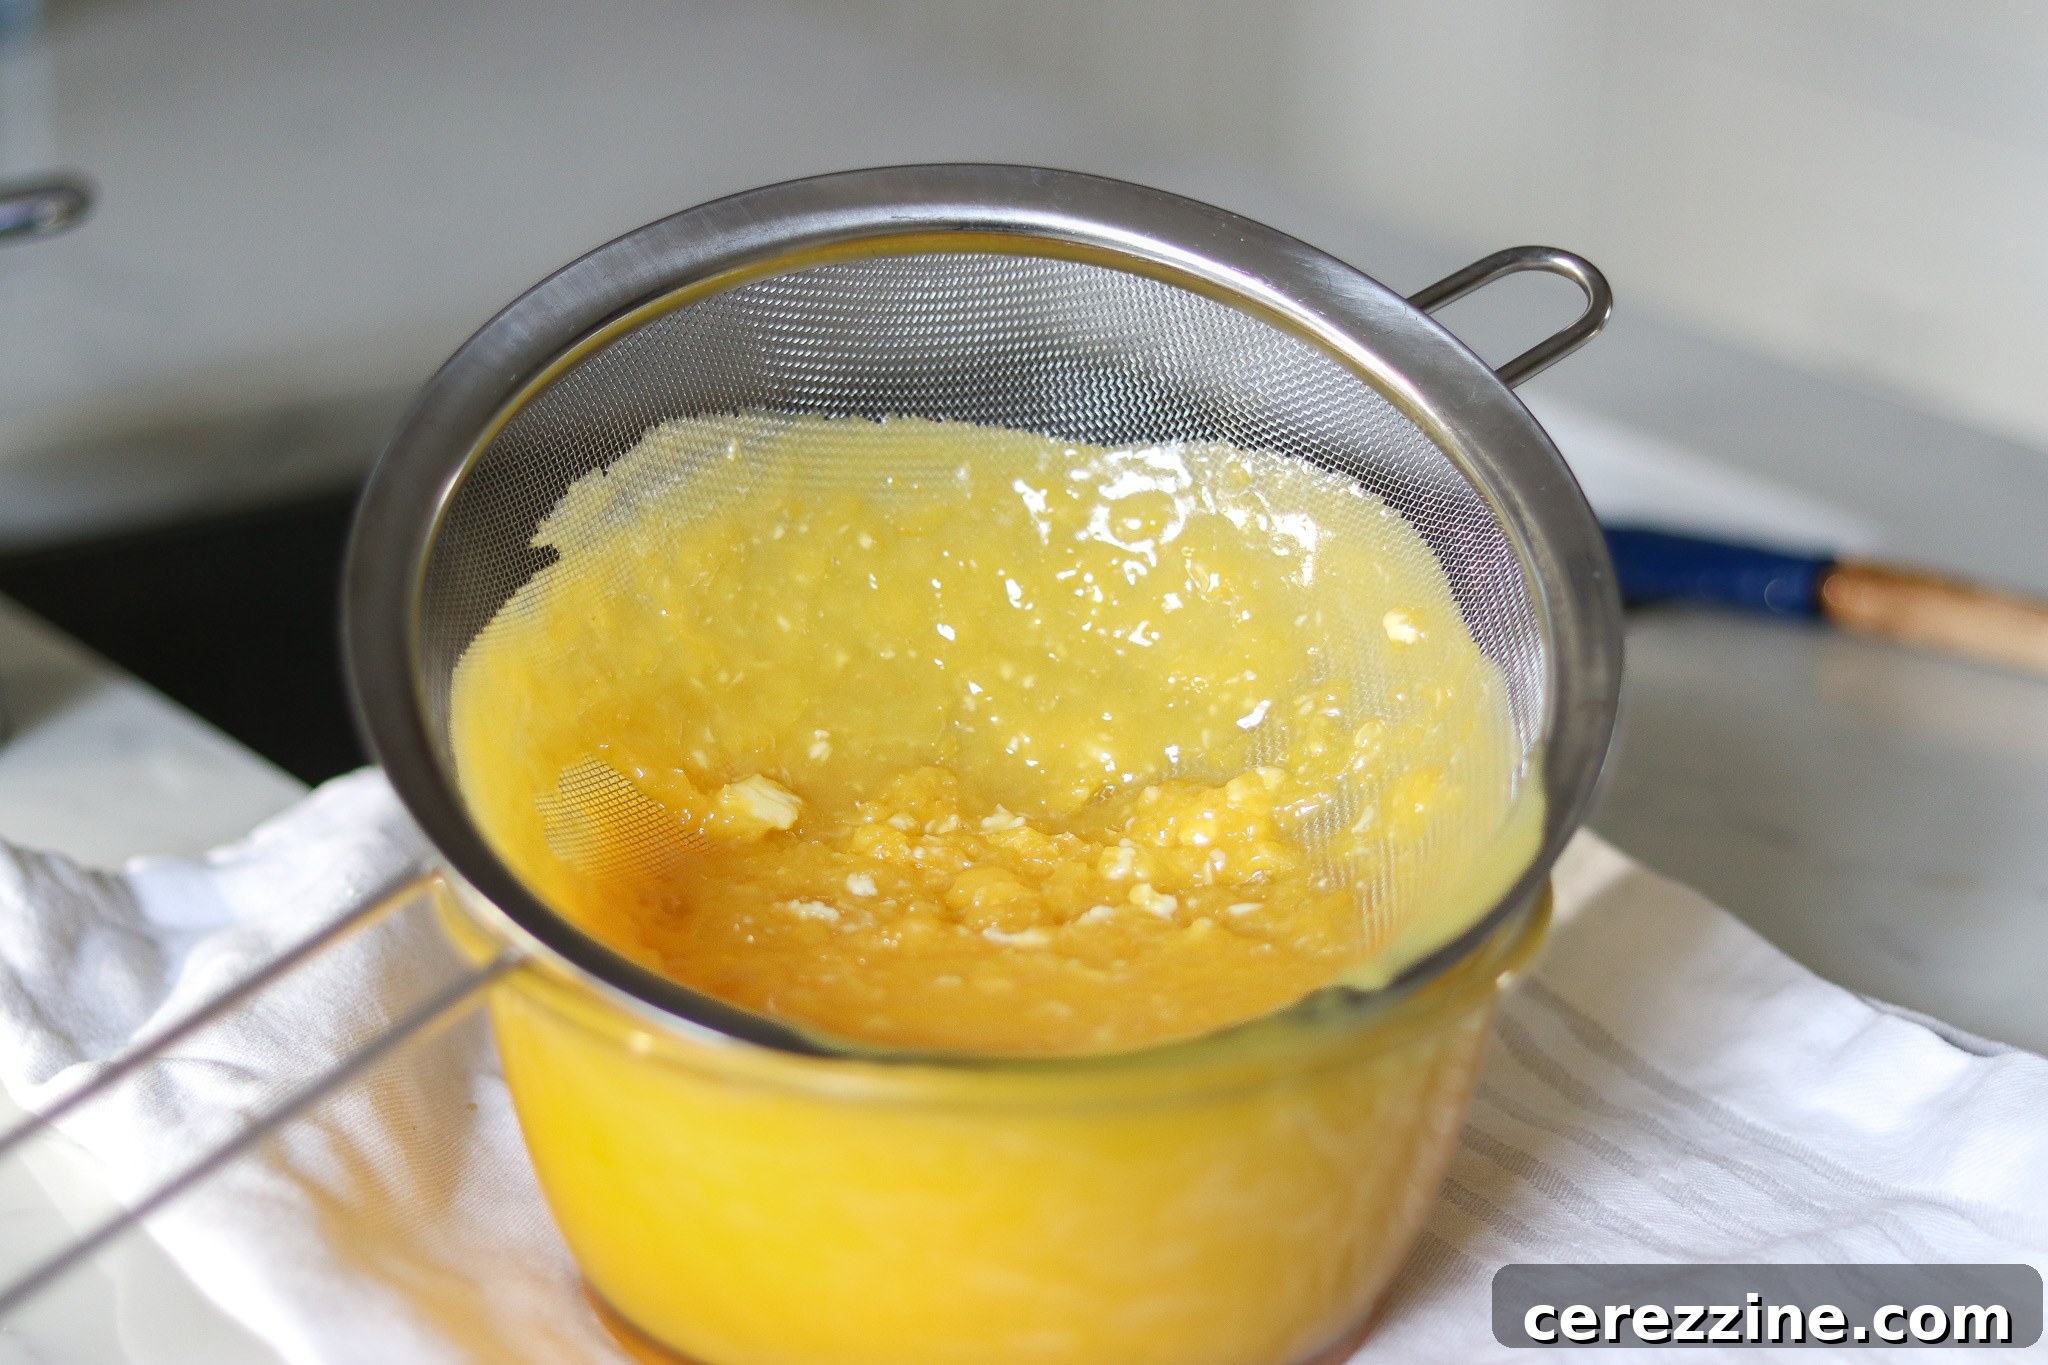
Place a medium-fine mesh strainer over a clean glass or stainless-steel bowl. Carefully pour the hot curd mixture through the strainer into the bowl. This step is essential for removing all the lemon zest, which has now imparted its flavor, as well as any tiny bits of egg that might have cooked or curdled during the heating process. The result will be an incredibly smooth and silky lemon curd. Discard the collected zest from the strainer.
7. Immediate Use or Storage (Non-Canned)
At this stage, you have completed lemon curd! If you are not planning to can it, simply ladle the finished curd into clean, freezer-safe containers or jars. Allow it to cool completely to room temperature on the counter before sealing and storing. Refrigerated lemon curd maintains its quality for up to 4 weeks. For longer storage, it can be frozen for up to 1 year. To thaw frozen curd, simply place the container in the refrigerator (at 40°F or lower) for 24 hours before use. Once thawed, use it within 4 weeks for the best quality.
Mastering the Water Bath Canning Process for Lemon Curd
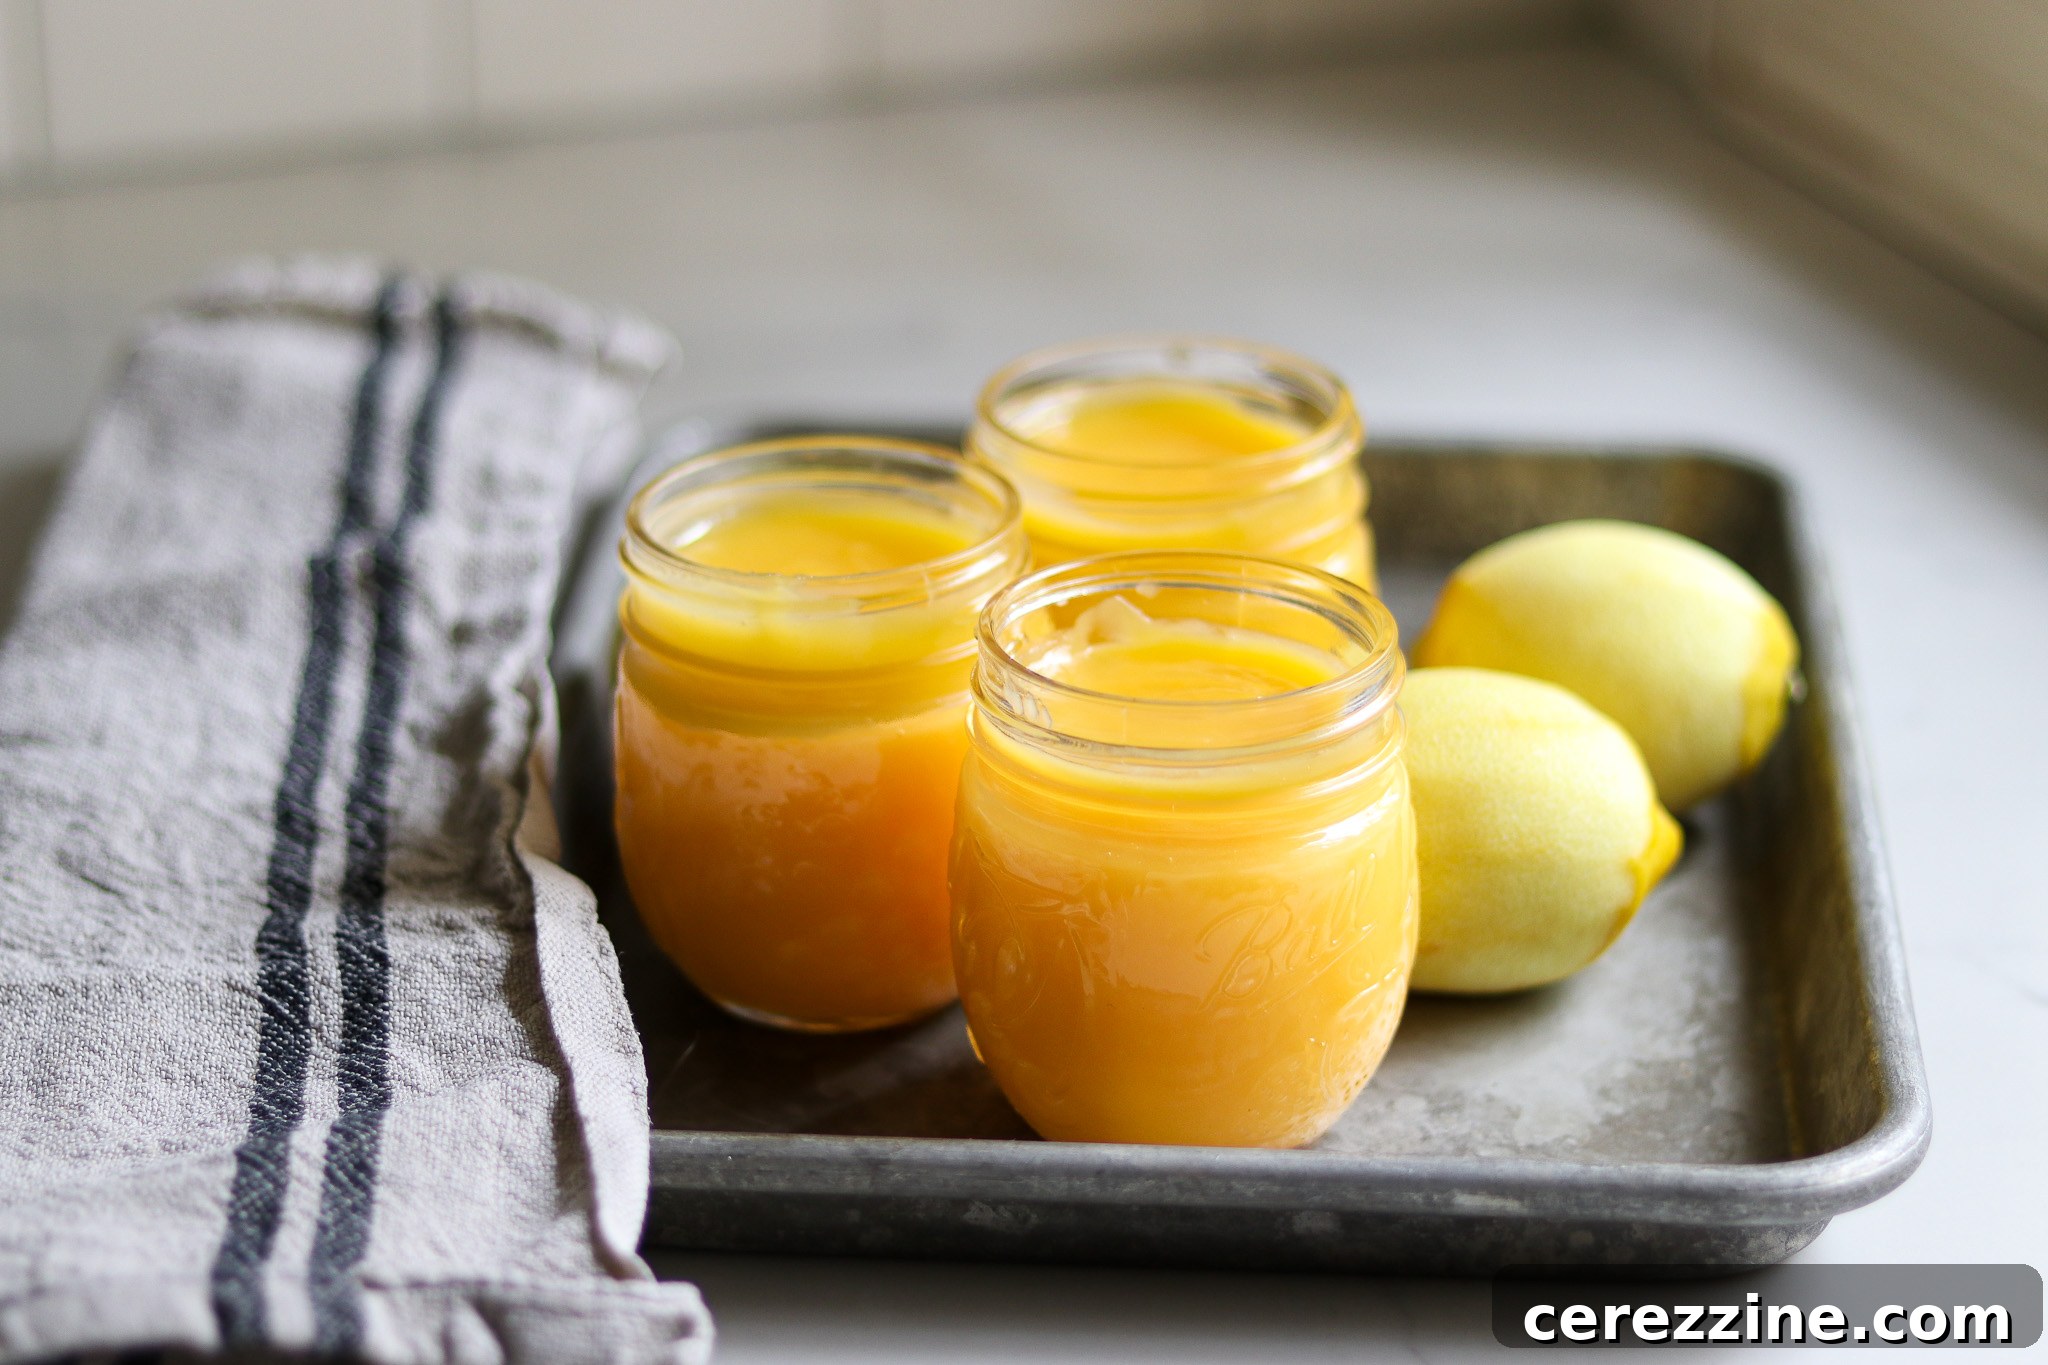
If you intend to can your lemon curd, it’s essential to prepare your water bath canner, jars, and lids before you even begin cooking the curd. If you are new to water bath canning, please consult a beginner’s guide to water bath canning for detailed instructions on equipment and safety protocols.
1. Prepare Jars and Fill
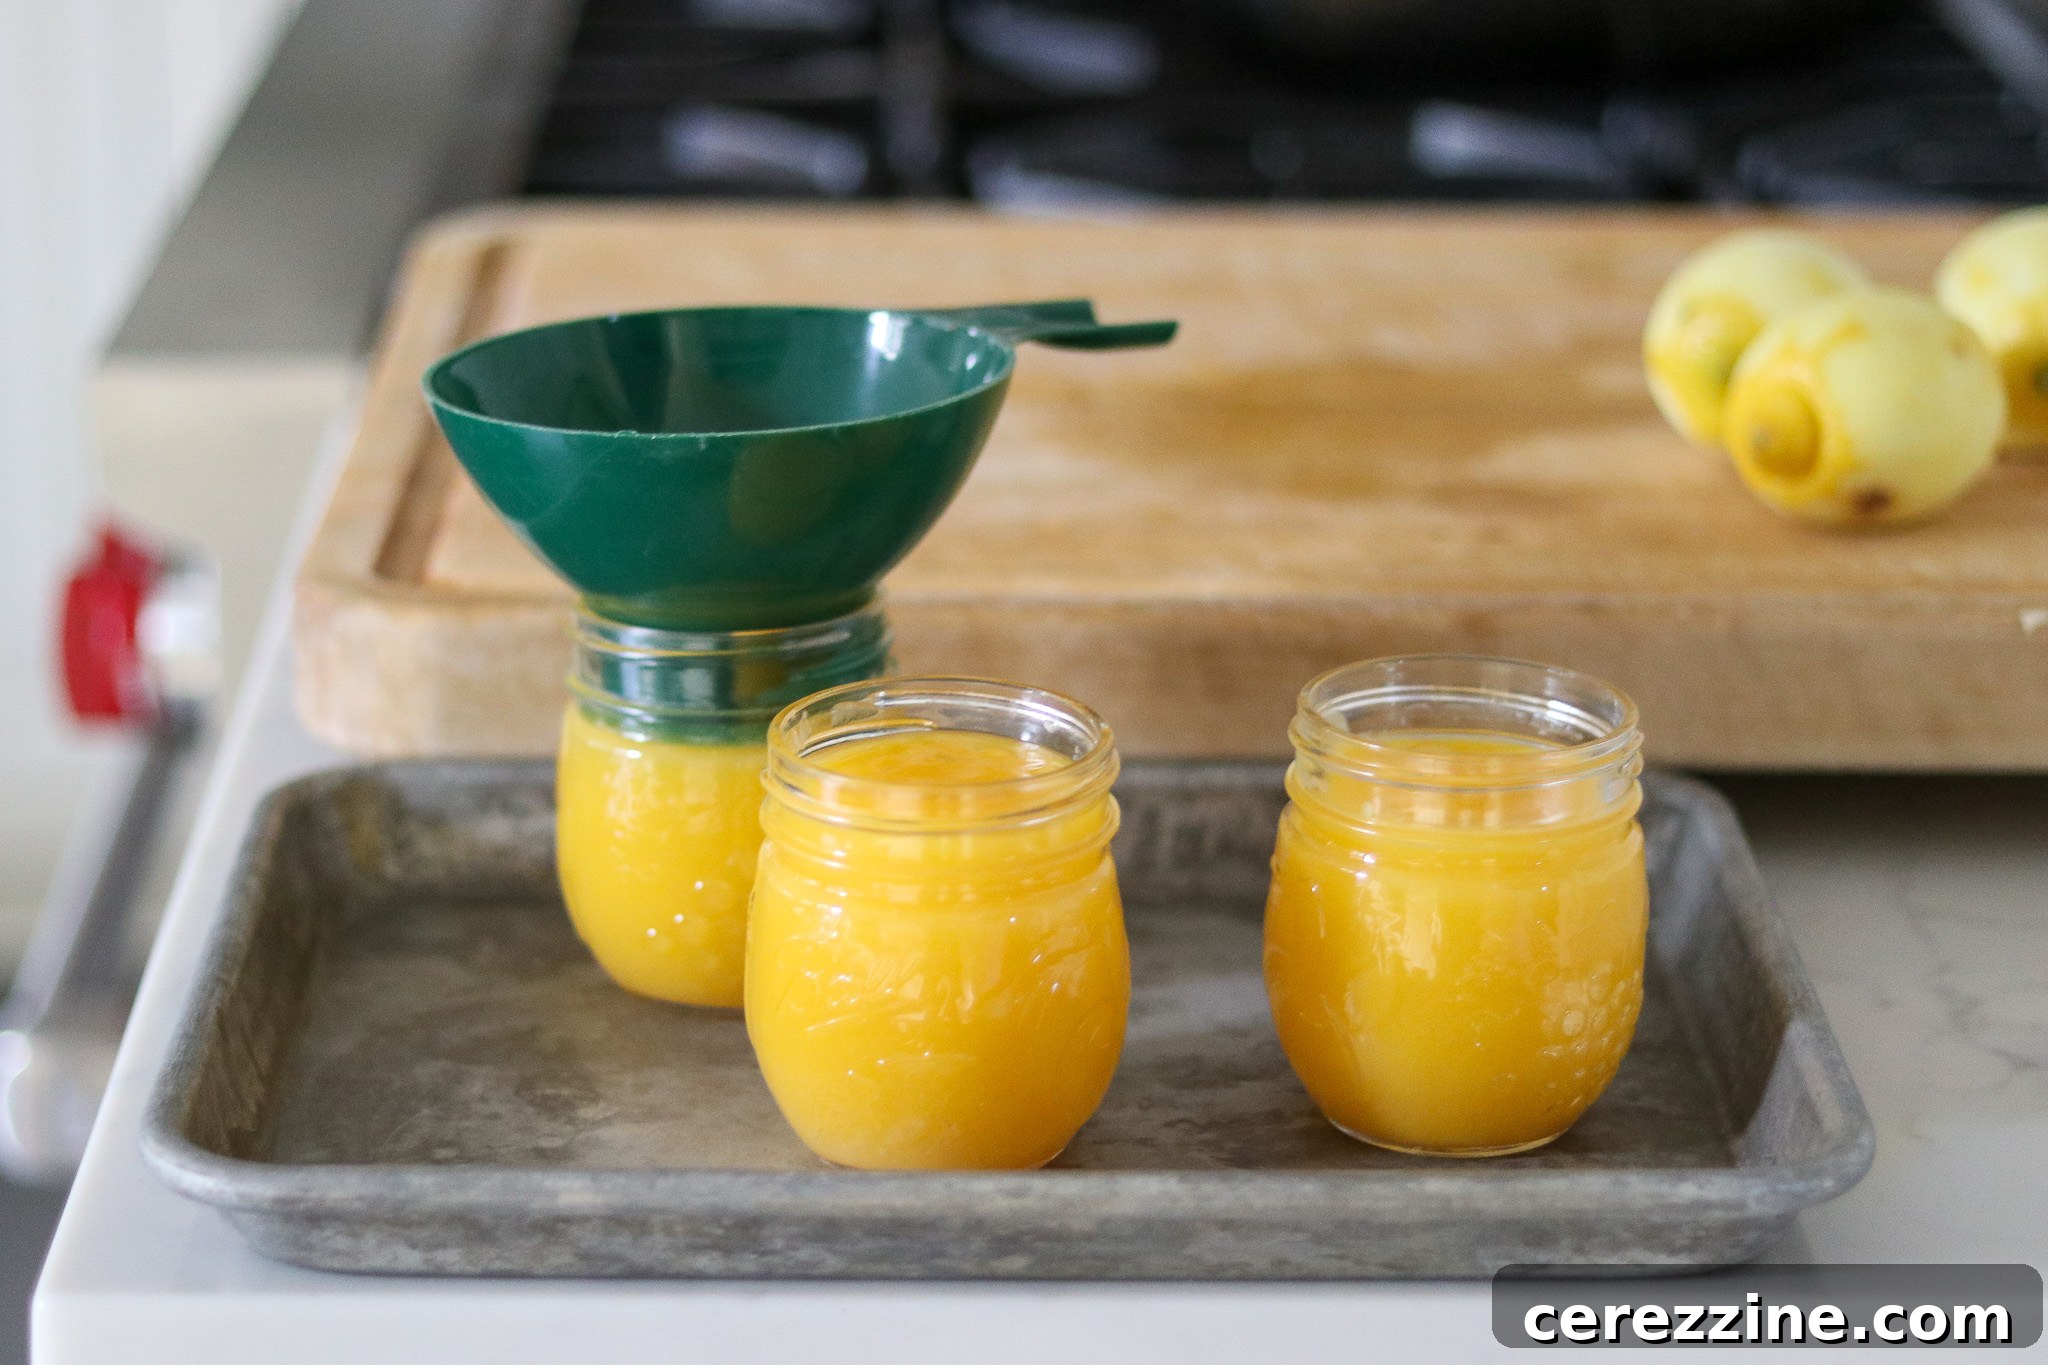
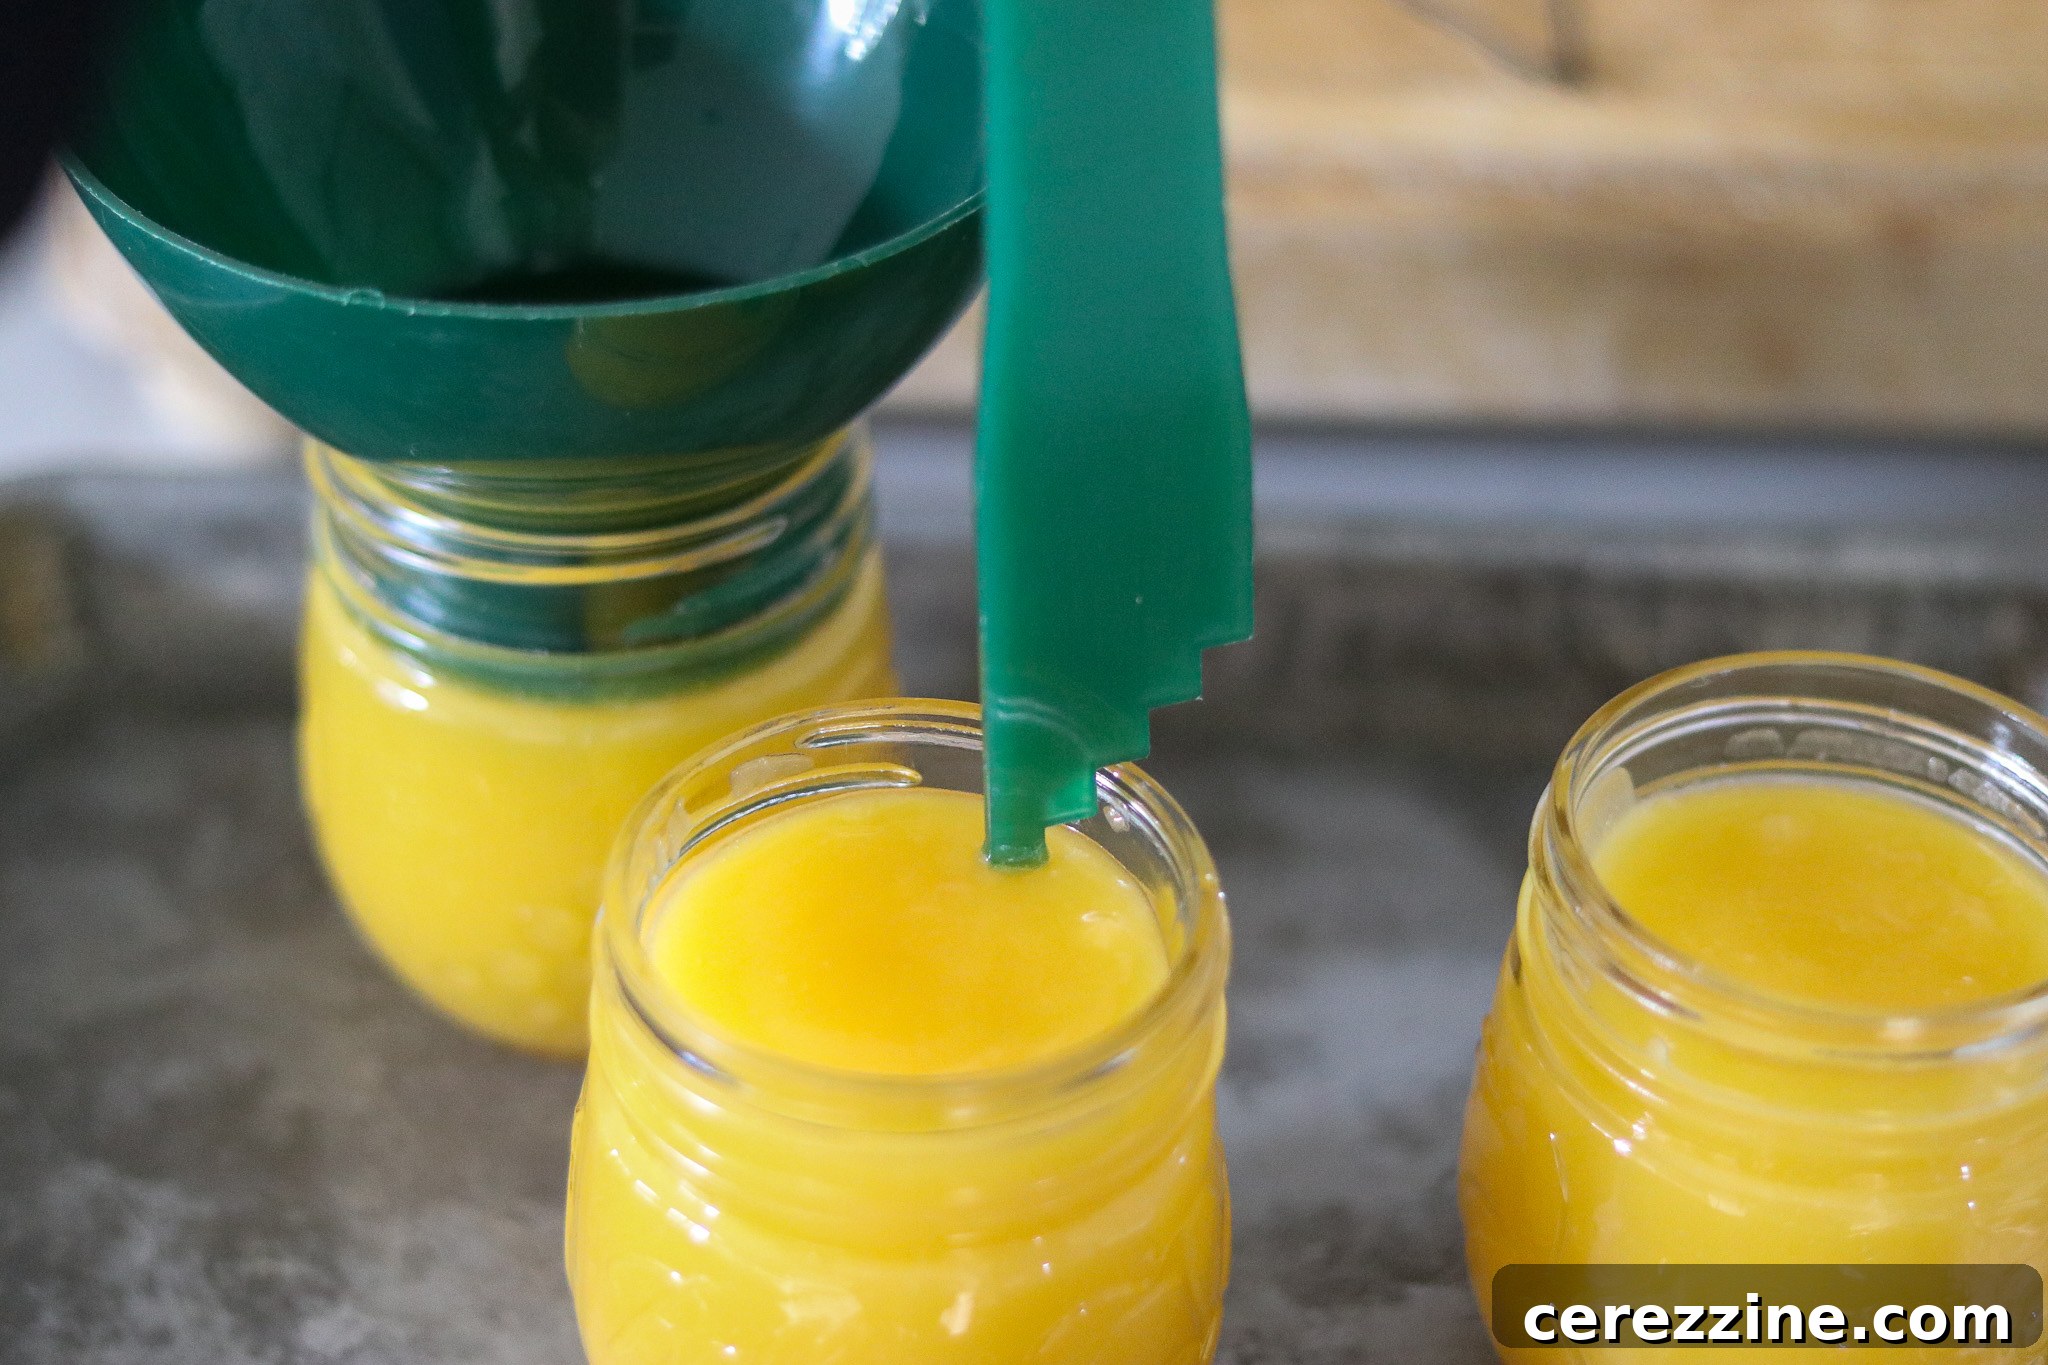
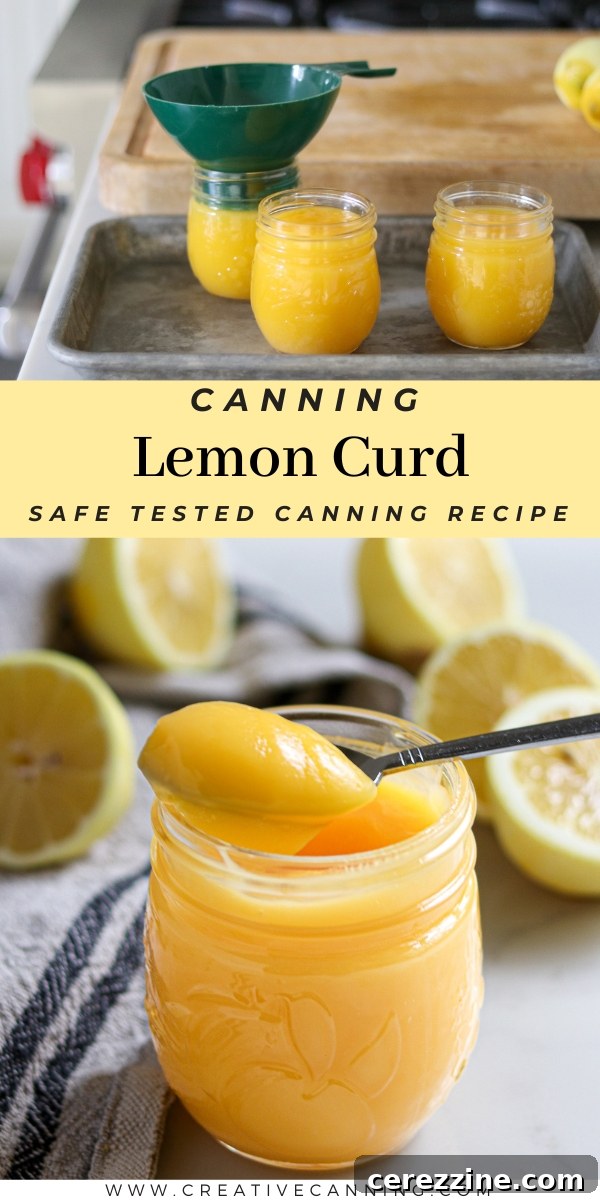
Once your curd has reached its perfect thickened and strained state, work quickly while it’s still hot. Ladle or pour the hot lemon curd into your prepared, hot canning jars, leaving precisely ½ inch of headspace at the top of each jar. Use a non-metallic spatula or a plastic canning tool to remove any trapped air bubbles from the jars. Gently press down on the curd, ensuring the ½ inch headspace is maintained after air bubbles are released. Adjust the curd level if necessary.
2. Seal and Process
Wipe the rims of each jar thoroughly with a clean, damp cloth to remove any food residue that could prevent a proper seal. Apply the two-part canning lids (flat lid and screw band) to each jar, tightening the screw bands to “finger-tight.” This means tightening until you feel resistance, then giving it just a slight extra turn – do not overtighten.
Carefully place the filled, sealed jars onto the rack in your preheated water bath canner. Ensure the jars are covered by at least 1-2 inches of water. Bring the canner to a full, rolling boil. Once the water reaches a vigorous boil, begin your timer. Process half-pint jars according to your altitude:
- 0-1,000 feet: Process for 15 minutes.
- 1,001-6,000 feet: Process for 20 minutes.
- Above 6,000 feet: Process for 25 minutes.
Important: Do not can lemon curd in jars larger than half-pint (8 oz) size. The tested recipe is specifically for this jar size to ensure proper heat penetration and safety.
3. Cool and Store
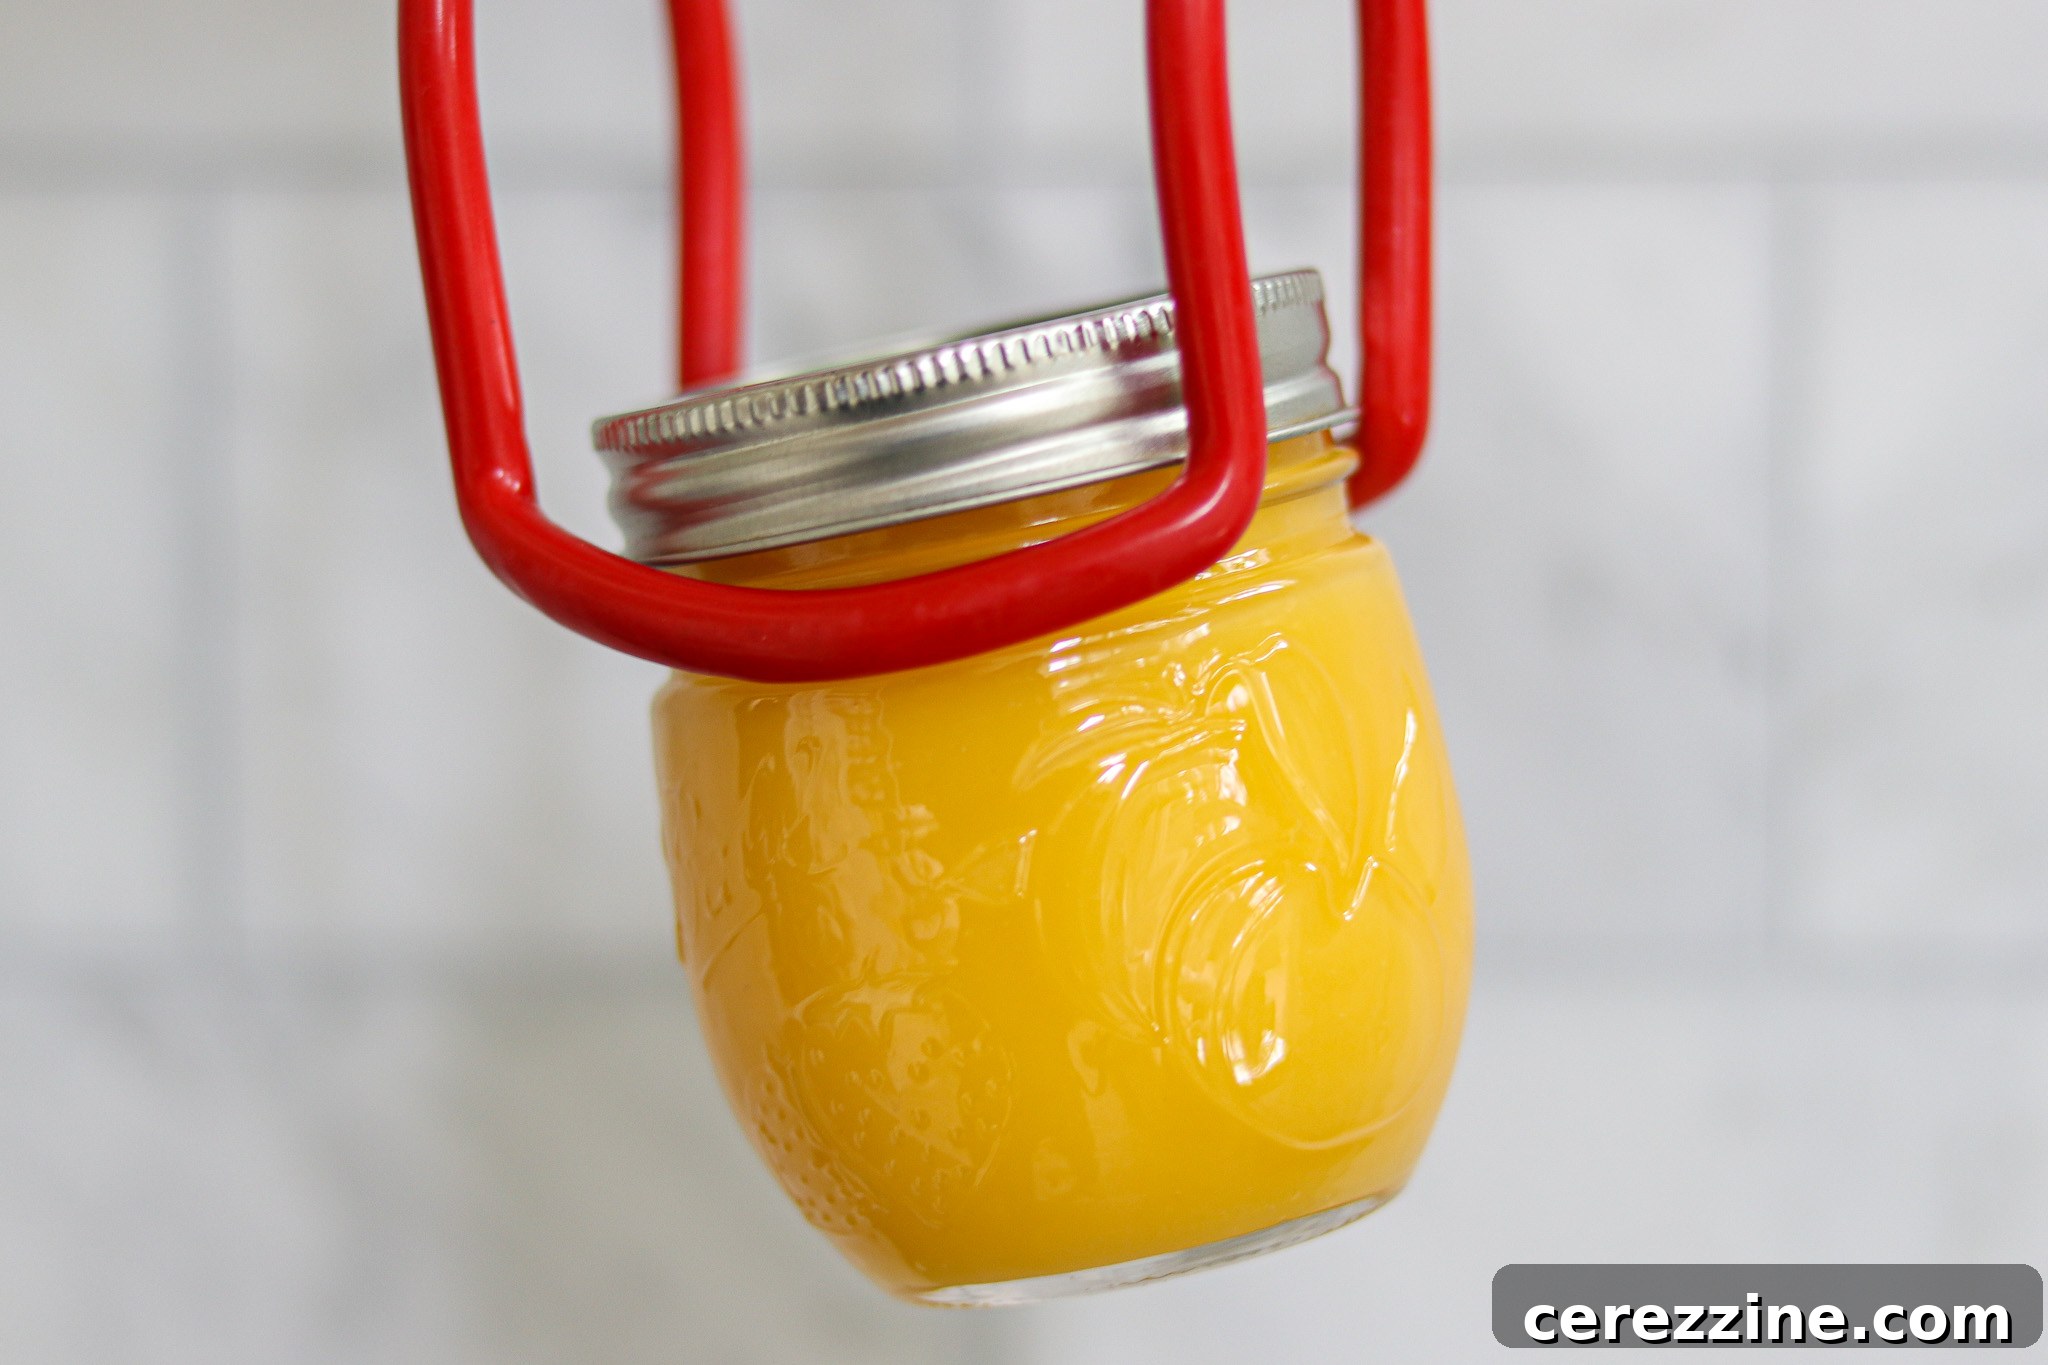
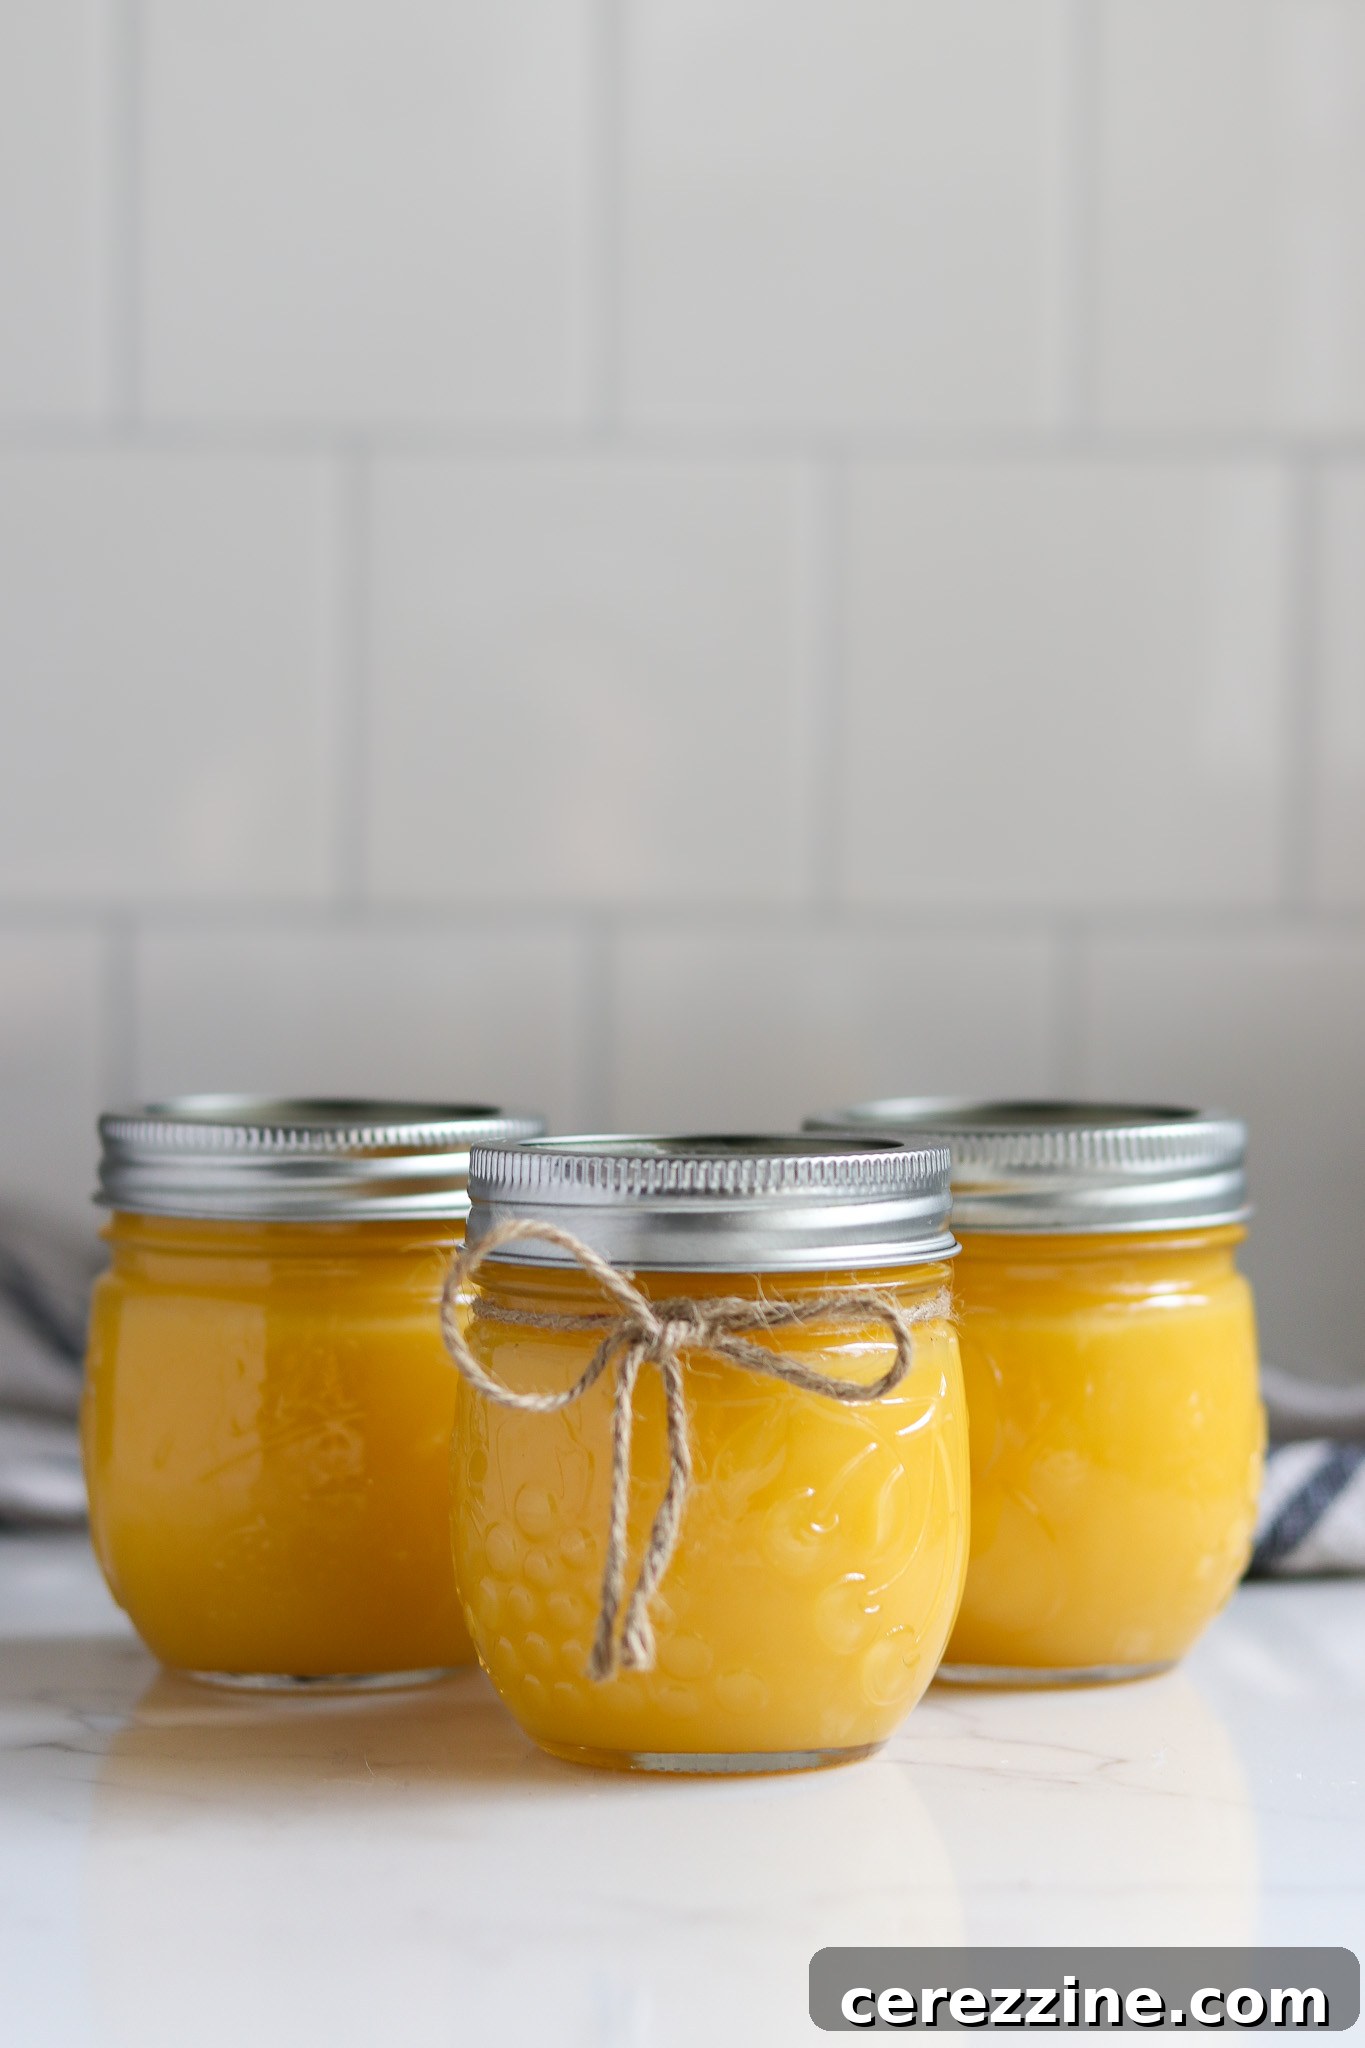
Once the processing time is complete, turn off the heat but leave the jars in the canner for an additional 5-10 minutes. This allows the jars to acclimate to the temperature change gradually. Then, carefully use a jar lifter to remove the hot jars from the canner and place them on a clean towel on your countertop. Allow the jars to cool undisturbed for 12-24 hours. During this time, you should hear the satisfying “ping” sound as the lids seal.
After the cooling period, check all seals. Press down on the center of each lid; if it doesn’t flex, the jar is sealed. Any unsealed jars should be stored in the refrigerator and used immediately. For optimal quality, store your sealed, canned lemon curd in a cool, dark place, such as a pantry shelf, away from direct light. It is best used within 3 to 4 months. If stored for too long, the curd may begin to brown or show signs of separation, at which point it should be discarded.
Creative Variations: Exploring Other Citrus Curds
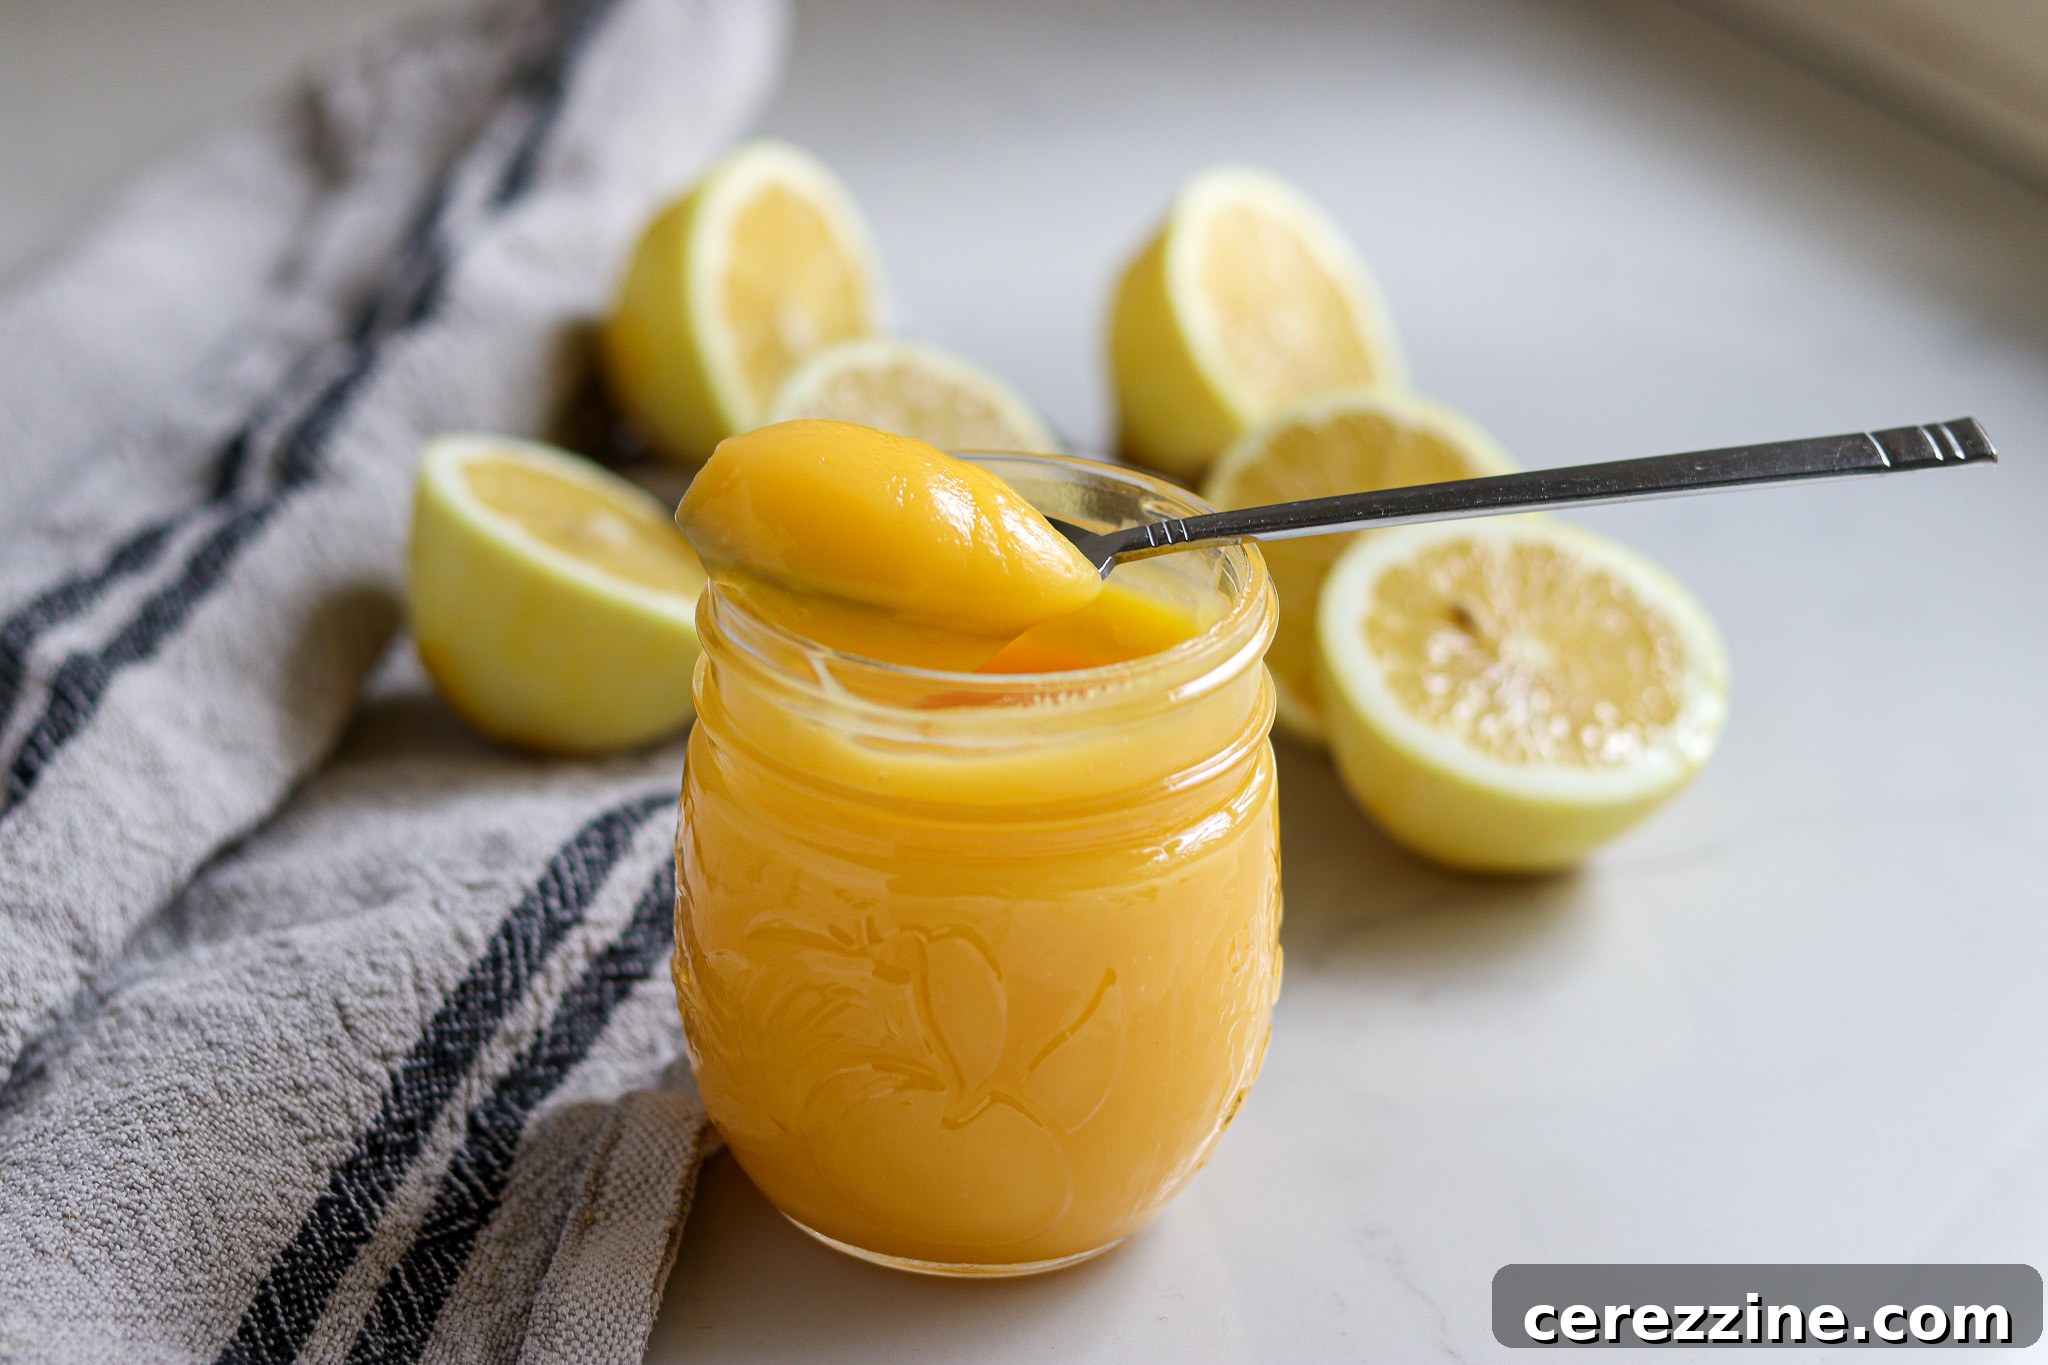
While this recipe is specifically tested for lemon, it can be adapted to create other delightful citrus curds. A fantastic variation is lime curd, made by simply substituting bottled lime juice for bottled lemon juice and fresh lime zest for lemon zest. For a refreshing blend, you can even combine lemons and limes to achieve the necessary quantities of zest and bottled juice for the recipe.
However, it’s crucial to note that other citrus fruits or non-citrus fruits are not recommended for making curds intended for canning, as their acidity levels and other properties have not been tested for safety in this specific recipe. Stick to lemons and limes for safe home canning.
Delightful Ways to Enjoy Your Homemade Lemon Curd
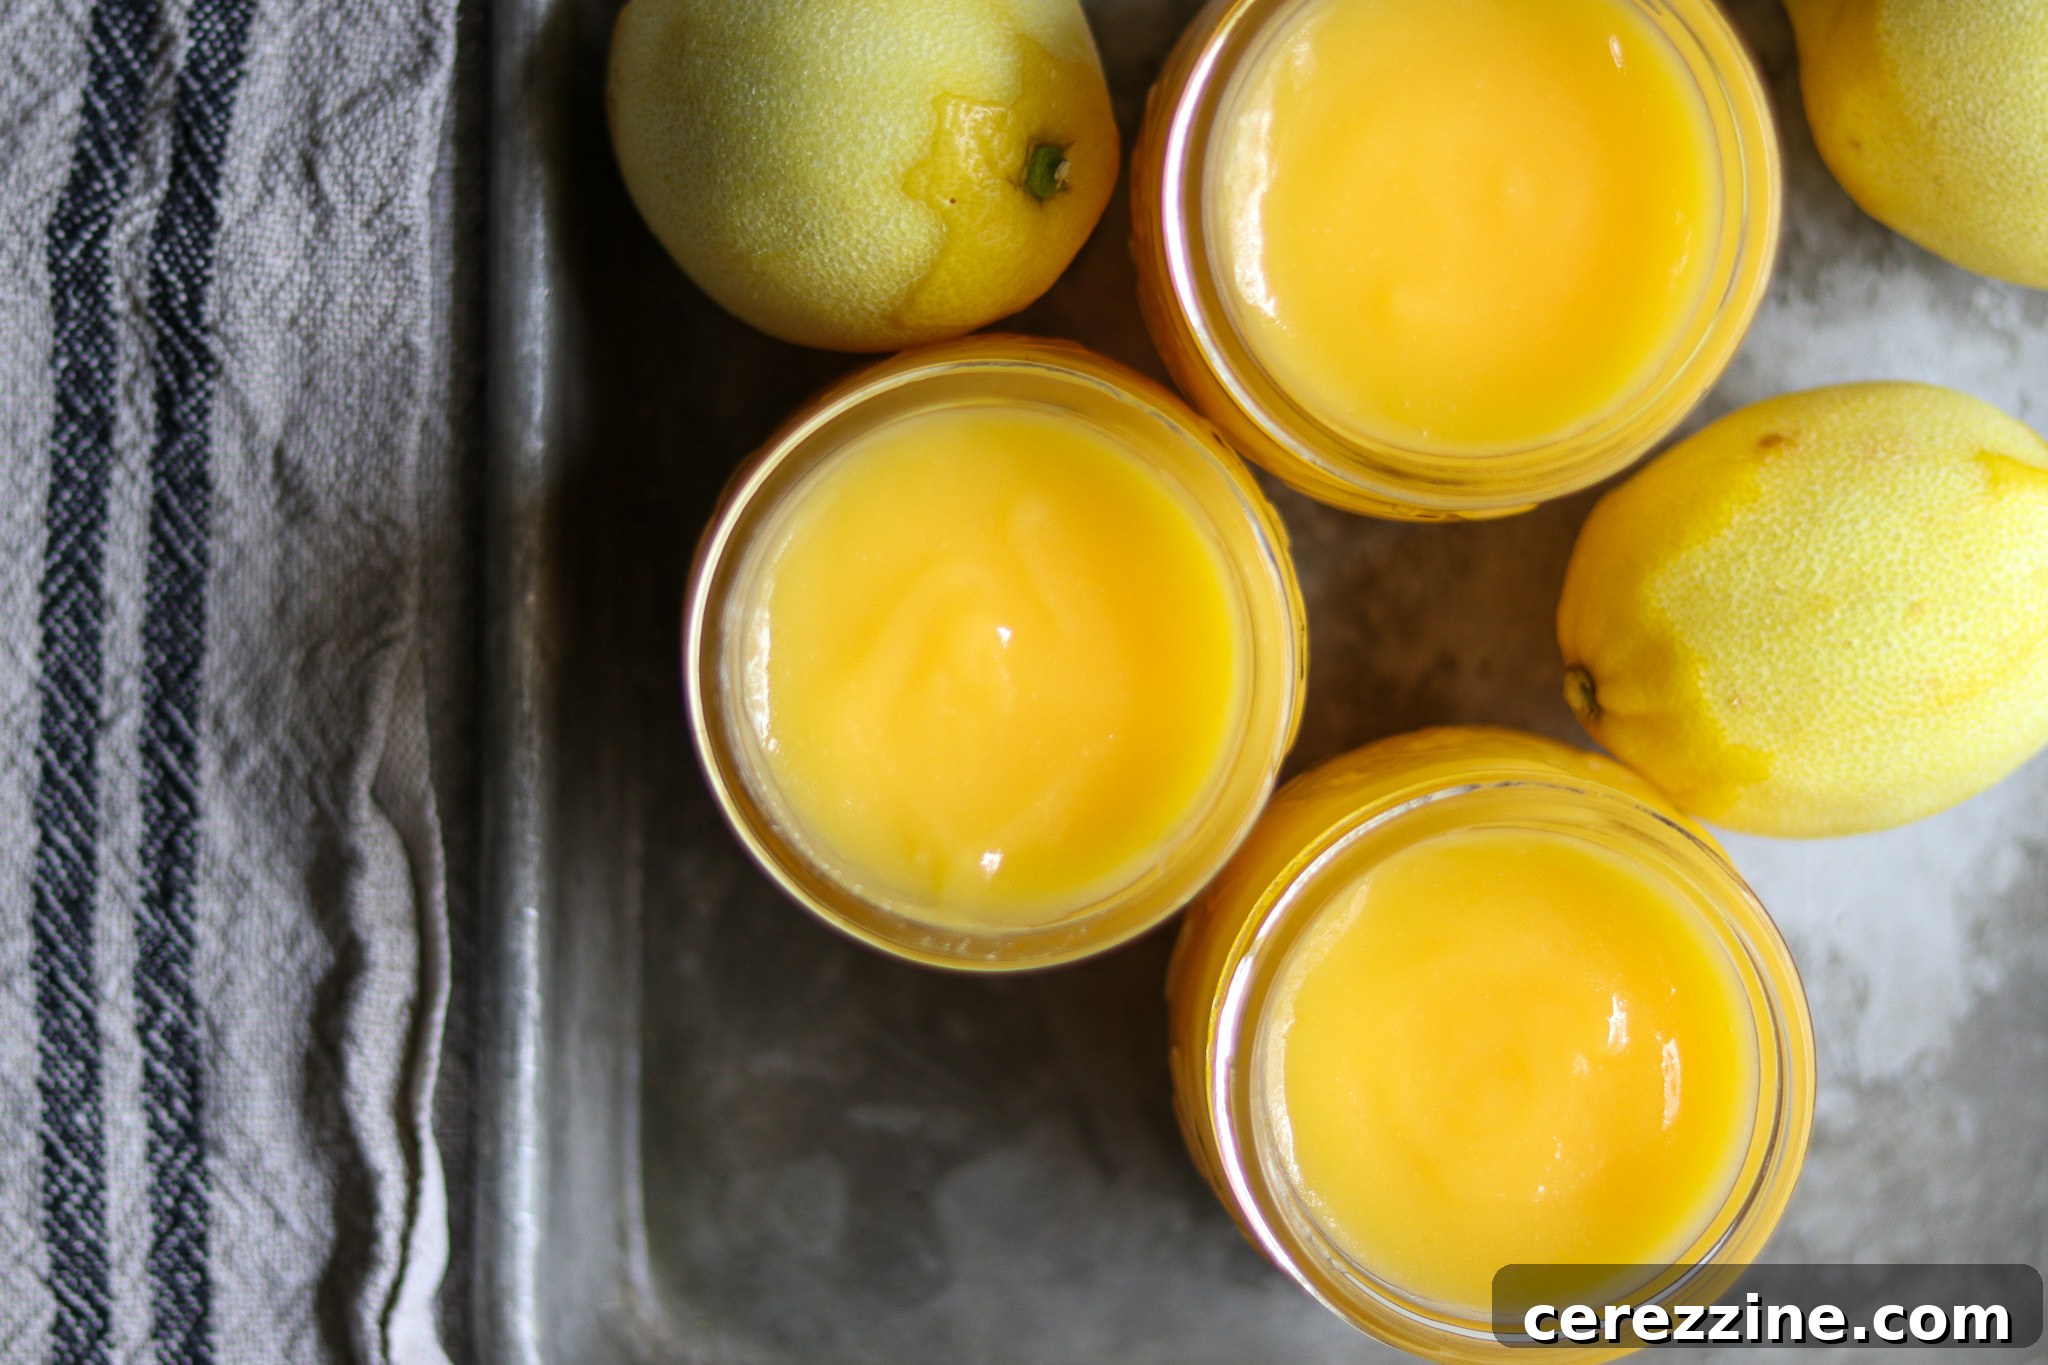
The culinary possibilities for your homemade lemon curd are virtually endless. Its bright, tangy profile and silky texture make it a fantastic addition to both simple and sophisticated dishes.
One of the most classic uses is as a luscious filling. Spoon it into delicate tarts or crepes for an elegant dessert. It also makes an exquisite filling for pastries, sandwich cookies (like shortbreads or thumbprints), or light-as-air macarons, adding a burst of citrus flavor.
Beyond fillings, lemon curd shines as a topping. Generously dollop it over scoops of vanilla ice cream or frozen yogurt for an instant gourmet treat. Transform a plain lemon or white cake by spreading lemon curd on top instead of traditional frosting, offering a lighter, more vibrant flavor. Cheesecake, panna cotta, or even a simple bowl of fresh berries can be elevated with a spoonful of this golden delight.
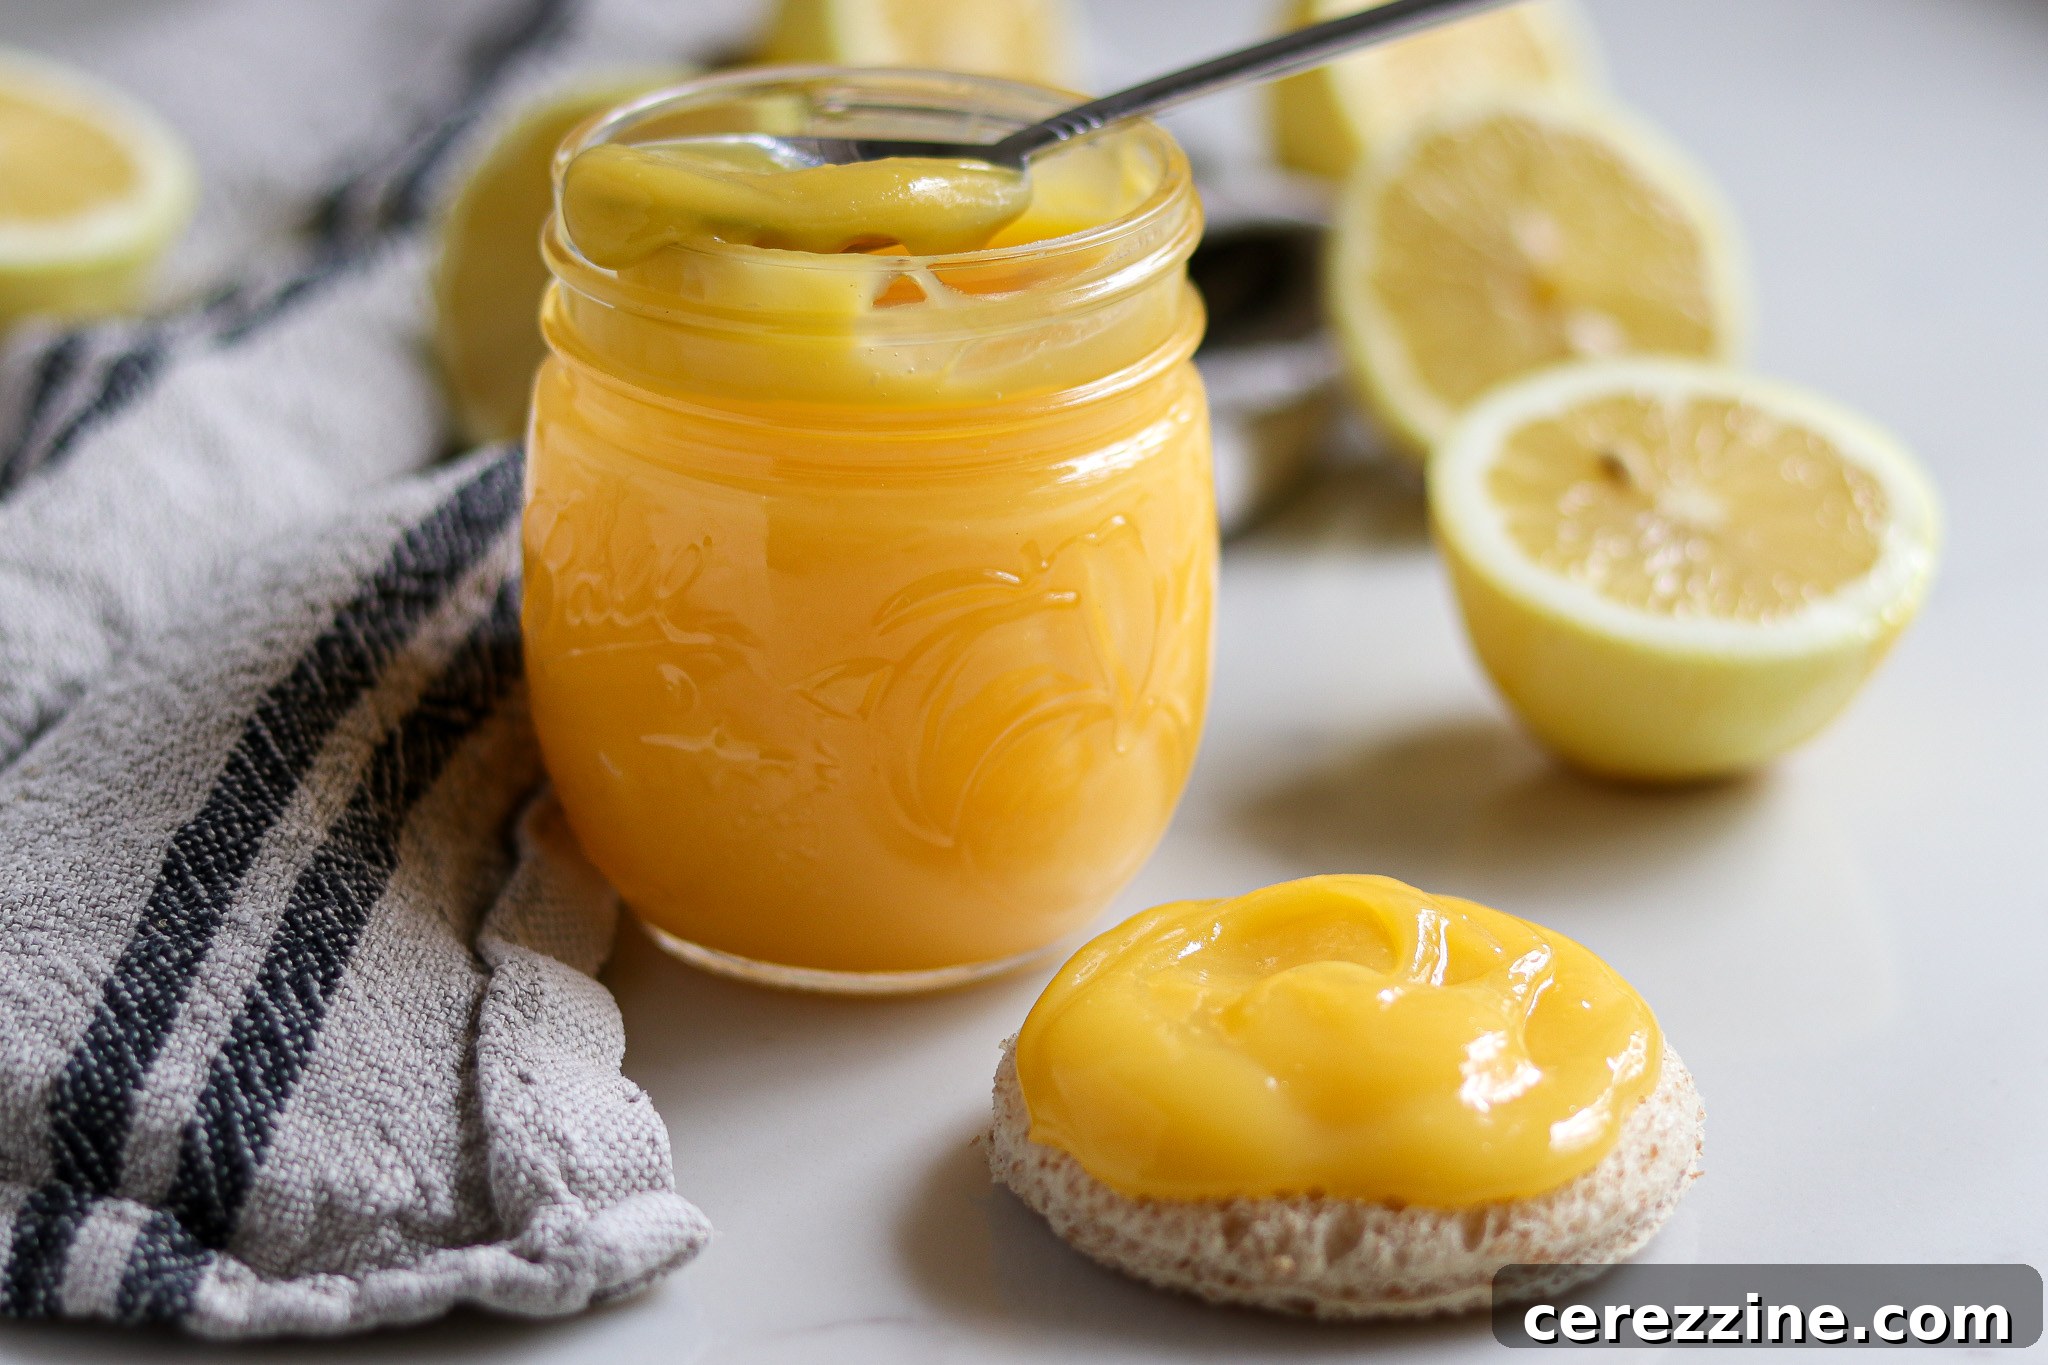
For a quick and easy indulgence, try dipping vanilla wafers or other plain cookies directly into the curd. You can also get creative and use lemon curd as a vibrant alternative to cream cheese filling or frosting in many of your favorite dessert recipes. Don’t hesitate to experiment with different pastries, quick breads, cookies, and various desserts to discover your new favorite ways to enjoy this versatile preserve!
Discover More Ways to Preserve Lemons
If you’ve fallen in love with preserving lemons through this curd recipe, there are many other exciting ways to capture the essence of this vibrant fruit:
- 20+ Ways to Preserve Lemons
- Lemon Wine
- Dehydrating Lemon Slices
- Salt Preserved Lemons
Canning Lemon Curd
Rate
Equipment
-
Water Bath Canner
-
Instant Read Thermometer
Ingredients
- 2½ cups superfine sugar, see below
- ½ cup fresh lemon zest
- 1 cup bottled lemon juice
- ¾ cup unsalted butter, chilled and cut
- 7 large egg yolks
- 4 large whole eggs
Instructions
-
If canning, prepare a water bath canner, jars and lids before you begin making the lemon curd.
-
Wash the lemons and zest the outer skin to obtain ½ cup of zest.
-
In a small bowl, combine the zest and sugar, mix well, and let set for 30 minutes.
-
Prepare a double boiler and begin to heat water in the bottom pan. Ensure the water in the bottom pan will not touch the top pan of the double boiler.
-
In the top pan of the double boiler, whisk together the egg yolks and whole eggs until thoroughly mixed.
-
Gradually add the zest and sugar mixture and continue to whisk, maintaining a smooth texture. Blend in the lemon juice and butter pieces.
-
Place the top pan with the lemon mixture over the bottom pan of the double boiler. Maintain a gentle boil in the bottom pan, allowing the steam to heat the mixture in the top pan.
-
Use a silicone spatula to gently scrape the bottom of the pan to prevent sticking as the mixture cooks. Stirring continuously, heat the lemon curd mixture until it reaches 170° F on a kitchen thermometer.
-
Remove the top pan from the double boiler and place it on a heat-resistant surface on the counter. Stir the curd gently until it thickens, or about 5 minutes.
-
Pour the curd through a mesh strainer into a glass or stainless-steel bowl and discard the zest collected in the strainer.
-
Ladle or pour the curd into hot half-pint jars or containers, leaving 1/2 inch headspace. Seal with 2 part canning lids.
-
Load jars into a simmering water bath canner, and turn up the heat to bring the canner to a full rolling boil.
-
Process half-pint jars for 15 minutes if you are at an altitude of 0-1,000 feet. For 1,001 to 6,000 feet, process for 20 minutes; above 6,000 feet, process half-pint jars for 25 minutes. Do not can lemon curd in jars larger than half pint (8 oz).
-
After the canning time is complete, turn off the heat and allow the jars to sit in the canner for another 5 minutes before removing them to cool completely on a towel on the counter.
-
Store preserved jars of curd in a cool, dark place such as a pantry shelf and use within 3 to 4 months. Discard if browning or separation occurs.
Notes
Nutrition
Nutrition information is automatically calculated, so should only be used as an approximation.
More Citrus Canning Recipes
There’s more than one way to put citrus in a jar and enjoy its vibrant flavors year-round:
- Low Sugar Orange Marmalade
- Lime Marmalade
- Canning Limeade Concentrate
- Cherry Limeade Concentrate
- Watermelon Lemonade Concentrate
Canning lemon curd might seem like a gourmet undertaking, but with this NCHFP-approved recipe and careful attention to detail, it’s a rewarding project for any home canner. You’ll transform fresh lemons into a luxurious, shelf-stable spread that brings a burst of sunshine to your pantry and your plate. Enjoy the satisfaction of creating this delectable treat, perfect for gifting or savoring yourself, knowing it’s both delicious and safely preserved. Happy canning!