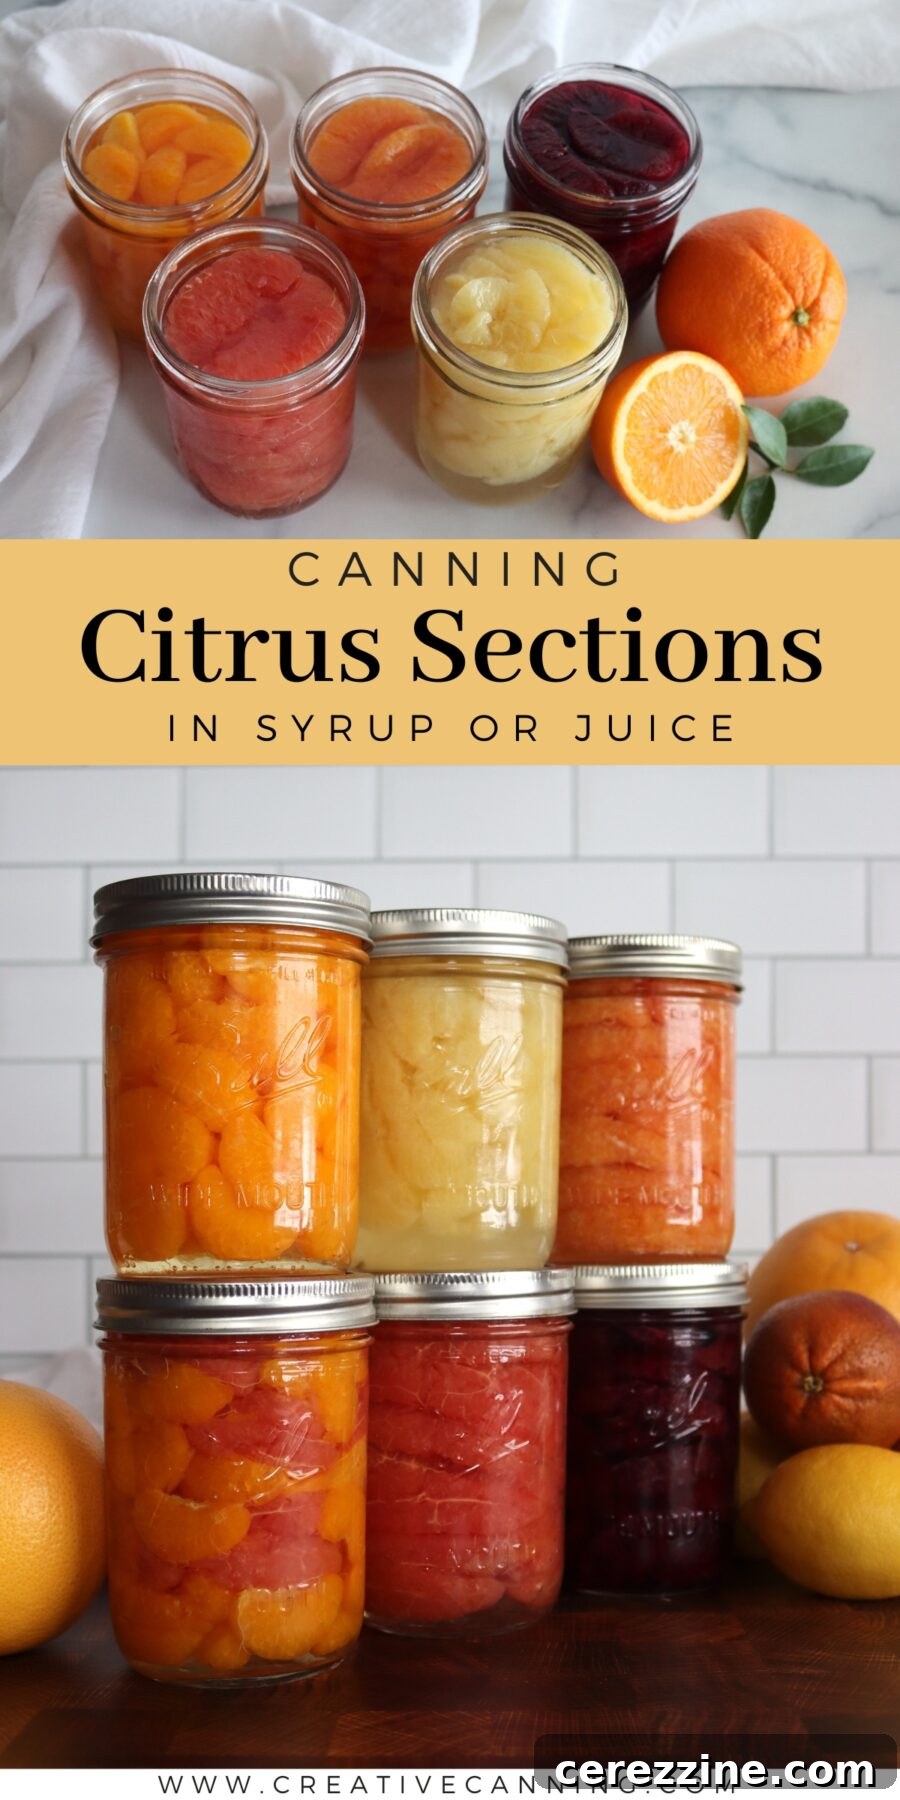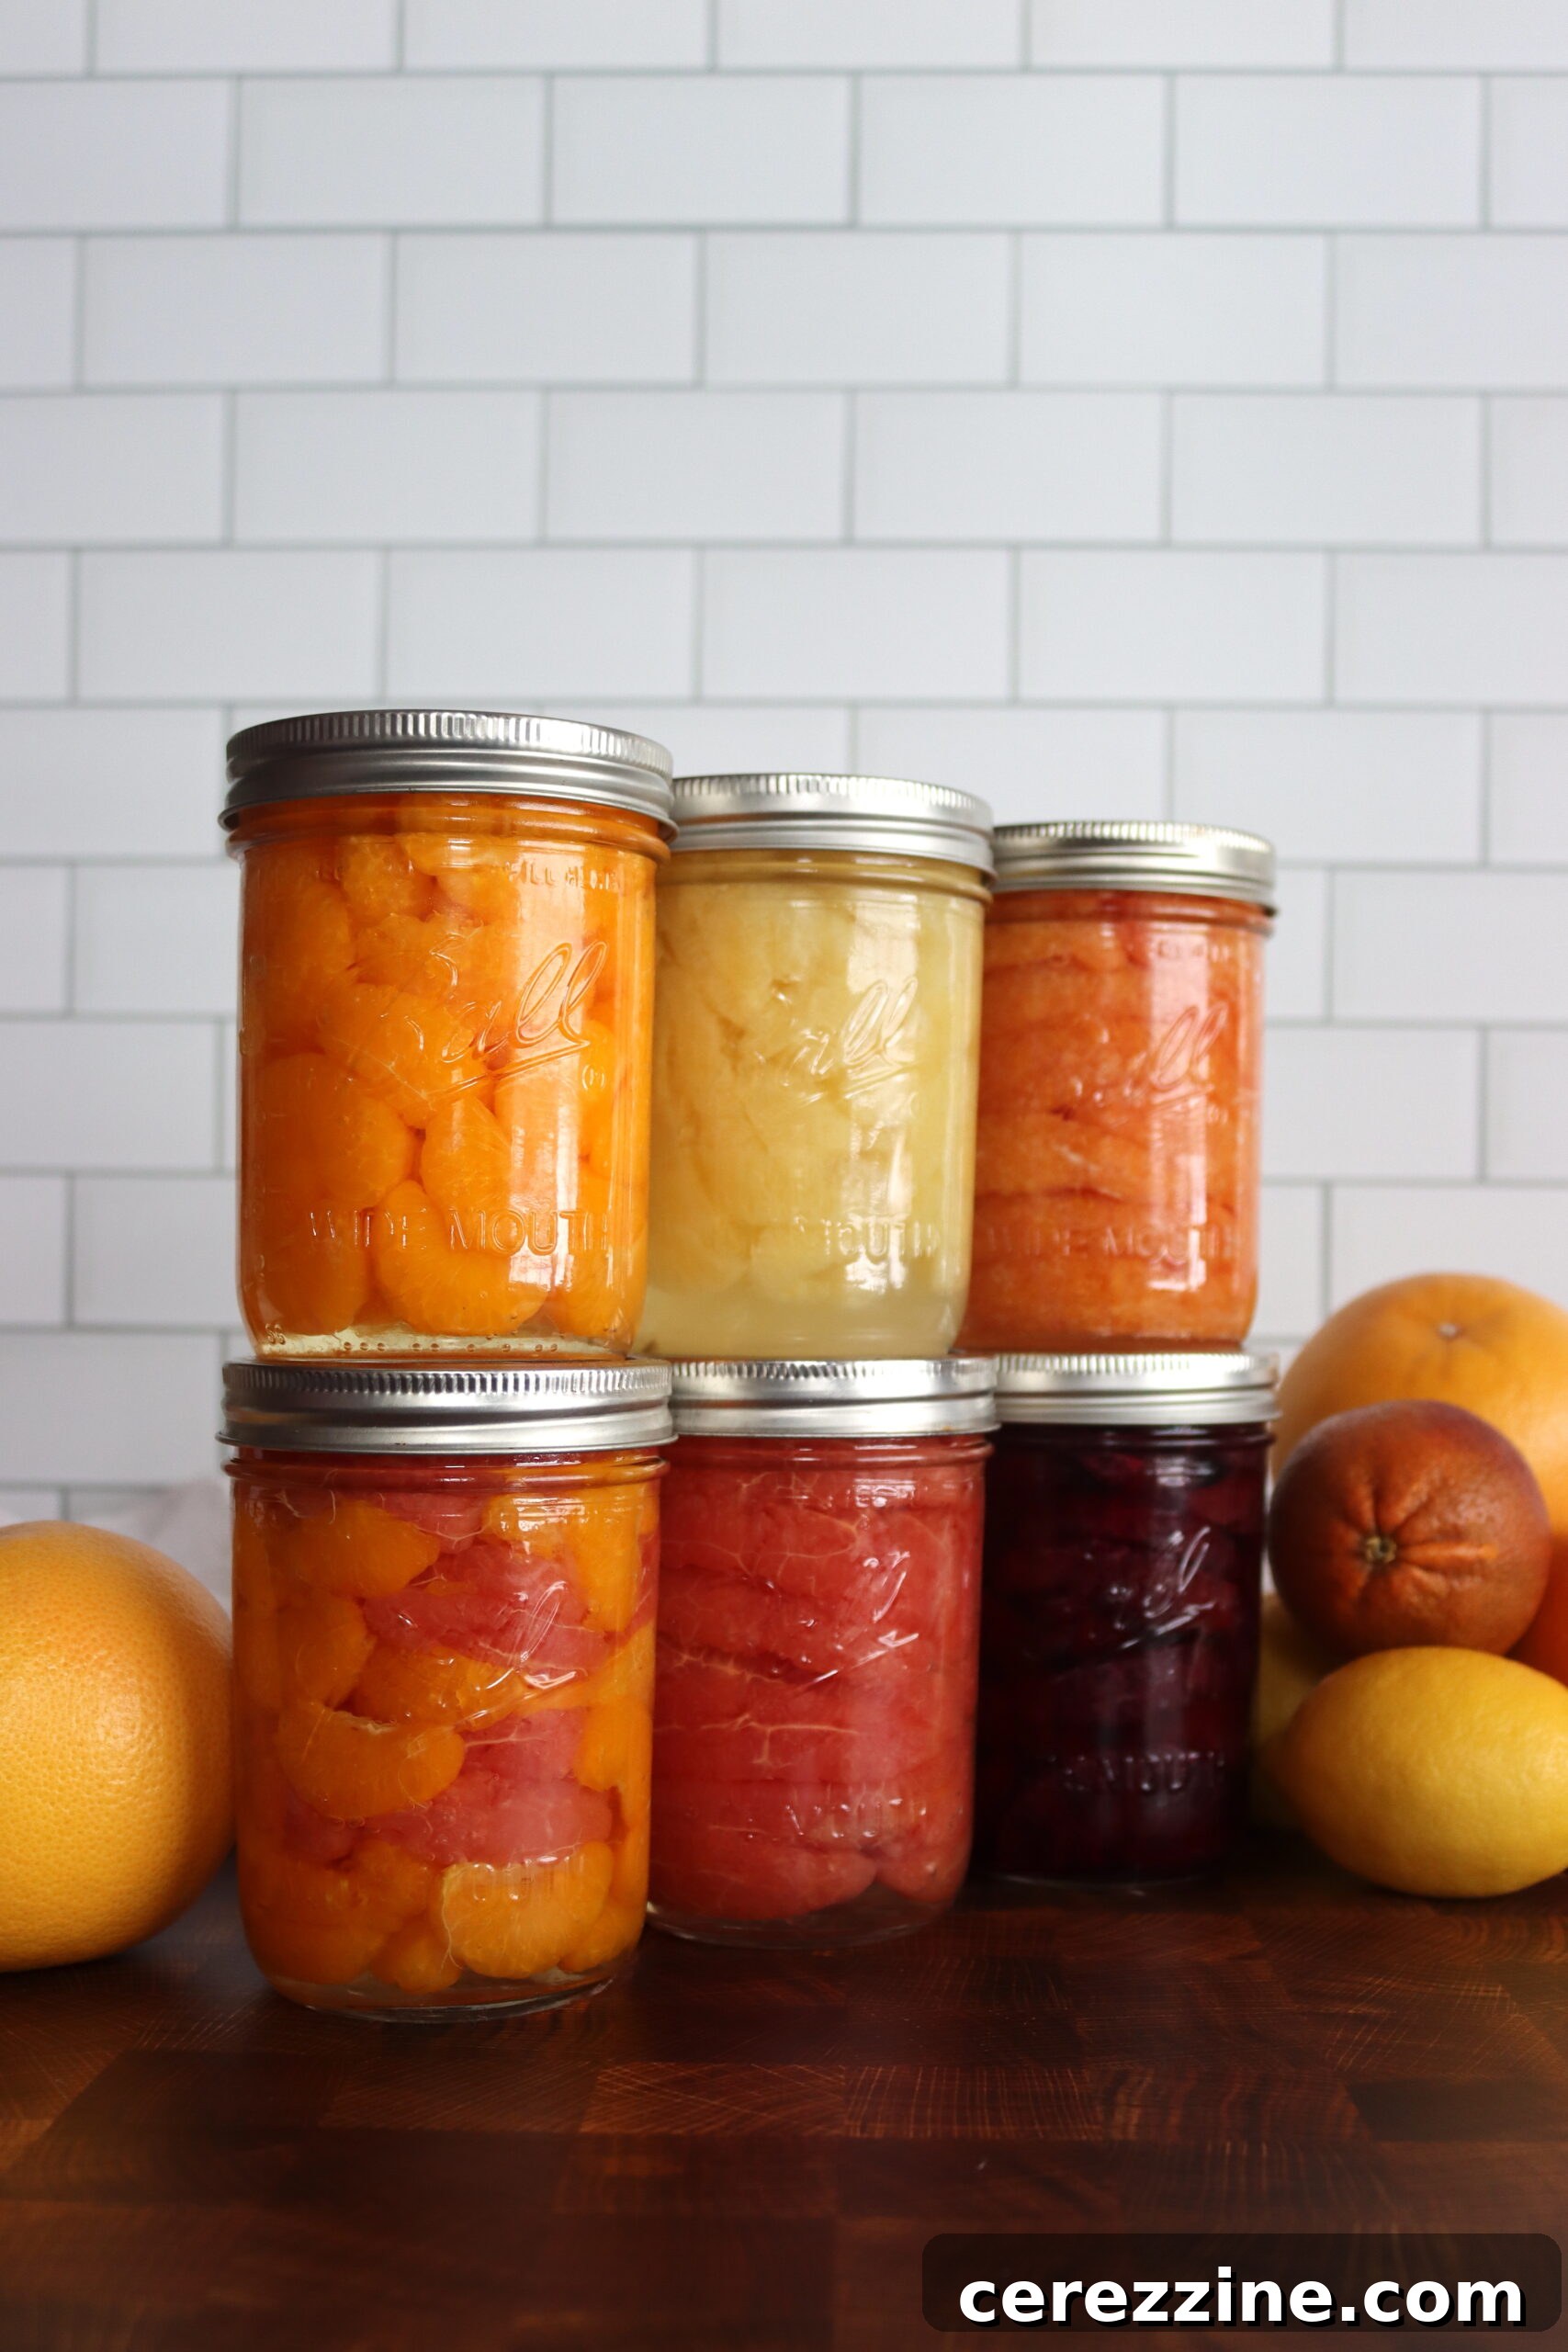
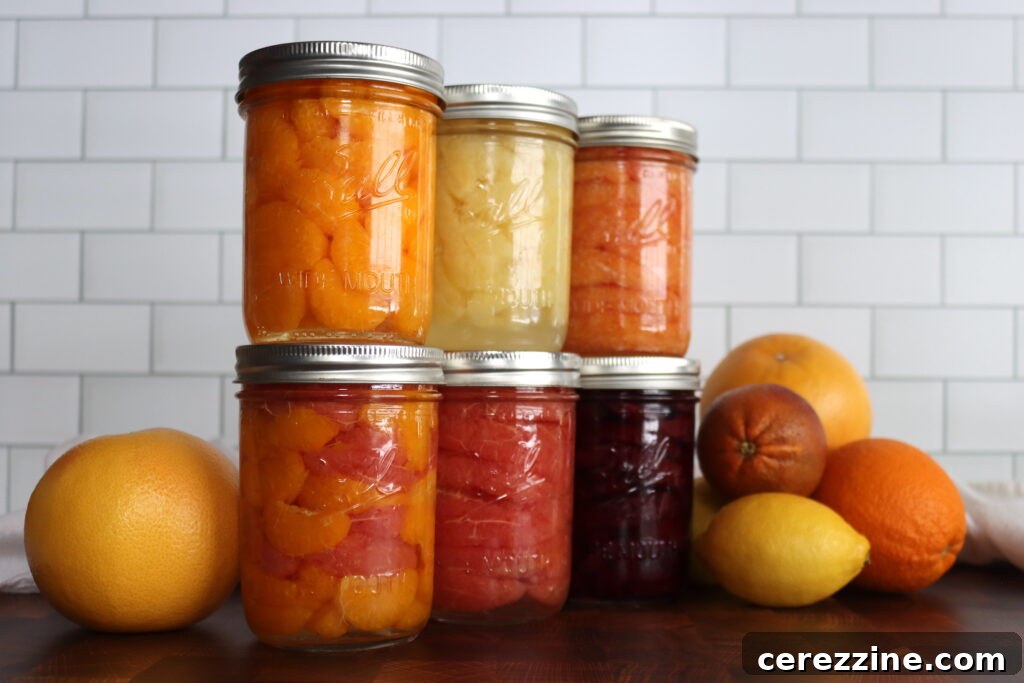
Canning citrus sections is a truly delightful and rewarding pantry project that brings a burst of sunshine into the colder months. Imagine opening a jar of perfectly sweet, tender oranges or grapefruit in the dead of winter, tasting as if you’ve bottled the peak of citrus season itself. With just a little preparation and a straightforward water bath canning process, you can transform fresh, vibrant fruit into convenient, ready-to-use segments that brighten any meal or snack.
This recipe has been thoroughly reviewed for safety and accuracy by a Master Food Preserver, certified through the esteemed University of Cornell Cooperative Extension, ensuring reliable results for your home canning efforts.
For many, canned mandarin orange slices evoke a sense of nostalgia, often appearing as a special holiday treat. Growing up, these glossy, perfectly segmented slices were a staple on our Christmas table, used by my grandmother for their festive appeal, even though we lived amidst abundant California citrus groves. There was an undeniable charm to their consistent sweetness and pristine appearance that fresh oranges couldn’t quite replicate in that context. Today, finding high-quality canned citrus in stores can be surprisingly challenging, often leading to overly sweet, mushy, or bland options. This is precisely why mastering the art of canning your own citrus sections at home becomes an invaluable skill.
This trusted method is firmly rooted in the guidelines provided by the National Center for Home Food Preservation (NCHFP), specifically adapted for preserving both grapefruit and orange sections. It’s a simple, reliable, and highly effective recipe, perfect for stocking your pantry with the brightest flavors when citrus fruits are at their seasonal best. Not only does it allow you to capture that exquisite taste, but it also ensures you have wholesome, homemade fruit available for a multitude of culinary applications throughout the year.
Why You’ll Adore This Citrus Canning Recipe!

My journey into canning citrus began with a craving for that classic, perfectly sweet “canned mandarin” experience, but with a significant upgrade. I wanted to choose my own premium fruit, control the sweetness of the syrup, and avoid the soggy, overly sweet store-bought alternatives. There’s an immense satisfaction that comes from opening a jar in the dead of winter and discovering bright, sunny citrus, ready to be effortlessly spooned over yogurt, gracefully tossed into a vibrant salad, or luxuriously piled onto a slice of pound cake. This simple act connects you directly to the harvest, providing a taste of summer’s bounty when fresh options are scarce.
What truly elevates this recipe, for me, is its incredible flexibility. I can dedicate a canning session to all navel oranges if that’s what’s abundant, pivot to mandarins when I yearn for that classic, nostalgic flavor, or introduce grapefruit to create a jar with a more sophisticated and complex taste profile. And when I invest the extra effort to meticulously strip off the pith—especially by utilizing the innovative pectic enzyme soak—the results are nothing short of stunning. The jars emerge with an almost ethereal quality: crystal-clear syrup encasing lustrous segments that seem to glow, entirely free from any lingering bitterness that can compromise rushed preparations. It’s a testament to the rewards of careful, thoughtful preservation.
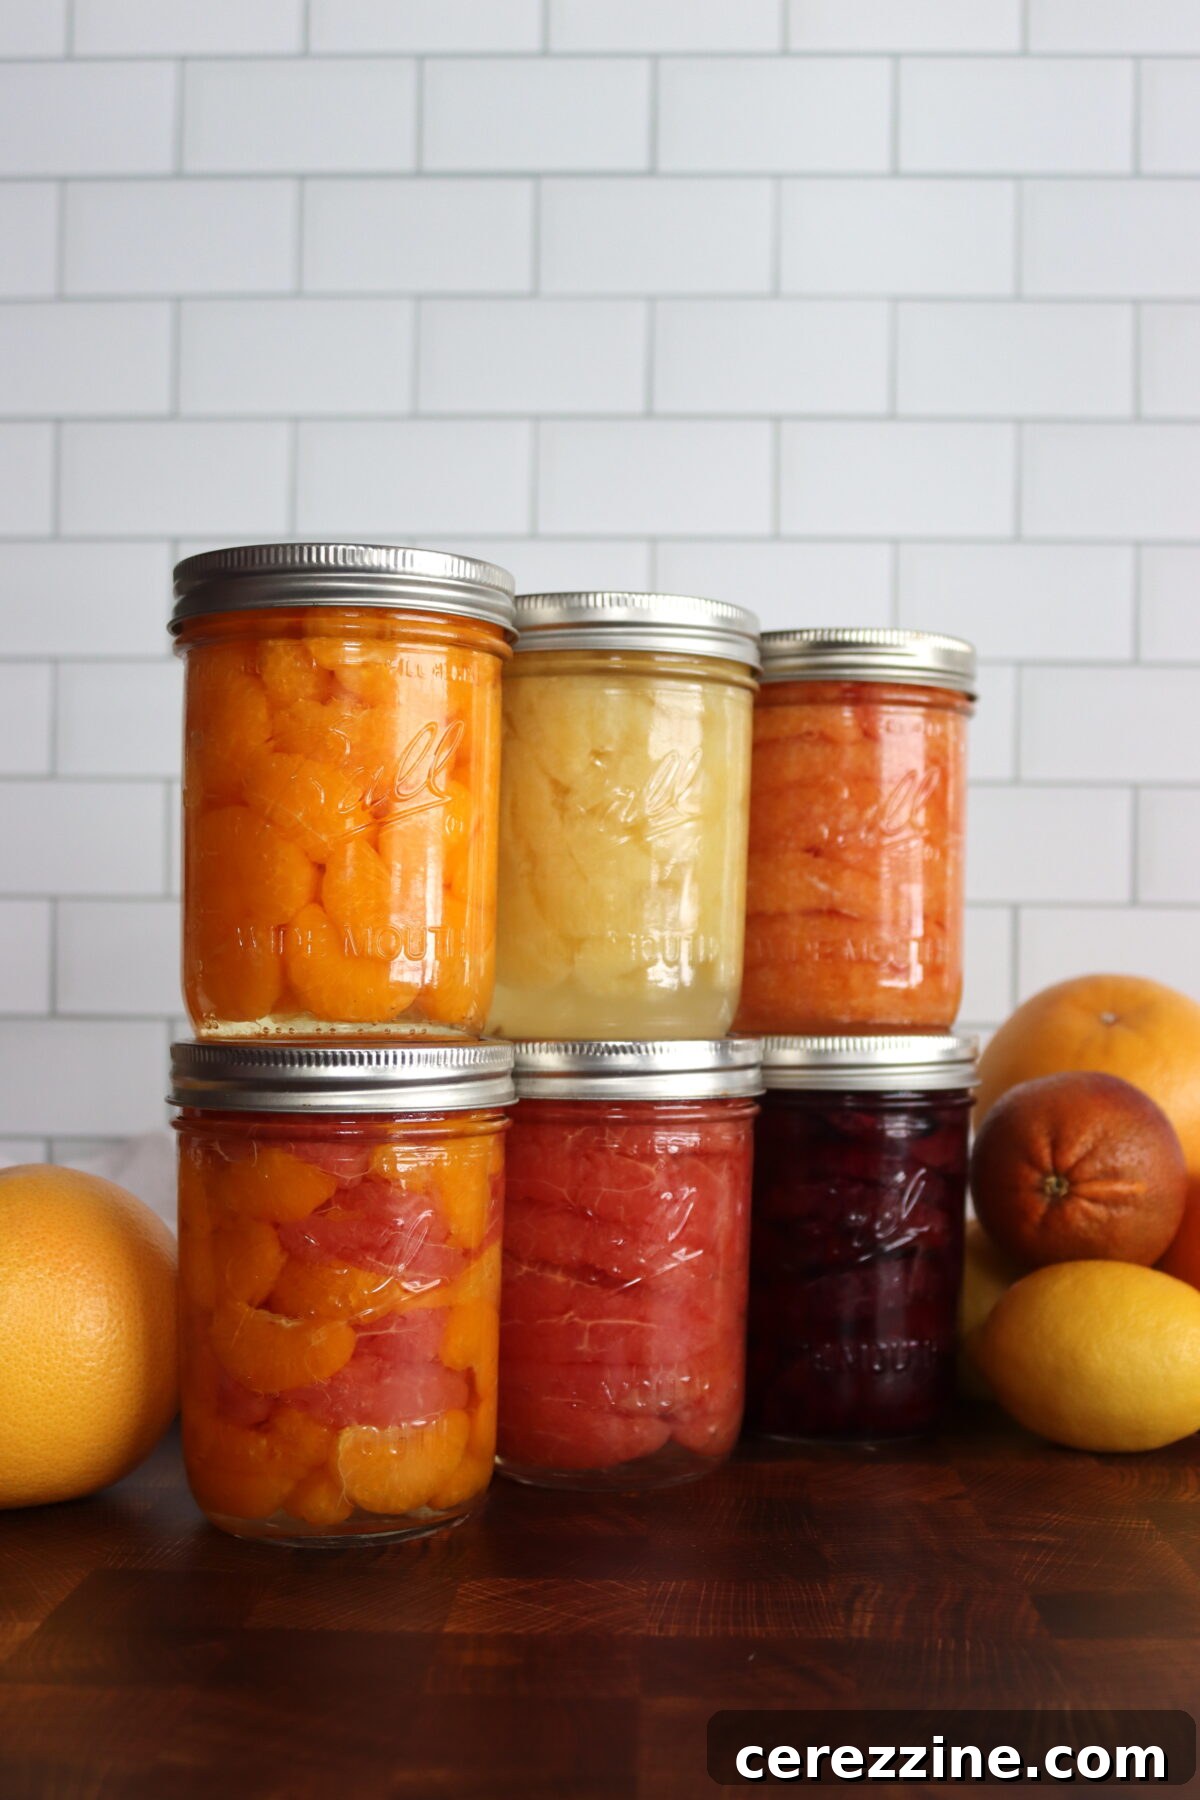
A Quick Look at the Recipe Essentials
- Recipe Name: Canning Citrus Sections
- Recipe Type: Fruit in Syrup or Juice
- Canning Method: Water Bath Canning
- Prep/Cook Time: Approximately 1 hour (plus optional soaking time for pith removal)
- Canning Time: 10 Minutes
- Yield: Varies depending on citrus type and jar packing efficiency
- Jar Sizes: Half-Pint, Pint, or Quart
- Recommended Headspace: 1/2 inch
- Key Ingredients: Fresh Citrus, Water, and Granulated Sugar (optional)
- Safe Canning Recipe Source: National Center for Home Food Preservation (NCHFP)
- Difficulty: Easy! Once your syrup is prepared, the process mainly involves filling jars and processing them.
- Similar Recipes: This method is broadly applicable to other fruits canned in syrup, such as canning pineapple, canning grapes, canning apricots, and canning cherries.
Selecting the Best Citrus for Canning
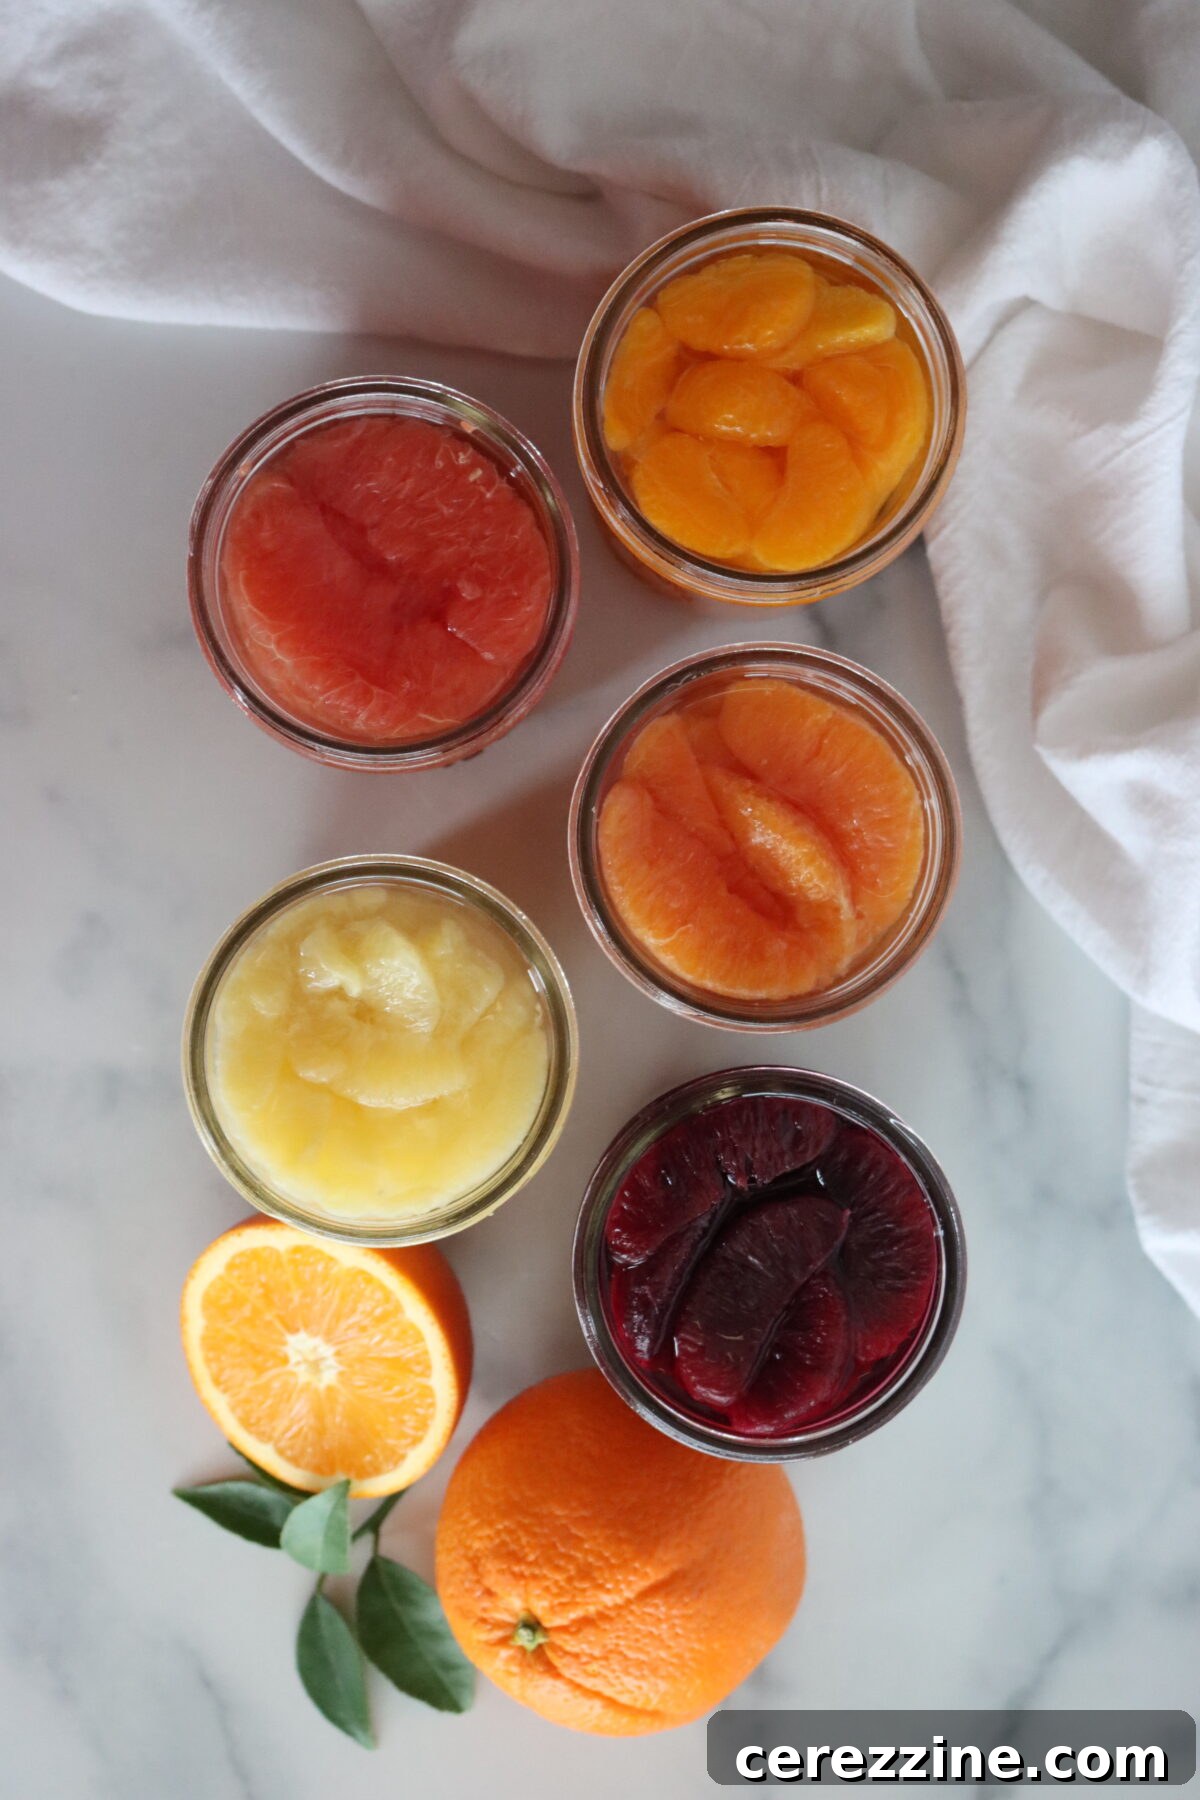
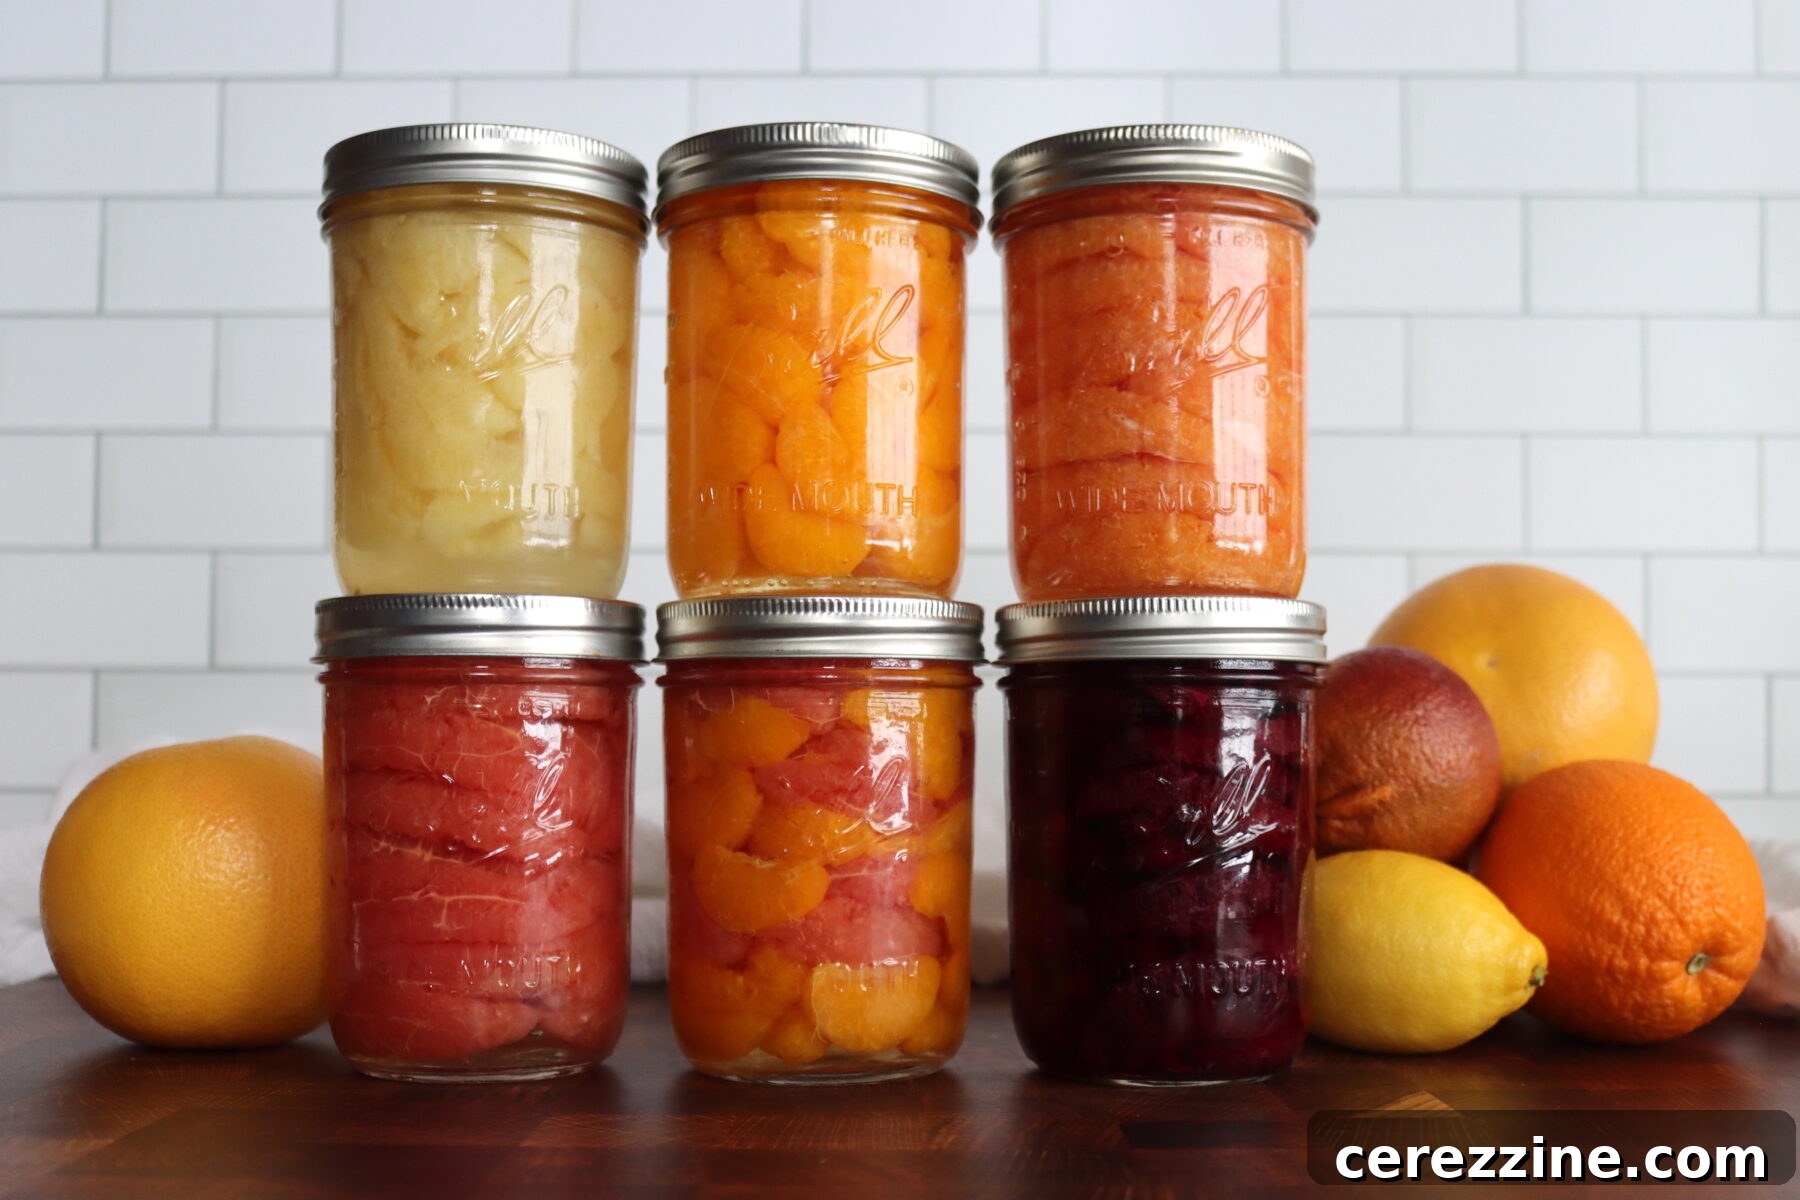
The beauty of canning citrus is its versatility. You can preserve orange sections from almost any orange variety, and grapefruit sections, either on their own or mixed with oranges, also yield fantastic results. While lemons and limes are significantly more acidic, they too can be canned as sections, especially in a heavier syrup to balance their tartness. The NCHFP suggests that orange sections often achieve their finest flavor when canned with an equal proportion of grapefruit, though grapefruit alone is also a superb choice. Personally, I have a fondness for “all orange” or “all grapefruit” jars, while my daughter enthusiastically prefers the mixed blend. Ultimately, the choice comes down to your individual taste preference and how you plan to enjoy your canned fruit.
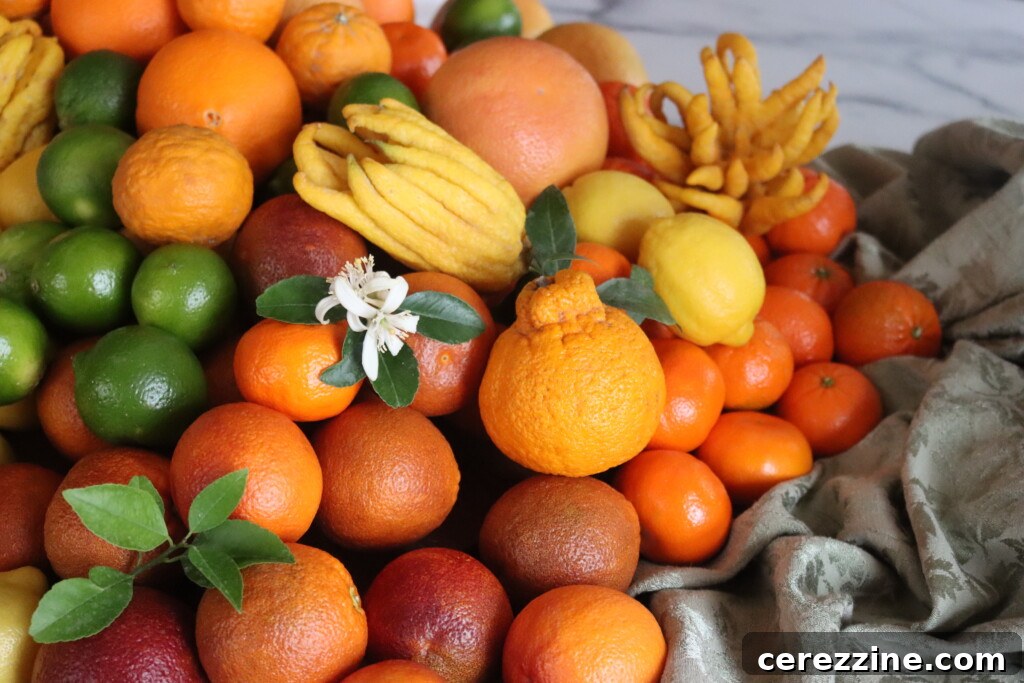
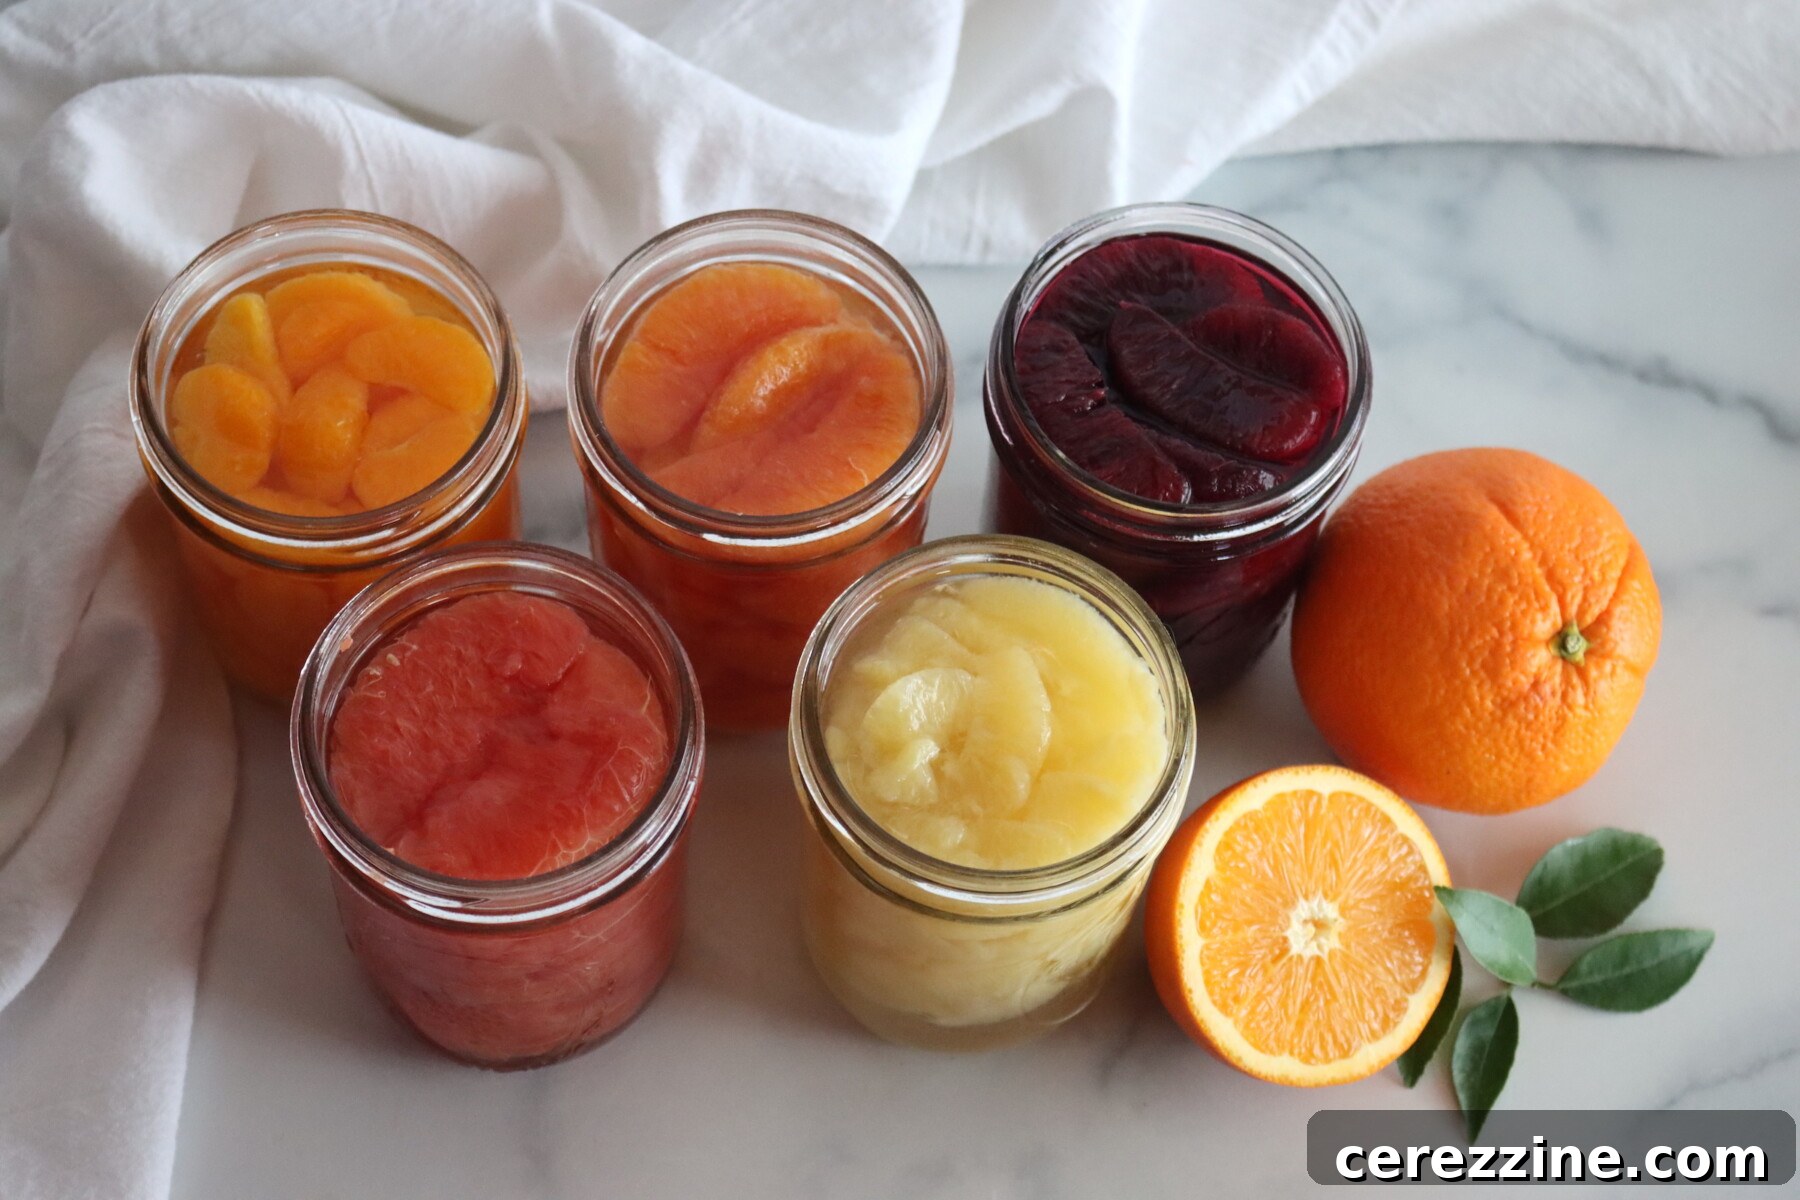
Here’s a closer look at how various popular citrus types perform and appear once they’ve been canned:
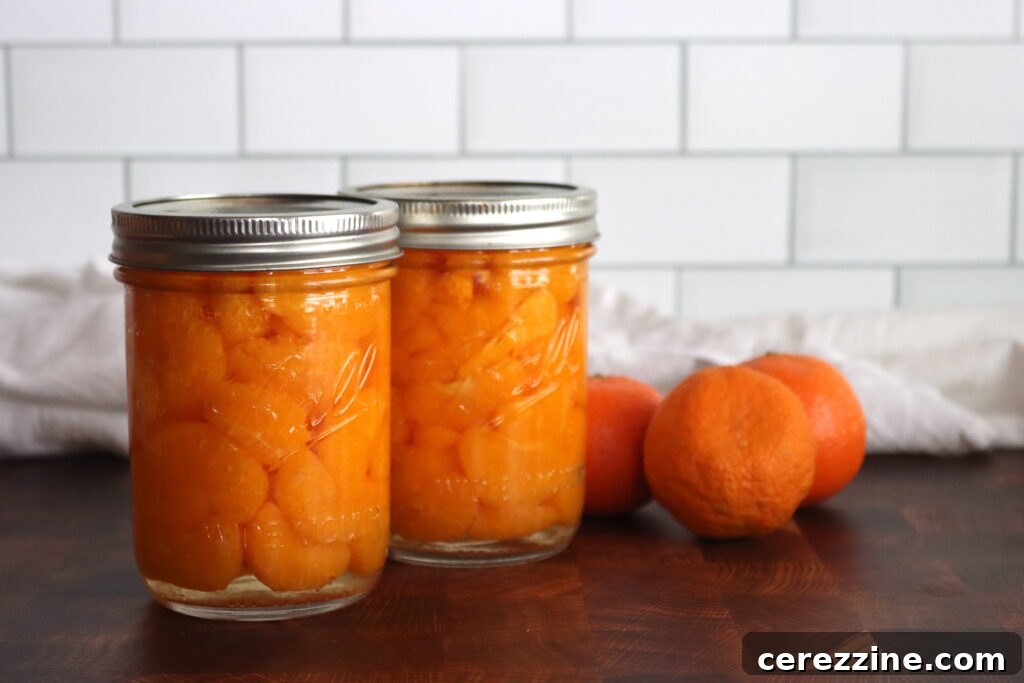
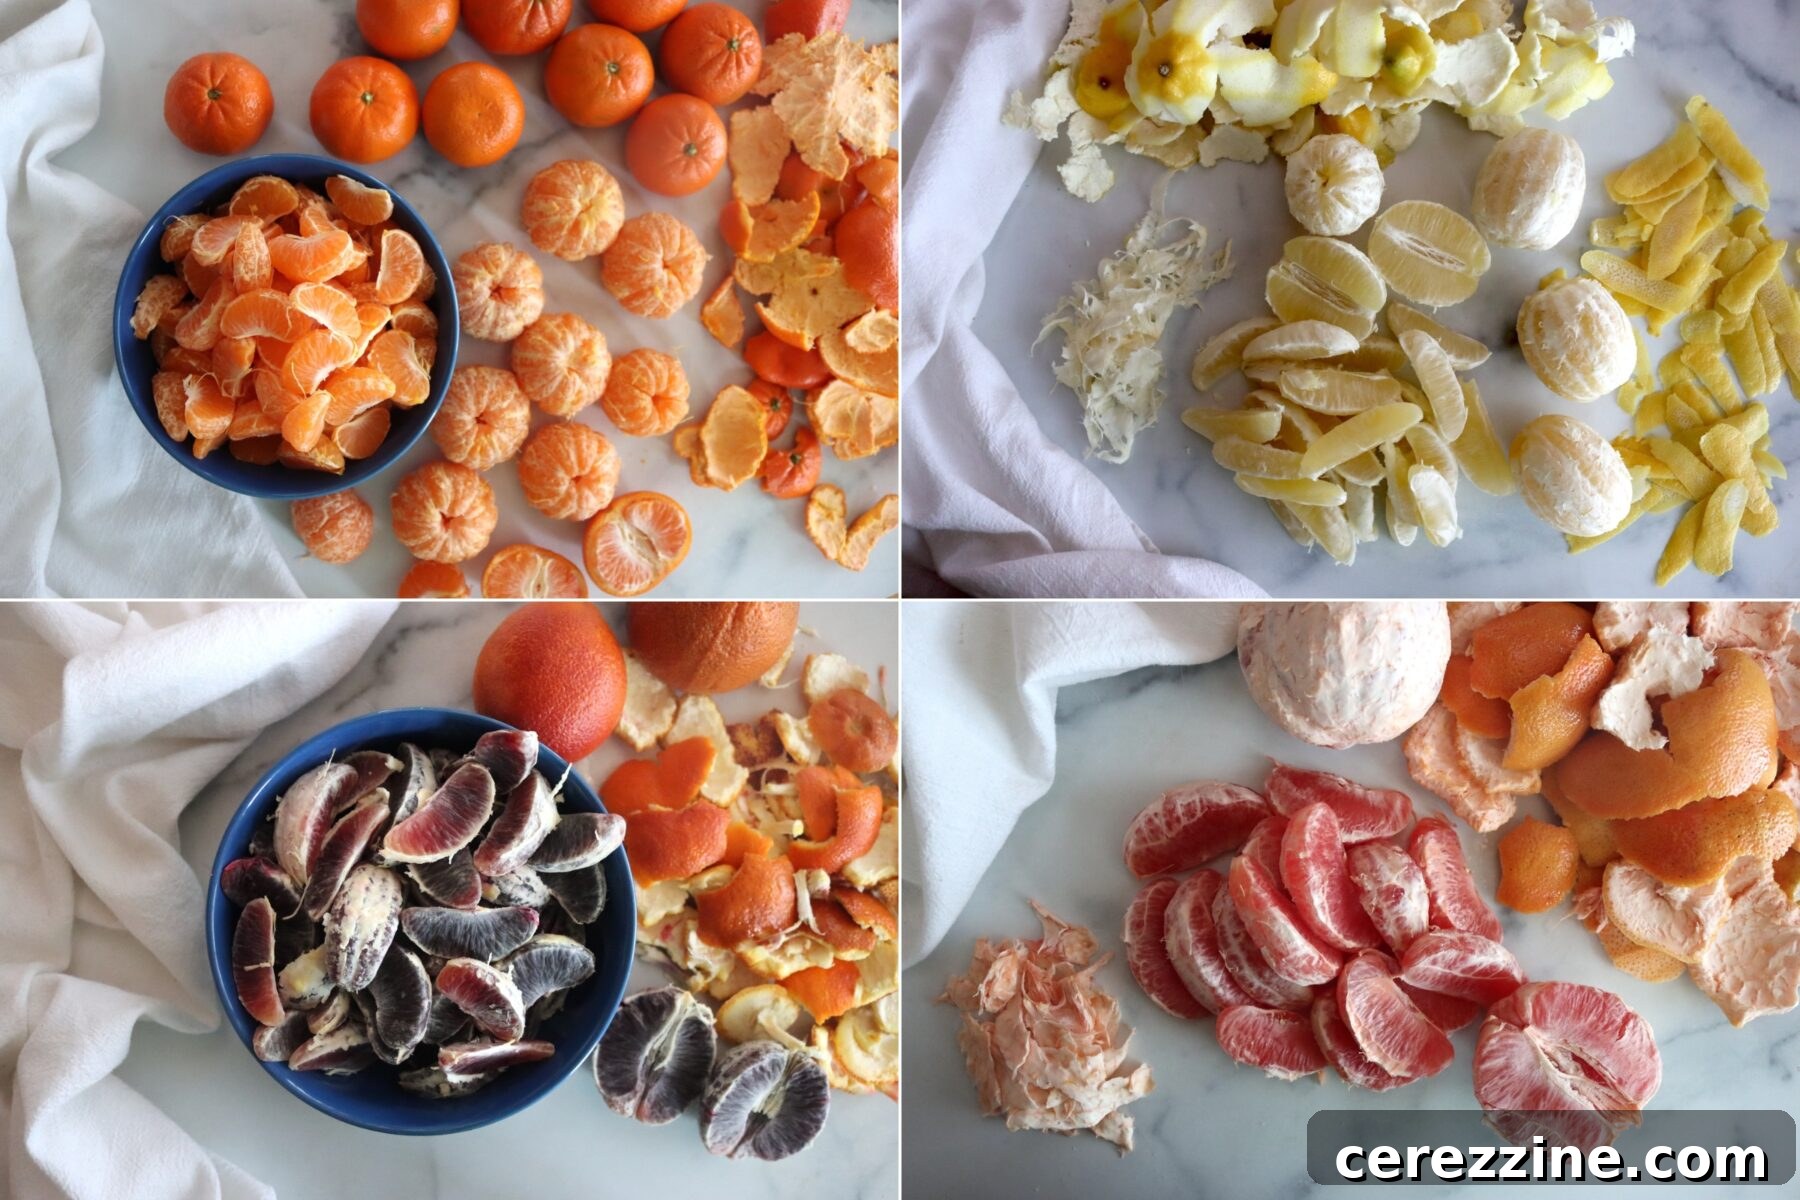
Mandarins, Clementines, Satsumas, Tangerines
These smaller, sweeter varieties are champions for canning, delivering that quintessential “canned mandarin” flavor that is both sweet, mild, and universally appealing, particularly to children. They consistently offer the best flavor and maintain an excellent texture after processing. Locally, clementines and sumo oranges are often readily available and prove to be absolutely perfect for this recipe. It’s worth noting that the orange segments typically found in commercial canned products are usually mandarins, chosen specifically for their ability to retain their shape and deliver a consistently sweeter, less acidic “orange than orange” flavor profile.
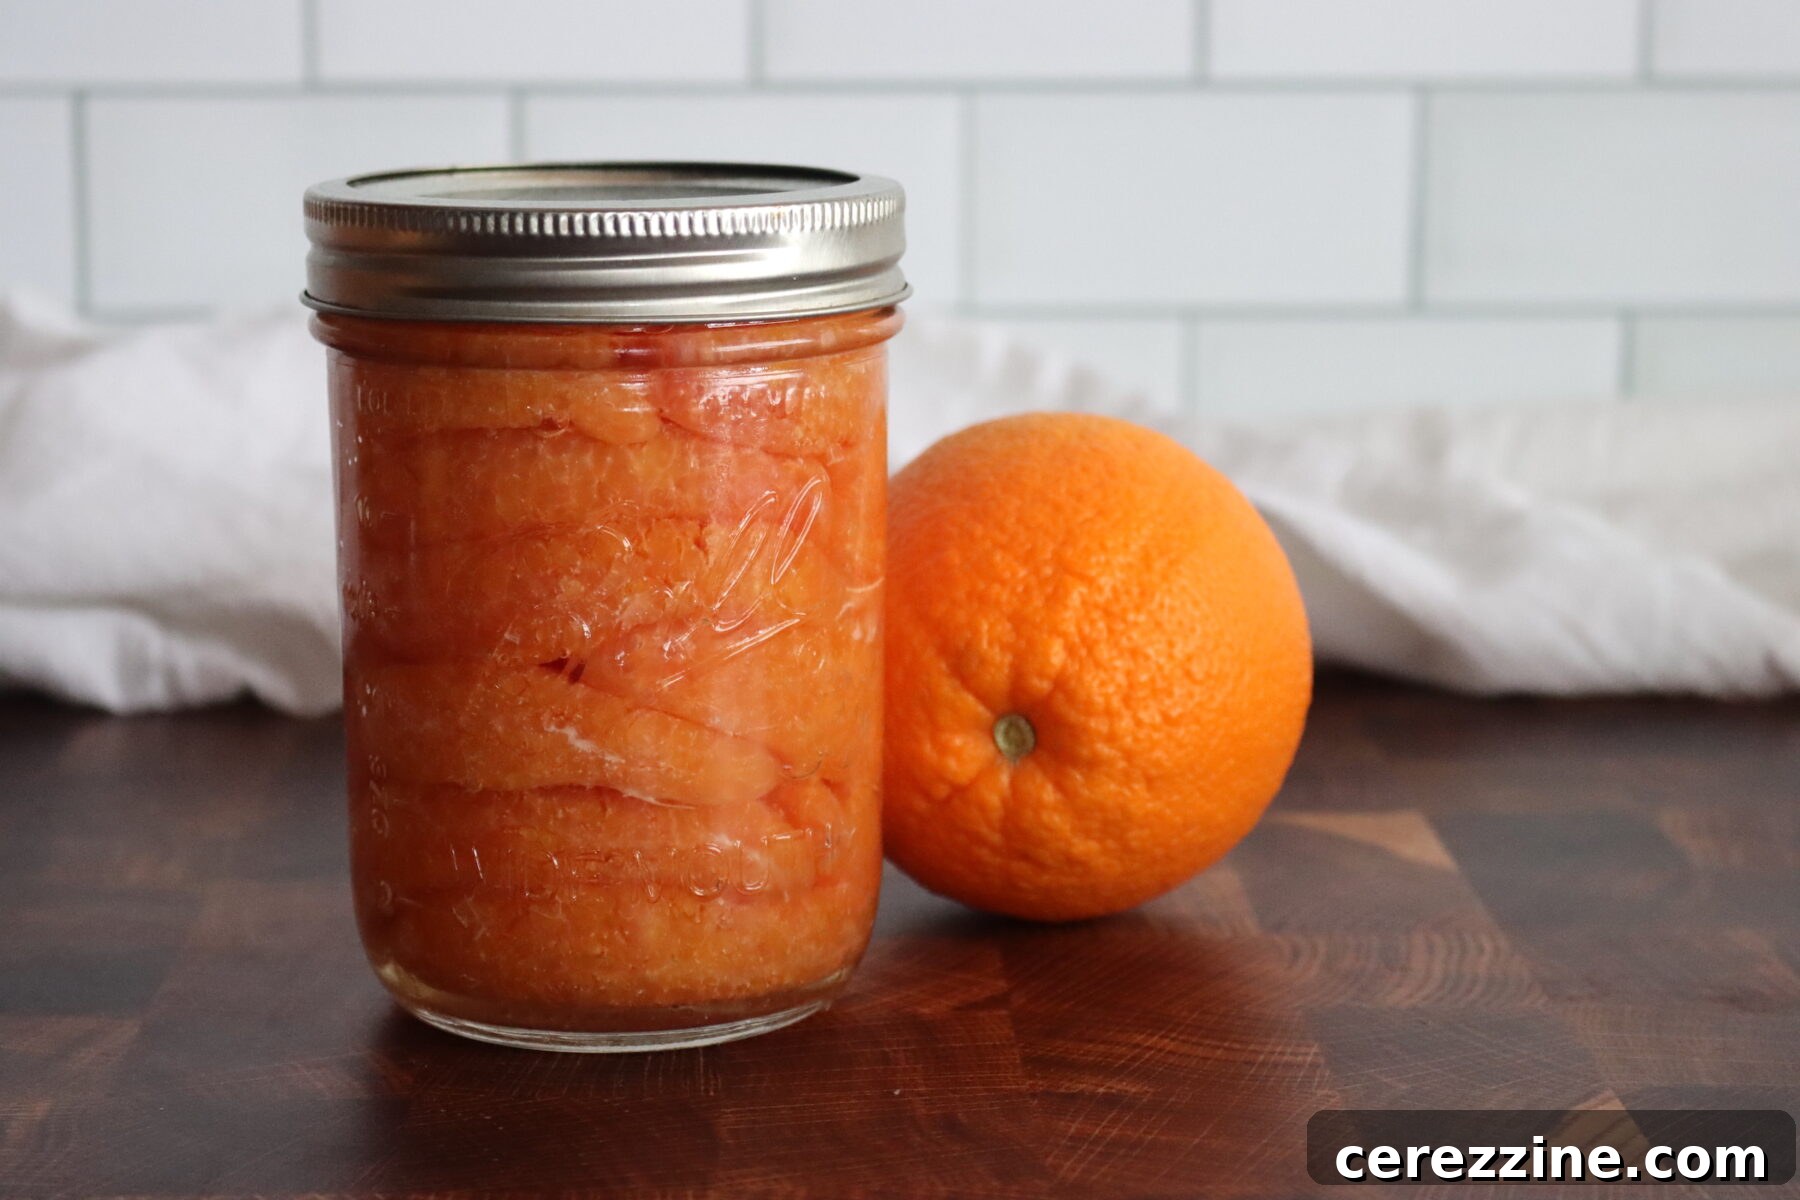
Navel Oranges
Navel oranges are characterized by their larger segments, which makes them relatively easy to peel and section. However, their internal tissue tends to hold more air compared to mandarins. This structural difference means that navel orange sections may not hold together quite as firmly throughout the canning process. While still undeniably delicious, they often emerge from the canner with a slightly softer texture. Despite this, their vibrant flavor makes them a very popular second choice for home canners.
Cara Cara Oranges
Known for their attractive pinkish-orange flesh and distinctively sweeter, berry-like flavor, Cara Cara oranges are a delightful option. When canned, their lovely pink hue mellows into a pale pink or light orange, offering a beautiful visual appeal. The flavor remains outstanding and unique. However, similar to navel oranges, Cara Caras also possess a higher air content in their tissues, which can result in a somewhat softer texture after canning. If you appreciate their unique taste, this slight textural difference is a small trade-off for their exceptional flavor.
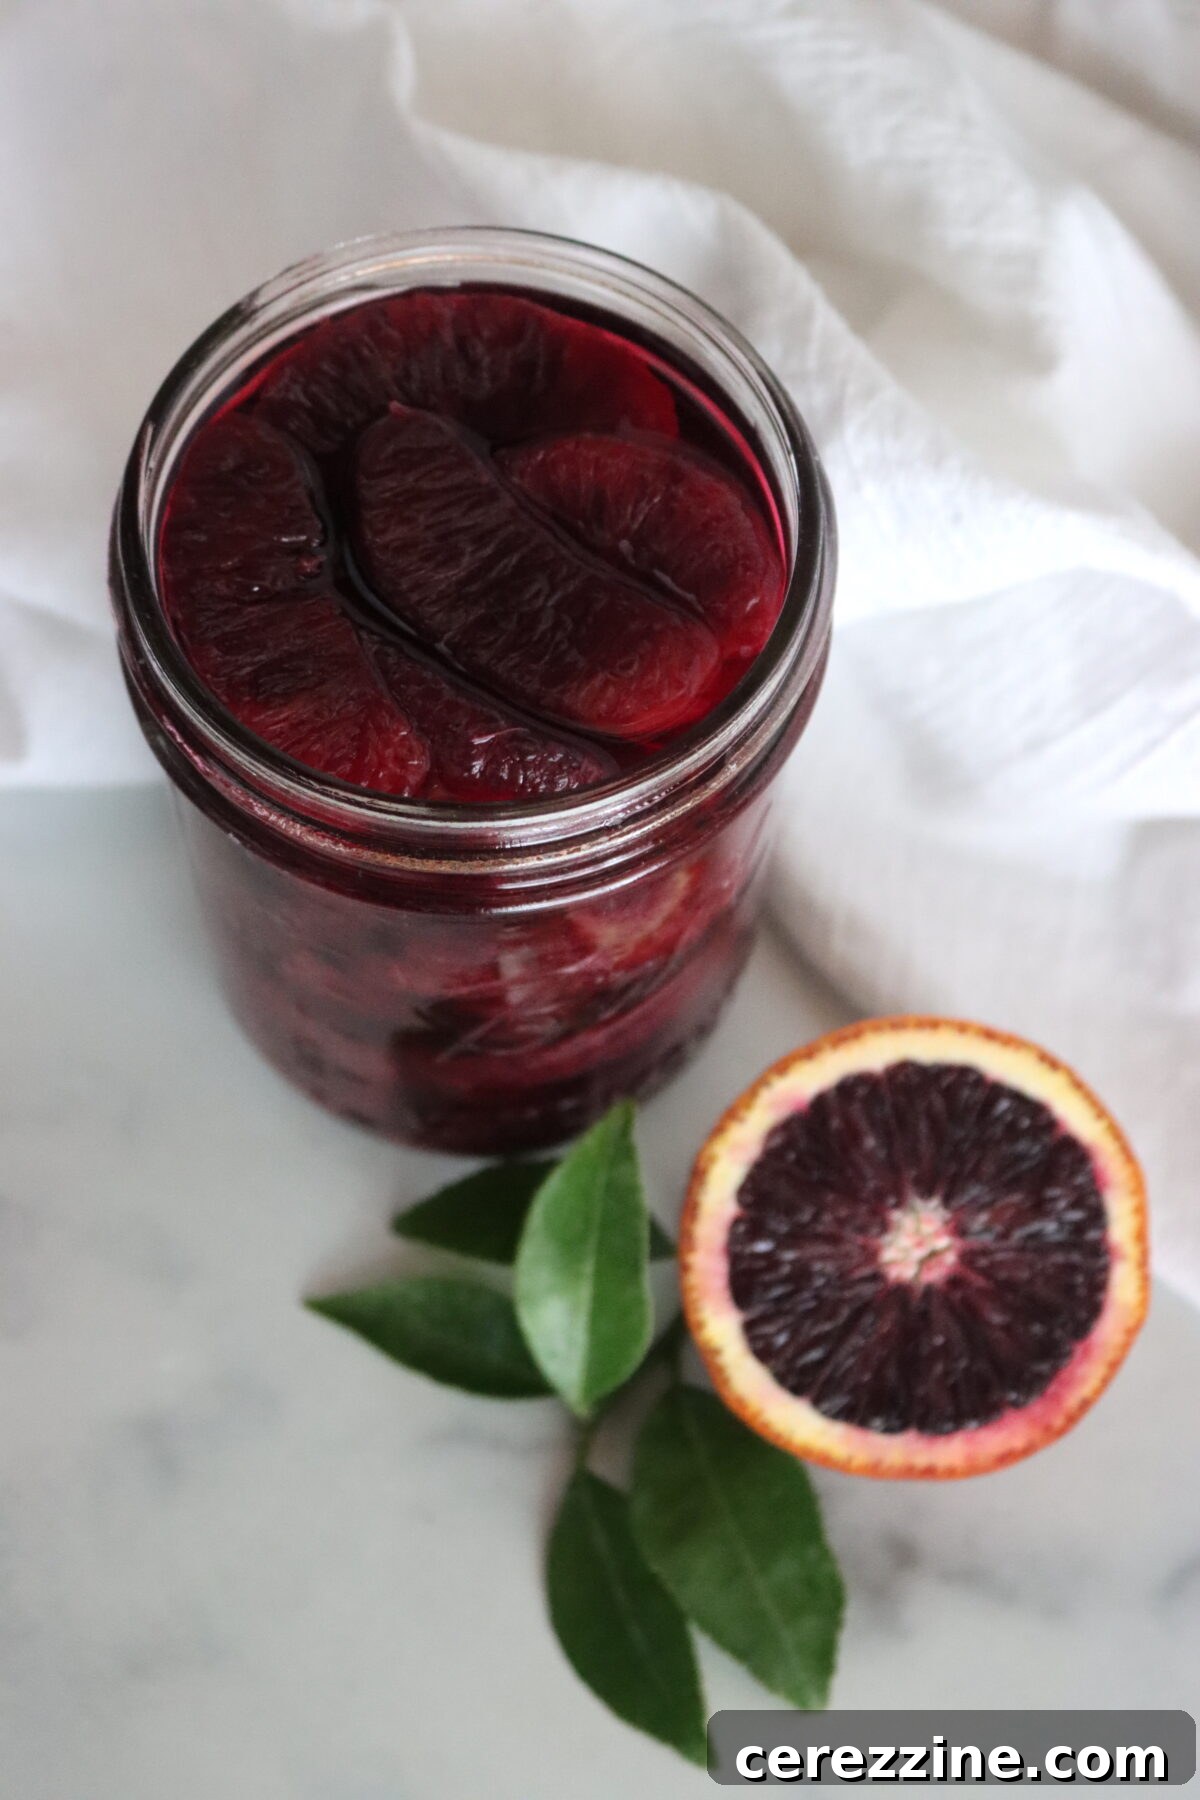
Blood Oranges
Blood oranges create a truly dramatic and visually striking effect in jars, making them a favorite for their aesthetic appeal alone. Their deep, ruby-red flesh will subtly tint the surrounding syrup or liquid, adding to their allure. Flavor-wise, blood oranges often surprise with notes reminiscent of raspberries rather than traditional citrus, making these canned segments exceptionally lovely for elevating desserts and adding an unexpected twist to savory salads. They are a gourmet choice for those looking to impress.
Valencia Oranges
Valencia oranges are typically revered for their exceptional juicing qualities, where the pith and membranes are entirely discarded. However, when it comes to canning them as sections, Valencias can sometimes introduce a noticeable bitterness into the final product. For this reason, they are generally not recommended for canning as whole segments. To achieve the best flavor and texture in your canned citrus, it’s advisable to prioritize mandarins for their superior taste, with navels serving as an excellent second choice.
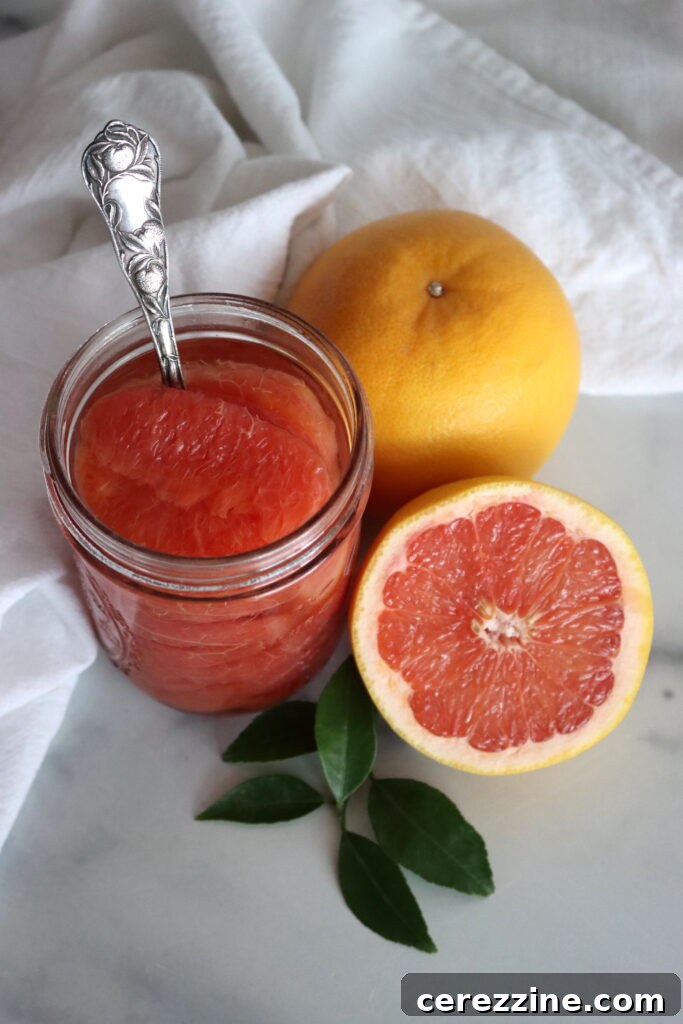
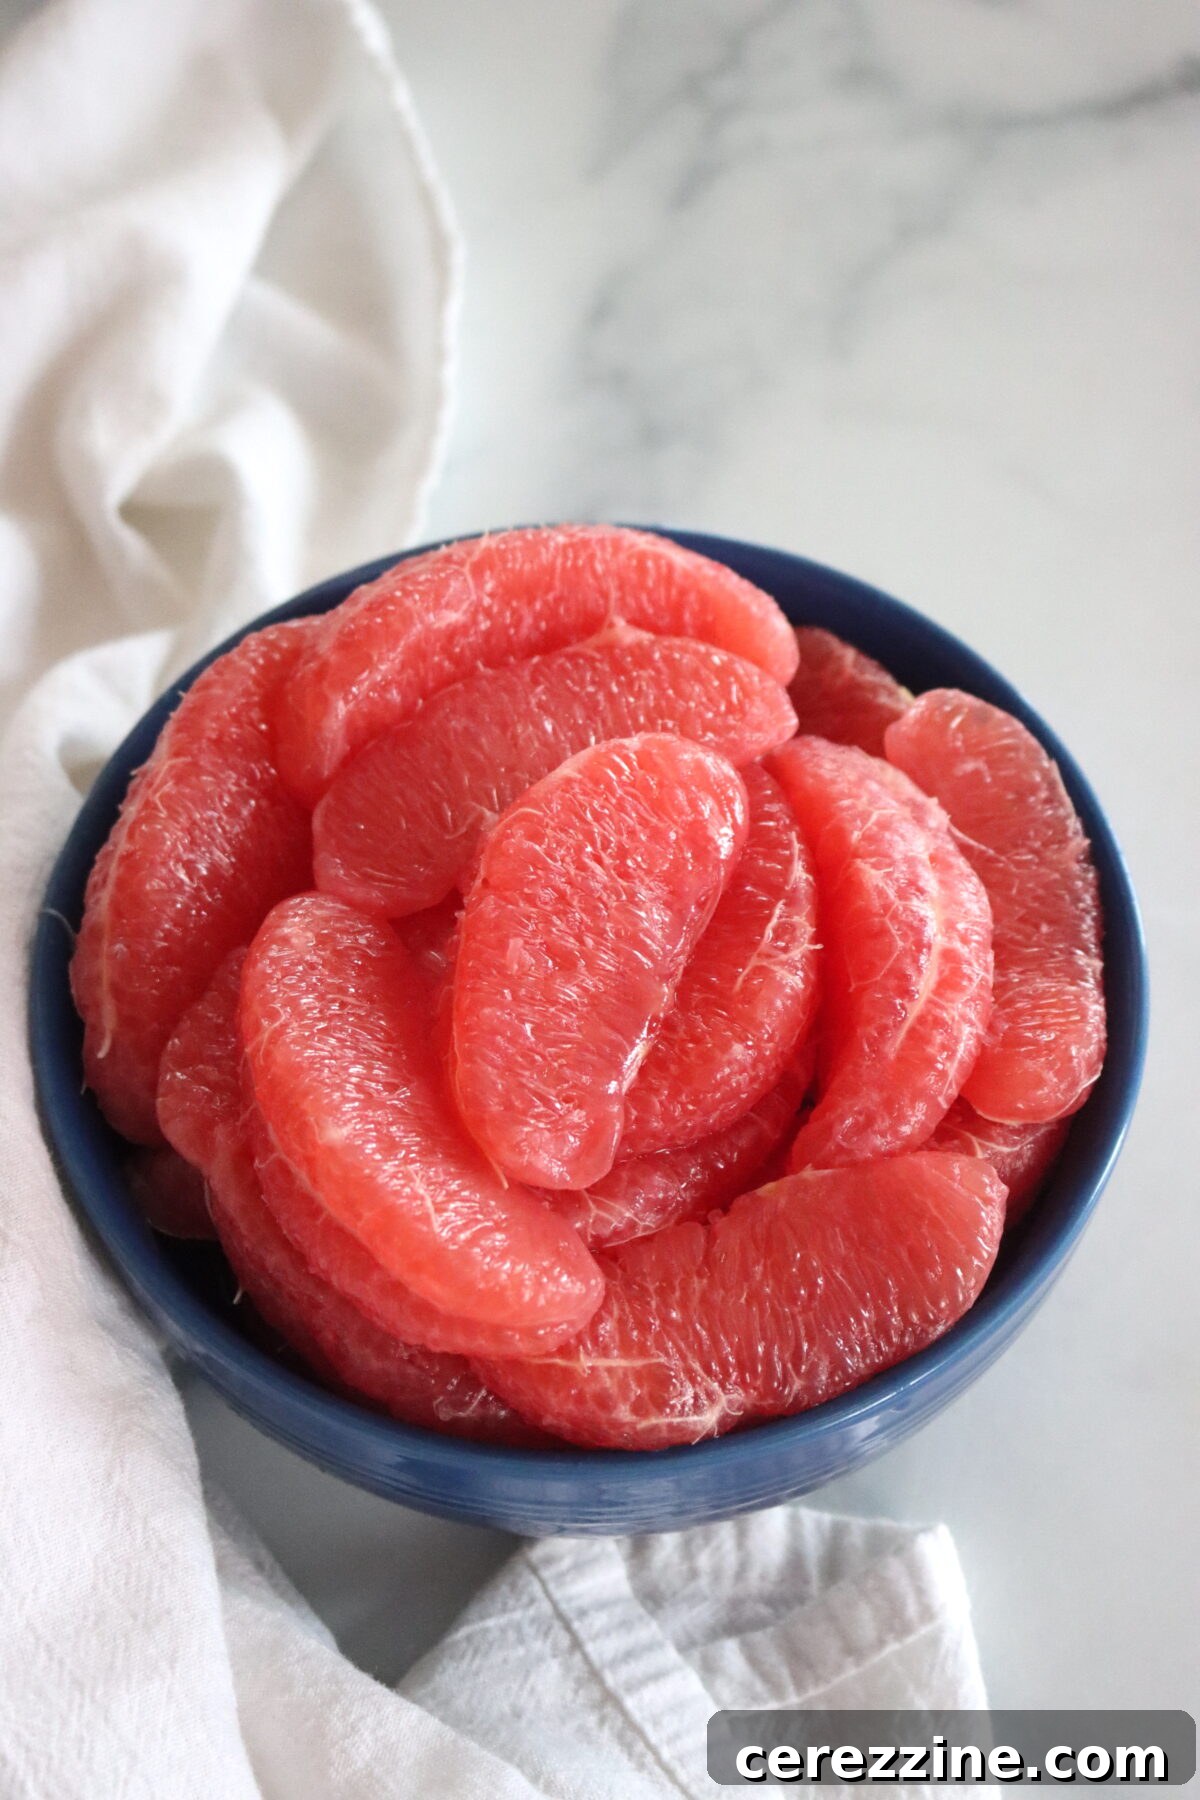
Grapefruit
Often enjoyed fresh as a breakfast staple, canned grapefruit is surprisingly delicious, frequently developing a sweeter, more mellow, and even more flavorful profile than its fresh counterpart. Some canners enjoy combining equal parts orange and grapefruit in their jars for a balanced blend. However, many, including myself, find pure grapefruit sections to be delightful on their own, appreciating their distinct tang and inherent sweetness when preserved. They make a fantastic addition to the winter pantry.
Lemons
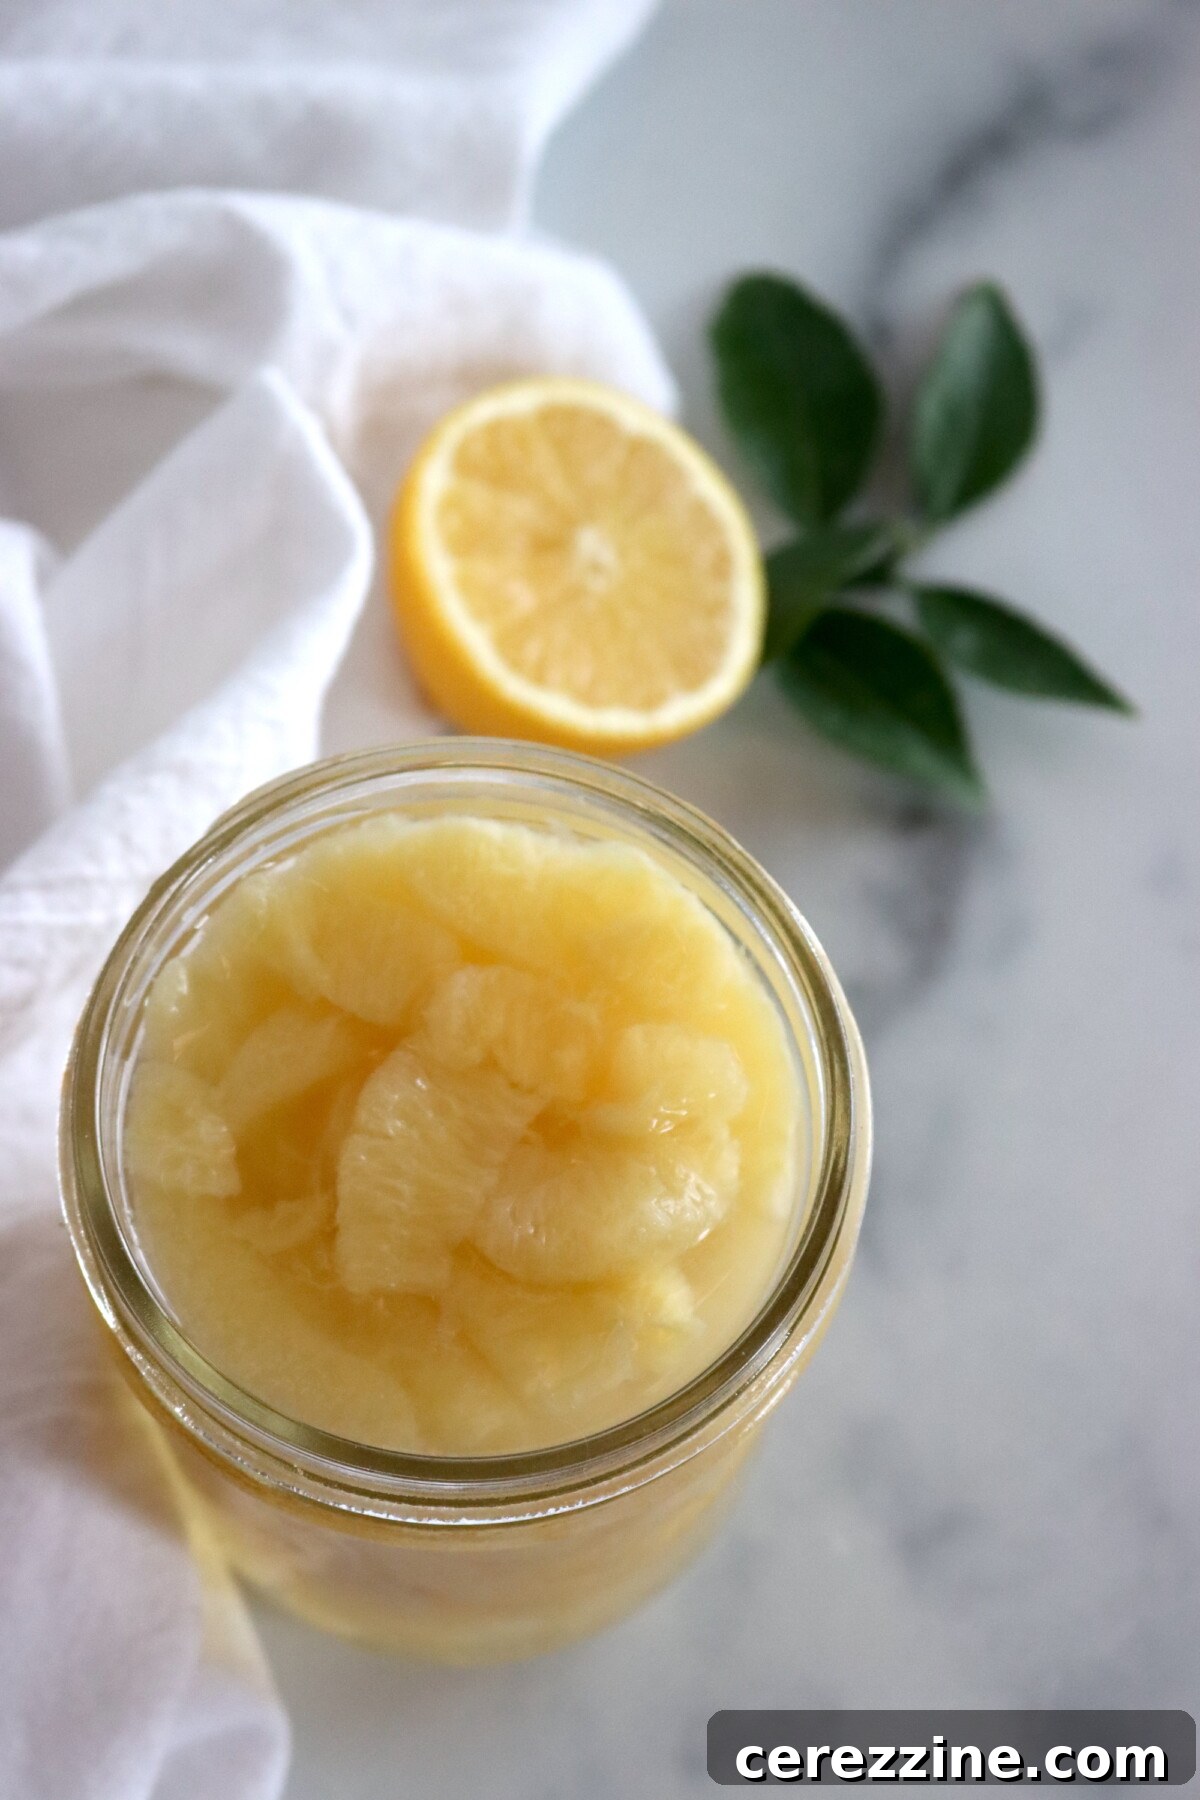
Lemons are considerably more acidic than oranges or grapefruit, which makes them an intriguing candidate for canning, especially when submerged in a heavier syrup. When preserved this way, they transform into something akin to a lemon preserve, reminiscent of old-fashioned pear preserves or strawberry preserves. These candied-like lemon segments are wonderfully versatile, perfect for garnishing drinks, enhancing baked goods, or simply enjoying as a sweet and tangy treat. They offer a unique, concentrated lemon flavor that is both bright and comforting.
Limes
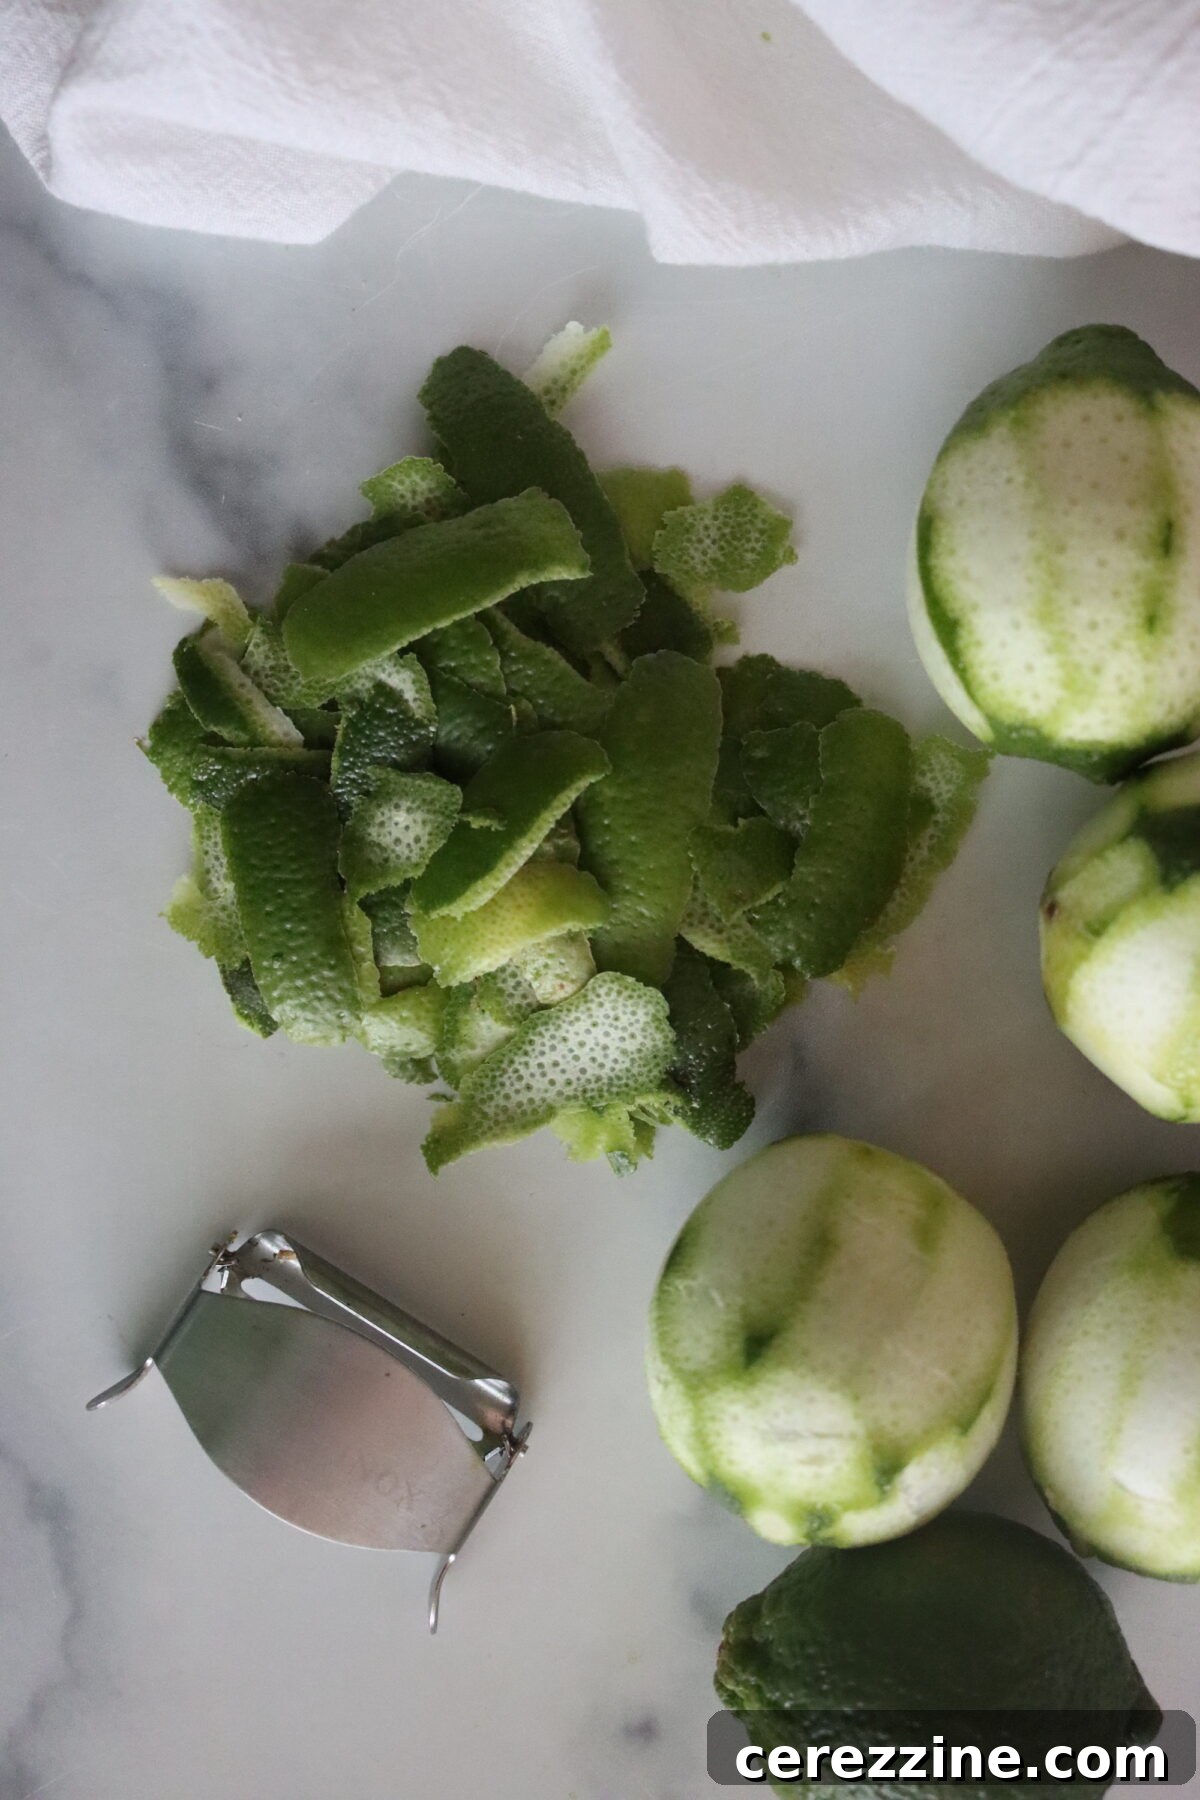
While the idea of canned lime segments is appealing, in practice, limes present a formidable challenge for this recipe. Their small size and tight membranes make them exceedingly difficult to section cleanly, often leading to frustration and significant time investment. Despite my best efforts and my husband’s love for limes, I’ve found them generally unforgiving when attempting to achieve clean, individual segments suitable for canning. Ultimately, I typically redirect my limes towards other projects: zesting them for candied citrus peel or canning their juice as a zesty limeade concentrate. If you’re feeling adventurous, you can certainly give it a try, and perhaps your limes will be more cooperative than mine!
Mastering Pith Removal with Pectic Enzyme for Perfect Citrus
One of the most common challenges in canning citrus is preventing bitterness. This off-flavor almost invariably stems from the presence of white pith and membranes that cling to the fruit segments. The NCHFP explicitly emphasizes the importance of meticulously removing this white tissue to ensure a pure, sweet, and enjoyable end product. While careful manual peeling and sectioning can achieve this, there’s a fantastic secret weapon that makes the job considerably easier and yields superior results: pectic enzyme, also known as pectinase.
Pectic enzyme is a natural, food-safe enzyme that doesn’t dissolve the fruit itself but rather works to break down the pectin in the pith. This action effectively loosens the fibrous white tissue, allowing it to be easily rinsed or wiped away. The result? Cleaner, more translucent, and visually stunning segments that are completely free of bitterness. It’s the secret to achieving that “store-bought premium” look and taste at home.
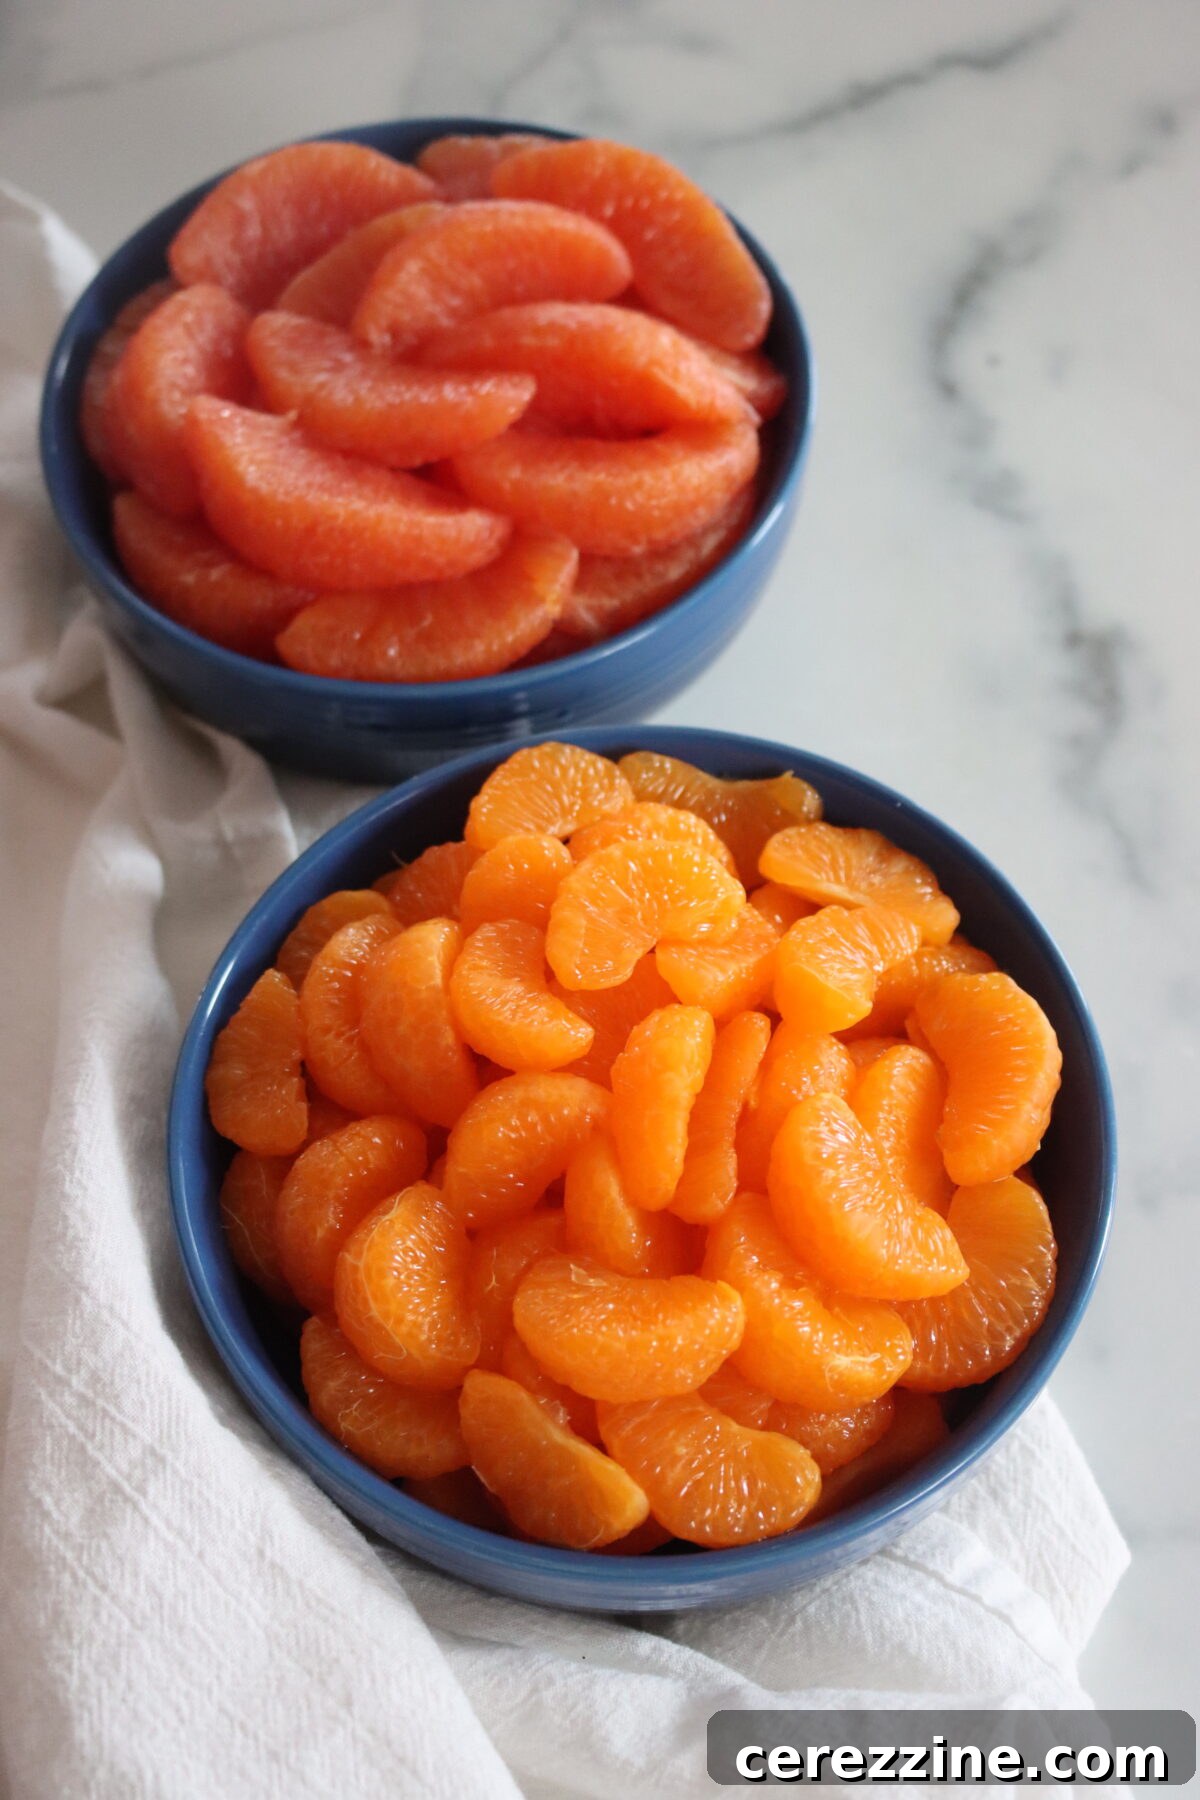
Here’s my simple, effective method for using pectic enzyme:
- Begin by peeling your citrus fruit and carefully separating it into individual sections. Aim to remove as much pith as you can manually at this stage.
- In a large, non-reactive bowl, prepare a soaking solution by mixing 1 teaspoon of liquid pectic enzyme into 1 gallon of cold water. Ensure the enzyme is fully dispersed.
- Gently submerge all your prepared citrus sections into this solution. Allow them to soak for a period ranging from 3 hours to overnight. For longer soaks, I recommend placing the bowl in the refrigerator to keep the fruit fresh.
- Periodically, check the progress by gently rubbing a few segments between your fingers. The pectic enzyme doesn’t make the pith vanish; instead, it softens and loosens its attachment to the fruit. You won’t see a visible change until you actually rub or rinse the segments, at which point the softened pith should effortlessly slip right off.
- Once the pith is sufficiently loosened, gently rinse the citrus sections under cool, running water. This will wash away any remaining loosened pith and membrane bits before you proceed to pack them into your canning jars.
While it is certainly possible to achieve good results without pectic enzyme through meticulous manual peeling, if your goal is to produce those gleaming, pith-free segments that rival the highest quality canned mandarins of yesteryear, this enzyme soak is an invaluable shortcut. It transforms a tedious task into a remarkably simple step, elevating the clarity and purity of your canned citrus to an unparalleled level.
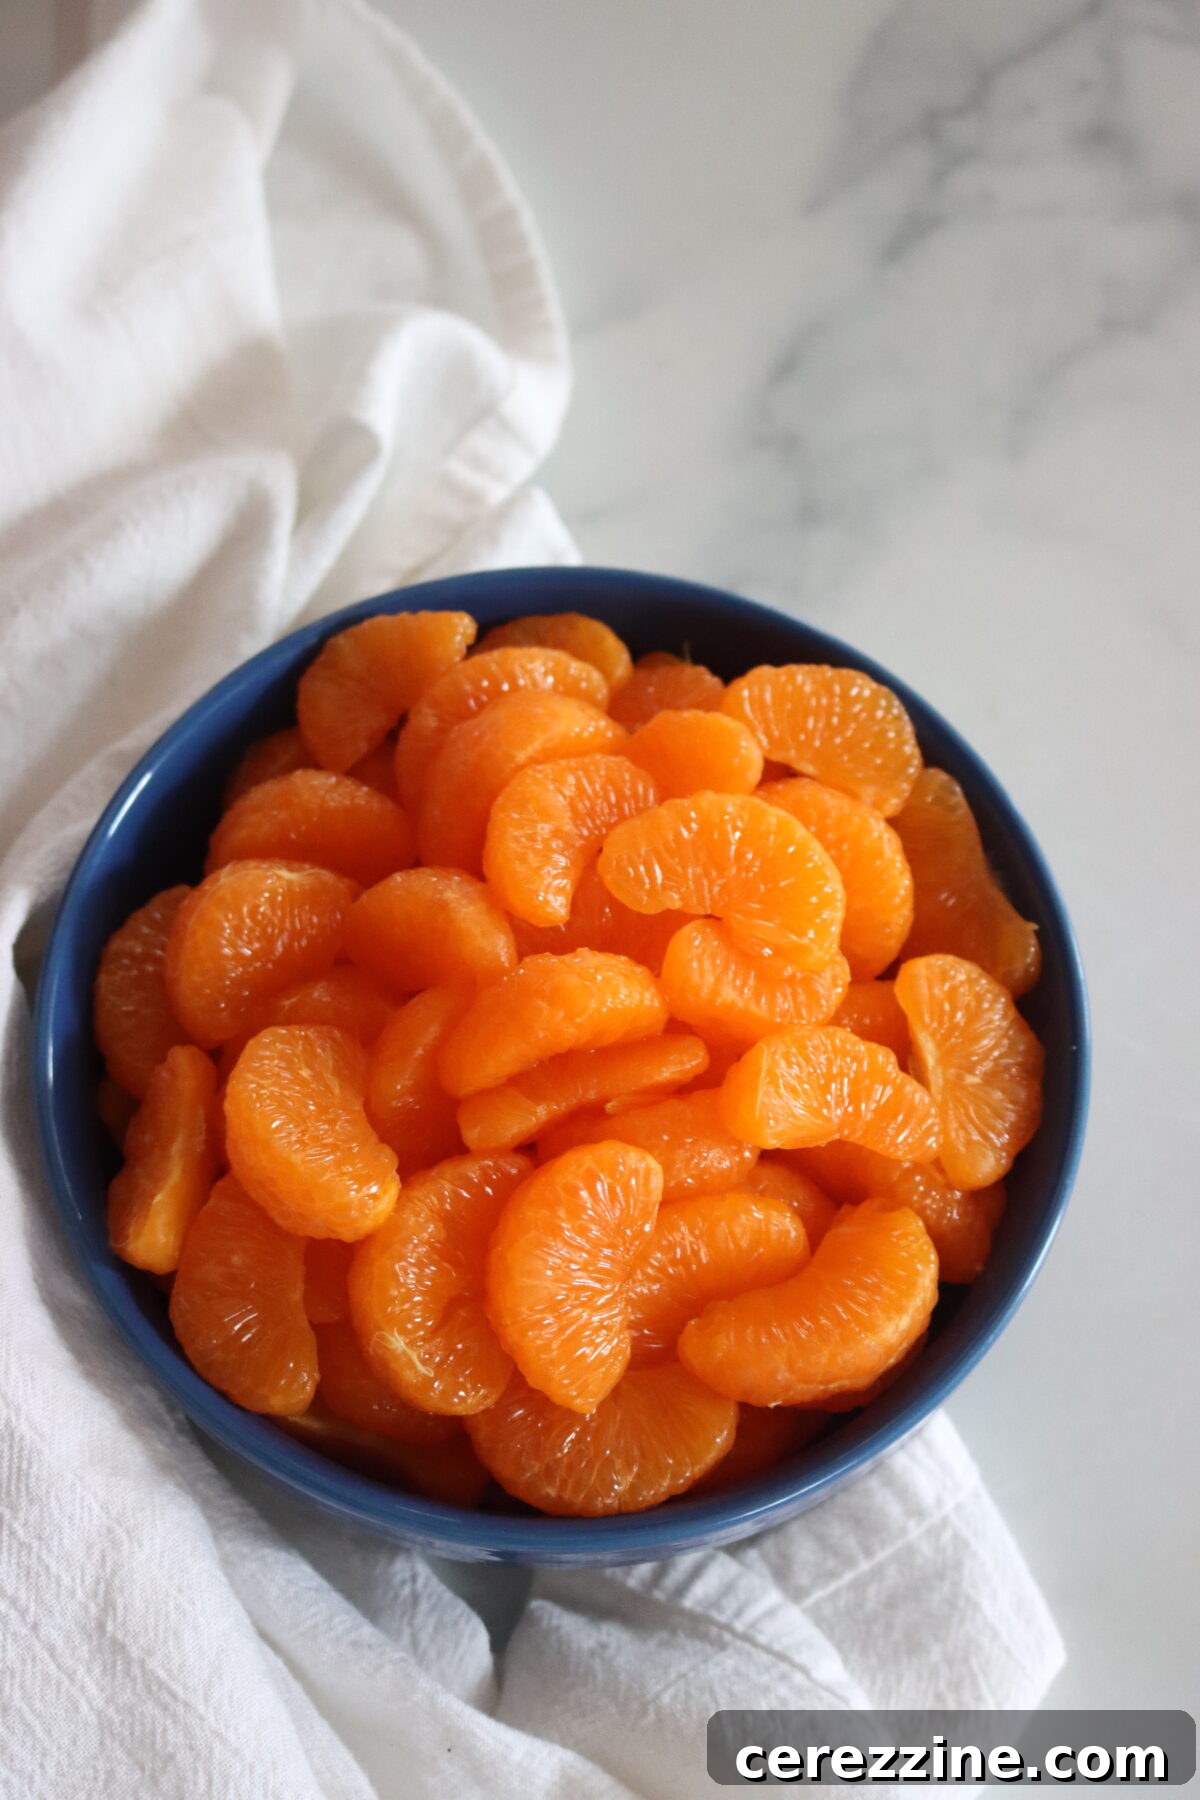
Choosing Your Canning Liquid: Syrup, Juice, or Water
When it comes to preserving citrus sections, the National Center for Home Food Preservation (NCHFP) offers flexibility regarding the packing liquid: you can use water, citrus juice, or a sugar syrup. If you opt for syrup, they specifically recommend using very light, light, or medium concentrations to complement the fruit’s natural sweetness without overwhelming it. Your choice of liquid can significantly impact the final flavor and texture, so it’s best to align it with how you envision using your canned citrus.
Here’s a breakdown of the options and my personal recommendations:
- Light Syrup: This is my preferred choice and often my go-to for canning oranges. A light syrup effectively prevents the delicate fruit flavor from tasting “washed out” or bland after the canning process. It enhances the natural sweetness and helps maintain the fruit’s texture without making it excessively sugary.
- Juice: Packing citrus in its own juice, or another fruit juice, is an excellent option if you’re aiming for no added sugar. The natural acidity and sweetness of the juice preserve the fruit beautifully, and the leftover liquid in the jar makes for a fantastic base for smoothies or drinks. If you choose orange juice or grapefruit juice, ensure it’s pulp-free for the clearest and purest flavor. You can also experiment with other fruit juices like pineapple, apple, grape, or pomegranate, each imparting its unique aromatic and flavor notes to the citrus segments.
- Water: While technically allowed by canning guidelines, plain water is the blandest option. It offers no flavor enhancement or textural support, often resulting in fruit that tastes noticeably “washed out” or less vibrant. For this reason, I generally do not recommend packing citrus sections in plain water if you desire a flavorful product.
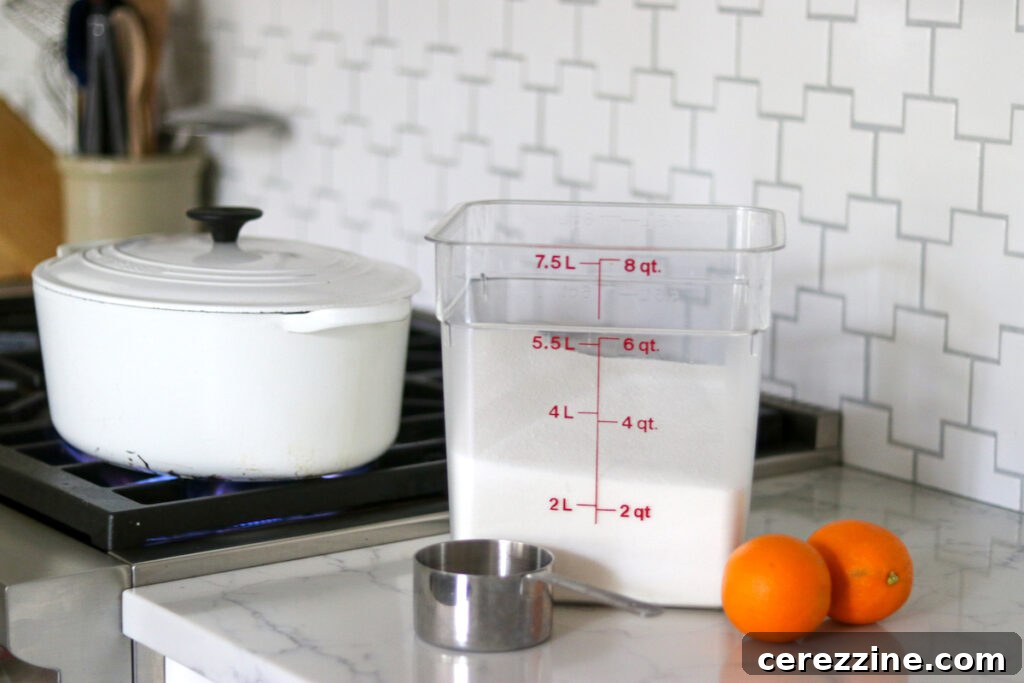
For precise sugar-to-water ratios to create various syrup strengths, especially when scaling up your batches, you can refer to my comprehensive guide on sugar/water ratios for canning fruit. However, for quick reference, here are some common guidelines:
For a 9-Pint Canner Batch (approximately 9 pints or 4-5 quarts total yield):
- Extra-Light Syrup: 3/4 cups sugar to 6 1/2 cups water
- Light Syrup: 1 1/2 cups sugar to 5 3/4 cups water (this is often recommended for oranges)
- Medium Syrup: 2 1/4 cups sugar to 5 1/4 cups water
- Heavy Syrup: 3 1/4 cups sugar to 5 cups water
- Extra-Heavy Syrup: 4 1/4 cups sugar to 4 1/4 cups water (ideal for very tart fruits like lemons)
For a 7-Quart Canner Batch (approximately 7 quarts total yield):
- Extra-Light Syrup: 1 1/4 cups sugar to 10 1/2 cups water
- Light Syrup: 2 1/4 cups sugar to 9 cups water
- Medium Syrup: 3 3/4 cups sugar to 8 1/4 cups water
- Heavy Syrup: 5 1/4 cups sugar to 7 3/4 cups water
- Extra-Heavy Syrup: 6 3/4 cups sugar to 6 1/2 cups water
To prepare any syrup, simply combine the specified amount of sugar and water in a saucepan. Heat the mixture over medium-high heat, stirring occasionally, until all the sugar crystals have completely dissolved. Once dissolved, reduce the heat to keep the syrup hot and simmering gently until you are ready to fill your jars.
Preparing Citrus Sections for Canning: A Step-by-Step Guide
The most detail-oriented part of canning citrus sections is the initial fruit preparation. Once you’ve meticulously peeled and segmented your citrus, the rest of the process—packing jars and processing them—is straightforward and mirrors other fruit-in-syrup canning recipes. The key to exceptional results begins with selecting the right fruit. Always choose firm, perfectly ripe, and sweet fruit that tastes delicious when eaten fresh, as canning will not improve the flavor of bland or inferior citrus. Begin by thoroughly washing your fruit before you start peeling.
For most common citrus varieties, such as oranges and mandarins, the process is relatively simple. After washing, gently peel the fruit, taking care to remove as much of the outer peel and white pith as possible. Then, split the fruit in half (if large enough) and carefully separate the individual sections with your fingers. As you do this, pinch away any clinging bits of pith or membrane that remain attached to the outside of the segments. This manual method, though requiring a bit of patience, helps achieve that desirable, clean “canned mandarin” appearance.
Some citrus varieties, particularly lemons and limes, can be a bit more challenging to section cleanly due to their tighter membranes and higher pith content. However, most oranges and grapefruits can be segmented with relative ease and minimal effort, especially with practice.
If you’ve opted for the pectic enzyme soak method to loosen stubborn pith, this step should be performed *after* the sections have been separated. As a reminder, you’ll need 1 teaspoon of pectic enzyme mixed into 1 gallon of cold water for this soak. Once the soaking period is complete, gently rinse the segments under cool running water. It’s crucial to let the segments drain exceptionally well afterward. Any excess water clinging to the fruit can dilute your carefully prepared syrup or juice in the jars, compromising the final flavor and consistency.
A vital reminder: pectic enzyme does not dissolve the pith itself; it only loosens its attachment to the fruit. Therefore, after the soak, you will still need to gently rub or rinse the segments to physically remove the softened white pith. Don’t be surprised if the fruit doesn’t look visibly different immediately after soaking; the magic happens when you gently stir or rub, and the white pith effortlessly slips away, revealing beautifully clean segments.
As you complete the preparation of your citrus sections, keep them covered to prevent them from drying out and to maintain their freshness. Simultaneously, begin preparing your chosen canning liquid. Whether you are using hot syrup, hot juice, or hot water, it’s essential to have it steaming and ready. Filling your jars with hot liquid and hot fruit ensures proper heat transfer during processing, contributing to a safer and higher quality canned product.
The Art and Science of Canning Citrus Sections
Due to their naturally high acidity, citrus fruits are safely processed using a boiling water canner, a method accessible to most home canners. To begin, fill your water bath canner with enough water to ensure that your jars will be covered by at least 1 inch of water once they are submerged. Place the canner on your stovetop and begin heating the water. While the canner heats, thoroughly wash your canning jars, lids, and screw bands in hot, soapy water, rinsing them well. Keep your clean jars hot—either in the simmering canner water, a warm dishwasher, or a warm oven—until you are ready to fill them, as this prevents thermal shock and helps ensure a good seal.
Next, prepare your chosen canning liquid. Whether you’re making a hot syrup (extra-light to medium concentrations are most common and recommended for flavor), heating pulp-free citrus juice, or simply heating plain water, ensure it is steaming hot and ready. Maintaining the temperature of your liquid is crucial for a consistent and safe canning process, as both the fruit and the liquid should be hot when combined in the jars.
Carefully fill your hot, prepared jars with the citrus sections. Pack them gently but firmly, trying to minimize large air pockets without crushing the delicate fruit. Once the fruit is in place, ladle your hot syrup, juice, or water over the sections, ensuring you leave precisely 1/2 inch of headspace at the top of each jar. This headspace is critical for proper sealing and to allow for expansion during processing. Take a bubble remover tool (or a plastic knife/chopstick) and slide it around the inside of each jar, gently working your way to the bottom. This action helps to release any trapped air bubbles that could interfere with sealing or float the fruit. After de-bubbling, re-check your headspace; if it has fallen below 1/2 inch, add more hot liquid as needed to return to the correct level.
Wipe the rims of your filled jars meticulously with a clean, damp cloth. This step is essential because any sticky residue from syrup or fruit juice can prevent a proper seal. Place a clean, warm canning lid onto each jar, followed by a screw band. Screw the bands on to “fingertip tight“—this means screwing them until you feel resistance, then giving them just a small turn with your fingertips; do not overtighten. Carefully lower the filled jars into your preheated boiling water canner, ensuring they are fully submerged. Bring the water back to a full, rolling boil, which means the water is actively bubbling across the entire surface. Once a hard boil is established, start your timer.
Process half-pints, pints, or quarts for 10 minutes at altitudes between 0 and 1,000 feet. Remember to adjust your processing time for higher altitudes as needed (refer to the altitude adjustment chart below). When the processing time is complete, turn off the heat and allow the jars to rest undisturbed in the canner for an additional 5 minutes. This brief resting period helps equalize the pressure and reduces the chance of siphoning (liquid loss). After 5 minutes, carefully lift the jars out of the canner and place them on a clean towel or a wire rack, ensuring there’s space between them for air circulation. Let them cool undisturbed for 12–24 hours. Once completely cool, check the seals (lids should be concave and not flex when pressed), label each jar with its contents and date, and store them in a cool, dark, dry place.
Essential Water Bath Canning Altitude Adjustments
Proper processing time is critical for safe home canning. The following altitude adjustments apply uniformly to canning citrus segments in half-pint, pint, and quart jars:
- For Under 1,000 Feet in Elevation: Process for 10 minutes for all jar sizes (half-pints, pints, and quarts).
- For 1,001 to 6,000 Feet in Elevation: Increase processing time to 15 minutes for all jar sizes.
- Above 6,000 Feet in Elevation: Extend processing time to 20 minutes for all jar sizes.
Always ensure your canner water is at a full, rolling boil before you start timing your processing.
Yield Notes for Canning Citrus
The National Center for Home Food Preservation (NCHFP) provides general estimates for citrus yield, suggesting approximately 2 pounds of citrus per quart jar. For a full 7-quart canner load, they estimate about 15 pounds of fruit, or roughly 13 pounds for a 9-pint load. However, it’s important to understand that your actual yield will vary quite significantly based on several factors, including the type of citrus you’re using and how efficiently you pack your jars.
For instance, mandarins typically have thinner skins and considerably less pith compared to larger navel oranges. This means that a pound of mandarins will generally yield more usable, clean segments than a pound of navels, where more weight might be lost to pith and membrane during preparation. Learning to pack jars gently but firmly, minimizing empty space while avoiding crushing the fruit, will also contribute to a higher overall yield.
Creative Ways to Enjoy Canned Citrus Sections
Once you’ve experienced the joy of home-canned citrus, you’ll find these jars disappear remarkably fast from your pantry. They are incredibly versatile and can be incorporated into a wide array of dishes, from simple snacks to elegant desserts. My grandmother, for example, swore by canned mandarins for her festive holiday ambrosia salad, and she frequently enjoyed canned grapefruit directly out of the jar for a refreshing breakfast.
Beyond these classics, canned citrus sections are also fantastic in:
- Artisanal Cheeseboards: A surprising pairing of bright citrus with sharp cheddar cheese is sneakily delicious and adds a gourmet touch.
- Vibrant Fruit Salads: Especially during the dreary winter months, these canned gems provide a much-needed burst of fresh flavor and color.
- Yogurt Bowls and Oatmeal: Elevate your breakfast or snack by spooning sweet citrus sections and a splash of their syrup over your favorite yogurt or warm oatmeal.
- Simple Cakes and Quick Breads: For a delightful treat, poke holes in a plain cake or loaf and spoon the citrus sections and their flavorful syrup over the top, allowing it to soak in for added moisture and taste.
- Citrusy Vinaigrettes: Use a spoonful of the canning syrup combined with a bit of the juice as a sweet and tangy base for homemade salad dressings.
- Cocktails and Mocktails: Garnish drinks or muddle a few segments for a burst of fresh flavor.
Your Top Citrus Canning Questions Answered
Absolutely, yes. Citrus fruits are naturally high in acid, making them perfectly suitable for preservation using the boiling water bath canning method. Safety is ensured by meticulously following tested processes, which include hot packing, maintaining the correct headspace in jars, and adhering to the precise processing times recommended for your specific jar size and altitude.
The primary goal is to remove as much white pith and membrane as possible during the initial peeling and sectioning, as these are the main culprits behind bitterness. For exceptionally clean segments, a highly effective technique involves soaking the peeled segments in a solution of pectic enzyme (pectinase) dissolved in cold water for several hours. Following this soak, gently rub and rinse the segments to easily loosen and wash away any remaining clinging membrane bits before carefully packing them into jars.
Both syrup and juice are considered safe and acceptable choices for canning citrus sections. For most orange varieties, a light syrup is typically recommended as it yields the best flavor and texture, preventing the fruit from tasting washed out after processing. If you prefer a no-added-sugar option, citrus juice (pulp-free) is an excellent alternative; the leftover liquid is also fantastic for smoothies or beverages. While water is permissible, it is generally the blandest choice, often resulting in fruit with a less vibrant and noticeably flatter flavor.
Bitterness in canned citrus almost exclusively originates from residual pith and membrane left on the segments, rather than from the canning process itself. To remedy this, focus on more thorough peeling and sectioning, dedicating extra time to meticulously remove all white tissue. Utilizing the pectic enzyme soak is highly effective for achieving the cleanest results. Additionally, if you frequently encounter bitterness, consider switching to citrus varieties that naturally have less pith and a sweeter profile, such as mandarins or navel oranges, and avoid varieties known to skew bitter, like many Valencias.
More Delightful Citrus Canning Recipes
Canning Strawberry Lemonade Concentrate
Canning Lemonade (& Lemonade Concentrate)
Lime Marmalade (Old Fashioned Recipe without Added Pectin)
If you tried this Citrus Canning Recipe, or any other recipe on Creative Canning, we’d love for you to leave a ⭐ star rating and share your thoughts in the 📝 comments section below!
And make sure you stay in touch with me by following on social media for more canning inspiration and tips!
9 pints
Canning Citrus Sections
1 hour
10 minutes
10 minutes
1 hour
20 minutes
Pin Recipe
Print Recipe
Equipment
-
Water Bath Canner
-
Canning Jars (Half-Pint, Pint, or Quart)
-
Lids and Screw Bands
-
Large Pot for Syrup
-
Jar Lifter, Funnel, Bubble Remover Tool
Ingredients
- 13 lbs citrus, sectioned (oranges, grapefruit, or a mix; mandarins yield more per pound)
- 1 1/2 cups granulated sugar, optional, see notes for other syrup types or juice options
- 5 3/4 cups water
- Pectic Enzyme Liquid, for optional pith removal: 1 tsp pectic enzyme + 1 gallon cold water (for soaking sections 3 hours to overnight)
Instructions
-
1. Prepare the citrus sections. Wash all fruit thoroughly. Carefully peel and separate the citrus into individual sections, making sure to remove as much white pith and membrane as possible to prevent any bitterness in the final product. For an exceptionally clean and beautiful result, you can soak the separated segments in a mixture of 1 tsp pectic enzyme dissolved into 1 gallon of cold water for 3 hours to overnight. After soaking, gently rub/rinse the segments to remove loosened pith, then drain them very well.
-
2. Prepare the canner and jars. Fill your boiling water canner with sufficient water to cover jars by at least 1 inch when submerged. Place the canner on the stovetop and begin heating the water. While the water heats, wash your canning jars, lids, and rings. Keep the cleaned jars hot until you are ready to fill them.
-
3. Make the light syrup (or prepare chosen liquid). In a separate saucepan, combine the sugar and water (as per the light syrup ratio provided in the recipe notes). Heat the mixture, stirring occasionally, until all the sugar dissolves and the syrup is steaming hot. Maintain this hot temperature while you proceed with packing the jars. Refer to the notes for alternative syrup types or instructions for using juice/water.
-
4. Pack the jars. Carefully fill the hot, sterilized jars with the prepared citrus sections. Pack them gently but firmly to minimize air pockets without crushing the fruit. Ladle the hot light syrup (or chosen hot liquid) over the sections, ensuring you leave precisely 1/2 inch of headspace from the rim of the jar.
-
5. De-bubble and adjust headspace. Insert a bubble remover tool (or a non-metallic utensil) into the jar and gently slide it around the inside perimeter. This helps release any trapped air bubbles from among the fruit segments. After de-bubbling, re-check the headspace; if it has decreased, add more hot syrup to return to the 1/2 inch level.
-
6. Apply lids and process. Wipe the rims of the jars clean with a damp cloth to ensure a proper seal. Place warm canning lids onto the jars, followed by screw bands, and tighten them to “fingertip tight.” Carefully lower the filled jars into the boiling water canner. Ensure the jars are covered by at least 1 inch of water. Bring the water back to a full, rolling boil, then begin timing the process according to the altitude adjustments listed in the Notes section.
-
7. Cool and store. Once the processing time is complete, turn off the heat under the canner and allow the jars to rest undisturbed in the hot water for 5 minutes. Carefully remove the jars from the canner and place them on a clean towel or cooling rack, leaving space between them. Let them cool completely undisturbed for 12–24 hours. After cooling, check all seals. Label your jars with the contents and date, then store them in a cool, dark, dry place.
Notes
Syrup Options (for a 9-Pint Canner Batch)
If you prefer a different syrup strength, use these NCHFP-tested ratios. Prepare syrup by heating sugar and water until sugar dissolves, then keep hot for packing:
- Extra-light syrup: 3/4 cup sugar + 6 1/2 cups water
- Light syrup (as used in main recipe card): 1 1/2 cups sugar + 5 3/4 cups water
- Medium syrup: 2 1/4 cups sugar + 5 1/4 cups water
- Heavy syrup: 3 1/4 cups sugar + 5 cups water
- Extra-heavy syrup: 4 1/4 cups sugar + 4 1/4 cups water
Juice or water packs: Citrus sections can also be packed in hot citrus juice (ensure it’s pulp-free) or hot water instead of syrup. Juice is an excellent no-added-sugar option. Water is allowed, but the fruit’s flavor tends to be noticeably flatter.
Citrus Types and What to Expect in the Jar
- Mandarins/Clementines/Satsumas/Tangerines: Offer the best texture and the quintessential “canned mandarin” taste. Easiest for preparation.
- Navels: Feature large, easy-to-work-with sections, but may be slightly softer after canning due to higher air content.
- Cara Cara: Provide great flavor and an attractive pink hue, but also tend to be softer like navels.
- Blood Oranges: Create visually stunning jars; expect the deep color to subtly tint the liquid.
- Grapefruit: Cans exceptionally well, often becoming sweeter and more flavorful than its fresh counterpart. Delicious alone or mixed with oranges.
- Valencias: Carry a higher risk of bitterness; generally not recommended for canning as sections.
- Lemons: Preserve well, particularly in a heavier syrup, yielding a delicious, preserve-like result.
- Limes: Extremely challenging to section cleanly for canning; often more practical for juice or zest.
Removing Pith and Preventing Bitterness
Bitterness in canned citrus is almost always caused by white pith and membrane remaining on the sections. For ultra-clean segments, the optional pectic enzyme soak helps to loosen this clinging white tissue, making it much easier to rinse away. Remember, the enzyme does not dissolve the pith on its own; you will need to gently rub/rinse the segments after soaking to remove it.
Altitude Adjustments for Water Bath Canning
Utilize the same processing time for half-pints, pints, and quarts. Always begin timing only after the canner has reached a full, vigorous rolling boil.
- 0–1,000 ft: 10 minutes
- 1,001–6,000 ft: 15 minutes
- Above 6,000 ft: 20 minutes
Yield Notes
NCHFP estimates around 13 pounds of citrus per 9-pint canner load. However, the actual yield can vary significantly based on the specific fruit type and how densely you pack your jars. Mandarins typically yield more usable sections per pound than larger navel oranges due to less pith and waste.
For a standard 7-quart canner batch, plan to use approximately 15 pounds of fruit and adjust syrup quantity accordingly.
Storage and Serving Recommendations
For optimal quality and flavor, aim to consume your home-canned citrus sections within 12–18 months of processing. Once a jar is opened, always refrigerate any unused portions promptly. The delicious syrup left in the jar is also highly versatile—consider using it in beverages, smoothies, vinaigrettes, or as a flavorful soak for cakes.
Nutrition Information (Approximate Per Serving)
Calories: 248kcal
,
Carbohydrates: 66g
,
Protein: 1g
,
Fat: 0.1g
,
Saturated Fat: 0.04g
,
Polyunsaturated Fat: 0.03g
,
Monounsaturated Fat: 0.1g
,
Sodium: 58mg
,
Potassium: 52mg
,
Fiber: 1g
,
Sugar: 60g
,
Vitamin A: 57IU
,
Vitamin C: 4mg
,
Calcium: 36mg
,
Iron: 0.2mg
Nutrition information is automatically calculated and should be used as an approximation.
Enjoyed this recipe? Share your experience below!
More Inspiring Citrus Canning Ideas
Canning Lemon Curd
Canning Blueberry Lemonade Concentrate
Canning Limeade (& Limeade Concentrate)
Find the perfect recipe with our search tool
Searching for something else? Enter keywords to easily find the perfect recipe that suits your needs!