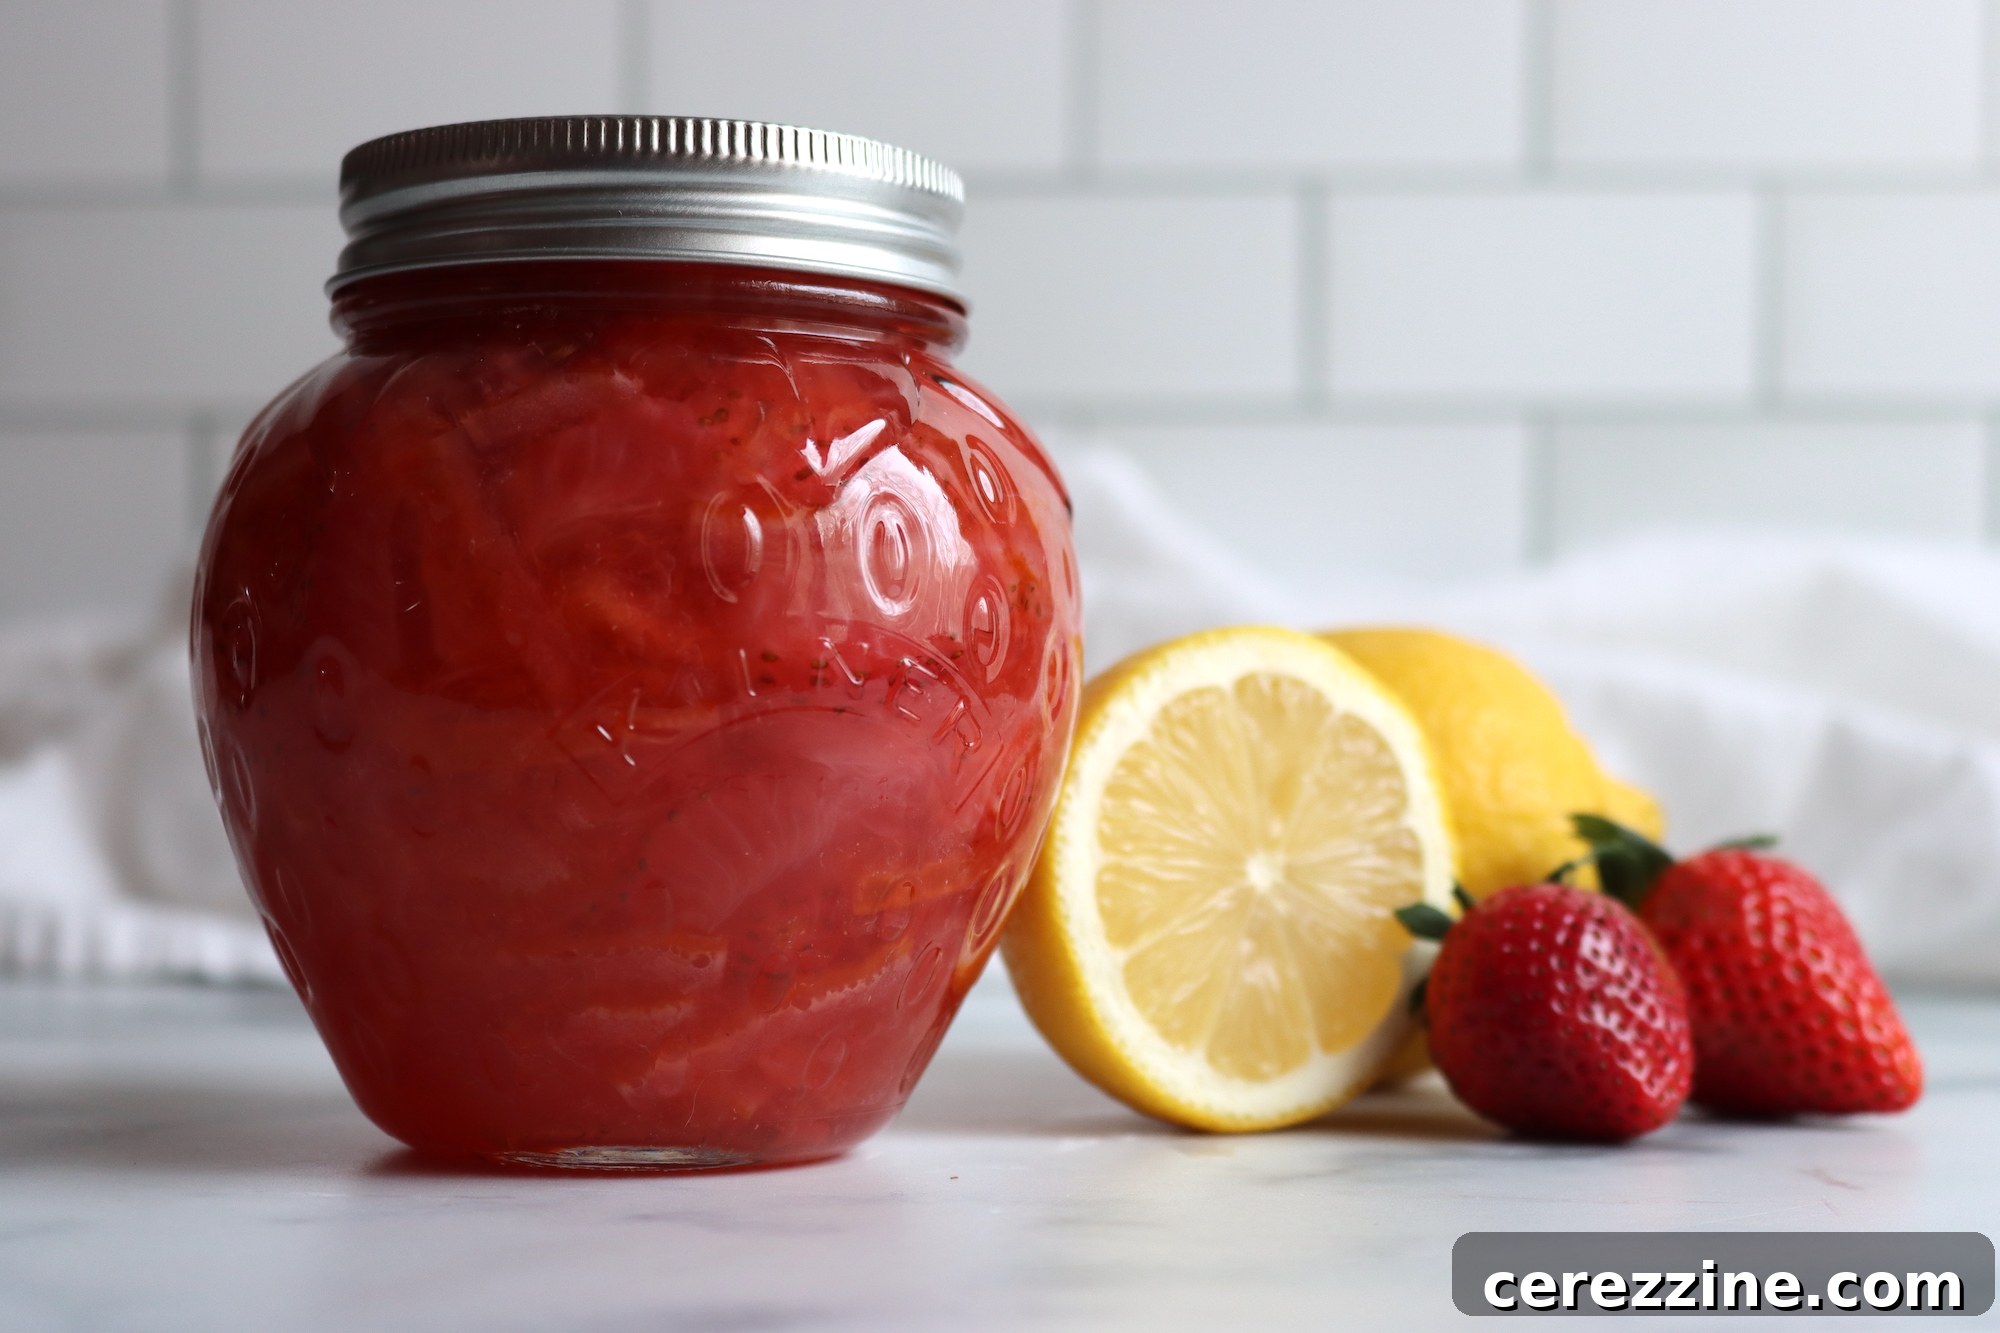
Homemade Strawberry Marmalade: A Zesty Twist on a Classic Preserve
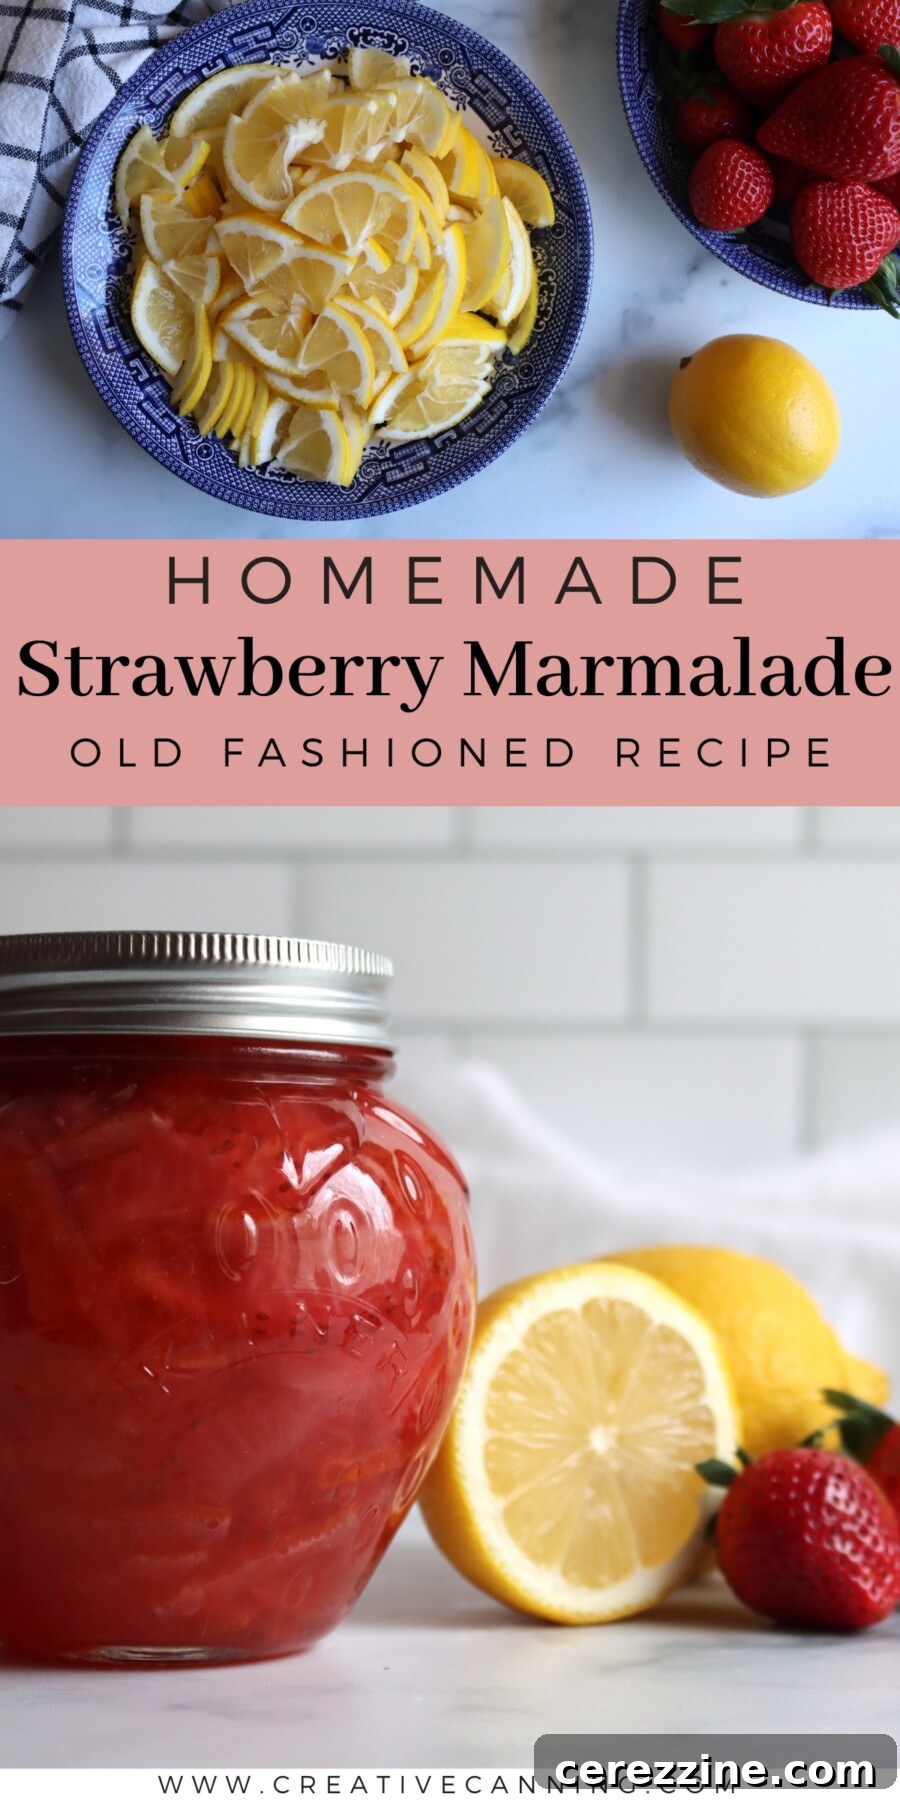
Strawberry Marmalade offers a delightful balance of flavors, marrying the sweet, mellow essence of ripe strawberries with the bright, tangy zest of lemons. This unique combination not only creates an exquisitely flavored preserve but also leverages the natural pectin in lemons, ensuring a perfect, spoonable gel every time. Forget the need for added pectin; this traditional recipe relies on nature’s own thickening agents.
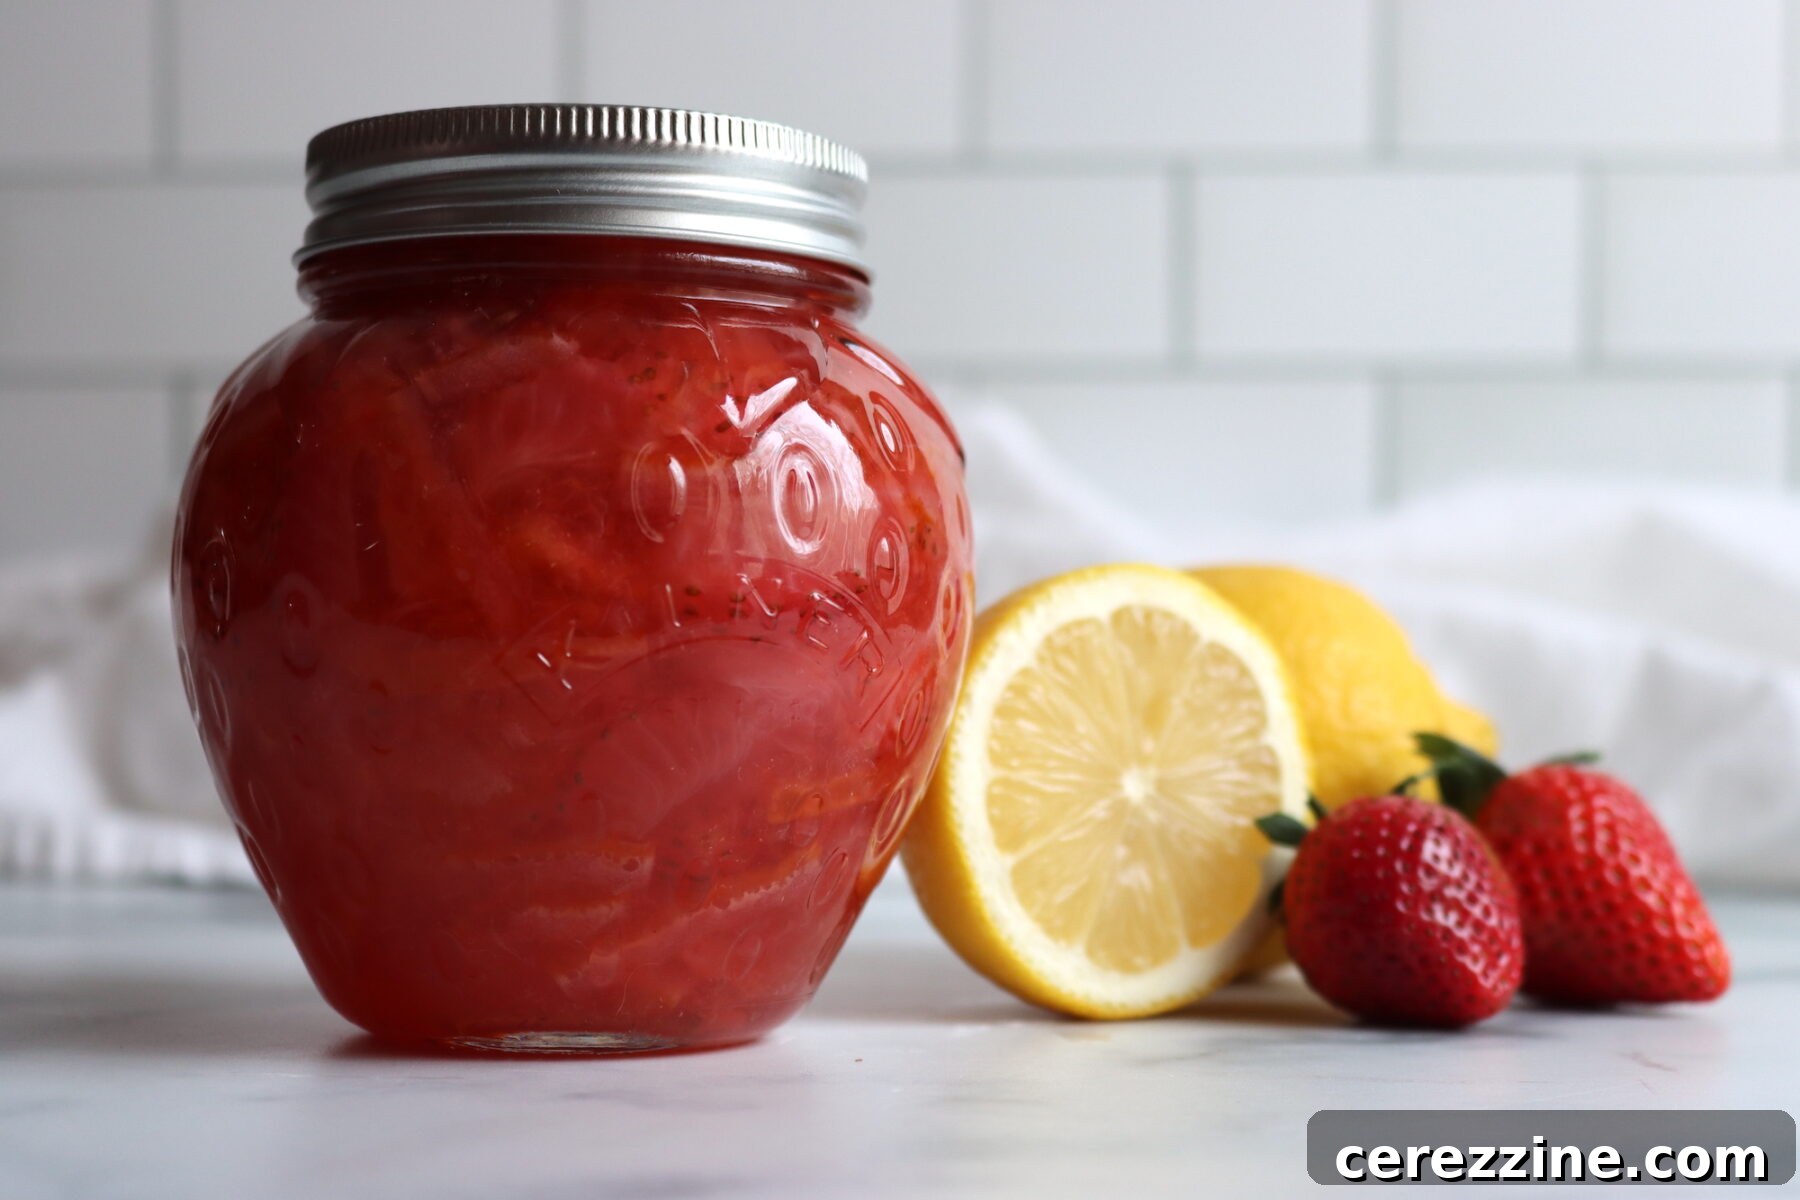
This recipe has been meticulously reviewed for safety and accuracy by a Master Food Preserver, certified through the esteemed University of Cornell Cooperative Extension.
For those who love strawberry jam but crave a little more complexity and ‘attitude,’ Strawberry Marmalade is the ideal choice. Each spoonful delivers a burst of vibrant berry flavor upfront, followed by the tender, slightly candied ribbons of lemon peel. It’s a culinary experience that elevates the everyday breakfast or dessert.
The Essence of Traditional Marmalade Making
This recipe embraces an old-school, small-batch marmalade technique. It ingeniously uses whole lemons, including their peel, and incorporates a simple yet crucial overnight soak. This soaking period is essential for mellowing any bitterness in the lemon rind, paving the way for a perfectly balanced flavor. As the strawberries cook down, they soften and sweeten the citrus, ensuring the finished marmalade tastes fresh and harmonious, never sharp or harsh.
Strawberries, while undeniably delicious, are not naturally rich in pectin. This is why many strawberry jam recipes either call for added commercial pectin or require prolonged cooking times to achieve a thick consistency, as seen in old-fashioned strawberry jam. However, in this marmalade recipe, lemons come to the rescue.
The lemon peel and juice contribute a generous amount of natural pectin and essential acidity. This dual action gives the marmalade its desirable structure and that signature glossy gel, all without the need for an excessively long boil that can often dull the delicate fruit flavors. It’s a testament to the power of natural ingredients working in synergy.
While lemons provide crucial structure and brightness, their intense flavor can sometimes be overpowering on their own, even after the soaking process. This is where the strawberries play a pivotal role. They infuse the marmalade with a soft, fruity sweetness that beautifully rounds out the citrus’s sharp edges, creating a perfectly balanced profile. The end result is unmistakably strawberry, yet imbued with a bright, sophisticated citrusy note that makes it truly special.
Why You’ll Adore This Strawberry Marmalade Recipe!

This recipe delivers that quintessential classic marmalade “bite” from the tender lemon peel, but with a nuanced difference. The strawberries gracefully soften the intensity, transforming it into a wonderfully balanced experience rather than an aggressively bitter one. If you appreciate citrusy preserves but find a straight lemon marmalade too potent, this Strawberry Marmalade offers a delightful and harmonious middle ground.
It’s also an excellent method for transforming a modest quantity of fresh strawberries into something truly extraordinary. The addition of lemon peel not only provides structural integrity but also an intensity of flavor, meaning you don’t need a massive haul of berries to create jars that feel like a luxurious treat. This recipe maximizes both flavor and yield, making it incredibly rewarding.
My journey to developing this style of marmalade began with a desire for something brighter and more complex than a standard strawberry jam, yet less heavy than a pure citrus marmalade. The secret weapon, and what truly makes this recipe shine, is the overnight soaking of the lemon peel. This quiet, often overlooked step effectively removes any harshness from the rind without stripping away its aromatic, citrusy essence. It’s a game-changer for achieving that perfect candied lemon texture.
Once you’ve experienced the magic of making marmalade this way, you’ll undoubtedly fall in love with those delicate, translucent ribbons of lemon nestled within every spoonful. This isn’t just a preserve; it’s the kind of artisanal creation that transforms simple staples like plain yogurt, a slice of toast, or a warm, buttered biscuit into a truly indulgent dessert-like experience. It’s a preserve that speaks of care, tradition, and exquisite flavor.
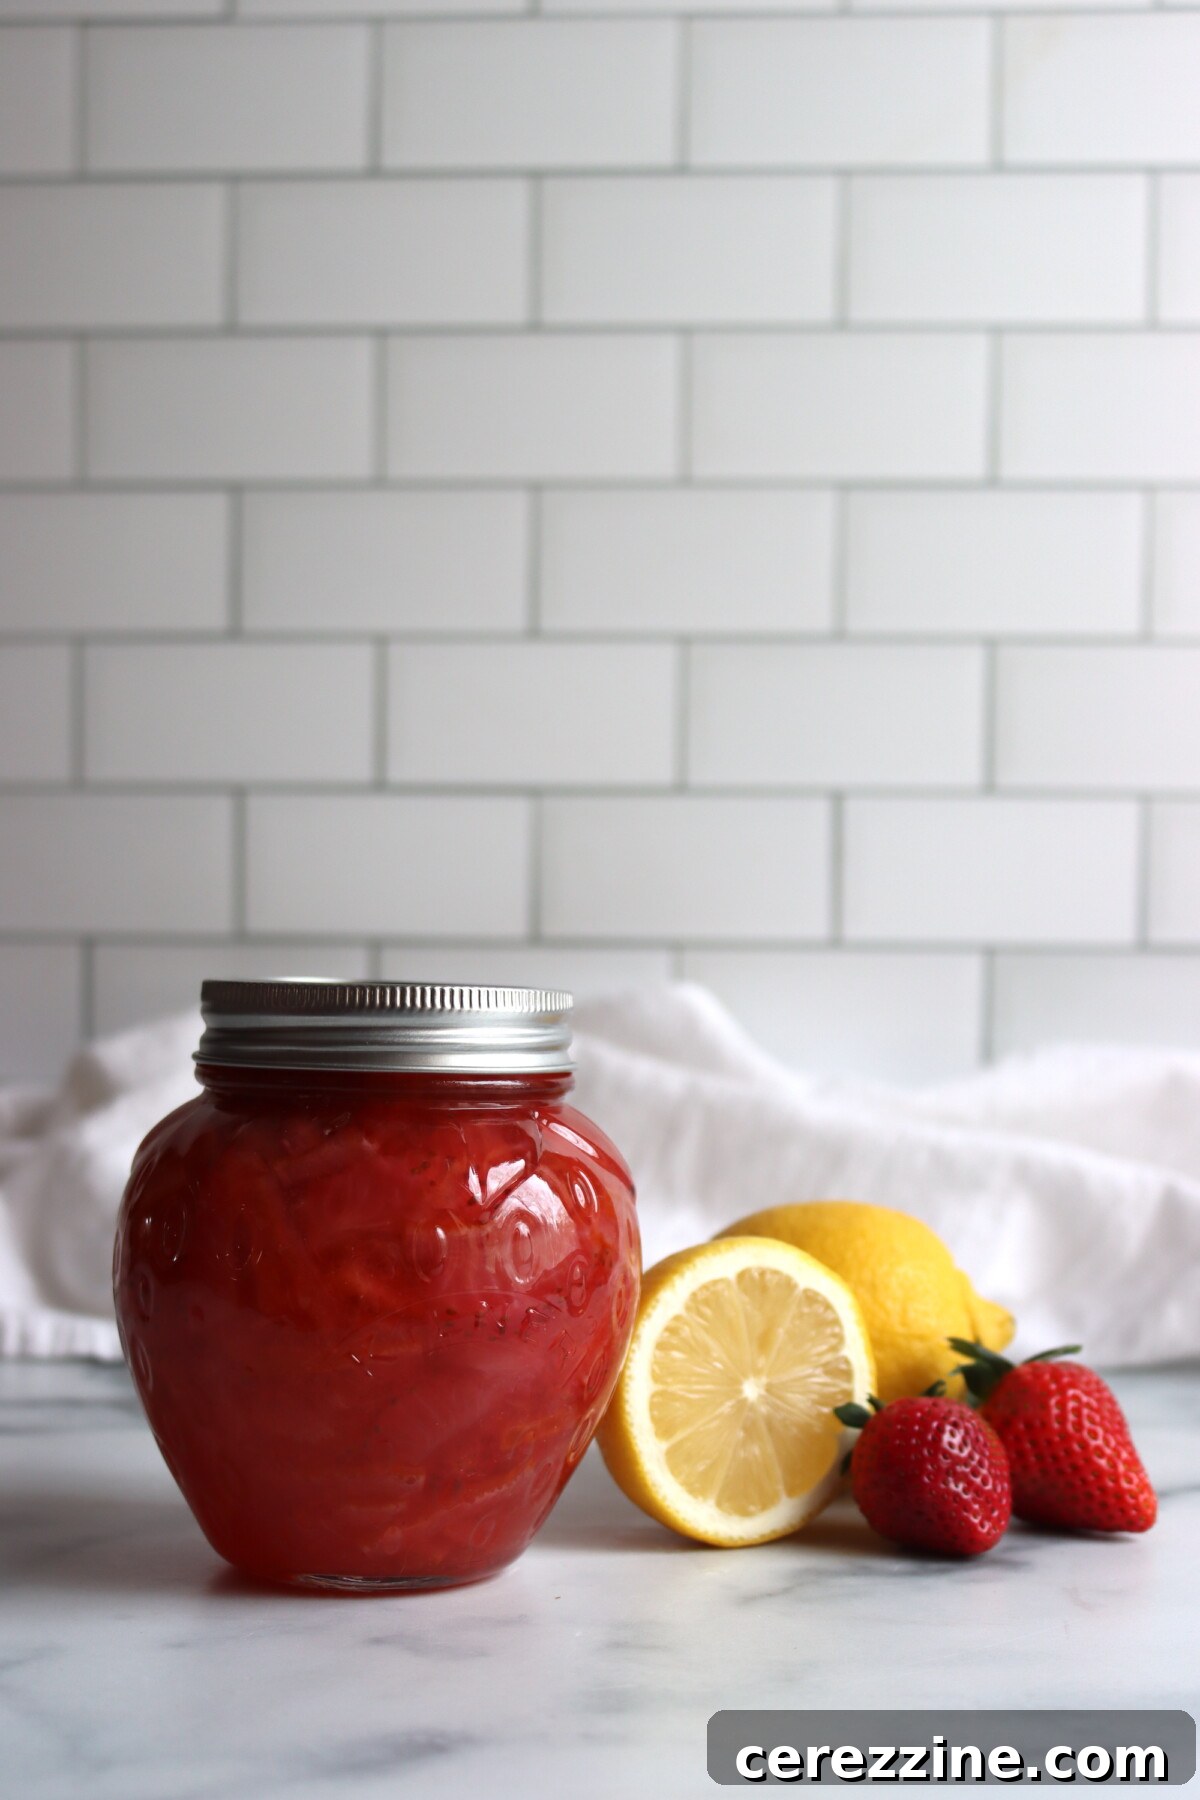
A Quick Look at the Recipe: Strawberry Marmalade at a Glance
- Recipe Name: Strawberry Marmalade
- Recipe Type: Marmalade (fruit preserve with citrus peel)
- Canning Method: Water Bath Canning
- Prep/Cook Time: Approximately 30 minutes active time (plus essential overnight soaking)
- Canning Time: 10 minutes
- Yield: About 3 to 4 half-pint jars
- Jar Sizes: Versatile for half-pint or pint jars
- Headspace: A crucial 1/4 inch for safe canning
- Ingredients Overview: Fresh lemons, ripe strawberries, water, and sugar
- Safe Canning Recipe Source: Adheres strictly to NCHFP Guidance for food preservation
- Difficulty: Easy, though precise thin slicing and a reliable thermometer are recommended for optimal results
- Similar Recipes: If you enjoy the harmonious blend of fruit and citrus in this marmalade, you’ll also love exploring other delightful combinations such as Cranberry Orange Marmalade or Apple Marmalade. For more creative strawberry canning recipes, consider Strawberry Lemonade Concentrate, Low Sugar Strawberry Jam, or even Pickled Strawberries.
Essential Ingredients for Perfect Strawberry Marmalade
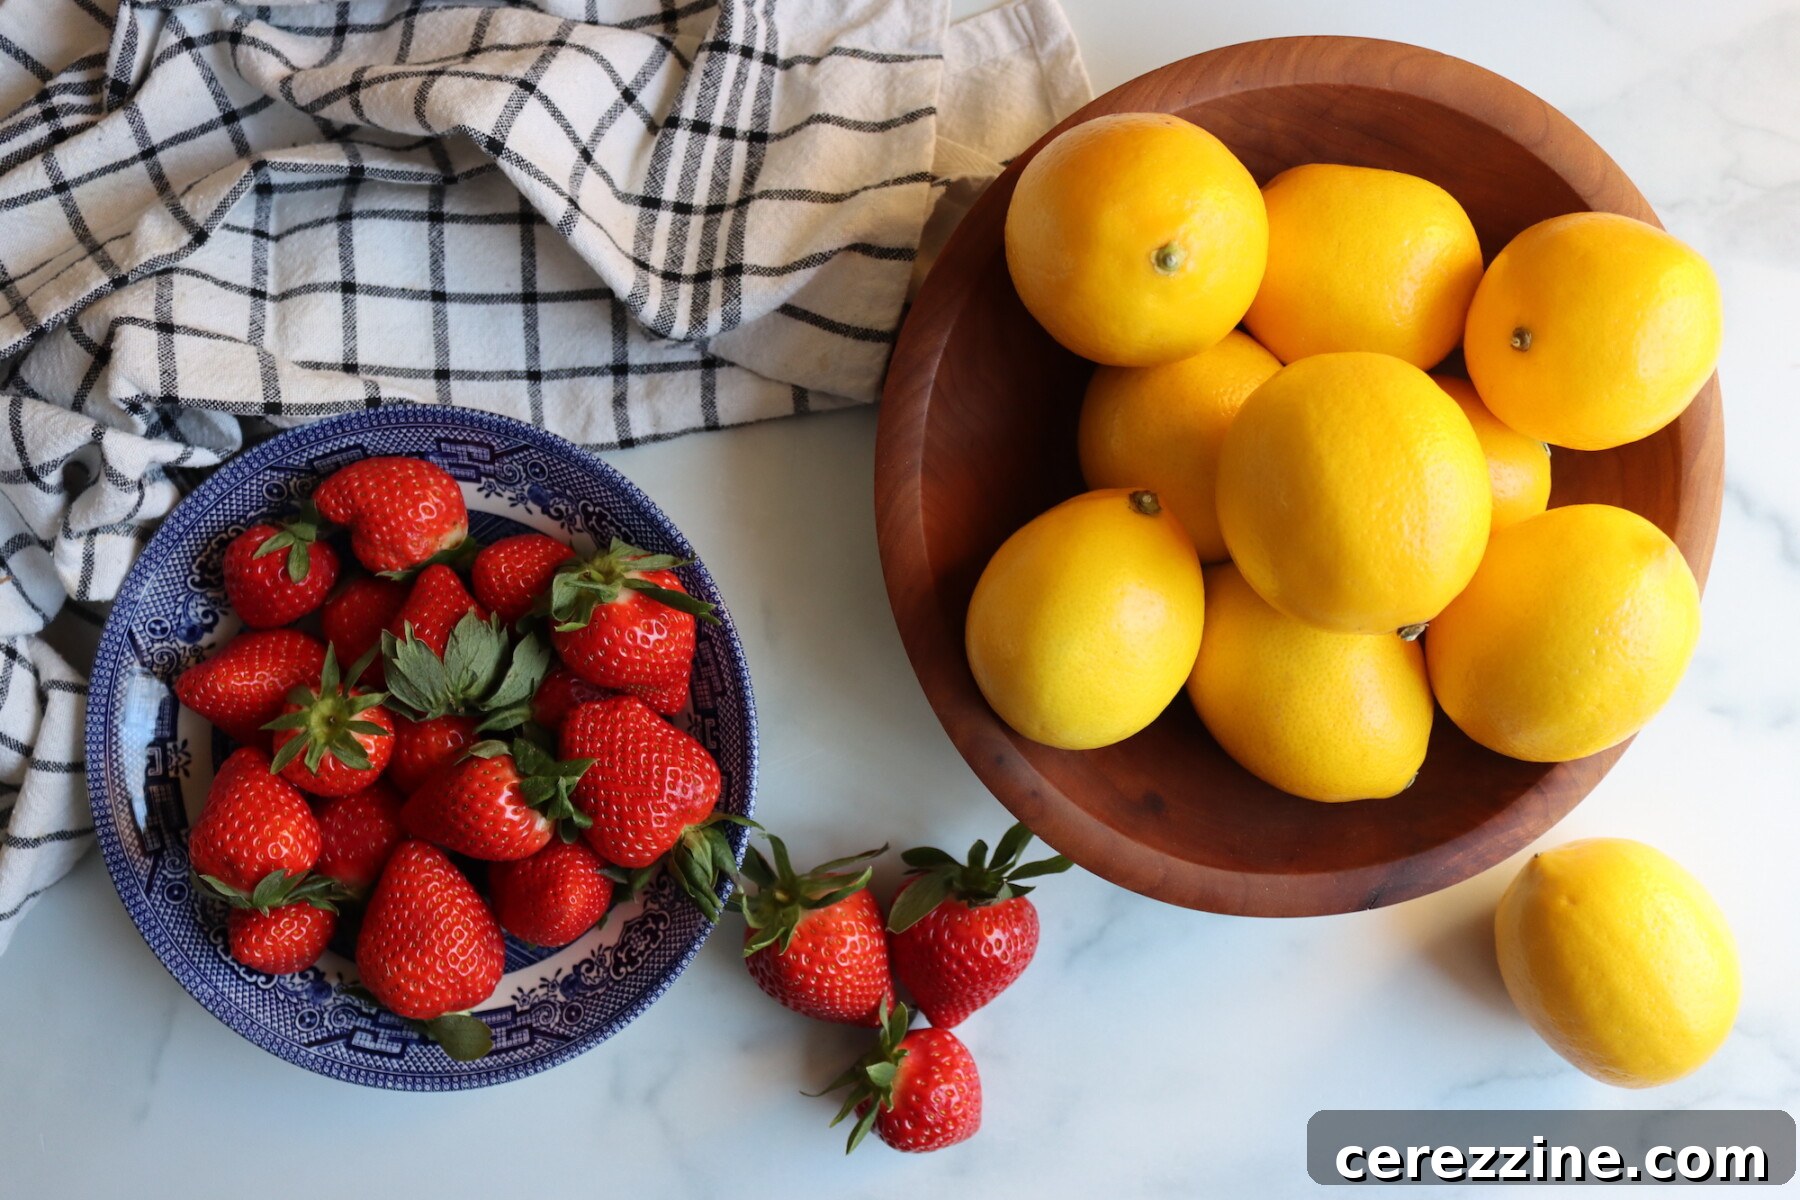
Crafting this exceptional marmalade requires just four core ingredients, each playing a vital role in its final flavor and texture. Lemons provide the distinctive peel and classic marmalade character, strawberries contribute sweet balance, and the precise ratio of water and sugar dictates the perfect set and preservation.
- Lemons (preferably Meyer lemons): These are indispensable for providing the aromatic peel, which defines marmalade, along with natural acidity and pectin. While standard lemons work well, Meyer lemons are often preferred for their softer peel, less intense bitterness, and sweeter, more floral notes, making the marmalade extra special.
- Strawberries: The star of the show, strawberries infuse the marmalade with their characteristic berry sweetness, vibrant color, and a soft, fruity base that beautifully counterbalances the citrus’s tartness. Choose ripe, fragrant berries for the best flavor.
- Water: Used in two crucial stages: first, for the overnight soaking of the lemon peel to mellow its bitterness, and second, for simmering the peel to tenderize it thoroughly before the sugar is added.
- Sugar: More than just a sweetener, sugar is a critical preserving agent. It also contributes significantly to the marmalade’s structure, interacting with the pectin to create that desirable gel when cooked to the correct temperature.
If Meyer lemons are unavailable, regular lemons are a perfectly acceptable substitute. However, be aware that the resulting marmalade will likely have a sharper tartness and a slightly more pronounced bitterness. To mitigate this, be extra meticulous with the overnight soak, ensuring the lemon slices are cut very thinly. It’s also paramount that the peel is truly tender before you introduce the strawberries and sugar to the pot.
For those desiring an even gentler citrus note, consider replacing a portion of the lemons with an orange, or combining half regular lemons with half Meyer lemons if you can source them. A tiny pinch of salt added at the end of cooking can remarkably enhance the strawberry flavor, making it “pop.” Alternatively, stir in a touch of vanilla extract off-heat for a rounder, more dessert-like aroma and taste.
Crafting Your Own Strawberry Marmalade: A Step-by-Step Guide
This recipe is designed for quick cooking, meaning the primary focus is on perfectly tenderizing the lemon peel first. Once that’s achieved, the final setting stage with sugar happens relatively quickly, locking in fresh flavors and vibrant colors.
1. Prepare and Precisely Slice the Lemons
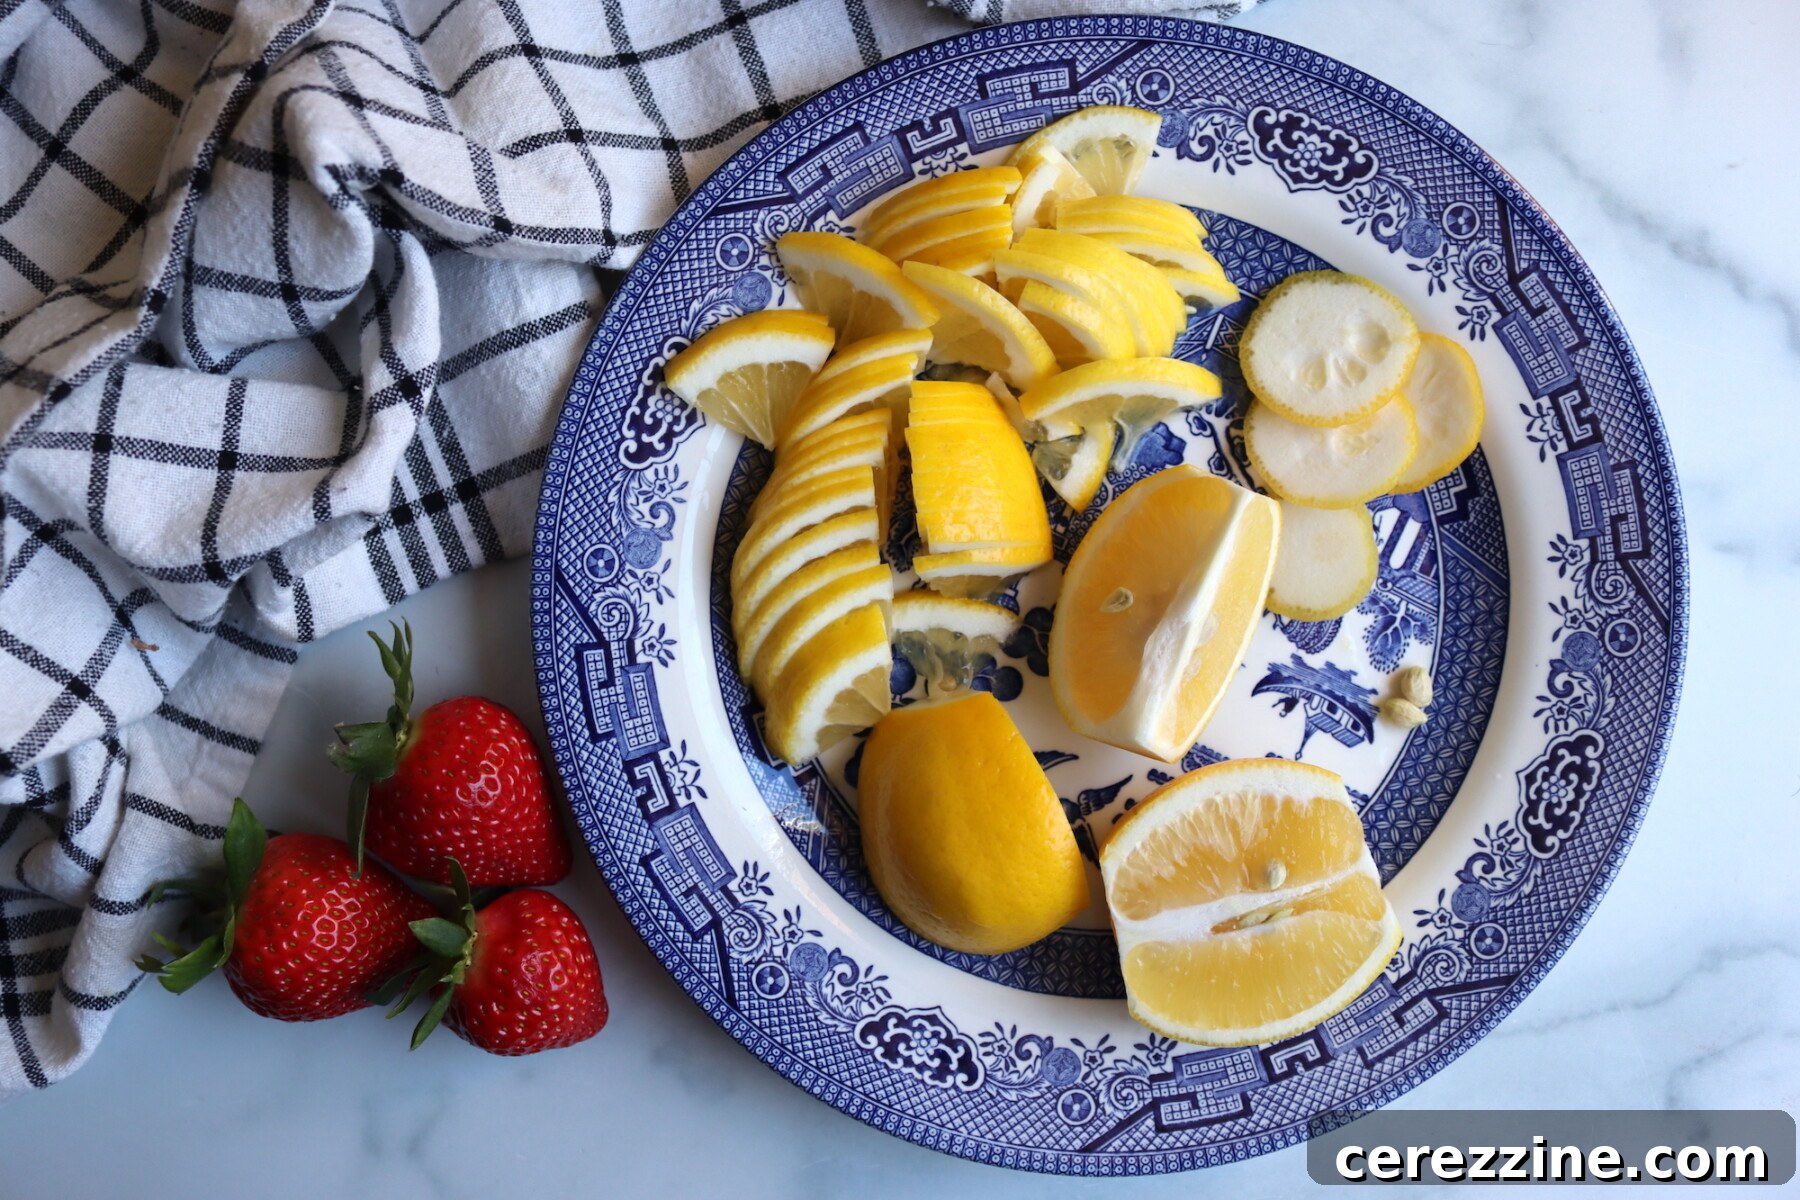
Begin by trimming off both ends of each lemon. Next, slice each lemon lengthwise into quarters (first halve them, then halve each half again). From these quarters, slice them very thinly across, aiming for delicate, uniform ribbons of peel. This thin slicing is absolutely key to ensuring the lemon peel is tender and pleasant to eat in the finished marmalade, rather than tough or chewy.
2. The Essential Overnight Soak for Lemon Slices
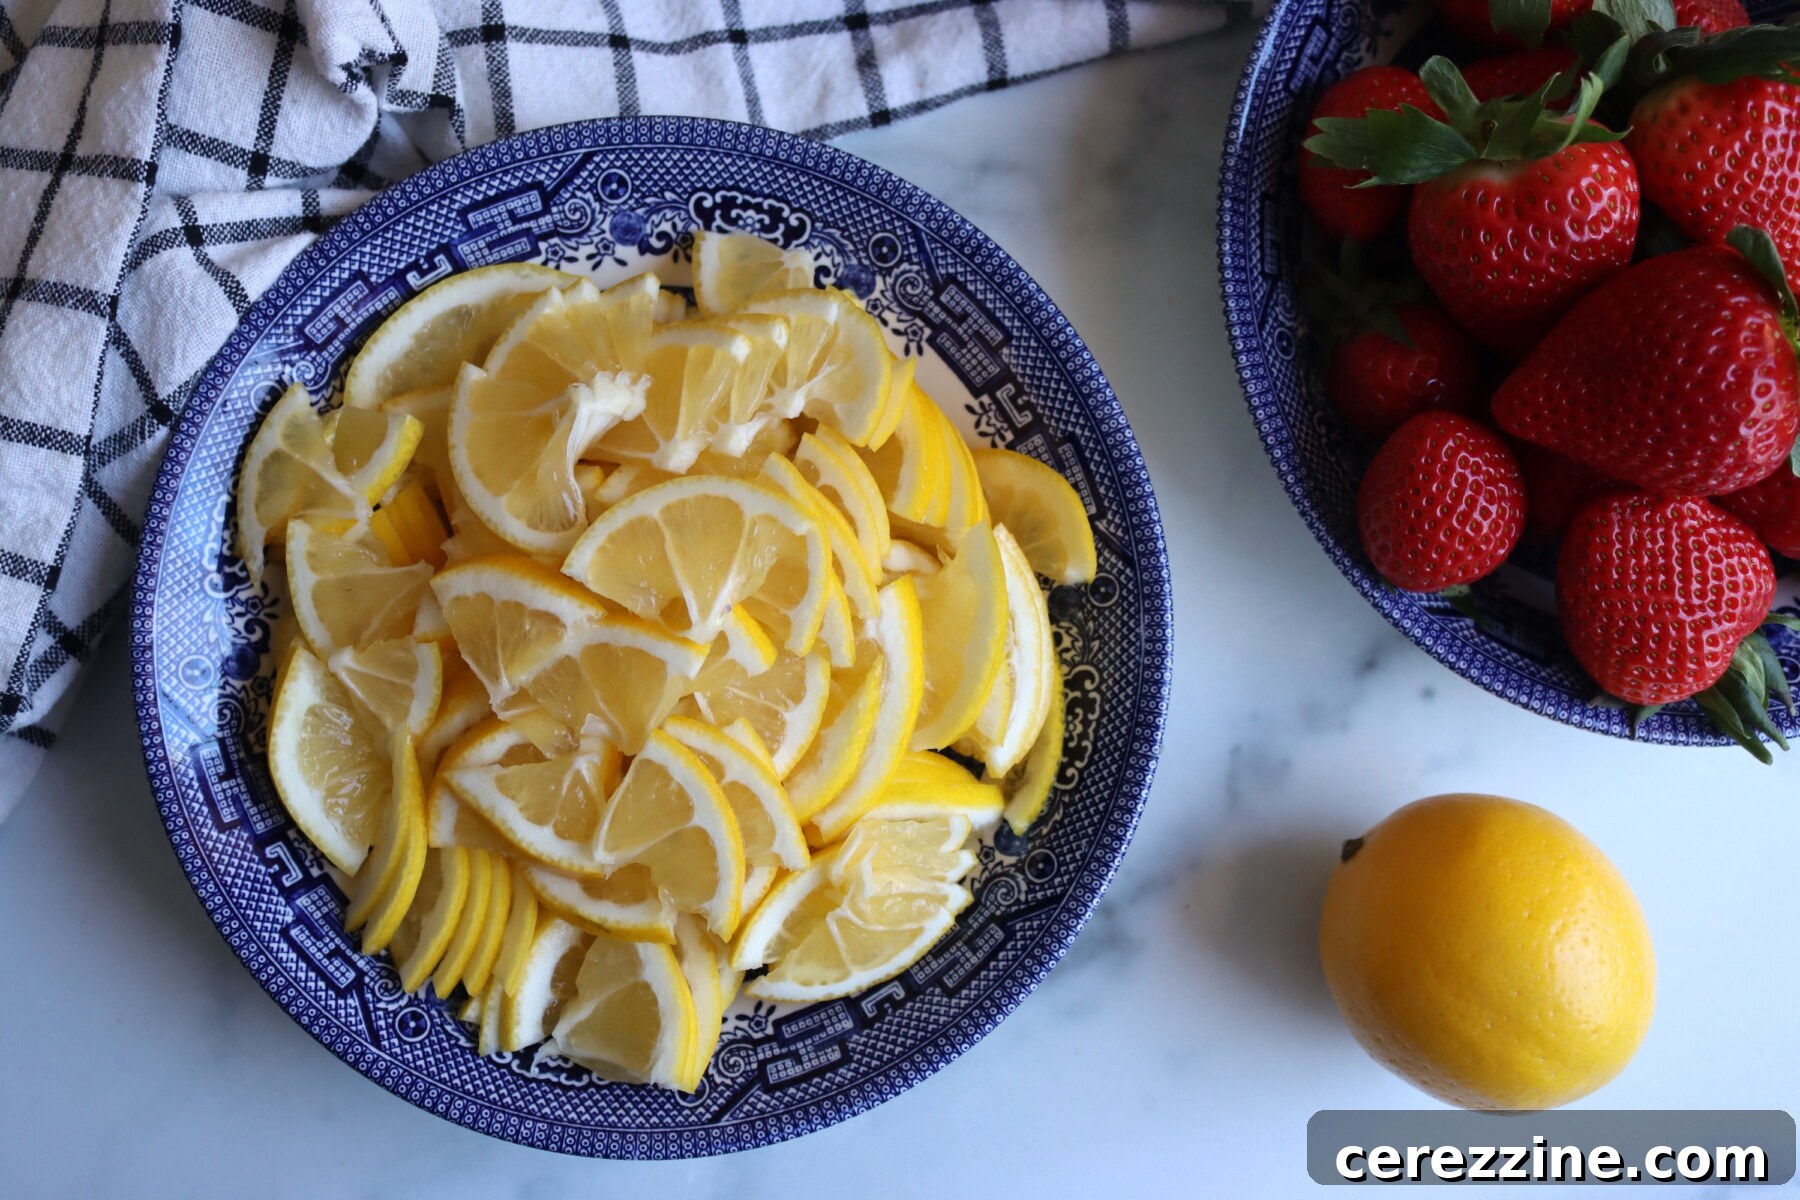
Transfer all the thinly sliced lemons into a large bowl and cover them completely with fresh water. Place the bowl in the refrigerator and allow the lemon slices to soak overnight. The following day, drain the lemons thoroughly and discard the soaking water. This crucial step is what effectively mellows any harsh bitterness present in the lemon peel, while preserving all of its delightful, fragrant citrus character. Do not skip this step for the best flavor!
3. Prepare Strawberries and Drain Lemons
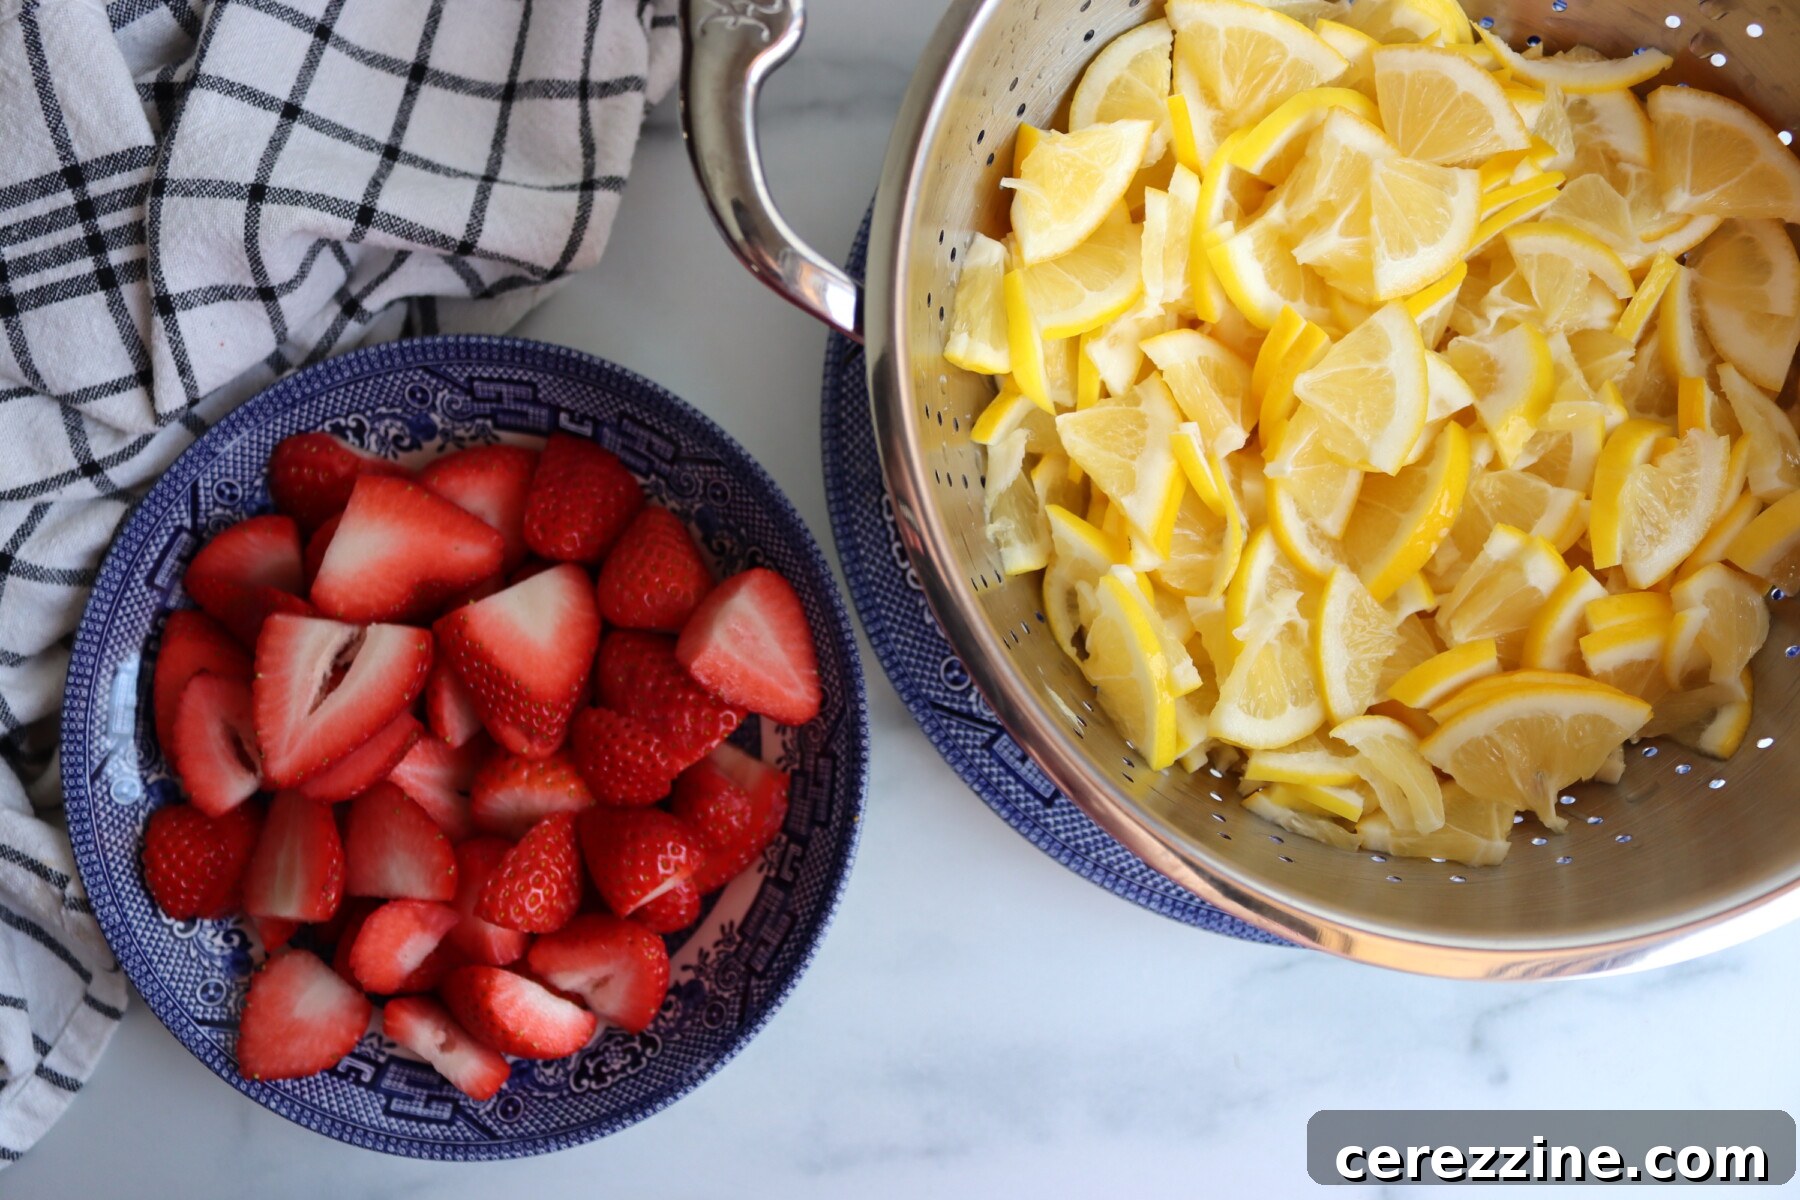
The morning after the lemon soak, prepare your strawberries. Hull them (remove the green tops) and slice them. Measure out exactly 2 cups of the prepared sliced fruit. While doing this, ensure your soaked lemons are thoroughly drained, discarding all of the overnight soaking water.
4. Simmer the Lemon Peel Until Perfectly Tender
In a heavy-bottomed pot, add two cups of fresh water and bring it to a rolling boil. Introduce the drained lemon slices into the boiling water. Reduce the heat slightly to medium-high and cook, stirring occasionally, until the lemon peel becomes completely tender. During this process, most of the water will cook away. To test for tenderness, simply press a strip of peel against the side of the pot with a spatula; if it cuts easily with minimal resistance, it’s ready. Should the water evaporate before the peel is tender, simply add another splash or two of water and continue simmering until the desired softness is achieved. This step typically takes about 10 to 15 minutes.
5. Incorporate Strawberries, Then Sugar
Once the lemon peel has reached peak tenderness and the pot is nearly dry, it’s time to add the sliced strawberries. Cook them gently for just one or two minutes, allowing them to release their delicious juices into the pot. Immediately after, add the measured sugar and stir everything thoroughly until the sugar is fully dissolved.
6. Cook to Achieve the Perfect Set
Continue cooking the marmalade at a lively boil, stirring frequently to prevent scorching. Aim for a gel stage temperature of approximately 220 degrees Fahrenheit (104.4°C) at sea level. This typically takes about five to six minutes once the sugar is incorporated and the boil is established. It’s crucial to stir constantly and monitor closely, as small batches of preserves can transition from perfectly set to overcooked very quickly. Use a reliable candy thermometer for the most accurate results.
Safe Canning of Strawberry Marmalade
While canning offers the convenience of shelf-stable preserves, it’s an optional step. You can certainly refrigerate your freshly made strawberry marmalade immediately and enjoy it within a few weeks, or freeze it for extended storage up to several months. However, for long-term pantry storage and year-round enjoyment, water bath canning is the preferred method.
To prepare for water bath canning, begin by thoroughly washing your canning jars and keeping them hot. This can be done by submerging them in simmering water or placing them in a warm oven. Next, set up your boiling water canner according to the manufacturer’s instructions and gently warm your lids (usually by placing them in hot, non-boiling water, again following manufacturer guidance).
Once your strawberry marmalade has reached its ideal set point, carefully ladle it into the hot, prepared jars, leaving precisely 1/4 inch of headspace at the top. Use a non-metallic utensil to remove any air bubbles trapped within the marmalade, then recheck the headspace and adjust if necessary by adding a little more marmalade. Wipe the rims of the jars clean with a damp cloth to ensure a perfect seal. Center the warmed lids on the jars and apply the screw bands to fingertip-tight. Process the jars in a boiling water bath canner for 10 minutes. If you live at an elevation above 6,000 feet, increase the processing time to 15 minutes to account for lower boiling points.
When the processing time is complete, turn off the heat, carefully remove the canner lid, and allow the jars to rest undisturbed within the canner for an additional five minutes. This helps to equalize the temperature and prevent siphoning. Finally, carefully remove the hot jars from the canner and place them on a clean towel on your countertop, ensuring they are not touching each other. Allow them to cool undisturbed for 12 to 24 hours. You will hear satisfying “ping” sounds as the lids seal. After cooling, check for proper seals; any unsealed jars should be refrigerated and consumed within a few weeks.
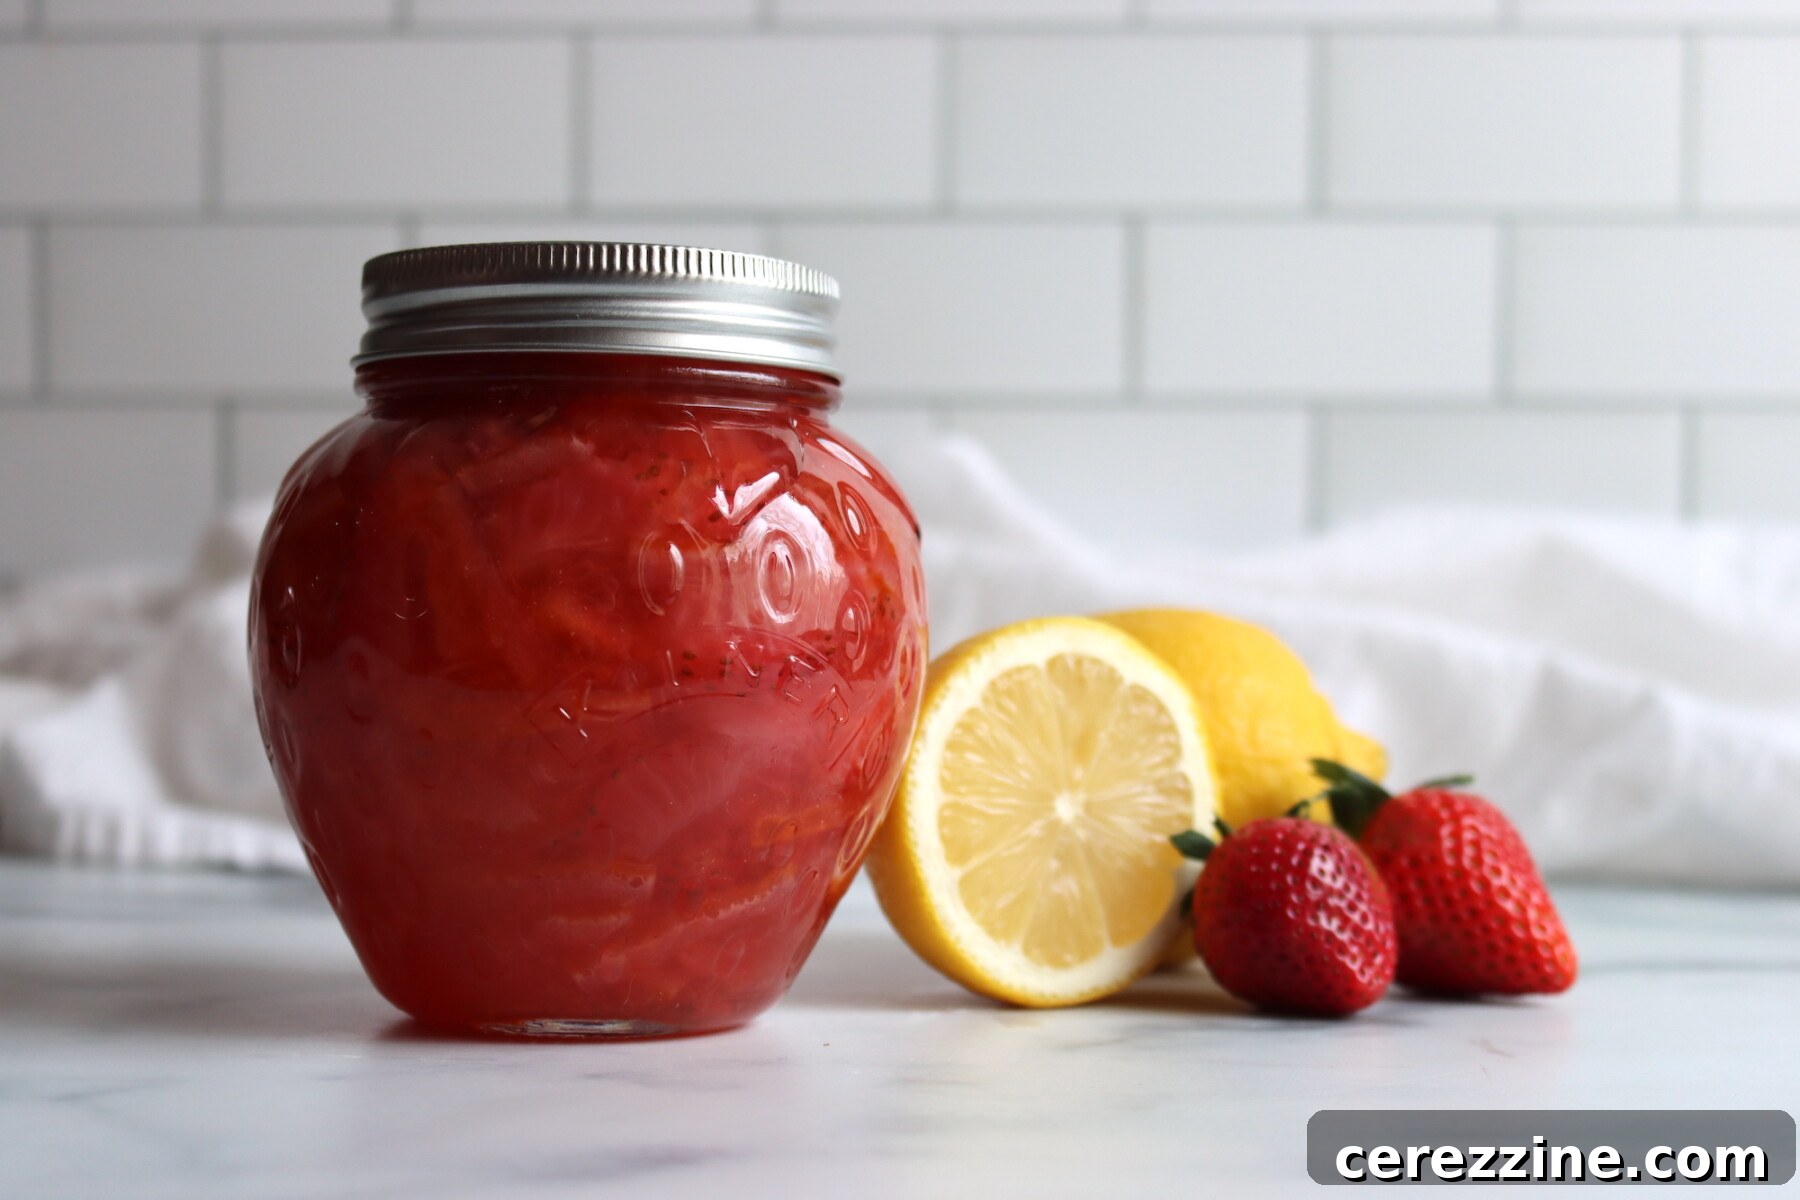
Delightful Serving Ideas for Strawberry Marmalade
While this Strawberry Marmalade is undeniably superb spread generously on classic toast and warm biscuits, its sweet-tart brightness allows it to shine in a myriad of culinary applications. It brings an exquisite touch wherever you desire a vibrant, fruity zest.
- Breakfast & Brunch: Swirl it into plain Greek yogurt for a healthy and flavorful start to your day. It’s also phenomenal spooned over pancakes, waffles, or French toast.
- Desserts: Elevate a simple cheesecake by spooning marmalade over the top, or use it as a flavorful filling for classic thumbprint cookies. It’s also divine slathered onto freshly baked scones, adding both moisture and zing.
- Savory Pairings: Don’t limit this marmalade to sweet applications. Its balanced profile makes it surprisingly versatile for savory dishes. Pair it with soft, creamy cheeses like brie, goat cheese, or even a sharp cheddar on a cracker or crusty bread for an unforgettable appetizer board. It can also be incorporated into glazes for roast chicken or pork, or as a vibrant accompaniment to grilled meats.
- Beverages: A spoonful can even be stirred into hot tea for a fruity twist, or dissolved into sparkling water for a refreshing homemade soda.
Strawberry Marmalade FAQs: Your Questions Answered
Regular lemons will yield delicious results, but for a marmalade that is less tart and slightly less bitter, opt for Meyer lemons. Whichever variety you choose, it is paramount to slice the peel very thinly, adhere to the overnight soaking process, and ensure the peel is thoroughly tender before adding the strawberries and sugar.
The overnight soak serves a crucial purpose: it helps to significantly mellow any harsh bitterness present in the lemon peel while diligently preserving its vibrant, bright lemon flavor. This simple yet effective step is the easiest way to guarantee that the citrus ribbons in your finished marmalade are tender and pleasantly palatable, rather than tough or overly bitter.
The most reliable method for judging the marmalade’s set is by using a thermometer. The ideal gel stage temperature is typically 220°F (104.4°C) at sea level. Remember to adjust this temperature for your elevation, subtracting 1°F for every 500 feet above sea level (e.g., at 1,000 feet elevation, aim for approximately 218°F). Visually, the marmalade should “sheet” off a chilled spoon in a thick, cohesive curtain rather than dripping in thin streams. For a quick alternative, you can perform a “cold plate test”: chill a small plate in the freezer, place a dab of hot marmalade onto it, wait a few seconds, then gently push it with your fingertip. If the surface wrinkles, your marmalade is ready.
While it is possible to double this recipe, small-batch preserves consistently achieve a more reliable and desirable set than larger batches. Doubling the recipe often increases the overall cooking time, which can lead to a duller fresh strawberry flavor or the risk of overcooking the fruit. For the best texture and flavor, we highly recommend making two separate batches back-to-back if you require more marmalade. Please do not attempt to increase the recipe by more than double, as larger quantities will not cook evenly and may struggle to set properly.
Explore More Delicious Strawberry Canning Recipes
Canning Strawberry Lemonade Concentrate
Canning Strawberry Pie Filling
Christmas Jam
32
Servings, Makes about 4 half pint jars
Strawberry Marmalade
1 day
30 mins
10 mins
1 day 40 mins
Print Recipe
Equipment
-
Water Bath Canner
Ingredients
- 1 lb lemons, about 4 medium, preferably Meyer lemons
- 1 lb strawberries, hulled and sliced (about 3 cups)
- 2 cups water, for cooking lemons, plus more for soaking
- 2 1/2 cups sugar
Instructions
-
Trim both ends from the lemons. Halve them lengthwise, then halve each half again into quarters. Slice these quarters very thinly across to create delicate ribbons of peel.
-
Place the thinly sliced lemons in a bowl and cover them completely with water. Refrigerate overnight to mellow any bitterness. The next day, drain and discard the soaking water.
-
In a large pot, add 2 cups of fresh water and bring to a boil. Add the drained lemon slices. Cook over medium-high heat until the peels are very tender and most of the water has evaporated (approximately 10-15 minutes). If needed, add a splash more water to ensure the peel becomes fully tender.
-
Once the peel is tender, add the prepared strawberries to the pot and cook for 1 to 2 minutes until they begin to release their juices. Stir in the sugar until completely dissolved.
-
Continue cooking at a lively boil, stirring frequently to prevent sticking, until the marmalade reaches the gel stage. Aim for approximately 220°F (104.4°C) at sea level (adjust for your elevation as needed, subtracting 1°F per 500 feet). This usually takes about 5 to 6 minutes of vigorous boiling.
-
For canning, carefully ladle the hot marmalade into hot, sterilized jars, leaving 1/4 inch headspace. Apply lids and rings, then process in a boiling water bath canner according to the altitude adjustment section (10 minutes for sea level, 15 minutes above 6,000 feet).
Notes
Cook the peel until truly tender first. Before adding strawberries and sugar, the lemon peel should cut easily when pressed against the side of the pot with a spatula. Add a splash more water if needed to get there.
Yield varies a bit. Expect about 3 to 4 half-pints, depending on berry juiciness and how hard you boil to set. One pound of strawberries yields about 3 cups of hulled and sliced fruit. One pound of lemons is approximately 4 medium-sized fruit.
A thermometer is the easiest way to judge set with this marmalade. Aim for a gel stage of 220°F at sea level, then subtract 1°F for every 500 feet of elevation (so at 1,000 feet, you’re aiming for about 218°F). Visually, the marmalade should sheet off a spoon in a thicker curtain instead of dripping in a thin stream. If you don’t have a thermometer, use the cold plate test: chill a small plate, place a dab of marmalade on it, wait a few seconds, then push it with your fingertip. If it wrinkles, it’s ready.
Nutrition
Nutrition information is automatically calculated, so should only be used as an approximation.
Like this? Leave a comment below!
More Inspiring Marmalade Recipes
Lime Marmalade (Old Fashioned Recipe without Added Pectin)
Buddha’s Hand Marmalade
Grapefruit Marmalade
Find the perfect recipe
Searching for something else? Enter keywords to find the perfect recipe!