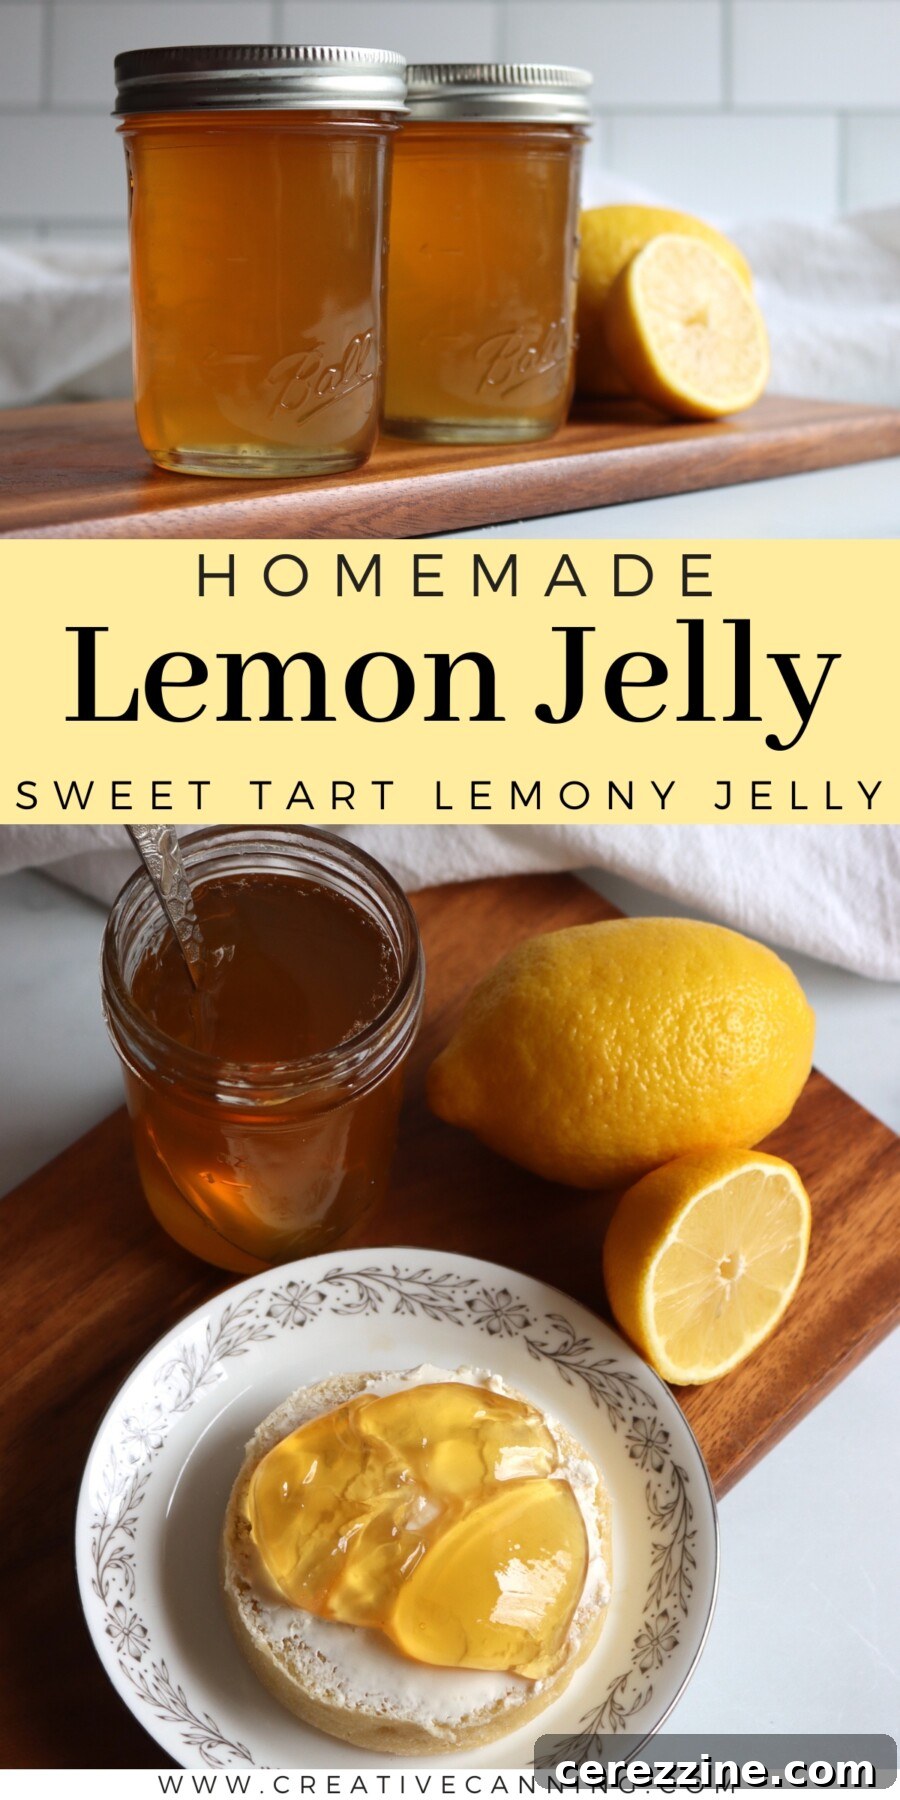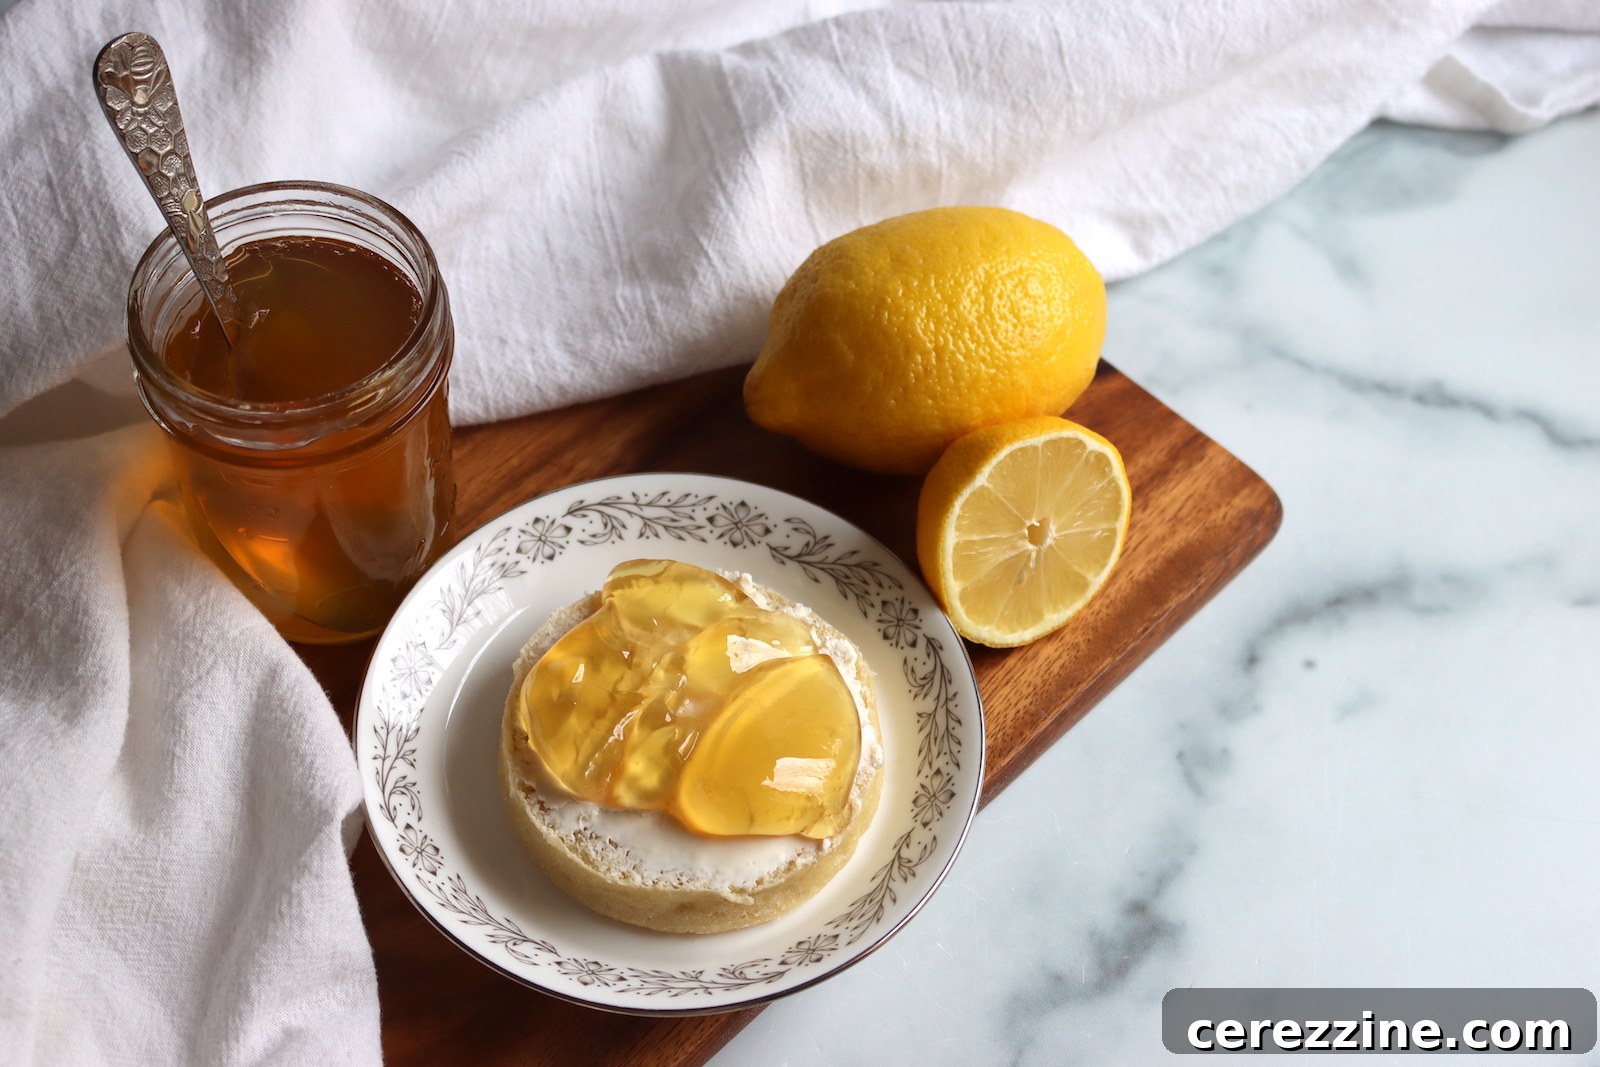
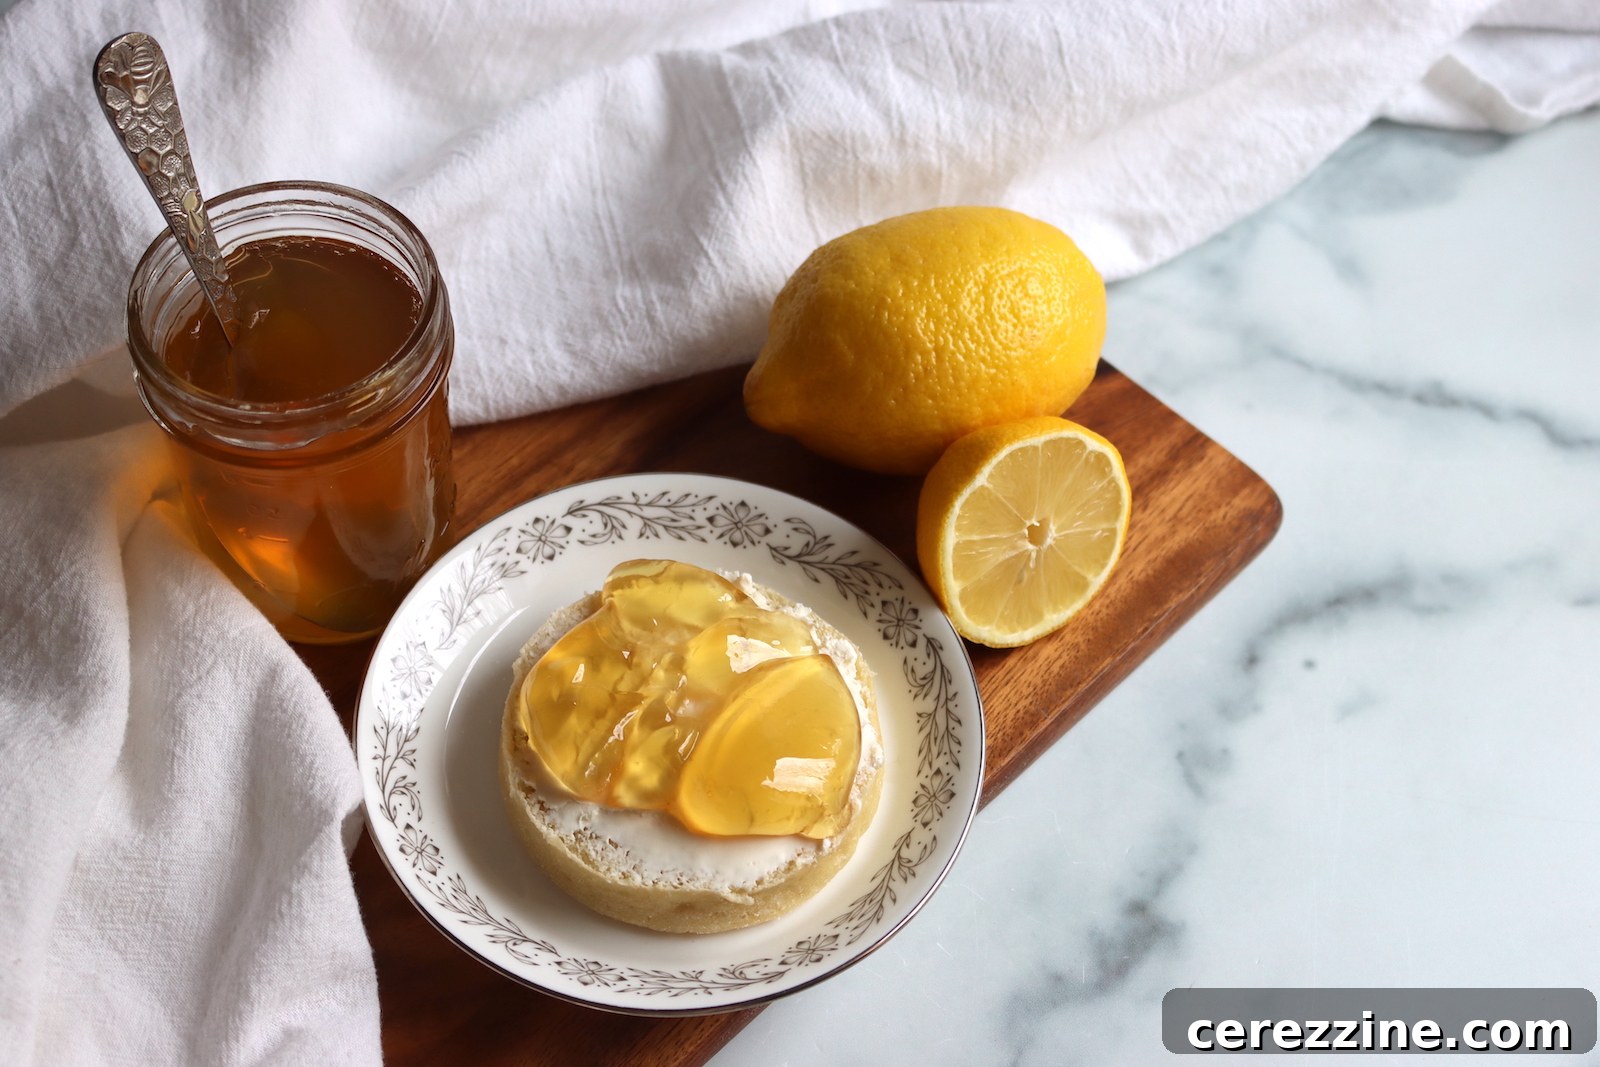
Embrace the vibrant taste of sunshine with this exquisite Homemade Lemon Jelly. This recipe delivers a pure, bright, and intensely citrusy flavor in a smooth, spreadable form, completely free from any chewy peel. If you adore the zesty punch of lemon marmalade but find that some family members or picky eaters shy away from its texture, this lemon jelly is your perfect solution. It offers all the sunny lemon essence captured in a delightful spread that everyone will love.
What sets this lemon jelly apart from most fruit jellies is its unique approach to flavor extraction. Instead of relying solely on juice, this recipe harnesses the aromatic oils from the lemon peel during the initial cooking process. The peel infuses the liquid with an unmistakable lemon fragrance and depth of flavor that juice alone cannot achieve. After this crucial infusion, all solids are meticulously strained out, resulting in a perfectly clear, shimmering jelly that bursts with fresh lemon taste. The outcome is a beautifully balanced, tart-sweet spread that encapsulates everything wonderful about ripe lemons.
This recipe has been carefully reviewed for safety and accuracy by a Master Food Preserver, certified through the esteemed University of Cornell Cooperative Extension, ensuring reliable results for your home canning endeavors.
Crafting Your Perfect Lemon Jelly: Pectin or Pectin-Free
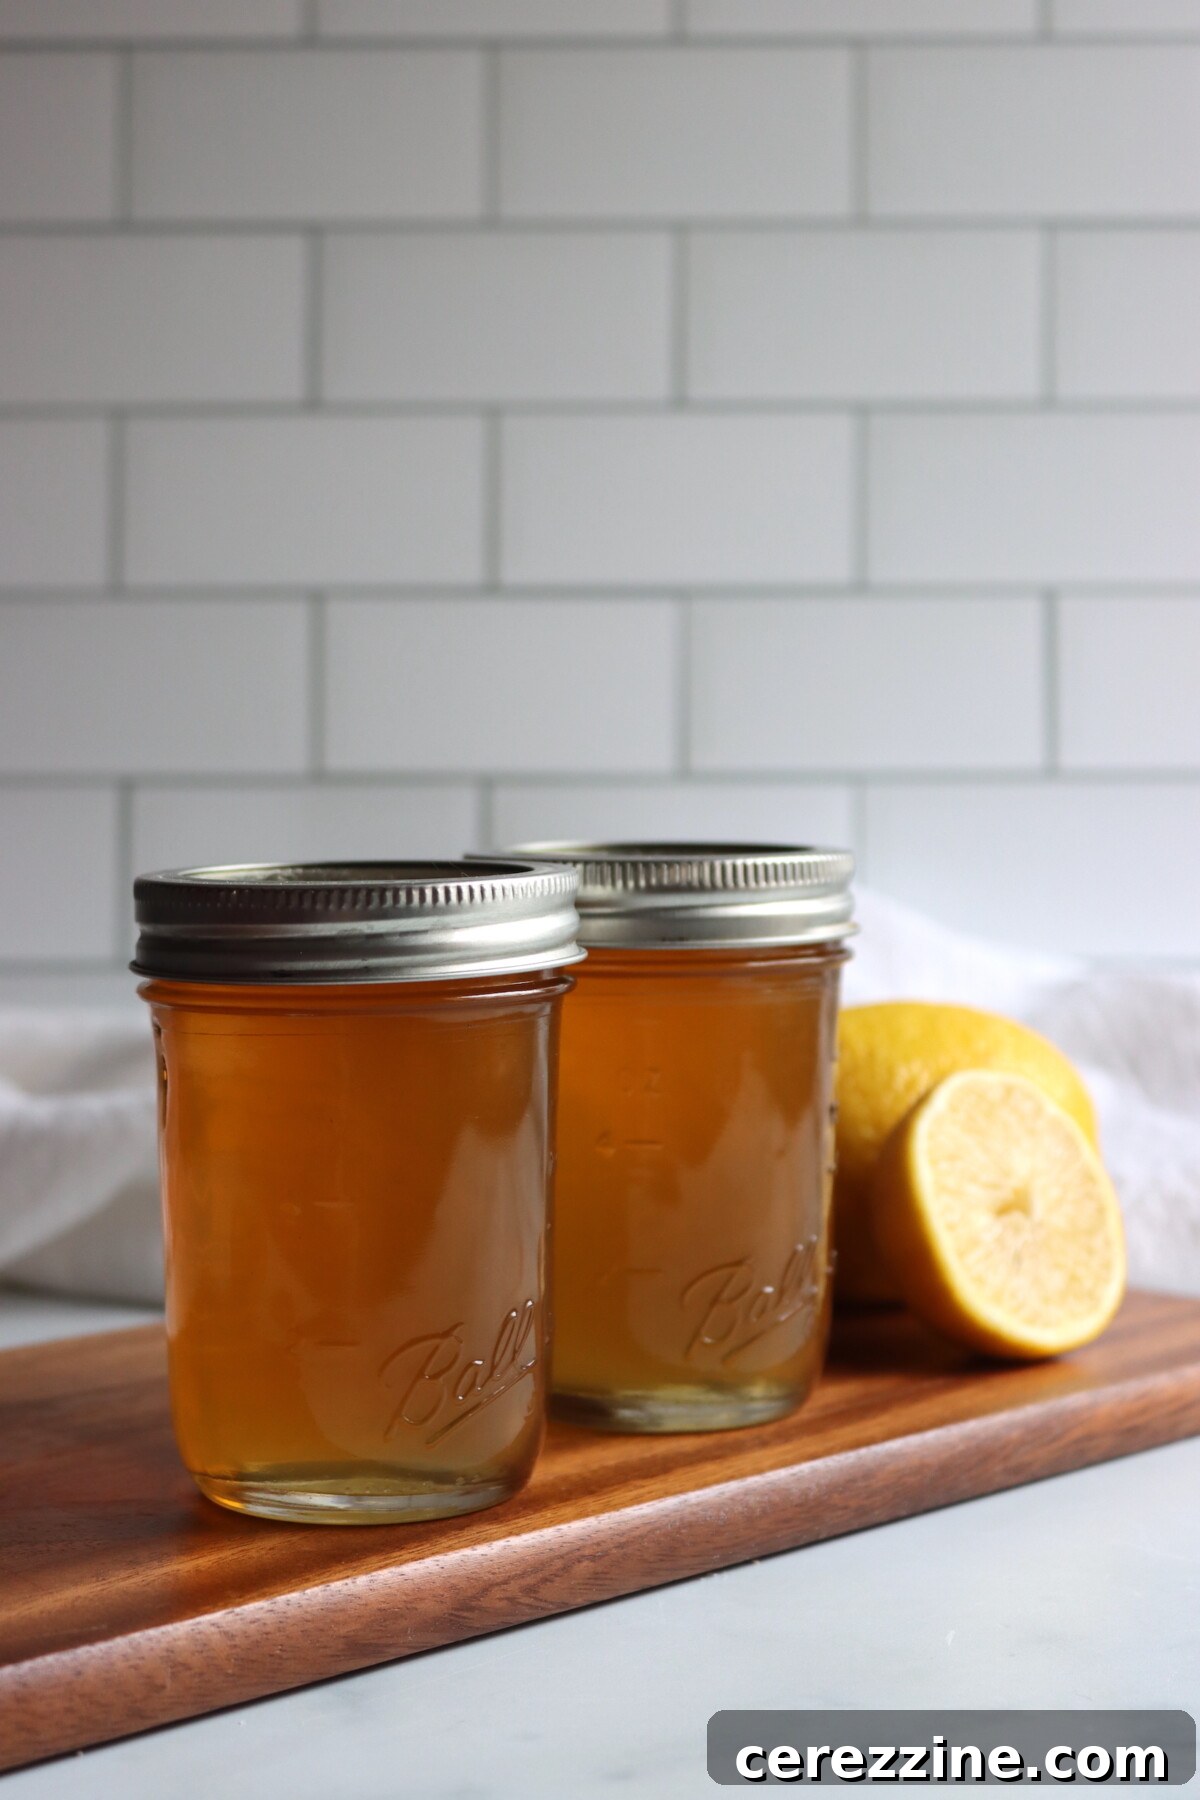
This versatile recipe is adapted from the trusted All New Ball Book of Canning and Preserving. While Ball’s original version includes added pectin to guarantee a foolproof set every time, it’s important for experienced jelly makers to know that lemons are naturally rich in pectin. This means you can absolutely achieve a beautiful, firm set without any added pectin, simply by cooking the juice and sugar mixture to 220°F (which typically takes about 8 to 10 minutes of vigorous boiling). The stunning batch of lemon jelly pictured in this article was made precisely this way, showcasing an impeccable gel.
Understanding Yields and Batch Sizes
This recipe is designed for small batches, making it ideal for trying out a new preserve or preparing thoughtful homemade gifts. When using half a box of standard pectin or 3 tablespoons of Ball Flex Batch pectin, you can expect to yield approximately 5 to 6 quarter-pint jars (or 2 to 3 half-pint jars). If you wish to prepare a larger quantity, simply double all the ingredients to yield 10 to 12 quarter-pints (or 6 to 6 half-pints).
For those opting for the pectin-free method, bear in mind that the yields will be slightly lower, and the resulting jelly will have a more intense, concentrated flavor. A batch made without added pectin typically yields about 4 quarter-pints or 2 half-pints. This makes the pectin-free method excellent for those who appreciate a richer, more artisanal preserve.
Notes from My Kitchen

My household has a deep appreciation for all things lemon, especially my husband, who is a devoted fan of my lemon marmalade. However, my children, despite their love for lemon flavor, aren’t keen on the texture of the peel. Knowing their fondness for my smooth strawberry jelly and peach jelly, I immediately recognized the potential for this lemon jelly to be a huge hit. It offers that pure, unadulterated lemon taste in a universally appealing form, ensuring everyone at the breakfast table can enjoy it.
The small batch size of this recipe is particularly convenient for our family. It allows me to create just enough to savor without committing numerous jars to a single flavor. The jelly consistently sets beautifully, delivering that bright, invigorating lemon taste that truly elevates a simple breakfast into a special treat. It has quickly become a staple in my kitchen, a recipe I eagerly prepare multiple times throughout the winter season when lemons are at their peak of freshness and flavor.
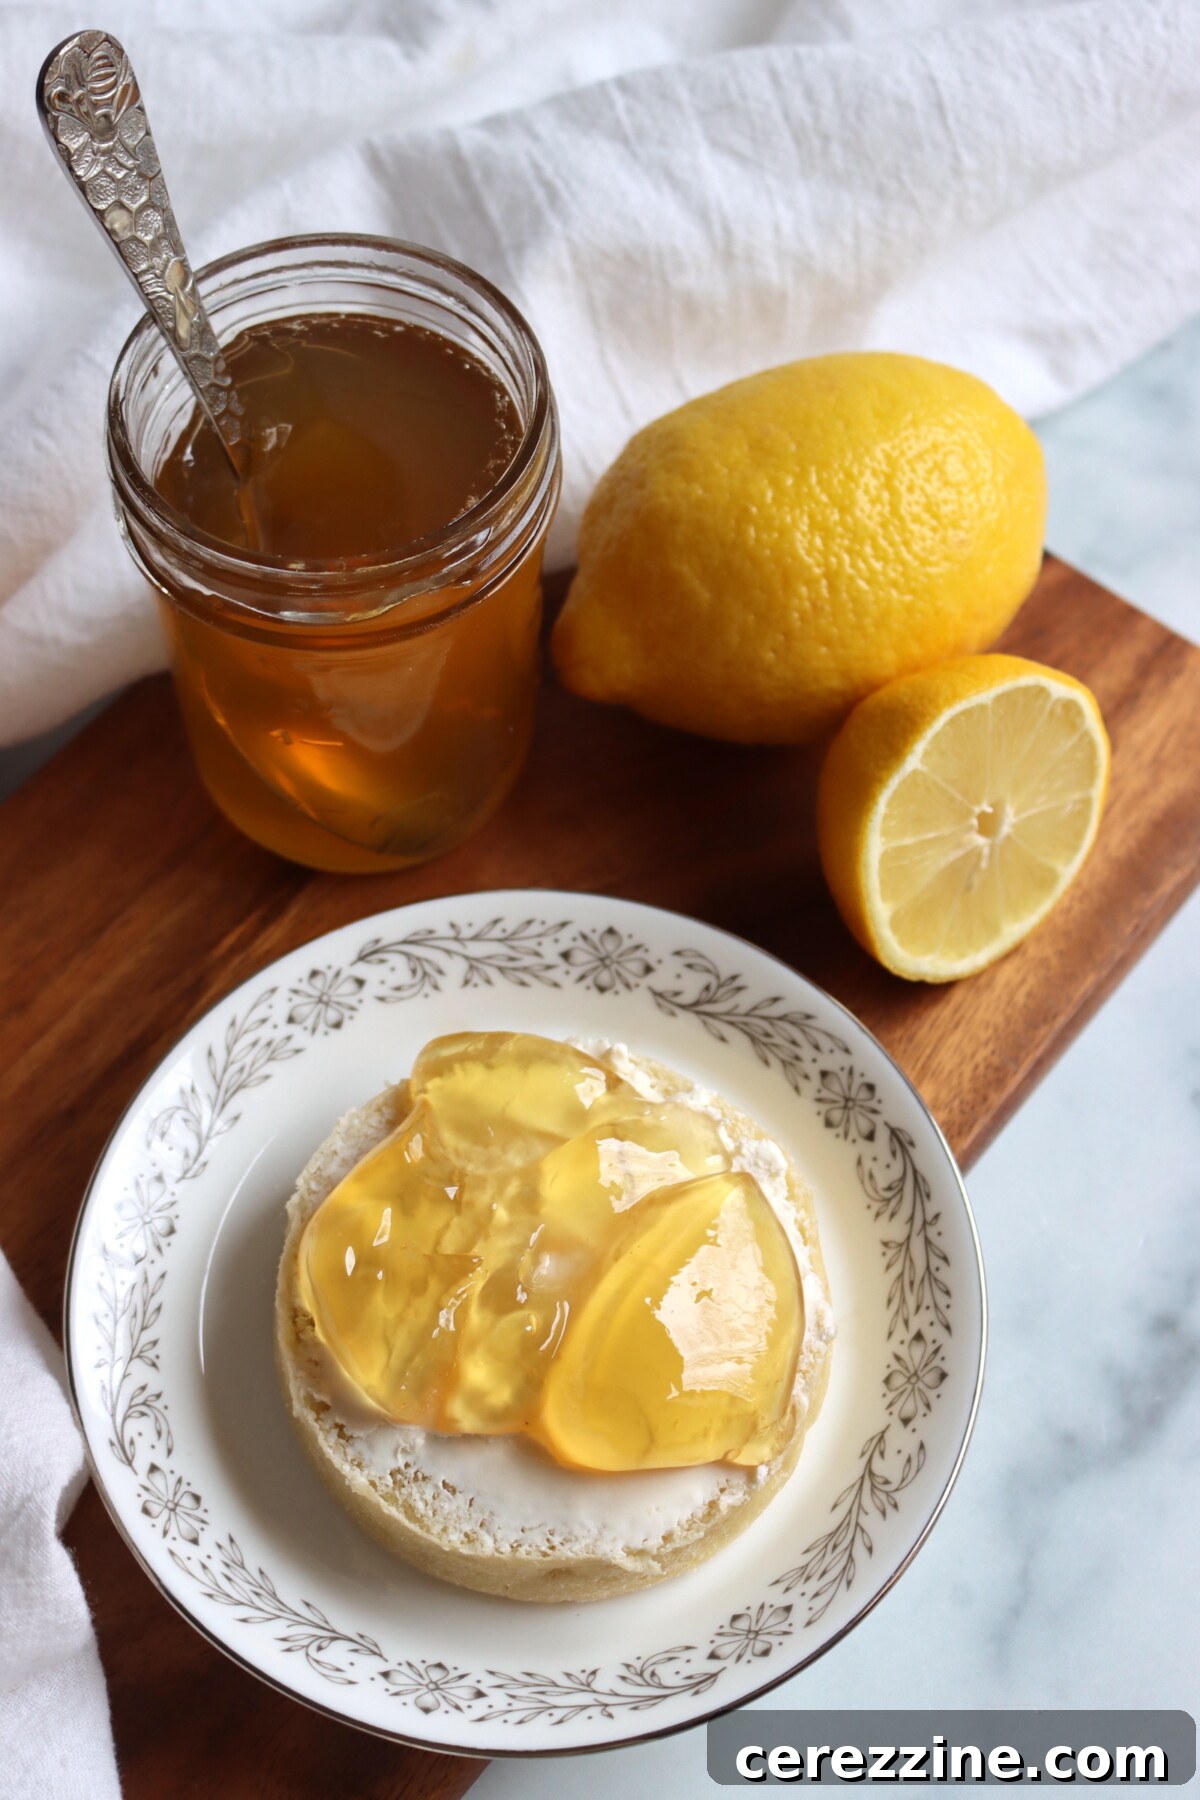
Lemon Jelly: Recipe at a Glance
- Recipe Name: Homemade Lemon Jelly
- Recipe Type: Fruit Jelly, Preserve
- Canning Method: Water Bath Canning
- Prep Time: Approximately 30 minutes active preparation, plus a minimum of 3 hours for juice straining (can be done overnight).
- Cook Time: Roughly 20 minutes (boiling and setting).
- Canning Time: 10 minutes for half-pint or quarter-pint jars.
- Yield: About 2 to 3 half-pints or 4 to 6 quarter-pints (refer to detailed notes for pectin vs. pectin-free yields).
- Jar Sizes: Quarter-pints, half-pints, or pints are suitable.
- Recommended Headspace: 1/4 inch.
- Ingredients Overview: Fresh lemons, water, pectin (optional, depending on method), and granulated sugar.
- Safe Canning Recipe Source: Adapted from the All New Ball Book of Canning and Preserving.
- Difficulty: Moderate (requires careful attention to lemon preparation and straining for optimal clarity).
- Similar Recipes: This lemon jelly offers a similar bright citrus profile to other lemon canning recipes like lemonade concentrate and lemon curd. Its process is akin to making other simple homemade jellies, such as raspberry jelly or blackberry jelly, which can also be made with or without added pectin.
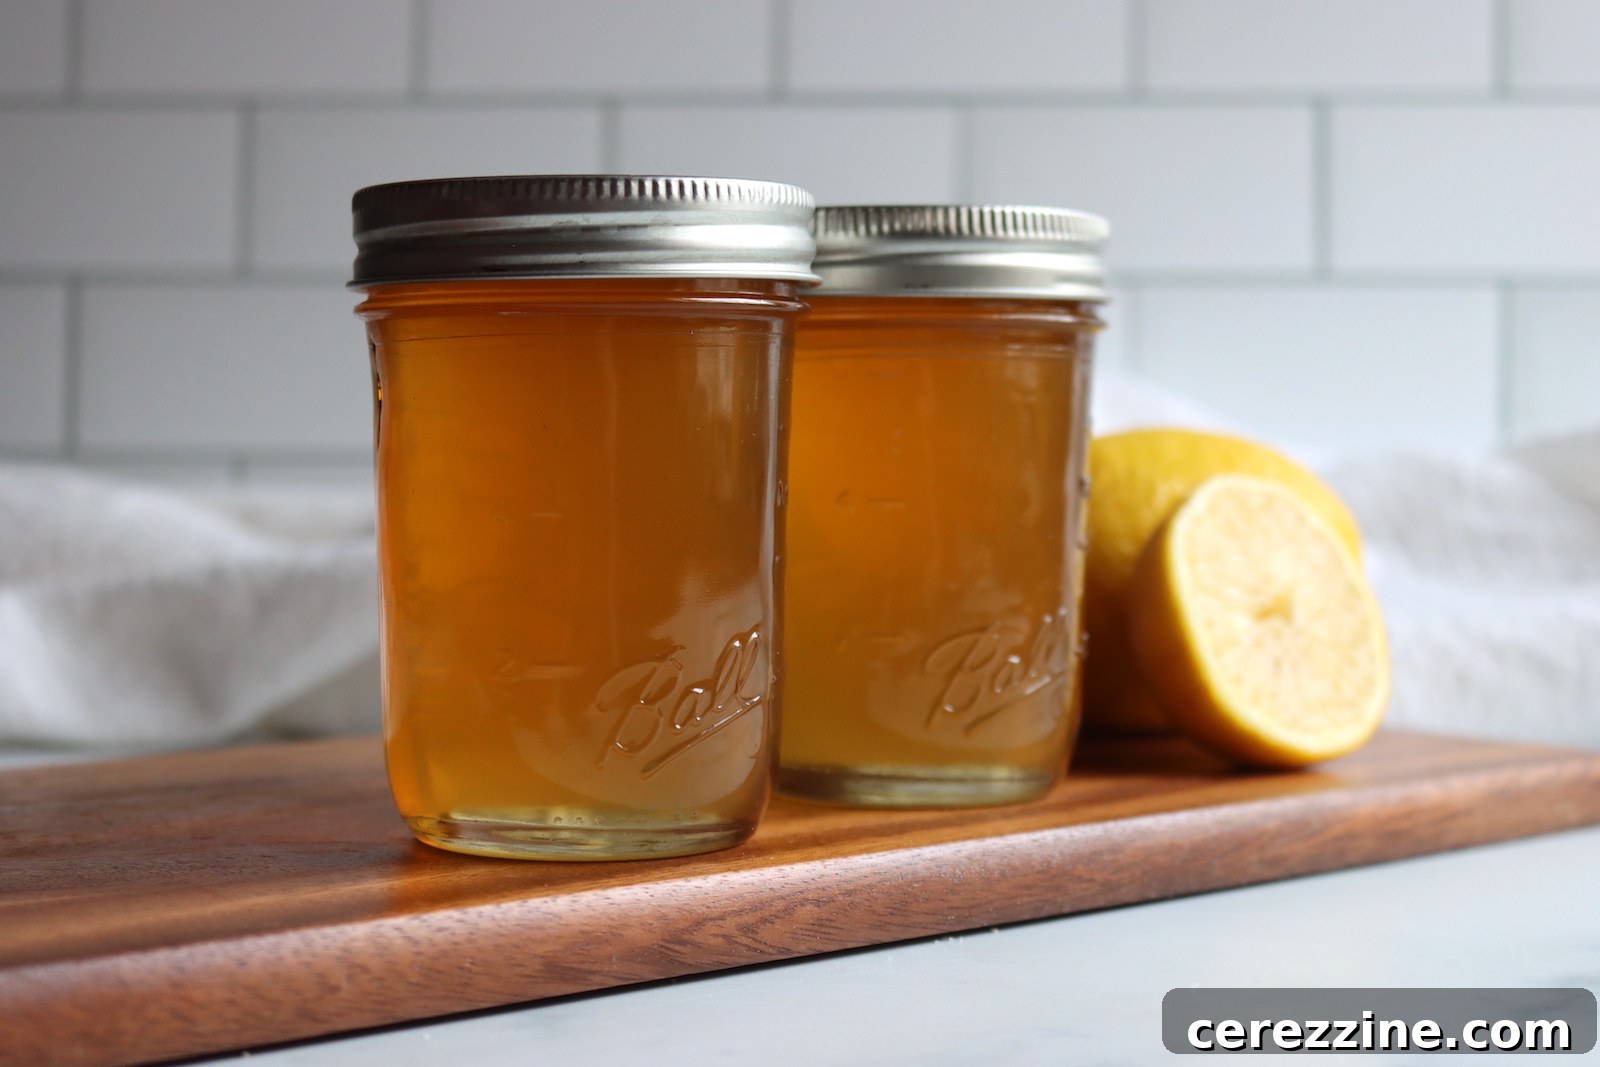
Essential Ingredients for Zesty Lemon Jelly
This recipe brilliantly utilizes both the lemon peel (for its potent aromatic oils) and the lemon flesh and juice (for its essential flavor and natural pectin). The careful extraction from the peel is key to infusing the cooking liquid with that unmistakable, vibrant lemon fragrance, which is then strained out for a perfectly clear and smooth jelly.
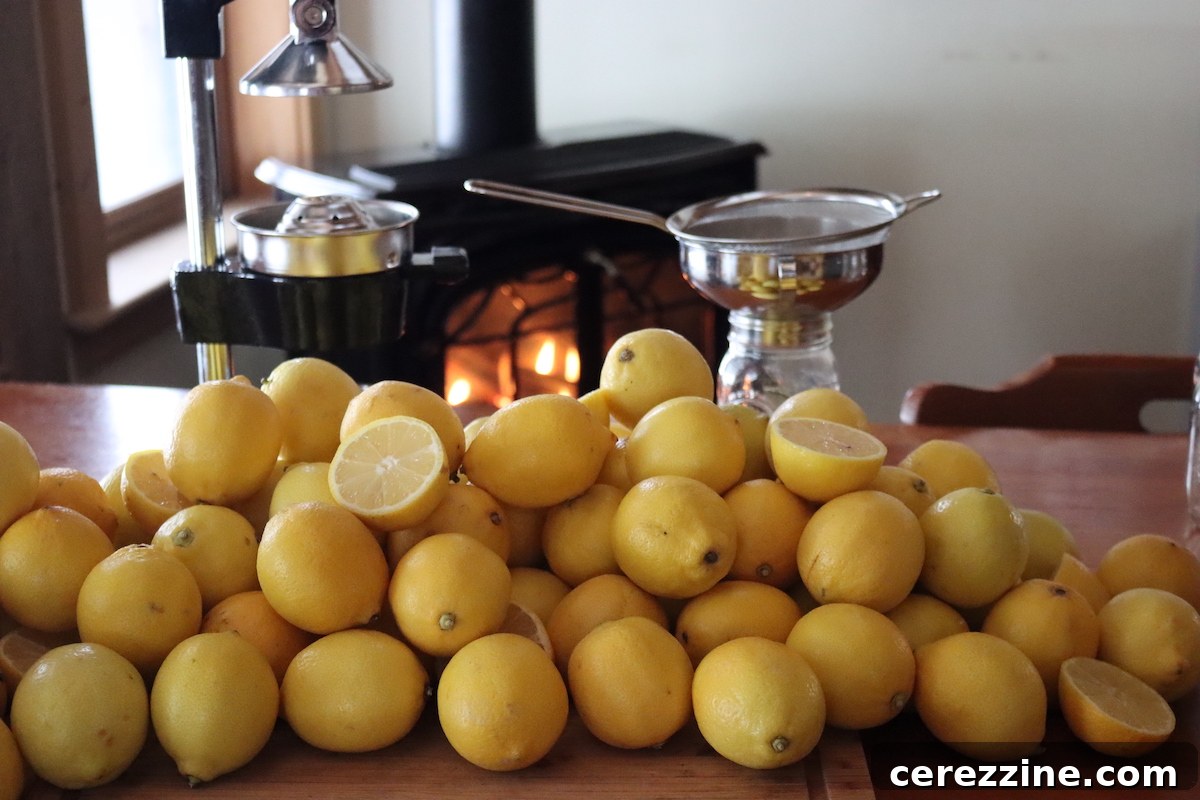
- Lemons: You will need 7 to 8 large lemons, totaling approximately 2 pounds. Select lemons with bright, unblemished yellow skins and no soft spots. Since you’ll be using both the peel and the internal flesh, opt for fruit that looks impeccable inside and out. If accessible, organic lemons are an excellent choice, especially given that you’ll be extracting vital flavor from their rinds.
- Water: 1½ cups of water is used in the initial simmer to aid in the efficient extraction of juice and flavor from the lemons.
- Pectin (Optional): 3 tablespoons of Ball Classic Pectin or Flex Batch pectin (this amounts to half a standard 1.75-ounce box). The addition of pectin ensures a consistently reliable set, making this recipe virtually foolproof. However, if you are an experienced jelly maker confident in preparing pectin-free preserves, you can certainly omit it.
- Sugar: 2 cups of granulated sugar, used in a precise 1:1 ratio with the strained lemon juice. This classic jelly ratio is crucial for balancing the inherent tartness of the lemons and plays a vital role in achieving the desired gel consistency. The sugar also acts as a preservative.
For a larger batch yielding approximately 4 half-pint jars, simply double all the ingredients: use 14 to 16 lemons (about 4 pounds), 3 cups of water, 6 tablespoons of pectin (a full standard box), and 4 cups of sugar.
Step-by-Step Guide to Homemade Lemon Jelly
This recipe involves a few distinct stages, each crucial for the final clear, flavorful jelly. Do not skip any steps to ensure the best results.
Step 1: Prepare the Lemons
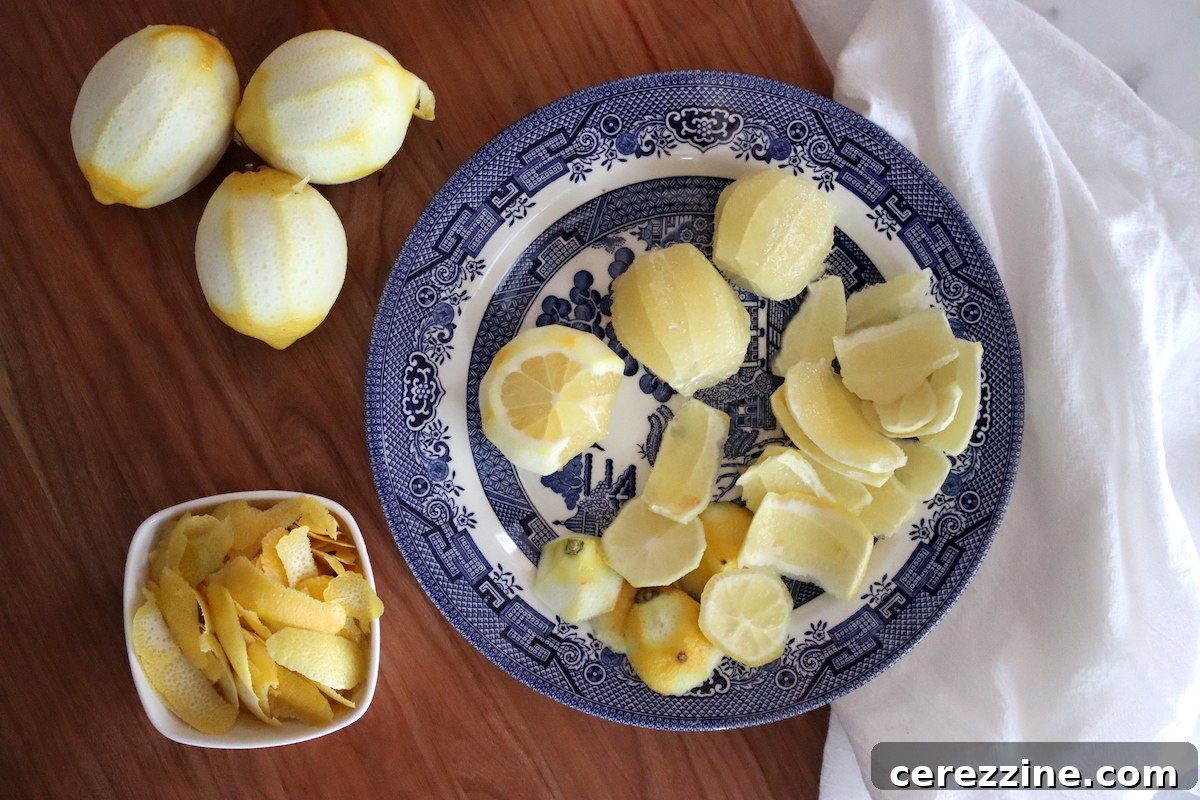
Begin by thoroughly scrubbing the lemons, rinsing them well under cold water, and then patting them dry. Using a sharp vegetable peeler, carefully strip only the bright yellow rind from the lemons, making sure to avoid the bitter white pith beneath. Aim to collect about 1 cup of these peel strips, which typically weighs around 2.5 ounces. Work slowly and precisely to ensure you only get the colored zest, as any pith will introduce bitterness to your jelly.
Step 2: Remove the Pith and Chop
Once peeled, take a sharp, thin-bladed knife and carefully slice off about a quarter-inch from both ends of each lemon. Stand each lemon upright on a cutting board and, working from top to bottom, carefully cut away all the remaining white pith in strips, following the natural curve of the fruit. After removing the pith, coarsely chop the peeled lemons, ensuring you reserve all the juice that escapes during chopping. You should aim for approximately 2 to 2.5 cups of chopped lemon and its juice.
Step 3: Cook the Lemon Mixture
Transfer the lemon peel strips, the chopped lemon flesh with its reserved juice, and the 1½ cups of water into a 4-quart stainless steel or enameled Dutch oven. It’s important to avoid reactive metals like aluminum or uncoated copper, as these can react with the lemon’s acidity and impart an off-flavor or discoloration. Bring the mixture to a rapid boil over high heat, then reduce the heat to low, cover the pot, and let it simmer gently for 15 minutes. This simmering stage is crucial for softening the fruit and extracting maximum flavor from both the peel and flesh.
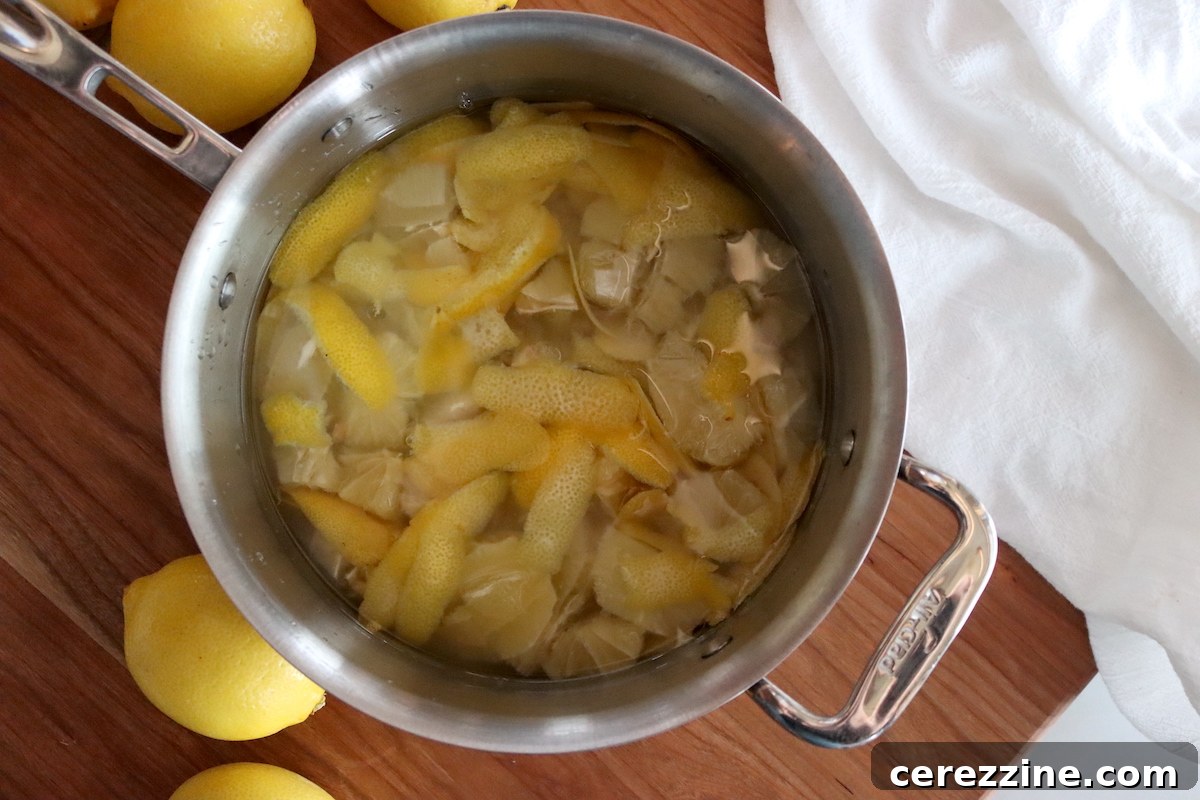
Step 4: Strain the Juice for Clarity
Prepare a large wire-mesh strainer by lining it with three layers of dampened cheesecloth. Place this lined strainer over a large, clean bowl. Carefully pour the hot lemon mixture into the prepared strainer. Allow the mixture to drain undisturbed for at least 3 hours, or even better, overnight in the refrigerator. Resist the urge to press or squeeze the solids, as this can force cloudy particles into your juice, compromising the jelly’s clarity. You should collect approximately 2 cups of clear lemon juice. Once all the juice has drained, discard the remaining solids.
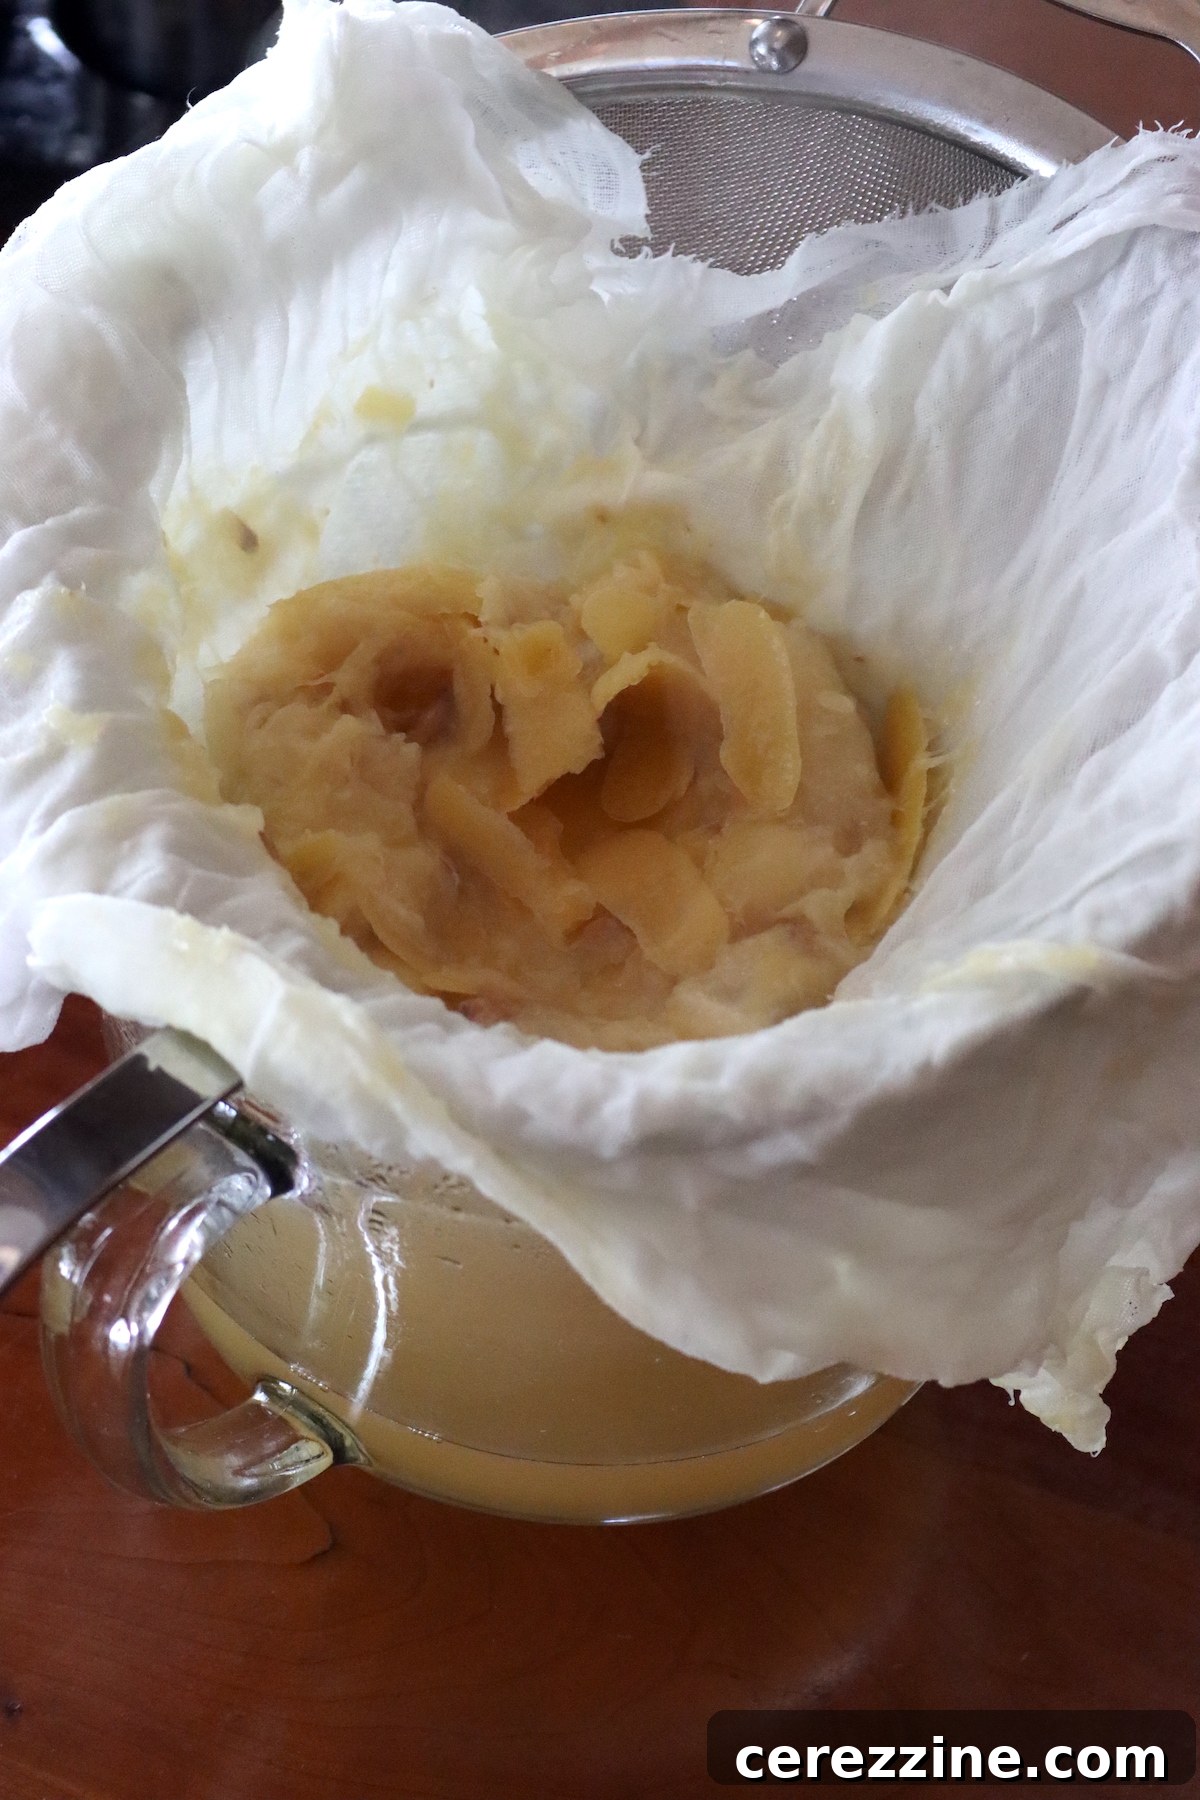
Step 5: Cook the Jelly to Set
Pour the strained lemon juice into a clean 4-quart stainless steel or enameled pot. If you are using pectin, add it to the lemon juice now. Bring this mixture to a full rolling boil over high heat, stirring continuously to prevent scorching. A “full rolling boil” is one that cannot be stirred down. Once achieved, add the measured sugar (maintaining the 1:1 ratio to your strained juice), stirring thoroughly until it is completely dissolved. Return the mixture to a full rolling boil and boil hard for precisely 1 minute, still stirring constantly. After 1 minute, remove the pot from the heat and, if necessary, skim off any foam that has formed on the surface.
(For those making this recipe without added pectin, combine the sugar and lemon juice from the start. Bring the mixture to a hard boil and continue to cook, stirring frequently, until it reaches 220°F (at sea level) on a candy thermometer, or until it passes the sheeting test. To perform the sheeting test, dip a cold metal spoon into the boiling jelly, lift it, and turn it sideways. If two drops run together and “sheet” off the spoon, it’s ready.)
Step 6: Fill and Prepare Jars
Carefully ladle the hot lemon jelly into your prepared, sterilized canning jars, leaving precisely ¼ inch of headspace at the top. Use a clean, damp cloth to wipe any jelly residue from the jar rims. Center the lids on the jars, and then apply the bands, tightening them only to fingertip-tight. Avoid overtightening, as this can prevent proper sealing during processing.
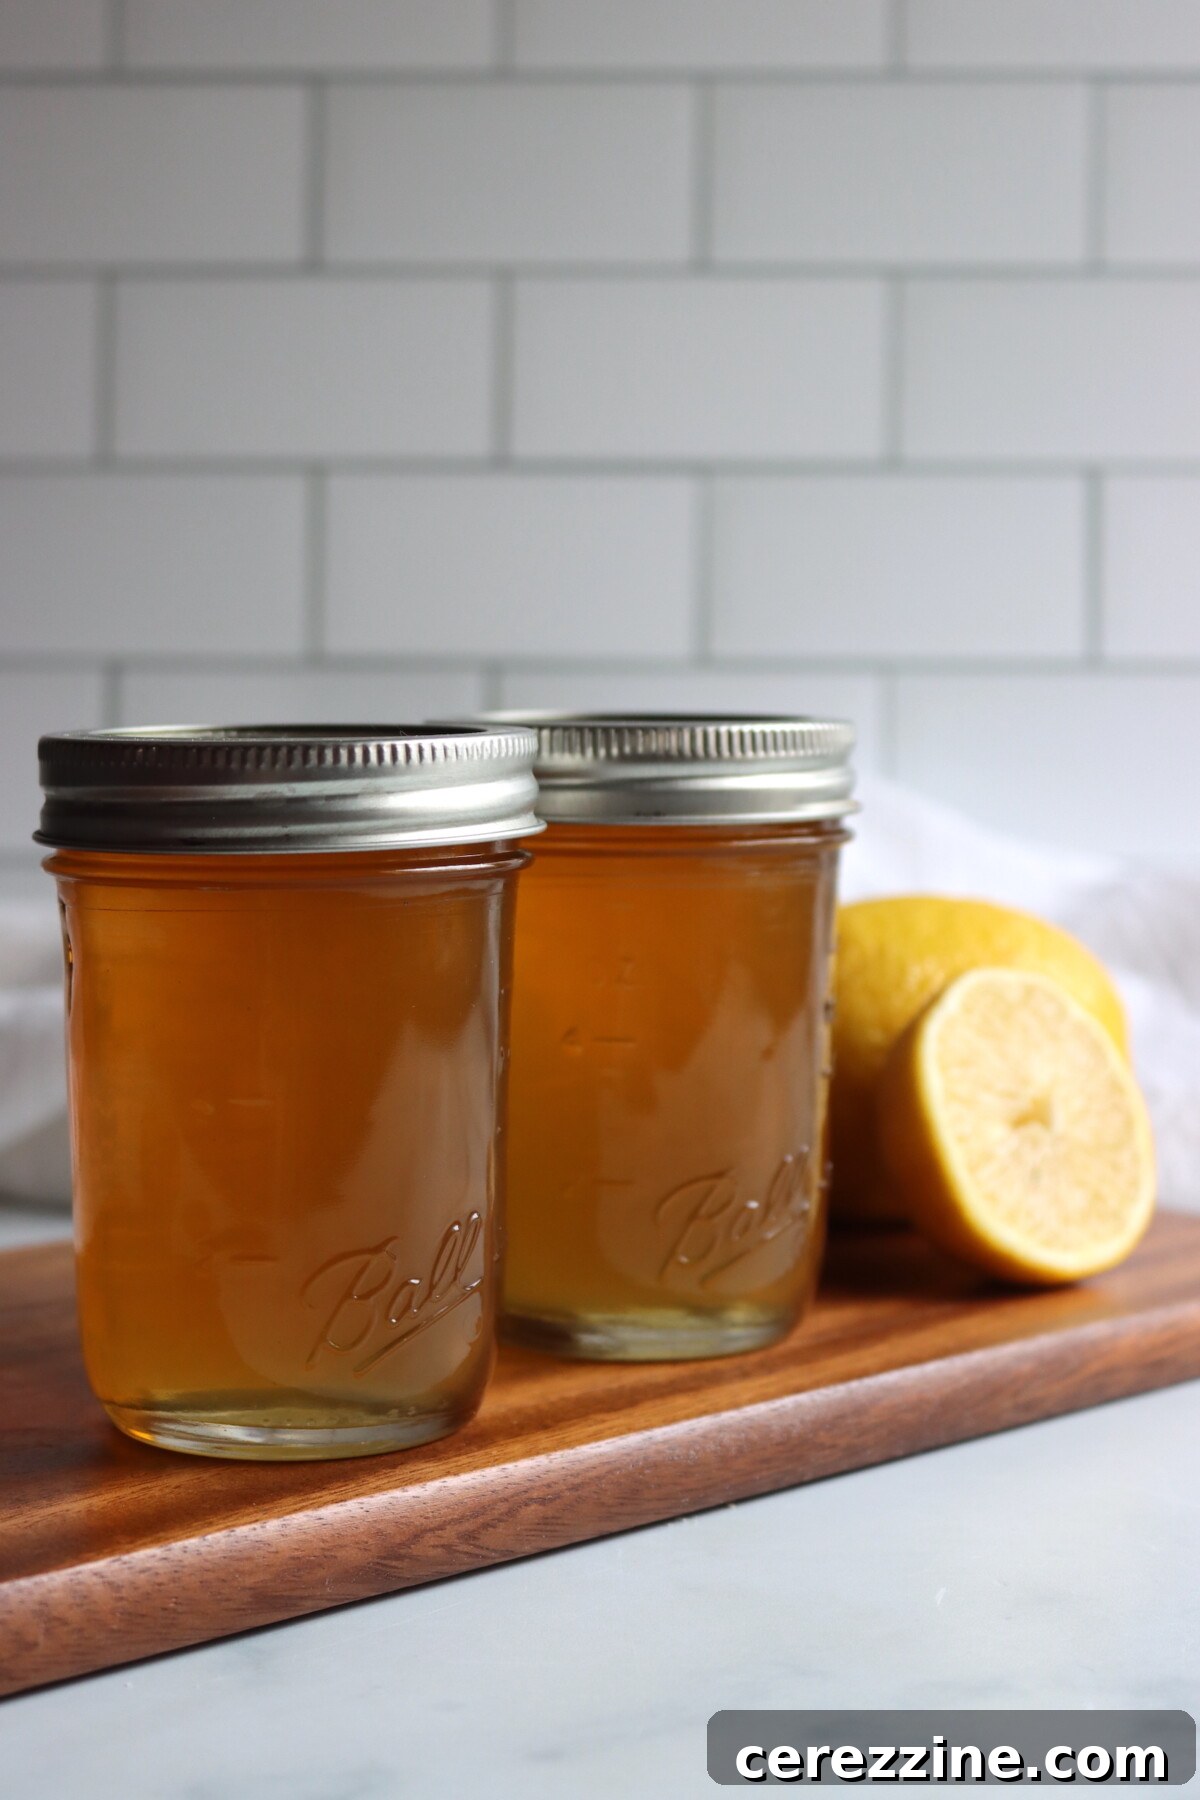
Achieving the Perfect Set: Pectin vs. Pectin-Free
Lemons are naturally abundant in pectin, a crucial component for gel formation, which is why Ball’s inclusion of added pectin makes this recipe incredibly reliable. With pectin, your jelly will set dependably after just 1 minute of a full rolling boil once the sugar is added.
For experienced jelly makers who prefer to omit commercial pectin, this recipe is entirely adaptable. After incorporating the sugar, continue to boil the mixture vigorously for 8 to 10 minutes, or until it reaches 220°F (at sea level), or passes the sheeting test (as described in Step 5). The batch depicted in this article was successfully made using this pectin-free method, resulting in a beautifully set jelly. When made without pectin, expect a slightly softer, more delicate gel consistency, which many find preferable for its intense, unadulterated fruit flavor.
It’s also worth noting the slight difference in yield: with added pectin, this recipe typically produces approximately 3 half-pint jars, whereas without pectin, the yield is closer to 2 half-pint jars, yielding a more concentrated product.
Canning Lemon Jelly for Long-Term Storage
If you don’t plan to preserve your lemon jelly through canning, it will keep well in the refrigerator for up to 3 weeks or in the freezer for up to 6 months. For shelf-stable storage that allows you to enjoy your homemade lemon jelly year-round, processing the filled jars in a boiling water bath is essential.
While you are preparing your jelly, ensure your water bath canner is ready. Carefully lower the hot, filled jars into the canner, ensuring they are submerged by at least 1 inch of water. Process the jars for 10 minutes, whether they are half-pints or quarter-pints. Remember to adjust this processing time if you are canning at higher altitudes.
Once the processing time is complete, turn off the heat and allow the jars to remain undisturbed in the canner for an additional 5 minutes. This crucial step helps to equalize the temperature and reduce the risk of siphoning. After 5 minutes, carefully remove the jars from the canner and place them on a towel-lined counter, allowing them to cool completely undisturbed for 12 to 24 hours. After cooling, check all seals. Any jars that did not seal properly should be refrigerated immediately for prompt consumption.
Altitude Adjustments for Water Bath Canning
When performing water bath canning, it is critical to adjust processing times according to your elevation above sea level to ensure food safety:
- 0 to 6,000 feet: Process for 10 minutes.
- Above 6,000 feet: Increase processing time to 15 minutes.
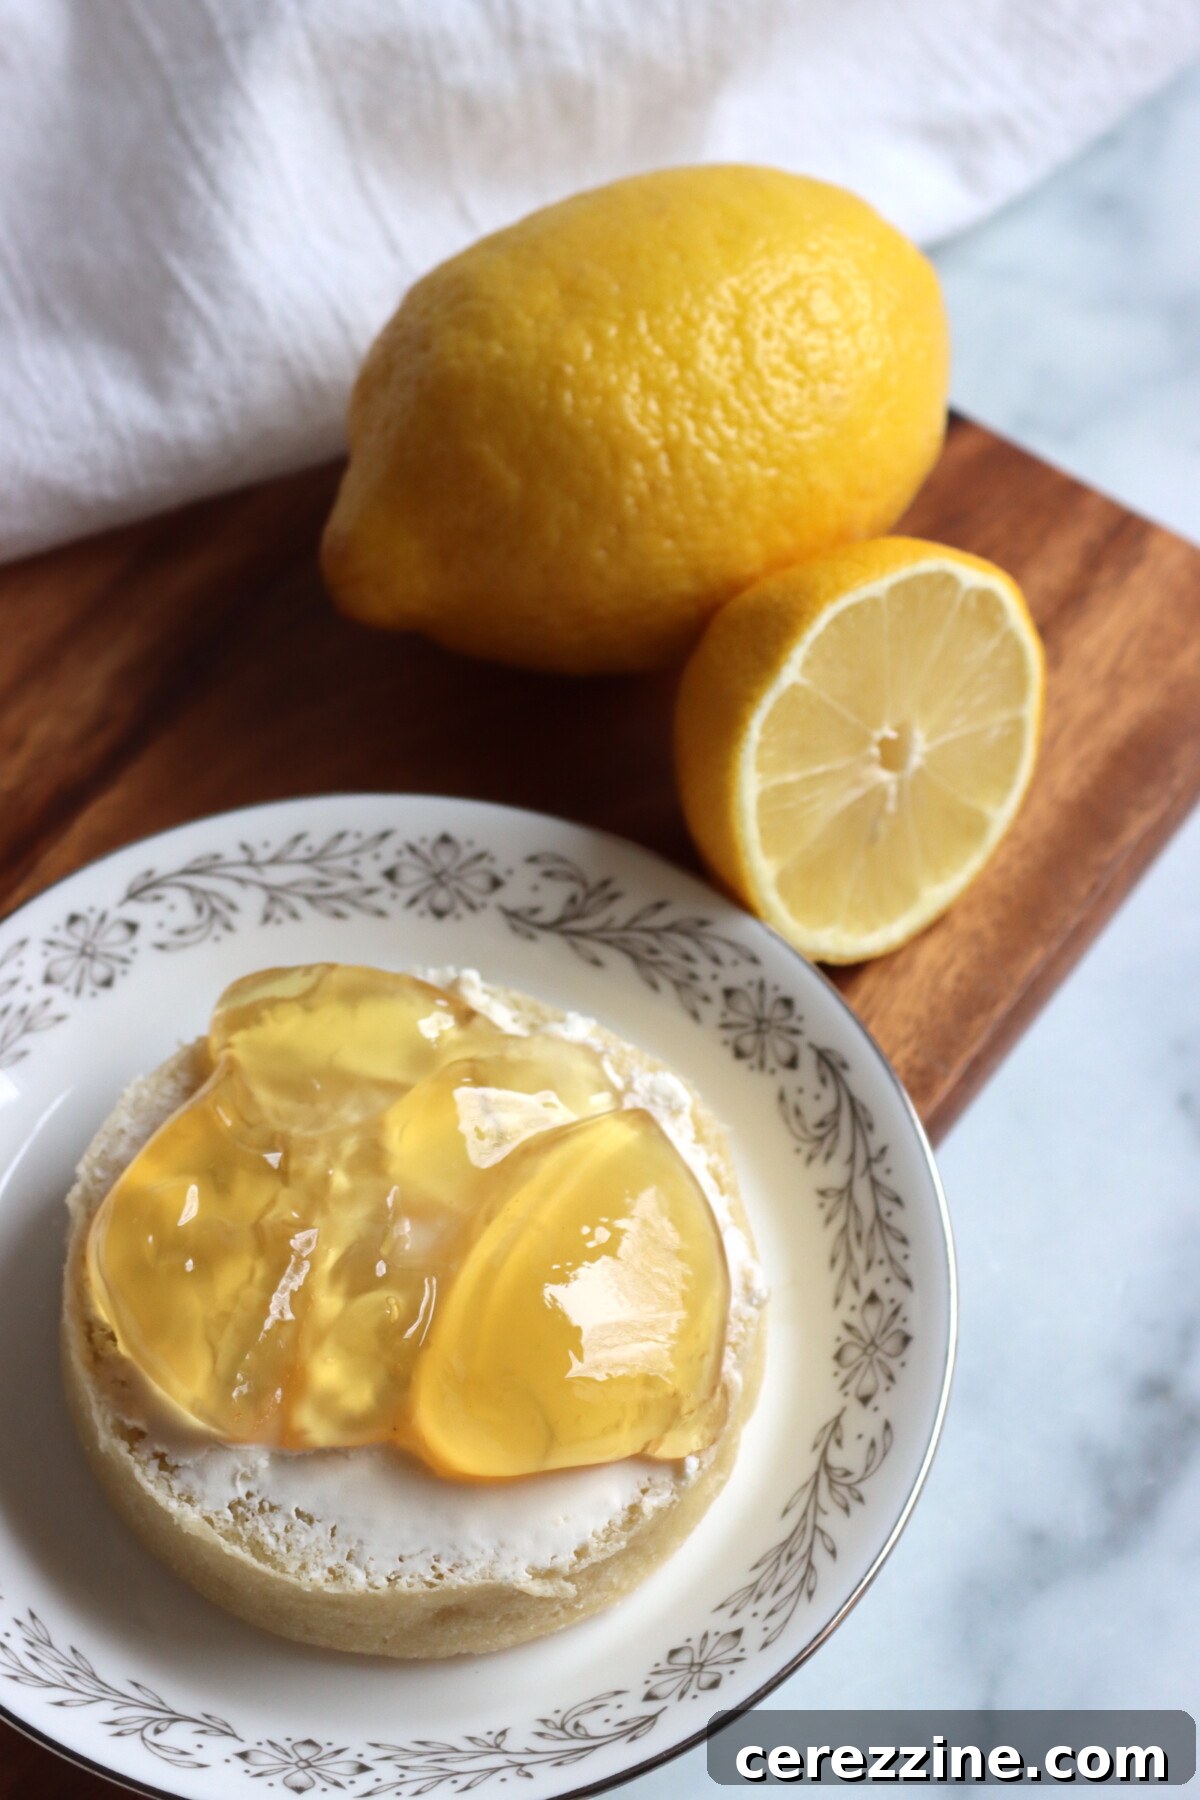
Detailed Yield Notes
This small-batch lemon jelly recipe typically yields about 3 half-pint jars (or 6 quarter-pint jars) when made with added pectin. If you wish to create a larger batch to produce 5 to 6 half-pint jars, simply double all the ingredients: use 4 pounds of lemons, 3 cups of water, 6 tablespoons of pectin (a full box), and 8 cups of sugar.
For those preferring a pectin-free approach, the yield will be slightly lower, and achieving the perfect set may require a bit more patience and experience. Expect to get approximately 2 half-pint jars without the addition of commercial pectin.
The small batch size is wonderfully convenient for experimenting with new recipes or for preparing charming gifts. Quarter-pint jars, in particular, make delightful presents and are an excellent size for sampling without the commitment of opening a full jar.
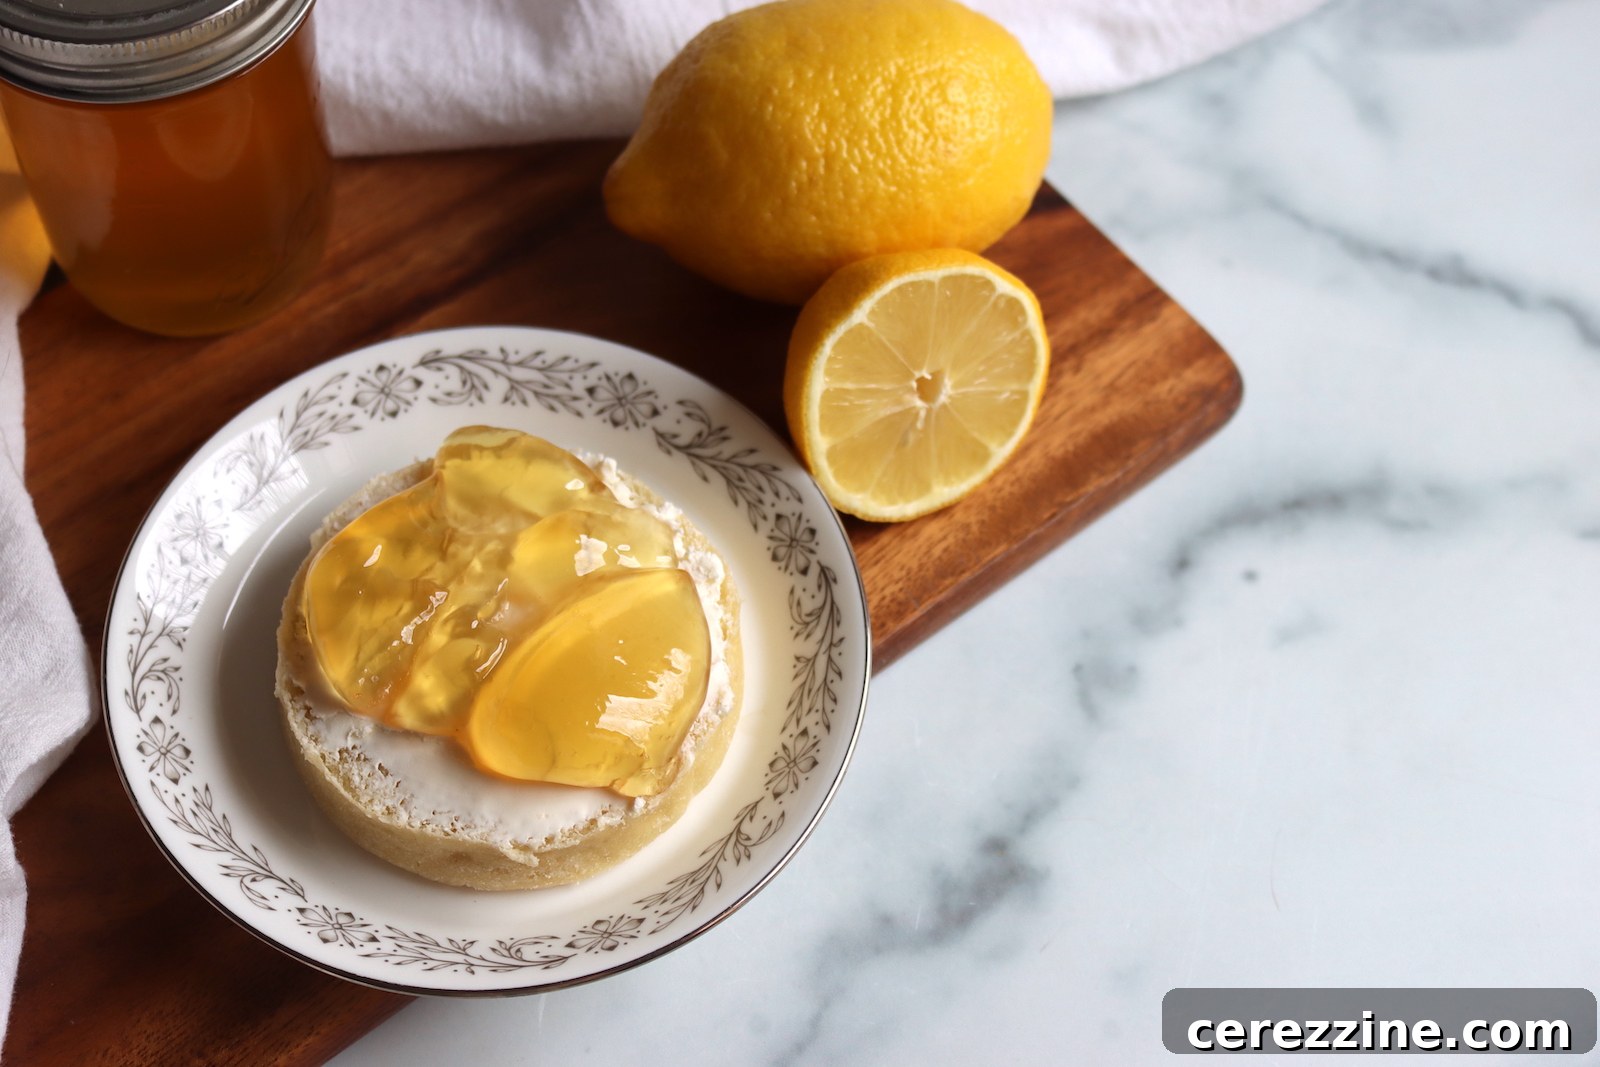
Delightful Serving Ideas for Lemon Jelly
Homemade lemon jelly is incredibly versatile and can brighten up a wide array of dishes, from breakfast staples to gourmet glazes:
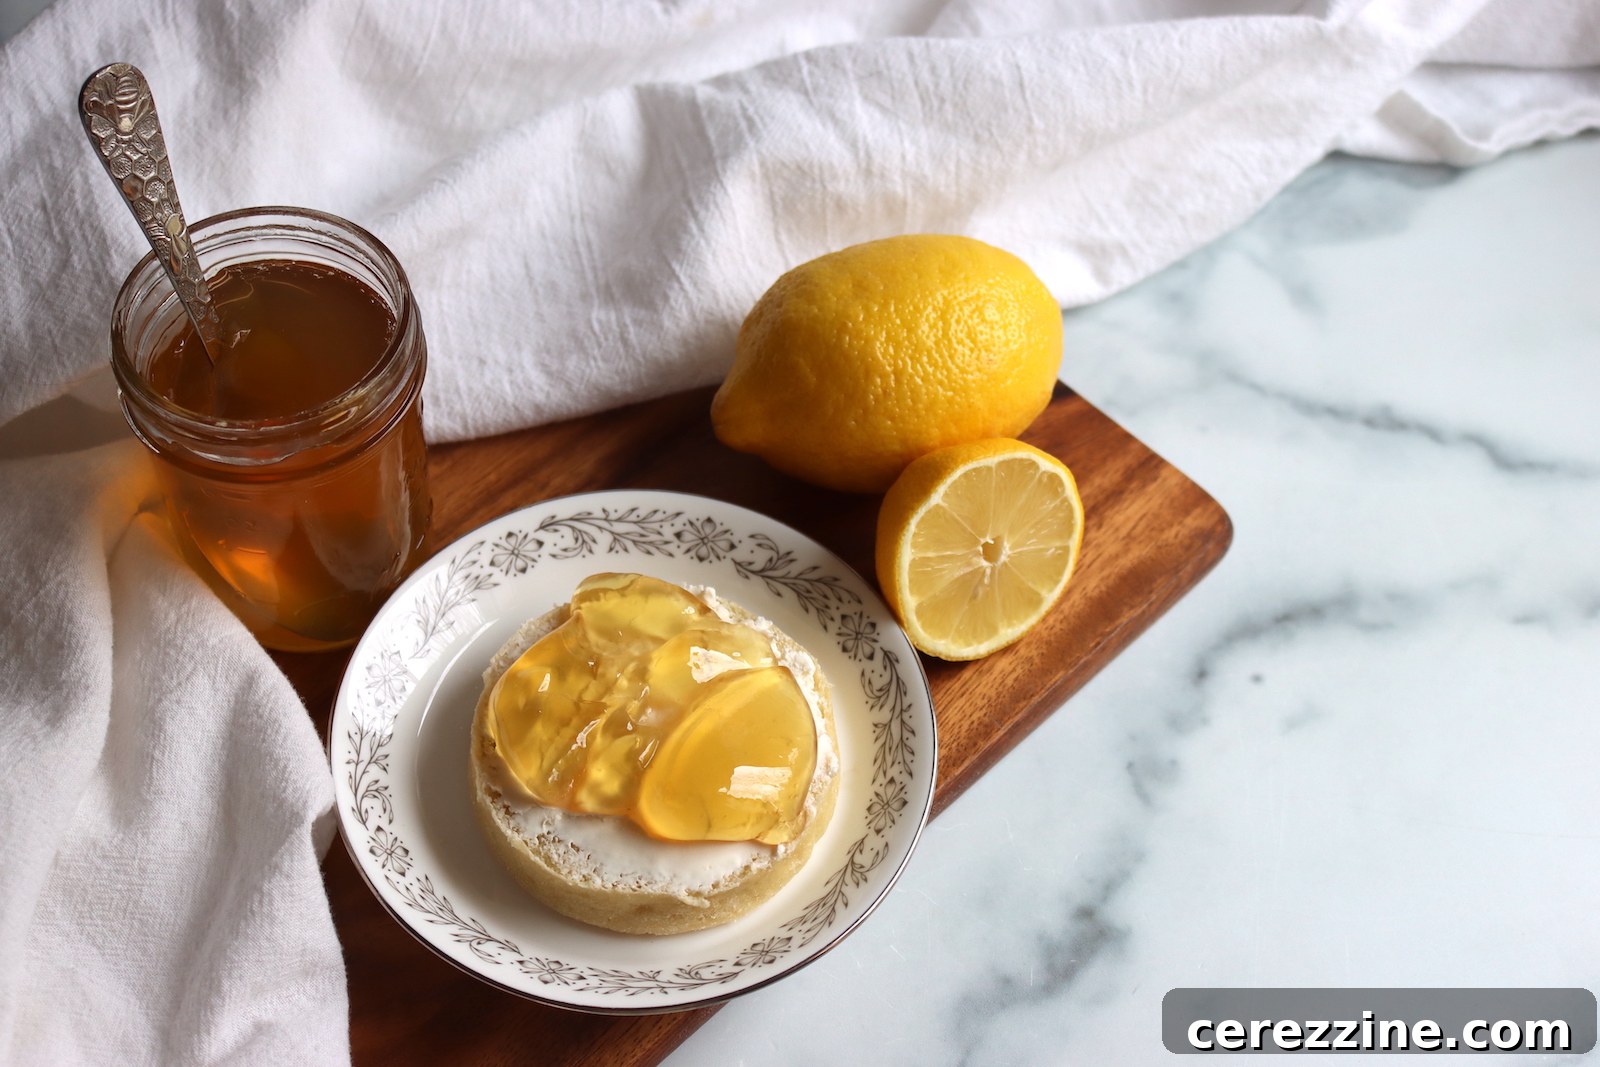
- Classic Breakfast & Brunch: Spread it generously on warm toast, fluffy biscuits, or delicate scones. Its bright citrus notes beautifully cut through the richness of butter or cream cheese, making every bite taste fresher and more invigorating.
- Elegant Appetizers: Pair lemon jelly with cream cheese on crackers or crostini for a simple yet sophisticated appetizer. The tart sweetness offers a delightful contrast.
- Savory Glazes: Gently warm the lemon jelly and brush it over poultry or fish during the final minutes of roasting or grilling. It creates a beautiful, glossy glaze with a subtle tangy-sweet finish that complements chicken, salmon, or pork beautifully.
- Baking & Desserts: Use lemon jelly as a vibrant filling for thumbprint cookies or as a delightful layer between cake halves when you desire an invigorating burst of citrus flavor. For a quick and easy dessert, lightly warm the jelly and drizzle it over vanilla ice cream, pound cake, or even a plain cheesecake. The tart sweetness is a perfect counterbalance to rich, creamy desserts.
Frequently Asked Questions About Lemon Jelly
Absolutely, yes! Lemons are naturally high in pectin, making them an excellent candidate for pectin-free jelly. To do so, after adding the sugar, boil the mixture hard for 8 to 10 minutes, or until it reaches 220°F (at sea level) or passes the sheeting test. The resulting jelly will have a slightly softer set but will be equally delicious and intensely flavored. This method is generally recommended for experienced jelly makers who are comfortable testing for the gel point.
The primary difference lies in the texture and composition. Lemon jelly involves straining out all fruit solids, resulting in a perfectly smooth, clear, and uniform spread. Lemon marmalade, on the other hand, intentionally includes thin strips of lemon peel suspended throughout the preserve, giving it a more complex texture. Both offer wonderful lemon flavor, but jelly is preferred by those who dislike the texture of fruit peel in their spreads.
This particular recipe is specifically designed to use whole, fresh lemons, not just bottled juice. The lemon peel is integral to the process, as it provides essential aromatic oils and deepens the flavor profile significantly. If you wished to use bottled lemon juice, you would need to find a different recipe specifically formulated for that ingredient. The use of fresh, whole lemons is what imparts this homemade jelly with its superior taste compared to many store-bought varieties.
Yes, you certainly can! Ball, the original source for this recipe, suggests a “Simple Switch” variation for lime jelly. Simply follow the recipe instructions precisely, substituting fresh lime juice and lime rind for the lemon juice and rind. The process and proportions remain identical, and you will be rewarded with a vibrant, tart, and beautifully set lime jelly.
Absolutely! This recipe works exceptionally well with Meyer lemons. Using Meyer lemons will result in a preserve that is naturally sweeter and less acidic than those made with conventional lemons, offering a slightly milder and uniquely aromatic flavor profile that many find delightful.
Explore More Lemon Canning Recipes
Canning Strawberry Lemonade Concentrate
Canning Lemonade (& Lemonade Concentrate)
Canning Lemon Curd
If you tried this Lemon Jelly recipe, or any other recipe on Creative Canning, leave a ⭐ star rating and let me know what you think in the 📝 comments below!
And make sure you stay in touch with me by following on social media!
- Substack
Lemon Jelly
Lemon jelly delivers pure, bright citrus flavor in a smooth, spreadable form. The peel infuses the juice with aromatic oils during cooking, then everything is strained out for a perfectly clear jelly that captures the essence of fresh lemons.
30 mins
20 mins
10 mins
1 hr (plus straining)
2-3 half-pint jars (with pectin, see notes)
Equipment
- Water Bath Canner
- Half Pint or Quarter Pint Mason Jars
- Canning lids and bands
- Cheesecloth
- 4-Quart Stainless Steel or Enameled Pot
- Fine Mesh Strainer
- Vegetable Peeler
- Jar lifter
- Canning Funnel
Ingredients
- 2 lbs lemons (about 7-8 large)
- 1½ cups water
- 3 Tbsp Powdered Pectin (Any brand, full sugar pectin, half a 1.75 ounce box – optional, see notes)
- 2 cups sugar (Adjust to your juice yield, 1:1 ratio)
Instructions
- Scrub lemons thoroughly, rinse well, and pat dry. Using a vegetable peeler, carefully strip the yellow rind from the lemons, avoiding the bitter white pith. Aim for about 1 cup of peel strips.
- Cut a 1/4-inch slice from each end of the peeled lemons. Stand each lemon flat-end down and remove the remaining white pith in strips, cutting from top to bottom following the curve of the fruit.
- Coarsely chop the peeled lemons, reserving all juice, to measure about 2 to 2 1/2 cups total.
- Combine lemon peel strips, chopped lemon with juice, and water in a 4-quart stainless steel or enameled pot. Bring to a boil, reduce heat, cover, and simmer for 15 minutes.
- Line a large wire-mesh strainer with 3 layers of dampened cheesecloth and place over a large bowl. Pour the lemon mixture into the strainer and let drain for at least 3 hours or overnight. You should get about 2 cups of juice. Measure the juice, and adjust your sugar accordingly (a 1:1 ratio of sugar to strained juice is recommended). Discard solids.
- Combine lemon juice and pectin (if using) in a 4-quart pot. Bring to a full rolling boil over high heat, stirring constantly. Add sugar, stirring to dissolve. Return to a full rolling boil and boil hard for 1 minute, stirring constantly. Remove from heat and skim foam if necessary. (For pectin-free method: Combine juice and sugar, bring to hard boil, cook to 220°F or until sheeting test is passed, 8-10 mins).
- Ladle hot jelly into prepared jars, leaving 1/4 inch headspace. Wipe rims, center lids on jars, and apply bands to fingertip tight.
- Process half pints or quarter pints in a boiling water bath canner for 10 minutes, adjusting for altitude (see notes). Turn off heat and let jars stand in canner for 5 minutes before removing.
Notes
This is a small batch recipe yielding about 3 half-pints or 6 quarter-pints with pectin. To double the batch for 5 to 6 half-pints, use: 4 lbs lemons, 3 cups water, 6 Tbsp pectin (a full box), and 8 cups sugar.
A pound of lemons is approximately 4 medium/large lemons.
Without Pectin
Lemons are naturally high in pectin. Experienced jelly makers can skip the added pectin: after adding sugar, boil hard for 8 to 10 minutes until the mixture reaches 220°F or passes the sheeting test. The set will be slightly softer but still excellent.
Without pectin, this recipe yields a more intense jelly with a slightly lower yield of 2 half-pints.
Simple Switch: Lime Jelly
Follow the recipe exactly using lime juice and lime rind instead of lemon for a vibrant lime jelly.
Altitude Adjustments for Water Bath Canning
- 0 to 6,000 feet: 10 minutes
- Above 6,000 feet: 15 minutes
Nutrition
Serving: 1 Tbsp, Calories: 41kcal, Carbohydrates: 11g, Protein: 0.2g, Fat: 0.1g, Saturated Fat: 0.01g, Polyunsaturated Fat: 0.02g, Monounsaturated Fat: 0.002g, Sodium: 3mg, Potassium: 26mg, Fiber: 1g, Sugar: 9g, Vitamin A: 4IU, Vitamin C: 10mg, Calcium: 5mg, Iron: 0.1mg
Nutrition information is automatically calculated and should only be used as an approximation.
More Delightful Citrus Canning Recipes
50+ Citrus Canning Recipes to Brighten Your Pantry
Citrus canning recipes are one of my favorite ways to infuse warmth and zest into the colder months. When the days shorten and a crisp chill fills the air, diving into a batch of vibrant citrus preserves makes winter feel a little less endless and a lot more flavorful…
Find the perfect recipe
Searching for something else? Enter keywords to find the perfect canning or preserving recipe for your pantry!