
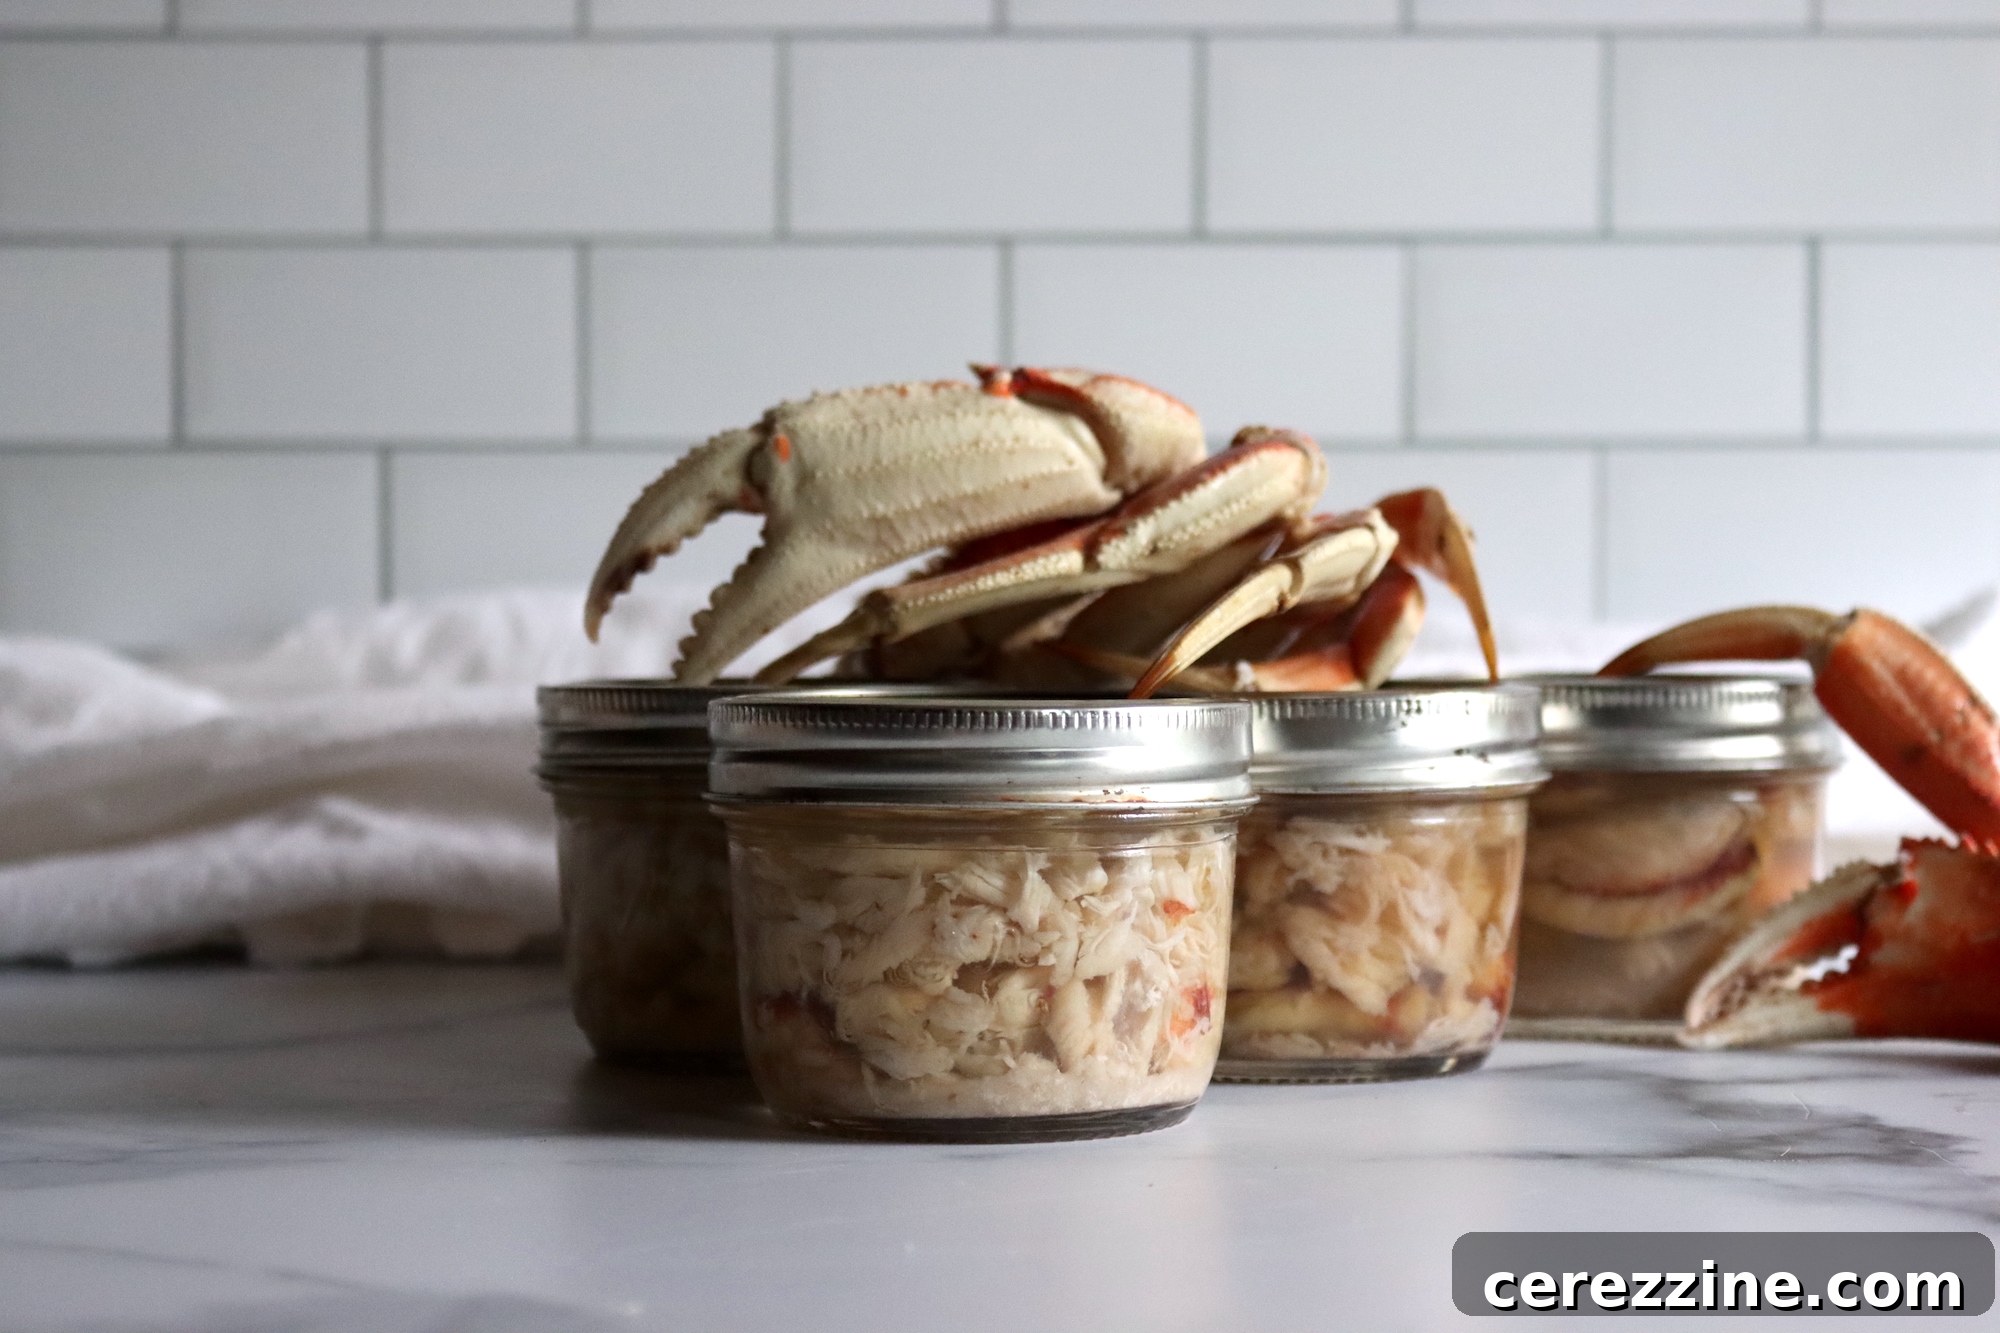
Preserving the Ocean’s Bounty: A Comprehensive Guide to Pressure Canning Crab Meat
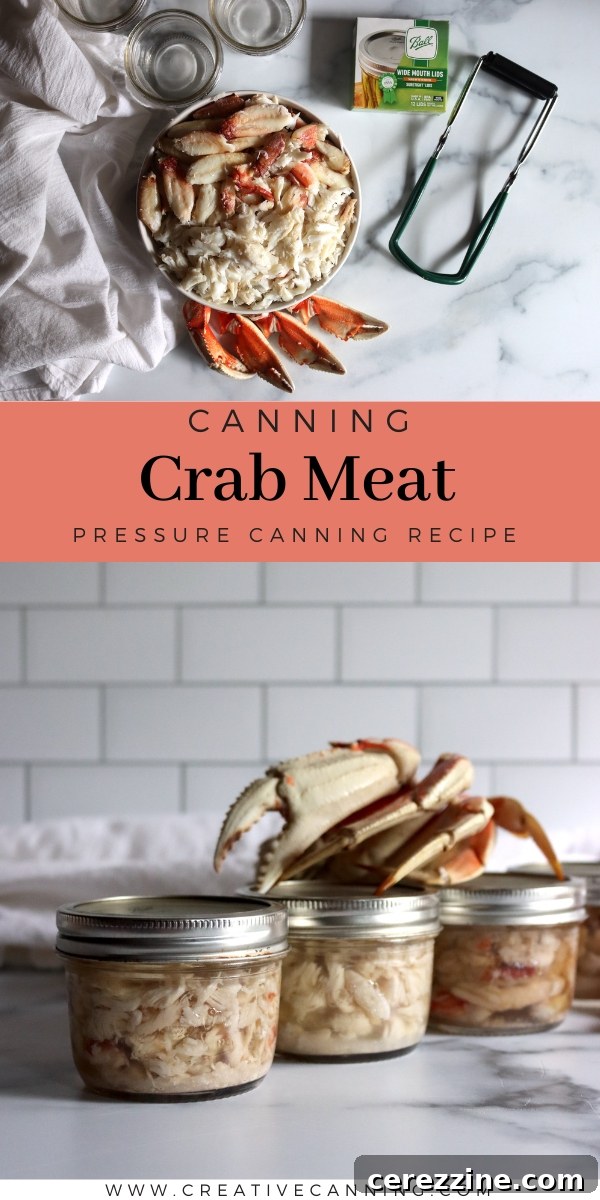
Pressure canning crab meat is an exceptional way to capture the delicate, sweet, and succulent flavors of this beloved seafood, making it available for enjoyment throughout the year. Imagine having a readily accessible supply of premium crab meat for your culinary creations—be it rich crab cakes, creamy crab bisque, vibrant salads, or simple savory snacks. Home-canned crab offers unparalleled convenience and a gourmet touch to any meal, transforming your pantry into a treasure trove of delicious possibilities.
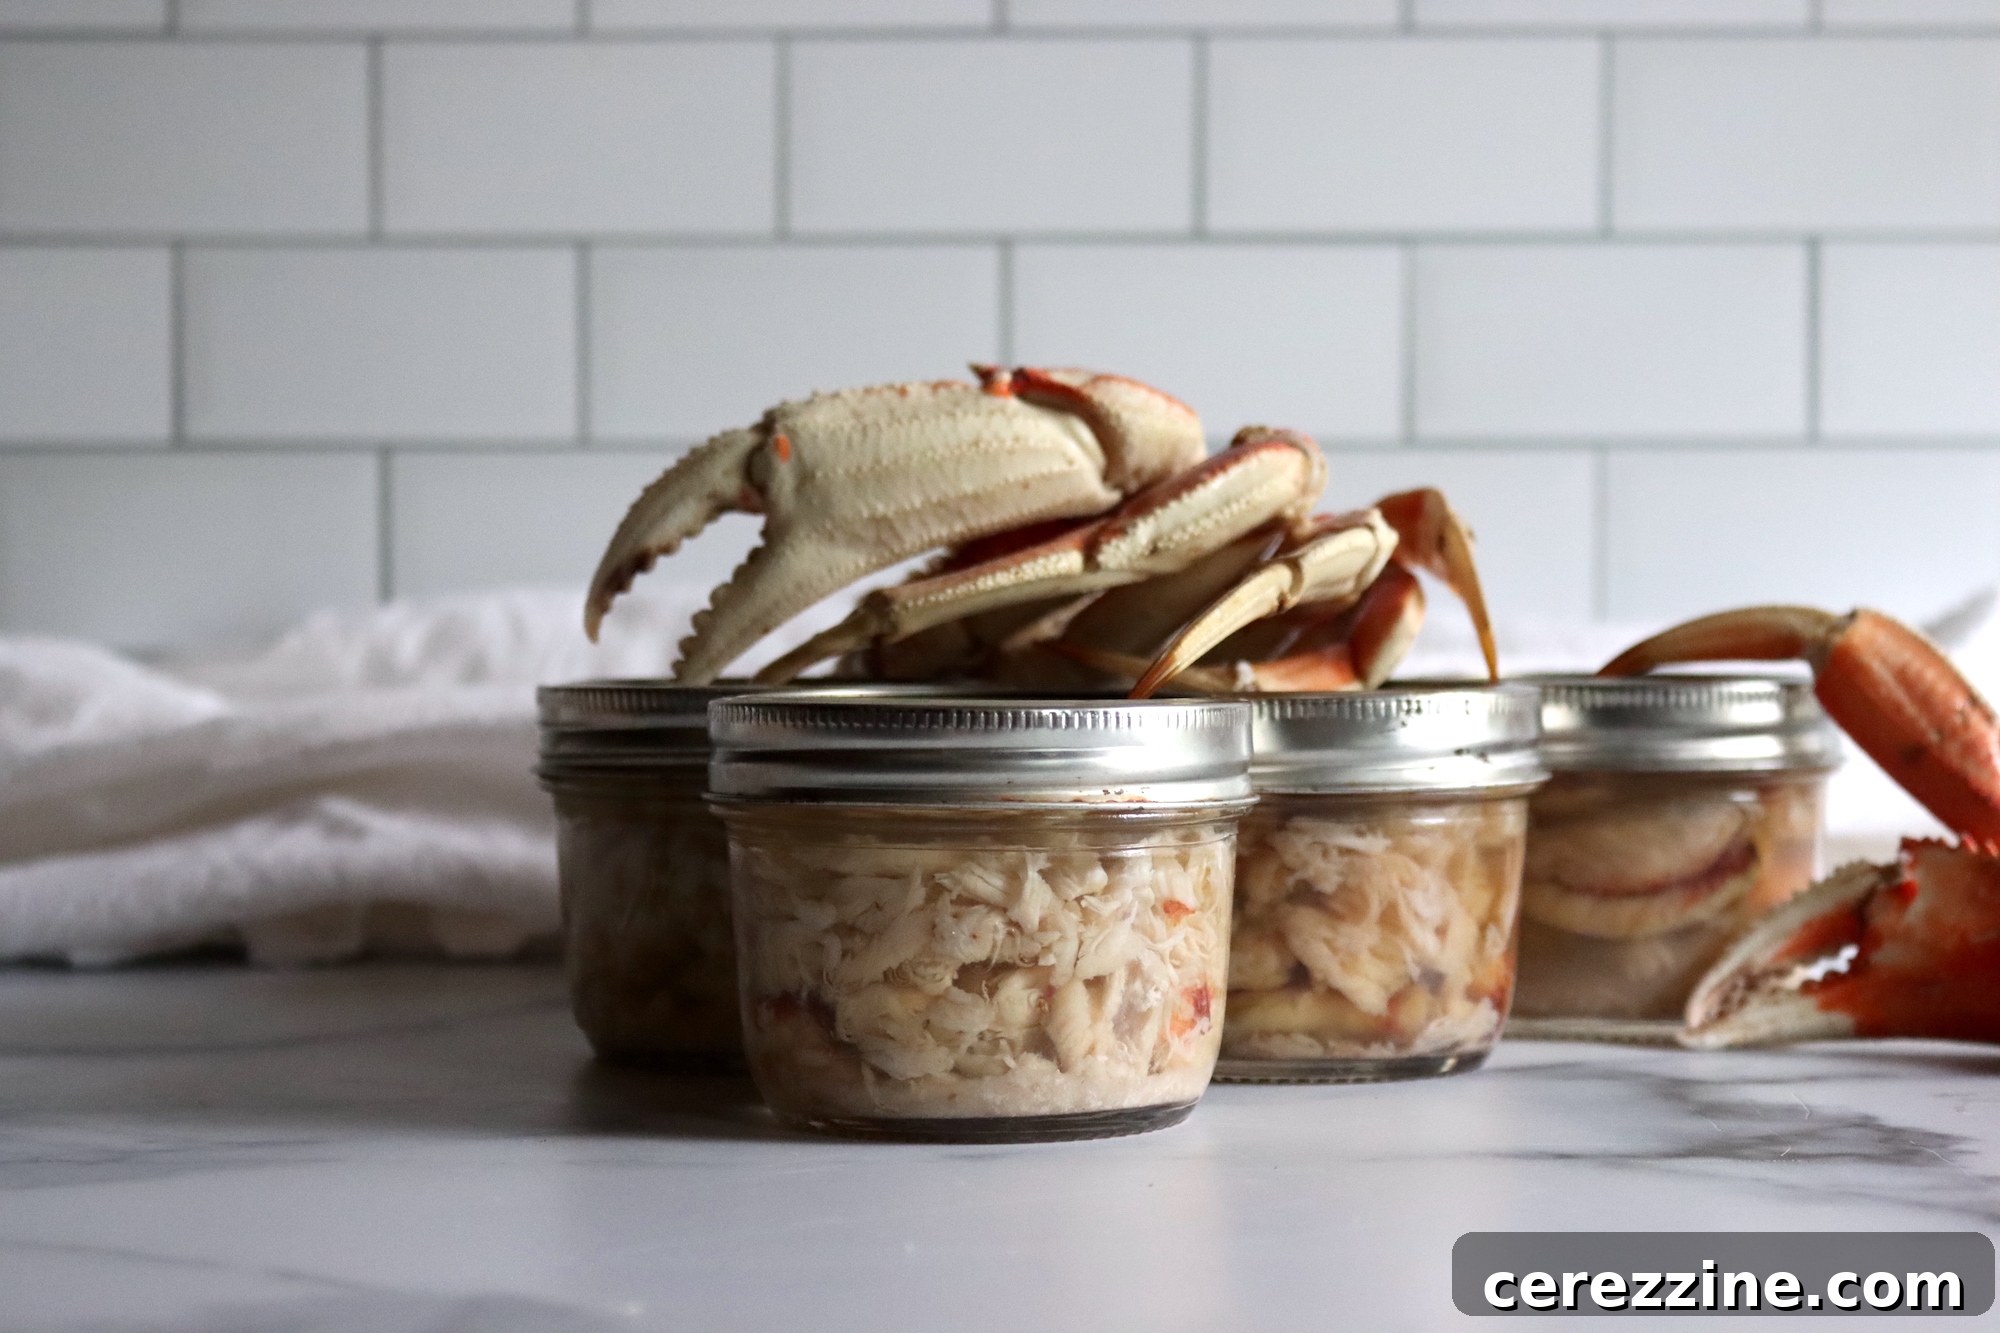
Why Pressure Canning is Essential for Crab Meat
Crab, renowned for its delicate flavor and tender texture, performs surprisingly well in the canning process when done correctly. Whether you’ve managed a fresh catch or found a fantastic deal at your local fish market, pressure canning stands out as the safest and most effective method to preserve crab meat for long-term storage. This preservation technique ensures you can savor its unique taste long after crab season has ended, making it perfect for an array of dishes, from classic crab cakes to innovative pasta sauces or refreshing salads.
It is critically important to understand that pressure canning is the ONLY safe method for preserving seafood, including crab. Crab meat, like most proteins and vegetables, is a low-acid food. Low-acid foods pose a risk for the growth of Clostridium botulinum, the bacterium that causes botulism, a severe form of food poisoning. This bacterium thrives in oxygen-free environments, such as sealed jars, and produces a dangerous toxin if not destroyed by high temperatures. A water bath canner, which only reaches boiling point (212°F / 100°C), cannot generate temperatures high enough to eliminate botulism spores. Only a pressure canner can reach the necessary temperatures (typically 240°F / 116°C or higher) to ensure your home-canned crab is safe for consumption. Never attempt to water bath can seafood.
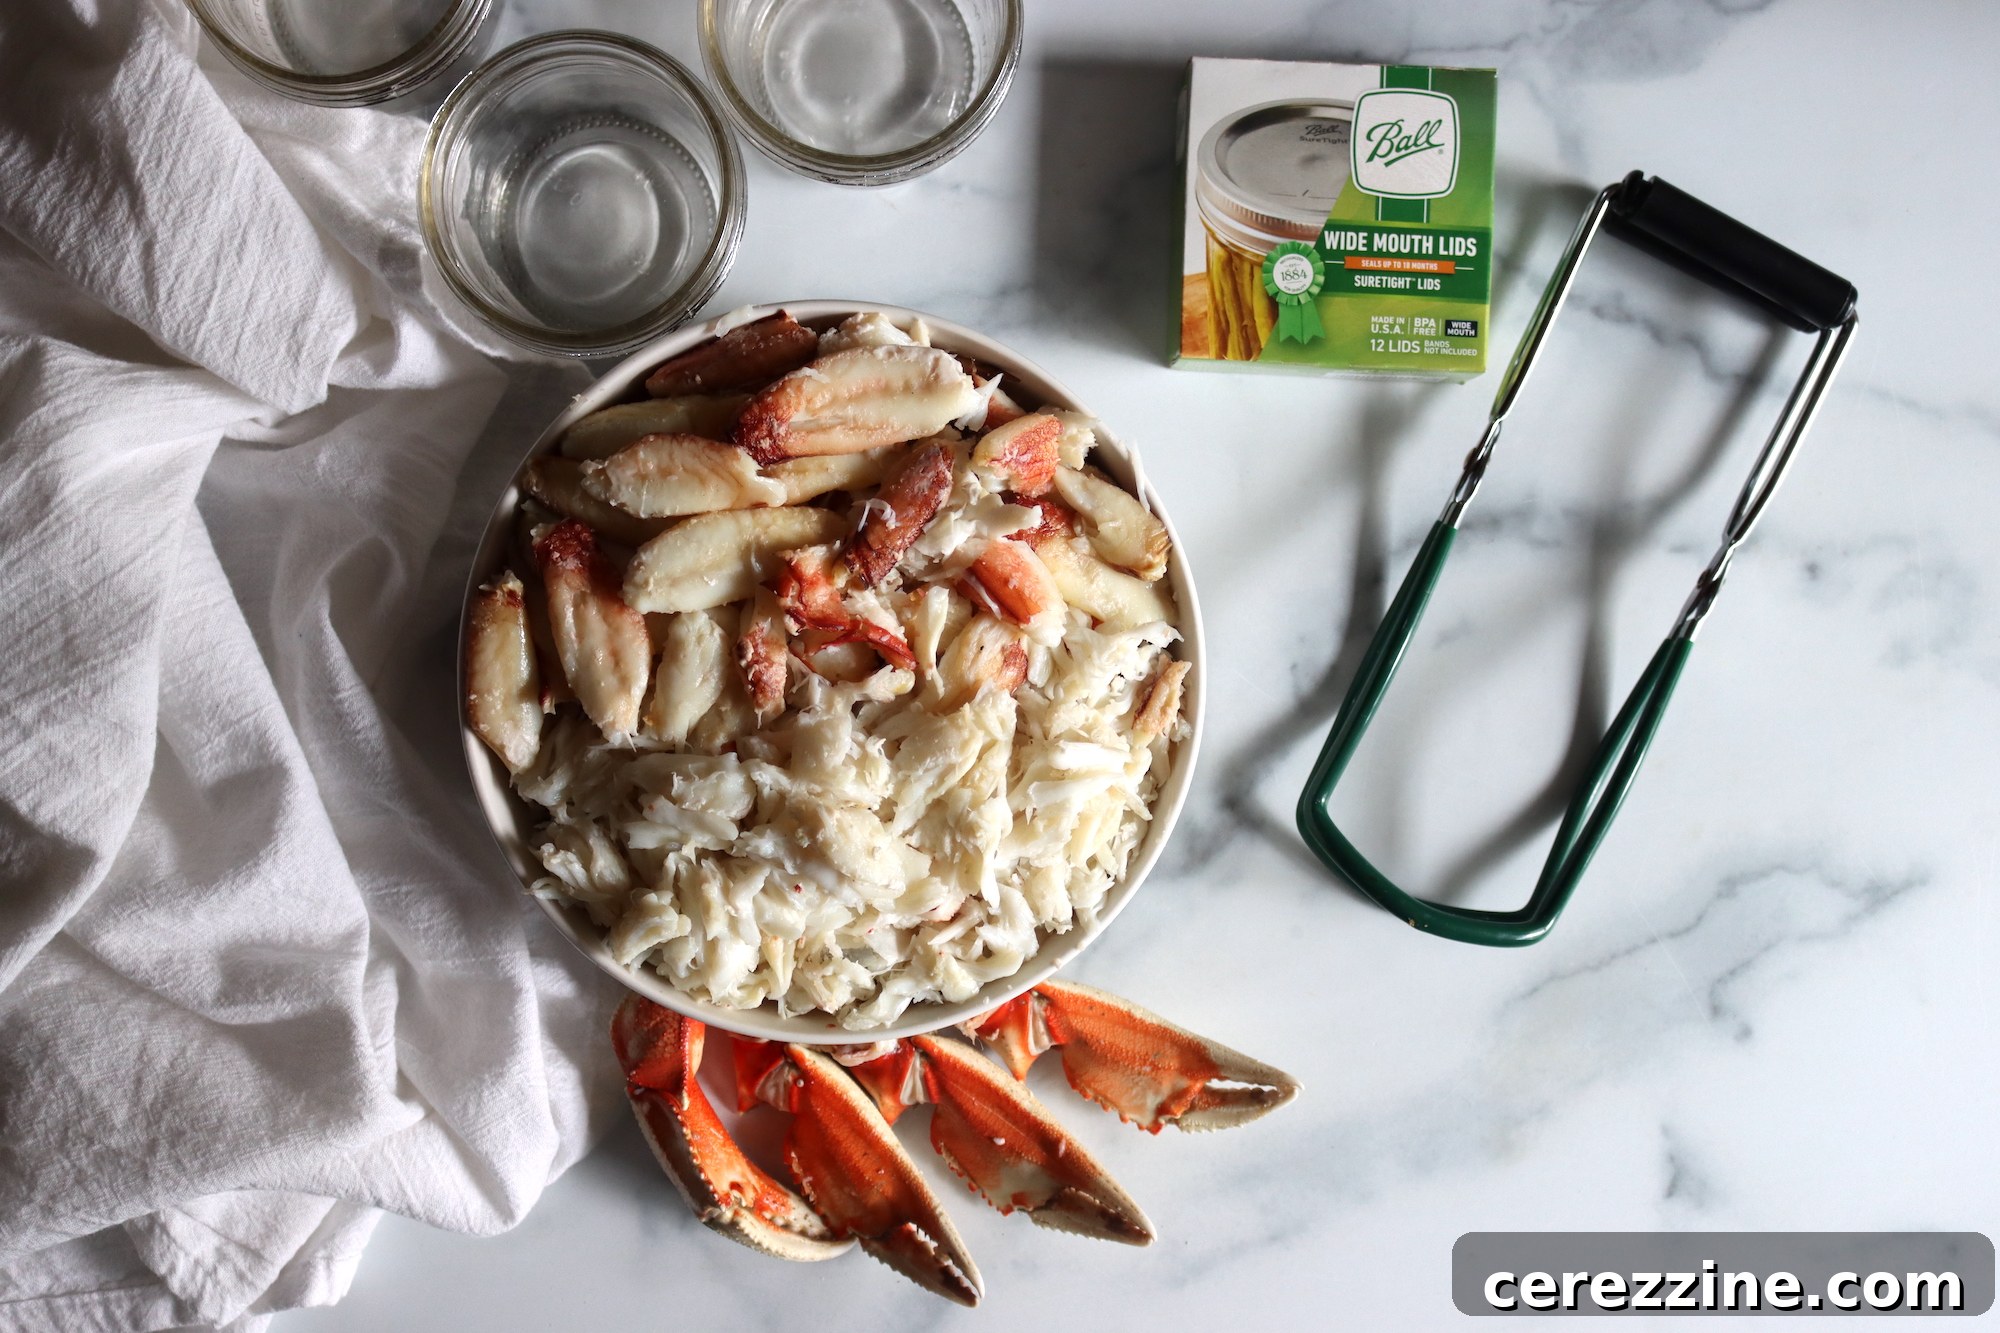
Essential Equipment for Safe and Successful Crab Canning
Proper equipment is key to ensuring the safety and quality of your home-canned crab. Having the right tools on hand will streamline the process and give you peace of mind.
- Pressure Canner: This is the most crucial piece of equipment. Choose a reliable model, either a dial gauge or weighted gauge, and ensure it’s in good working condition. Always follow the manufacturer’s instructions for operation and maintenance.
- Canning Jars: Use standard glass canning jars (half-pint or pint sizes are ideal for crab) that are free from chips or cracks. Wide-mouth jars can make filling easier.
- New Lids and Bands: Always use new canning lids for each batch to ensure a proper seal. Bands can be reused if they are in good condition.
- Large Pot for Cooking Crabs: A stockpot large enough to comfortably hold and simmer your live crabs.
- Large Bowl for Soaking: Essential for the critical acid-salt soak step for the picked crab meat.
- Jar Lifter: A tool designed to safely lift hot jars out of the canner.
- Canning Funnel: Helps to prevent spills and keep jar rims clean during filling.
- Bubble Remover/Headspace Tool: A non-metallic utensil to remove air bubbles from jars and measure headspace accurately.
- Clean Cloths or Paper Towels: For wiping jar rims before sealing.
Gathering Your Ingredients for Home-Canned Crab
Canning crab requires a specific preparation process that involves several pre-cooking and soaking steps. These stages are vital for ensuring the highest quality, flavor, and texture in your finished home-canned product. For a batch yielding approximately 4 pints or 8 half-pints of crab meat, gather the following:
For Cooking the Crabs:
- Live Crabs: Approximately 4 medium to large crabs, yielding enough meat for 4 pints or 8 half-pints.
- ¼ cup Lemon Juice: Used in the cooking water to help prevent discoloration of the meat.
- 2 tablespoons Salt: Per gallon of water, or up to 1 cup per gallon, depending on your preference for salinity.
- Water: Sufficient quantity to fully cover the crabs during the cooking process.
For Soaking the Crab Meat:
- 2 cups Lemon Juice: Crucial for maintaining color and preventing darkening of the crab meat. As an alternative, you can use 4 cups white vinegar.
- 2 tablespoons Salt: Per gallon of water, or up to 1 cup, based on your taste preferences for the final product.
- Cold Water: Enough to fully submerge the picked crab meat during the soaking phase.
For Canning the Crab:
- Citric Acid (Optional, but Highly Recommended): This is vital for retaining the crab meat’s natural color and preventing unsightly darkening in the jar.
- ½ teaspoon of citric acid or 2 tablespoons lemon juice per half-pint jar.
- 1 teaspoon of citric acid or 4 tablespoons lemon juice per pint jar.
- Hot Water: Enough to fill the jars after the crab meat is packed, ensuring a 1-inch headspace.
These ingredients, particularly the lemon juice or citric acid used at various stages, are paramount for preserving the vibrant color, firm texture, and delicious taste of the crab meat. The acidic environment plays a critical role in preventing the meat from turning an unappetizing dark brown or black during the high-heat processing.
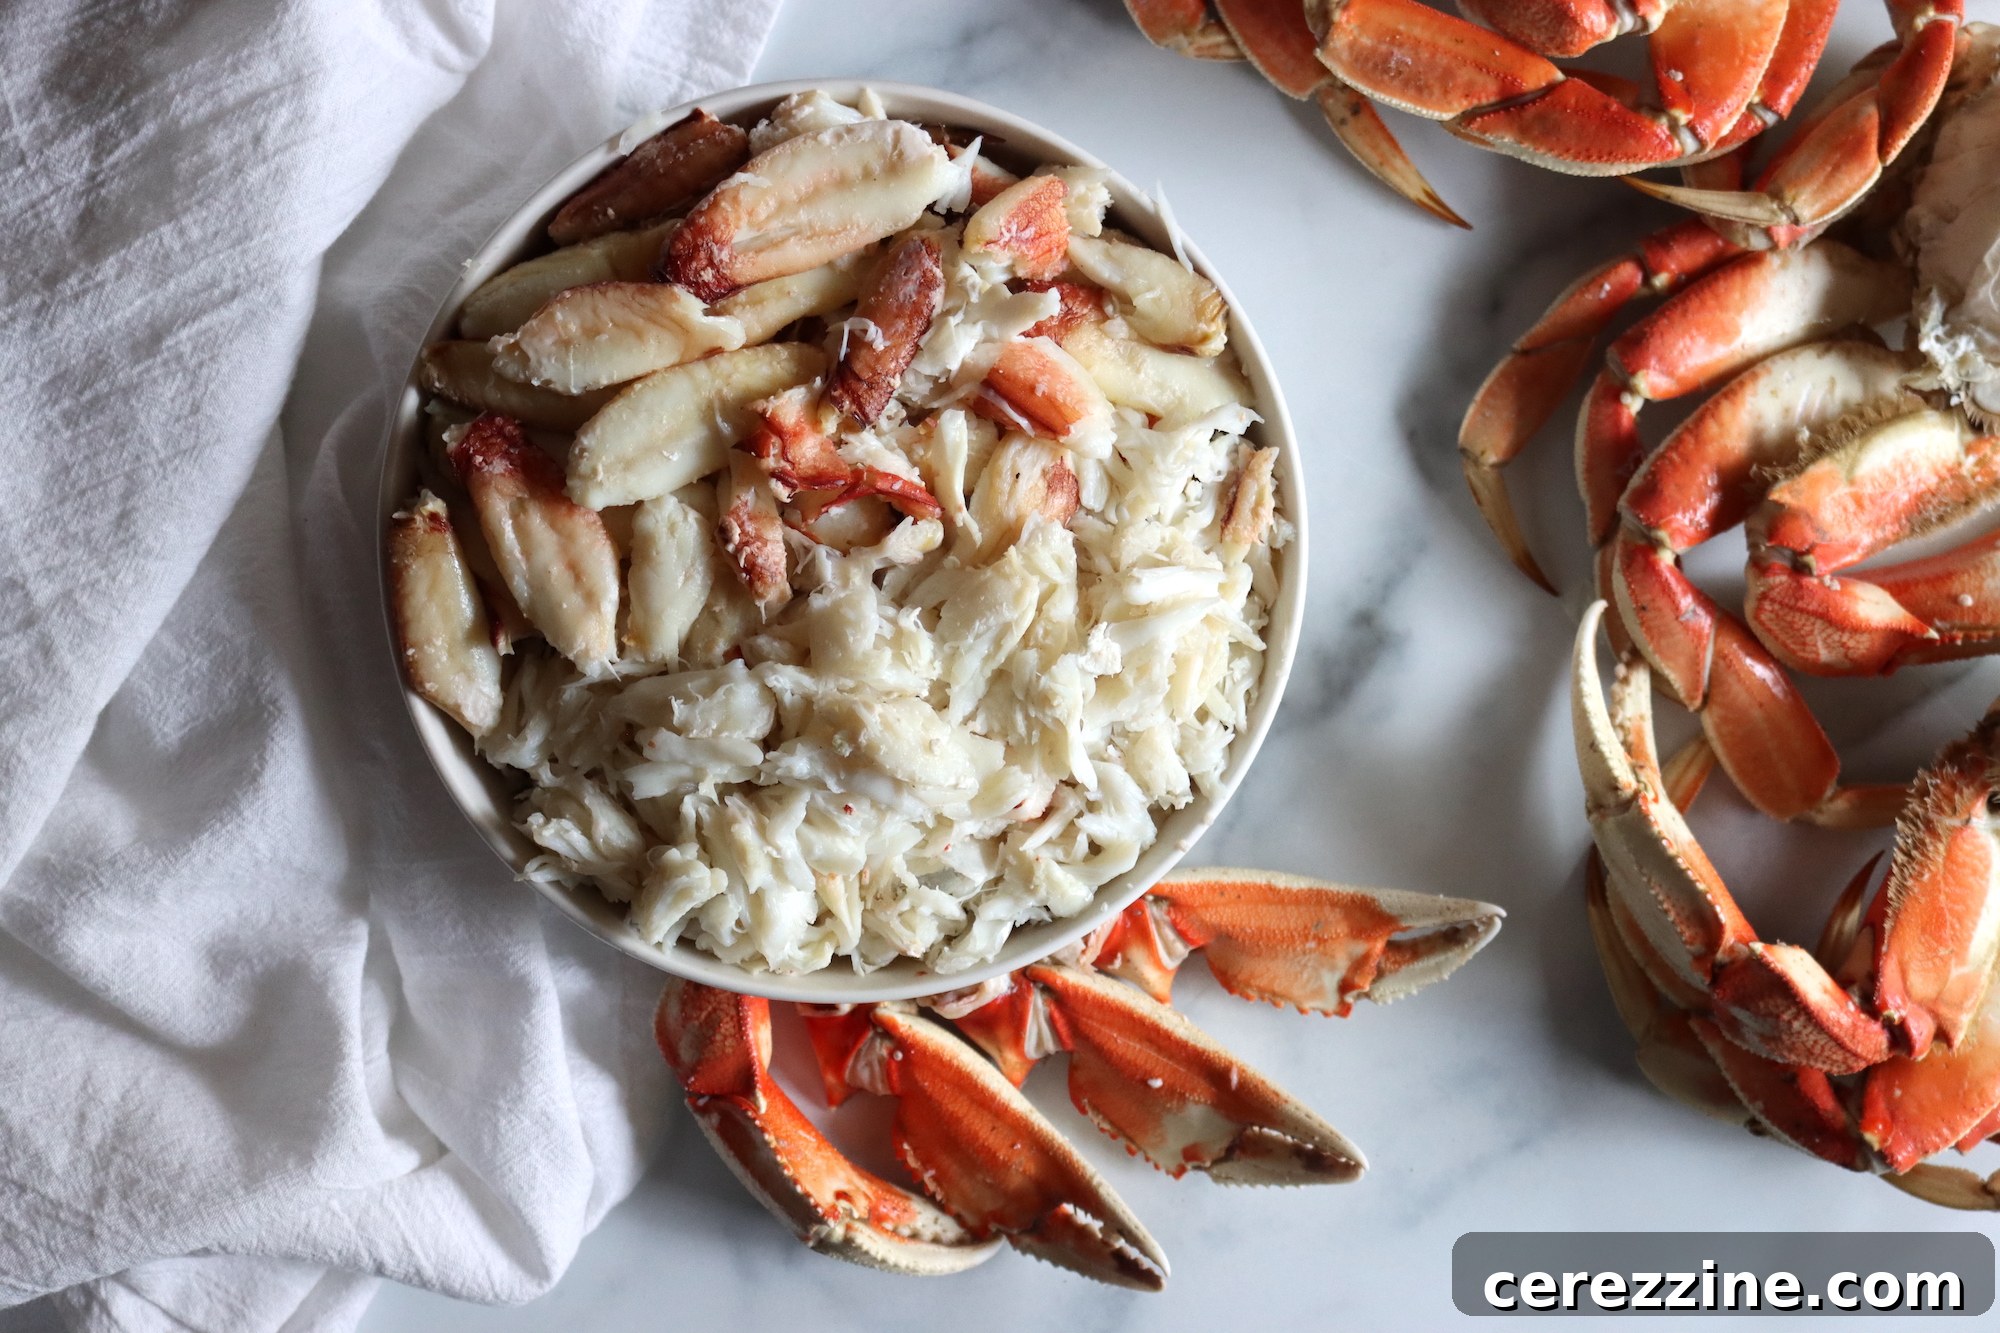
Step-by-Step Guide: Preparing Crab for Canning
The meticulous preparation of crab meat is a crucial precursor to successful and safe canning. Follow these steps carefully to ensure the best possible outcome for your preserved crab.
Step 1: Cleaning and Initial Preparation of Live Crabs
Begin by keeping your live crabs on ice until you are fully ready to process them. This helps to keep them fresh and easier to handle. Thoroughly wash the crabs under cold running water, changing the water several times, to remove any dirt, sand, or debris. You have the option to cook the crabs either whole or by sectioning them. Some experienced canners suggest that bleeding the crabs in sections before cooking may help to further prevent the meat from darkening during the process. If sectioning, carefully separate the body from the shell and clean out any internal organs.
Step 2: Cooking the Crabs
In a very large pot, bring a generous amount of water to a simmer. Add ¼ cup of lemon juice and 2 tablespoons of salt per gallon of water. If you prefer a more seasoned taste, you can increase the salt content up to 1 cup per gallon. Gently add the cleaned crabs to the simmering water and cook them for approximately 20 minutes. Once cooked, swiftly cool the crabs by plunging them into cold water, then drain them completely. Rapid cooling helps to stop the cooking process and makes the meat easier to handle.
Step 3: Extracting and Soaking the Crab Meat
After the crabs have cooled, remove the back shell. Carefully extract all the available meat from the body and claws, discarding any shell fragments or unwanted bits. Be gentle to keep the meat in nice, sizable pieces. The next critical step is to soak the picked crab meat. Prepare a solution of cold water, adding 2 cups of lemon juice (or 4 cups of white vinegar as an alternative) and 2 tablespoons of salt per gallon of water. Again, you can adjust the salt up to 1 cup if desired. Submerge the crab meat in this solution for precisely 2 minutes. This acidic soak is vital for enhancing the meat’s texture and preventing discoloration during canning. After soaking, thoroughly drain the crab meat and gently squeeze out any excess moisture to avoid diluting the canning liquid.
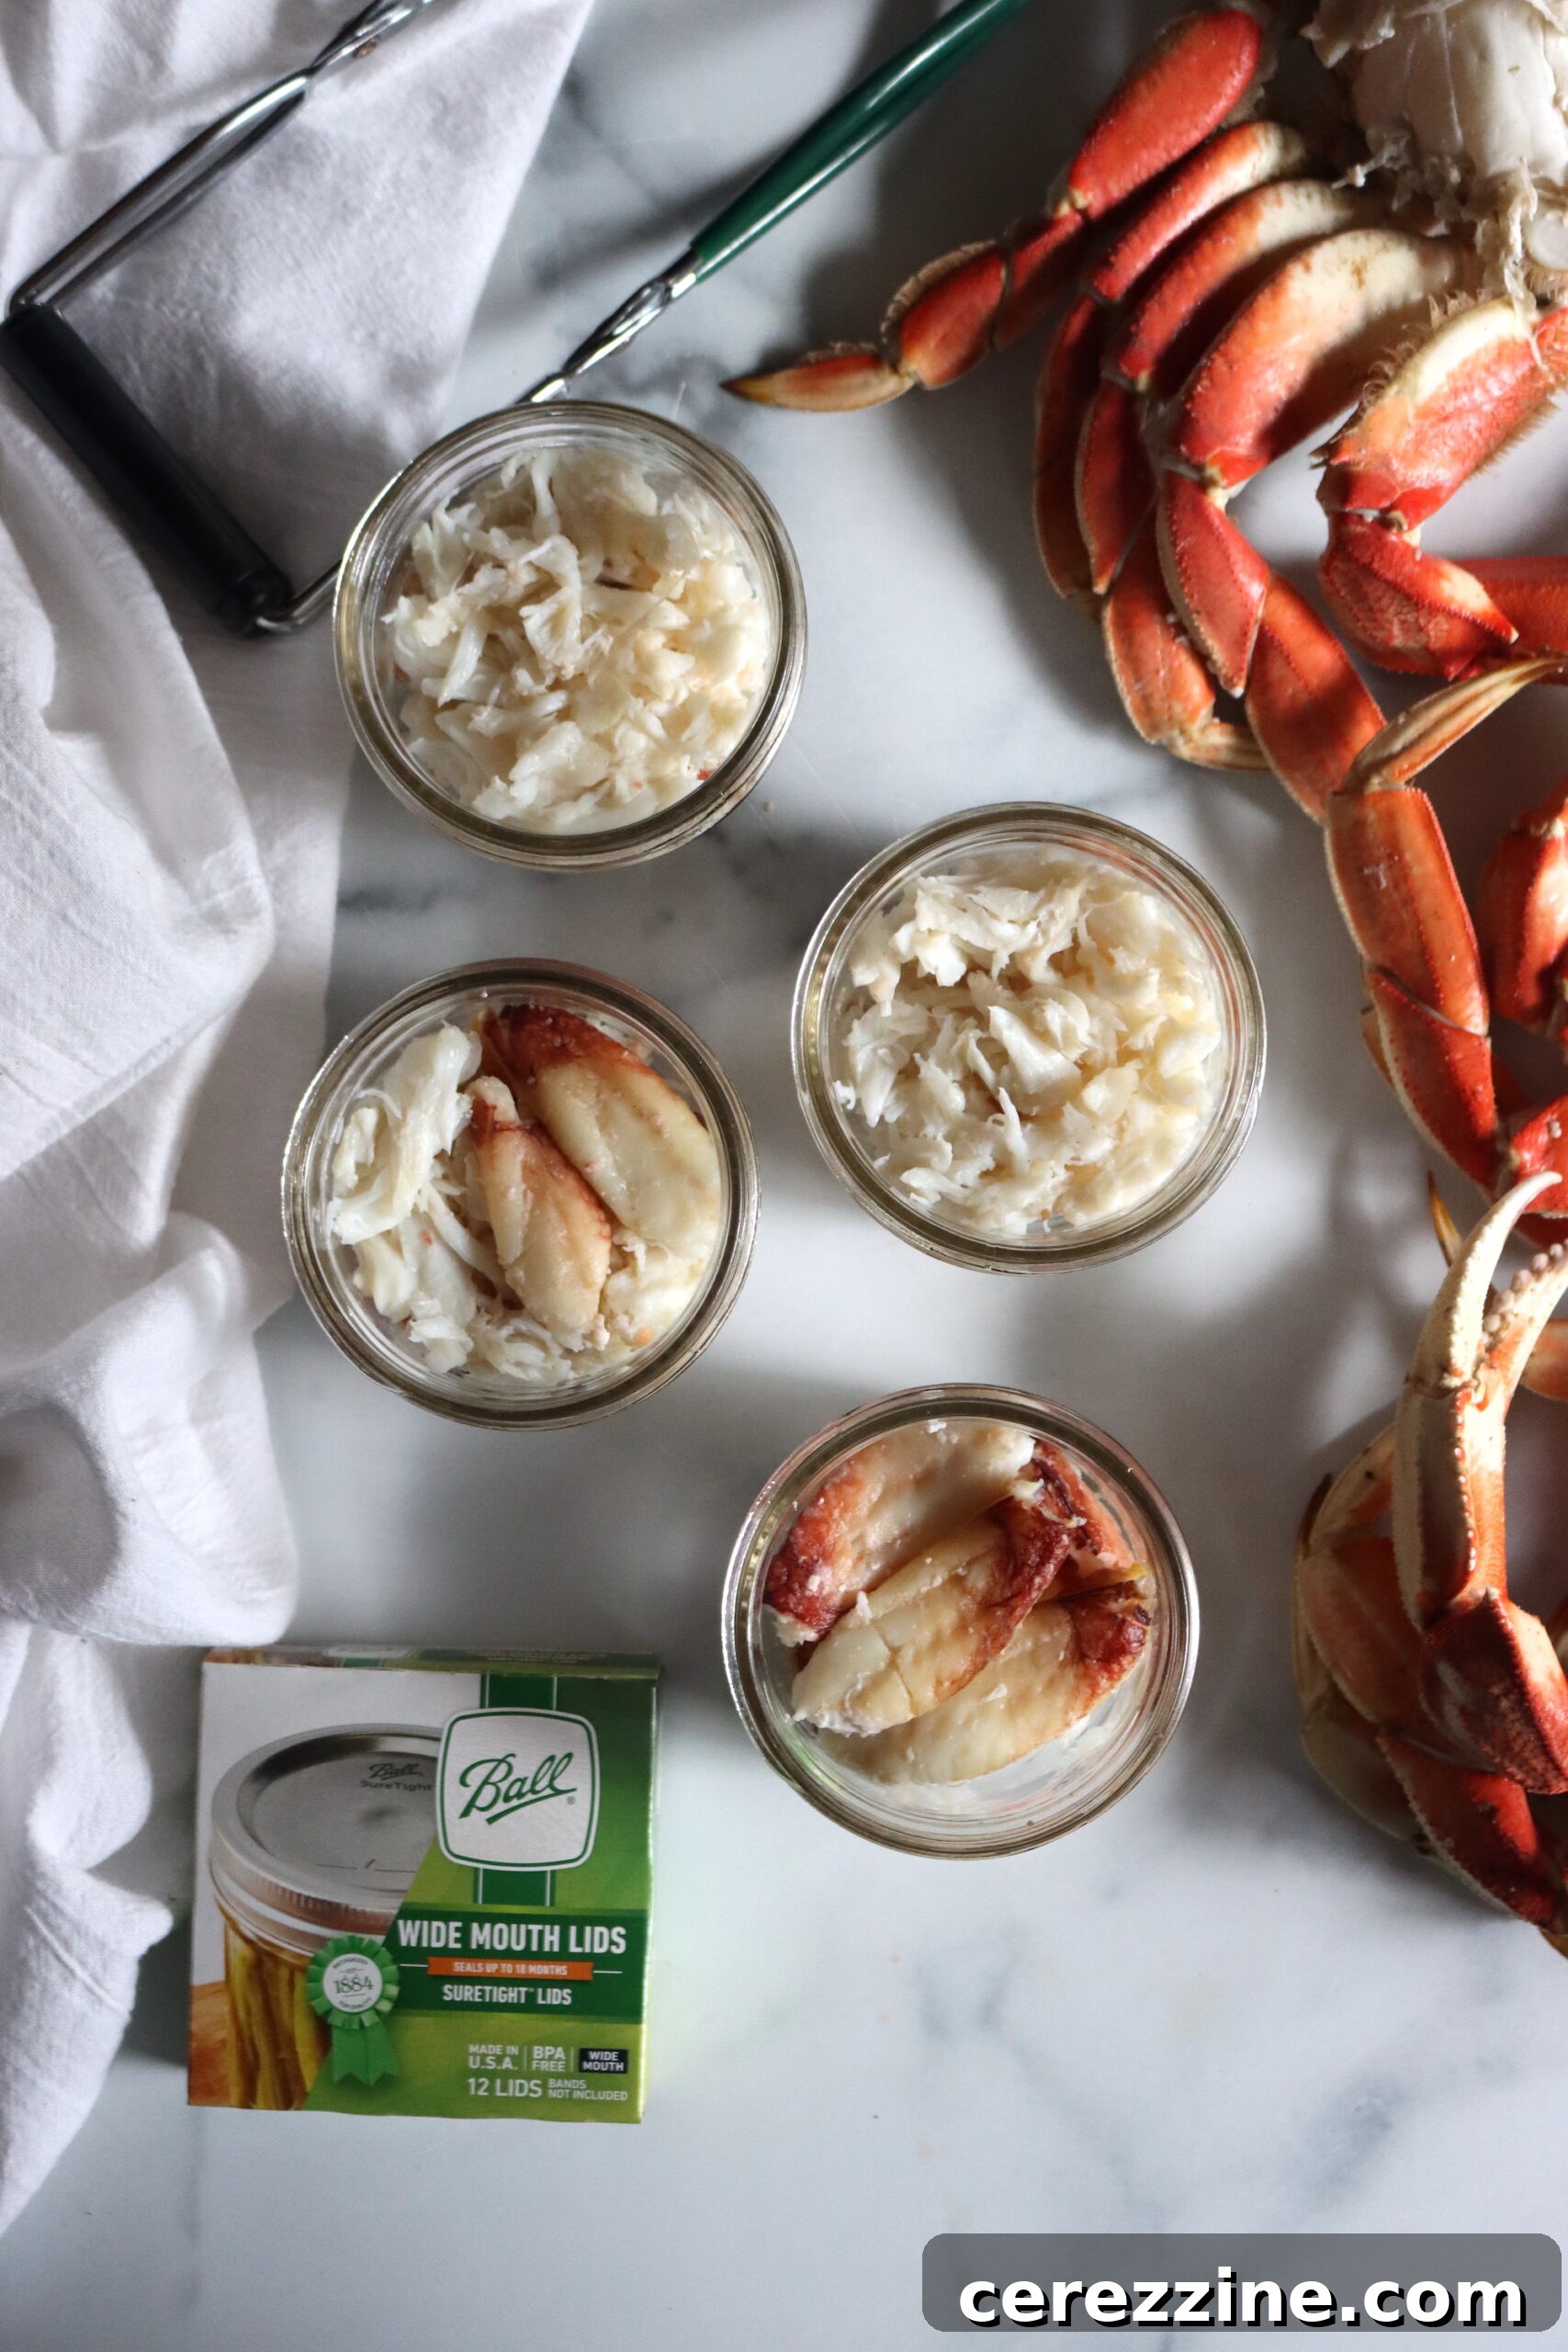
Note: If you are purchasing pre-cooked crab meat still in its shell, you can bypass the initial cooking and soaking steps. This type of crab has typically already been processed in an acidic solution to prevent browning. Simply proceed with carefully stripping the meat from the shells and then move directly to the canning preparation steps.
The Pressure Canning Process for Crab Meat
Once your delicious crab meat is meticulously prepared, it’s time to transition to the canning stage. This process involves precise steps to ensure your jars are properly sealed and safely preserved.
Step 1: Prepare Your Pressure Canner
Always begin by preparing your pressure canner according to the manufacturer’s specific instructions. This typically entails adding a few inches of water (usually 2-3 inches, or as specified) to the bottom of the canner and bringing it to a gentle simmer. Ensure the canner rack is in place to keep jars off the bottom.
Step 2: Filling and Preparing the Jars
Carefully fill your clean, hot canning jars with the prepared crab meat. For half-pint jars, aim for approximately 6 ounces of meat, and for pint jars, use about 12 ounces. It is crucial to leave a consistent 1 inch of headspace at the top of each jar. Headspace is the empty space between the food surface and the rim of the jar, essential for proper sealing and preventing siphoning.
Next, add the specified amount of citric acid or lemon juice to each jar to aid in color retention. For half-pint jars, add ½ teaspoon of citric acid or 2 tablespoons of lemon juice. For pint jars, add 1 teaspoon of citric acid or 4 tablespoons of lemon juice.
Fill the jars with hot water, once again ensuring a 1-inch headspace. Using hot water helps to maintain the temperature of the food and jars, preventing thermal shock when placed in the canner. Use a bubble remover tool to gently remove any trapped air bubbles from around the crab meat. This step is important because trapped air can affect headspace and seal integrity.
Finally, wipe the rims of the jars thoroughly with a clean, damp paper towel, preferably moistened with a bit of vinegar, to remove any food particles that could interfere with the seal. Center the lids on the jars and apply the bands finger-tight. This means tightening until you feel resistance, then giving a slight extra turn – not overtightening.
Step 3: Processing in the Pressure Canner
Carefully place the prepared jars onto the rack inside your simmering pressure canner. Secure the canner lid according to its design and begin heating. Allow the canner to vent steam for 10 minutes (or as specified by your canner’s instructions) before placing the weighted gauge or closing the vent. This step ensures all air is exhausted from the canner, creating a pure steam environment for accurate pressure.
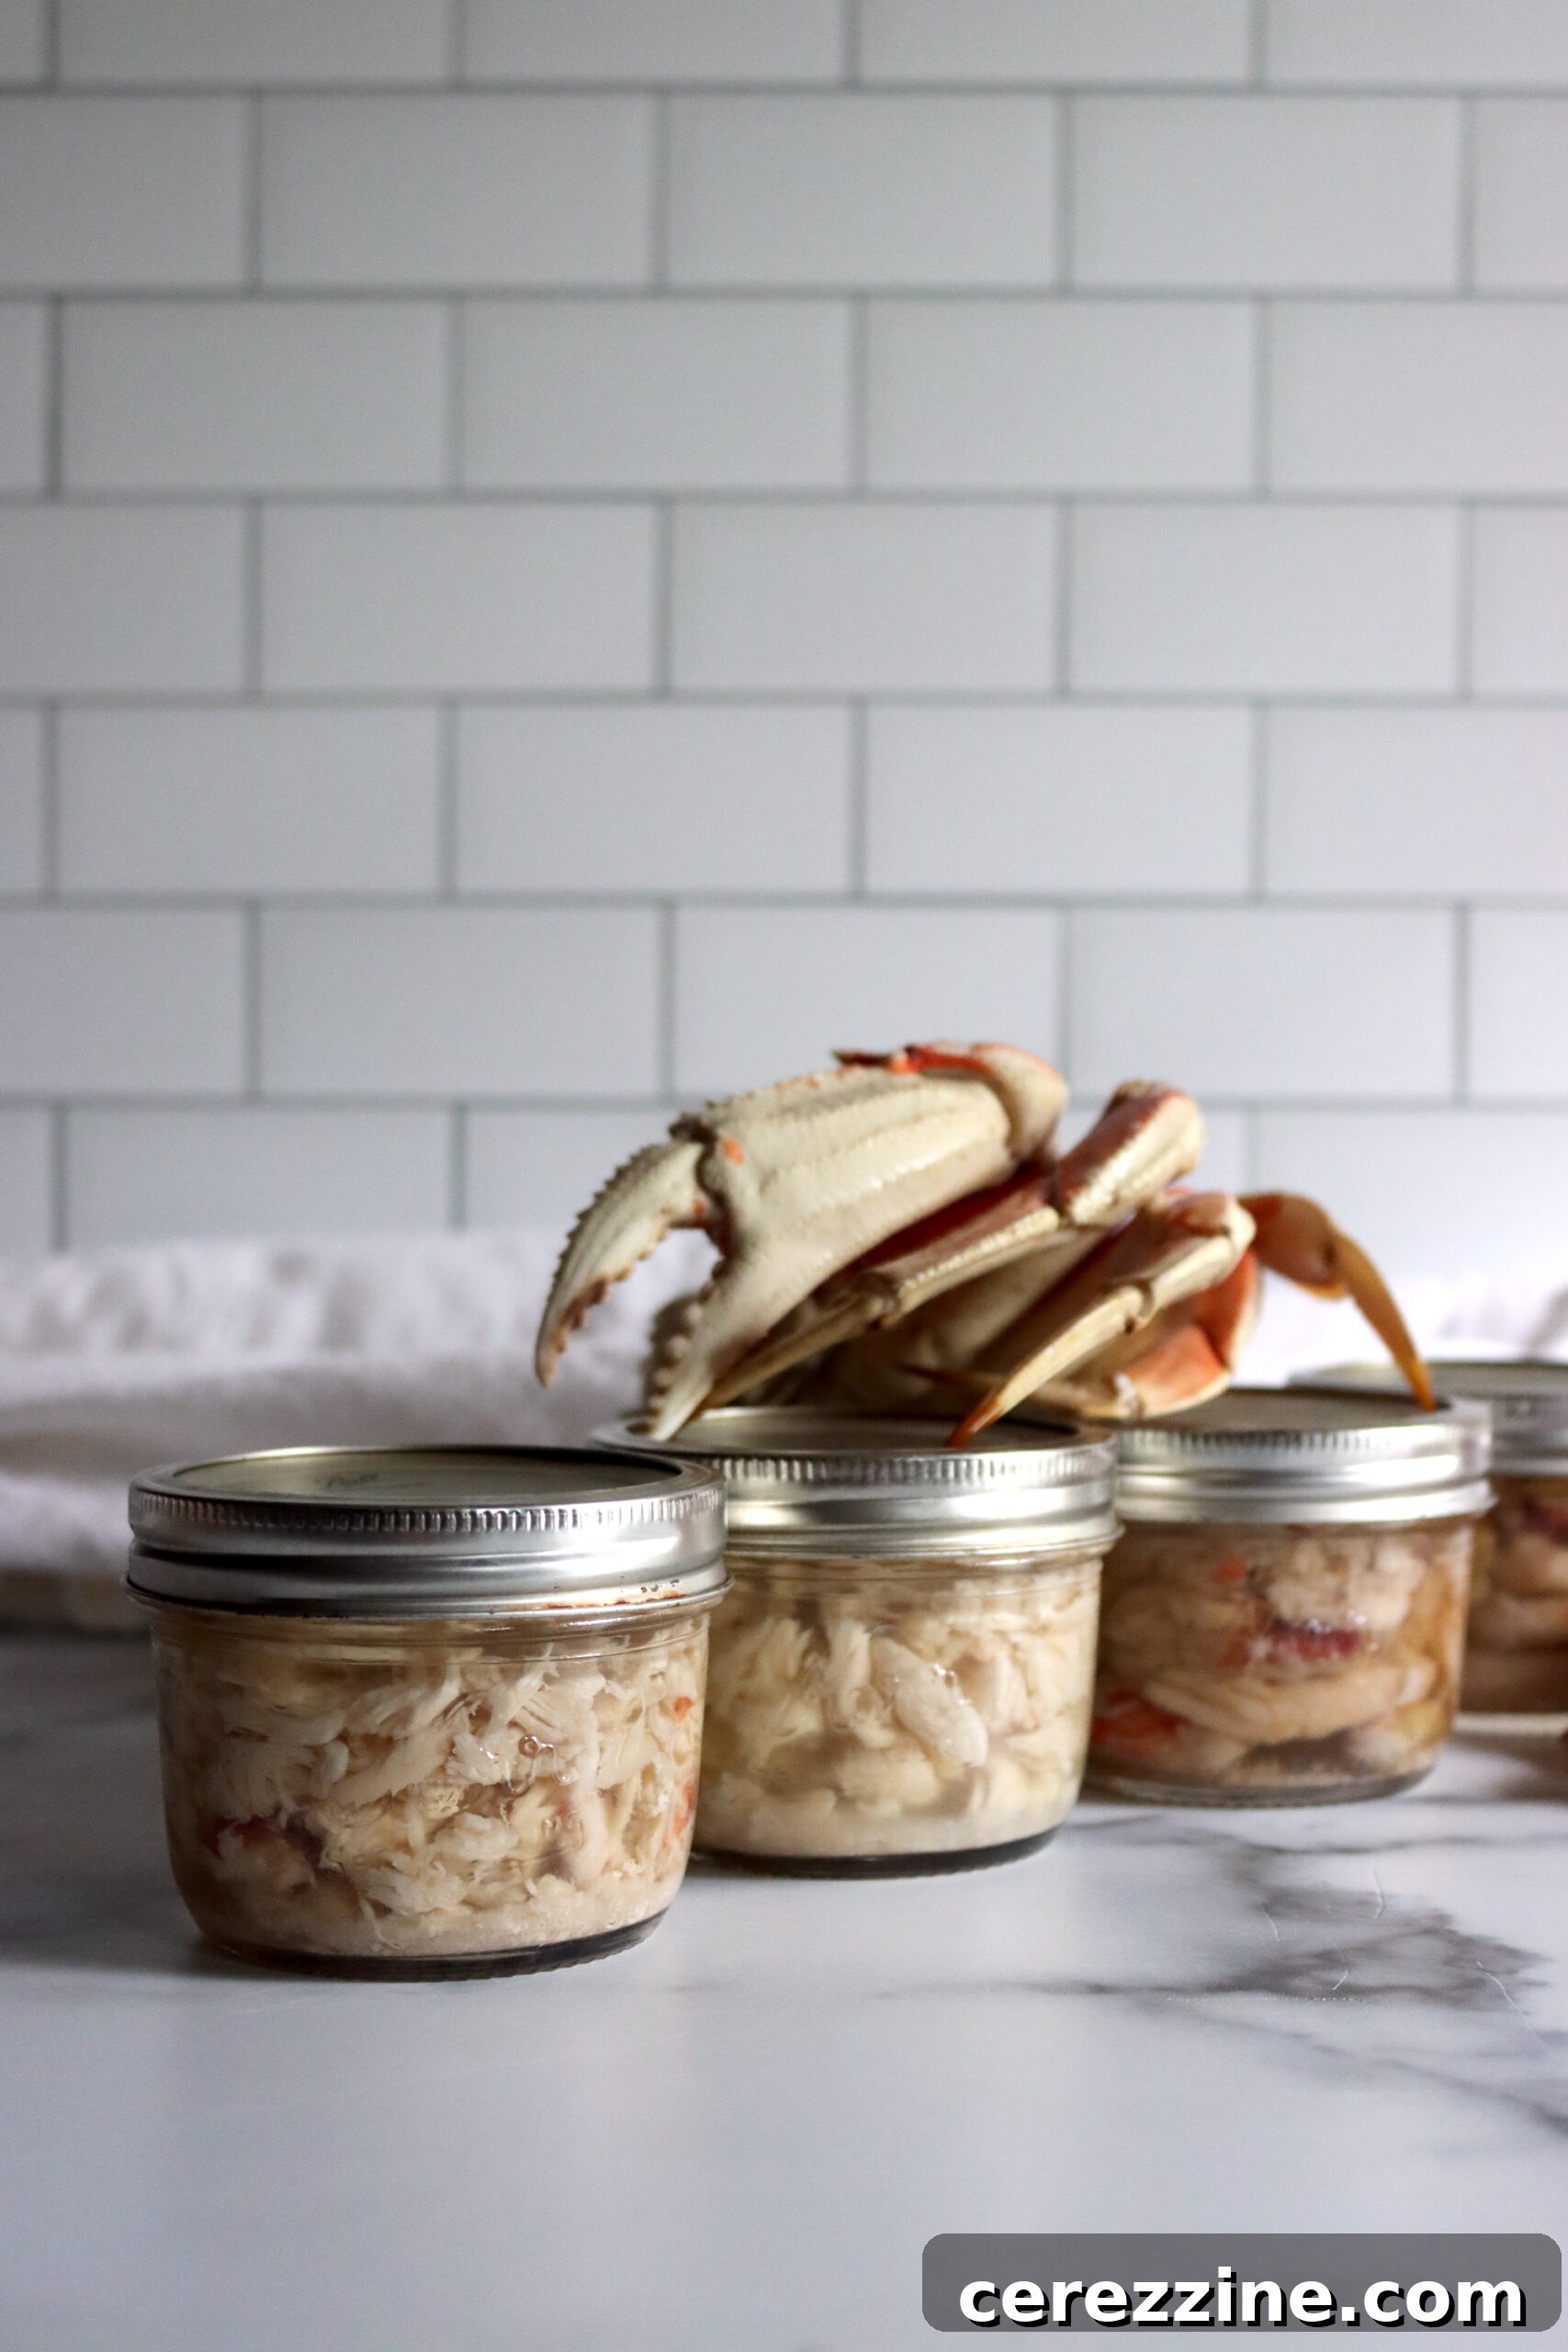
Once the canner reaches the target pressure (adjusted for your altitude, see next section), begin your processing time. Crab meat requires specific processing durations: 70 minutes for half-pint jars and 80 minutes for pint jars. Maintain a steady pressure throughout the entire processing time, adjusting heat as necessary. Do not start timing until the correct pressure is reached and do not reduce the pressure early.
After the processing time is complete, turn off the heat and allow the canner to cool naturally until the pressure gauge returns to zero. Do not rush the cooling process by opening the vent or running cold water over the canner, as this can cause siphoning or damage to your jars and canner. Once the pressure is fully released, carefully remove the lid, tilting it away from your face to avoid steam. Let the jars sit in the canner for 5-10 minutes before carefully removing them with a jar lifter and placing them on a towel-lined surface to cool undisturbed for 12-24 hours. Check seals after cooling.
Crucial Altitude Adjustments for Pressure Canning
When pressure canning, it’s vital to adjust the processing pressure based on your elevation above sea level. While processing times remain constant, the boiling point of water decreases at higher altitudes, meaning higher pressure is required to reach the necessary sterilization temperature. Failing to adjust pressure can result in under-processed food and potential safety risks.
For Dial Gauge Pressure Canners:
- 0 to 2,000 feet in elevation – 11 lbs pressure
- 2,001 to 4,000 feet in elevation – 12 lbs pressure
- 4,001 to 6,000 feet in elevation – 13 lbs pressure
- 6,001 to 8,000 feet in elevation – 14 lbs pressure
For Weighted Gauge Pressure Canners:
- 0 to 1,000 feet in elevation – 10 lbs pressure
- Above 1,000 feet – 15 lbs pressure
Always verify your specific altitude and adjust your pressure canner accordingly to ensure the safety of your home-canned crab meat.
Understanding the Role of Lemon Juice in Canned Crab
Home-canned crab meat may possess a slightly acidic flavor due to the inclusion of lemon juice or citric acid during processing. If you are particularly sensitive to acidic tastes, you might find freezing crab meat to be a more suitable preservation method for your palate.
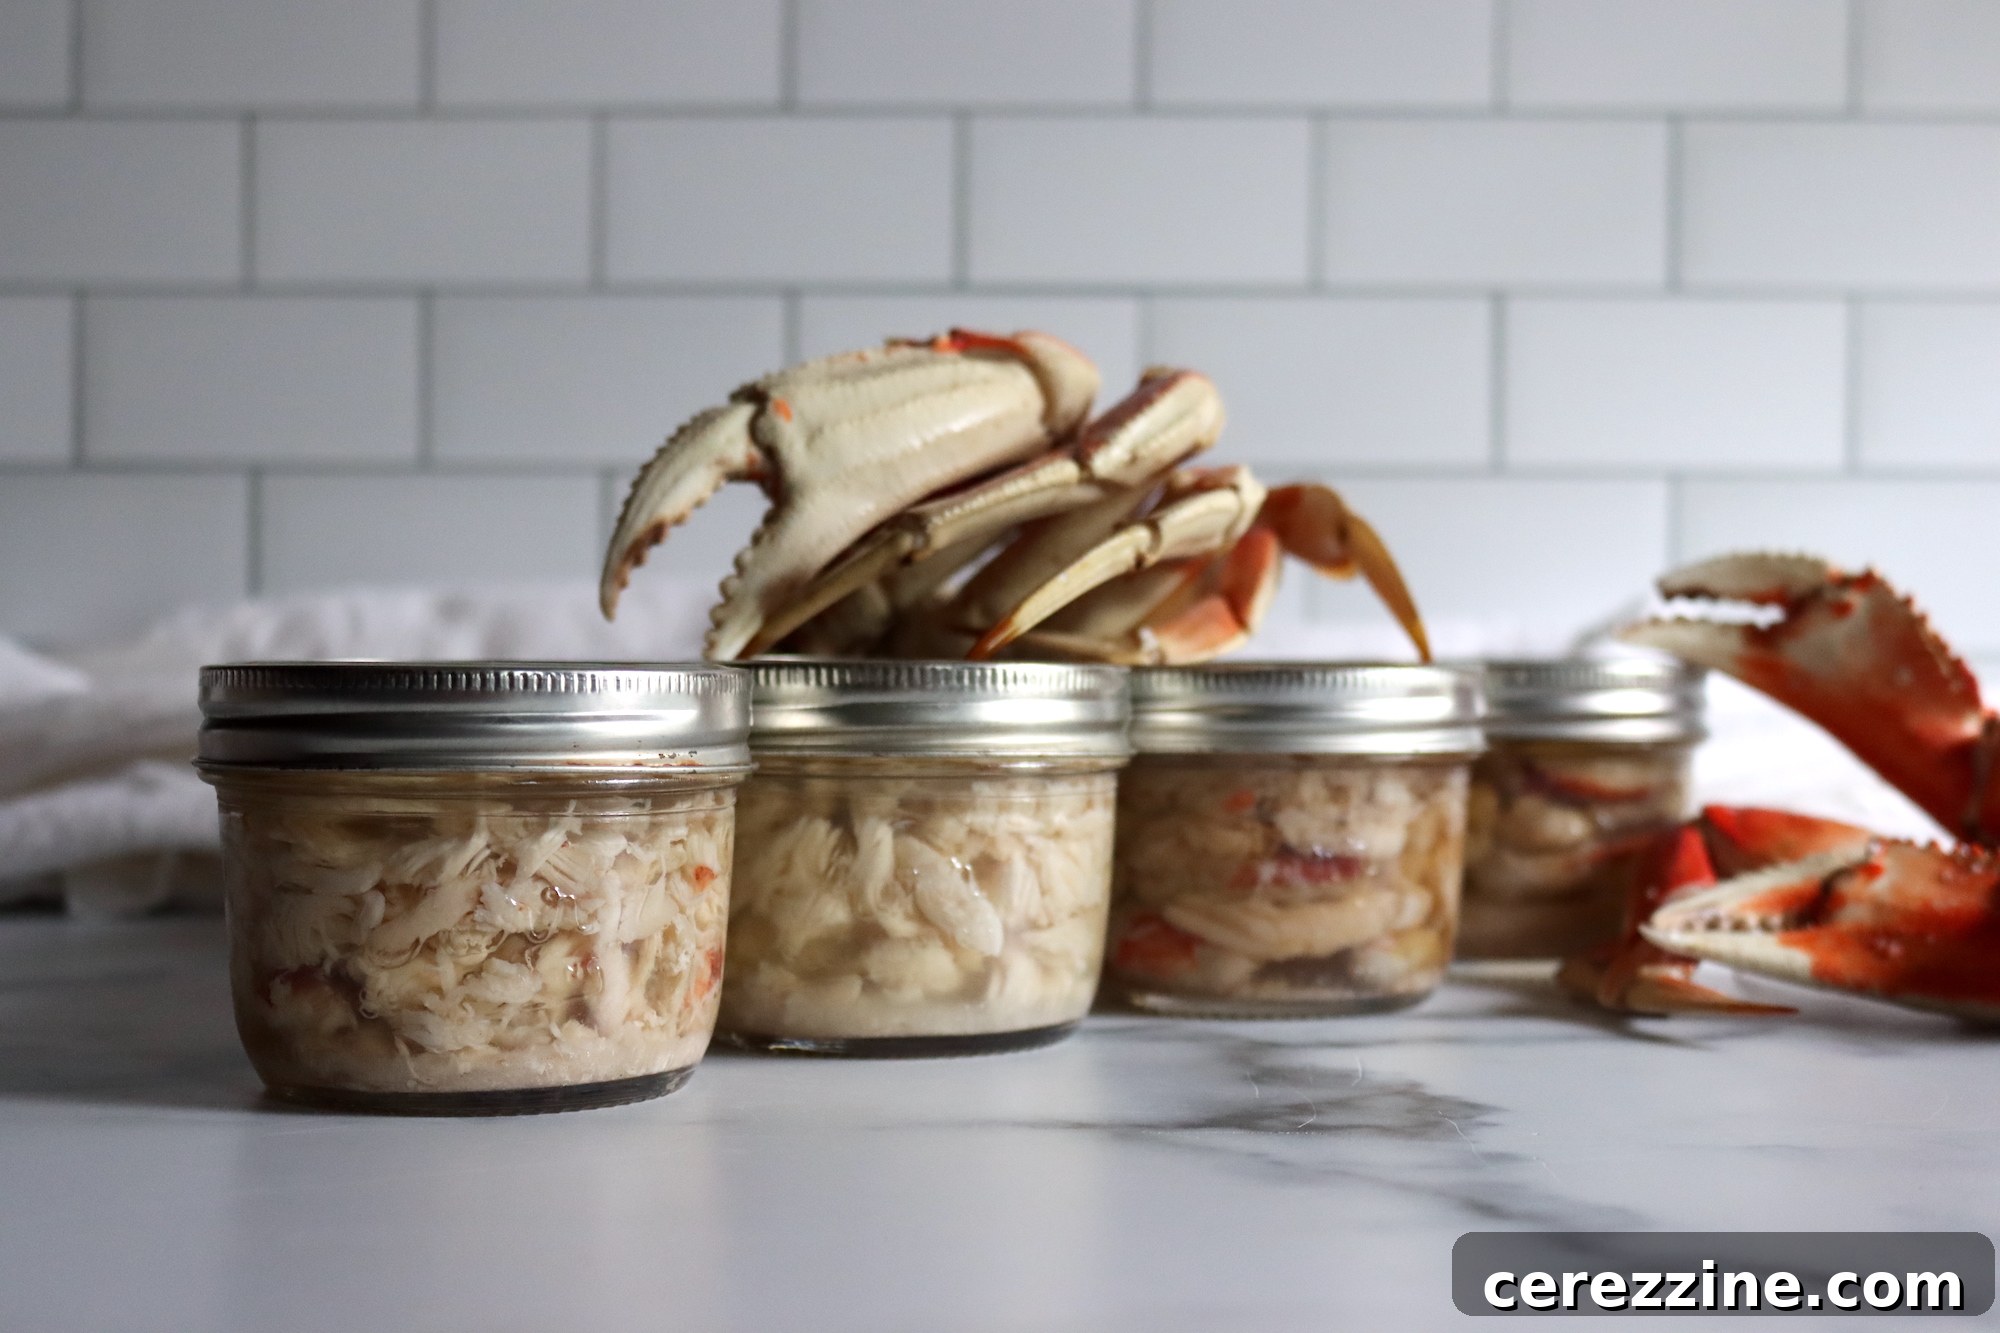
It’s important to clarify that the lemon juice or citric acid is added primarily for quality, not for safety. The acidity does not contribute to the prevention of botulism in low-acid foods like crab; only the high temperatures achieved in a pressure canner can do that. However, its role in maintaining the visual appeal of canned crab is indispensable. Without the addition of lemon juice or citric acid, home-canned crab tends to darken significantly in the jar, often turning an unappetizing dark brown or almost black color. In my experience, the visual difference is stark, and the darkened crab is far less appealing.
Personally, I appreciate the subtle lemon flavor that the acidity imparts to the crab. It complements many classic crab dishes beautifully. For instance, a hint of lemon perfectly brightens crab cakes, provides a zesty contrast in a fresh salad, or adds a lovely acidity to a rich pasta with cream sauce, cutting through the richness and enhancing the overall flavor profile. While you can experiment with canning crab without added acid, be prepared for a noticeable change in the meat’s color, which may not be to your liking.
8 half pints (or 4 pints)
Canning Crab
1 hr
20 mins
1 hr 10 mins
Equipment
-
Pressure Canner
-
Wide Mouth Half Pint Jars
-
Wide Mouth Canning Lids
-
Canning Funnel
-
Jar Lifter
Ingredients
- Live crabs, about 4 medium to large crabs for 4 pints or 8 half-pints
For Cooking the Crabs:
- ¼ cup lemon juice
- 2 Tbsp salt, or up to 1 cup, depending on your preference
- 1 gallon Water
For Soaking the Crab Meat:
- 2 cups lemon juice, or 4 cups white vinegar
- 2 Tbsp salt, or up to 1 cup, depending on your preference
- 1 gallon Cold water
For Canning the Crab:
- 1 cup Lemon Juice, 1/2 tsp citric acid or 2 Tbsp of lemon juice per half-pint jar, or 1 tsp of citric acid or 4 Tbsp of lemon juice per pint jar
- Hot water, enough to fill the jars while leaving 1 inch of headspace
Instructions
Prepare the Crab:
-
Keep live crabs on ice until you’re ready to process them. Wash them thoroughly with several changes of cold water.
-
You can cook the crabs whole or in sections. If you choose to cook them in sections, bleeding the crabs first may help prevent darkening of the meat.
Cook the Crabs:
-
In a large pot, simmer the crabs for 20 minutes in water containing ¼ cup lemon juice and 2 tablespoons salt per gallon of water (feel free to use up to 1 cup of salt if you prefer).
-
After cooking, cool the crabs quickly in cold water, then drain.
Prepare the Meat:
-
Remove the back shell of the crabs, and carefully take out the meat from the body and claws.
-
Soak the crab meat for 2 minutes in a solution of cold water, 2 cups of lemon juice (or 4 cups of white vinegar), and 2 tablespoons of salt per gallon (up to 1 cup of salt if desired).
-
Drain the meat and gently squeeze out any excess moisture.
Prepare the Canner:
-
Prepare your pressure canner according to the manufacturer’s instructions. Typically, you’ll need to add a few inches of water to the bottom and bring it to a gentle simmer.
Fill the Jars:
-
Fill half-pint jars with about 6 ounces of meat and pint jars with 12 ounces, making sure to leave 1 inch of headspace.
-
Add citric acid or lemon juice to each jar. Use ½ teaspoon of citric acid or 2 tablespoons of lemon juice for half-pint jars. Or 1 teaspoon of citric acid or 4 tablespoons of lemon juice for pint jars.
-
Fill the jars with hot water, again leaving 1 inch of headspace.
-
Remove any air bubbles.
-
Wipe the rims of the jars with a paper towel dampened with vinegar to ensure a clean seal, then adjust the lids.
Process the Jars:
-
Process the jars in the pressure canner for 70 minutes for half-pints or 80 minutes for pints.
Notes
I personally enjoy the subtle lemon flavor in the crab, which works wonderfully in dishes like crab cakes, fresh salads, or pasta with cream sauce. If you don’t want the added acidity, you can try canning without the lemon juice, but the color may darken considerably.
Altitude Adjustments:
- For dial gauge pressure canners, adjust the pressure as follows:
- 0-2,000 feet: 11 lbs pressure
- 2,001-4,000 feet: 12 lbs pressure
- 4,001-6,000 feet: 13 lbs pressure
- 6,001-8,000 feet: 14 lbs pressure
- For weighted gauge pressure canners, adjust the pressure:
- 0-1,000 feet: 10 lbs pressure
- Above 1,000 feet: 15 lbs pressure
Nutrition
Nutrition information is automatically calculated, so should only be used as an approximation.
Delicious Ways to Enjoy Your Home-Canned Crab
The beauty of home-canned crab lies not only in its convenience and longevity but also in its incredible versatility. Having a supply of ready-to-use crab meat opens up a world of culinary possibilities, bringing gourmet flavors to your everyday meals. Here are some fantastic ways to integrate your home-canned crab into your cooking:
- Classic Crab Cakes: This is arguably the most popular use for canned crab. Mix with breadcrumbs, herbs, spices, and an egg, then pan-fry or bake for golden, crispy perfection. The slight acidity from the canning process can actually enhance the flavor of your crab cakes.
- Creamy Crab Bisque or Chowder: Elevate a simple soup or chowder with the rich, sweet flavor of crab. Add your canned crab meat during the final stages of cooking to ensure it retains its delicate texture.
- Fresh Crab Salads: Combine canned crab with mayonnaise, celery, onions, and your favorite seasonings for a quick and refreshing crab salad. Serve it on lettuce, in sandwiches, or as a topping for crackers.
- Seafood Pasta Dishes: Stir the canned crab into a light cream sauce, garlic butter sauce, or a simple tomato-based sauce for a delectable pasta meal. The crab’s tenderness pairs wonderfully with various pasta shapes.
- Appetizers and Dips: Create impressive appetizers like hot crab dip, mini crab tarts, or a vibrant crab bruschetta. Canned crab makes these quick to prepare for entertaining.
- Omelets and Scrambles: Add a luxurious touch to your breakfast or brunch by folding canned crab meat into omelets or scrambled eggs with a sprinkle of fresh chives.
- Gourmet Sandwiches and Wraps: Upgrade your lunch by using canned crab in place of other proteins. A crab roll or a crab melt can be a delightful and satisfying meal.
- Stuffed Peppers or Mushrooms: Mix canned crab with rice, vegetables, and cheese to create a flavorful stuffing for bell peppers or large mushroom caps, then bake until golden.
Expanding Your Home Canning Skills: Other Seafood Recipes
Once you’ve mastered the art of pressure canning crab, you’ll discover a whole new dimension to home food preservation. Crab meat adds a gourmet flair to your pantry, but it’s just the beginning. The world of home-canned seafood is vast and rewarding, allowing you to enjoy a variety of fish and shellfish year-round with confidence and convenience. Why stop at crab?
Consider trying your hand at other seafood canning recipes. Home-canned Tuna is an excellent pantry staple, often surpassing the quality of store-bought versions in flavor and texture. Similarly, learning to prepare home-canned salmon will quickly become a favorite, offering a superior taste and firm texture compared to commercial options. If you’re feeling adventurous and want to elevate your canning game, you can even explore the process of canning shrimp for a truly special treat.
My extensive list of fish canning recipes provides numerous options, ranging from simple packed fish to complete meal-in-a-jar solutions. You can prepare comforting dishes like Nordic Salmon Soup, which makes for a quick and hearty meal, or rich and satisfying chowder bases such as the flavorful Salmon Chowder Base, ready to be finished with fresh ingredients when you’re ready to serve.
Conclusion: Savoring Sustainable Seafood Year-Round
Pressure canning crab meat is an incredibly rewarding endeavor that allows you to enjoy the unparalleled taste of fresh crab long after its season has passed. By following these detailed steps and adhering to critical safety guidelines, especially regarding pressure adjustments and the use of acid for quality, you can confidently stock your pantry with delicious, home-canned crab. This not only offers a convenient way to enjoy gourmet seafood but also empowers you with valuable food preservation skills. So, gather your ingredients, prepare your canner, and embark on this culinary journey to savor the sweet bounty of the ocean year-round. Happy canning!