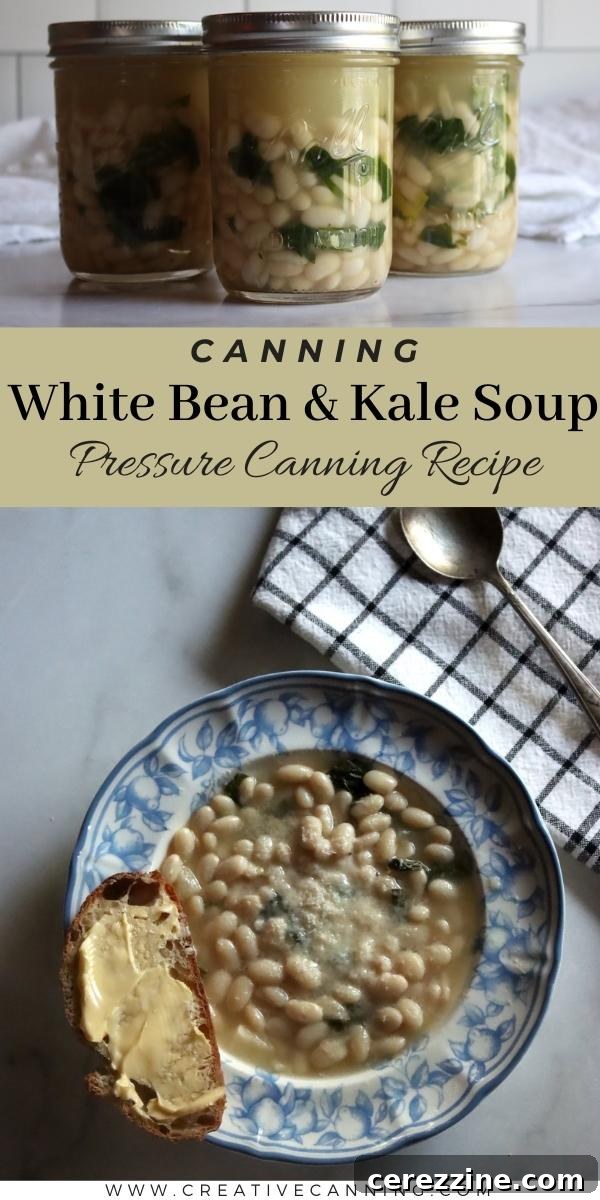
Hearty, wholesome, and incredibly satisfying, a bowl of homemade soup is the ultimate comfort food, especially as the colder months approach. While preparing a nourishing bean soup from scratch can be a delightful kitchen ritual, it often demands a significant time commitment – something many of us don’t have on busy weeknights. This is where the magic of pressure canning truly shines, transforming a weekend cooking session into a treasure trove of quick, nutritious meals ready at a moment’s notice.
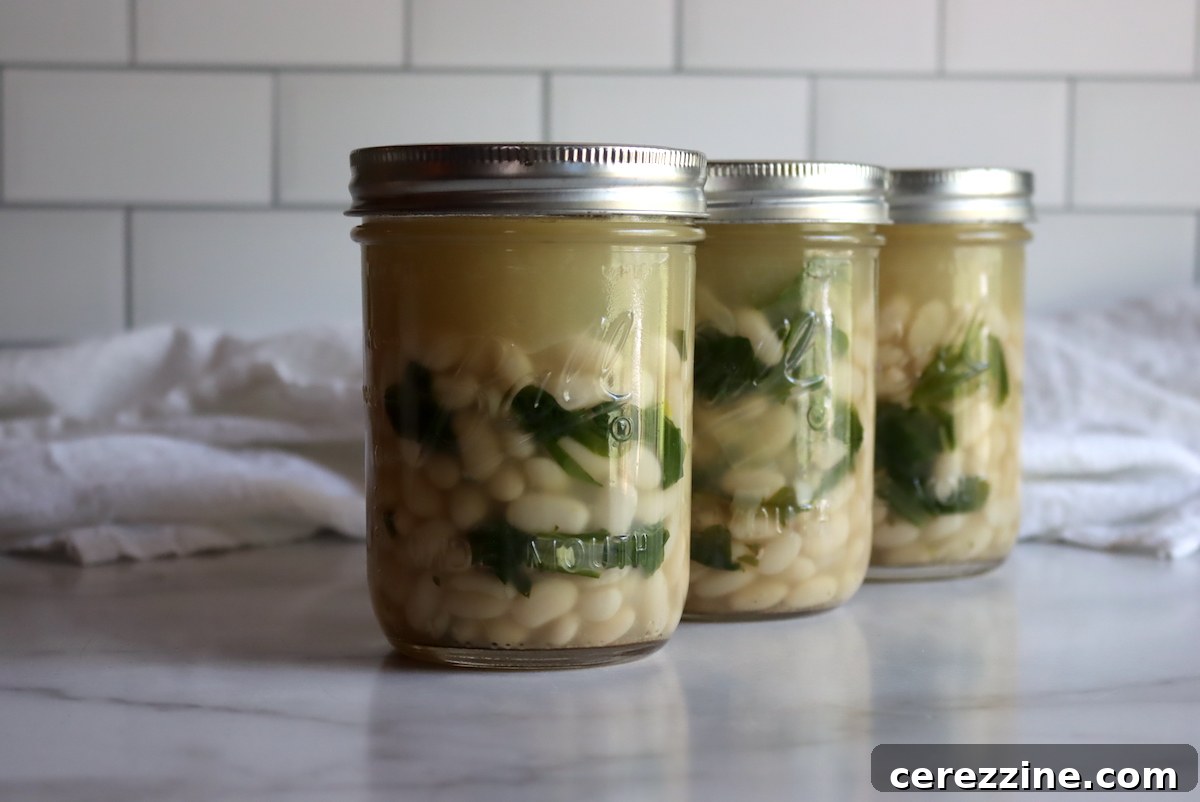
Today, we’re diving into the world of vegetarian soup canning recipes with a classic that never disappoints: Canning White Bean and Kale Soup. This recipe allows you to preserve the rich, savory flavors of a slow-simmered soup, making it incredibly convenient for future meals. Imagine having a wholesome, deeply flavorful soup just waiting on your pantry shelf, ready to be heated and enjoyed without any fuss.
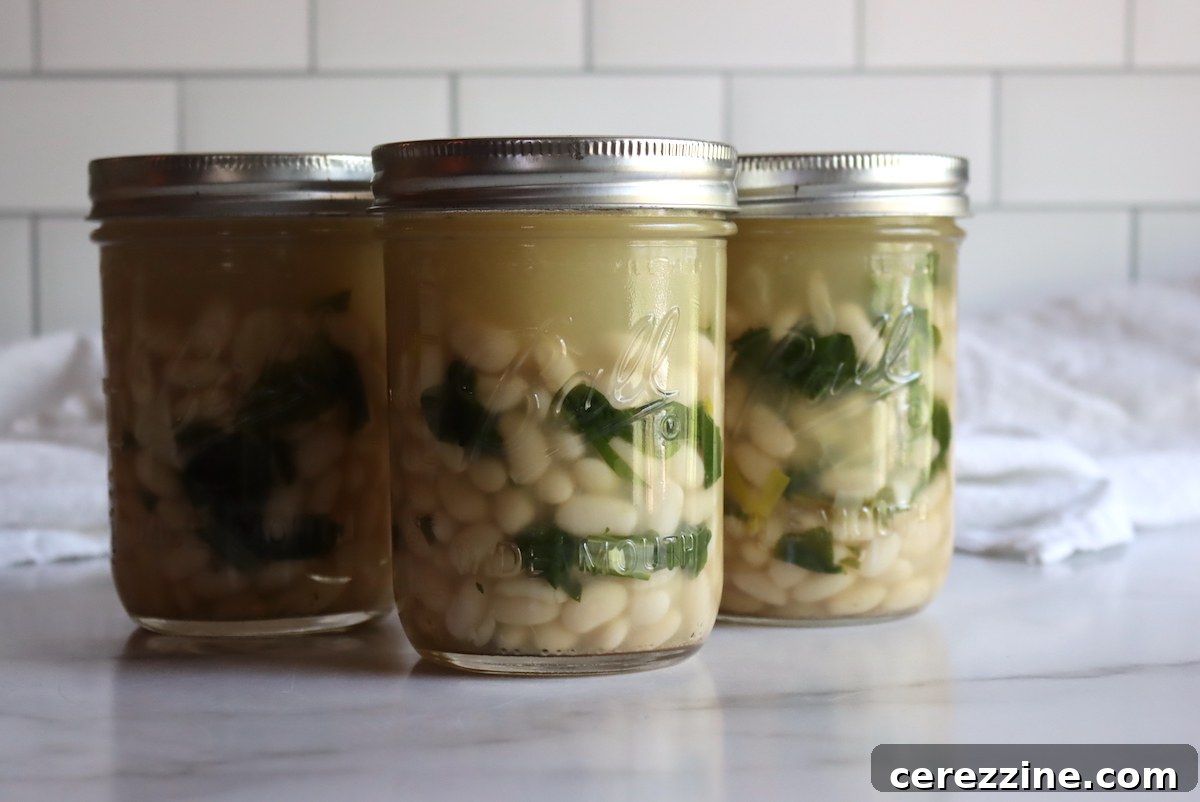
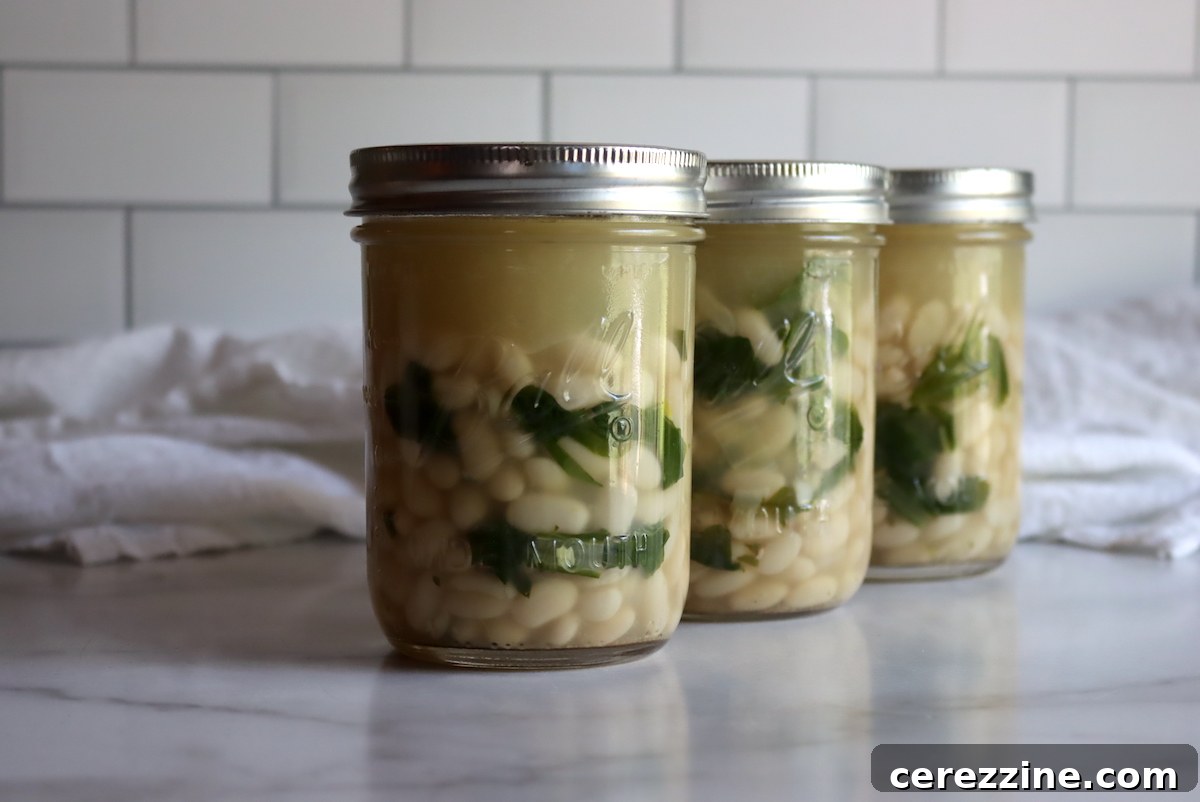
While this recipe is crafted as a vegetarian delight, its versatility means you can easily adapt it to include your favorite meats. Feel free to add cooked sausage, chicken, or other proteins if that suits your palate. However, it’s crucial to adhere to safe canning practices: always ensure your jars are filled no more than halfway with solids. This recipe is rigorously tested based on the NCHFP’s comprehensive choice guidance for brothy soups, which mandates a half-solids, half-broth ratio in each jar for proper heat penetration and safe processing.
Why You’ll Adore This Easy White Bean and Kale Soup Canning Recipe!

There’s a special kind of joy in spotting jars of this White Bean and Kale Soup on your pantry shelf, especially when winter’s chill sets in. It’s more than just food; it’s a promise of warmth, nourishment, and ease. This soup strikes the perfect balance – it’s incredibly hearty and comforting, yet light enough that it doesn’t overpower your meal. On those long, demanding days, the simple act of opening a jar and warming it up means dinner is effortlessly taken care of.
What makes this pressure-canned soup truly exceptional is its inherent flexibility without ever becoming complicated. Whether your garden is overflowing with fresh kale or you have a bounty of chard or other leafy greens, this recipe welcomes them all beautifully. It’s a consistently reliable recipe that delivers the rich taste of a soup simmered for hours, even when you’re just reheating it. For an extra touch of indulgence, you can swirl in a splash of cream, sprinkle with Parmesan cheese, or add a dollop of pesto. But honestly, it’s just as delightful straight from the jar, embodying the true essence of simple, delicious home cooking.
A Quick Overview of the White Bean and Kale Soup Canning Recipe
- Recipe Name: Canning White Bean and Kale Soup
- Recipe Type: Soup Canning Recipe
- Canning Method: Pressure Canning
- Prep/Cook Time: Approximately 30 Minutes of active cooking, plus essential bean soaking time.
- Canning Time: 60 Minutes for Pint Jars, 75 Minutes for Quart Jars.
- Yield: Yields approximately 7 pint jars (or 3-4 quart jars).
- Jar Sizes: Recommended for Pint or Quart Jars.
- Headspace: Maintain 1 inch of headspace.
- Key Ingredients: White Beans, Onion, Kale, Vegetable or Chicken Broth, and a blend of Spices.
- Safe Canning Recipe Source: Based on NCHFP Brothy Soup Canning Guidelines, ensuring safety and quality.
- Difficulty: Moderate. The most crucial steps are ensuring beans are adequately rehydrated through soaking or pre-cooking and strictly adhering to the “no more than halfway with solids” rule, as processing times are calibrated for a brothy soup.
- Similar Recipes: The canning process for this soup is consistent with other delicious brothy bean soups, including Canned Taco Soup, Canned Butternut Squash and White Bean Soup, Canned Chipotle Black Bean Soup, and Canned Cuban Black Bean Soup.
Essential Ingredients for White Bean and Kale Soup
This fantastic recipe for Canning White Bean and Greens Soup is a variation inspired by Pressure Canning for Beginners and Beyond by Angi Schneider, a truly invaluable resource for any home canner. We adore its simplicity and the flexibility it offers – substituting chard for kale is a common and equally delicious adaptation in our kitchen.
The beauty of this white bean and kale soup recipe lies in its straightforward, wholesome ingredients. To prepare a full canner batch, yielding approximately 7 pint jars of this delicious soup, you will need the following:
- 1 lb Great Northern Beans, or your preferred variety of other dry white beans. These must be uncooked but thoroughly pre-soaked.
- 2 cups Onions, neatly diced. This typically requires about ¾ lb of unprepared onions.
- 6 cups Vegetable Broth, or high-quality chicken broth if you prefer a non-vegetarian option.
- ½ lb Kale, Chard, or Other Greens, destemmed and chopped. You’ll need about ¾ lb of unprepared greens to achieve this quantity.
- 4 cloves Garlic, finely minced for aromatic depth.
- 1 Tbsp. White Wine Vinegar, or apple cider vinegar. This is optional and added primarily for a bright flavor note, not for preservation purposes.
- 1 Tbsp. Canning Salt, specifically formulated without anti-caking agents that can cloud your canned goods.
- ½ tsp. Black Pepper, freshly ground for the best flavor.
For serving (optional enhancements):
- A sprinkle of Smoked Paprika for a deeper, smoky aroma.
- A spoonful of fresh Pesto for a burst of herbaceous flavor.
- ¼ cup of Cream, stirred in just before serving for a richer, smoother texture.
- A generous sprinkle of freshly grated Parmesan Cheese.
- Crunchy Croutons for added texture.
A critical preparatory step: Ensure you soak your beans well in advance. You can opt for the traditional overnight cold soak method or the quicker hot soak technique (bring to a boil, then let sit for an hour). Proper rehydration is key for uniform cooking and safety during the canning process. Skipping this step can lead to hard beans and potentially unsafe canning.
“How delicious! I added a spoonful of homemade garlic scape pesto when I heated it up and oh my, so good! I’ll definitely make this again!”
– Heather, a satisfied home canner
Detailed Guide to Canning White Bean and Kale Soup
Embarking on the canning journey requires meticulous preparation. Begin by gathering and readying your canning jars, ensuring you have seven 1-pint jars, along with their lids and bands. Familiarize yourself with your pressure canner’s instructions regarding water levels and heating.
-
Prepare Your Canning Equipment: Place your clean jars in the pressure canner, filling the canner with water according to your manufacturer’s guidelines (typically a few inches). Heat the canner over low heat to keep the jars hot, maintaining a temperature of approximately 180°F (82°C). This is crucial for hot-pack canning to prevent thermal shock to the jars.
-
Pre-Cook the Beans: After soaking, drain the beans thoroughly. Transfer them to a large stockpot and cover with fresh water. Bring the beans to a rolling boil, then immediately remove them from the heat and drain the water. This vital pre-cook step ensures the beans fully rehydrate and soften appropriately before canning, preventing them from becoming too hard or absorbing too much liquid during processing.
-
Simmer the Soup Base: Return the pre-cooked beans to the stockpot. Add the vegetable or chicken broth, minced garlic, diced onions, chopped greens, canning salt, and ground black pepper. If using, incorporate the white wine or cider vinegar for an added layer of flavor. Bring this mixture to a boil over high heat, then reduce the heat to maintain a gentle boil and allow it to simmer for five minutes.
-
Avoid Overcooking: At this stage, the beans and vegetables will not be fully cooked, and that’s perfectly intended! They will continue to cook and tenderize within the jars during the pressure canning process. Resisting the urge to cook them completely now is important; doing so will result in mushy ingredients after canning.
-
Fill the Jars Correctly: Carefully remove the stockpot from the heat. Using a slotted spoon, evenly distribute the solids (beans, onions, greens) among your hot, prepared jars. It is imperative that each jar is filled no more than halfway with solids. This is a key safety requirement for brothy soup canning recipes, as the processing times are designed for a higher liquid content to ensure proper heat distribution.
-
Add Broth and Adjust Headspace: Ladle the hot broth from the stockpot over the solids in each jar, filling the jars to a precise 1-inch headspace (the empty space between the food surface and the rim of the jar). If you find yourself short on broth, you can top off the jars with boiling water or additional hot chicken broth.
-
Remove Air Bubbles and Clean Rims: Use a non-metallic bubble removal tool to gently release any trapped air bubbles from the jars. After removing bubbles, recheck the headspace and adjust if necessary. Wipe the rims of each jar scrupulously clean with a damp cloth to ensure a perfect seal. Place the lids and bands securely on the jars.
-
Pressure Canning Process: Load the filled, sealed jars into your pressure canner. Process pint jars for 60 minutes and quart jars for 75 minutes. Remember to adjust the pressure according to your altitude, as outlined in the section below, to ensure safe processing. Always follow your pressure canner’s specific operating instructions.
-
Cooling and Storage: Once the processing time is complete, allow the pressure canner to depressurize naturally and completely. Do not attempt to force depressurization. Carefully remove the hot jars from the canner and place them on a towel-lined counter or rack to cool undisturbed for 12 to 24 hours. After cooling, check all jar seals. Properly sealed jars can be stored in a cool, dark place for up to one year. Any unsealed jars should be refrigerated and consumed within a few days.
Crucial Altitude Adjustments for Pressure Canning
When it comes to pressure canning, it’s essential to understand that while the canning time remains constant regardless of your altitude, the processing pressure must be increased as your elevation rises. This adjustment ensures that the internal temperature within your canner reaches the necessary level for safe food preservation, especially for low-acid foods like this white bean and kale soup. Processing times are consistently 60 minutes for pint jars and 75 minutes for quart jars, as per the NCHFP guidance on brothy soups.
Use the following table to accurately determine the correct processing pressure for your specific altitude, particularly if you are canning at an elevation above 1,000 feet:
For dial gauge pressure canners:
- 0 to 2,000 feet in elevation – Process at 11 lbs pressure
- 2,001 to 4,000 feet in elevation – Process at 12 lbs pressure
- 4,001 to 6,000 feet in elevation – Process at 13 lbs pressure
- 6,001 to 8,000 feet in elevation – Process at 14 lbs pressure
For weighted gauge pressure canners:
- 0 to 1,000 feet in elevation – Process at 10 lbs pressure
- Above 1,000 feet – Process at 15 lbs pressure
Always double-check your local altitude and consult your pressure canner’s manual for any specific recommendations to ensure the safety and quality of your preserved goods.
Serving Your Delicious White Bean and Kale Soup
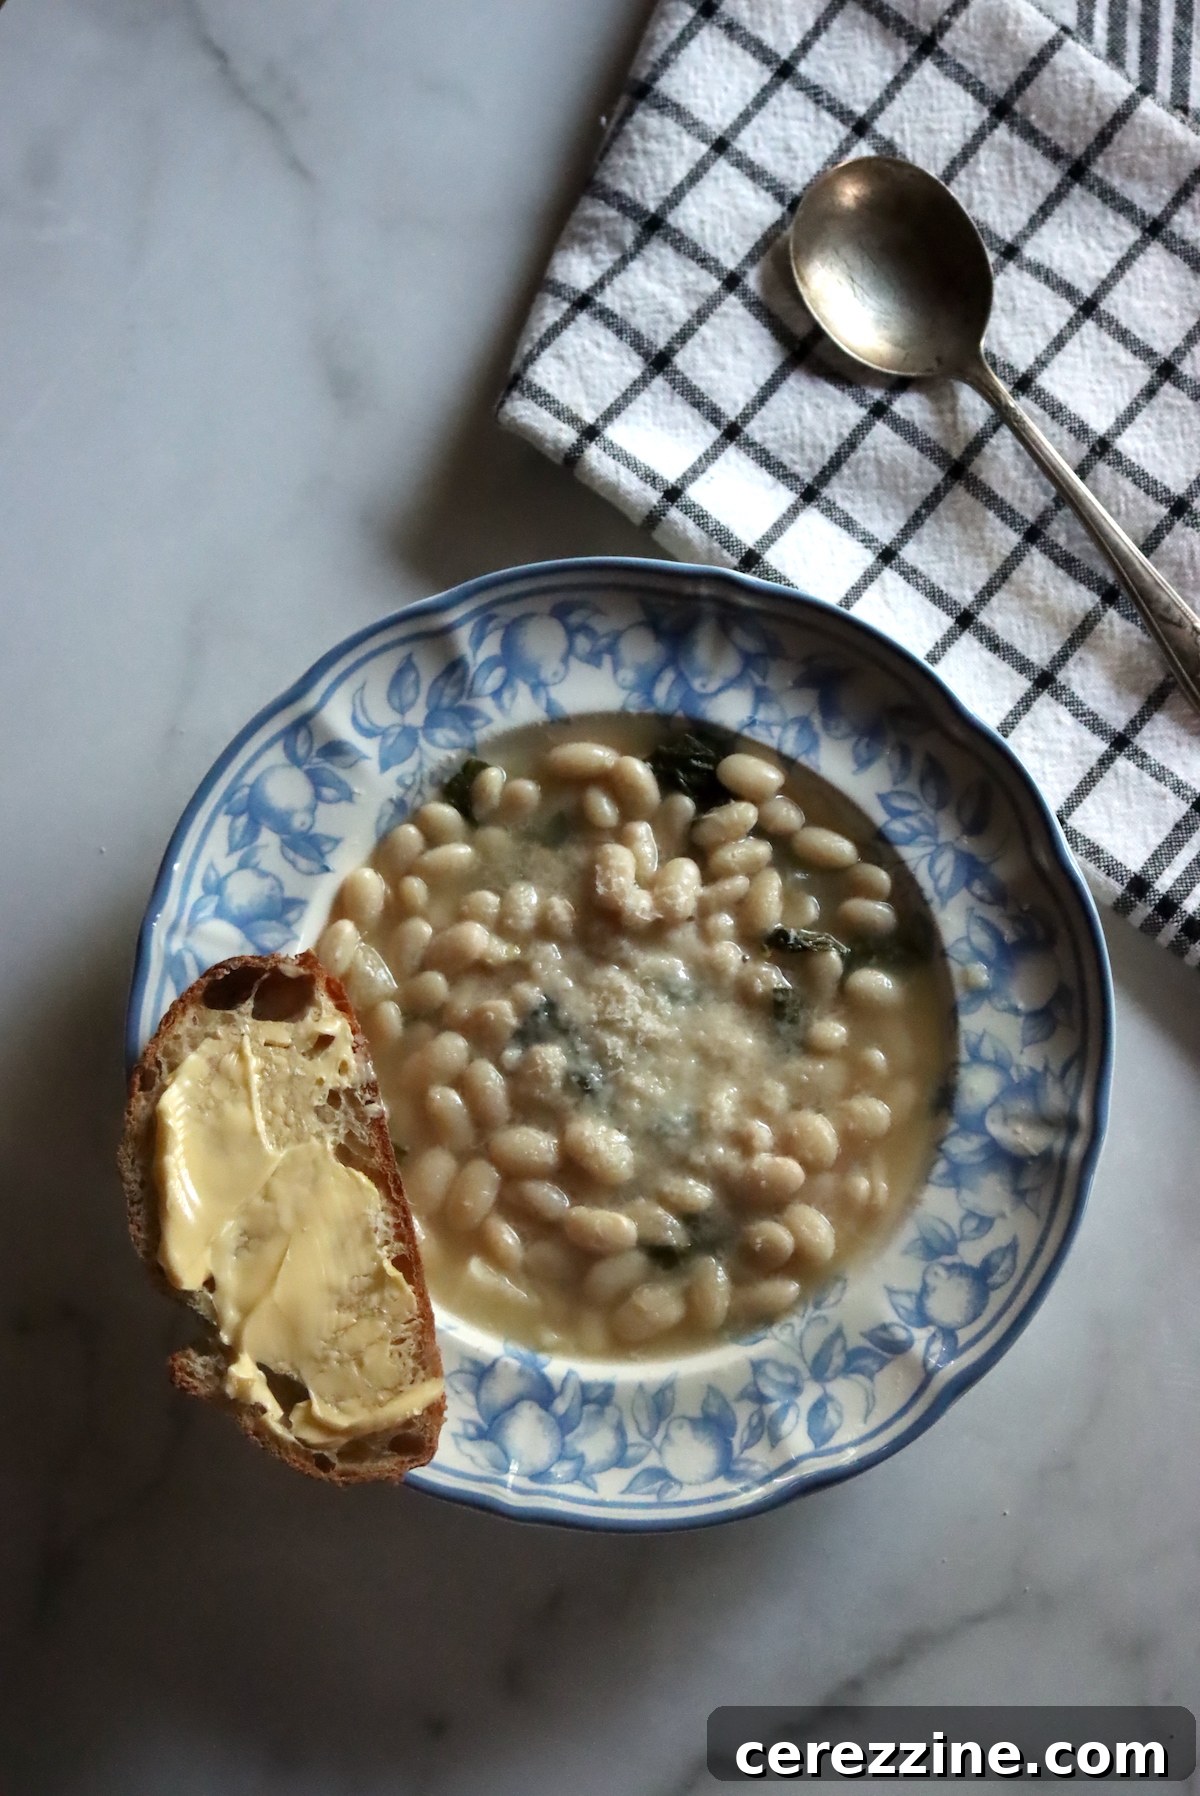
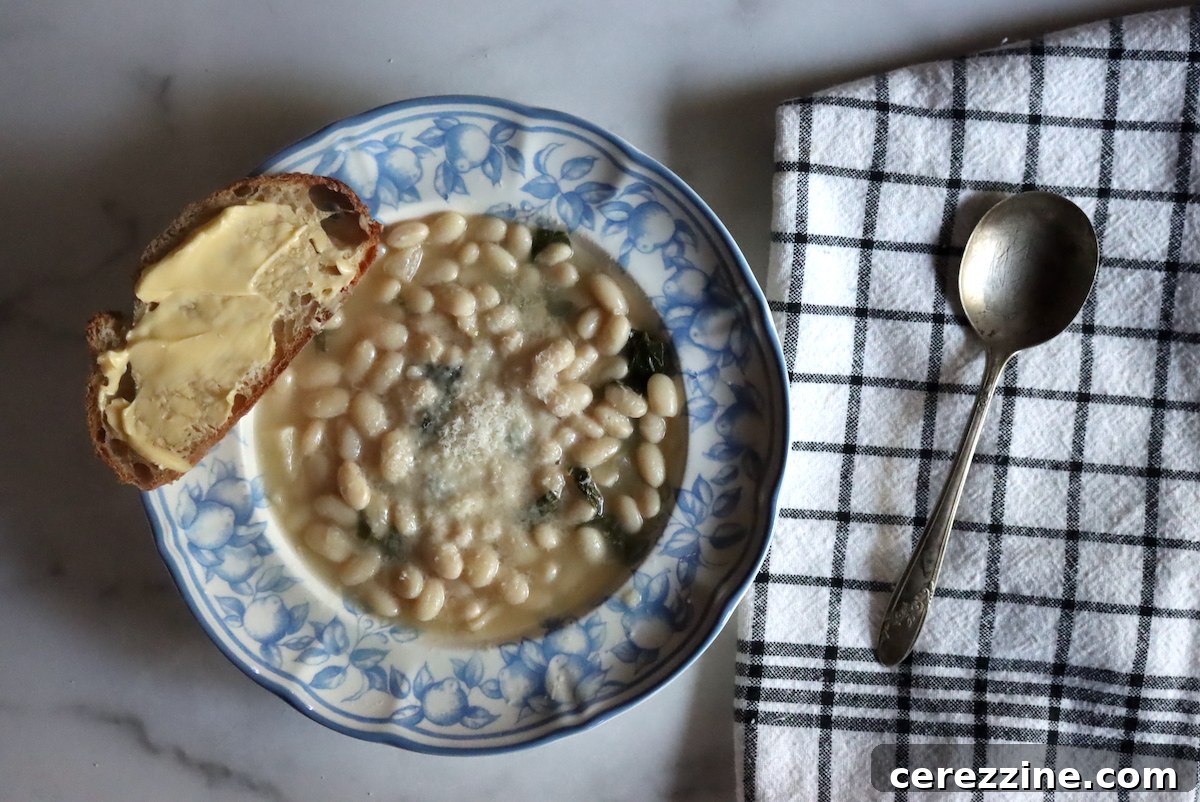
The true convenience of home-canned White Bean and Kale Soup lies in its “heat and eat” nature, making it the perfect solution for those hectic evenings when cooking from scratch just isn’t an option. Simply retrieve a jar from your pantry, gently open it, warm the soup, and savor a wholesome, homemade meal with minimal effort.
While the soup is wonderfully satisfying on its own, you can elevate your dining experience with a few simple additions. We highly recommend pairing it with a slice of crusty bread for dipping or a fresh, crisp side salad to complete the meal. Personally, I find that a generous topping of freshly grated Parmesan cheese adds an irresistible savory depth.
For reheating, simply pour the soup into a saucepan and gently warm it over medium heat for about 10 minutes, or until it reaches a gentle simmer. For an extra touch of richness, stir in a bit of cream just before serving. Garnish each bowl with a dash of smoked paprika and a handful of crunchy croutons for an added layer of flavor and texture. This simple soup can be transformed into a gourmet experience with just a few optional embellishments!
Explore More Soup Canning Recipes
If you’ve enjoyed the process of canning this delightful White Bean and Kale Soup, you’re in for a treat! The world of soup canning is vast and rewarding, offering endless possibilities for stocking your pantry with wholesome, ready-to-eat meals. Here are some more inspiring soup canning recipes to expand your collection:
Canning Sausage Potato and Kale Soup (Copycat Zuppa Toscana)
Canning Taco Soup
Roasted Tomato Basil Soup
If you tried this White Bean and Greens Soup Canning Recipe, or any other recipe on Creative Canning, leave a ⭐ star rating and let me know what you think in the 📝 comments below!
And make sure you stay in touch with me by following on social media!
- Substack
Canning White Bean and Kale Soup
Equipment
-
Pressure Canner
Ingredients
- 1 lb Great Northern Beans, other dry white beans, pre-soaked
- 2 cups Onions, peeled and diced
- 6 cups Vegetable Broth, or chicken broth
- ½ lb Kale, chard, or other greens, de-stemmed and chopped
- 4 cloves Garlic, minced
- 1 tbsp White Wine Vinegar, or cider vinegar, optional, for flavor rather than preservation
- 1 Tbsp. Canning Salt
- ½ tsp Ground Black Pepper
Instructions
-
Be sure to soak your beans before starting this recipe. You can overnight soak in cold water (slow method), or “quick soak” them by bringing them to a boil in a pot of water, then turning off the heat and covering them for 1 hour. Proceed with the recipe as written after a slow or quick soak.
-
Prepare your canning jars, lids, and the pressure canner itself. You will need seven 1-pint jars.
-
Fill the canner with a few inches of water, based on your manufacturer’s instructions, and place the canner on the stovetop over low heat with the jars inside. The water needs to be around 180 degrees Fahrenheit, or 82 degrees Celsius.
-
Drain the water from the soaked beans, placing the beans in a large stockpot. Cover them with fresh water.
-
Bring the beans to a boil, then remove them from the heat and drain the water. This pre-cook is important to fully rehydrate the beans before canning, don’t skip it.
-
Put the beans back into the stockpot, then add the broth, garlic, onions, greens, salt and pepper, and vinegar (if using). Bring everything to a boil over high heat, then reduce to a gentle boil and boil for five minutes.
-
Remove the stockpot from the heat, then use a slotted spoon to ladle the solids into the canning jars. Evenly distribute the solids, filling each jar no more than halfway with solids. Use a ladle to top each jar with hot broth, filling to 1 inch headspace.
-
Use a bubble removal tool to remove the bubbles, then recheck the headspace. If you’re short on broth, use boiling water or hot chicken broth to top the jars off.
-
Wipe the rims clean with a damp cloth, then put the bands and lids on the jars and load them into the pressure canner.
-
Process jars for 60 minutes for pints and 75 minutes for quarts, adjusting pressure to altitude (see notes).
-
When you are done processing, let the canner depressurize on its own. Remove the jars and allow them to cool on the counter for 12 hours.
-
Check the seals and store your jars for up to one year.
Notes
Altitude Adjustments for Canning Soup
Canning time remains the same regardless of altitude. However, the processing pressure increases as altitude increases.
Use the following table to determine the correct processing pressure if you’re above 1,000 feet in elevation.
For dial gauge pressure canners:
- 0 to 2,000 feet in elevation – 11 lbs pressure
- 2,001 to 4,000 feet in elevation – 12 lbs pressure
- 4,001 to 6,000 feet in elevation – 13 lbs pressure
- 6,001 to 8,000 feet in elevation – 14 lbs pressure
For weighted gauge pressure canners:
- 0 to 1,000 feet in elevation – 10 lbs pressure
- Above 1,000 feet – 15 lbs pressure
Nutrition
Nutrition information is automatically calculated, so should only be used as an approximation.
Find Your Next Canning Adventure!
Seeking more delicious recipes to fill your pantry? Use the search bar below to explore a wide array of canning ideas and discover your next kitchen project!
More Delicious Soup Canning Recipes
The art of canning soup offers incredible convenience and flavor. After mastering this White Bean and Kale Soup, consider these other fantastic options to enrich your home pantry:
- Hearty Sausage, Potato, and Kale Soup
- Sweet and Earthy Carrot Soup
- Comforting Split Pea Soup
- Classic Chicken Soup
Explore Diverse Bean Canning Recipes
If you’re looking for additional ways to preserve healthy, vegetarian protein, beans are an excellent choice for home canning. They’re versatile, nutritious, and form the base of many fulfilling meals. Discover more bean canning recipes to keep your pantry stocked:
- Canning Dry Beans for Versatile Use
- Canning Delightful Vegetarian Baked Beans
- Canning Butternut Squash and Dry Bean Soup
Convenient Meal-in-a-Jar Canning Recipes
Beyond individual ingredients, canning entire meals in a jar revolutionizes meal prep, offering quick and easy solutions for busy days. These meal-in-a-jar canning recipes are perfect for those who appreciate homemade goodness without the daily cooking:
- Traditional Boston Baked Beans
- Exotic Thai Curry with Duck or Chicken
- Savory White Bean Chicken Chili
- Spicy Cajun Red Beans and Sausage