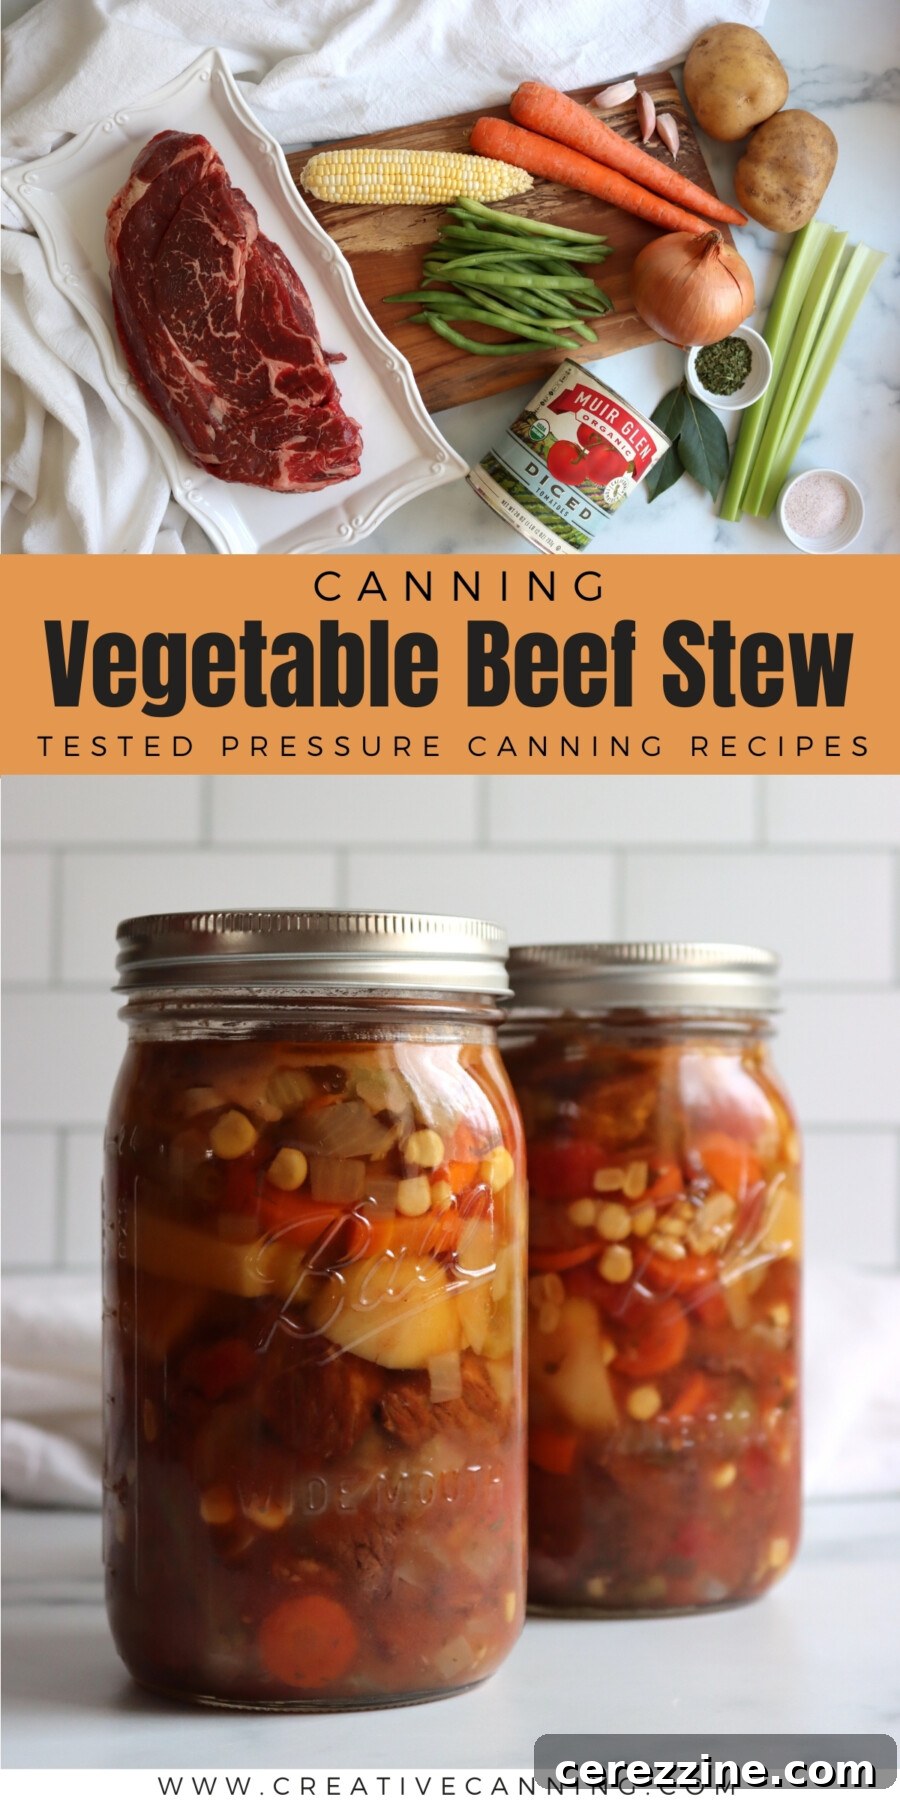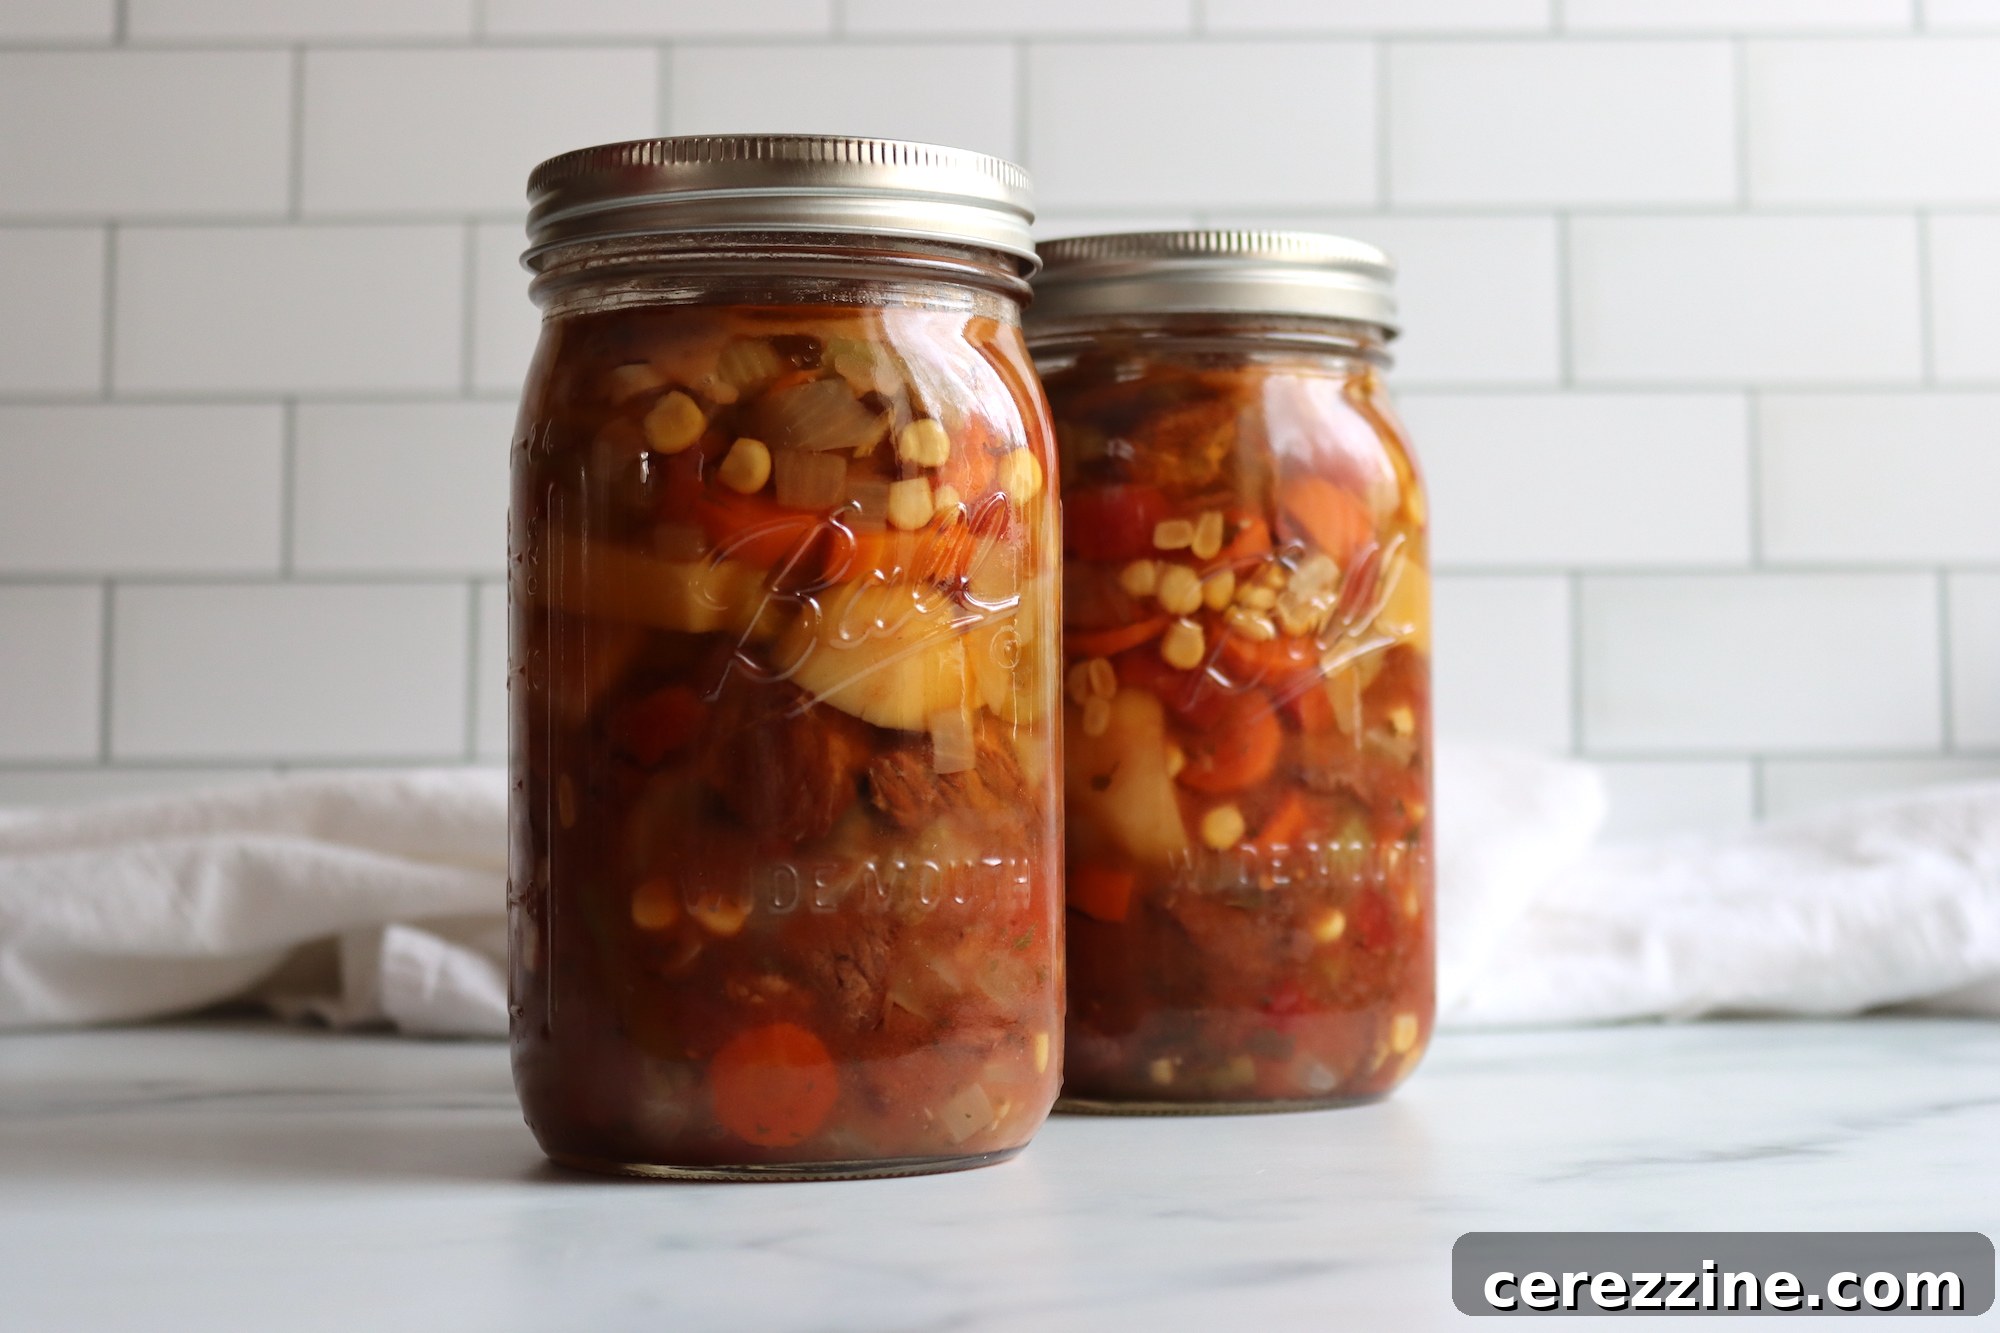
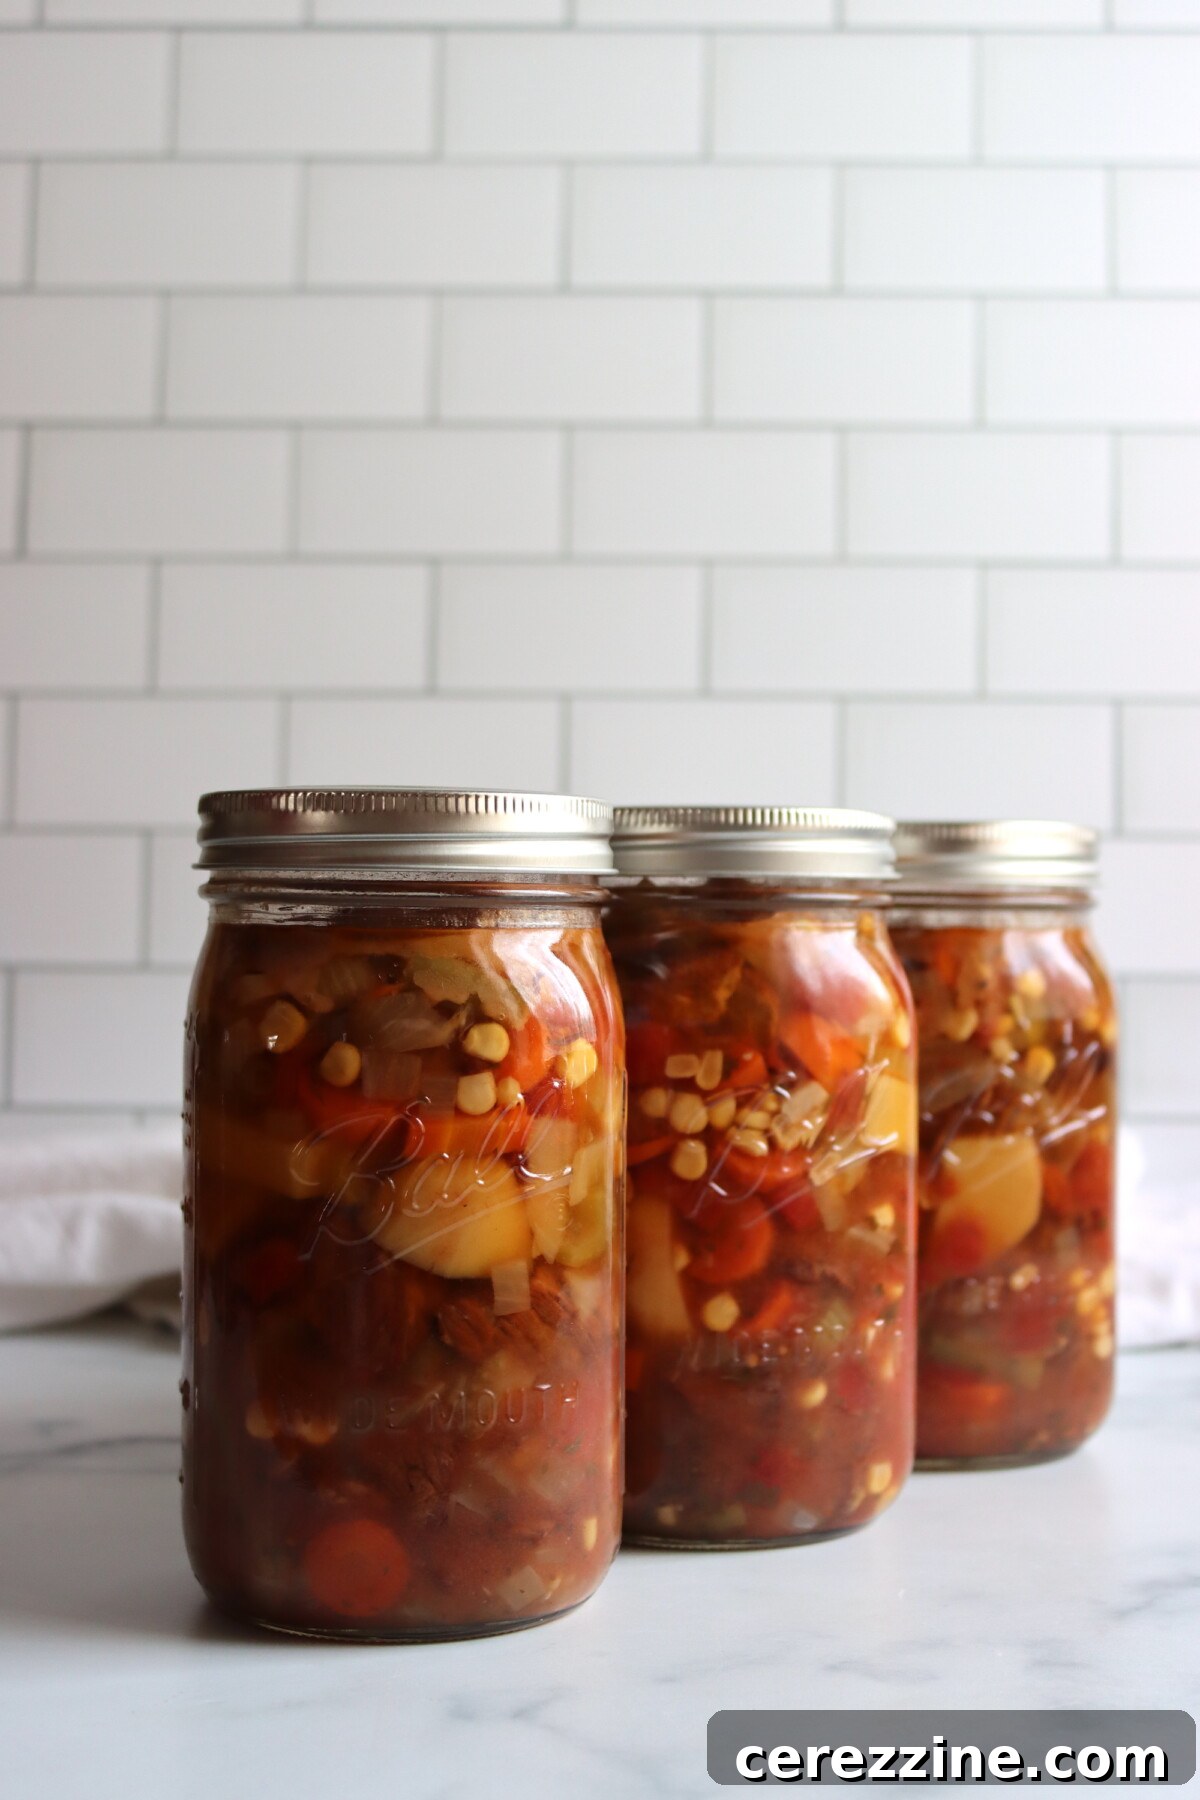
Canning vegetable beef stew transforms a beloved comfort food into a convenient, shelf-stable meal that’s ready to serve in minutes. Imagine a robust soup, slow-simmered with tender chunks of beef, wholesome potatoes, sweet carrots, crisp celery, vibrant corn, fresh green beans, and ripe tomatoes, all bathed in a rich, deeply seasoned broth. This culinary creation, expertly preserved in jars, promises a nutritious and satisfying dinner on even the busiest weeknights, delivering homemade goodness with unparalleled ease. It’s not just food; it’s a smart way to stock your pantry with delicious, ready-to-eat meals.
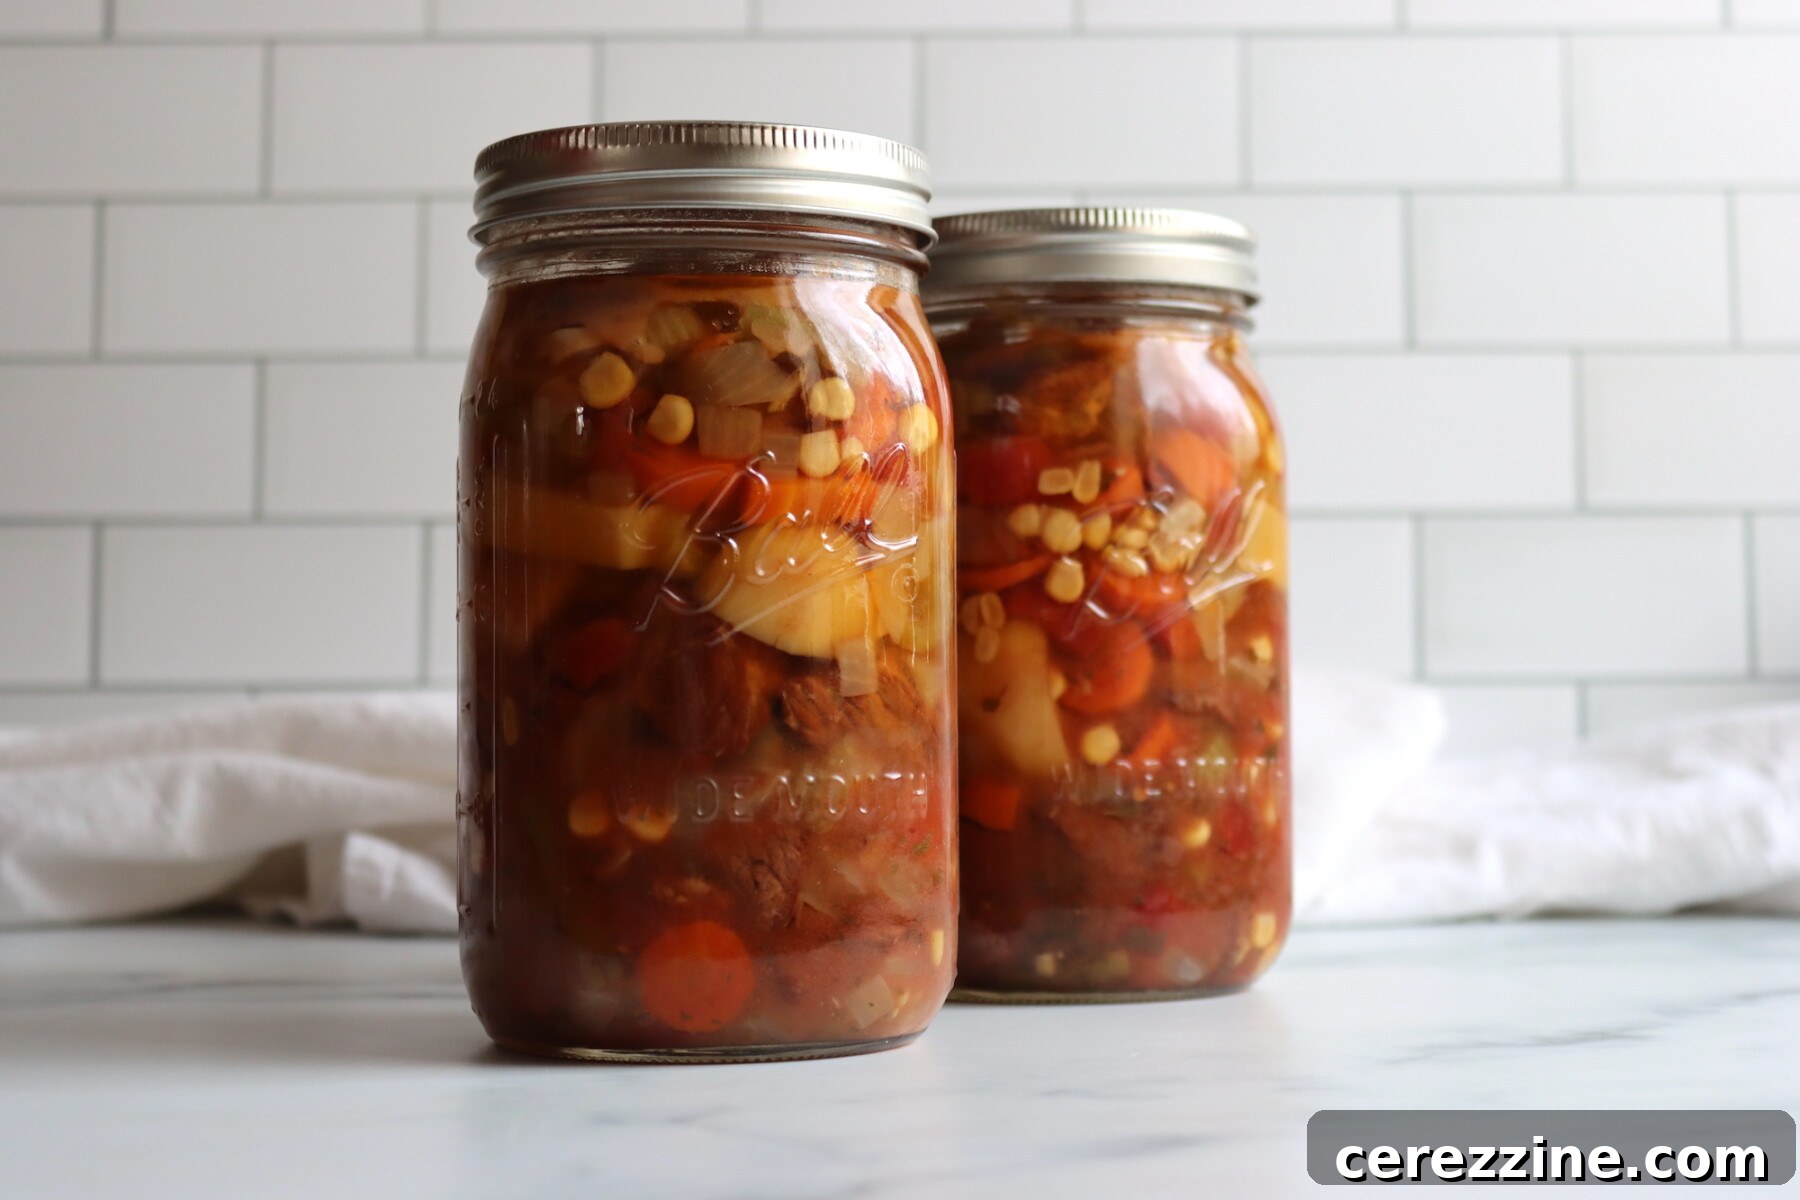
This pressure canning recipe has undergone rigorous review for safety and accuracy by a Master Food Preserver, certified through the esteemed University of Cornell Cooperative Extension. Adhering to these established safety protocols is paramount for successful home canning.
The Appeal of Home-Canned Vegetable Beef Stew
Home canning vegetable beef stew offers a remarkable blend of convenience, flavor, and self-sufficiency. This hearty rendition of classic vegetable soup is elevated by the addition of tender stewing beef, creating a deeply satisfying meal. The rich tomato base, combined with an abundance of seasonal vegetables, forms a flavor profile that only deepens with time on the shelf. By preserving this stew, you’re not just making dinner easier; you’re investing in a well-stocked pantry that provides peace of mind.
Unlike a simpler Classic Beef Stew, which typically includes just beef, potatoes, carrots, celery, and onions, this recipe expands its horizons. It incorporates the bright acidity of tomatoes, the sweet crunch of corn, the fresh texture of green beans, and the aromatic depth of Italian seasoning. The result is a more complete and complex meal in a jar, bursting with diverse flavors and textures that make it truly exceptional.
Our canning instructions for this vegetable beef stew are meticulously built upon well-established, scientifically tested protocols. We draw heavily from the reliable Ball Beef Stew with Vegetables recipe found in the authoritative Ball Complete Book of Home Preserving, alongside the comprehensive University of Alaska Cooperative Extension Hearty Soups Protocol. These trusted sources ensure that our recipe delivers both delicious results and, more importantly, a safe product for your family.
Why This Vegetable Beef Stew Recipe Will Become a Family Favorite!

The flavor profile of this stew is truly exceptional. It captures the comforting essence of a homemade vegetable soup, yet the inclusion of high-quality stew beef adds an incredible richness and satisfying body, transforming it into a complete and robust meal. My family absolutely adores it, and I find immense peace of mind having jars of it readily available in my pantry. On those chaotic weeknights when cooking from scratch feels like an insurmountable task, a jar of this stew means a delicious, wholesome dinner is handled in mere minutes. It’s the ultimate convenience food without sacrificing quality or taste.
This recipe is specifically designed to yield approximately 4 generous quart jars, each brimming with a perfect balance of succulent meat and vibrant vegetables. Should you prefer a stew with a more ample broth, simply incorporate an additional 4 cups of beef stock into the pot. This adjustment will increase your yield to 5 quart jars, offering a slightly lighter, yet equally flavorful experience. The seasoning, calibrated at roughly 3/4 teaspoon of salt per quart, hits the sweet spot for perfectly balanced flavor. However, it is crucial to review the notes regarding broth selection. If you opt for store-bought, pre-salted broth, you must significantly reduce the added salt to prevent an overly salty finished product. Careful attention to this detail ensures optimal taste and enjoyment.
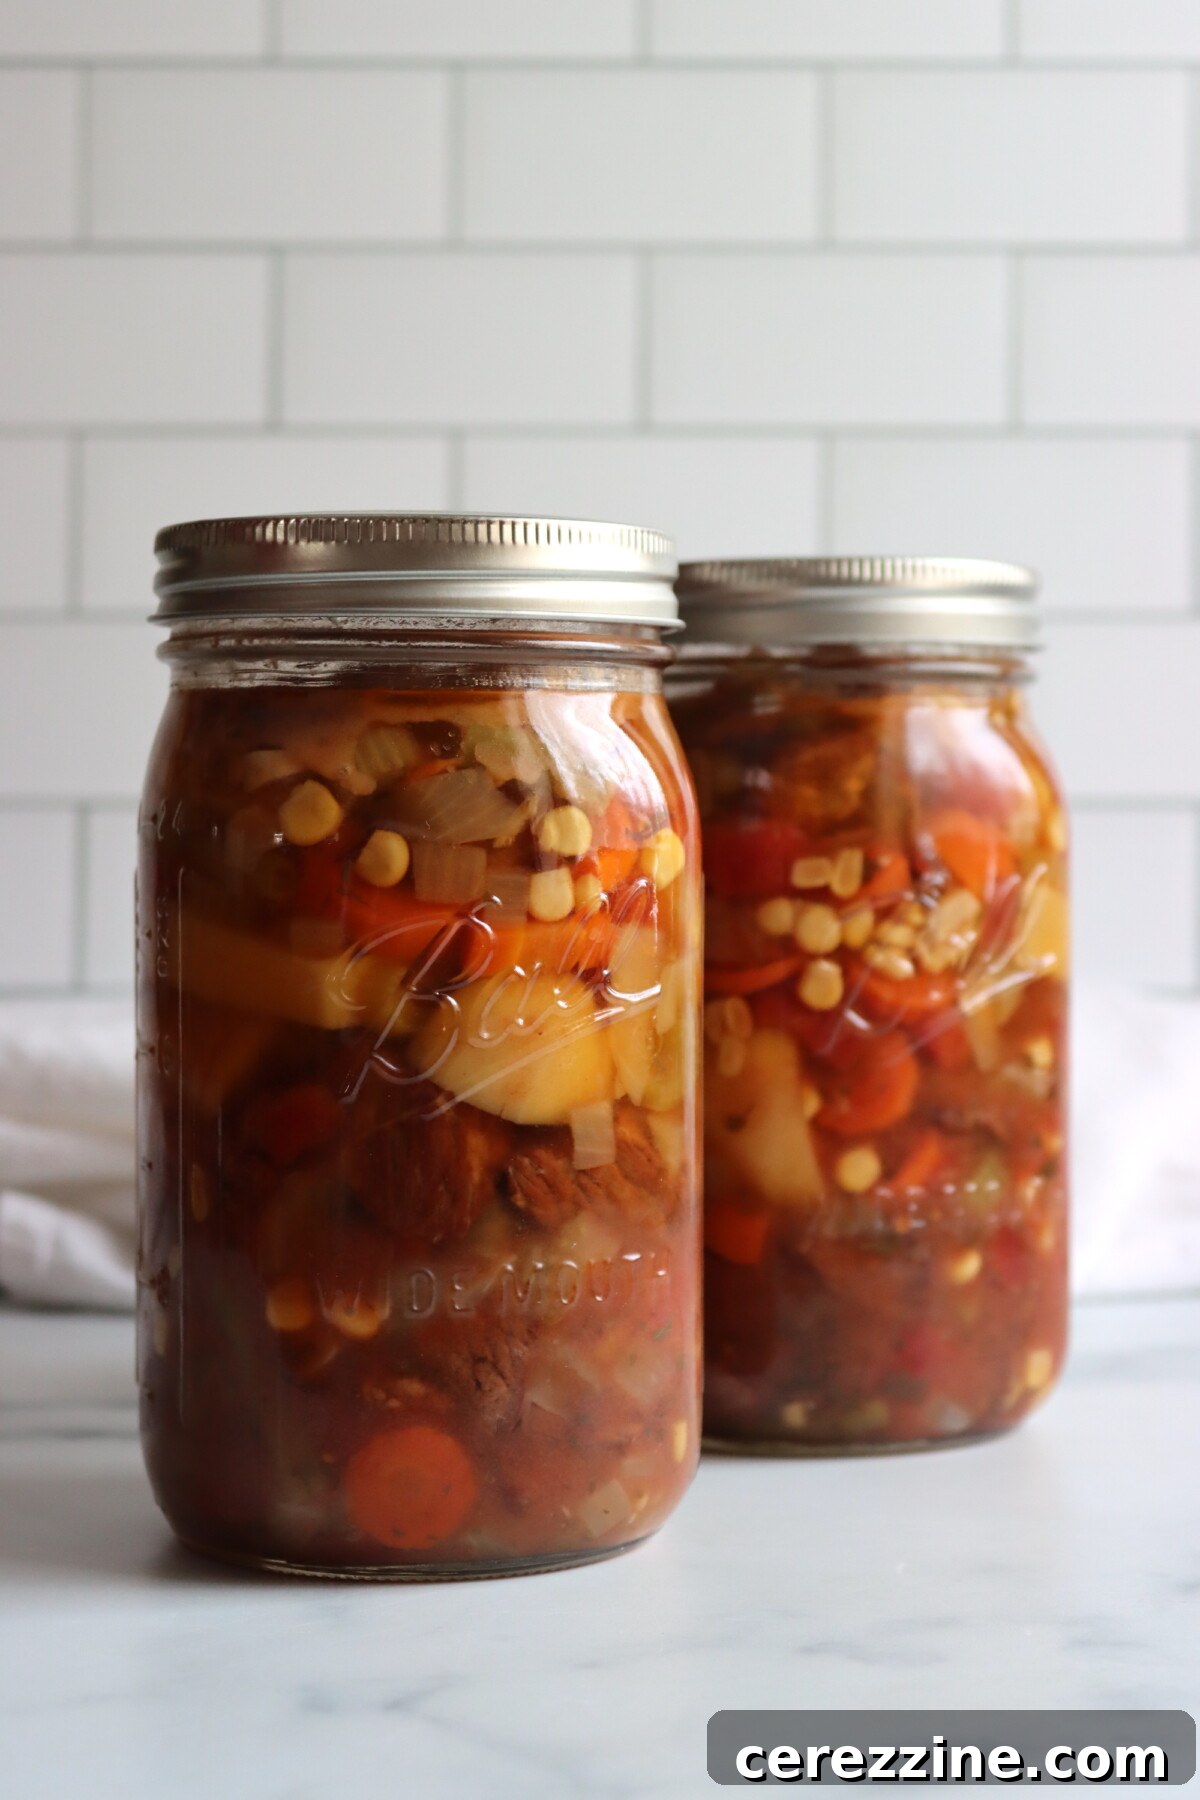
Vegetable Beef Stew Canning: Recipe Overview
- Recipe Name: Canning Vegetable Beef Stew
- Recipe Type: Meal in a Jar Pressure Canning Recipe
- Canning Method: Pressure Canning
- Preparation & Cook Time: Approximately 1 hour for active preparation and simmering.
- Pressure Canning Time: 75 minutes for pint jars, 90 minutes for quart jars.
- Yield: Typically 4 quart jars (or 5 quart jars if adding extra broth for a brothier stew).
- Recommended Jar Sizes: Pints or Quarts.
- Required Headspace: 1 inch.
- Key Ingredients: Stew beef, potatoes, carrots, celery, onion, corn, green beans, diced tomatoes, beef broth, and a savory seasoning blend.
- Safe Canning Recipe Source: This recipe is a carefully adapted and tested version based on guidelines from the Ball Complete Book of Home Preserving and the University of Alaska Cooperative Extension Hearty Soups Protocol.
- Difficulty Level: Moderate. While it involves a bit of chopping and the initial browning of meat, the assembly process is straightforward, making it accessible for those with some canning experience.
- Similar Recipes You Might Enjoy: This robust stew complements other pressure canned meals like Classic Beef Stew, Beef Stroganoff, and Beef Burgundy. For utilizing an abundance of summer vegetables, it pairs wonderfully with Classic Vegetable Soup and Chicken Vegetable Soup. Explore more inspiration on our Meal in a Jar Canning Recipes and Beef Canning Recipes pages.
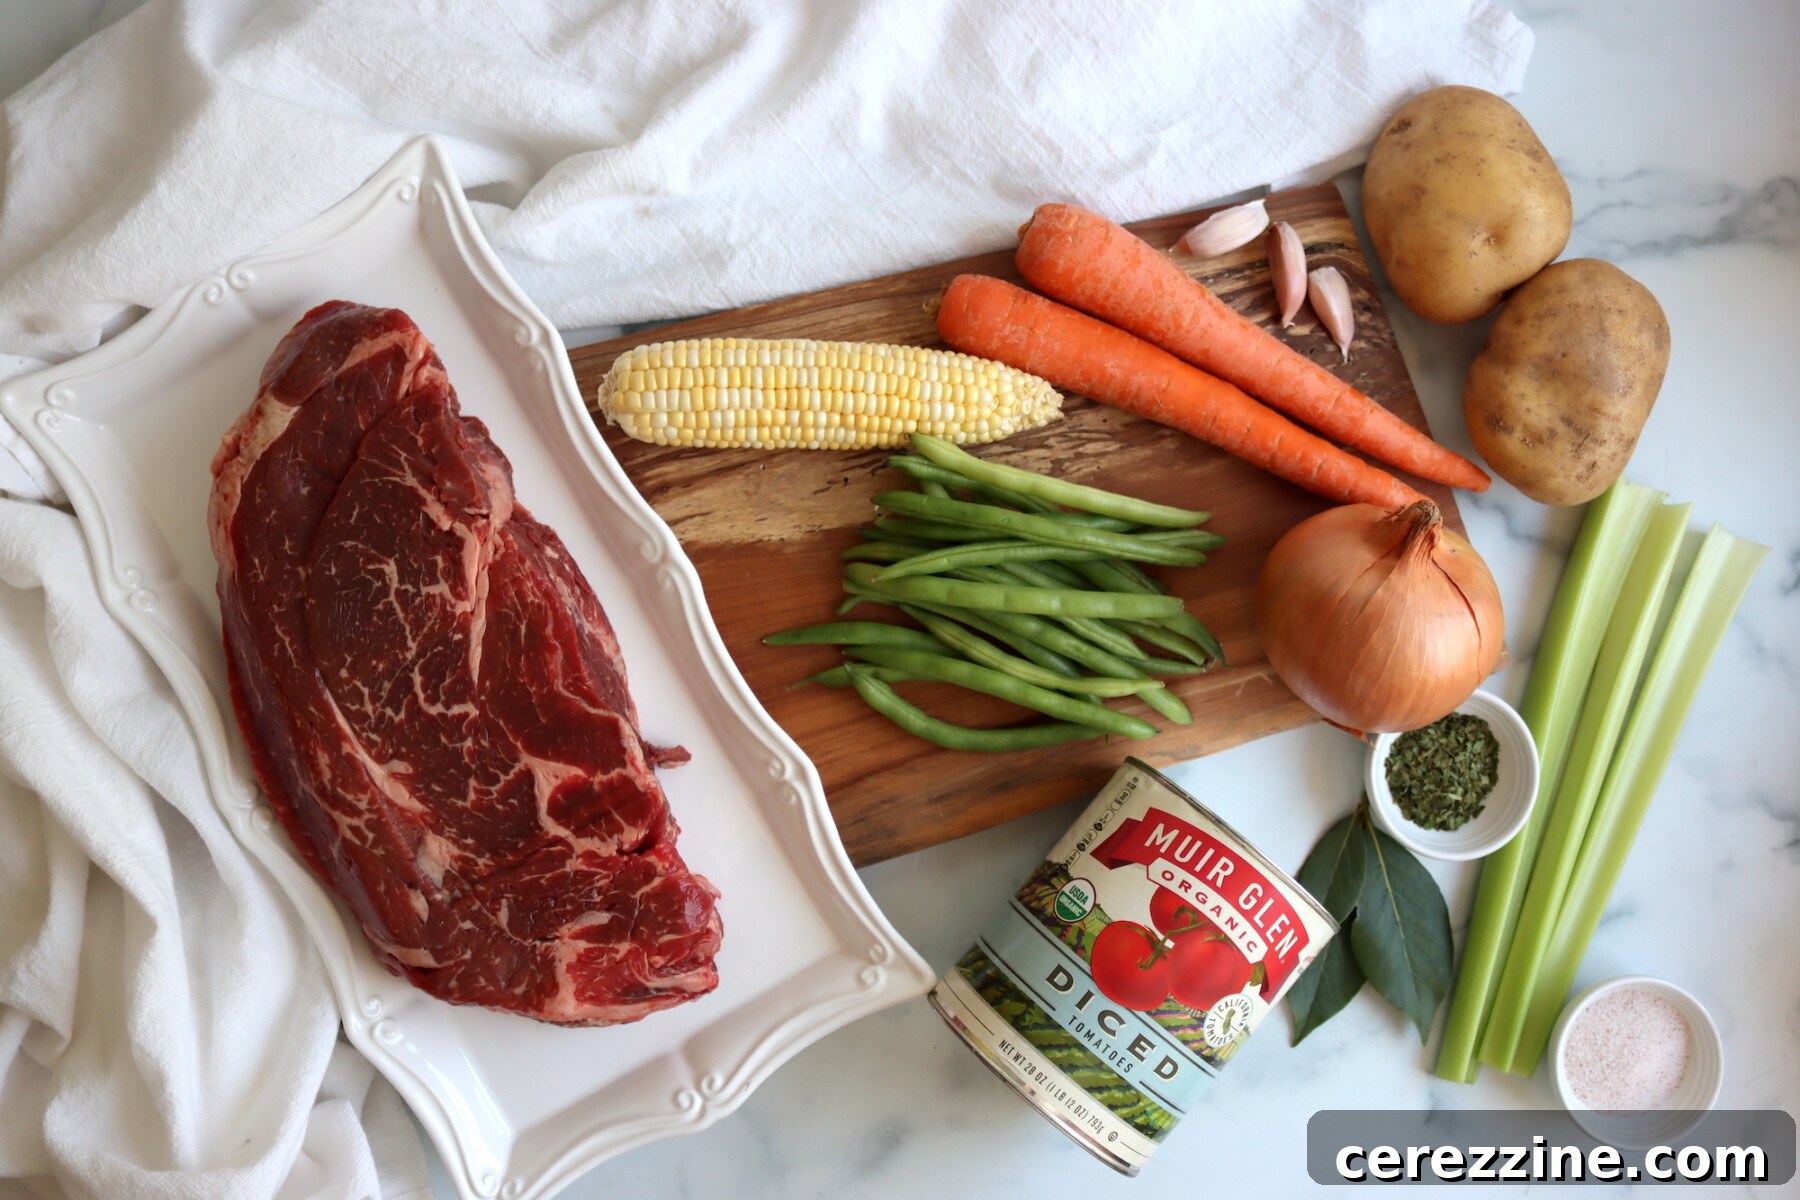
Key Ingredients for a Delicious and Safe Canned Vegetable Beef Stew
Crafting the perfect vegetable beef stew for canning requires a thoughtful selection of ingredients. Each component not only contributes to the rich flavor and satisfying texture but also plays a crucial role in ensuring the safety and quality of the finished product. This recipe utilizes a harmonious blend of beef, hearty root vegetables, aromatic enhancements, and a flavorful tomato-broth base.
- Beef Stew Meat: This forms the cornerstone of our stew. For optimal flavor and tenderness that withstands the pressure canning process, a well-marbled cut like chuck roast is highly recommended. Cut the beef into uniform 1 to 1.5-inch pieces to ensure consistent cooking and efficient packing into jars. This size is ideal for both texture and safety.
- Olive Oil: Essential for browning the beef, this initial step is critical for developing deep, complex flavors. While olive oil is preferred for its taste, any neutral-flavored cooking oil will suffice.
- Onion: A fundamental aromatic, onion provides a foundational layer of sweetness and savory depth to the broth. One small onion, when chopped, typically yields about 1 cup.
- Carrots: These add natural sweetness, vibrant color, and that quintessential stew flavor. Opt for robust storage carrots, as their firmer texture holds up better during canning compared to more delicate summer varieties.
- Celery: Contributes a distinct savory note and classic aromatic base to the stew. Approximately two large stalks or three smaller ones will provide the needed 1 cup when sliced.
- Garlic: Three cloves of minced garlic infuse the broth with an extra layer of richness and pungent flavor, enhancing the overall profile. Adjust the quantity to your personal preference.
- Diced Tomatoes: A 28-ounce can of undrained diced tomatoes is vital. The tomatoes add significant body, a subtle acidity that brightens the stew, and contribute to the broth’s liquid content. Do not drain them; the liquid is an integral part of the recipe. For an even thicker tomato base, you may optionally stir in 1 tablespoon of tomato paste, which is safe for canning.
- Beef Broth: This is the primary liquid base for the stew. Unsalted homemade beef broth offers the most control over the final salt content. If using store-bought broth, please refer to the detailed notes below, as many commercial broths are pre-salted, requiring a significant reduction in added salt.
- Potatoes: Cut into 1-inch cubes, potatoes add essential substance and a comforting texture to the stew. Russet potatoes release more starch, contributing a slightly thicker body to the broth, whereas Yukon Golds will result in a clearer broth. Around 3 cups of prepared potatoes are needed.
- Corn: Fresh corn cut from one large cob (yielding about 1 cup) or frozen corn kernels adds a delightful sweetness and rounds out the vegetable mix, making the stew feel more complete and satisfying.
- Green Beans: A handful of trimmed, 1-inch pieces of green beans introduce a fresh, earthy flavor and a pop of green color, enhancing the visual appeal and nutritional value.
- Italian Seasoning and Parsley: This specific blend of dried herbs elevates the stew beyond a simple beef and vegetable combination. Italian seasoning provides a complex, savory, and aromatic herbaceousness without overwhelming the other flavors. Dried parsley adds a touch of fresh, peppery notes.
- Bay Leaf: Added during the simmering phase, a bay leaf imparts a subtle, fragrant background note to the broth. You can choose to leave it in the jars for canning or remove it before packing.
- Salt: This recipe calls for 1 tablespoon of salt for the entire batch, which translates to roughly 3/4 teaspoon per quart jar when using unsalted broth. It is imperative to consult the notes section carefully regarding salt adjustments if you are using commercially prepared, salted beef broth.
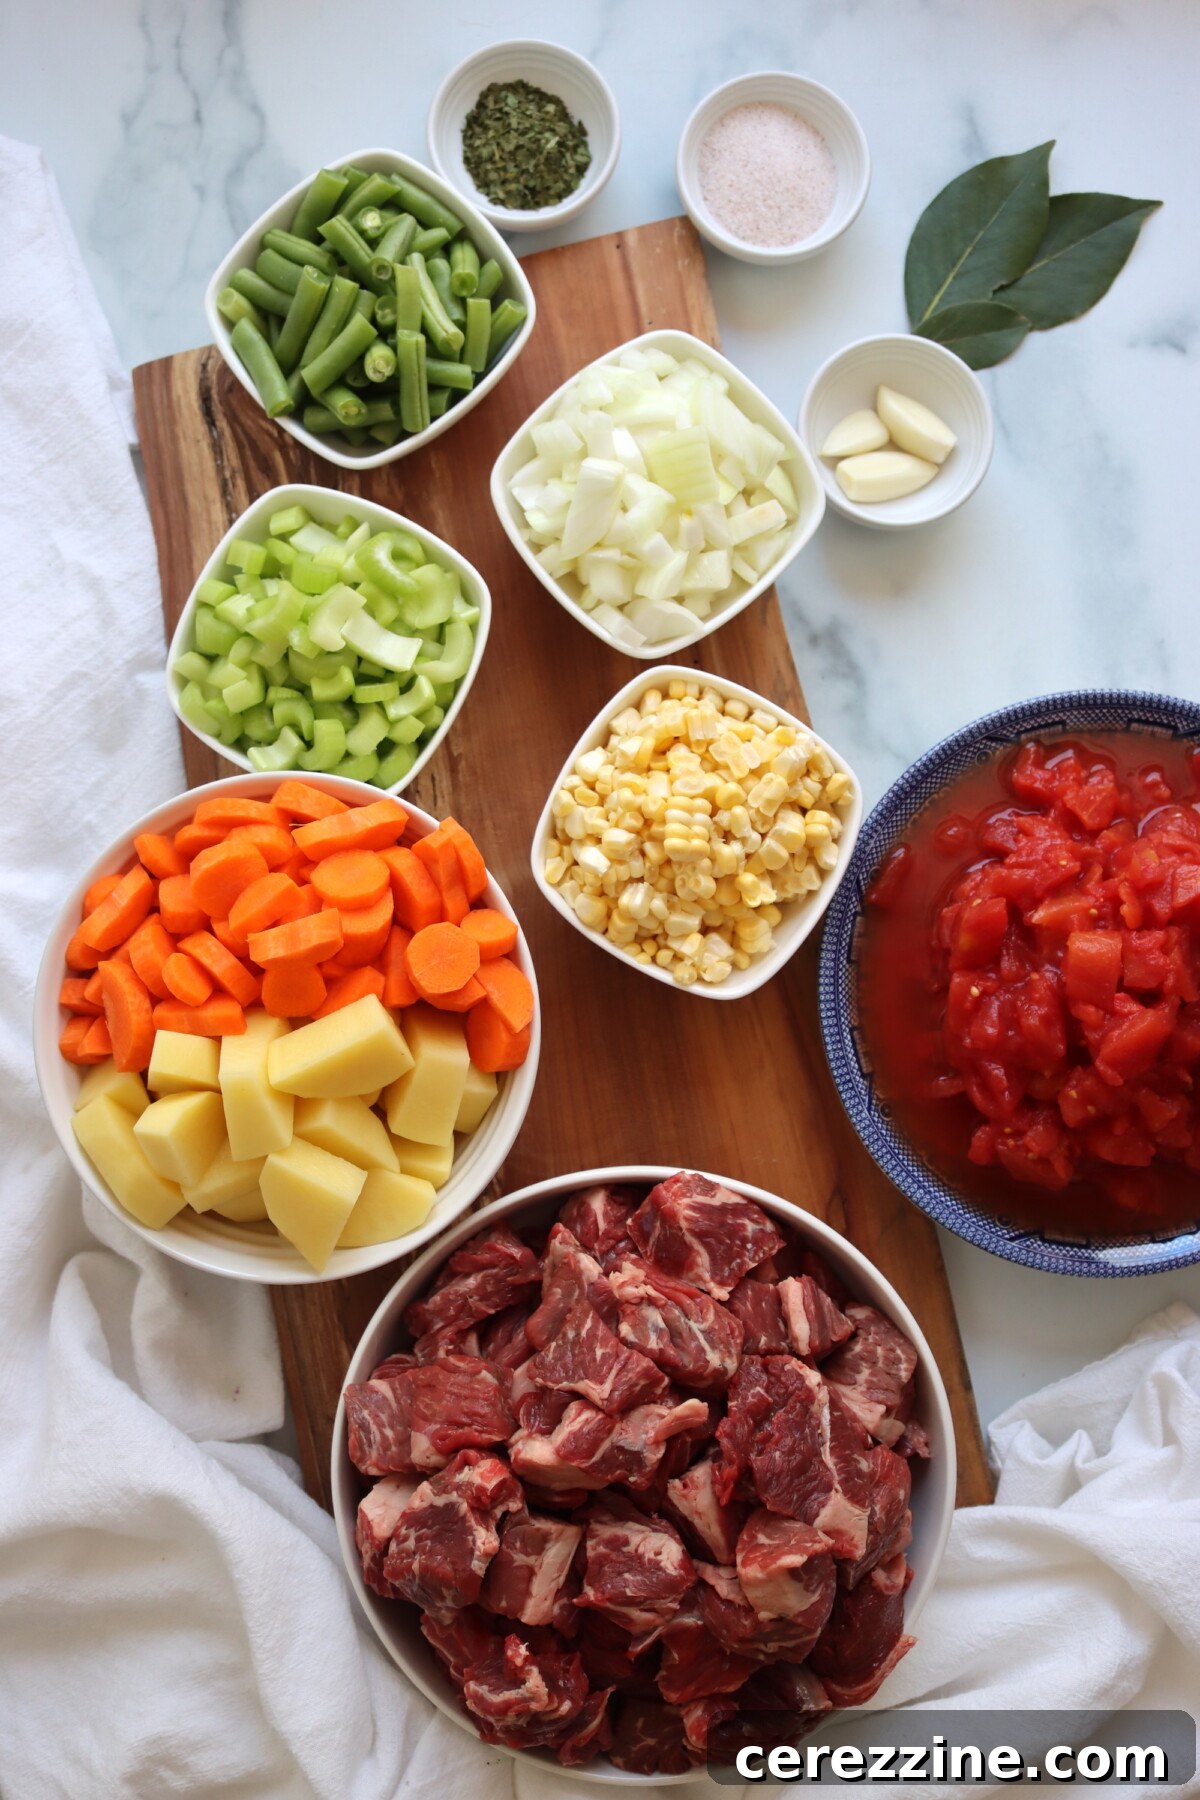
Flexibility and Safety in Vegetable Selection
This recipe adheres strictly to the University of Alaska Cooperative Extension Hearty Soups Protocol, which provides safe guidelines for incorporating various firm vegetables. This flexibility allows you to customize your stew with other suitable options such as peas or bell peppers, or to omit any vegetable you prefer. However, it is absolutely critical to consult the specific hearty soups protocol to confirm which vegetables are approved for canning. Certain ingredients are strictly prohibited before canning due to safety concerns; these include sweet potatoes, winter squash, creamed corn, and leafy greens.
Furthermore, it is important to remember that you cannot add thickeners (like flour or cornstarch), dairy products, pasta, rice, pureed vegetables, or cured meats to the stew before the canning process. While a tablespoon of tomato paste can be safely stirred in for a slightly richer broth, it is not essential. Thickeners should only be added after opening the jar and when reheating the stew for serving, typically in the form of a flour or cornstarch slurry.
Step-by-Step Guide to Canning Vegetable Beef Stew
Follow these detailed instructions carefully to ensure a delicious and safely canned vegetable beef stew:
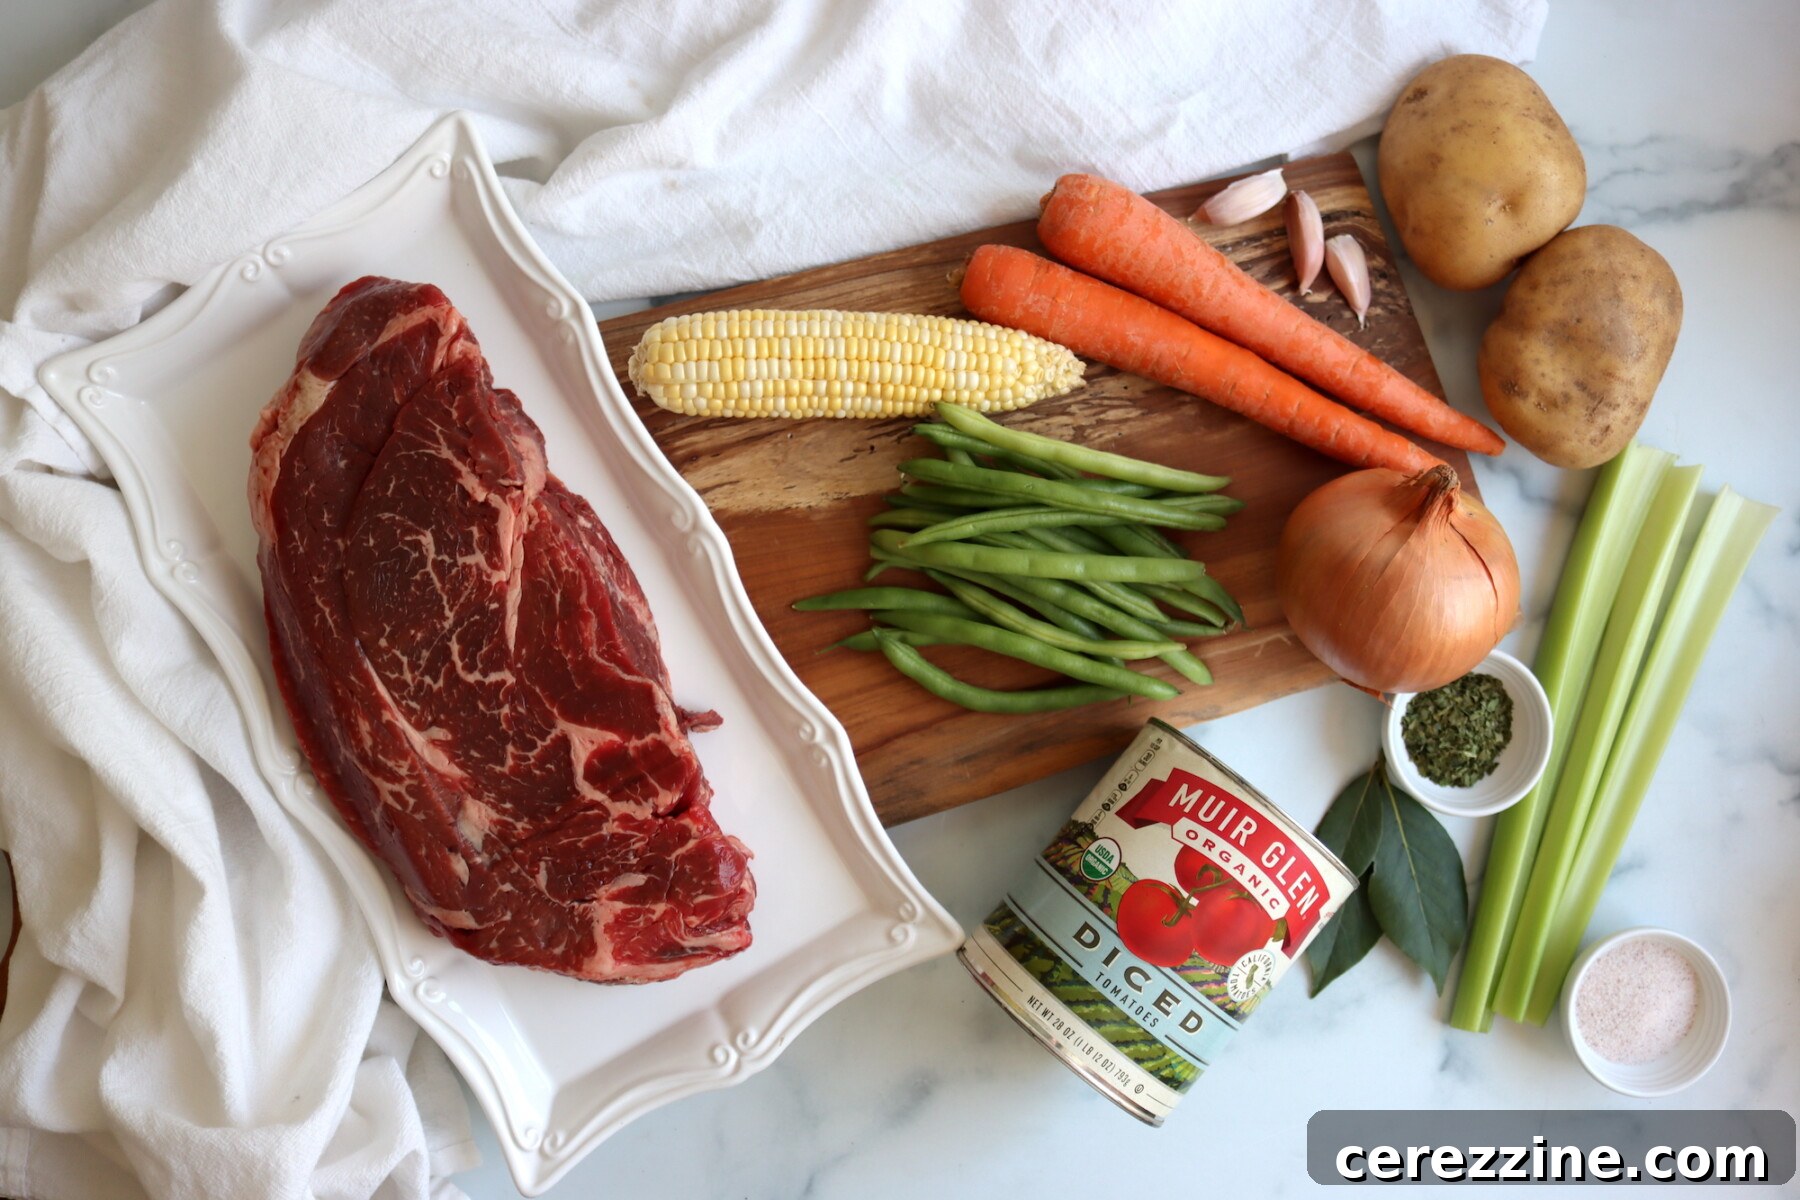
- Prepare Your Equipment and Ingredients: Begin by preparing your pressure canner, jars, lids, and bands according to the manufacturer’s specific instructions. It is crucial to keep the cleaned jars hot until you are ready to fill them. Simultaneously, gather all your ingredients and thoroughly wash your fresh vegetables.
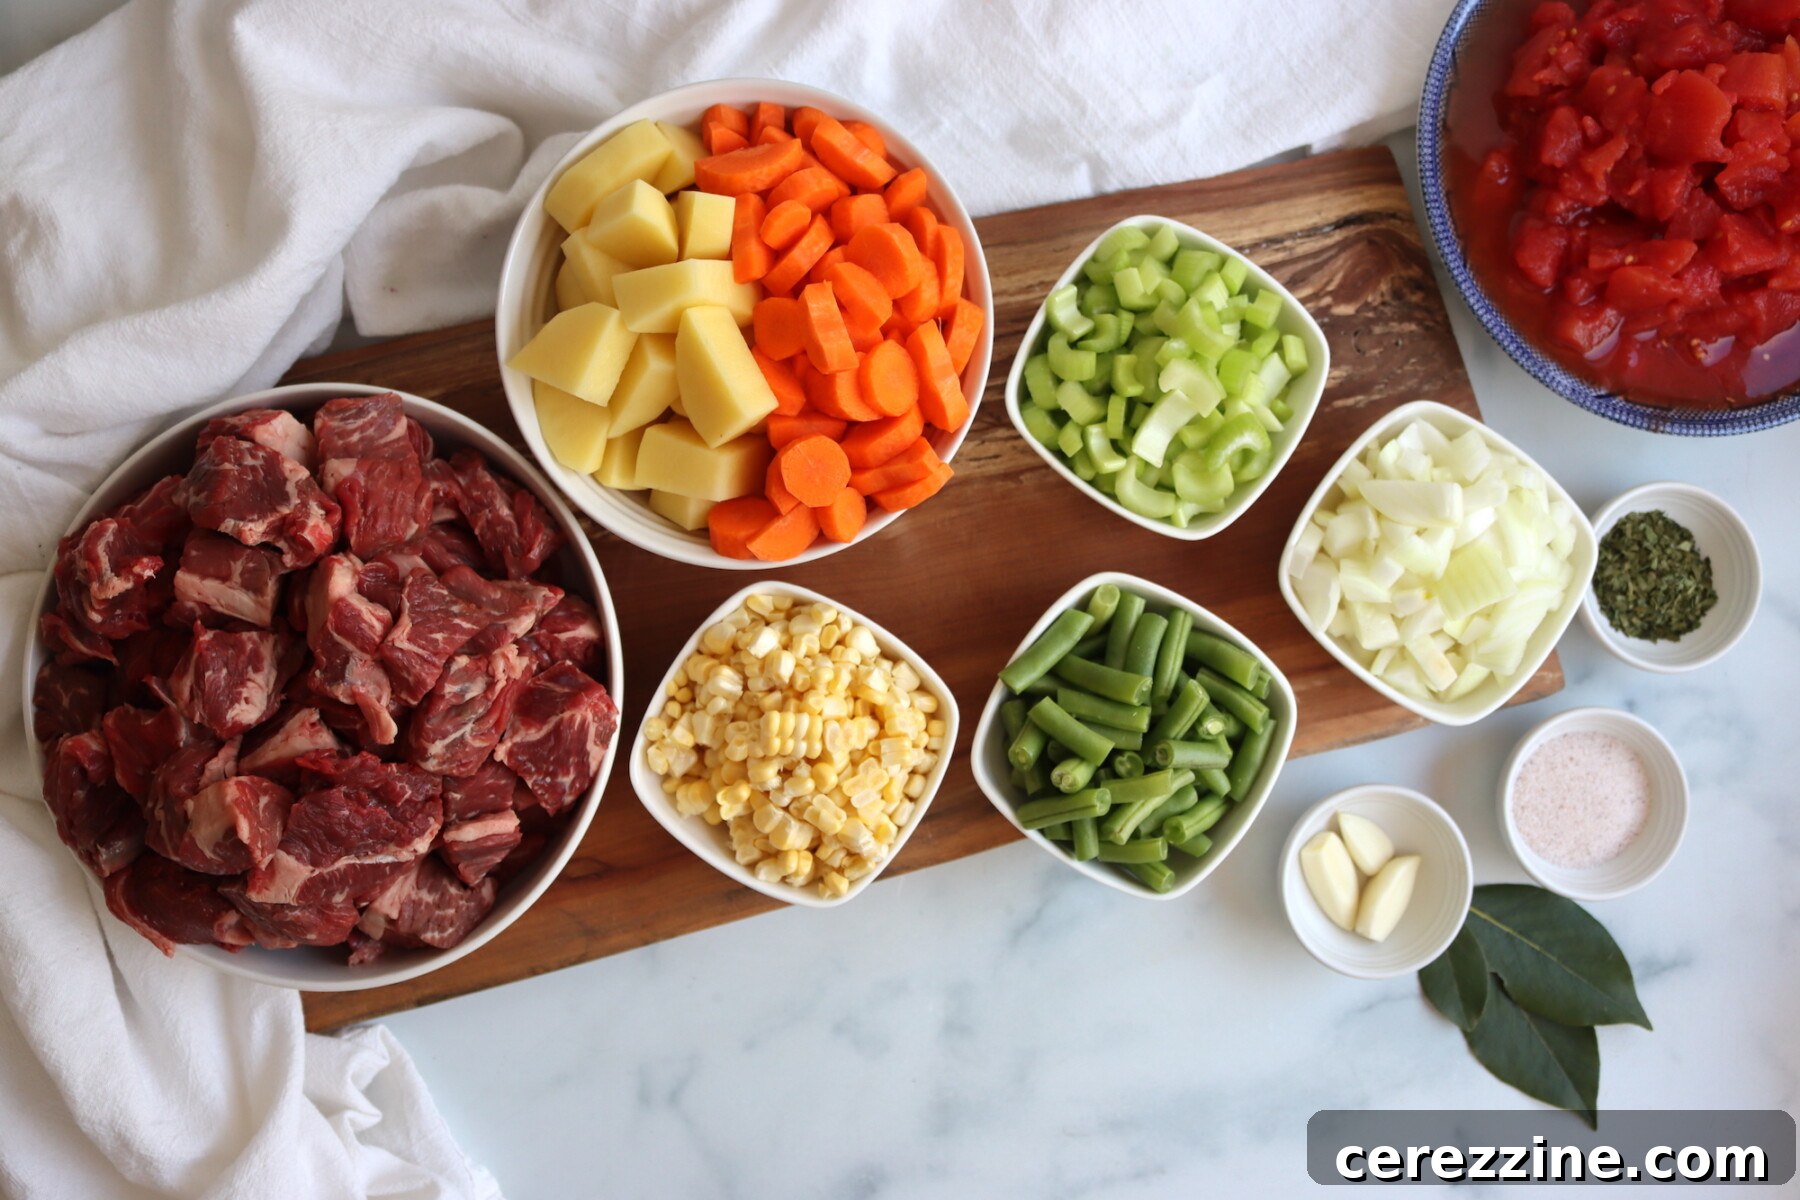
- Chop and Cube Ingredients: Carefully peel and cube the potatoes into 1-inch pieces. Slice the carrots into uniform rounds, chop the celery, and dice the onion. Mince the garlic cloves. Cut your beef stew meat into consistent 1 to 1.5-inch pieces. If using fresh corn, cut the kernels from the cob, and trim the green beans, cutting them into 1-inch segments. Uniform cuts are key for even cooking and safe heat penetration during canning.
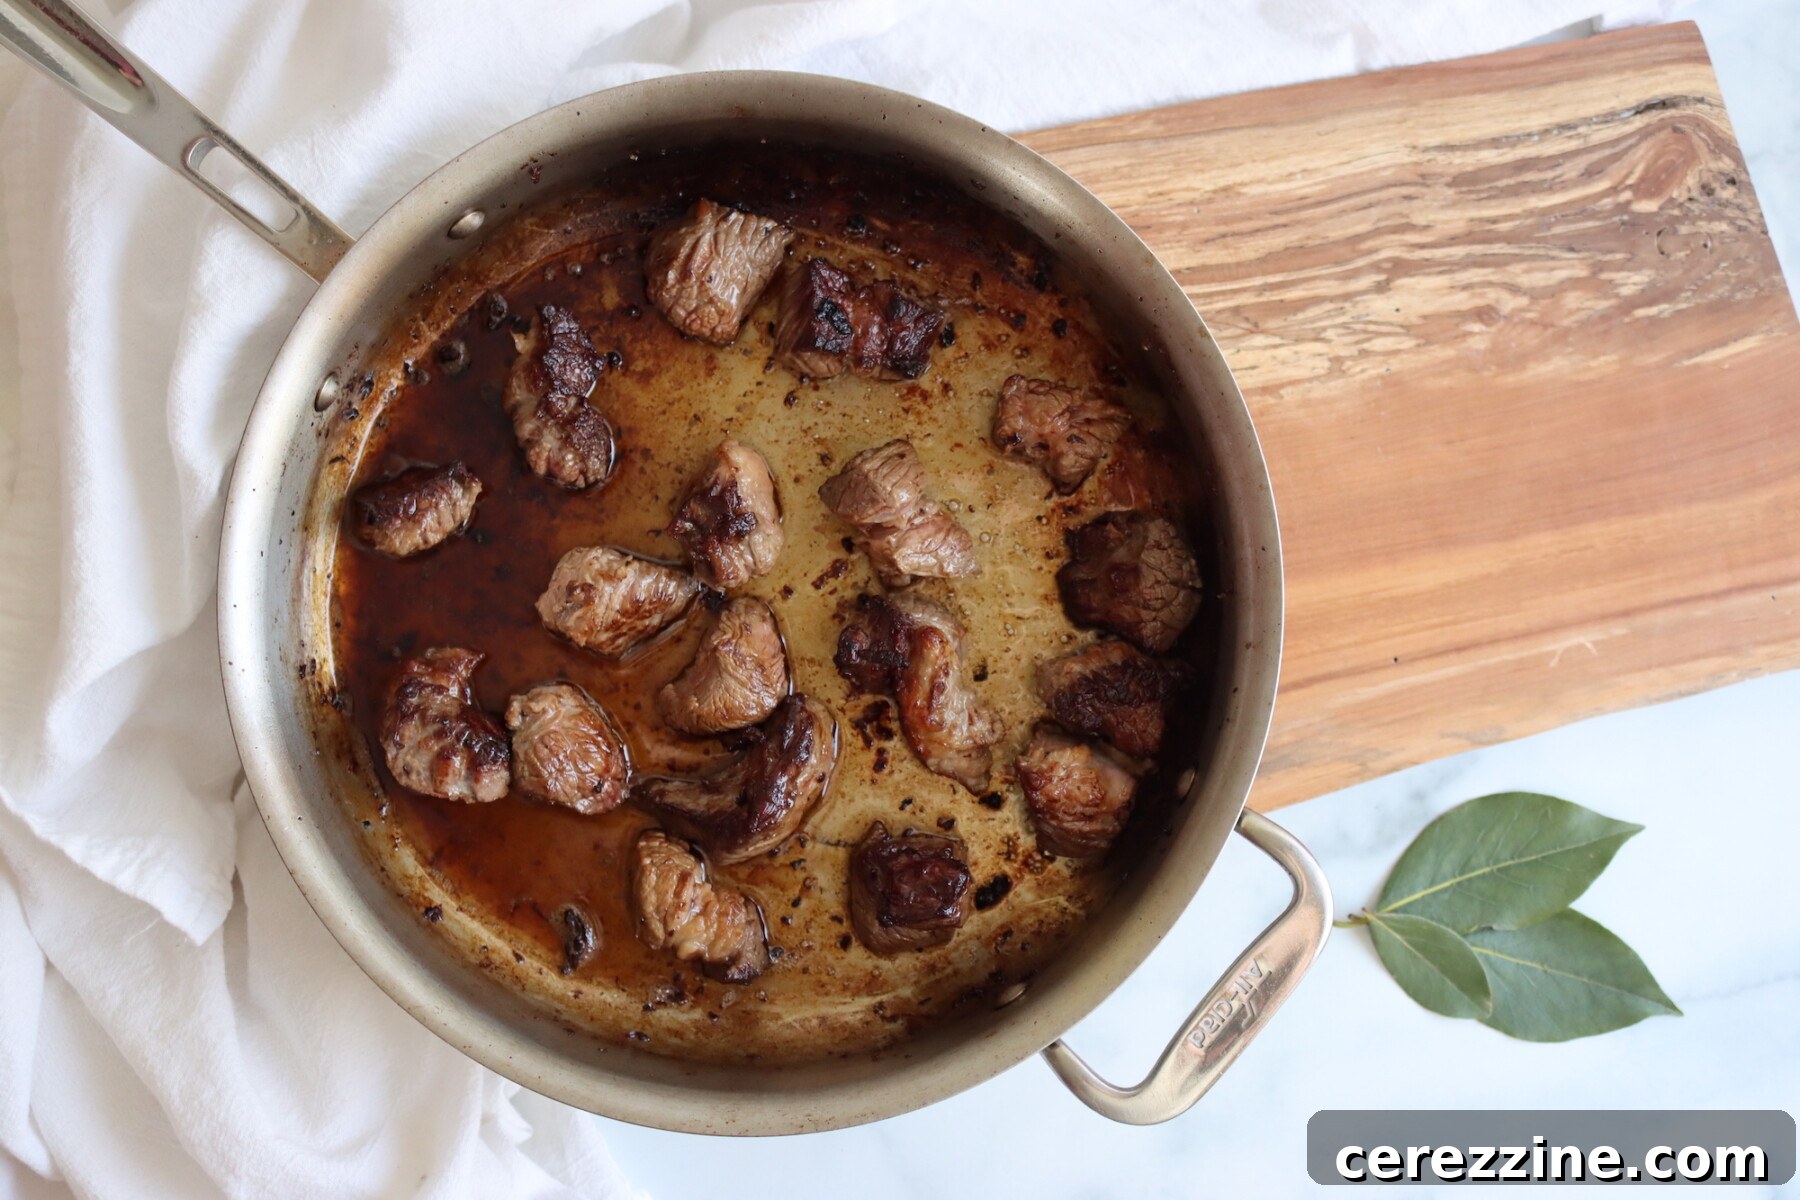
- Brown the Beef: Heat the olive oil in a large, heavy-bottomed pot or Dutch oven over medium-high heat. Working in batches, brown the beef on all sides until a rich, dark crust forms. Do not overcrowd the pan, as this steams the meat instead of browning it; browning in batches is essential for building complex, savory flavors. As each batch is browned, remove it from the pot and set it aside. Add a little more oil if necessary for subsequent batches.
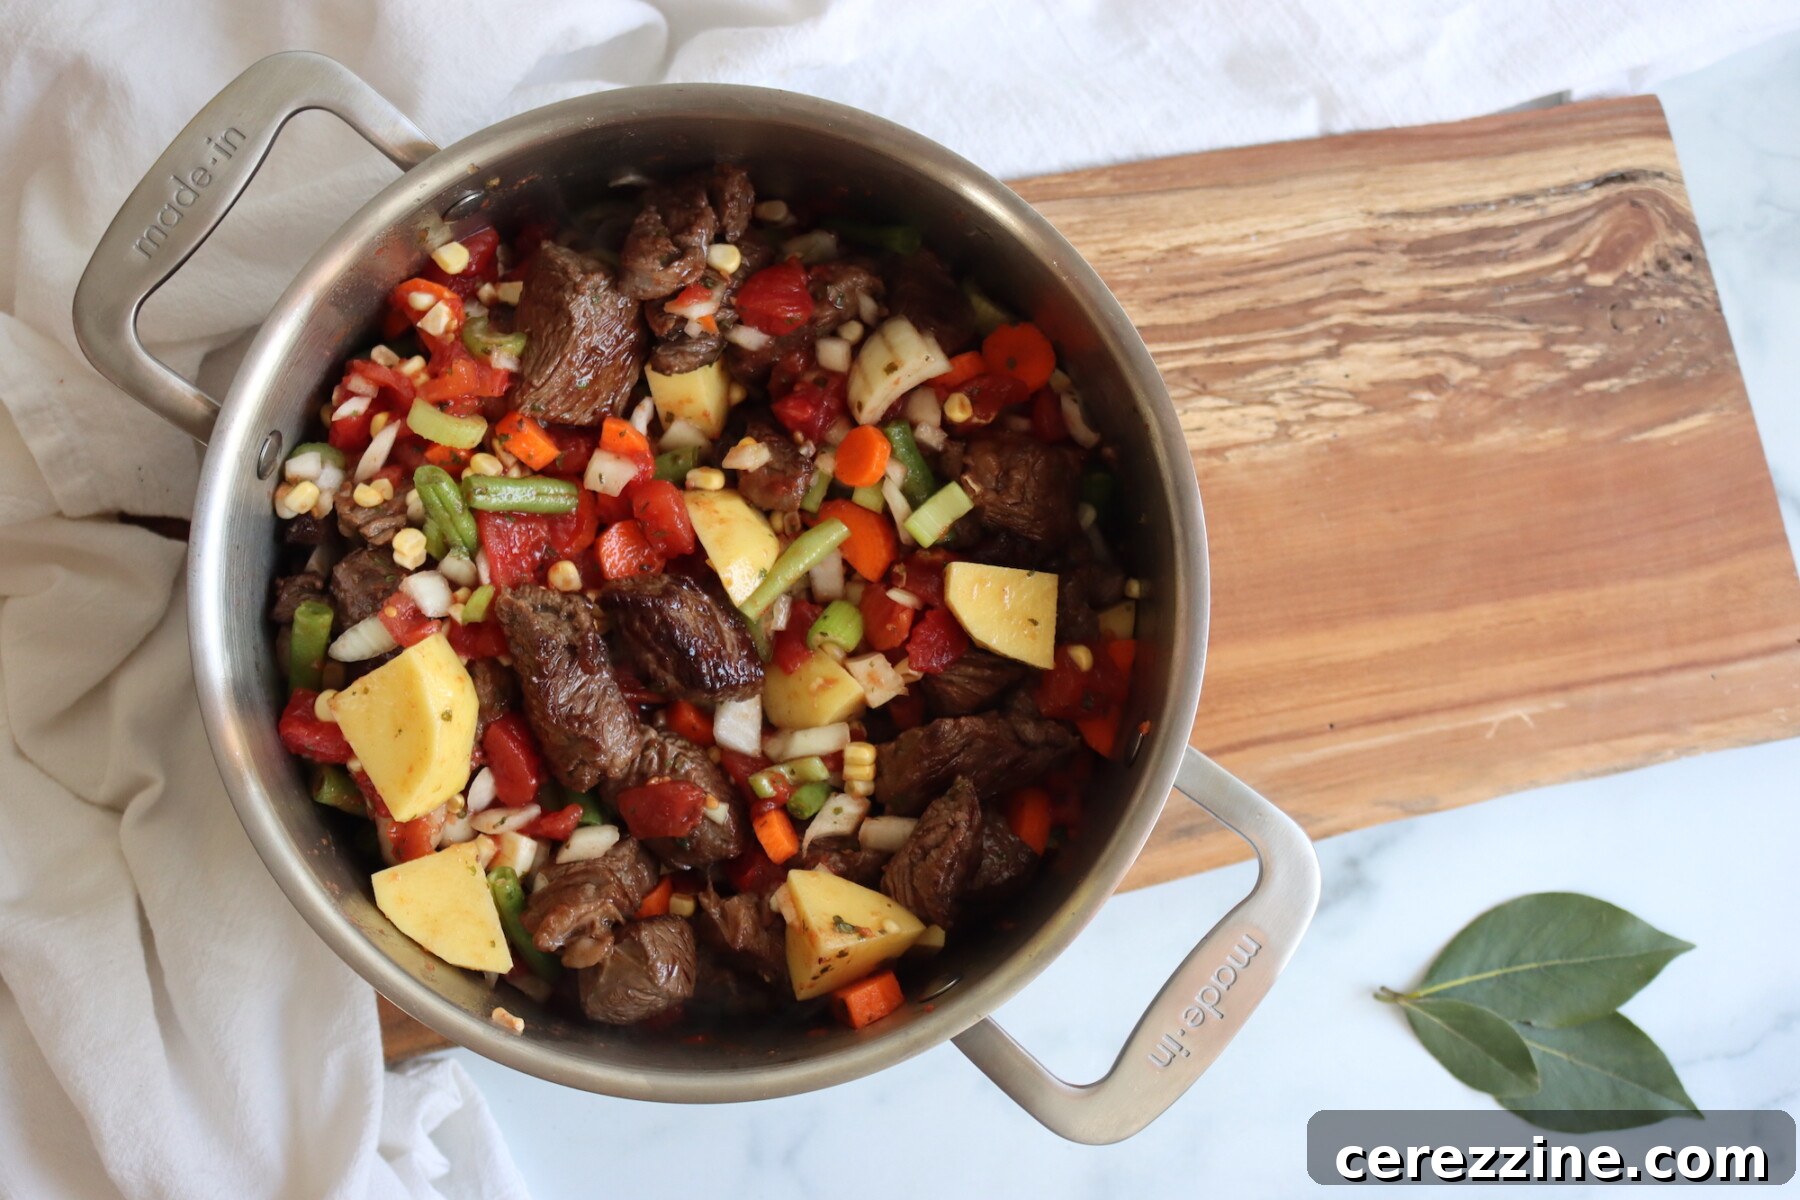
- Sauté Vegetables and Simmer Stew: In the same pot used for browning (reserving any drippings), add the chopped onion, sliced carrots, celery, and minced garlic. Sauté them briefly over medium heat until they begin to soften and become fragrant, about 5-7 minutes. Return the browned beef to the pot. Stir in the undrained diced tomatoes, beef broth, cubed potatoes, corn, green beans, Italian seasoning, dried parsley, bay leaf, and salt (adjusting for salted broth as per notes). Mix everything thoroughly, bring the stew to a full boil, then reduce the heat and simmer for 5 minutes, ensuring all ingredients are heated through. This is a crucial hot pack step.
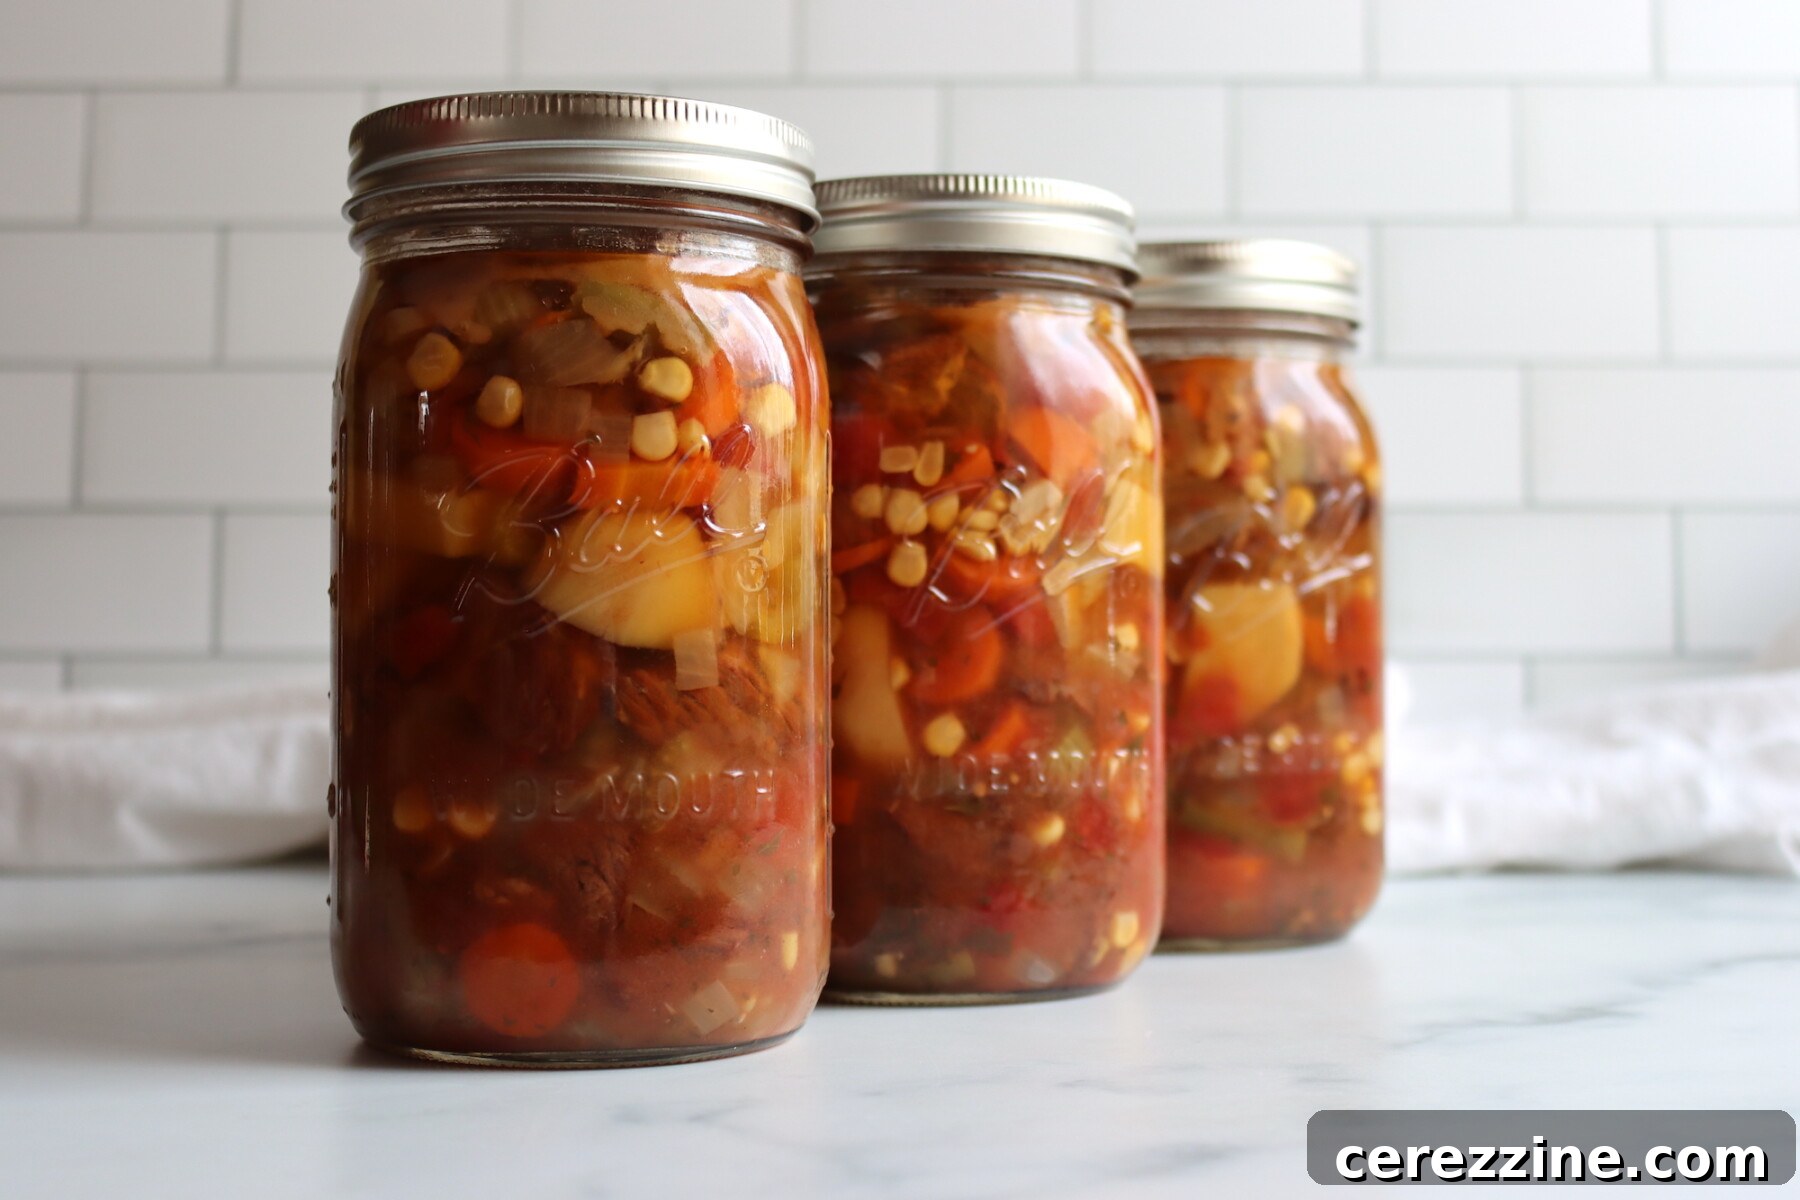
- Fill Jars and Prepare for Canning: Place one bay leaf into each hot quart jar (if desired). Using a slotted spoon, carefully distribute the solid ingredients (meat and vegetables) evenly among the hot, sterilized canning jars. Once solids are packed, ladle the hot broth over the top, leaving precisely 1 inch of headspace from the rim of the jar. If you find yourself short on broth, you can add a bit of boiling water or extra hot beef stock to achieve the correct headspace. Use a non-metallic utensil to remove any trapped air bubbles from the jars. Wipe the jar rims meticulously with a clean, damp cloth to ensure a perfect seal. Center the warmed lids on the jars and apply the bands fingertip-tight.
- Process and Store: Load the filled jars into your preheated pressure canner. Securely lock the canner lid. Follow your canner’s instructions for venting (typically 10 minutes) before bringing it up to the recommended pressure. Process pint jars for 75 minutes and quart jars for 90 minutes, meticulously adjusting the pressure for your specific altitude (refer to the detailed canning notes below for altitude adjustments). Once processing is complete, allow the pressure canner to depressurize naturally. Do not attempt to force depressurization. Remove the jars from the canner and cool them undisturbed on a towel-lined counter for 12 to 24 hours. After cooling, check all seals. Any unsealed jars must be refrigerated and consumed within a few days. Label your perfectly sealed jars with the contents and date, and store them in a cool, dark place.
Pressure Canning Vegetable Beef Stew: Essential Safety Information
Proper canning techniques are critical for food safety, especially when preserving low-acid foods like vegetable beef stew. This recipe employs the “hot pack” method, which is essential for ensuring even heat distribution throughout the jars during the pressure canning process. The beef is first browned, and the entire stew is brought to a boil before being carefully packed into hot jars. It is imperative that you do not raw pack this recipe, as raw packing can lead to unsafe processing outcomes.
As formulated, this recipe is designed to yield approximately 4 hearty quart jars, each packed generously with a balanced mix of meat and vegetables. When filling your jars, use a slotted spoon to evenly distribute the solids first, then ladle the hot broth over the top until you achieve precisely 1 inch of headspace. Achieving the correct headspace is crucial for a proper seal and safe processing. If you find yourself with insufficient broth, you can safely supplement by adding a bit of boiling water or extra hot beef stock to reach the 1-inch mark.
For those who prefer a brothier stew, simply add an additional 4 cups of beef stock to the pot before canning. This modification will allow you to distribute the ingredients across 5 quart jars instead of 4, providing a slightly lighter but equally flavorful result.
The processing times are non-negotiable for safety: process quart jars for 90 minutes and pint jars for 75 minutes. This should be done at 10 pounds of pressure in a weighted gauge canner or 11 pounds of pressure in a dial gauge canner. Crucially, you must adjust the pressure for your specific altitude to ensure the internal temperature within the jars reaches the required level for safe preservation.
Altitude Adjustments for Pressure Canning
When pressure canning, it’s vital to account for your elevation above sea level. While the processing times for recipes remain constant regardless of altitude, the required pressure must be adjusted to ensure the safe internal temperature is reached. Failure to adjust pressure can compromise food safety. Here are the precise altitude adjustments for pressure canning vegetable beef stew:
For Dial Gauge Pressure Canners:
- 0 to 2,000 feet in elevation: Process at 11 lbs pressure
- 2,001 to 4,000 feet in elevation: Process at 12 lbs pressure
- 4,001 to 6,000 feet in elevation: Process at 13 lbs pressure
- 6,001 to 8,000 feet in elevation: Process at 14 lbs pressure
For Weighted Gauge Pressure Canners:
- 0 to 1,000 feet in elevation: Process at 10 lbs pressure
- Above 1,000 feet: Process at 15 lbs pressure
Always verify your current altitude and adjust your canner’s pressure accordingly for optimal safety and preservation.
Creative Serving Ideas for Your Canned Vegetable Beef Stew
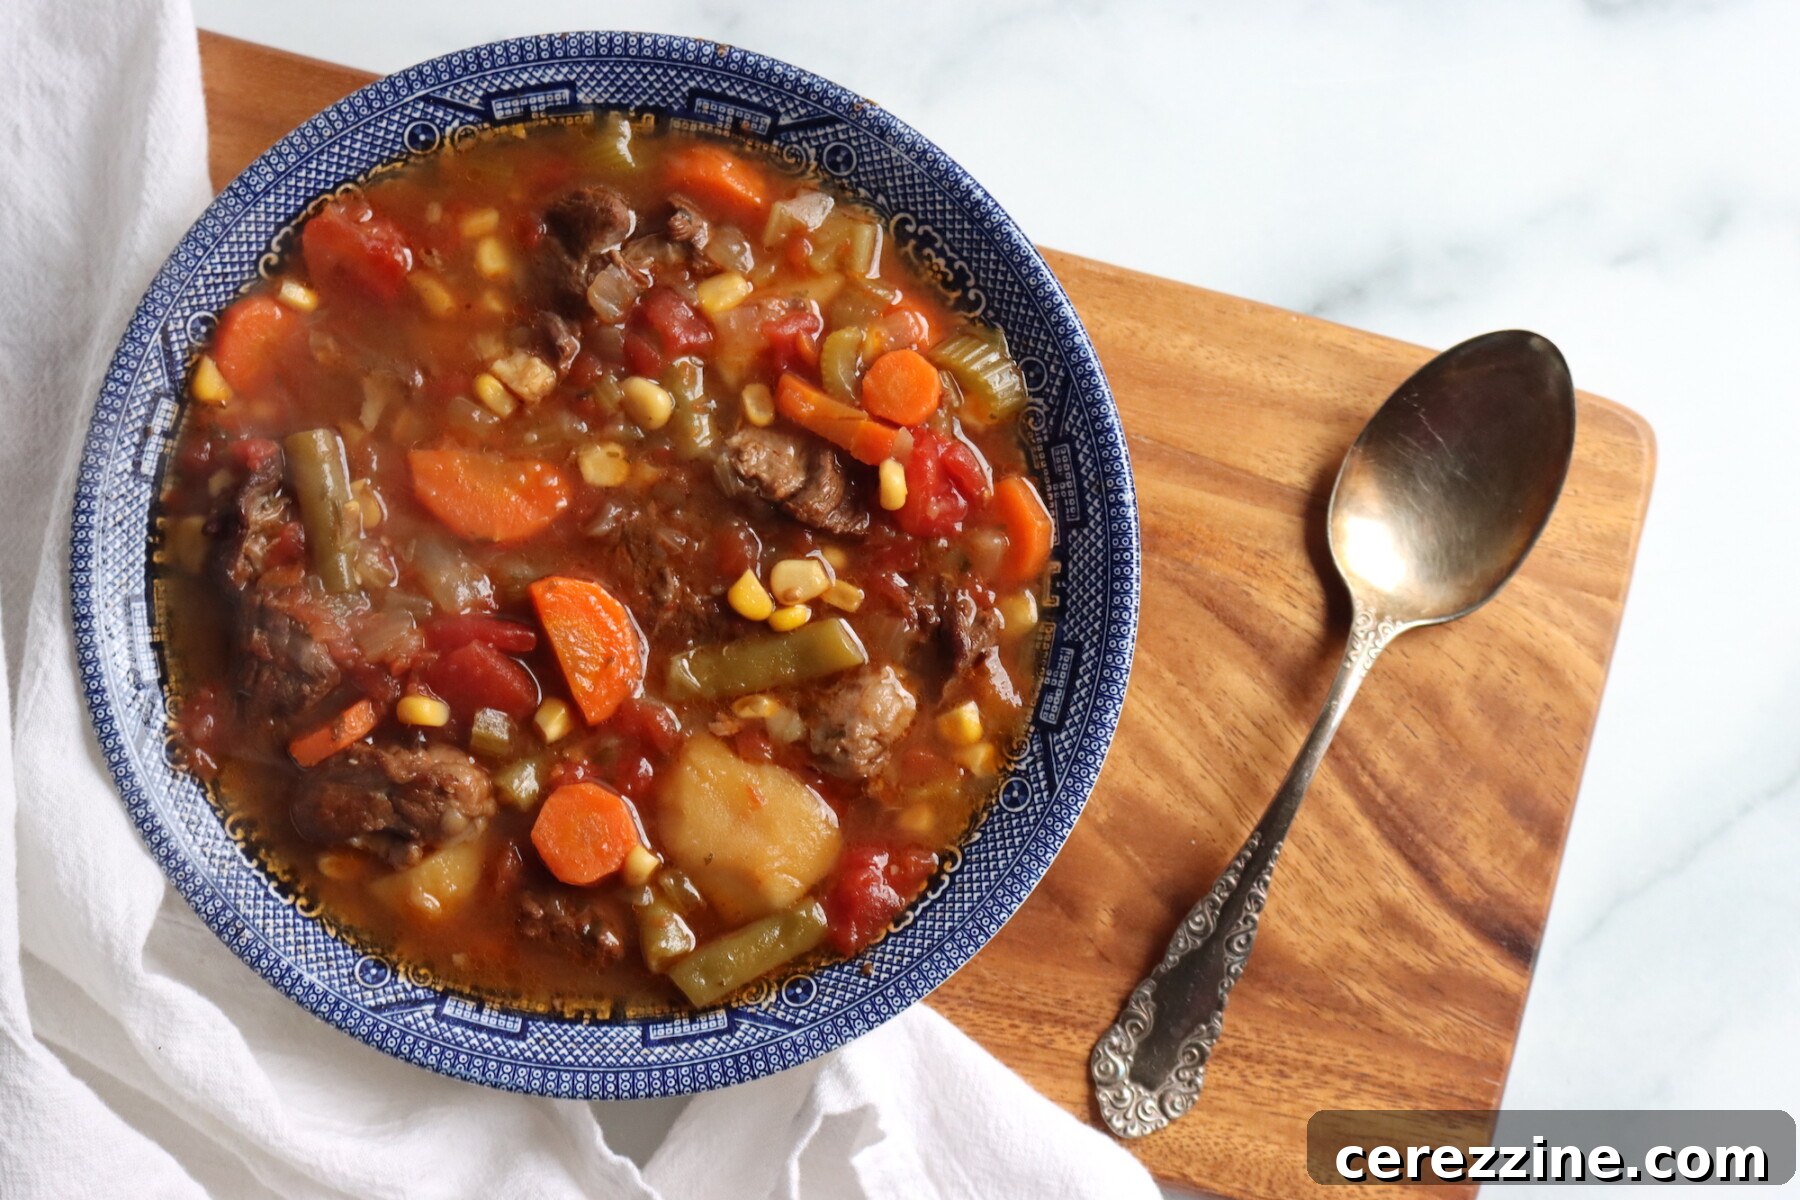
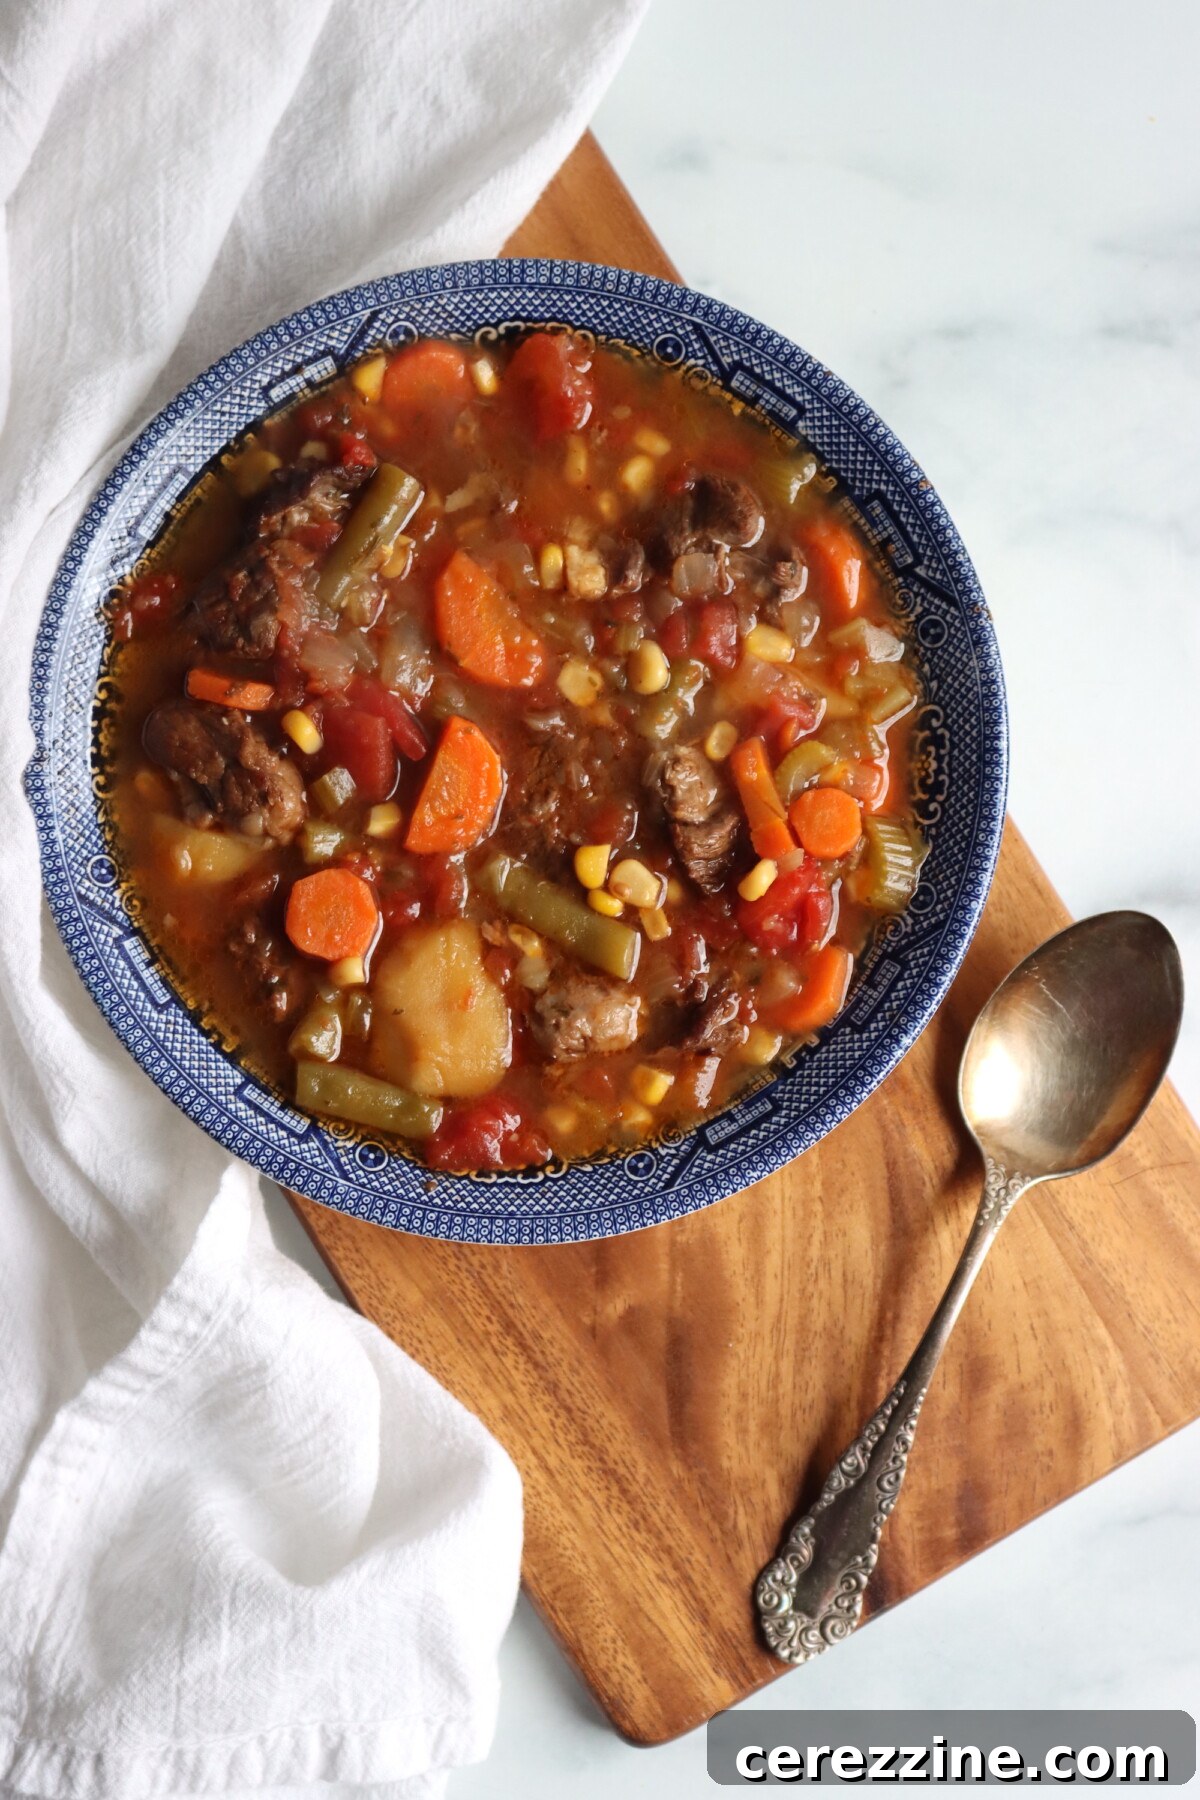
The beauty of home-canned vegetable beef stew lies in its incredible versatility and convenience. Each jar contains a fully cooked, deeply flavorful meal that is ready to heat and serve, perfectly fulfilling its purpose as a pantry staple. This stew is inherently hearty and satisfying enough to stand alone as a complete meal. For a simple yet comforting dinner, simply heat a jar and serve it alongside a thick slice of crusty bread, a warm, fluffy biscuit, or a piece of cornbread to soak up the rich broth. The stew’s broth is already well-seasoned and robust, often requiring no further embellishment.
However, if you prefer a thicker, more traditional stew consistency, achieving it is easy after opening the jar. Simply pour the contents into a saucepan and, over medium heat, stir in a simple slurry made from flour or cornstarch mixed with a little cold water. Continue stirring until the broth thickens to your desired consistency. Once thickened, this stew becomes a magnificent topping for creamy mashed potatoes, al dente egg noodles, or even fluffy white rice, transforming it into an even more substantial and comforting meal. Personally, I find its natural, un-thickened state absolutely perfect.
Beyond a bowl, leftover stew from an opened jar can also serve as a fantastic base for a quick and satisfying pot pie. Simply transfer the stew into a baking dish, top it with a pre-made pie crust or a layer of biscuit dough, and bake until the crust is golden brown and bubbly. This creative reuse demonstrates how truly versatile and giving this pantry meal can be, always ready to inspire a delicious culinary creation.
Canning Vegetable Beef Stew FAQs
Thickeners such as flour, cornstarch, and arrowroot are strictly prohibited before pressure canning. The reason is scientific: these ingredients interfere with the proper heat penetration required for safe processing within the jar. Tested canning recipes rely on the specific density and heat transfer properties of liquid-based contents. Introducing a thickener significantly alters this density, making the established processing times unreliable for ensuring the complete destruction of harmful bacteria and preventing spoilage. For food safety, always thicken your stew *after* you open the jar and are reheating it for serving. You can easily stir in a cornstarch or flour slurry at that point to achieve your desired consistency.
This is a crucial consideration for flavor balance. If you are utilizing a full-sodium, commercial beef broth, it is highly recommended to start with a significantly reduced amount of added salt – specifically, just 1 teaspoon – instead of the 1 tablespoon called for in this recipe. Store-bought broths often contain a substantial amount of sodium, typically equivalent to 2 to 3 teaspoons of salt per 5 cups of liquid. Adding the full recipe amount on top of this can easily result in an oversalted and unpalatable finished stew. When preparing with unsalted homemade broth, the full 1 tablespoon of salt is perfectly balanced for optimal flavor.
Absolutely, this recipe is quite flexible regarding the choice of beef. Any traditional stewing cut of beef will perform admirably through the pressure canning process. Chuck roast is the most popular and highly recommended option due to its excellent marbling, which yields incredible flavor and tenderness after the long canning time. A leaner round roast can also be used effectively. Furthermore, this recipe aligns with the University of Alaska Cooperative Extension Hearty Soups Protocol, which safely accommodates a range of red meats. This means you can confidently substitute venison, bison, or other similar game meats for the beef, allowing for delicious variations tailored to your preferences.
More Delicious Beef Canning Recipes
Canning Taco Soup: A Zesty Meal in a Jar
Canning Chili Con Carne: Homemade Goodness Made Easy
Canning Ground Beef: A Versatile Pantry Staple
If you tried this Canning Vegetable Beef Stew recipe, or any other recipe on Creative Canning, leave a ⭐ star rating and let me know what you think in the 📝 comments below!
And make sure you stay in touch with me by following on social media!
Canning Vegetable Beef Stew Recipe Card
This pressure canned vegetable beef stew is packed with tender stew beef, potatoes, carrots, celery, corn, green beans, and tomatoes in a rich, Italian-seasoned broth. Adapted from the Ball Complete Book of Home Preserving and the University of Alaska Hearty Soups Protocol, it yields 4 hearty quart jars that are ready to heat and serve any night of the week.
Servings: 8 servings (makes 4 quarts)
Prep Time: 30 minutes
Cook Time: 20 minutes
Canning Time: 1 hour 30 minutes
Total Time: 2 hours 20 minutes
Equipment
- Pressure Canner
- Canning Jars (Pints or Quarts)
- Lids and Bands
- Large Heavy-Bottomed Pot or Dutch Oven
- Slotted Spoon
- Jar Lifter
- Headspace Tool
- Non-Metallic Bubble Remover
Ingredients
- 2.5 lbs beef stew meat, cut into 1 to 1.5 inch pieces
- 2 tbsp olive oil
- 1 cup onion, chopped
- 2 cups carrots, peeled, halved and sliced
- 1 cup celery, sliced
- 3 cloves garlic, minced
- 28 oz canned diced tomatoes, do not drain
- 5 cups beef broth, unsalted — see notes if using salted broth
- 3 cups Potatoes, peeled and cut into 1-inch pieces
- 1 cup corn, fresh from 1 large cob, or frozen
- 1 cup green beans, trimmed and cut into 1-inch pieces
- 1 tsp dried parsley
- 2 tsp Italian seasoning, or equal parts basil, oregano, rosemary, thyme, and marjoram
- 4 to 5 whole bay leaves
- 1 tbsp salt, see notes — reduce significantly if using salted broth
Instructions
- Prepare your pressure canner, jars, lids, and bands according to the manufacturer’s instructions. Keep jars hot until needed. Peel and cube the potatoes, slice the carrots, chop the celery and onion, mince the garlic, and cut the beef into 1 to 1.5 inch pieces. Cut corn from the cob and trim the green beans if using fresh.
- Heat the olive oil in a large heavy-bottomed pot over medium-high heat. Brown the beef in batches, adding more oil as needed. Do not crowd the pan — browning in batches builds much better flavor. Set the browned beef aside.
- In the same pot, add the onion, carrots, celery, and garlic. Cook briefly until softened and fragrant. Return the browned beef to the pot. Add the diced tomatoes with their liquid, beef broth, potatoes, corn, green beans, Italian seasoning, parsley, bay leaf, and salt. Stir well and bring to a boil. Reduce heat and simmer for 5 minutes until everything is heated through.
- Add one bay leaf to each hot quart jar (optional). Use a slotted spoon to distribute the solids evenly between the hot jars, then ladle the broth over the top to 1 inch headspace. If you run short on broth, add a bit of boiling water or extra stock. Remove air bubbles using a non-metallic utensil, wipe rims clean, and apply lids and bands to fingertip tight.
- Load jars into the preheated pressure canner. Lock the lid, vent for 10 minutes, then bring to pressure. Process pints for 75 minutes and quarts for 90 minutes, adjusting pressure for your altitude (see notes below). Allow the canner to depressurize naturally. Remove jars and cool on a towel-lined counter for 12 to 24 hours. Check seals, label, and store in a cool, dark place.
Notes
- Salt: This recipe calls for 1 tablespoon of salt, which works out to about 3/4 teaspoon per quart jar using unsalted homemade broth. If using full-salt commercial beef broth, reduce added salt to just 1 teaspoon, as salted broth typically already contains 2 to 3 teaspoons of salt equivalent per 5 cups.
- Yield: As written, this recipe yields 4 hearty quart jars packed with meat and vegetables. For a brothier stew, add an extra 4 cups of beef stock and distribute the ingredients across 5 quart jars instead of 4.
- Thickening: Do not add flour, cornstarch, or any thickener before canning. If you prefer a thicker stew, stir in a flour or cornstarch slurry after opening the jar when reheating. A tablespoon of tomato paste can be stirred into the pot before canning for a slightly richer broth without affecting safety.
- Vegetables: Per the University of Alaska Cooperative Extension Hearty Soups Protocol, you can swap in other firm vegetables such as peas or bell peppers. You cannot add pureed vegetables, sweet potatoes, winter squash, dry beans, pasta, rice, dairy, or cured meats before canning.
- Meat: Any stewing cut of beef works well. Chuck roast is the most flavorful. Venison, bison, or other game meats can also be used following the Hearty Soups Protocol.
- Storage: Store sealed jars in a cool, dark pantry. Use within 12 to 18 months for best quality. Refrigerate after opening.
-
Altitude Adjustments
For dial gauge pressure canners:
- 0 to 2,000 feet in elevation: 11 lbs pressure
- 2,001 to 4,000 feet in elevation: 12 lbs pressure
- 4,001 to 6,000 feet in elevation: 13 lbs pressure
- 6,001 to 8,000 feet in elevation: 14 lbs pressure
For weighted gauge pressure canners:
- 0 to 1,000 feet in elevation: 10 lbs pressure
- Above 1,000 feet: 15 lbs pressure
Nutrition Information (Approximate per serving)
Serving: 2 cups, Calories: 350kcal, Carbohydrates: 25g, Protein: 37g, Fat: 11g, Saturated Fat: 3g, Polyunsaturated Fat: 1g, Monounsaturated Fat: 6g, Cholesterol: 88mg, Sodium: 1686mg, Potassium: 1224mg, Fiber: 4g, Sugar: 7g, Vitamin A: 5668IU, Vitamin C: 19mg, Calcium: 108mg, Iron: 5mg.
Nutrition information is automatically calculated and should be used as an approximation only.
Like this? Leave a comment below!
More Meal in a Jar Canning Recipes
Canning Boston Baked Beans: Sweet & Savory Comfort
Canning Chicken Pot Pie Filling: Quick & Easy Comfort Food
Canning French Fries: A Unique Preserve for Your Pantry
Find the perfect recipe
Searching for something else? Enter keywords to find the perfect recipe!