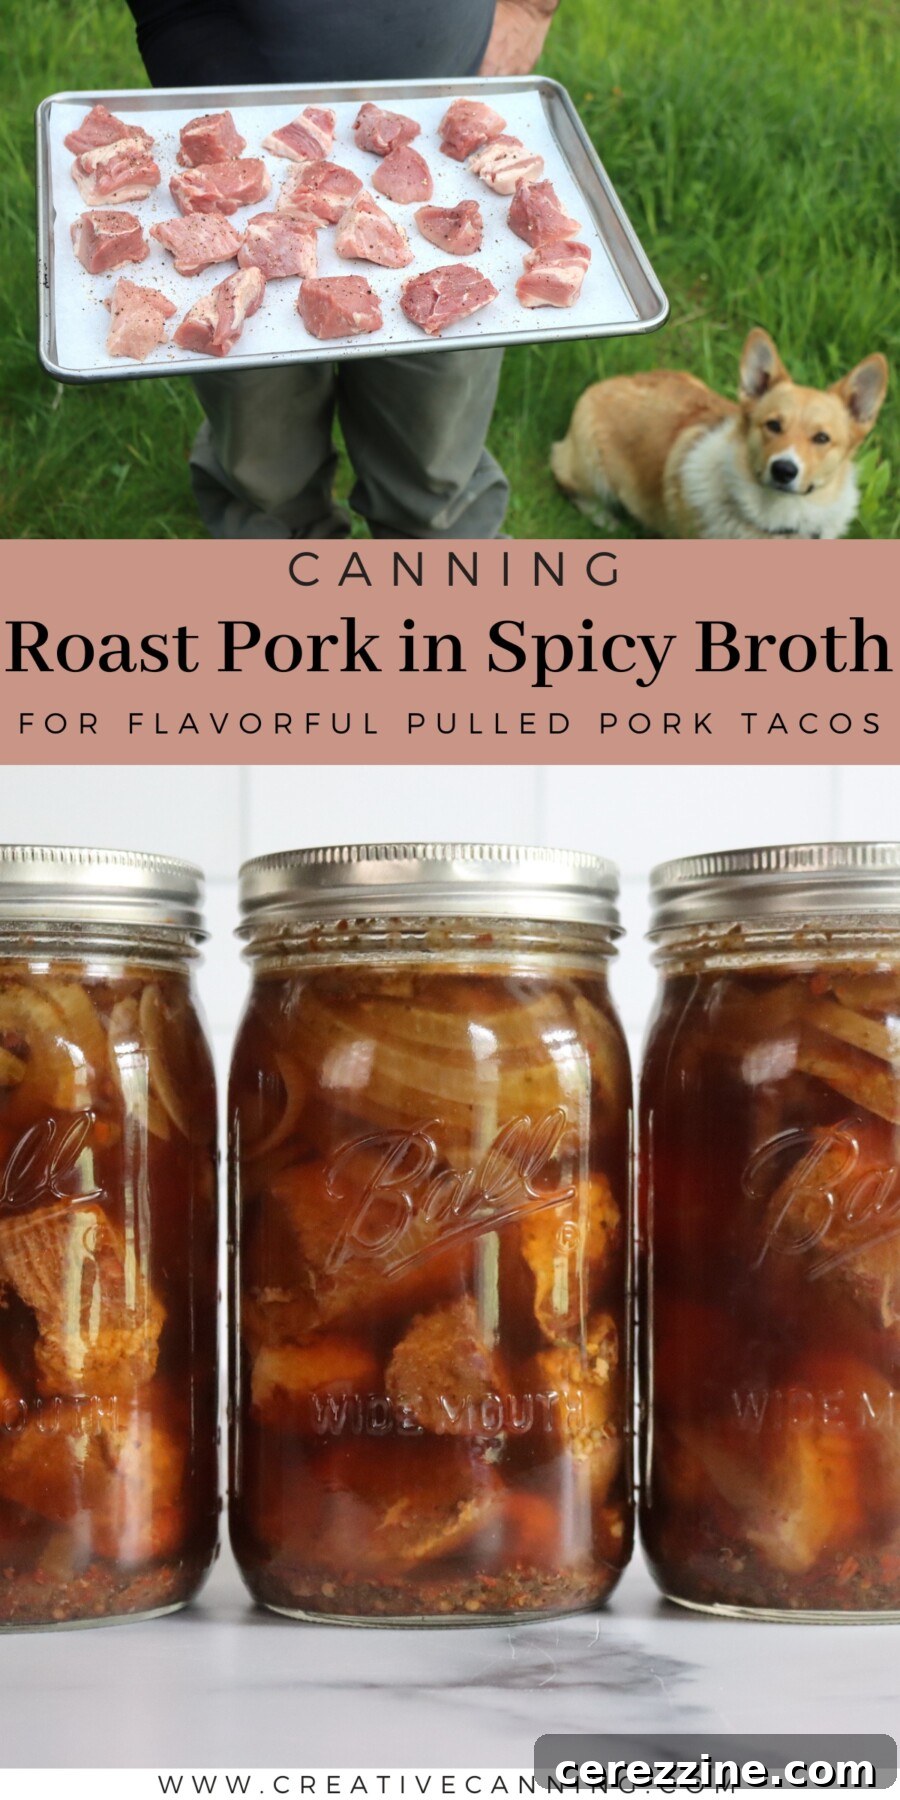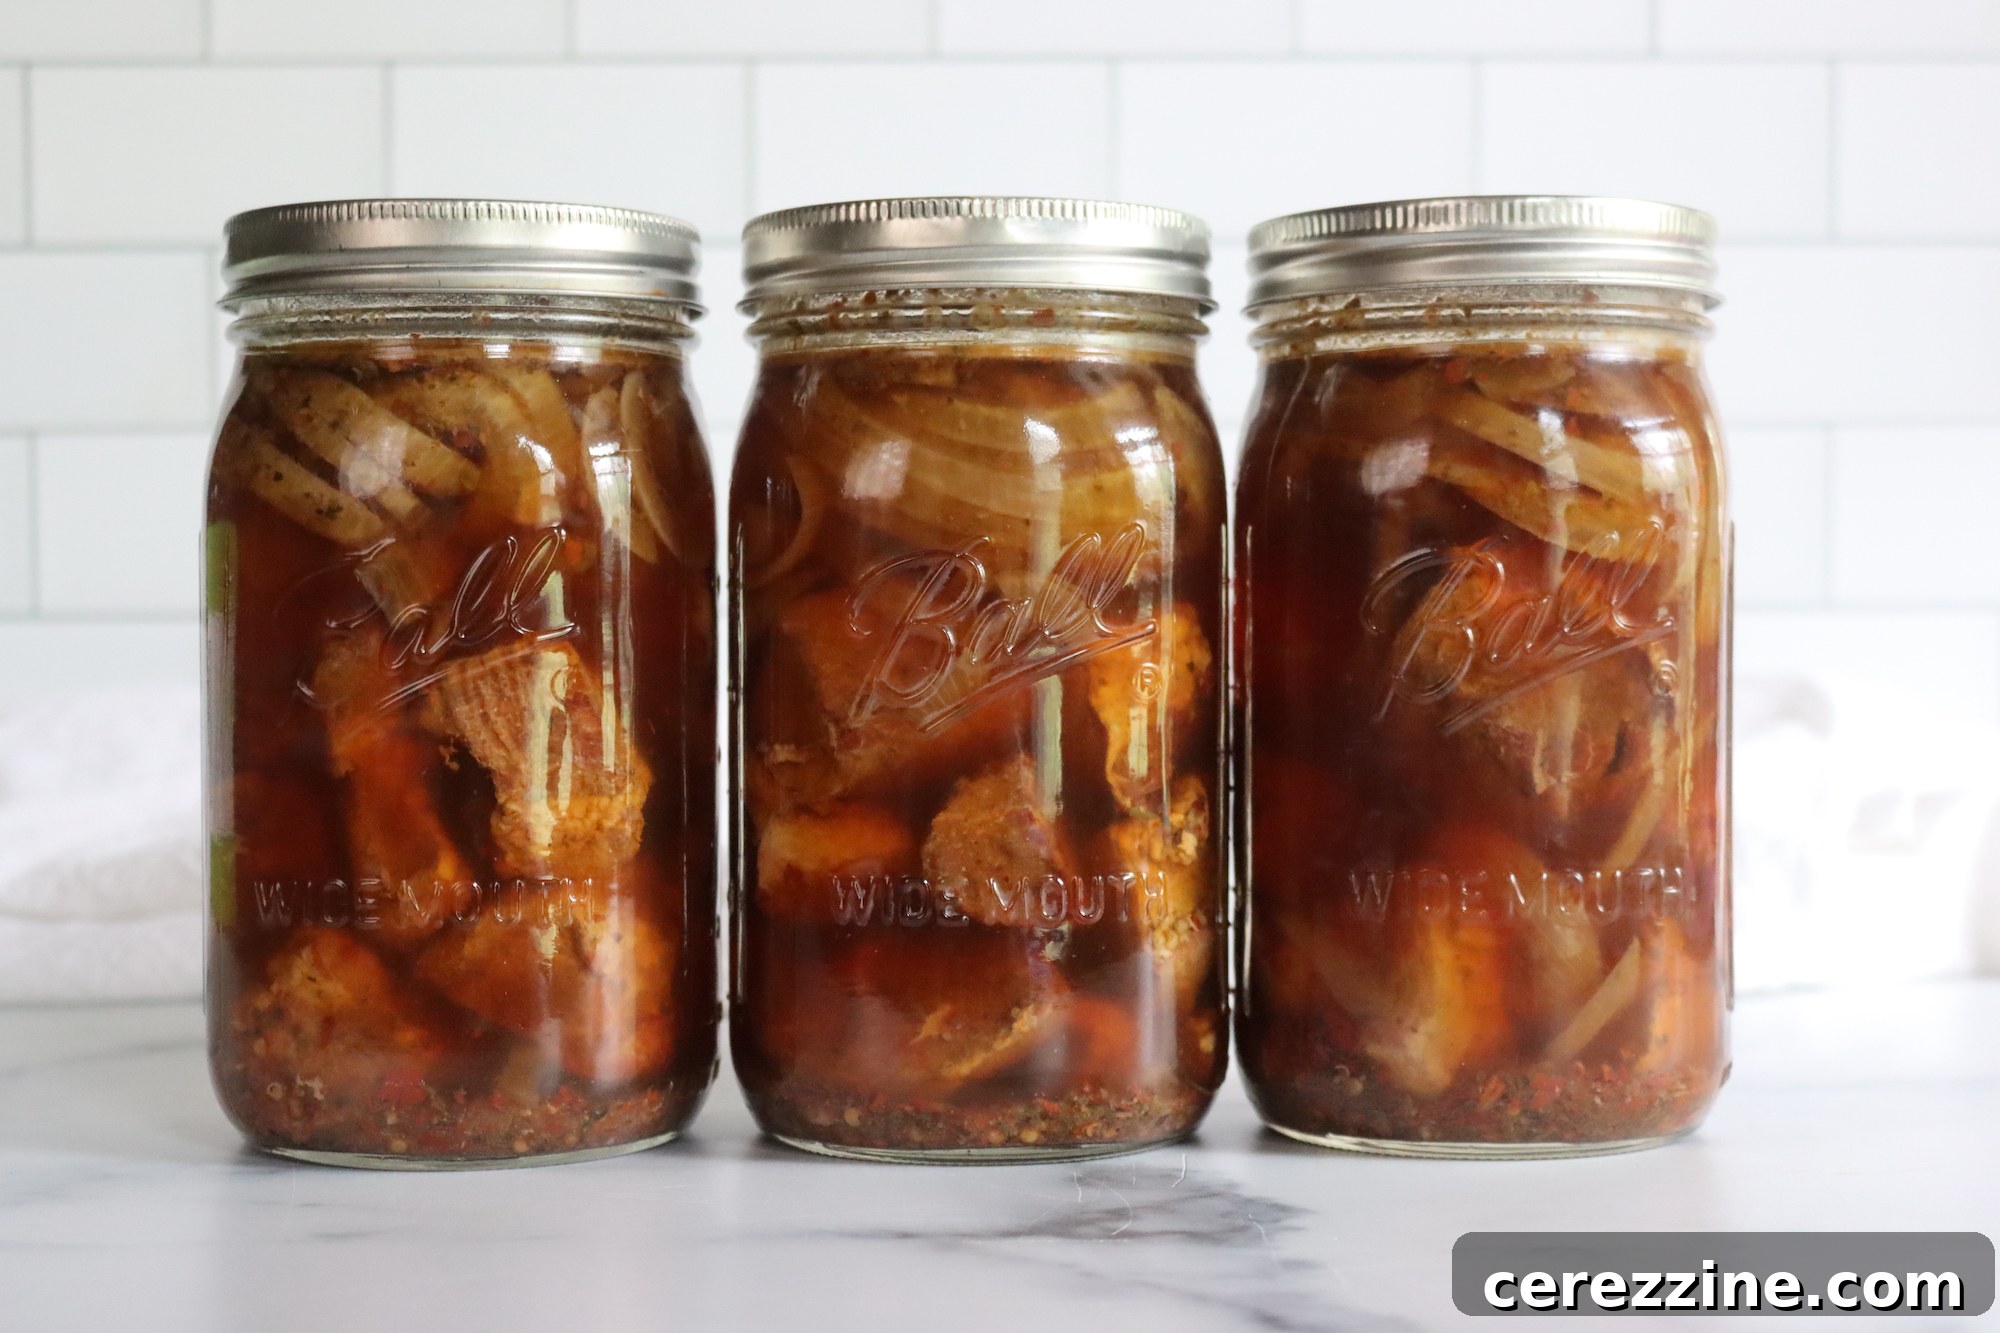
Pressure canning roast pork in a flavorful, spicy broth is a highly practical and delicious addition to any pantry, offering convenience and incredible versatility for countless meals. This well-loved recipe from Ball Canning transforms tender pork shoulder into a ready-to-use ingredient, perfect for everything from quick, comforting soup bowls to crispy, savory taco fillings. Stocking your shelves with these jars ensures a head start on nutritious and flavorful dinners, even on the busiest nights.
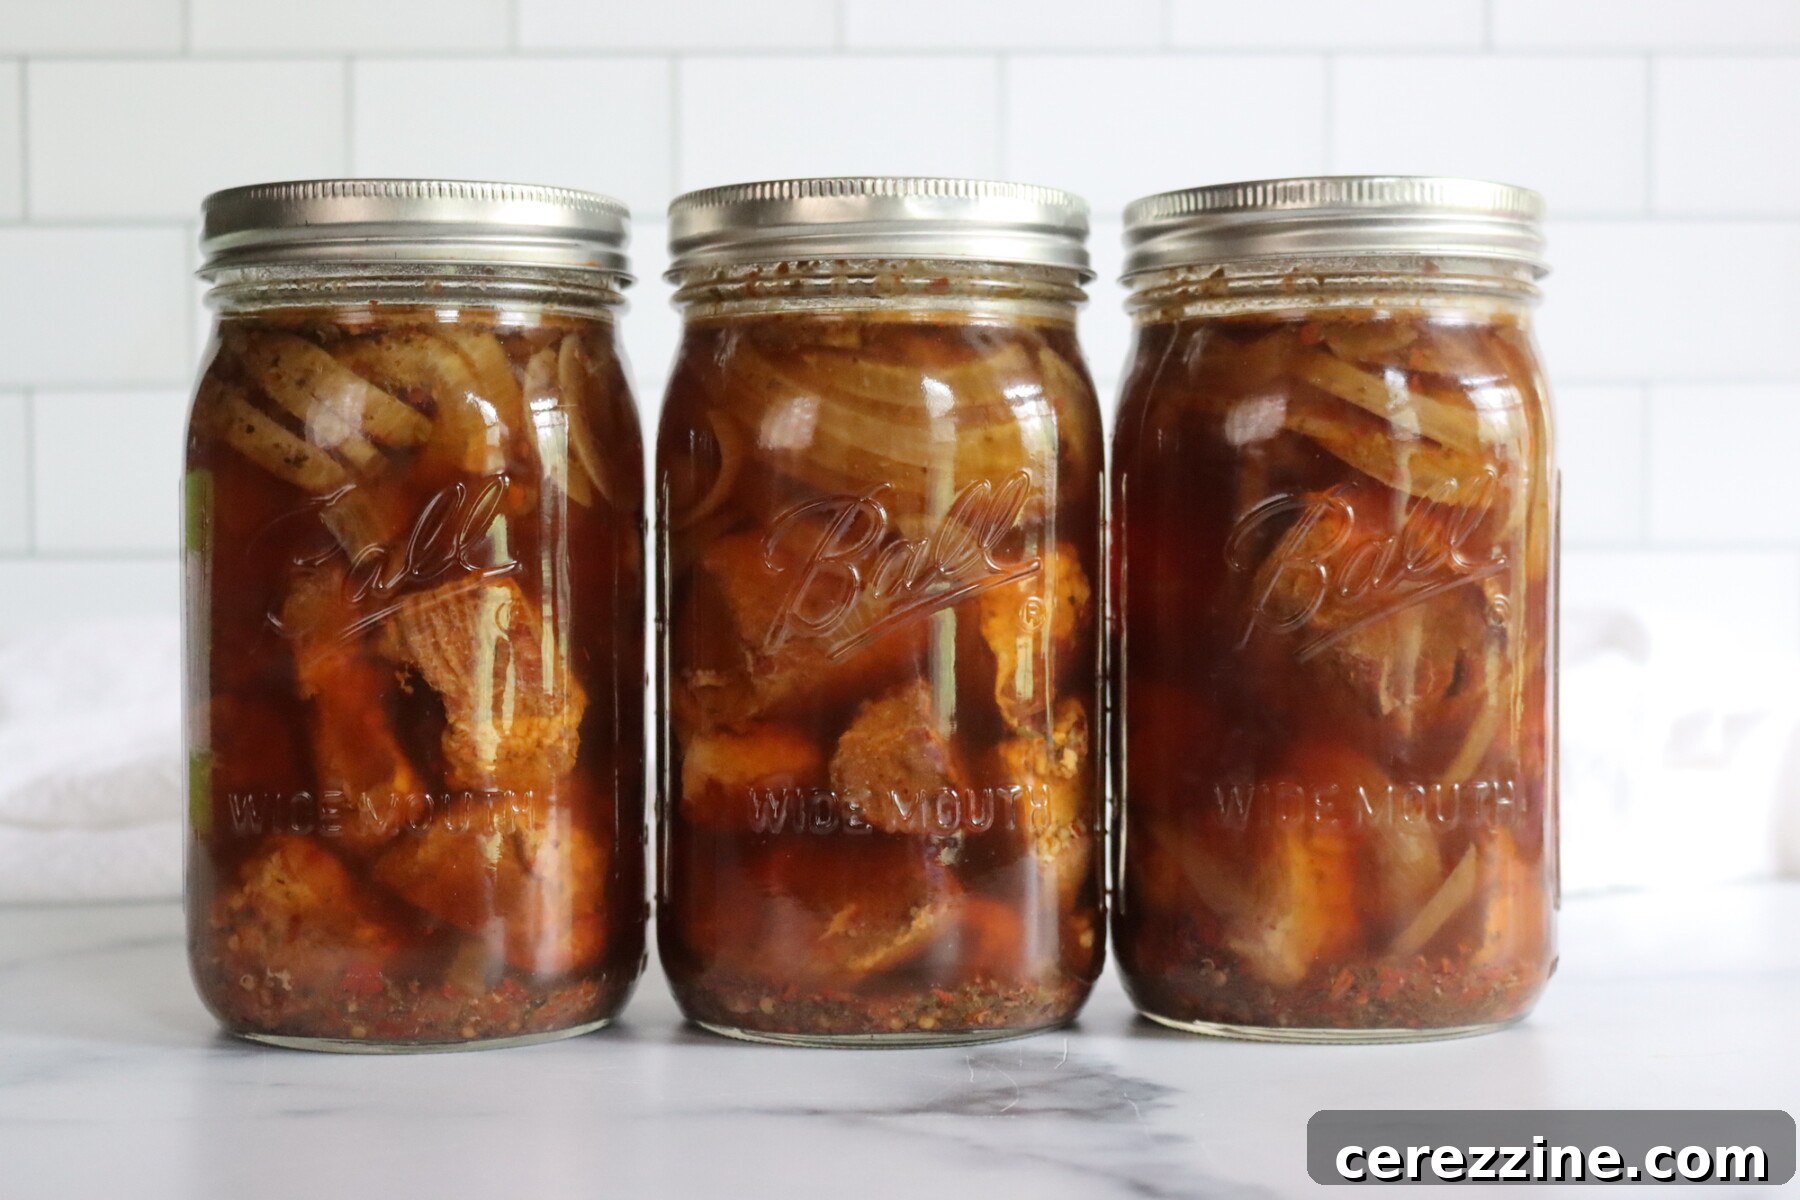
This recipe has been thoroughly reviewed for safety and accuracy by a Master Food Preserver, certified through the esteemed University of Cornell Cooperative Extension.
The Ball Canning recipe for Roast Pork in Spicy Broth consistently ranks among the most popular choices for home canners. Its reputation for yielding exceptionally tender meat and a robustly seasoned broth makes it a frequent recommendation across pressure canning forums and communities. This isn’t just another canned meat; it’s a carefully crafted “meal in a jar” that delivers on taste and convenience.
What truly sets this recipe apart is the initial quick roast of the pork before it’s ever packed into jars. This crucial step is a game-changer, developing a deep, caramelized flavor that infuses the meat and broth, making a significant difference in the final product. The broth itself is a delightful blend: warm and savory notes from garlic and oregano are perfectly balanced with just enough crushed red pepper to add an intriguing kick without overwhelming the palate. It’s a recipe that elevates home-canned meat to gourmet levels.
This particular recipe is a standout favorite from the comprehensive All New Ball Book of Canning and Preserving (2016 edition), a trusted resource for home food preservation enthusiasts.
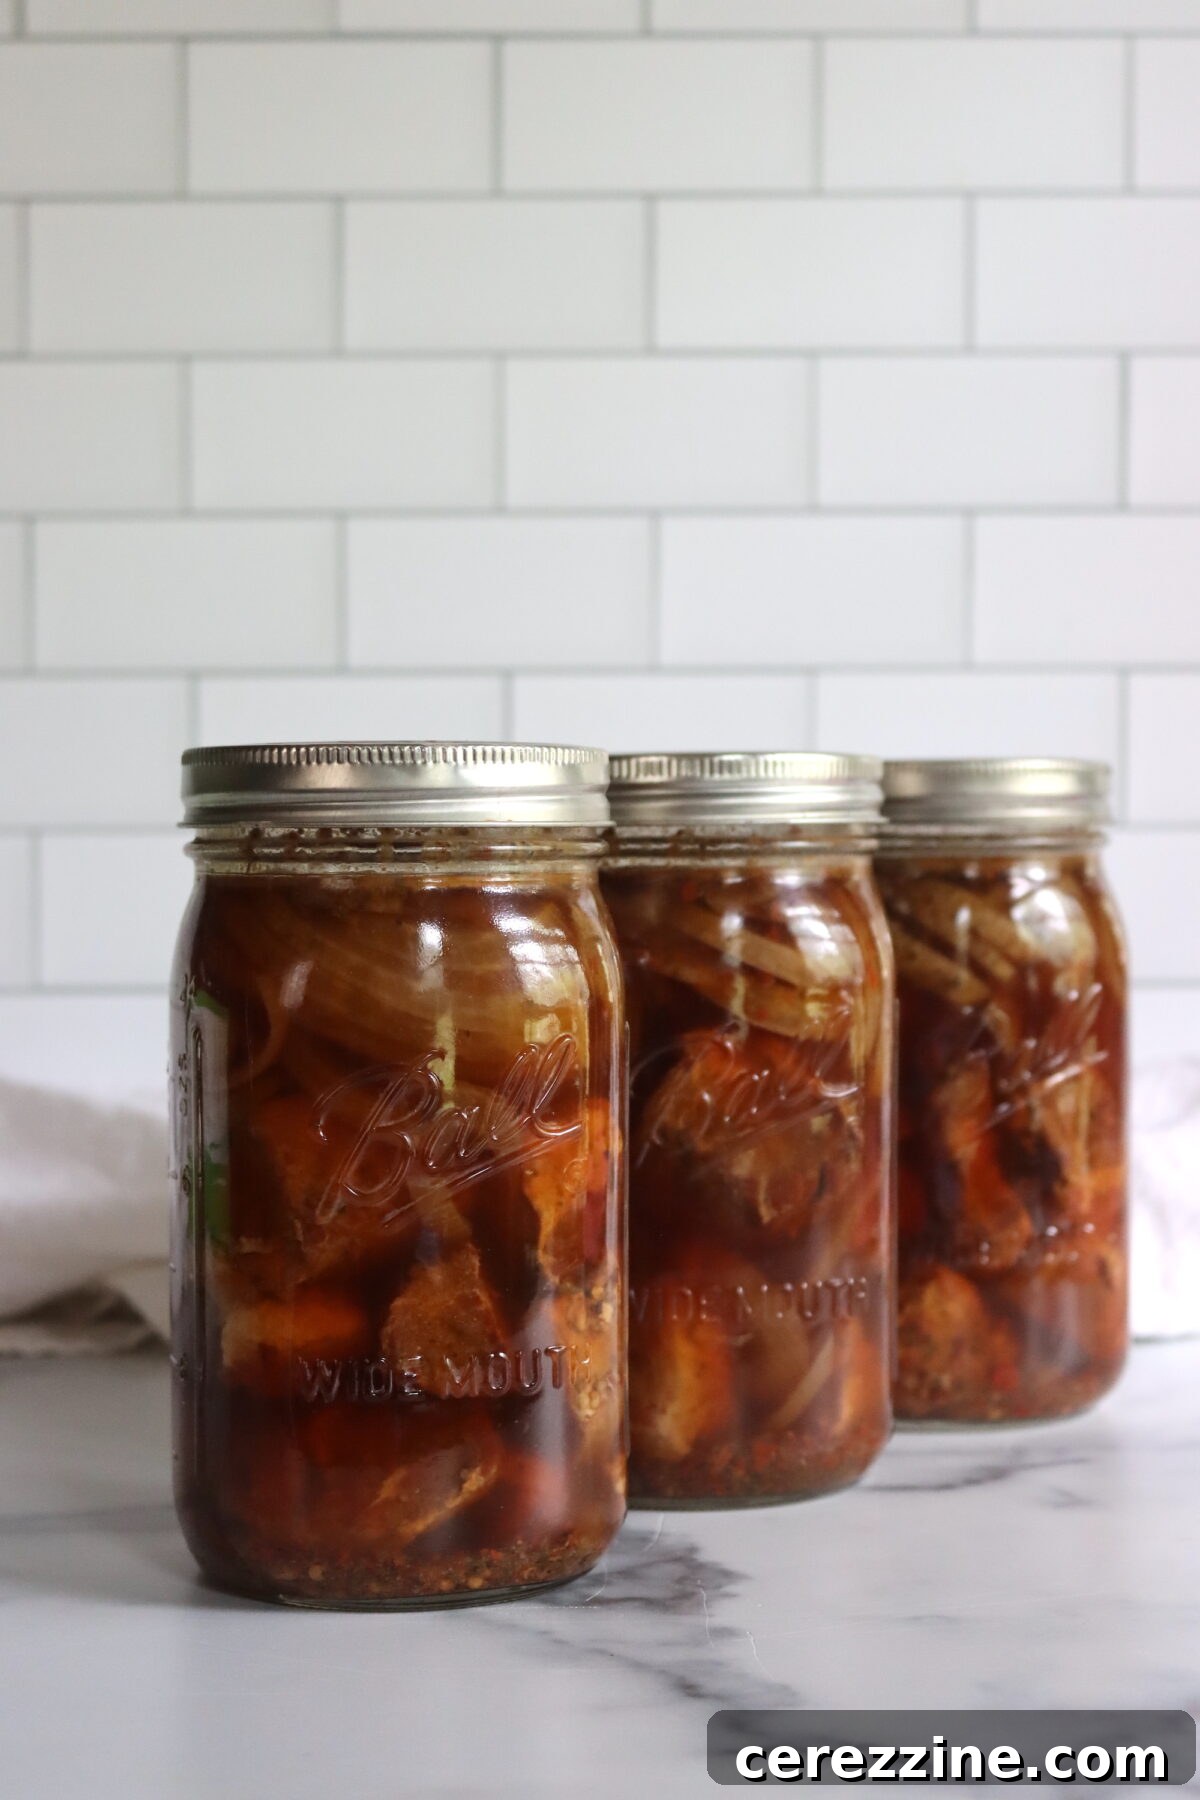
Why You’ll Adore This Meal-in-a-Jar Canning Recipe!

While basic canned pork shoulder is always a practical option, this recipe elevates the experience significantly. The preliminary quick roast imparts a beautifully browned, deeply savory depth to the meat. Combined with a generously seasoned broth, each jar feels like a truly complete culinary building block, far more than just meat stored in liquid. Even after months in the pantry, when I open a jar, the aroma still evokes the feeling of a dish I’ve intentionally and lovingly prepared.
Beyond its rich flavor, the exceptional utility of this recipe lies in its remarkable flexibility post-canning. You can effortlessly heat it and serve it as a hearty, brothy pork soup, or, with minimal effort, transform it into perfectly crispy, taco-style pork carnitas. Imagine: one single jar can become a satisfying dinner in virtually the same amount of time it takes to warm a stack of tortillas. This convenience makes it an indispensable staple for busy households and emergency meal planning alike.
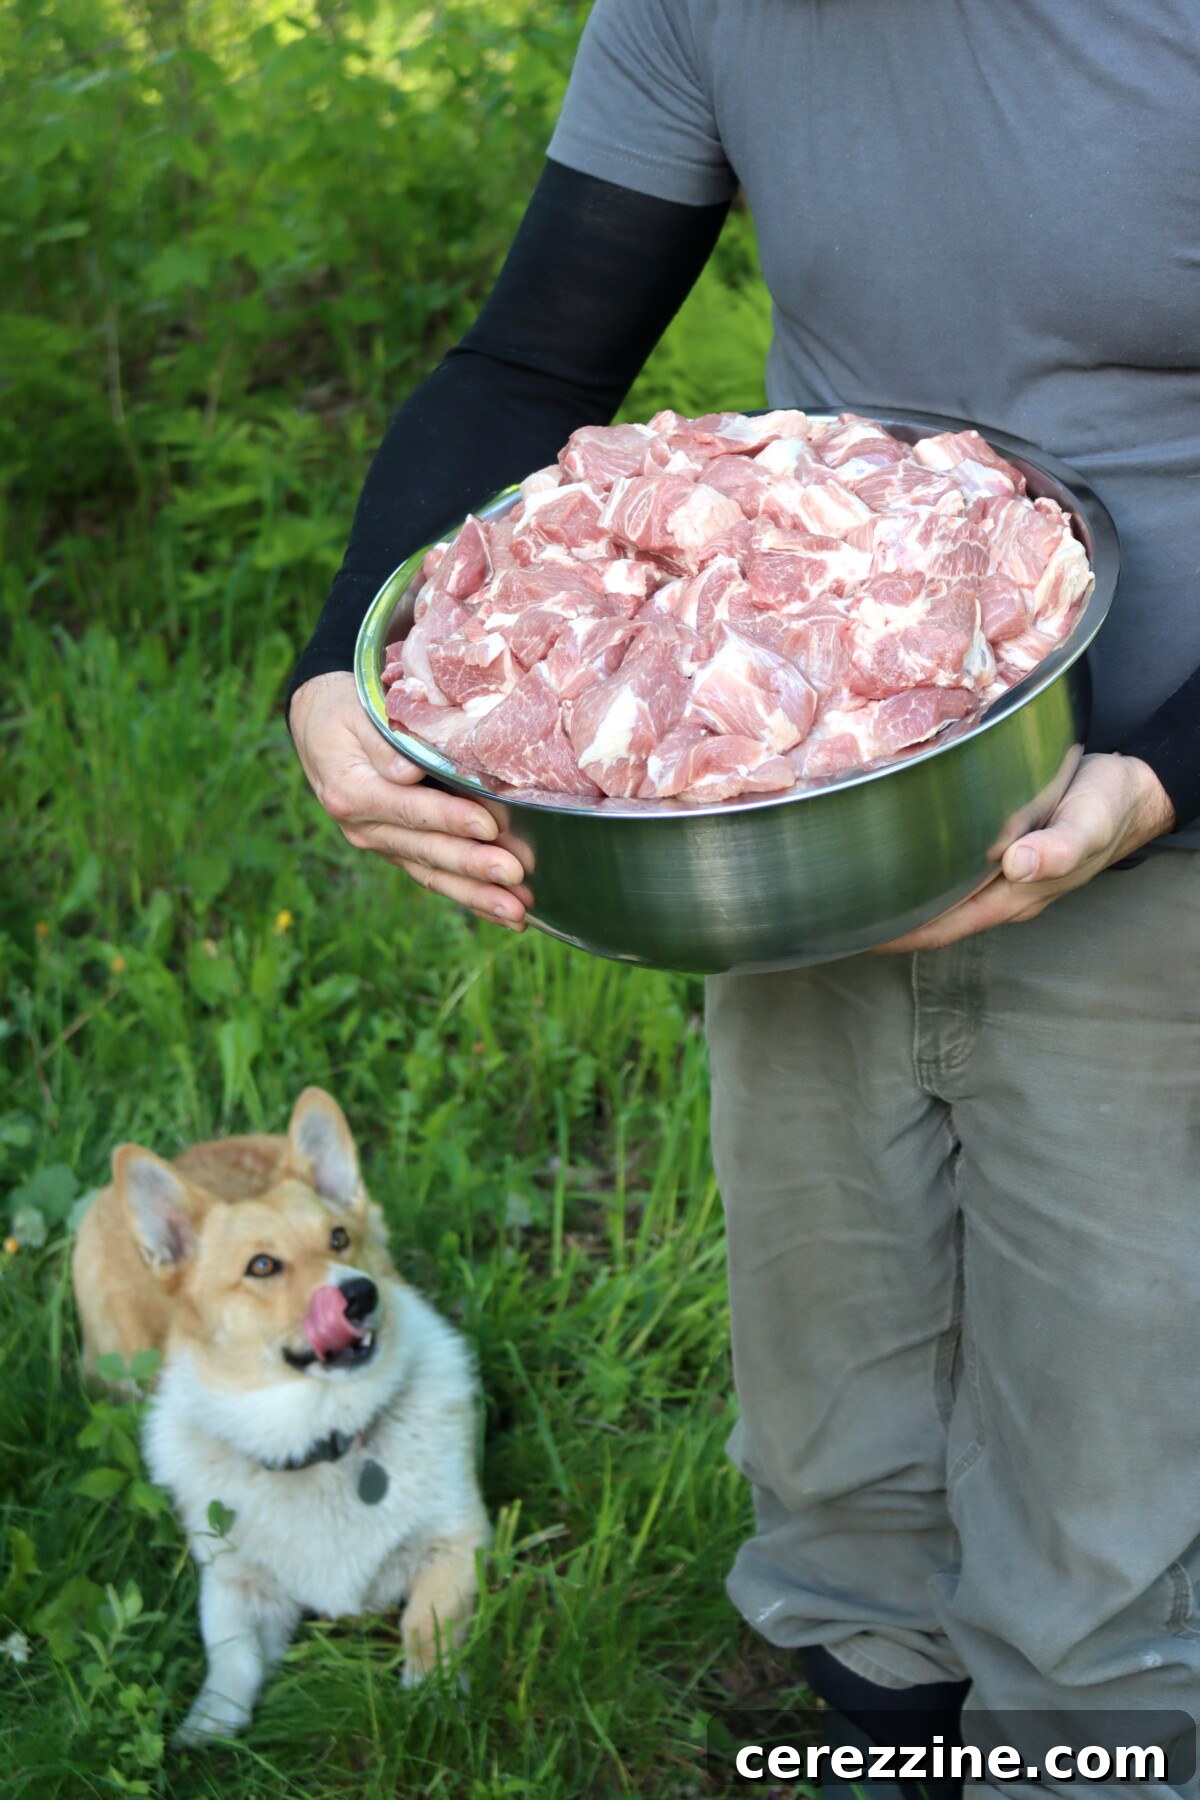
A Quick Overview of This Canned Pork Recipe
- Recipe Name: Pork in Spicy Broth
- Recipe Type: Meal in a Jar Canning Recipe, a complete savory dish preserved for later enjoyment.
- Canning Method: Pressure Canning is essential for safety with low-acid foods like meat.
- Preparation & Cooking Time: Approximately 1 hour for roasting the pork, plus broth preparation.
- Canning Process Time: 75 minutes for Pint jars, 90 minutes for Quart jars.
- Yield: This recipe typically yields 3 quarts or 6 pints of delicious canned pork.
- Recommended Jar Sizes: Pint or Quart-sized canning jars.
- Headspace Requirement: Maintain a 1-inch headspace in each jar for safe processing.
- Key Ingredients: Succulent Pork, aromatic Onion, a blend of flavorful Spices, and rich Broth.
- Safe Canning Recipe Source: This recipe adheres to safety protocols from the University of Alaska Hearty Soups Canning Protocol, ensuring reliable and safe home preservation.
- Difficulty Level: Easy! The main step to remember for optimal quality is roasting the meat before packing it into jars.
- Similar Recipes You Might Enjoy: The pressure canning technique is akin to other popular meal-in-a-jar recipes, including Chicken and Gravy Meal in a Jar, Pot Roast in a Jar, and Beef Stroganoff. For those who love the taco-meat style, consider Chipotle Beef Taco Meat or Chicken Taco Meat for similar flavor profiles.
SAVE THIS CONTENT FOR FUTURE REFERENCE!
Essential Ingredients for Canning Roast Pork in Spicy Broth
This Ball Canning recipe is intentionally straightforward, designed to deliver maximum flavor with minimal fuss. It calls for a concise list of common pantry spices, a high-quality broth, and a forgiving cut of pork that maintains its tenderness beautifully after the pressure canning process. While the original recipe is scaled for a small batch, yielding three quarts, it’s easily multiplied for larger canning sessions. (For reference, my All American Brand 930 pressure canner can accommodate up to 14 quarts or 19 pints, making large batches highly efficient.)
To embark on this satisfying canning project, you will need the following key ingredients:
- Pork shoulder (Boston butt): This cut is paramount for its ability to remain exceptionally tender and juicy even after extensive pressure canning. The meat cubes hold their shape well, making them ideal for long-term storage and versatile culinary applications.
- Salt (divided): A critical seasoning, salt is split into two portions. One part is used to season the pork prior to roasting, enhancing its natural flavors. The remaining portion is added to the broth, ensuring a perfectly balanced and savory liquid that complements the meat.
- Black pepper: Provides a subtle, mild bite that adds depth to the overall flavor profile without overpowering the primary notes of oregano and garlic.
- Canola oil: Utilized for browning the pork in the oven, it contributes to the formation of a delicious crust and adds a touch of richness that helps carry the complex flavors throughout the dish.
- Chicken bone broth: Forms the flavorful foundation of the jars. Bone broth offers a rich, savory base with excellent body, ensuring the liquid is just as delicious and useful as the pork itself.
- Onion: As it simmers in the broth, the onion softens beautifully, imparting a natural sweetness and an essential layer of aromatic depth to the overall flavor.
- Crushed red pepper: The source of the “spicy” in the title, it introduces a gentle, lingering heat that subtly infuses the broth during canning, creating an inviting warmth rather than an overpowering burn.
- Dried oregano: This herb is the main aromatic component, offering an earthy, slightly peppery note that pairs exceptionally well with various serving ideas, particularly those with a taco or Mediterranean influence.
- Garlic: A foundational flavor enhancer, garlic ensures a robust and memorable taste that impressively stands up to the canning process, remaining distinct and appealing.
While adhering to the core methodology for safety, you have the flexibility to subtly adapt the flavor profile of this recipe. If you wish to experiment with the seasoning blend, consider incorporating similar “dry spice” alternatives such as a smoky hint from smoked paprika, the warm earthiness of ground cumin, or a dash of chipotle powder for an added layer of smoky heat. You can also substitute oregano with thyme if that’s what you have on hand. The key is to stick to dried herbs and spices to avoid altering the texture or thickening the liquid, which could impact canning safety and quality.
The broth component is also quite adaptable, serving primarily to provide both flavor and essential moisture. Chicken bone broth is generally recommended for its rich body and widespread availability, but other options like pork broth, hearty rib broth, or robust beef broth are equally excellent choices. In a pinch, vegetable broth can also be used. Always be mindful of the salt levels in your chosen broth; an excessively salted broth will result in overly salty finished jars. This recipe is specifically formulated for an unsalted or low-sodium broth to allow for precise seasoning.
Should you consider swapping the type of meat, this recipe performs best with cuts that naturally remain tender after extended processing times. For pork, pork shoulder (Boston butt) remains the superior choice due to its ideal fat content and connective tissue, which yields a moist, easily shreddable texture. Leaner cuts, such as pork loin, can become noticeably drier and stringier in the jar. This versatile seasoned broth can also be used effectively if you’re interested in canning ribs or even canning sausage, both of which will maintain a delightful tenderness. For a beef alternative, opt for cuts like beef chuck or brisket, as their inherent connective tissue breaks down beautifully to create tender and incredibly flavorful results in the jar.
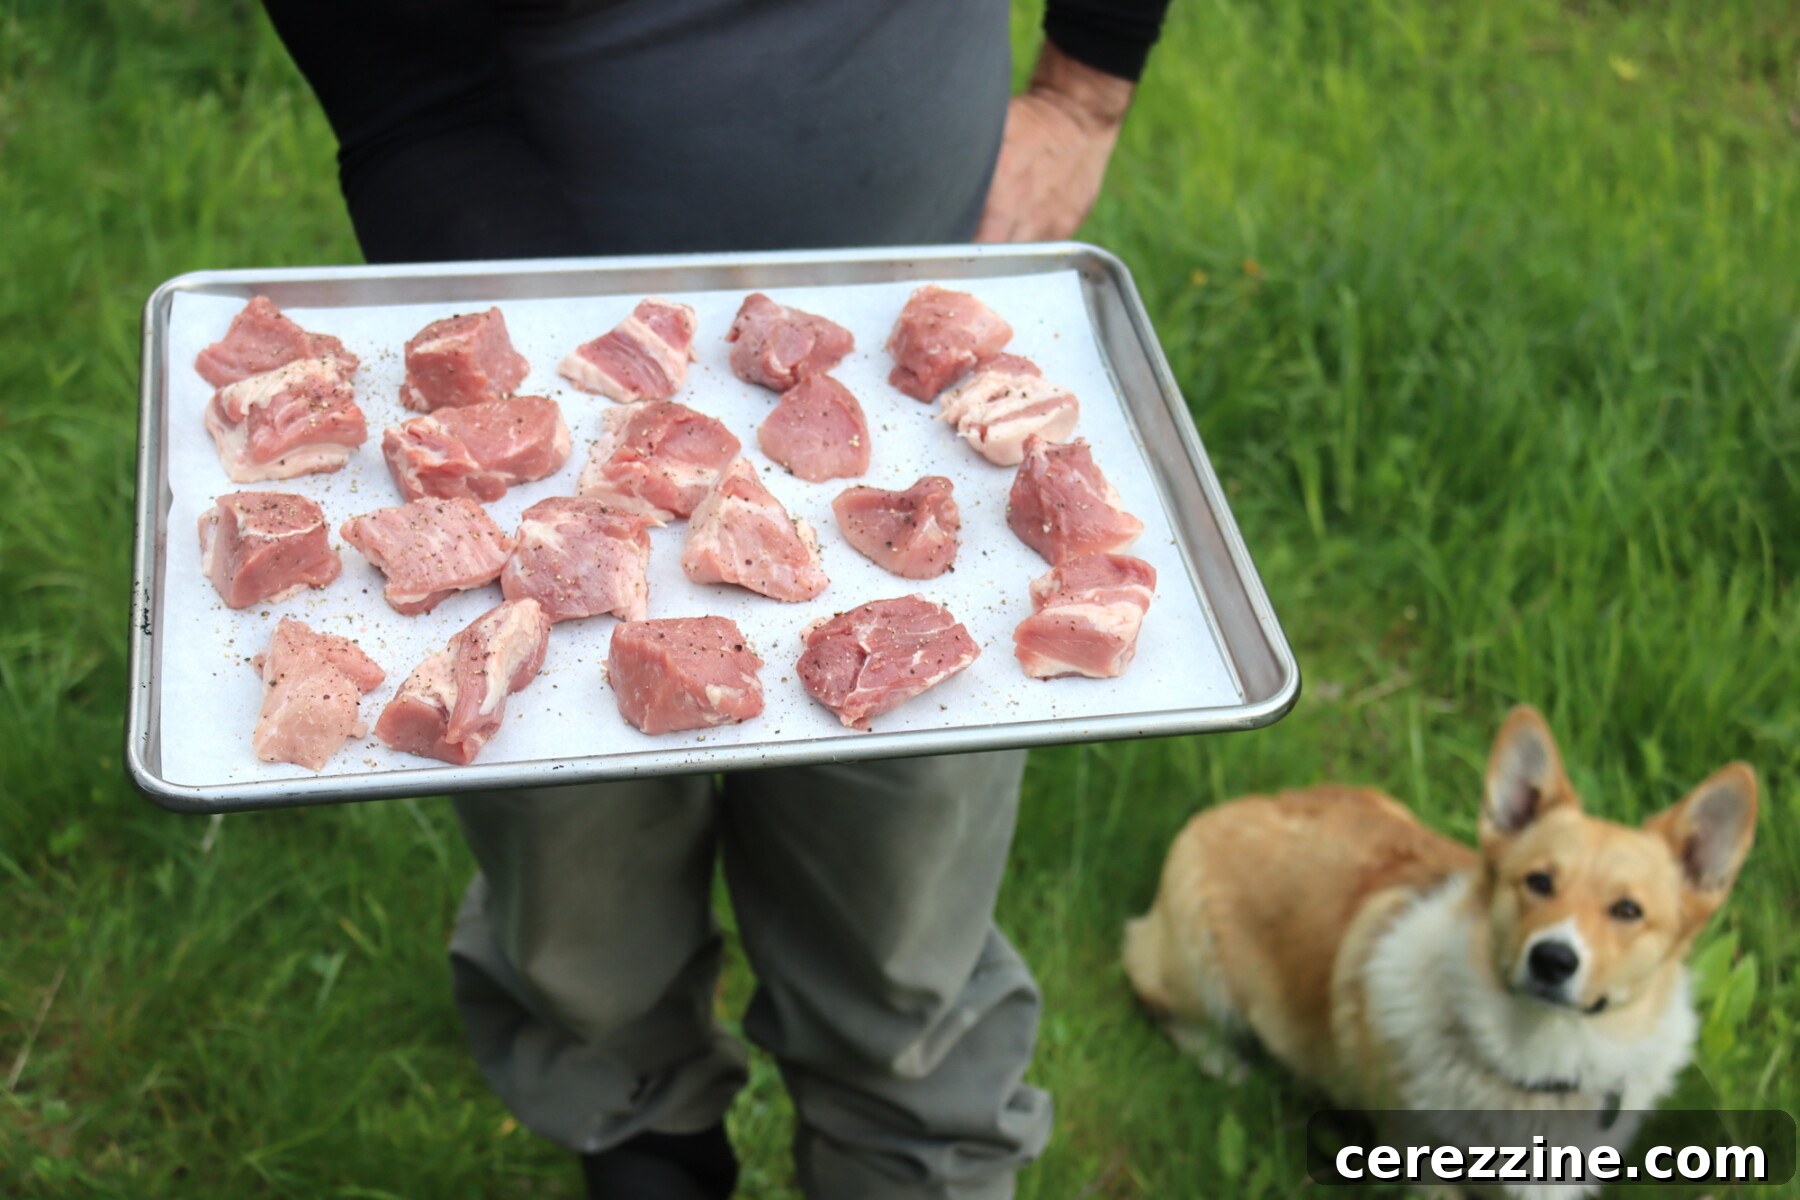
Step-by-Step Guide: Pressure Canning Roast Pork in Spicy Broth
This recipe employs the hot pack pressure canning method, which involves first roasting the pork to develop rich flavors, and then preserving it in a zesty broth infused with onions and a blend of aromatic seasonings. It’s crucial not to bypass the initial roasting step; it’s fundamental for both building an exceptional flavor profile and maintaining the pork’s desirable texture throughout the canning process. Roasted meat not only withstands the high-pressure canning conditions more effectively but also emerges tender and moist in the center. This method truly offers the best of both worlds – convenience and superior quality.
Step 1: Roast the Pork for Enhanced Flavor
Begin by preheating your oven to a robust 425°F (220°C). Take your cubed pork and season it evenly with 1 teaspoon of the salt and all of the black pepper. Then, toss the seasoned pork with the canola oil, ensuring each piece is lightly coated. Spread the pork cubes in a single, even layer on a rimmed baking sheet that has been lined with foil for easier cleanup. Roast the pork for approximately 30 minutes, or until you observe a pleasant browning starting to form around the edges of the meat. Remember, you’re not aiming to fully cook the pork, but to build a rich, caramelized exterior.
Step 2: Prepare the Flavorful Broth
While the pork is roasting in the oven, turn your attention to the broth. In a spacious 4-quart pot, combine the chicken broth, thinly sliced onion, crushed red pepper, dried oregano, minced garlic, and the remaining portion of salt. Bring this mixture to a rolling boil. Once boiling, reduce the heat to a simmer, cover the pot, and allow it to gently simmer for a brief period of about 5 minutes. This simmering time is essential for the flavors to meld and deepen, creating an aromatic base for your canned pork.
Step 3: Fill and Prepare Hot Jars
Before the pork is ready, ensure your pressure canner is properly set up and that your canning jars are clean and kept hot (either in a hot water bath, dishwasher, or canner). Once the roasted pork is ready, add it to each hot jar, distributing the meat as evenly as possible among them. Next, carefully ladle the hot broth mixture over the pork, making sure to leave precisely 1 inch of headspace from the rim of the jar. This headspace is crucial for proper sealing and safe processing.
Utilize a bubble remover tool (or a clean, non-metallic utensil) to gently remove any trapped air bubbles from inside the jar. After removing bubbles, re-check the headspace and adjust if necessary by adding more broth. Finally, wipe the rims of each jar thoroughly with a clean, damp cloth to ensure a perfect seal. Apply the lids and screw bands, tightening them only to fingertip-tight – overtightening can prevent proper sealing.
Step 4: Load the Canner and Initiate Venting
Carefully place the prepared jars onto the rack inside your pressure canner, which should contain approximately 2 inches of hot water (this water should be simmering, not yet at a rolling boil). Securely lock the canner lid into place. Increase the heat and bring the canner to a strong, steady flow of steam. Allow the canner to vent for a full 10 minutes. This crucial venting step purges any unneeded air from the canner, ensuring that the internal temperature reaches the required level for safe food preservation. After venting, apply the weighted gauge or close the vent, allowing the pressure to build.
Step 5: Process Jars at Correct Pressure
Once the venting process is complete, allow the pressure inside the canner to rise to the correct level according to your altitude and the type of pressure canner you are using (refer to the altitude adjustments section below for specific guidance). Once the correct pressure is achieved and stable, begin your processing time as follows:
- For Pint jars: Process for 1 hour and 15 minutes (75 Minutes).
- For Quart jars: Process for 1 hour and 30 minutes (90 Minutes).
Maintain a consistent pressure throughout the entire processing time, adjusting heat as needed. When the processing time has elapsed, turn off the heat completely and allow the pressure canner to return to zero pressure naturally. This slow, natural depressurization is vital to prevent siphoning (liquid loss from jars) and ensures proper seal formation. After the pressure gauge reads zero, wait an additional 5 minutes before carefully opening the lid, tilting it away from your face to avoid escaping steam.
Step 6: Cool Jars and Store Safely
After carefully opening the canner, allow the jars to rest undisturbed within the open canner for about 10 minutes. This gradual cooling period helps to prevent thermal shock and further aids in seal formation. Then, using a jar lifter, carefully remove the hot jars and place them on a clean towel or cooling rack, ensuring they are not touching each other. Allow the jars to cool completely and undisturbed for a period of 12 to 24 hours. During this time, you should hear the characteristic “ping” sound as the lids seal. Once fully cooled, check all jar seals by pressing on the center of the lid; it should not flex. If any jar has not sealed, refrigerate and consume its contents promptly. Label your sealed jars with the contents and date, then store them in a cool, dark, dry place away from direct sunlight.
Crucial Altitude Adjustments for Pressure Canning
When engaging in pressure canning, it is imperative to understand that while the processing times remain constant regardless of elevation, the required pressure settings must be adjusted for higher altitudes. This ensures that the internal temperature of the food reaches a safe level for preservation. Here are the necessary altitude adjustments for both dial gauge and weighted gauge pressure canners:
For individuals using dial gauge pressure canners, adjust your pressure settings according to your elevation:
- At elevations from 0 to 2,000 feet – process at 11 lbs pressure.
- At elevations from 2,001 to 4,000 feet – process at 12 lbs pressure.
- At elevations from 4,001 to 6,000 feet – process at 13 lbs pressure.
- At elevations from 6,001 to 8,000 feet – process at 14 lbs pressure.
For those utilizing weighted gauge pressure canners, the adjustments are simpler:
- At elevations from 0 to 1,000 feet – process at 10 lbs pressure.
- At elevations above 1,000 feet – process at 15 lbs pressure.
Always ensure you are operating your pressure canner safely and according to the manufacturer’s instructions and tested guidelines for your specific altitude.
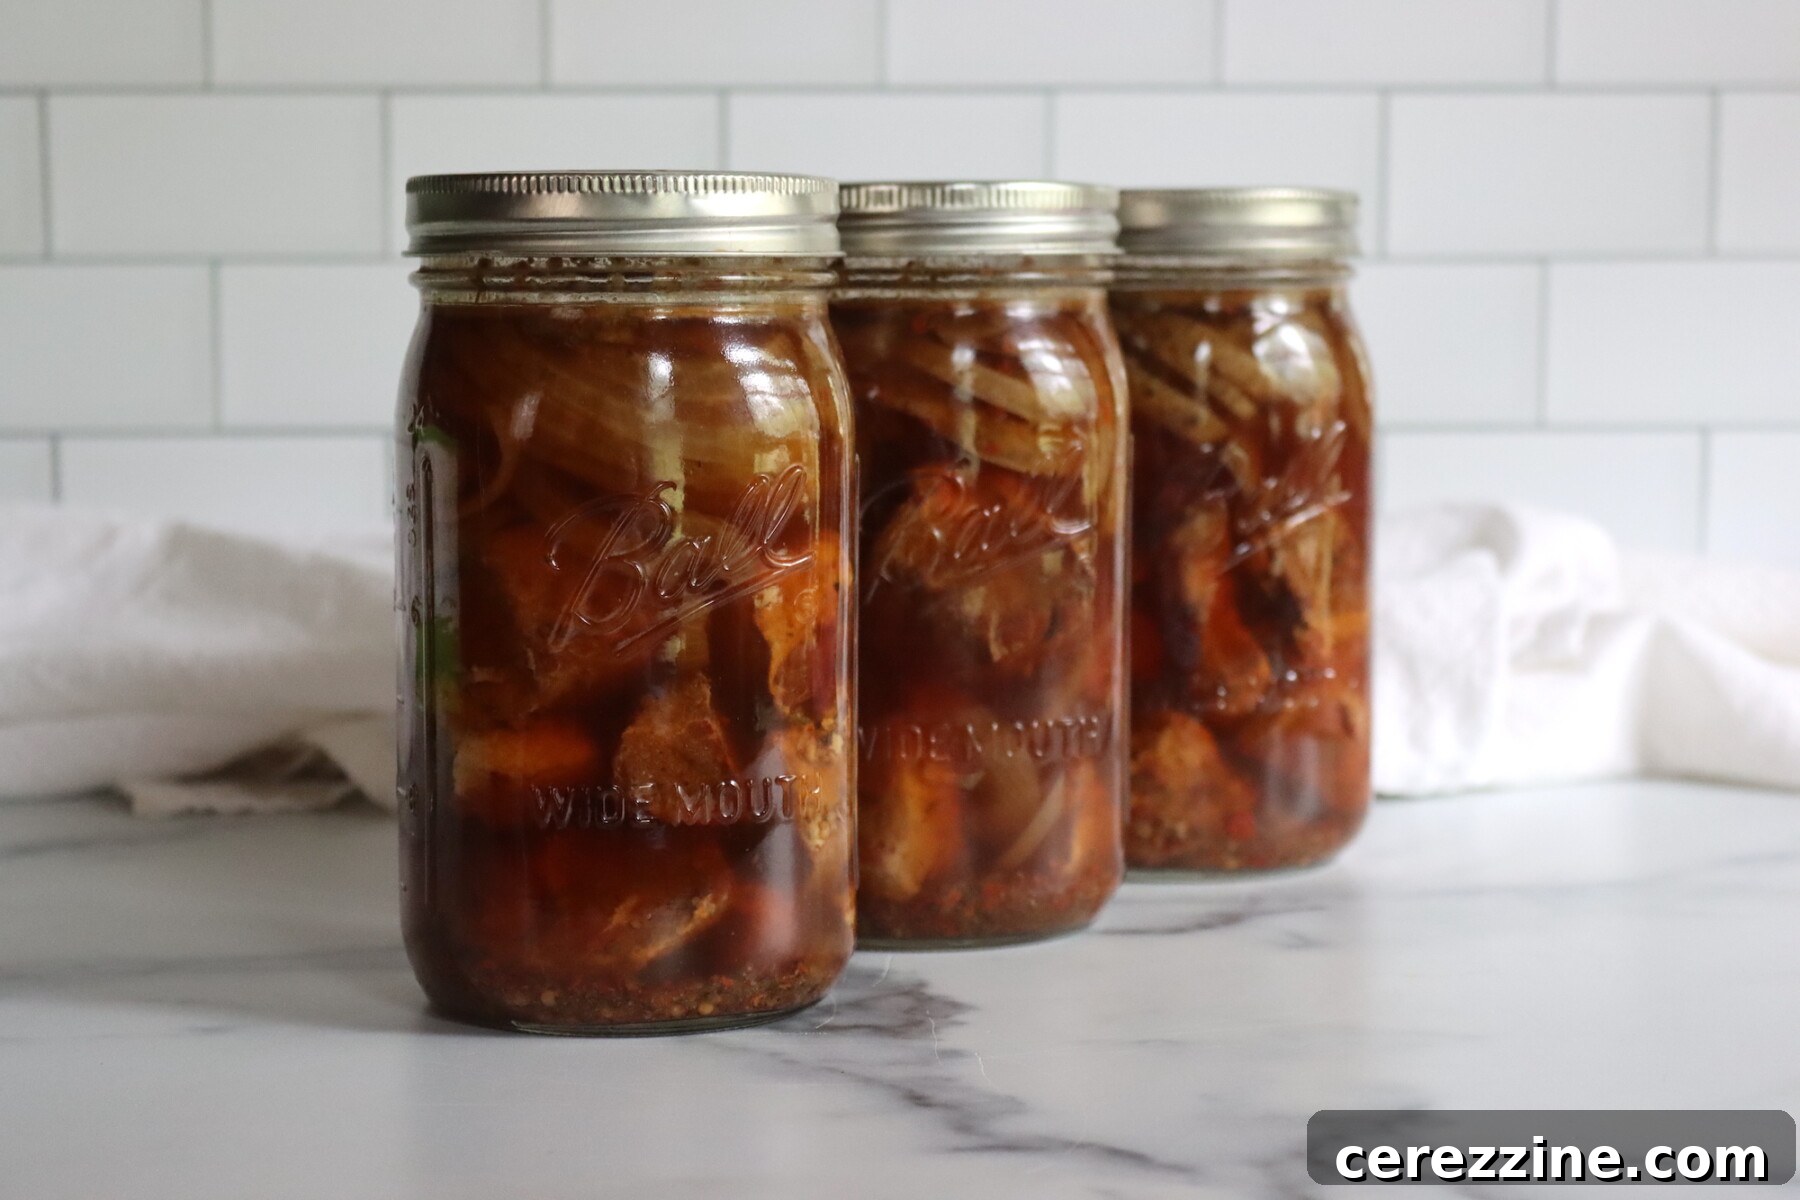
Versatile Serving Ideas for Canned Roast Pork
This roast pork in spicy broth recipe is wonderfully versatile and can be enjoyed in any dish where well-seasoned pork would shine. Its robust flavor profile makes it an excellent base for a myriad of culinary creations. Ball Canning, in fact, provides specific and popular instructions on how to effortlessly transform this tender roast pork into delectable pulled pork carnitas, perfectly suited for tacos, nachos, burritos, or even a hearty topping for loaded fries.
To prepare a single pint jar of this canned pork into a fantastic taco filling with irresistibly crispy edges, follow these simple steps: First, pour the entire contents of the jar (pork and broth) into a medium saucepan. Bring the mixture to a brisk boil over medium-high heat, then reduce the heat and allow it to simmer, uncovered, for about 10 minutes. This simmering period is crucial as it helps to concentrate the rich flavors of the broth and tenderize the pork further.
Next, carefully strain the pork into a bowl, making sure to save the flavorful broth; do not discard it! Using two forks, shred the pork into desired consistency. Spread the shredded pork evenly in a single layer on a foil-lined baking sheet. Transfer the baking sheet to an oven preheated to 375°F (190°C) and bake for approximately 20 minutes, or until the edges of the pork become delightfully crispy and golden brown. This step is what truly transforms the tender canned pork into authentic carnitas.
Serve the crispy pork in warm corn or flour tortillas, garnished with fresh, vibrant cilantro and bright lime wedges. For toppings, I highly recommend a selection of shredded cheese, finely diced white onion for a sharp contrast, and something bright and tangy like chipotle tomatillo salsa or a refreshing southwestern corn salsa, along with zesty lime pickled onions. If the meat appears a little dry, simply spoon a touch of the reserved broth over the pork just before serving to add back moisture and flavor. This preparation turns a pantry staple into an exciting and satisfying meal.
Frequently Asked Questions About Canning Pork
Pork shoulder is indeed the best choice for this recipe due to its superior quality. It consistently remains tender and moist even after the pressure canning process. Leaner cuts, such as pork loin, tend to become dry and stringy inside the jar. If you opt to use another cut, it’s critical to maintain the exact piece size, headspace, and processing instructions for safety, but be prepared for a noticeable difference in texture. From a canning safety perspective, any cut of pork (or beef) is perfectly safe within the parameters of this recipe. Beef Chuck is an excellent substitute if you prefer to use another protein.
To prepare taco-style pork with crispy edges, first warm the contents of the jar in a saucepan, bring it to a boil, then simmer uncovered for 10 minutes to reduce and concentrate the flavors. Next, strain the pork from the broth (make sure to save the broth!) and shred the meat with two forks. Spread the shredded pork on a foil-lined baking sheet and bake at 375°F (190°C) for approximately 20 minutes, or until the edges become wonderfully crisp. Serve this delicious pork in warm tortillas with fresh cilantro and lime, and add your favorite toppings such as finely diced onion, crumbled queso fresco, a vibrant salsa, or tangy pickled radishes for a complete and satisfying meal.
No, absolutely not. Meat is classified as a low-acid food, which means it requires temperatures significantly higher than what a boiling water bath canner can achieve for safe preservation. Therefore, this recipe, and any meat canning recipe, must be pressure canned. A boiling water canner simply cannot reach the necessary temperatures to destroy harmful bacteria, even if there is an abundance of broth or seasoning present. Pressure canning is the only safe method for preserving meat.
Discover More Delicious Meal-in-a-Jar Canning Recipes
Canning Boston Baked Beans
Canning Chili Con Carne
Canning Chicken Pot Pie Filling
If you tried this Roast Pork in Spicy Broth Canning Recipe, or any other recipe on Creative Canning, please leave a ⭐ star rating and share your thoughts in the 📝 comments section below!
And make sure you stay connected with me by following on social media!
12
servings, or 3 quart jars
Roast Pork in Spicy Broth (Ball Canning Recipe)
15 minutes
45 minutes
1 hour
15 minutes
2 hours
15 minutes
Save
Saved
Pin
Rate
Equipment
-
Pressure Canner
Ingredients
-
3
lb
pork shoulder,
boneless, such as Boston butt, trimmed and cut into 1½-inch cubes -
4
tsp
salt,
divided -
½
tsp
ground black pepper -
1
Tbsp
oil,
canola, olive, etc. -
8
cups
chicken broth -
1
medium
onion,
halved and thinly sliced -
2
Tbsp
dried crushed red pepper -
1½
Tbsp
dried oregano -
3
whole
garlic cloves,
minced
Instructions
-
Roast the pork: Heat oven to 425°F (220°C). Season pork with 1 tsp salt and the black pepper, then toss with oil. Spread on a foil-lined rimmed baking sheet and roast about 30 minutes, until browning begins.
-
Season the broth: In a 4-quart pot, combine broth, onion, crushed red pepper, oregano, garlic, and remaining salt. Bring to a boil, then cover, reduce heat, and simmer 5 minutes.
-
Fill jars: Prepare pressure canner and keep jars hot. Pack pork into hot jars, dividing the meat evenly between the jars. Ladle hot broth mixture over the pork, leaving 1 inch headspace. Remove bubbles, wipe rims, and apply lids and bands fingertip-tight.
-
Pressure can: Place jars on rack in canner with 2 inches of simmering water. Lock lid. Vent steam for 10 minutes, then bring to pressure (see notes).
-
Process pints 1 hour 15 minutes or quarts 1 hour 30 minutes at steady pressure.
-
Cool and store: Turn off heat and let canner return to zero pressure naturally. Wait 5 minutes, then open lid. Let jars sit in the open canner 10 minutes, then remove and cool 12–24 hours. Check seals, label, and store.
Notes
Roast just to brown: You’re looking for light browning on the edges, not fully cooked pork. That flavor carries through in the jar.
Let the canner do its slow cool: A natural depressurize + brief rest helps prevent siphoning.
Don’t toss the liquid: The broth is great for moistening the shredded pork, spooning over bowls, or using as a quick base for soup or rice (served fresh, not canned with it).
Altitude Adjustments
With pressure canning, the processing times stay the same at higher altitudes, but the pressures change. Here are the altitude adjustments for pressure canning:
For dial gauge pressure canners:
- 0 to 2,000 feet in elevation – 11 lbs pressure
- 2,001 to 4,000 feet in elevation – 12 lbs pressure
- 4,001 to 6,000 feet in elevation – 13 lbs pressure
- 6,001 to 8,000 feet in elevation – 14 lbs pressure
For weighted gauge pressure canners:
- 0 to 1,000 feet in elevation – 10 lbs pressure
- Above 1,000 feet – 15 lbs pressure
To serve (taco-style carnitas)
Pour the jar into a saucepan, bring to a boil, then simmer uncovered 10 minutes.Strain the pork, reserve the broth, then shred the meat with two forks.Spread on a foil-lined baking sheet and bake at 375°F for 20 minutes until the edges crisp.
Serve in warm tortillas with cilantro and lime, and add toppings like diced onion, crumbled queso fresco, chipotle tomatillo salsa, and lime-pickled radishes. If needed, splash on a spoonful of the reserved broth right before serving.
Nutrition
Calories:
128
kcal
,
Carbohydrates:
2
g
,
Protein:
15
g
,
Fat:
6
g
,
Saturated Fat:
2
g
,
Polyunsaturated Fat:
1
g
,
Monounsaturated Fat:
3
g
,
Trans Fat:
0.01
g
,
Cholesterol:
49
mg
,
Sodium:
1410
mg
,
Potassium:
288
mg
,
Fiber:
0.4
g
,
Sugar:
1
g
,
Vitamin A:
19
IU
,
Vitamin C:
1
mg
,
Calcium:
29
mg
,
Iron:
1
mg
Nutrition information is automatically calculated, so should only be used as an approximation.
Like this? Leave a comment below!
More Delicious Pork Canning Recipes
Canning Sausage Potato and Kale Soup (Copycat Zuppa Toscana)
Canning Cajun Red Beans & Sausage
Canning Vindaloo Curry (Lamb, Pork or Chicken)
Find Your Next Favorite Recipe!
Searching for something else? Enter keywords below to discover the perfect recipe for your canning adventures!