
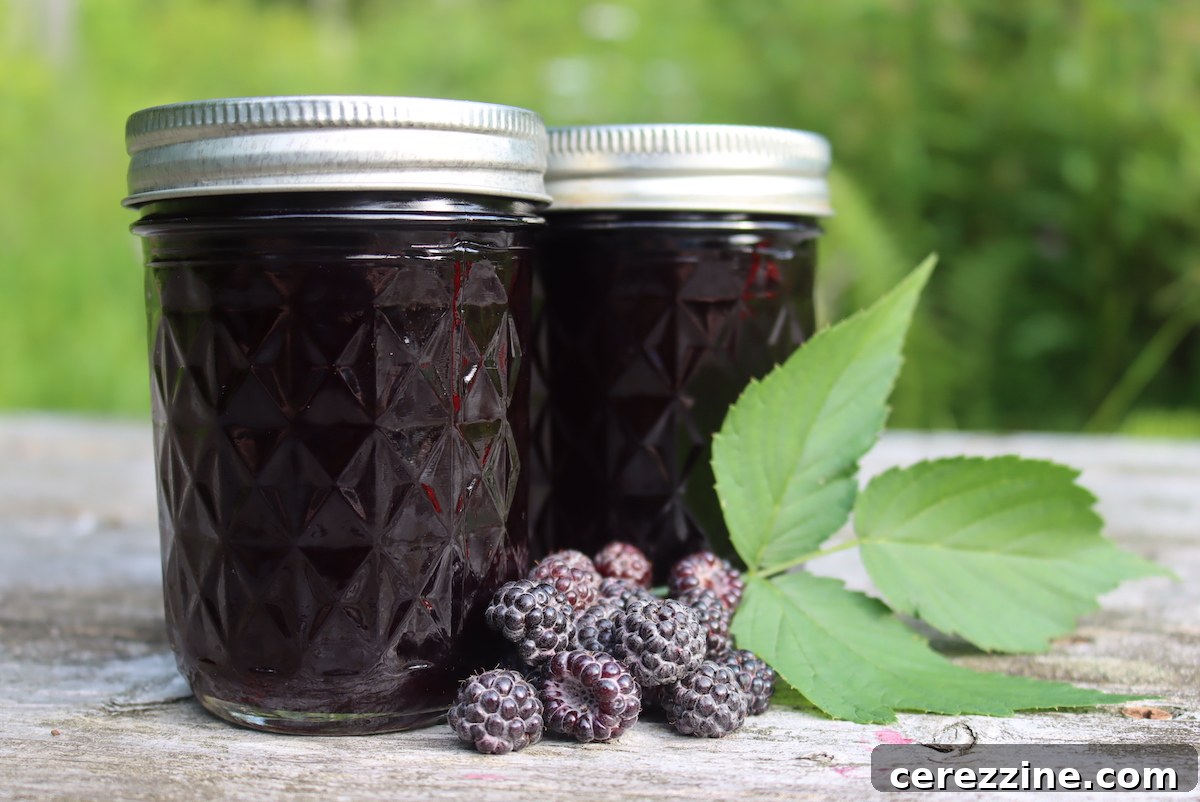
Imagine capturing the vibrant taste of summer’s finest black raspberries, perfectly preserved in your pantry for enjoyment throughout the year. This is the magic of homemade seedless black raspberry jelly. While the fresh berries offer an unparalleled flavor, their tiny, often bothersome seeds can detract from the smooth, luxurious texture of a perfect spread. That’s why crafting a seedless jelly is an absolute game-changer, elevating this classic preserve to new heights of culinary delight. Trust us, once you experience the silky consistency and intense fruit flavor without those pesky seeds, you’ll agree it’s the only way to enjoy black raspberry jelly.
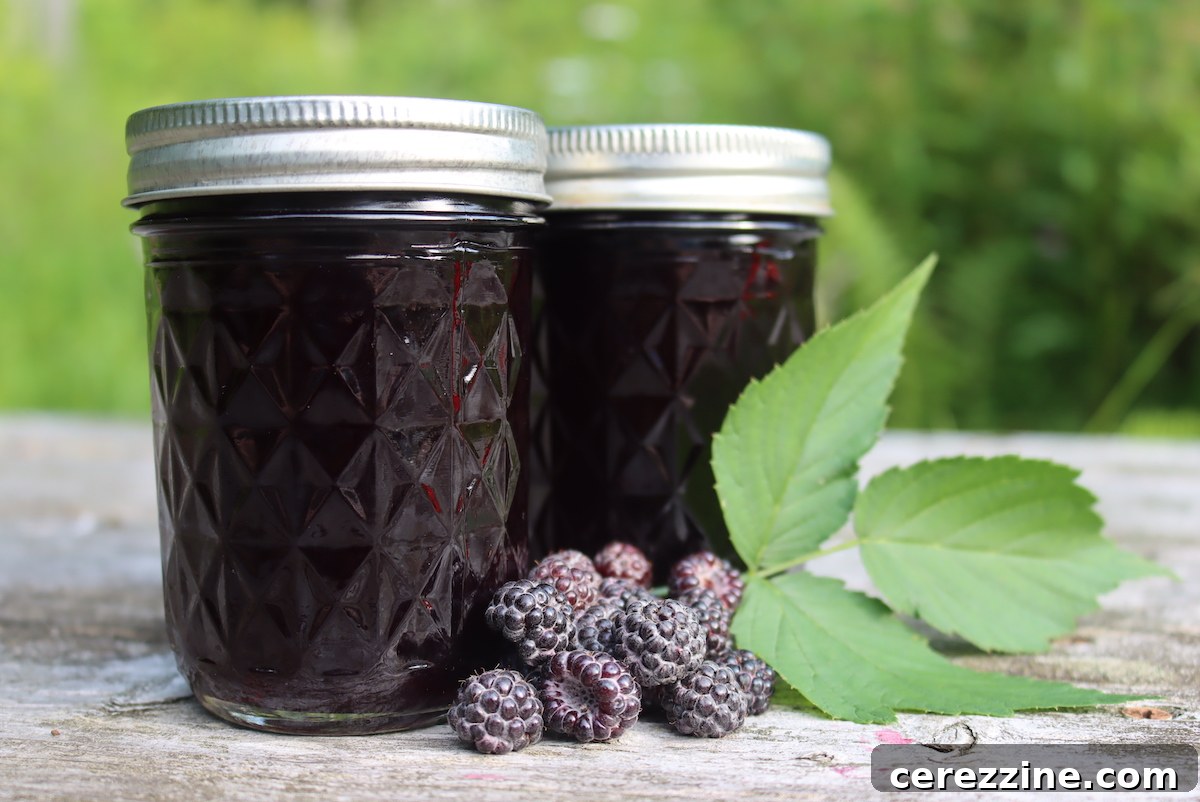
The Allure of Seedless Black Raspberry Jelly
For many of us, the arrival of summer signals the peak season for foraging and harvesting nature’s bounty, and wild black raspberries are often at the top of that list. We’re fortunate to have an abundance of these dark, jewel-toned berries flourishing each year, transforming our landscapes with their sweet fragrance and rich color. In previous seasons, the effort of collecting enough berries for a homemade batch of black raspberry jam was a labor of love, yielding a delicious, albeit seedy, result.
However, as harvests grow more generous, the desire for a refined, seed-free experience becomes increasingly appealing. While many enjoy the rustic charm of seeds in blackberry jam or the delightful texture of seedy raspberry jam and jelly, black raspberries, in particular, are known for their disproportionately high number of seeds. These tiny, crunchy impediments can sometimes overshadow the delicate sweetness and tartness of the fruit. This is precisely why seedless black raspberry jelly stands out as the superior choice, especially when you find yourself with an impressive, bumper crop of these glorious berries. It transforms a simple fruit spread into a velvety, spreadable delicacy perfect for toast, pastries, or even as an elegant glaze.
Harvesting the Perfect Fruit for Your Jelly
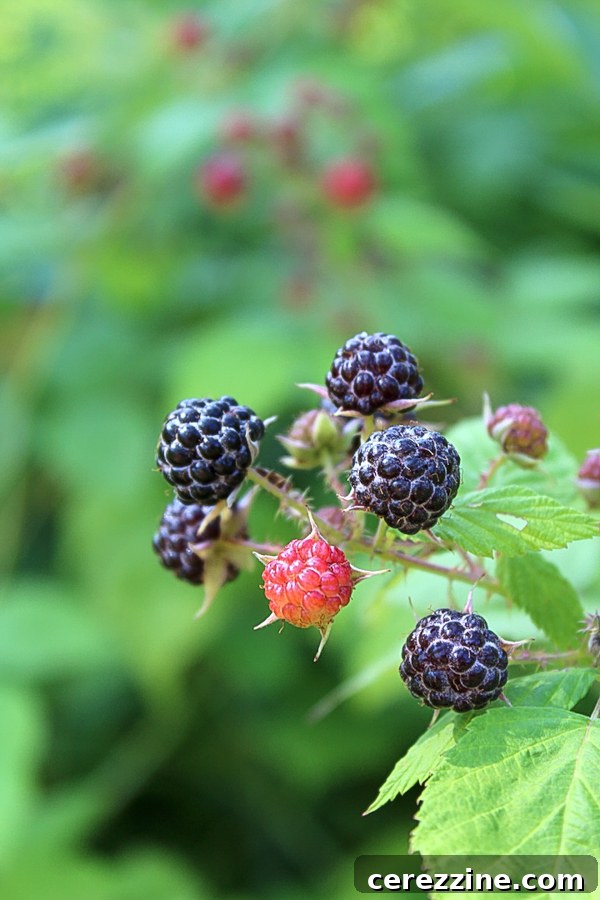
The journey to an exceptional black raspberry jelly begins with selecting the right fruit. Whether you’re foraging in the wild or sourcing from a local farmer’s market, understanding the ideal ripeness is crucial for achieving that perfect gel set. A common misconception is that all berries for jelly should be perfectly ripe. While fully ripe berries offer maximum flavor, a small proportion of slightly underripe fruit is actually beneficial.
Underripe berries contain a higher concentration of natural pectin, a soluble fiber responsible for the gelling properties in jelly. When we say “underripe,” we don’t mean green or hard berries. Instead, look for berries that are not quite jet black; they might have a slightly brighter, deep purple hue compared to their fully ripe, intensely black counterparts. Aim to harvest about 1/4 to 1/3 of your total berry volume with this slightly less ripe characteristic. This subtle inclusion of pectin-rich fruit will naturally boost the gelling power of your jelly, helping it set beautifully without the need for added commercial pectin.
Black raspberries are, by nature, quite rich in pectin, making them an excellent candidate for jelly. So, even if your farmer’s market only offers fully ripe berries, you’ll likely still achieve a wonderful set. However, if you have the luxury of picking your own, opting for a mix of ripeness levels is a simple trick to ensure success. In abundant gardens or foraging spots, you’ll often find a natural mix of both fully ripe and slightly underripe berries, making the selection process even easier.
Crafting Your Black Raspberry Juice Base
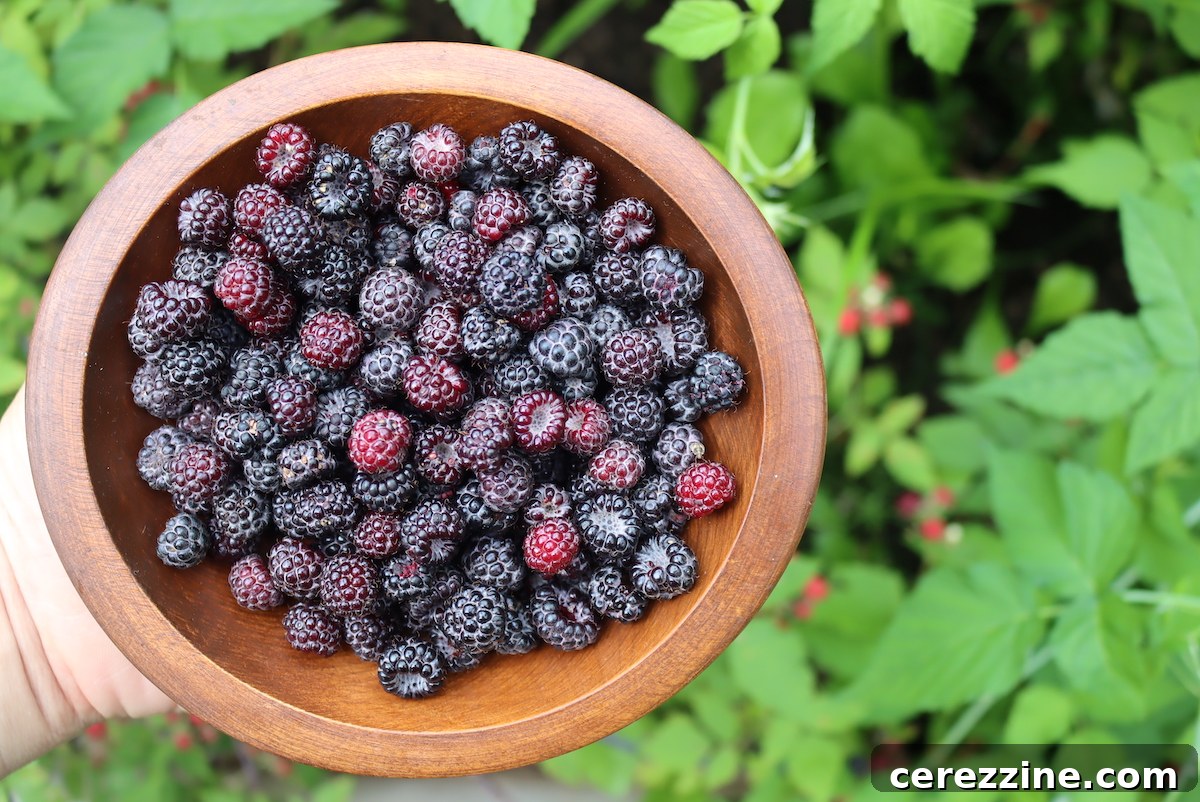
The first crucial step in making this exquisite seedless black raspberry jelly is extracting a clear, flavorful juice. This process is straightforward and lays the foundation for your final product. Begin by gently washing your freshly harvested black raspberries and placing them in a large, heavy-bottomed saucepan or stockpot. To aid in juice extraction and prevent scorching, add a small amount of water – generally, about 1/4 cup of water for every cup of fruit (or 1 cup of water per quart of fruit) is sufficient. This initial liquid helps to create steam, which tenderizes the berries and encourages them to release their juices without diluting the flavor excessively.
Bring the mixture to a gentle simmer over medium heat. Stir occasionally to prevent sticking and ensure even cooking. Continue simmering for approximately 10 to 15 minutes, or until the black raspberries have completely softened and broken down, resembling a thick, pulpy sauce. This cooking process helps to release the pectin from the fruit and ensures maximum flavor extraction.
Once the fruit is thoroughly cooked, it’s time to separate the juice from the pulp and, most importantly, the seeds. Pour the cooked berry mixture into a jelly strainer bag or a fine-mesh sieve generously lined with several layers of dampened cheesecloth. Position the strainer over a large bowl or pot, allowing the juice to drip naturally. For the clearest jelly, resist the temptation to squeeze the bag or press the pulp, as this can force tiny particles and pectin into the juice, resulting in a cloudy jelly. Patience is key here; let the juice drain for several hours, or even overnight, to ensure you collect as much liquid as possible. You’ll typically need approximately 3 to 4 quarts of fresh black raspberries to yield about 4 cups of clear juice, which is the ideal amount for a standard batch of jelly. Keep in mind that black raspberries tend to yield less juice than some other berries like blackberries, so adjust your fruit quantity accordingly.
Mastering the Jelly-Making Process
With your vibrant black raspberry juice ready, the next step is transforming it into luscious jelly. The general rule for a well-balanced jelly is to combine 3/4 cup of sugar for every cup of juice. So, if you’ve yielded 4 cups of juice, you’ll incorporate 3 cups of granulated sugar. While it might seem like a lot of sugar, it plays a vital role in both preservation and achieving the correct gel consistency. For best results, avoid making batches larger than 8 cups of juice at a time, as larger volumes can make it challenging to reach the gel stage consistently.
Combine the measured juice and sugar in a large, wide jelly pot or heavy-bottomed saucepan. The wide surface area promotes faster evaporation, which is essential for reaching the gel stage efficiently. Bring the mixture to a vigorous, rolling boil over medium-high heat, stirring continuously to dissolve the sugar completely and prevent it from scorching on the bottom of the pot. Once boiling, continue to cook, stirring frequently, until the jelly reaches the magical “gel stage.”
There are a couple of reliable methods to test for set:
- Temperature Test: The most precise method involves using an instant-read thermometer. The jelly is ready when it reaches 220°F (104°C) at sea level. This temperature indicates that enough water has evaporated, and the pectin has activated.
- Cold Plate Test: For a more traditional approach, place a small plate in the freezer before you begin cooking. When you suspect the jelly is ready, remove the plate and drop a teaspoon of hot jelly onto it. Let it sit for about 30 seconds, then gently push the edge of the jelly with your finger or a spoon. If the surface wrinkles, the jelly is set. If it’s still runny, continue cooking and test again in a few minutes.
The time it takes to reach the gel stage can vary based on the fruit’s natural pectin content, the amount of juice, and your stovetop’s heat, but it typically ranges from 8 to 10 minutes once a rolling boil is achieved. Once your jelly has reached the perfect set, remove it from the heat. Carefully skim off any foam that has accumulated on the surface with a spoon. Then, ladle the hot jelly into clean, prepared canning jars, leaving precisely 1/4 inch of headspace at the top.
Preserving the Bounty: Water Bath Canning Your Jelly (Optional but Recommended)
While the option to simply refrigerate or freeze your homemade black raspberry jelly for shorter-term enjoyment exists (up to 3 weeks in the refrigerator, or 6 months in the freezer), water bath canning offers the incredible benefit of shelf-stable preservation. This means you can savor the taste of summer’s black raspberries year-round, making it a particularly welcome treat during the colder months. For those new to the world of home canning, it’s a straightforward process, but safety and adherence to guidelines are paramount to ensure a safe, high-quality product.
If you’re new to water bath canning, we highly recommend consulting a comprehensive beginner’s guide to water bath canning for detailed safety instructions and equipment preparation. However, here’s a concise overview for processing your black raspberry jelly:
- Prepare Jars: Ensure your canning jars (half-pints or pints are ideal for jelly) are clean and free from chips or cracks. While modern canning recommendations no longer require pre-sterilizing jars if processing for 10 minutes or more, it’s good practice to keep them hot before filling.
- Fill Jars: Ladle the hot jelly into the prepared hot jars, leaving exactly 1/4 inch of headspace. This space is crucial for creating a proper vacuum seal.
- Clean Rims: Wipe the rims of the jars thoroughly with a clean, damp cloth to remove any jelly residue. This ensures a clean surface for the lids to seal properly.
- Apply Lids and Rings: Place a new, clean canning lid on each jar, followed by a screw band, tightened only to “fingertip tight.” Over-tightening can prevent proper sealing.
- Process in Canner: Carefully place the filled jars into a pre-heated water bath canner, ensuring they are fully submerged by at least 1 inch of water. Bring the water to a rolling boil.
- Processing Time: Once the water reaches a rolling boil, process half-pint or pint jars for 10 minutes. If you are at an elevation above 6,000 feet, increase the processing time to 15 minutes to account for lower boiling temperatures.
- Cool and Seal: After the processing time is complete, turn off the heat and carefully remove the jars from the canner. Place them on a towel-lined counter, undisturbed, for 12 to 24 hours to cool and seal. You should hear characteristic “ping” sounds as the lids seal.
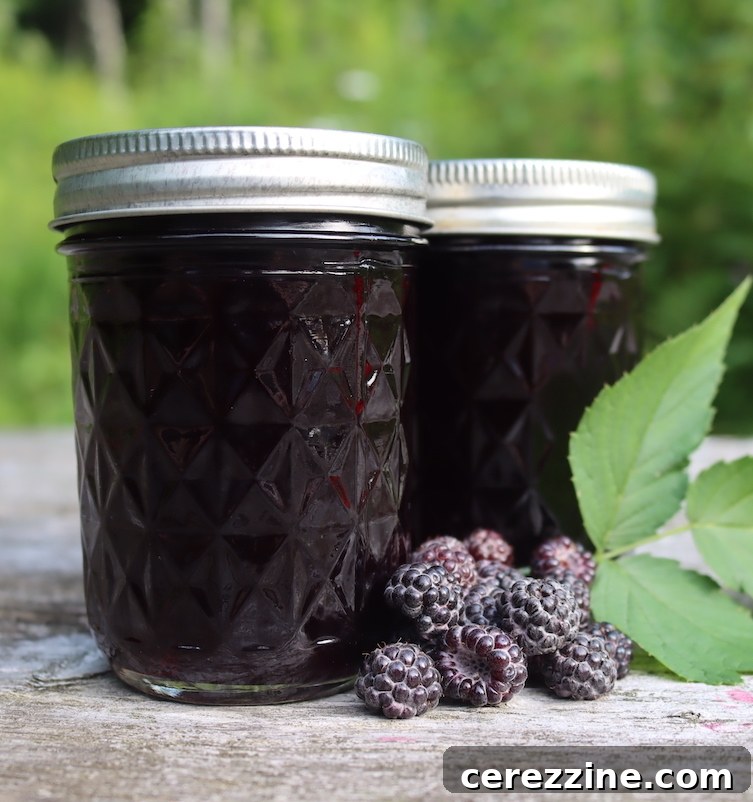
Once cooled, check the seals by pressing the center of each lid; if it doesn’t flex, the jar is sealed. Any jars that haven’t sealed properly should be stored in the refrigerator and consumed immediately. Properly canned and sealed jars of black raspberry jelly will maintain their peak quality and flavor on a cool, dark pantry shelf for 12 to 18 months, allowing you to enjoy the essence of summer long after the season has passed.
Tips for Success with Homemade Jelly
- Don’t Overcook: Overcooking can lead to a darker color, a caramelized flavor, and a tougher set. Follow the temperature or cold plate test closely.
- Avoid Squeezing: When straining juice, resist the urge to squeeze the fruit pulp. This can introduce cloudy particles and excess pectin, which might result in a less clear jelly.
- Proper Headspace: Always leave the recommended 1/4 inch headspace in jars for proper sealing during canning. Too little or too much can lead to seal failures.
- Cleanliness is Key: Ensure all equipment, jars, and lids are spotlessly clean to prevent spoilage.
Serving Suggestions for Your Delicious Jelly
Once your seedless black raspberry jelly is ready, the possibilities are endless!
- Spread it generously on toast, English muffins, or fresh scones for a classic breakfast treat.
- Use it as a vibrant filling for layer cakes, thumbprint cookies, or delicate tarts.
- Swirl it into yogurt or oatmeal for an extra burst of fruit flavor.
- Pair it with soft cheeses on a charcuterie board for an elegant appetizer.
- Whisk it into vinaigrettes or glazes for a unique savory-sweet twist on roasted meats or salads.
This versatile jelly is more than just a spread; it’s a culinary canvas awaiting your creative touch.
Black Raspberry Recipes
If you’re looking for more delightful ways to utilize your black raspberry harvest, these recipes are fantastic:
- Black Raspberry Ice Cream
- Black Raspberry Cobbler
- Black Raspberry Muffins
Black Raspberry Jelly (Seedless)
1 hr
10 mins
10 mins
1 hr 20 mins
64 servings, Makes about 4 half pint jars
Equipment
- Water Bath Canner
- Jelly Strainer with Bag
Ingredients
- 4 cups black raspberry juice, from 3-4 quarts black raspberries
- 3 cups sugar
Instructions
Extracting Juice
- Start by placing 3 to 4 quarts of black raspberries in a large saucepan. Add about 1/4 cup of water per cup of fruit—roughly 1 cup of water total.
- Bring the mixture to a simmer over medium heat and cook for 10 to 15 minutes, stirring occasionally, until the berries completely break down and release their juice.
- Pour the mixture through a jelly bag or a fine-mesh strainer lined with cheesecloth. Let it drain for several hours or overnight to extract as much juice as possible without squeezing (which can make the jelly cloudy).
- Measure out 4 cups of juice for the jelly recipe. Excess juice can be frozen or used for another batch.
Making the Jelly
- For every cup of juice, add 3/4 cup of sugar. This recipe uses 4 cups juice and 3 cups sugar, but it can be scaled up or down depending on your yield. Avoid using more than 8 cups of juice per batch to ensure proper gelling.
- If canning, prepare a water bath canner.
- Place the juice and sugar into a saucepan and bring to a hard boil. Cook over medium-high heat, stirring frequently, until the jelly reaches the gel stage (220°F on an instant-read thermometer). You can also test for set by placing a spoonful on a chilled plate and checking for wrinkles when pushed. This should take about 8 to 10 minutes, though times may vary.
- Once gel stage is reached, ladle the jelly into prepared jars, leaving 1/4 inch headspace.
Canning Black Raspberry Jelly (optional)
- If canning, process the jars for 10 minutes in a water bath canner, or 15 minutes if you’re above 6,000 feet in elevation. Remove jars and let them cool undisturbed on a towel for 12 to 24 hours. Check seals before storing.
- Properly canned and sealed jars will keep for 12 to 18 months in a cool, dark pantry. If not canned, store the jelly in the refrigerator and use within a few weeks.
Notes
Altitude Adjustments – Canning times are 10 minutes for pints and half-pints if below 6,000 feet in elevation. Above 6,000 feet, increase canning time to 15 minutes.
Nutrition
Calories: 43 kcal,
Carbohydrates: 11 g,
Fat: 0.03 g,
Sodium: 4 mg,
Potassium: 15 mg,
Sugar: 11 g,
Vitamin A: 1 IU,
Vitamin C: 6 mg,
Calcium: 0.2 mg,
Iron: 0.1 mg
Nutrition information is automatically calculated, so should only be used as an approximation.
Enjoyed this recipe? Share your thoughts below!
Your comments and ratings help other home canners discover new favorites.
Easy Jelly Recipes
Craving more silky-smooth homemade jellies to adorn your pantry shelves? Explore these delightful options:
- Strawberry Jelly
- Blueberry Jelly
- Crabapple Jelly
- Pear Jelly
- Plum Jelly
Summer Canning Recipes
If you’re busy preserving more than just jelly this season, here are some essential summer canning recipes to keep your pantry stocked:
- Canning Peaches
- Canning Tomatoes
- Canning Tomato Sauce
- Canning Blueberries
- Canning Corn
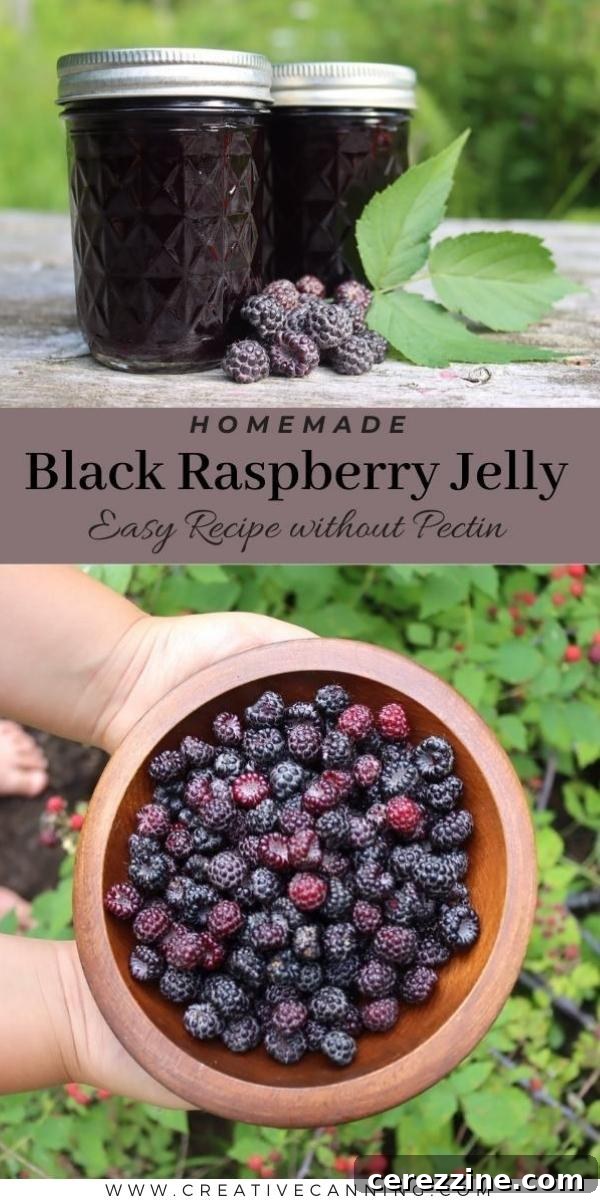
Making your own seedless black raspberry jelly is a deeply satisfying endeavor, connecting you with the seasons and the simple pleasure of homemade food. With its vibrant color, intense flavor, and irresistibly smooth texture, this jelly is sure to become a cherished staple in your home. Enjoy the process of transforming a summer harvest into a year-round delight!