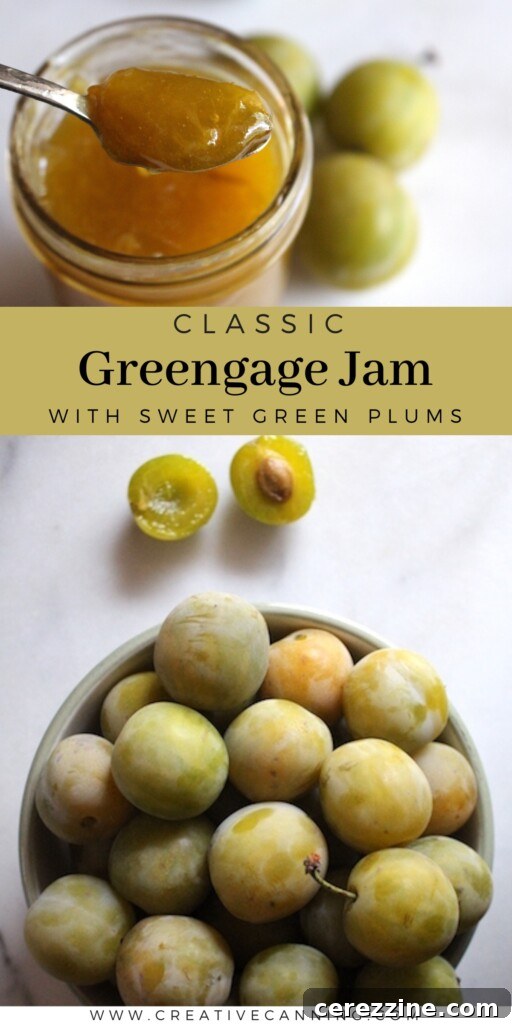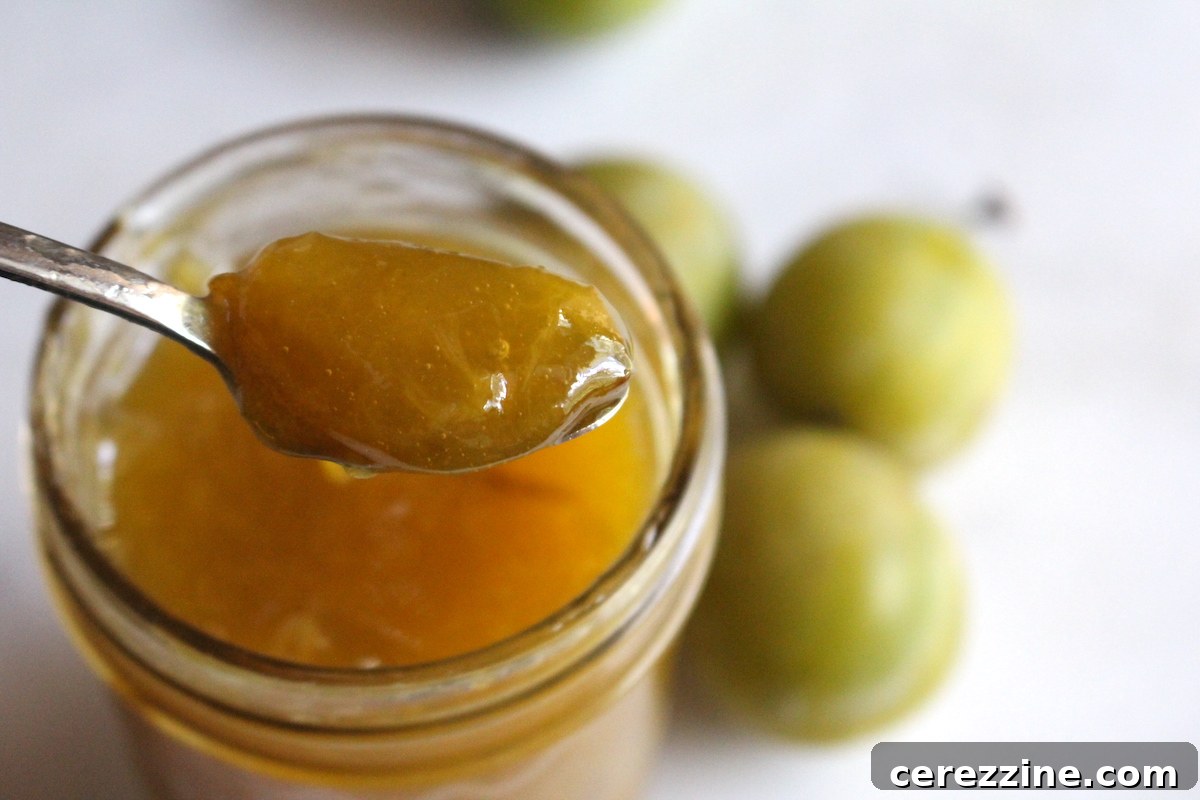
Greengage plum jam is more than just a sweet spread; it’s a celebration of a truly exceptional heirloom fruit. These unique, green-skinned plums are revered for their extraordinarily rich, honey-like flavor, which transforms beautifully into a smooth, golden, and aromatic preserve. This traditional small-batch recipe, calling for nothing more than ripe greengages, sugar, lemon juice, and a touch of patience, perfectly encapsulates the delicate essence of these prized plums in every single jar.
Discover the Enchanting Flavor of Greengage Plums
Greengage plums are truly a rare and coveted delight, cherished by fruit enthusiasts and home preservers alike for their intensely sweet, complex, and subtly floral flavor profile, coupled with firm, juicy flesh. Unlike their more commonly found red or purple counterparts, greengages boast a distinct appearance, ripening to a soft green or inviting golden hue. What truly sets them apart is their exquisite balance of natural sugars and mild acidity, making them an unparalleled choice for crafting exquisite preserves.
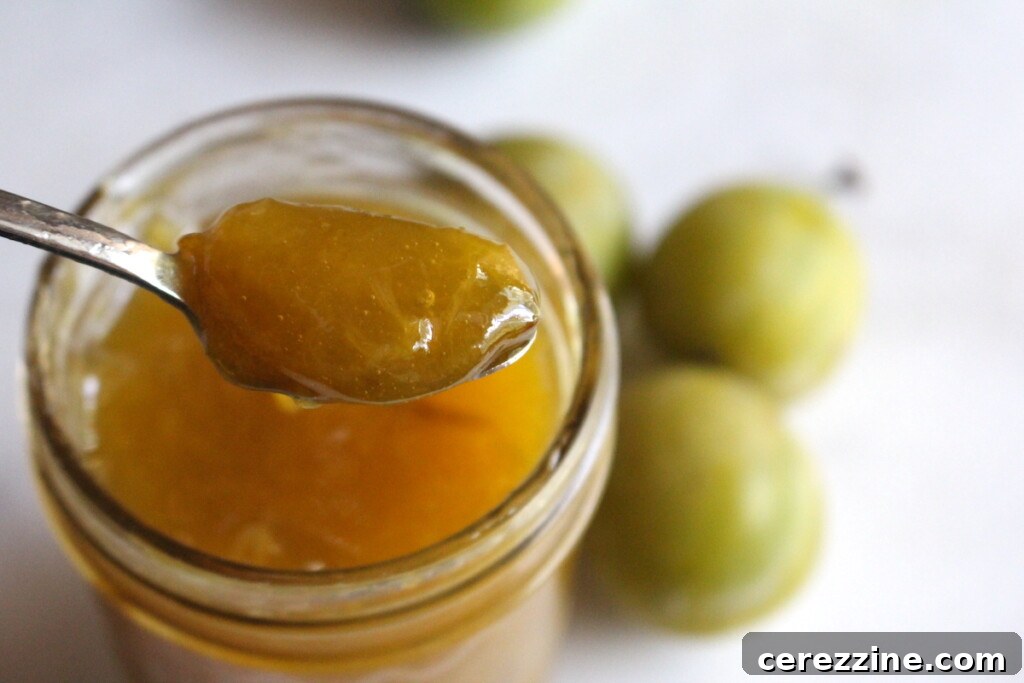
While greengages might not immediately catch the eye in a typical fruit display, their flavor is genuinely unmatched. When cooked down into jam, their character deepens, revealing rich, complex notes that verge on honeyed sweetness. This inherent deliciousness means they require very little embellishment to shine. A touch of fresh lemon juice is added not just for brightness, but to enhance the natural pectin and ensure a proper set, while sugar works its magic in both preserving and gelling the fruit. There’s no need for commercial pectin here; greengages generously provide enough natural pectin to create a beautifully soft-set jam, provided you pay a little care and attention during the cooking process. The result is a luminous, light amber jam, boasting a flavor that tastes far more sophisticated than its humble ingredient list would suggest.
The resulting greengage jam offers a much milder and more nuanced flavor compared to robust varieties like Damson jam. However, this delicate sweetness makes greengage jam a uniquely exquisite and highly sought-after plum canning recipe that is unequivocally worth the effort. It’s a taste of summer’s fleeting bounty, preserved to be savored long after the season ends.
This beginner-friendly, small-batch recipe yields approximately 4 to 5 half-pint jars, making it perfect for those new to canning or looking to preserve a modest harvest. The jam can be safely processed using the water bath canning method for shelf-stable storage, or simply stored in the refrigerator for immediate enjoyment. It’s an ideal way to capture the unparalleled flavor of greengages before their short season passes you by for the year.
If you’re blessed with an abundance of greengages this season, consider other delightful ways to preserve them. You can simplify your efforts by juicing them for a luscious plum jelly, or get wonderfully creative with a canning recipe for plum lemonade concentrate, perfect for refreshing drinks all year long.
Essential Ingredients for Homemade Greengage Plum Jam
Crafting this delightful greengage plum jam begins with selecting the finest fruit and a few simple pantry staples. This particular recipe is thoughtfully adapted from The Joy of Jams, Jellies and Other Sweet Preserves by Linda Ziedrich, a trusted resource for home preservers. For a standard canner batch, yielding approximately 4 to 5 half-pint jars of exquisite jam, you will need the following:
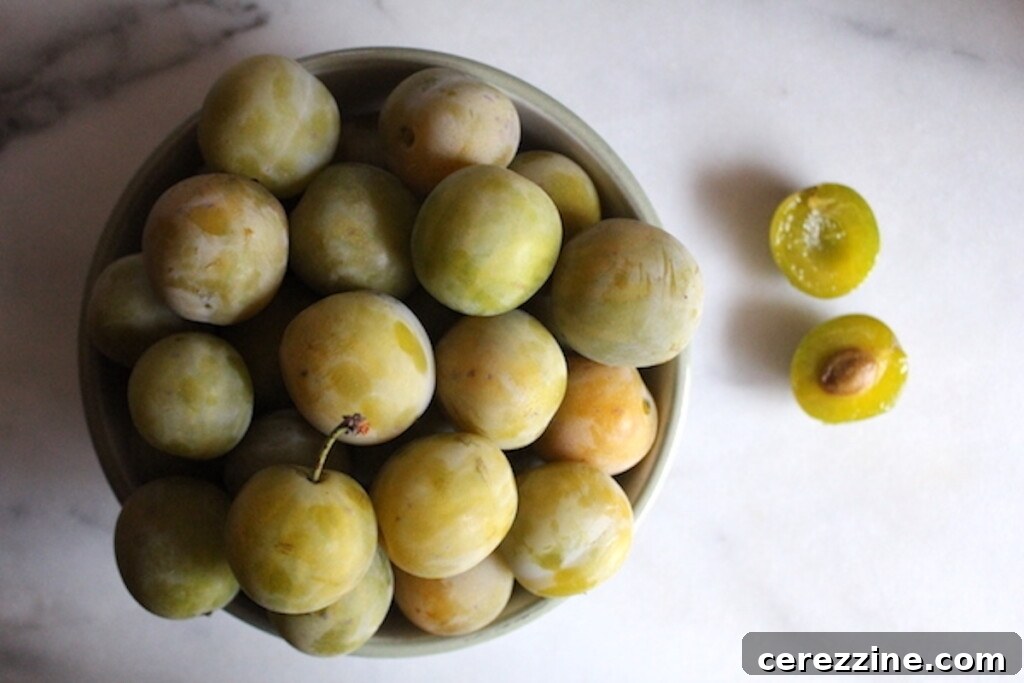
- 2½ pounds greengage plums: This translates to roughly 8 to 10 medium-sized plums, ensuring you have enough fruit for a generous batch.
- ½ cup water: A small amount of water helps the plums soften gently at the start of cooking, preventing scorching and kick-starting the release of their natural juices and pectin.
- 3 cups granulated sugar: Sugar is crucial not only for sweetness but also acts as a preservative and aids in the gelling process, working in harmony with the plum’s natural pectin.
- 1½ tablespoons lemon juice: Fresh lemon juice is vital. Its acidity boosts the natural pectin in the plums, helping the jam set properly, while also brightening the overall flavor.
Choosing the Perfect Greengages
Start your jam-making journey by selecting fully ripe greengage plums. The ideal plums should feel slightly soft to the touch but still firm, indicating peak ripeness and flavor. They should pull away from their stems with ease, another sign they are ready for preserving. Greengage skins often have a beautiful, natural powdery “bloom” – this is completely normal and indicates freshness. Simply wipe them gently with a damp cloth before proceeding with the recipe.
While this recipe calls for granulated sugar, you can certainly experiment with alternative sweeteners like honey or maple syrup to achieve different flavor nuances. However, be mindful that altering the sweetener may affect the jam’s final set and texture. You might need to adjust the quantities or the cooking time to achieve your desired consistency.
Step-by-Step Guide: How to Make Greengage Jam
Making greengage jam is a rewarding and relatively simple process, even for beginners. Follow these steps carefully to create a delectable preserve.
Preparation of the Plums
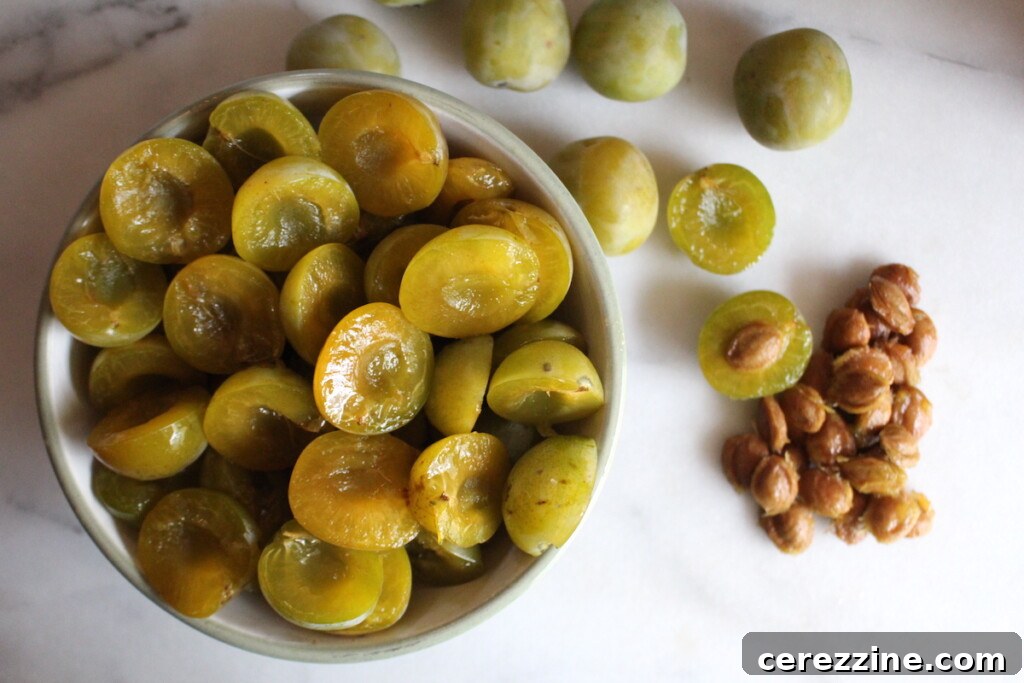
Begin by thoroughly washing your greengage plums under cool running water. Next, you’ll need to pit them. Simply cut the plums in half around the stone, then twist the halves apart. The stone should then be easy to remove. Once pitted, you can chop the plums into quarters or smaller eighths, depending on the texture you desire in your finished jam. Keep in mind that greengages tend to break down significantly during cooking, but they won’t completely liquefy. The size of your initial chop will determine the size of any remaining fruit pieces in the final product.
It’s crucial not to peel the plums for this recipe. The skins of greengages are rich in natural pectin, which is essential for the jam to set without any added commercial pectin. While the skins soften considerably during cooking, chopping them into smaller pieces ensures that you won’t encounter large, stringy chunks in your otherwise smooth and luscious jam.
Cooking the Fruit
Once the plums are prepared, combine them with the ½ cup of water in a wide, heavy-bottomed jam pot or Dutch oven. A wide pot is important as it allows for quicker evaporation and a faster setting time for your jam. Bring the mixture to a gentle simmer over medium heat. Continue to cook for approximately 10 minutes, stirring occasionally to prevent sticking and ensure even cooking. During this time, the fruit will soften beautifully and begin to break down, releasing its juices and natural pectin.
Achieving the Perfect Set
After the fruit has softened to your liking, add the granulated sugar and lemon juice to the pot. Stir continuously until the sugar is completely dissolved. Once dissolved, increase the heat to high and bring the mixture to a full, rolling boil. This is a boil that cannot be stirred down. Maintain this vigorous boil, stirring frequently to prevent the jam from sticking to the bottom of the pot and scorching, until the jam noticeably thickens.
You’ll know your greengage jam has reached its perfect set when it passes one of two reliable tests:
- The Wrinkle Test (Chilled Plate Method): Place a small plate in the freezer before you start cooking. When you suspect the jam is ready, spoon a small amount onto the chilled plate. Let it sit for a minute, then push the jam with your finger. If the surface wrinkles, the jam is ready.
- Candy Thermometer Method: For a more precise measurement, use a candy thermometer. The jam is ready when it reaches a temperature of 220°F (104°C). Ensure the thermometer doesn’t touch the bottom of the pot to get an accurate reading.
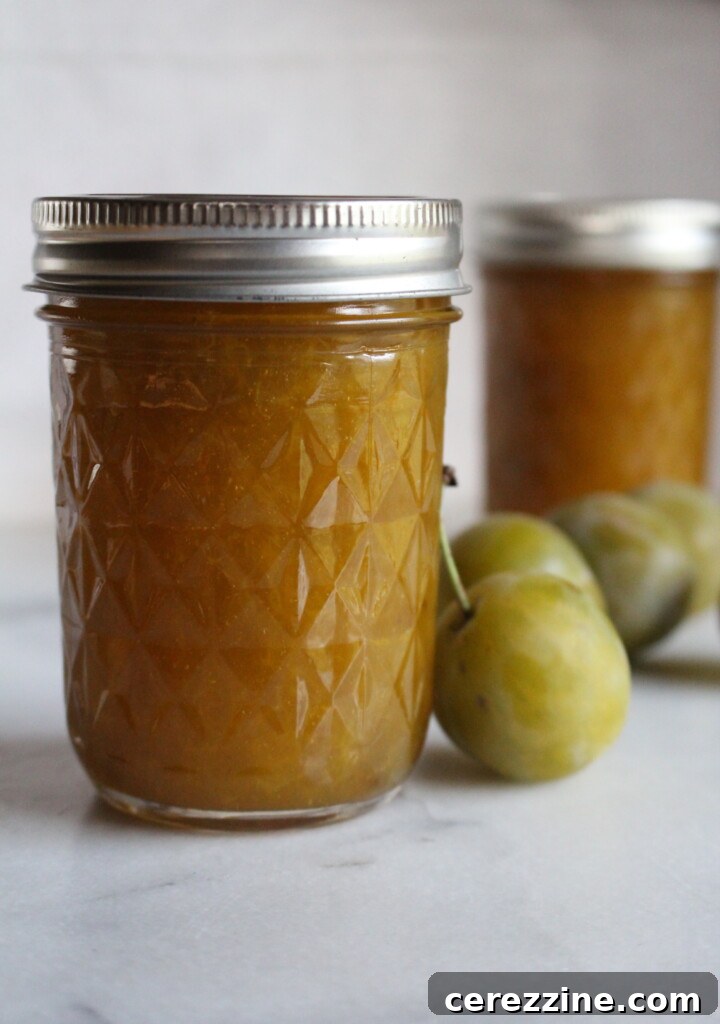
Once the jam reaches its setting point, remove the pot from the heat. If any foam has accumulated on the surface, gently skim it off with a spoon. This improves the clarity and appearance of your finished jam. Immediately proceed to ladle the hot jam into your prepared jars.
Safe Water Bath Canning for Greengage Jam
For those planning to store their delicious homemade greengage jam at room temperature, proper processing in a boiling water bath canner is absolutely essential. This crucial step ensures both the safety and long-term shelf stability of your preserves, preventing spoilage and maintaining quality. Before you even begin cooking your jam, it’s vital to prepare all your canning equipment: jars, lids, and the canner itself. Sterilize your jars by boiling them or running them through a hot cycle in the dishwasher, and keep everything hot until you are ready to fill to prevent thermal shock and ensure sterility.
Filling and Sealing the Jars
Once your greengage jam is cooked to perfection and still piping hot, carefully ladle it into the warm, sterilized canning jars. Be sure to leave precisely ¼ inch of headspace from the rim of the jar. This specific amount of space is critical to allow for proper sealing and vacuum formation during processing. After filling, use a clean, damp cloth to meticulously wipe the rims of the jars. Any jam residue on the rim could prevent a proper seal. Place new, two-piece canning lids (flats and rings) onto the jars and secure the bands “fingertip-tight”—meaning tight enough to hold the lid in place, but not overtightened, which can prevent air from escaping during processing.
Processing in the Water Bath Canner
Carefully lower the filled and sealed jars into your boiling water bath canner, ensuring they are fully submerged in water by at least 1 inch. Bring the water to a rolling boil. Process the jars for 10 minutes if you are at an elevation below 6,000 feet. If you reside at or above 6,000 feet in elevation, you’ll need to increase the processing time to 15 minutes to account for the lower boiling point of water at higher altitudes. These times are critical for destroying spoilage microorganisms and creating a safe vacuum seal.
Cooling and Storage
After the processing time is complete, turn off the heat and carefully remove the canner lid. Allow the jars to sit in the hot water for 5 minutes before carefully lifting them out using a jar lifter. Place the hot jars on a clean towel on your countertop, ensuring they are not touching each other, and allow them to cool undisturbed for 12 to 24 hours. During this cooling period, you will typically hear the satisfying “ping” sound as the lids seal. Once completely cooled, check the seals by pressing on the center of each lid; it should not flex or pop up. Properly sealed jars can be stored in a cool, dark place, such as a pantry, for 12 to 18 months. Once a jar has been opened, always refrigerate it and aim to use the jam within 3 to 4 weeks for optimal freshness and quality.
More Delicious Plum Canning Recipes
Damson Jam
Greengage Jam
Canning Plum Lemonade Concentrate
Expert Tips for Making the Best Greengage Plum Jam
Achieving a perfect batch of greengage plum jam is simple with a few insider tips:
- Taste Your Plums First: Greengage plums can naturally vary in sweetness depending on their ripeness and variety. Before you add all the sugar, taste your fruit. If your plums are particularly tart, you might want to slightly increase the sugar, or if they are exceptionally sweet, a minor reduction might be possible without compromising the set.
- Customize Your Texture: If you prefer a smoother jam without any small fruit pieces, you have a couple of options. You can mash the plums thoroughly with a potato masher as they cook and soften, or for an even silkier consistency, use an immersion blender directly in the pot before adding the sugar. Just be careful to avoid splashing hot jam.
- Focus on Temperature and Reduction: This recipe proudly uses no added pectin, relying entirely on the natural pectin present in the greengages and the acidity of the lemon juice. This means reaching the correct temperature (220°F / 104°C) and reducing the jam properly through boiling is absolutely critical for achieving a good, soft set. Don’t rush this step; patience will be rewarded with a perfectly textured jam.
- Use a Wide, Heavy-Bottomed Pot: A wider pot allows for greater surface area exposure, which promotes faster evaporation and helps the jam thicken more quickly and evenly. A heavy bottom prevents scorching.
- Troubleshooting a Runny Jam: If, after cooling, your jam doesn’t set to your desired consistency, don’t despair! You can re-process it. Empty the jars back into the pot, bring the jam back to a rolling boil, and continue cooking until it passes the wrinkle test or reaches the target temperature. Then, re-jar and re-process in the water bath canner with fresh lids.
64
servings, Makes 4 to 5 half pint (8 oz) jars
Greengage Jam Recipe
20
mins
10
mins
10
mins
40
mins
Equipment
-
Water Bath Canner
Ingredients
-
2½
lbs
greengage plums,
about 8 to 10 medium plums -
½
cup
water -
3
cups
granulated sugar -
1½
Tbsp
lemon juice
Instructions
-
Wash and pit the greengage plums. Cut them into quarters or smaller pieces depending on the desired texture of your jam.
-
Combine the chopped plums and water in a large, heavy-bottomed saucepan. Bring to a simmer and cook for about 10 minutes, stirring occasionally, until the fruit softens and starts to break down.
-
Add the sugar and lemon juice. Stir to dissolve the sugar completely. Increase the heat and bring the mixture to a full rolling boil.
-
Continue boiling, stirring frequently, until the jam reaches 220°F on a thermometer or passes the wrinkle test on a chilled plate.
-
Remove the jam from the heat. Skim off any foam if necessary.
-
Ladle the hot jam into warm, sterilized jars, leaving ¼ inch headspace. Wipe the rims, apply two-piece lids, and tighten until fingertip tight.
-
Process in a boiling water bath canner for 10 minutes at elevations up to 6,000 feet or 15 minutes above 6,000 feet.
-
Let jars cool undisturbed for 12 to 24 hours. Check seals before storing.
Notes
For a smoother texture, mash the fruit while it cooks or use an immersion blender before adding the sugar. Properly sealed jars will keep for up to 18 months in a cool, dark place. Refrigerate after opening and use within 3 to 4 weeks.
Nutrition
Carbohydrates: 11g,
Protein: 0.1g,
Fat: 0.1g,
Saturated Fat: 0.003g,
Polyunsaturated Fat: 0.01g,
Monounsaturated Fat: 0.02g,
Sodium: 0.2mg,
Potassium: 28mg,
Fiber: 0.2g,
Sugar: 11g,
Vitamin A: 61IU,
Vitamin C: 2mg,
Calcium: 1mg,
Iron: 0.04mg
Nutrition information is automatically calculated, so should only be used as an approximation.
Like this? Leave a comment below!
Explore More Small-Batch Preserves for Your Pantry
If you’ve enjoyed the rewarding experience of making and canning greengage jam, there’s a whole world of other seasonal recipes waiting to be discovered to fill your pantry with homemade goodness. Embracing small-batch methods allows you to celebrate the peak flavors of various fruits without feeling overwhelmed, perfect for adding variety to your preserves collection.
- Cherry jam is a deeply flavored, rich preserve that captures the essence of summer’s dark, sweet cherries. It’s truly delightful spooned over fluffy pancakes, swirled into yogurt, or baked into elegant pastries.
- For a brighter, tangier taste with a vibrant burst of color, try your hand at raspberry jam. Its lively notes make it a breakfast favorite and a versatile ingredient in countless desserts.
- Blueberry jam offers a naturally thick texture and a mild, comforting sweetness. It pairs beautifully with everything from classic toast and muffins to a sophisticated cheese board.
- For something a little different and wonderfully balanced, strawberry rhubarb jam is a quintessential spring classic. The tartness of rhubarb perfectly complements the sweetness of strawberries, creating a harmonious and refreshing spread.
- As late summer arrives, fig jam becomes a must-make. With its dense, luxurious texture and earthy sweetness, it’s a gourmet addition to any pantry, excellent with cheeses or as a glaze for meats.
Each of these recipes is designed to highlight the fruit at its absolute best, utilizing simple ingredients and approachable small-batch techniques. Dive into the world of home preserving and enjoy the unparalleled satisfaction of handcrafted jams all year long!