
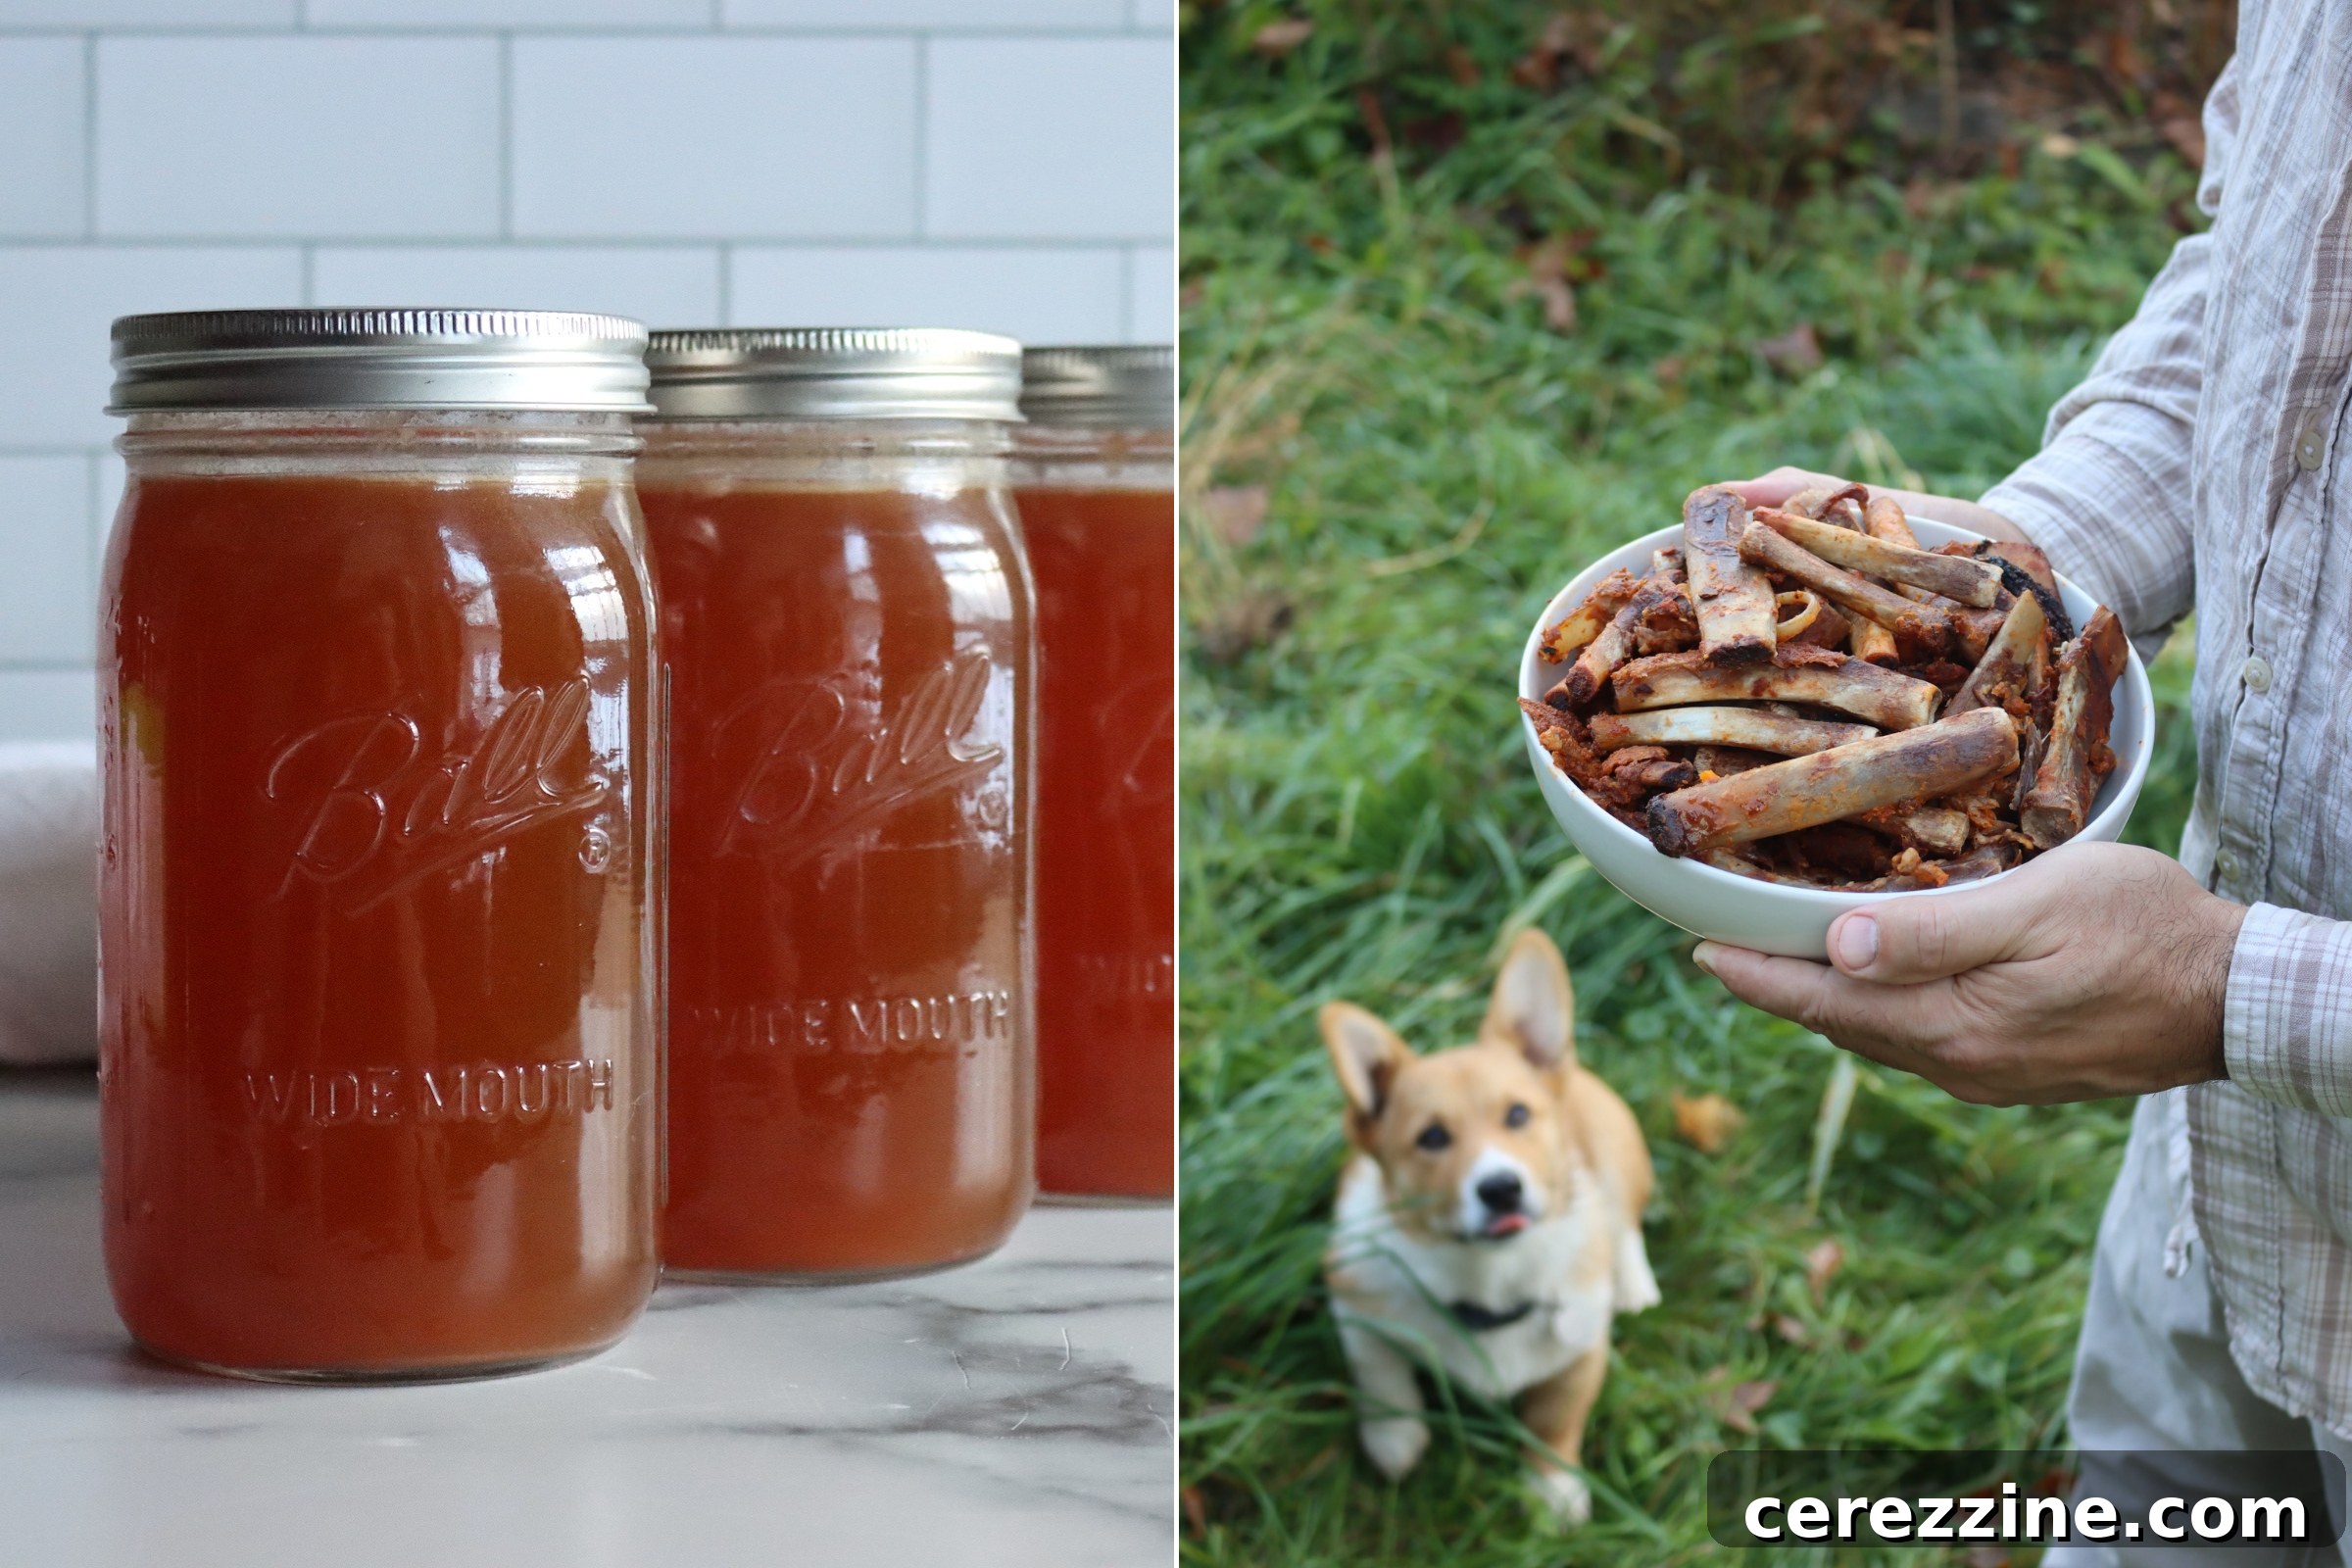
Rib broth, often referred to as rib stock, is a foundational culinary ingredient cherished for its robust, savory depth. Crafted from either beef or pork ribs, it’s a remarkably efficient way to extract every last bit of flavor and nutritional value from your grocery budget. This “liquid gold” forms an indispensable base for an array of dishes, from hearty soups and luxurious sauces to comforting stews and flavorful gravies, elevating everyday meals to gourmet experiences.
The Culinary Magic of Homemade Rib Broth
If you’ve ever savored a perfectly grilled or slow-cooked rack of ribs, you understand the intense, satisfying flavors they deliver. But the culinary journey doesn’t have to end once the meat is enjoyed. The often-discarded bones hold a treasure trove of flavor and nutrients waiting to be unlocked. Transforming these leftover bones into a rich, aromatic stock is not just a smart economic move; it’s a sustainable practice that enhances your cooking repertoire.
Whether you’re utilizing bones from a recent barbecue, the delicious remnants of a slow-braised short rib dinner, or fresh bones sourced directly from your butcher, making rib stock is a testament to maximizing flavor and minimizing waste. Beyond its incredible taste, homemade rib broth is packed with collagen, gelatin, and essential minerals, contributing to its healthful properties and unique mouthfeel. It’s a versatile ingredient that every home cook should have in their arsenal.
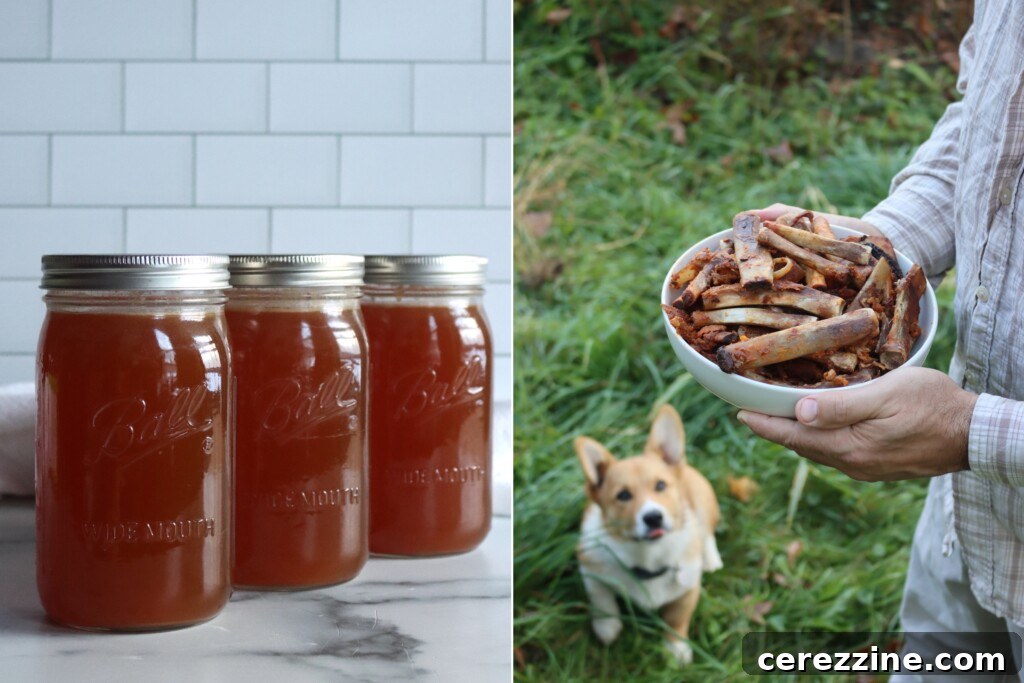
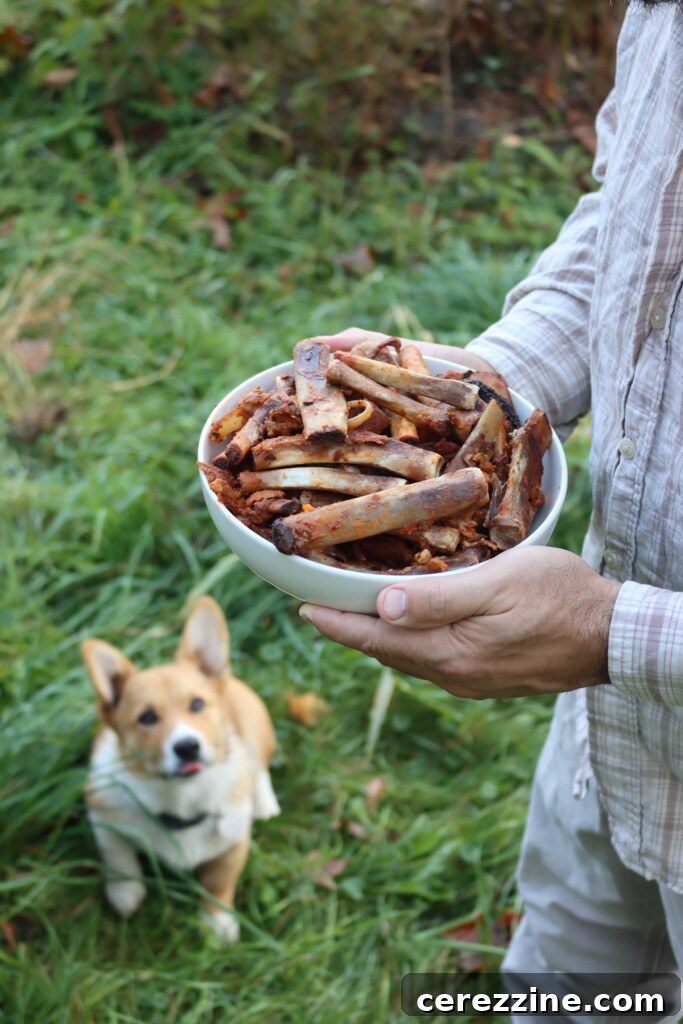
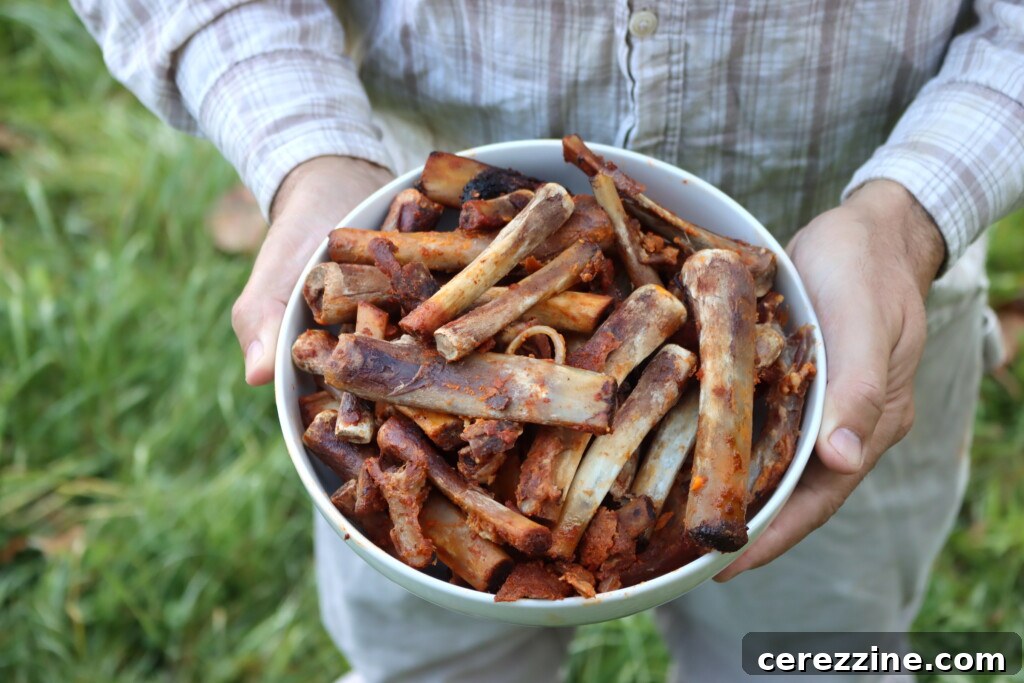
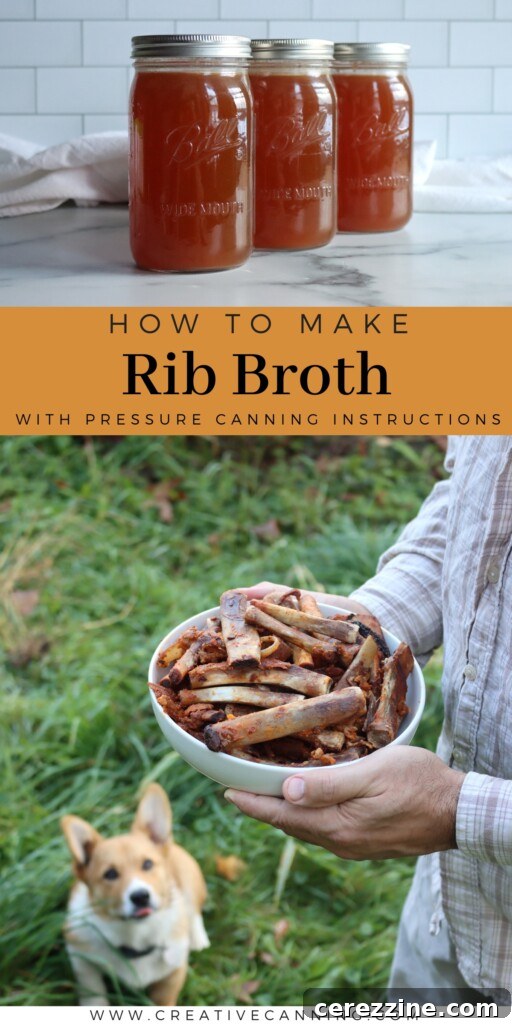
And yes, after you’ve extracted all the goodness for your broth, those clean, cooked bones can still bring joy to your furry friends. Our beloved Corgi, Pancake, certainly appreciates the gesture!
Understanding Rib Bone Quantities for Optimal Broth
The quantity and type of rib bones you use are crucial for the richness and yield of your homemade broth. Different types of ribs offer varying amounts of bone relative to meat, and this impacts how much broth you can expect to make. As a general guideline, aim for approximately 1 pound of rib bones for every quart of finished stock. However, here’s a more detailed breakdown:
- Pork Ribs: A full rack of pork ribs typically contains around 13 individual bones. The bone weight per rack usually falls between 1 to 1 ½ pounds. This can vary slightly based on the specific cut; baby back ribs tend to have smaller, more curved bones, while St. Louis-style and country ribs might offer larger, meatier bones that contribute distinct flavors to the stock.
- Beef Ribs: A rack of beef ribs generally has between 8 and 13 ribs, depending on how the butcher prepares them. Beef ribs are notably denser and larger than pork ribs, often comprising 30 to 50% bone by weight. A standard rack weighs roughly 4 to 6 pounds, meaning you can expect to yield approximately 2 to 3 pounds of bones per rack. These larger bones are excellent for a deeply flavored, gelatinous beef rib broth.
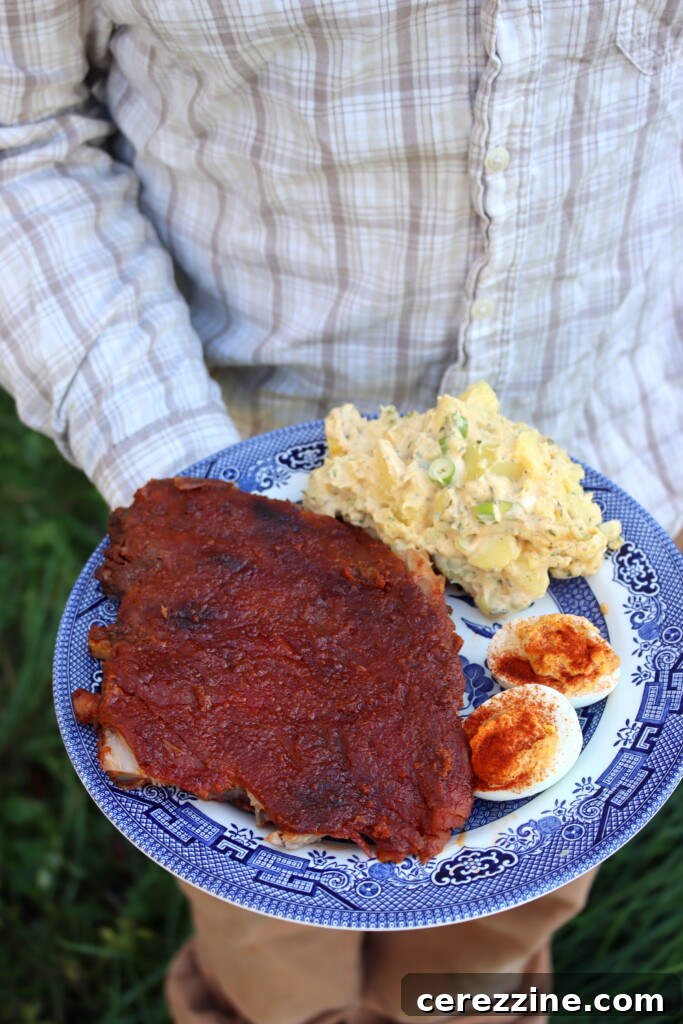
These quantities are helpful indicators for planning your batch size. Keep in mind that a good amount of water will evaporate during the long simmering process, so starting with ample bones ensures a concentrated, flavorful result. The residual dry rub (often a mix of salt, garlic, and smoked paprika) left on previously cooked bones also contributes wonderful flavor and a beautiful color to the finished stock, adding another layer of complexity to your broth.
Essential Ingredients for a Flavorful Rib Broth
Crafting a truly exceptional rib broth involves more than just bones and water. Aromatic vegetables and a few key seasonings play a vital role in developing a balanced and rich flavor profile. While the exact quantities can be adjusted based on your preference and the amount of broth you intend to make, here’s a standard ingredient list for a single quart of flavorful rib stock:
- 1 pound bones: (either beef or pork ribs, or a combination for a unique blend of flavors)
- 1 celery rib: Roughly chopped. Celery adds a fresh, slightly bitter note that balances the richness of the bones.
- 1 small carrot: (or half a large carrot), peeled and chopped. Carrots contribute a natural sweetness and a lovely golden hue to the broth. Peeling them is a worthwhile step, as it helps prevent bitterness and ensures a clearer stock.
- 1 small onion: (or half a large onion), peeled and chopped. Onions provide the fundamental savory base, forming the classic mirepoix alongside carrots and celery.
- 1 bay leaf: Aromatic and subtly herbaceous, a bay leaf adds a classic depth to any stock.
- 5 whole peppercorns: These provide a gentle, earthy spice without overpowering the delicate rib flavor.
- ⅛ to ¼ teaspoon salt: Adjust to taste. While you can add more salt later when using the broth, a small amount during simmering helps to draw out flavors.
- 1 ½ to 2 quarts water: Just enough to cover the bones and vegetables, allowing for some evaporation during the simmering process.
For those who frequently enjoy ribs and want to make a larger, more efficient batch, I highly recommend scaling up the recipe. We often find ourselves with more than just a pound of rib bones, especially after a “git ‘er done” barbecue session. Here are the approximate quantities for making a four-quart (one-gallon) batch, which is ideal for canning and long-term storage:
- 4 pounds bones: (beef, pork, or a mix)
- 4 celery ribs: chopped
- 4 small carrots: (or two large carrots), peeled and chopped
- 4 small onions: (or two large onions), peeled and chopped
- 4 bay leaves:
- 10 to 20 whole peppercorns:
- ½ to 1 teaspoon salt: adjust to taste
- 1 ½ to 2 gallons water:
Remember, these quantities are approximate, allowing for flexibility based on what you have on hand. The quality of your ingredients, especially fresh, vibrant vegetables, will directly impact the final flavor of your broth.
How to Make the Best Rib Broth: A Step-by-Step Guide
Making rib broth is a simple process, but a few key steps can significantly enhance its depth and clarity. Whether you’re starting with raw or cooked bones, the goal is to extract maximum flavor and beneficial nutrients.
- Roast Raw Rib Bones (Optional but Recommended): If you’re working with raw rib bones, this step is a game-changer for flavor. Arrange the bones in a single layer on a baking sheet. Roast them in a preheated 400°F (200°C) oven for 30 to 45 minutes, or until they are deeply browned and caramelized, but not burned. This process triggers the Maillard reaction, developing complex, nutty, and savory flavors that translate beautifully into a richer, darker stock. If you’re using cooked or leftover bones (e.g., from a rack of BBQ ribs), you can skip this step and proceed directly to simmering.
- Combine Ingredients in a Large Pot: Transfer the roasted (or leftover cooked) bones to a very large stockpot. Add the chopped celery, carrots, and onions (your aromatic mirepoix), along with the bay leaves, whole peppercorns, and salt.
- Add Water and Bring to a Boil: Pour in enough cold water to generously cover all the bones and vegetables, typically 1 ½ to 2 quarts for a single batch, or 1 ½ to 2 gallons for a large batch. Starting with cold water allows the impurities to rise more slowly, making skimming easier and resulting in a clearer broth. Bring the mixture to a rolling boil over medium-high heat.
- Reduce to a Gentle Simmer: Once boiling, immediately reduce the heat to the lowest possible setting, so the liquid maintains a very gentle simmer. A rapid boil can emulsify fats and impurities, leading to a cloudy broth. Cook uncovered for approximately 4 to 6 hours.
- Skim Impurities and Maintain Water Level: As the broth simmers, foam and impurities will rise to the surface. Use a large spoon or a fine-mesh skimmer to regularly remove these. This step is crucial for achieving a clear, clean-tasting stock. Throughout the simmering process, periodically check the water level. If it drops too low and exposes the bones, add more hot water to keep them mostly submerged. The longer the stock simmers, the more flavor will be extracted and the richer it will become.
- Strain the Stock: Once your broth has simmered for several hours and reached your desired flavor concentration, carefully strain it. Pour the entire contents of the pot through a fine-mesh sieve or a colander lined with cheesecloth into a clean container. Discard the bones and vegetables. You will be left with a beautifully clear, flavorful rib stock.
- Adjust Concentration and Cool: If you desire a more concentrated stock, you can return the strained liquid to the pot and simmer it further to reduce its volume. Conversely, if it tastes too strong, a bit of water can be added. Allow the broth to cool completely before storing. You can refrigerate it for immediate use (up to 5-7 days), freeze it for longer storage (up to 6 months), or proceed to pressure can it for shelf-stable preservation.
Congratulations! You now have a versatile, delicious homemade rib stock, ready to be the secret ingredient in your next culinary masterpiece. Its rich, savory profile will elevate soups, sauces, gravies, and countless other dishes.
Pressure Canning Rib Broth for Long-Term Storage
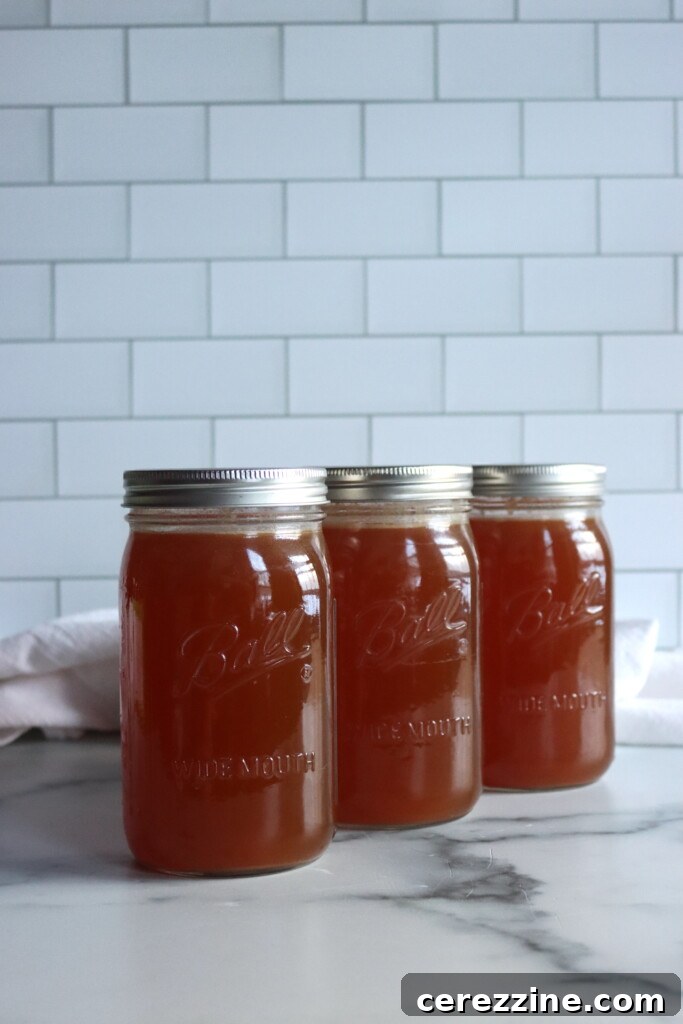
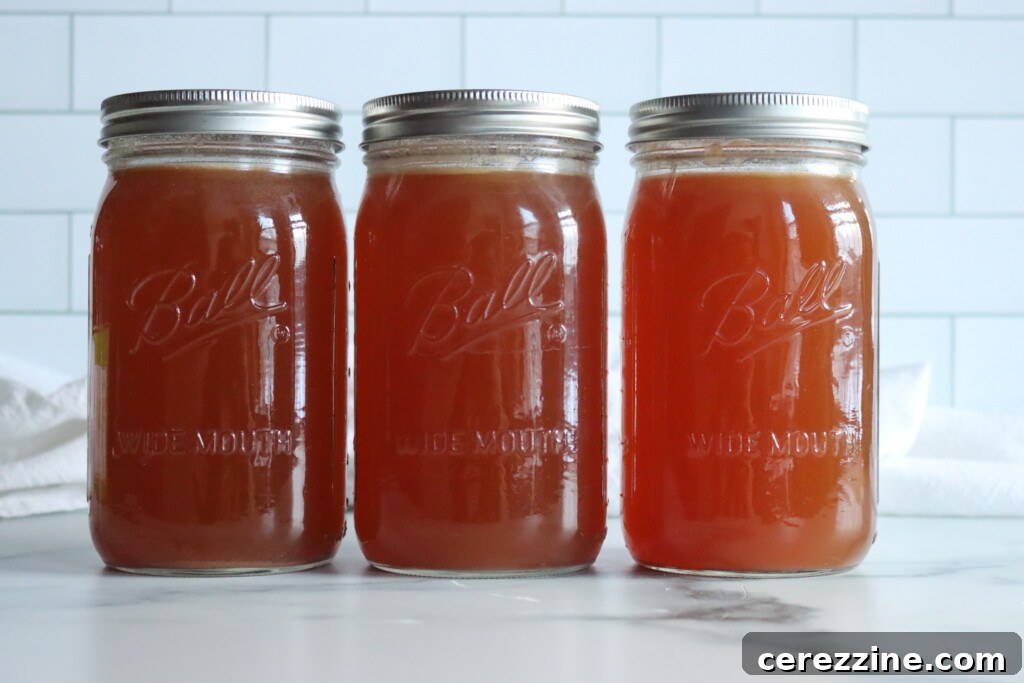
For those who make large batches of rib stock, pressure canning is an excellent, safe method to preserve it for year-round enjoyment. As a low-acid food, broth *must* be pressure canned to prevent the growth of harmful bacteria. Follow these steps carefully to ensure a safe and successful canning process:
- Prepare Your Pressure Canner: Before you begin, add the recommended amount of water (usually 2-3 inches) to your pressure canner. Place it on the stovetop over medium heat to begin warming.
- Sterilize Jars and Lids: Ensure your canning jars and lids are meticulously clean. You can sterilize them by running them through a hot cycle in your dishwasher or by boiling them in a large pot of water for at least 10 minutes. Keep jars hot until ready to fill to prevent thermal shock.
- Fill Jars with Hot Broth: Carefully pour the hot, strained rib stock into the sterilized jars, leaving precisely 1 inch of headspace (the space between the liquid and the rim of the jar). This headspace is critical for proper sealing and to prevent food from siphoning out during processing. Use a clean, damp cloth to wipe the rims of the jars thoroughly, removing any residue that could interfere with the seal.
- Apply Lids and Rings: Place a clean, warm canning lid on each jar, centering it. Screw on the metal rings until they are “fingertip-tight” – meaning snug but not overtightened. Overtightening can prevent air from escaping during processing, leading to seal failure.
- Load Canner and Process: Carefully place the filled jars onto the rack inside your preheated pressure canner. Secure the canner lid, making sure it’s properly locked into place. Vent the canner by allowing steam to escape steadily for 10 minutes (this removes any unheated air, ensuring an accurate pressure reading). After venting, place the weighted gauge or close the petcock (for dial gauge canners) and bring the canner up to the required pressure.
Altitude Adjustments for Pressure Canning
Processing time remains constant, but the required pressure increases with elevation to ensure food safety:
For Dial Gauge Canners:
- 0–2,000 ft: 11 lbs pressure
- 2,001–4,000 ft: 12 lbs pressure
- 4,001–6,000 ft: 13 lbs pressure
- 6,001–8,000 ft: 14 lbs pressure
For Weighted Gauge Canners:
- 0–1,000 ft: 10 lbs pressure
- Above 1,000 ft: 15 lbs pressure
Maintain the specified pressure consistently throughout the processing time. For pint-sized jars, process for 20 minutes. For quart-sized jars, process for 25 minutes. Remember to adjust the pressure according to your altitude.
- Cool Down and Check Seals: Once the processing time is complete, turn off the heat and allow the pressure canner to cool naturally until the pressure gauge reads zero pounds. Do NOT force cool the canner, as this can lead to liquid loss from jars and seal failure. Carefully remove the canner lid, tilting it away from your face to avoid steam. Using a jar lifter, remove the hot jars and place them on a towel-lined surface, allowing them to cool undisturbed for 12 to 24 hours.
- Verify Seals and Store: After the jars have completely cooled, check the seals. The center of each lid should be concave and should not flex when pressed. If a lid does not seal, refrigerate that jar and use its contents within a week. Store properly sealed jars in a cool, dark, dry place for up to one year.
Recipe: Delicious Homemade Rib Broth
16
Cups, or 4 quarts/1 gallon
Rib Broth
5
4
25
4
30
Equipment
-
Stock Pot
-
Pressure Canner
Ingredients
- 4 lbs bones, either beef or pork, or a combination
- 4 medium celery rib, chopped
- 4 small carrot, or two large carrots, peeled and chopped
- 4 small onions, or two large onions, peeled and chopped
- 4 whole bay leaves
- 10 to 20 whole peppercorns
- 1/2 to 1 tsp salt, adjust to taste
- 1 ½ to 2 gallons water
Instructions
-
Roast bones at 400°F (200°C) for 30-45 minutes (if raw).
-
Add bones, chopped vegetables, bay leaf, peppercorns, and salt to a large stockpot.
-
Cover all ingredients with 1 ½ to 2 gallons of water. Bring to a boil, then immediately reduce heat to a gentle simmer.
-
Simmer for 4-6 hours, skimming any foam or impurities from the surface occasionally. Ensure bones remain submerged by adding hot water if necessary.
-
Strain the cooked stock through a fine-mesh sieve or cheesecloth to remove all solids. Use immediately, refrigerate, freeze, or prepare for pressure canning for long-term storage.
-
If canning, prepare your pressure canner, jars, and rings. Process pint jars for 20 minutes and quart jars for 25 minutes, adjusting for altitude as specified in the notes.
Notes
Ingredients per Quart
To make a single quart of flavorful rib stock, you will need:
- 1 pound bones (either beef or pork, or a combination)
- 1 celery rib, chopped
- 1 small carrot (or half a large carrot), peeled and chopped
- 1 small onion (or half a large onion), peeled and chopped
- 1 bay leaf
- 5 whole peppercorns
- ⅛ to ¼ teaspoon salt, adjust to taste
- 1 ½ to 2 quarts water
Keep in mind, some of the water will evaporate during cooking, so you can always add more as the stock simmers down, or you can cook it longer to concentrate the flavor.
Nutrition
Carbohydrates: 3g,
Protein: 0.4g,
Fat: 0.1g,
Saturated Fat: 0.03g,
Polyunsaturated Fat: 0.03g,
Monounsaturated Fat: 0.01g,
Sodium: 95mg,
Potassium: 78mg,
Fiber: 1g,
Sugar: 1g,
Vitamin A: 2112IU,
Vitamin C: 2mg,
Calcium: 21mg,
Iron: 0.2mg
Nutrition information is automatically calculated, so should only be used as an approximation.
Like this? Leave a comment below!
Creative Culinary Uses for Your Homemade Rib Broth
Once you’ve successfully prepared your rich, homemade rib broth, a world of culinary possibilities opens up. Its savory depth and gelatinous texture make it far superior to any store-bought alternative, transforming ordinary dishes into extraordinary ones. Here are just a few ways to utilize this versatile kitchen staple:
- Soups and Stews: This is arguably the most common and gratifying use. Rib broth forms a robust base for classic beef stews, French onion soup, ramen, minestrone, or any vegetable soup that benefits from a meaty undertone. Its richness can truly elevate comfort food.
- Sauces and Gravies: Replace water or lesser-quality broths with rib broth in your pan sauces or gravies. It adds incredible body and flavor, perfect for accompanying roasted meats, mashed potatoes, or even pasta dishes. Deglazing a pan with rib broth after searing meat captures all those delicious browned bits, creating an instant flavor bomb.
- Cooking Grains: Use rib broth instead of water when cooking rice, quinoa, farro, or couscous. The grains will absorb the rich flavors, making them a more exciting and savory side dish.
- Risotto and Polenta: Achieve a deeper, more complex flavor in your risotto or polenta by gradually adding warm rib broth during the cooking process. The gelatin in the broth contributes to a creamier texture.
- Braises and Roasts: When braising meats like pot roast or short ribs, use rib broth as part of your liquid to enhance the overall flavor profile. It can also be brushed over roasted vegetables or used as a basting liquid for poultry to add moisture and a savory crust.
- Sautéing Vegetables: A splash of rib broth in the pan when sautéing mushrooms, greens, or other vegetables can add a wonderful layer of umami without adding extra fat.
- Health Elixir: Beyond its culinary applications, many enjoy sipping warm rib broth on its own for its comforting qualities and purported health benefits, particularly its collagen content for gut health and joint support.
Tips for Achieving the Best Rib Broth Every Time
While the process of making rib broth is straightforward, a few expert tips can help you achieve consistently outstanding results:
- Start with Cold Water: Always begin with cold water when making stock. This allows the impurities to rise slowly to the surface, making them easier to skim off and resulting in a clearer broth.
- Low and Slow is Key: A gentle simmer is crucial. Avoid a rolling boil, which can emulsify fats, leading to a cloudy broth and potentially extracting bitter flavors. A gentle simmer ensures a clear, pure taste.
- Don’t Overcrowd the Pot: Give your bones and vegetables enough room to move and extract flavor effectively. Overcrowding can hinder proper simmering and result in less flavorful broth.
- Season Thoughtfully: While a small amount of salt is good for flavor extraction, don’t over-salt your broth, especially if you plan to reduce it or use it in dishes where other salty ingredients will be added. You can always adjust seasoning later.
- Consider an Acid Boost: A splash of apple cider vinegar or lemon juice (about 1-2 tablespoons per gallon) added at the beginning of the simmer can help draw more minerals and collagen from the bones, resulting in a richer, more nutritious broth.
- Fat Management: For a clearer broth, remove any excess fat from the bones before roasting. After the broth has cooled in the refrigerator, a solid layer of fat will form on top. This can be easily skimmed off and discarded (or saved for cooking!).
- Double Strain for Clarity: For a crystal-clear broth, strain it first through a fine-mesh sieve, then a second time through the sieve lined with cheesecloth.
Conclusion: The Rewarding Journey of Homemade Rib Broth
Embarking on the journey of making your own rib broth is a truly rewarding endeavor. It’s a simple yet profound act of culinary alchemy, transforming humble rib bones into a versatile, flavorful, and nutrient-rich liquid that will elevate countless meals. From maximizing your food resources to enriching your dishes with unparalleled depth, homemade rib broth is a testament to the power of thoughtful cooking. Whether you’re a seasoned chef or a home cook looking to add a secret weapon to your kitchen, mastering rib broth will undoubtedly bring a new dimension of flavor and satisfaction to your table. So, next time you enjoy a plate of ribs, remember that the best is yet to come from those bones!