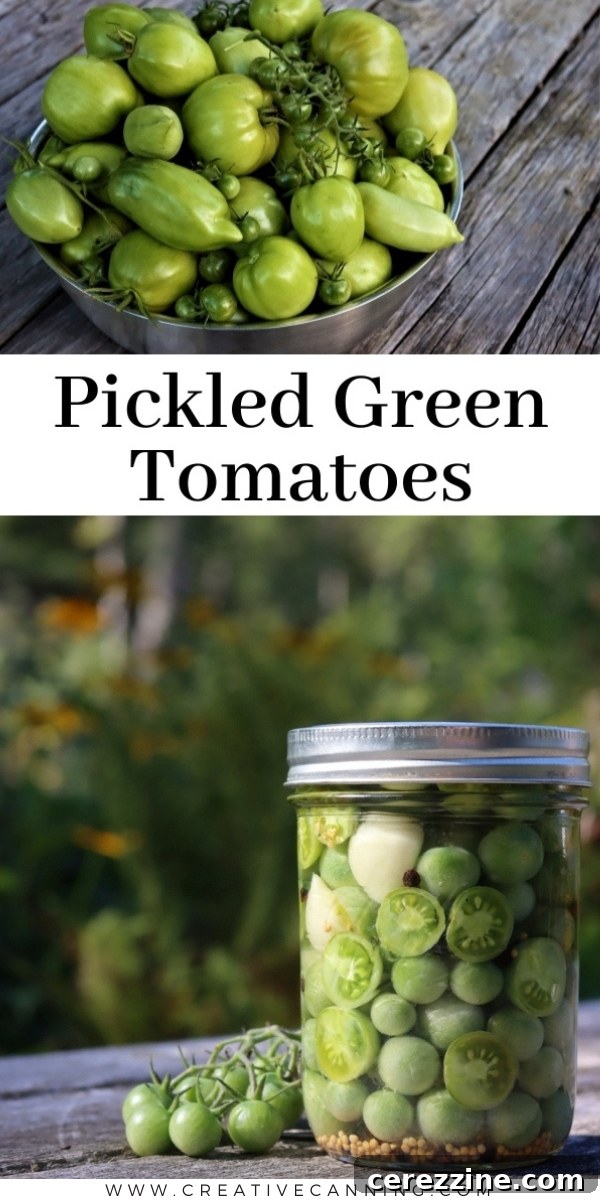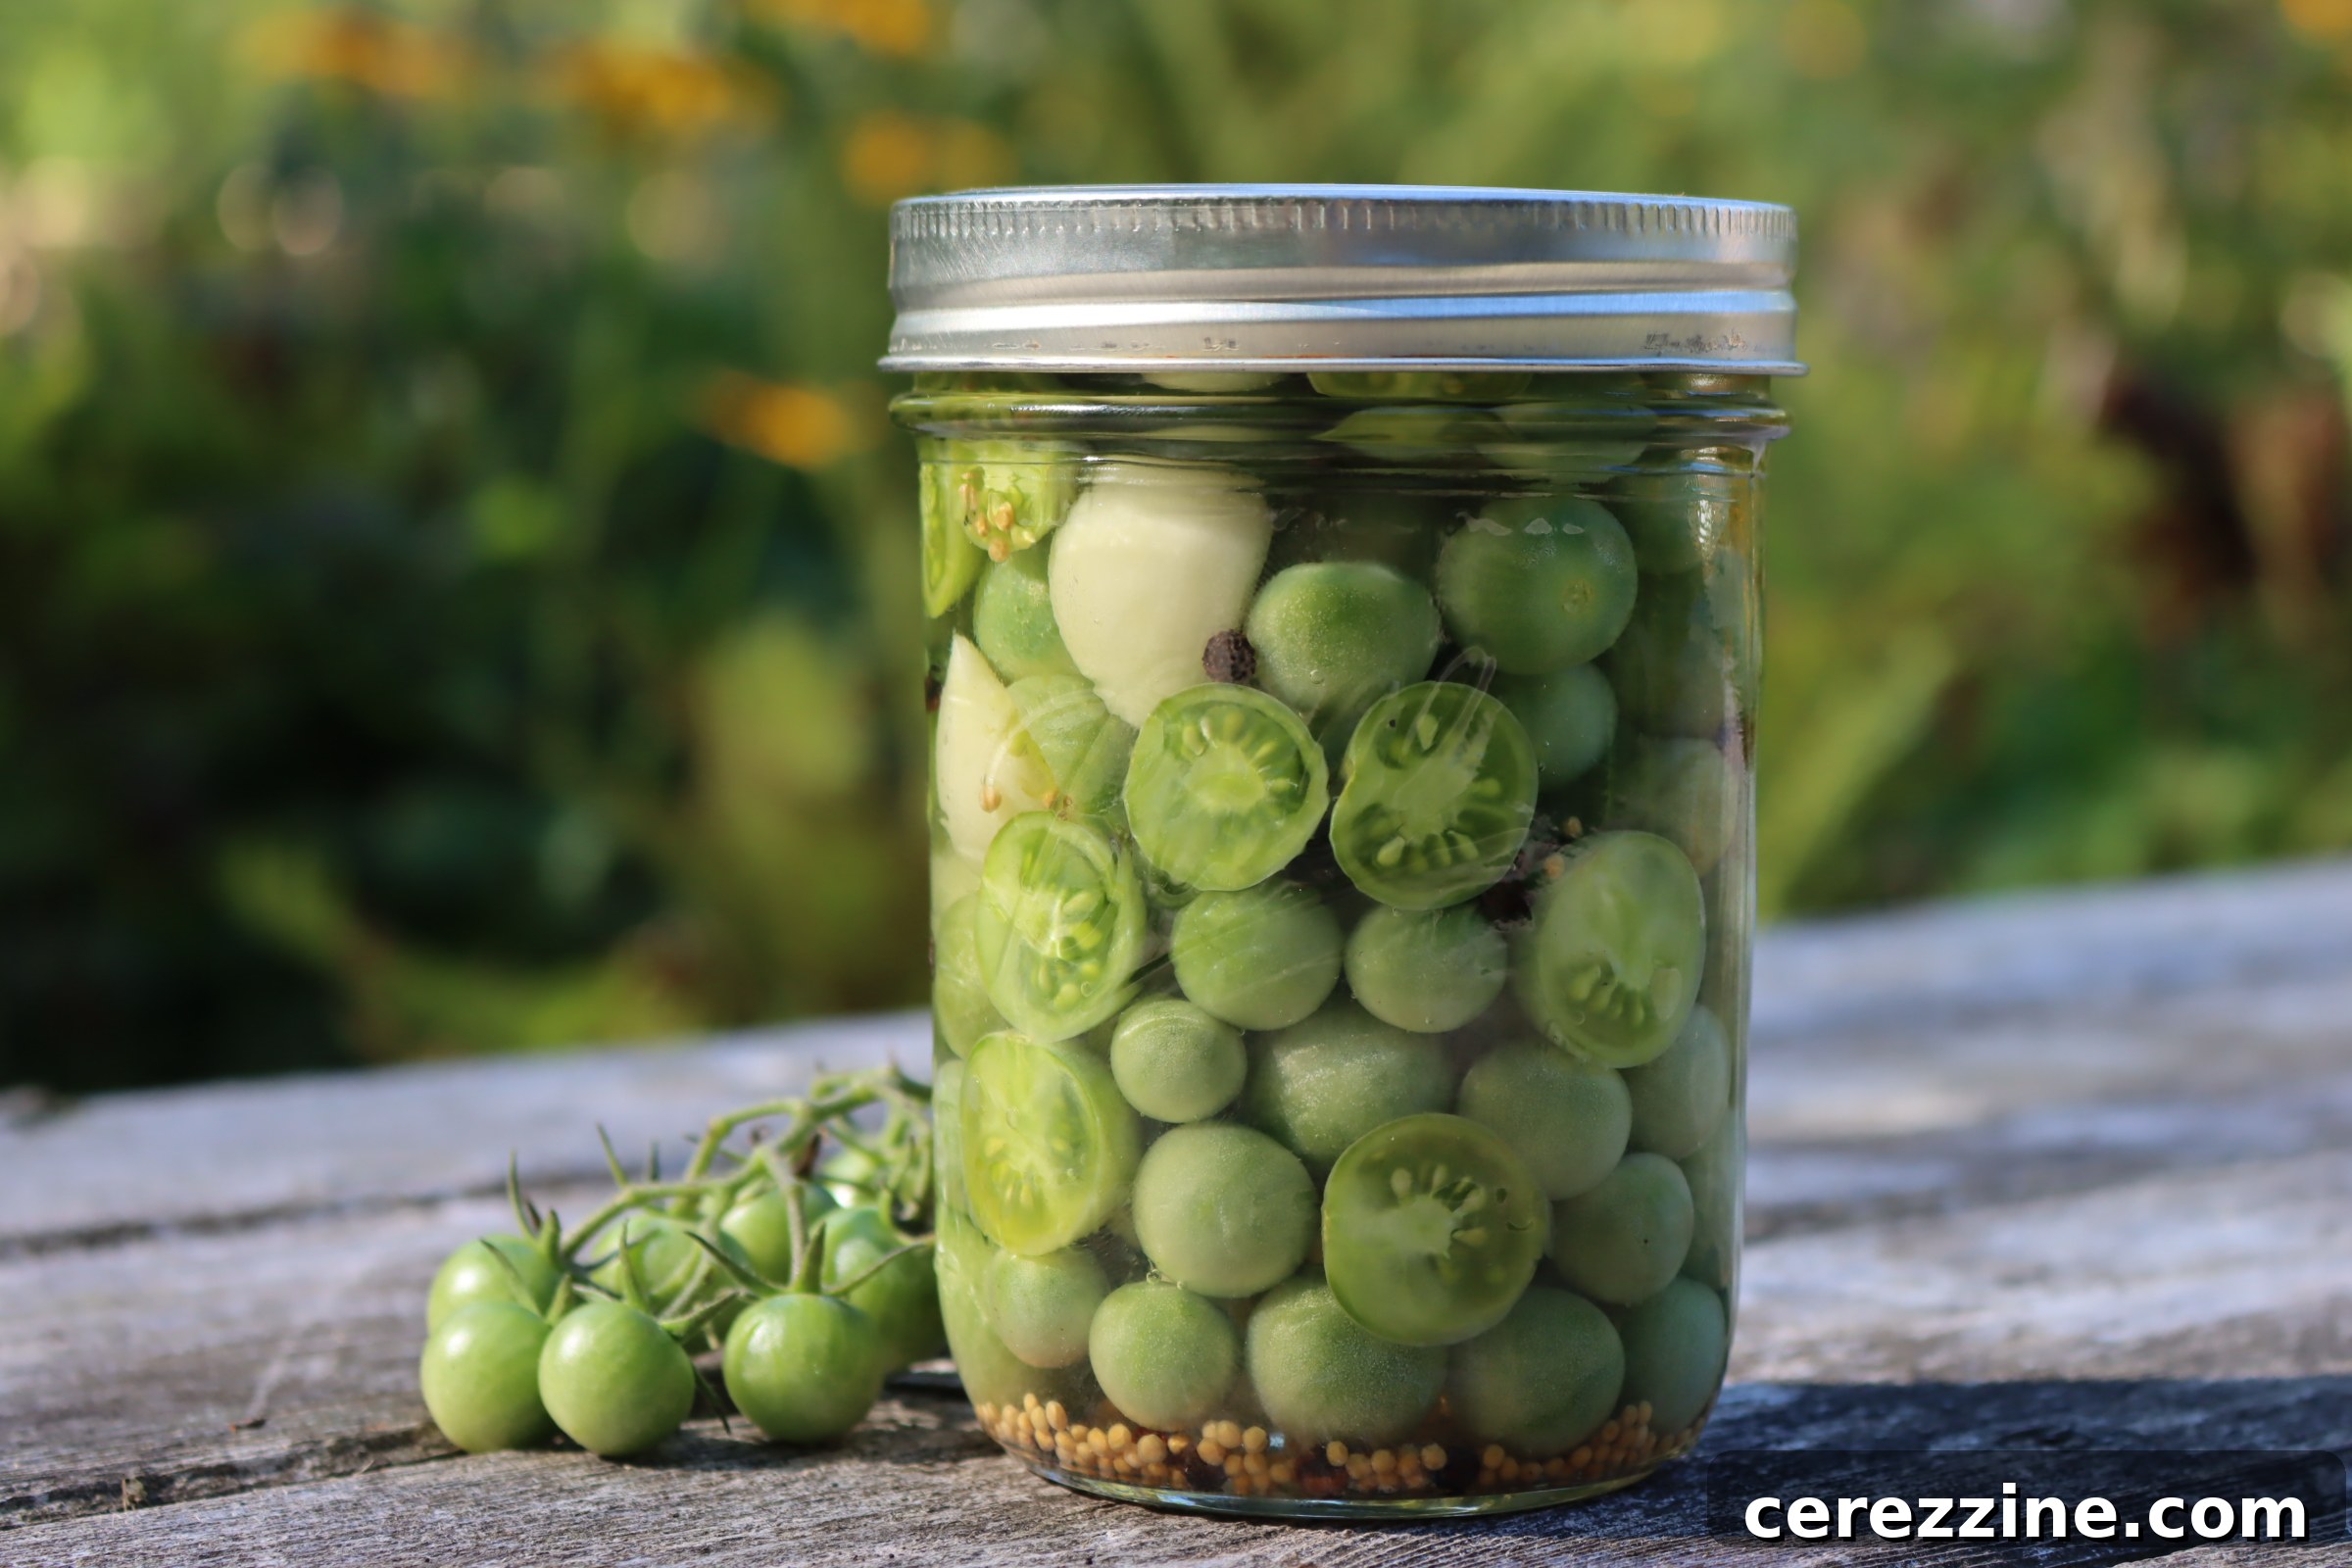
Welcome to the wonderful world of preserving, where even the end of the gardening season can yield delicious treasures! Among these hidden gems are green (unripe) tomatoes, often overlooked but bursting with a unique, tangy flavor perfect for pickling. Transform your surplus into delightful pickled green tomatoes that you can enjoy all year long.
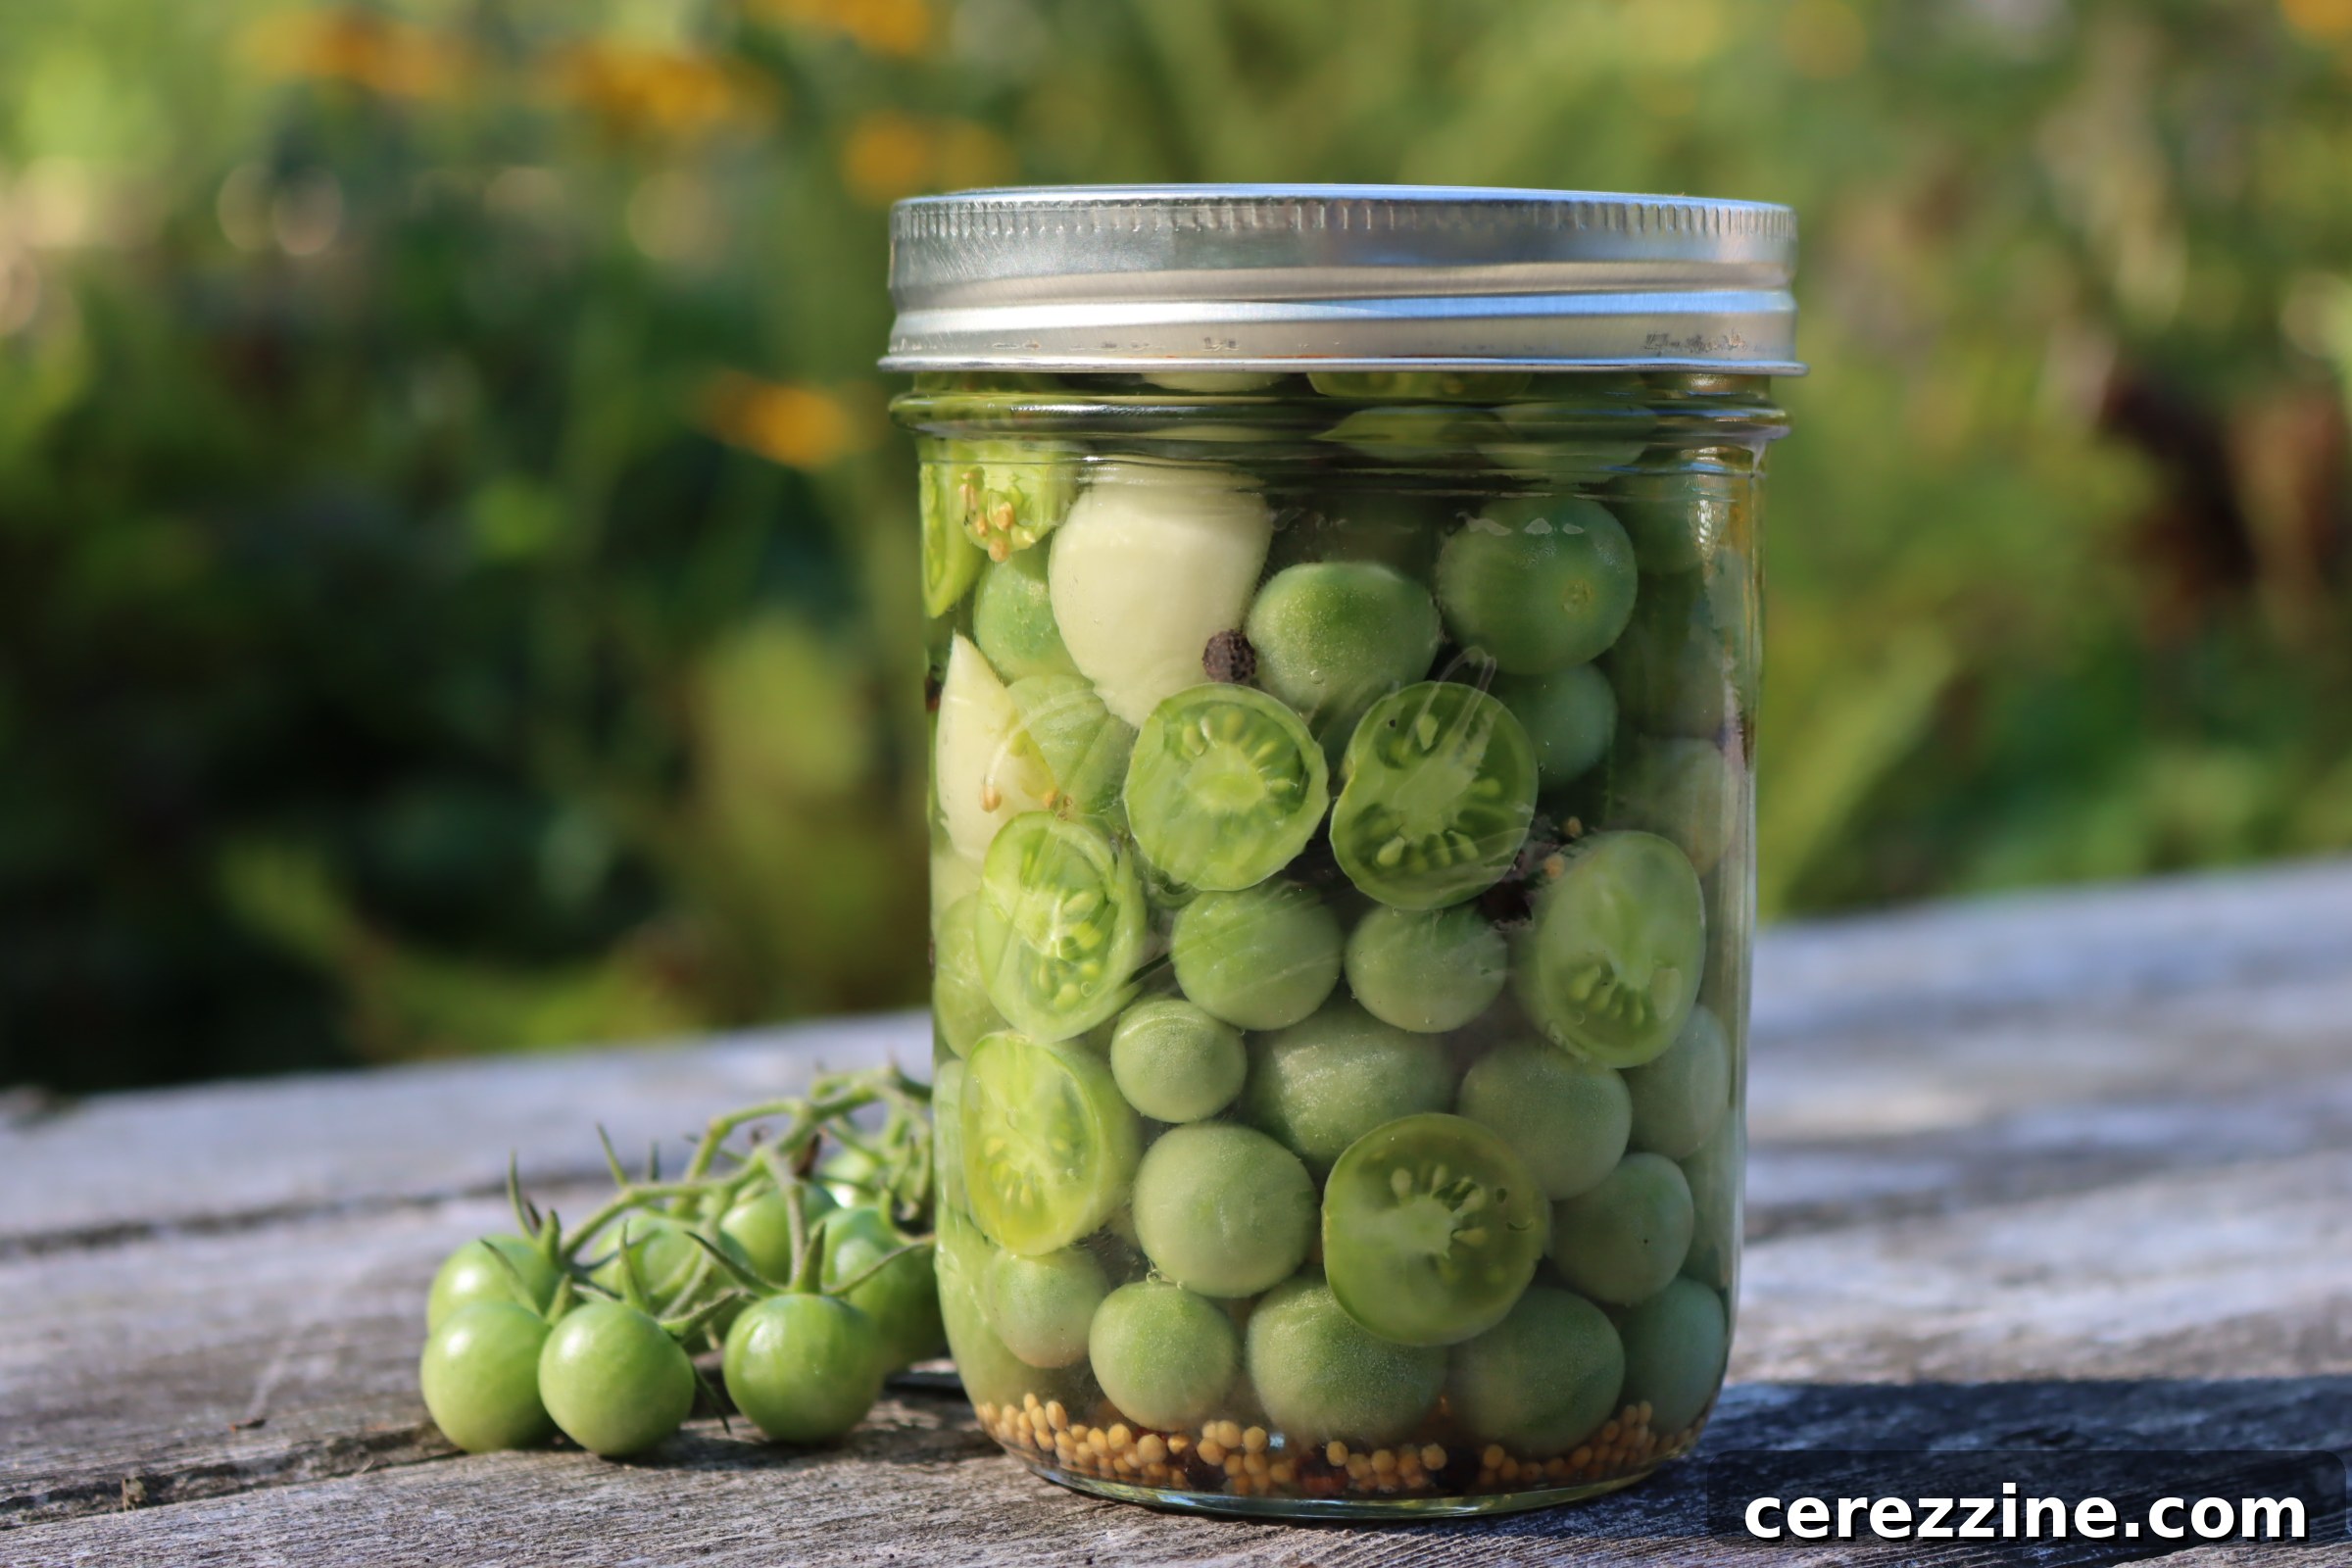
Harvesting the Last of the Season: Why Pickle Green Tomatoes?
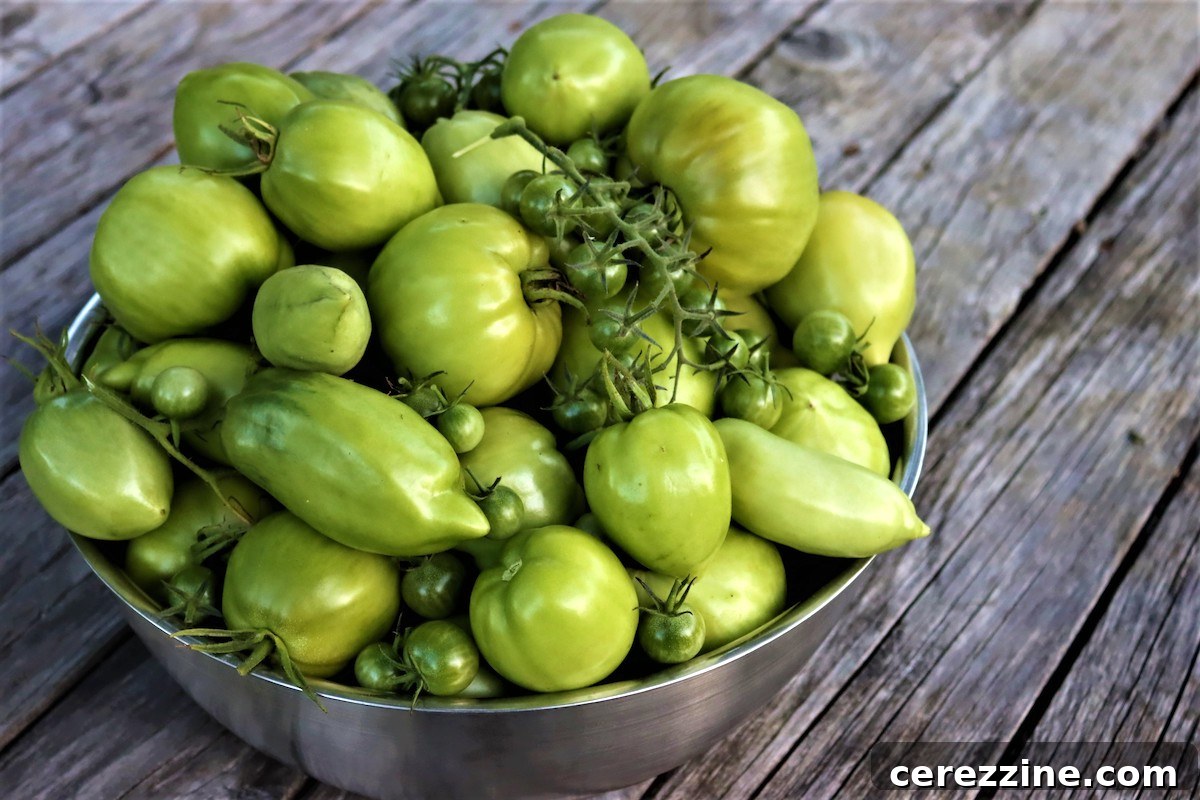
For gardeners in regions with short growing seasons, like my home in Vermont, the arrival of the first frost is a bittersweet moment. We cherish our 100-120 frost-free days, but inevitably, the chilly forecast sends us scrambling. The day before a frost hits, I’m out in the garden, meticulously plucking every single green tomato from the vines. If left to the frost, they’re lost, but brought indoors, they become an incredible ingredient for a myriad of green tomato recipes.
Often, the harvest is bountiful, far more than we can consume fresh in a short period. This abundance makes preserving a necessity, and pickling green tomatoes stands out as one of the simplest and most satisfying methods. Unlike their ripe counterparts, green tomatoes possess a firm texture and distinct tartness that truly shines when pickled. They retain a satisfying crunch, making them an excellent addition to any meal or snack.
While pickling is a favorite, the versatility of green tomatoes extends much further. Did you know you can make green tomato jam, a surprisingly delicious spread, or even a tested recipe for canning green tomato pie filling? These culinary creations highlight the unique character of unripe tomatoes, transforming them into something truly special.
Choosing Your Green Tomatoes for Pickling
While any variety of unripe tomato can be pickled, smaller, firmer types tend to yield the best results. I particularly love pickling green cherry tomatoes whole. Their size allows them to stay intact during the canning process, maintaining their shape and an irresistible pop of flavor. Larger green tomatoes, whether heirloom, hybrid, Roma, or slicer, will also work beautifully but should be sliced or chopped into bite-sized pieces for better manageability and to ensure even pickling.
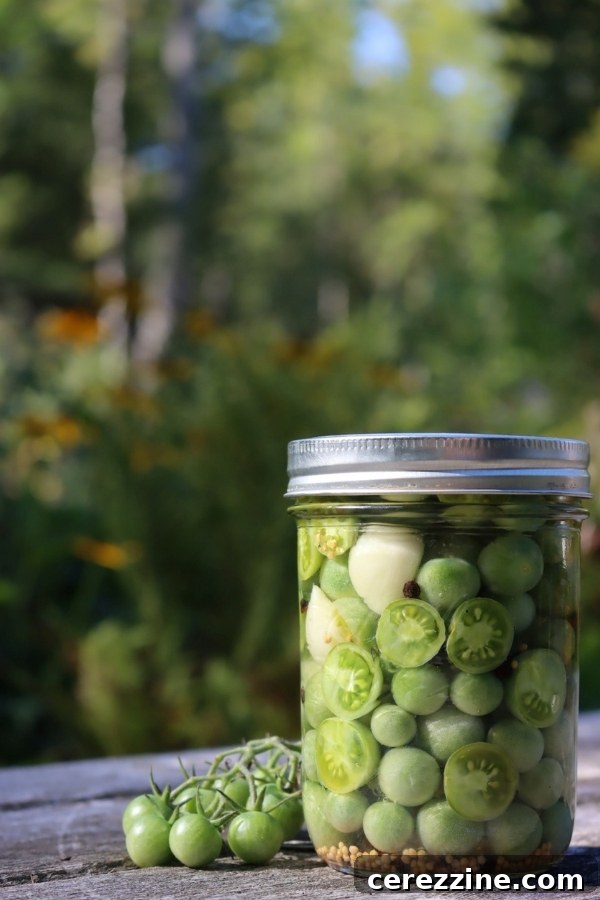
Selecting firm, unblemished green tomatoes is key for a successful pickle. Avoid any that show signs of ripening (turning yellowish or reddish) or softness, as these can become mushy during pickling. A good green tomato for pickling should be hard to the touch and a vibrant green color.
Crafting the Perfect Brine: Your Pickling Foundation
The magic of pickled green tomatoes lies in the brine. The good news is that creating a delicious and safe pickling brine is simpler than you might think. The most critical element for safe home canning is ensuring that at least half of your liquid is 5% acidity vinegar. This acidity level is essential for preventing spoilage and ensuring the safety of your preserved goods.
While there are many specific recipes for green tomato pickles, you can actually adapt brines from other successful canning recipes. For instance, my dill pickle canning recipe or bread and butter pickle recipe work wonderfully with green tomatoes, giving them a familiar, beloved flavor profile. For those who enjoy a kick, my spicy pickled garlic brine can also be an excellent choice for green tomatoes. You can even venture into making a vibrant green tomato relish using my sweet dill pickle relish recipe!
However, for this guide, we’ll focus on a tried-and-true method, adapted from a trusted source like The Ball Blue Book of Canning, ensuring both safety and incredible flavor. The real fun comes in customizing your spice blend, which can transform your basic pickled green tomatoes into something truly unique.
Ingredients for Pickled Green Tomatoes (Yields about 6 pints)
To embark on your green tomato pickling journey, gather the following foundational ingredients:
- 5 lbs Green Tomatoes: Preferably small and firm, or sliced larger tomatoes.
- 1/4 cup Pickling Salt or Kosher Salt: Essential for flavor and preserving.
- 2 Tbsp. Sugar: (Optional) Helps to balance the tartness of the tomatoes and vinegar.
- 3 1/2 cups Vinegar: Must be 5% acidity (white vinegar, apple cider vinegar).
- 3 1/2 cups Water: To dilute the vinegar to the perfect brine consistency.
These basic ingredients form the canvas for your pickles. Now, let’s explore the exciting world of spice blends to add that extra special touch:
Basic & Intriguing Pickled Green Tomatoes
Sometimes, simplicity is key. This basic spice mix adds a subtle depth without overpowering the natural flavor of the green tomatoes. It’s an excellent choice when you want a versatile pickle that complements a wide range of dishes.
- 6 tsp Mustard Seed: (1 tsp per pint jar) Adds a classic, mild spice.
- 3 tsp Black Peppercorns: (1/2 tsp per pint jar) Provides a gentle, aromatic heat.
- 6 Garlic Cloves: (1 per pint jar) Imparts a savory, pungent note.
Classic Dilled Green Tomatoes
For a taste that reminds you of traditional dill pickles, this spice blend, often recommended by canning experts, is a timeless favorite. The fresh dill brings a bright, herbaceous aroma that perfectly complements the tart tomatoes.
- 6 heads fresh dill: (1 per pint jar) For that authentic dill flavor.
- OR 12 tsp dill seed: (2 tsp per pint jar) A great alternative if fresh dill isn’t available.
- 6 Bay Leaves: (1 per pint jar) Adds a subtle, earthy undertone.
- 6 Cloves Garlic: (1 per pint jar) Enhances savory notes and depth.
Remember to add your chosen spices directly to each jar, ensuring an even distribution of flavor. For dill seed, use two teaspoons per pint jar.
Zesty Spicy Pickled Green Tomatoes
If you crave a little heat, these spices will infuse your green tomato pickles with a delightful warmth that excites the palate. Adjust the quantities to suit your preference for spice.
- 6 to 12 tsp Red Pepper Flakes: (1-2 tsp per pint jar) For a customizable level of heat.
- 3 to 6 tsp Black Peppercorns: (1/2 to 1 tsp per pint jar) Adds an additional layer of spicy aroma.
Sweet & Tangy Bread and Butter Green Tomatoes
For a beloved bread and butter pickle flavor, you’ll want to increase the sugar content in your brine to 1 cup, creating a delightful sweet-and-sour balance. This blend also incorporates other classic elements for that distinctive taste.
- 1/2 cup Sliced Onion: (A few slices per jar) Adds a mild, sweet onion flavor.
- 6 Garlic Cloves: (1 per pint jar) For aromatic depth.
- 6 tsp Mustard Seed: (1 tsp per pint jar) A foundational spice for bread and butter pickles.
- 3 tsp Celery Seed: (1/2 tsp per pint jar) Provides a subtle, earthy bitterness.
- 3 tsp Ground Turmeric: (1/2 tsp per pint jar) Gives a beautiful golden color and mild earthy flavor.
Step-by-Step: How to Pickle Green Tomatoes
The process of transforming fresh green tomatoes into tangy pickles is straightforward. Follow these steps for perfect results:
- Prepare Your Tomatoes: Begin by washing your green tomatoes thoroughly. For larger tomatoes, slice them into uniform, reasonable-sized pieces – halves, quarters, or thick slices work well. Small cherry tomatoes can be left whole.
- Create the Brine: In a non-reactive saucepan, combine the vinegar, water, pickling salt, and sugar (if using). Bring the mixture to a boil over medium-high heat, stirring occasionally until the salt and sugar are completely dissolved. Allow it to simmer for 2-5 minutes to ensure all flavors meld, then remove from heat.
- Pack the Jars: While the brine simmers, prepare your canning jars. If canning, ensure they are sterilized and kept hot. Pack your raw green tomatoes tightly into pint or quart canning jars, leaving 1/2 inch of headspace at the top. This headspace is crucial for proper sealing and preventing siphoning during canning. Add your chosen spice mix and any other vegetables (like onion or garlic slices) directly into each jar on top of the tomatoes.
- Fill with Brine: Carefully pour the hot pickling brine over the tomatoes and spices in each jar, maintaining the 1/2 inch headspace. Use a non-metallic utensil (like a chopstick or plastic knife) to gently remove any air bubbles by running it around the inside of the jar. Adjust the headspace again if necessary by adding more brine.
- Seal the Jars: Wipe the rims of the jars clean with a damp cloth. Place the lids on top, followed by the screw bands. Tighten the bands finger-tight – just enough to feel resistance, but not overly tight.
- Cool and Store (Refrigerator Pickles): If you’re making refrigerator pickles, allow the jars to cool completely on your countertop. Once cooled, store them in the refrigerator. For the best flavor development, wait at least 2 days, and preferably a week, before enjoying your delicious green tomato pickles. They will last for several weeks in the fridge.
- Proceed to Canning (Shelf-Stable Pickles): If you intend to make your pickles shelf-stable for pantry storage, move on to the water bath canning instructions below.
Water Bath Canning Green Tomato Pickles for Shelf Stability
Canning is an optional but highly recommended step that transforms your refrigerator pickles into pantry staples. This process creates a vacuum seal, making your pickles shelf-stable and freeing up valuable refrigerator space until they are opened.
- Prepare Your Canner: Before you begin preparing your pickles, set up your water bath canner. Place a canning rack at the bottom of the canner and fill it with enough water to cover your jars by at least an inch. For raw-packed pickles, preheat the water to hot, but not simmering – around 140°F (60°C).
- Load the Canner: Once your jars are filled with tomatoes and brine, sealed with finger-tight two-part canning lids, carefully load them into the preheated water bath canner. Ensure the jars are upright and not touching each other.
- Process the Jars: Bring the canner to a full, rolling boil. Once boiling, begin timing your process.
- Process pint jars for 15 minutes.
- Process quart jars for 20 minutes.
- Cool Down: When the processing time is complete, turn off the heat. Allow the jars to remain in the hot water bath for an additional 5 minutes. This crucial step helps prevent siphoning (liquid loss) when the jars are removed from the canner, which can sometimes lead to seal failures.
- Remove and Cool: Carefully remove the jars from the canner using a jar lifter and place them on a clean towel or cooling rack on your countertop. Leave ample space between jars to allow air circulation. Do not overtighten the screw bands. Let them cool undisturbed for 12-24 hours.
- Check Seals: After the cooling period, check the seals. The center of the lid should be concave (curved inward) and not flex when pressed. Remove the screw bands and gently try to lift the lid with your fingertips. If the lid does not come off, the jar is properly sealed. Any unsealed jars should be stored in the refrigerator and consumed within a few weeks.
- Storage: Properly canned and sealed jars of pickled green tomatoes will maintain their peak quality on your pantry shelf for approximately 18 months and remain safe to eat for much longer. Always refrigerate jars after opening.
Note: Always adjust processing times for altitude. For altitudes above 1,000 feet, consult a reliable canning guide for increased processing times.
Creative Ways to Enjoy Your Pickled Green Tomatoes
Pickled green tomatoes are incredibly versatile and bring a burst of tangy flavor and satisfying crunch to countless dishes. While they are undeniably delicious straight out of the jar, here are some ideas to incorporate them into your culinary repertoire:
- Classic Accompaniment: Serve them alongside fried fish, a hearty bowl of chili, or with warm cornbread for a comforting meal. Their acidity cuts through richness beautifully.
- Charcuterie Boards: Elevate your charcuterie or cheese boards with these vibrant pickles. Their color and tang provide a welcome contrast to cheeses, cured meats, and crackers.
- Sandwiches and Burgers: Chop them finely and add to chicken salad, tuna salad, or egg salad for extra texture and zing. They also make a fantastic topping for burgers, hot dogs, and pulled pork sandwiches.
- Salad Topper: Slice them thinly and toss them into green salads or potato salads for an unexpected burst of flavor.
- Garnish for Cocktails: For a unique twist, particularly with pickled green cherry tomatoes, they are the star of a cocktail called a “Dirty Jane,” an intriguing variation on the classic Dirty Martini.
- Relish: Finely chop a batch of your pickled green tomatoes to create a quick and easy relish for various dishes.
- Fried Green Tomato Pickles: For an indulgent treat, try breading and lightly frying your pickled green tomato slices. The hot oil mellows the tang and creates a wonderfully crispy exterior.
Explore More Green Tomato Delights
Don’t let any green tomato go to waste! If you’re inspired to explore beyond pickles, here are more delicious ways to use your unripe harvest:
- Sweet and Savory Green Tomato Jam
- Canning Green Tomato Piccalilli (New England Style)
- Tangy Pickled Green Tomato Relish
Pickled Green Tomatoes
By Ashley Adamant
Pickled green tomatoes offer an easy and delicious way to preserve a bumper crop of underripe green tomatoes at the end of the gardening season, ensuring year-round enjoyment.
Yields: Approximately 6 Pints
Prep Time: 5 mins
Cook Time: 5 mins
Canning Time (Optional): 15 mins (for pints)
Total Time: 25 mins (excluding cooling/infusion)
Equipment
- Water Bath Canner (if canning)
- Canning jars (pint or quart size) with new lids and bands
- Large saucepan
- Jar lifter, canning funnel, bubble remover/headspace tool
Ingredients
Basic Recipe
- 5 lbs Green Tomatoes, preferably small and firm, or sliced.
- 1/4 cup pickling salt or kosher salt.
- 2 Tbsp. Sugar (optional, but helps balance the flavor).
- 3 1/2 cups vinegar, 5% acidity.
- 3 1/2 cups water.
For Basic Pickled Green Tomatoes (Choose ONE spice mix below)
- 6 tsp mustard seed (1 tsp per pint)
- 3 tsp black peppercorns (1/2 tsp per pint)
- 6 garlic cloves (1 per pint)
For Dill Pickled Green Tomatoes
- 6 heads fresh dill (1 per pint), OR 12 tsp dill seed (2 tsp per pint)
- 6 bay leaves (1 per pint)
- 6 cloves garlic (1 per pint)
For Spicy Pickled Green Tomatoes
- 6 to 12 tsp red pepper flakes (1-2 tsp per pint jar)
- 3 to 6 tsp black peppercorns (1/2 to 1 tsp per pint jar)
For Bread and Butter Pickled Green Tomatoes (Increase sugar in brine to 1 cup)
- 1/2 cup sliced onion (a few slices per jar)
- 6 garlic cloves (one per pint)
- 6 tsp mustard seed (1 tsp per pint)
- 3 tsp celery seed (1/2 tsp per pint)
- 3 tsp ground turmeric (1/2 tsp per pint)
Instructions
- If planning to can, prepare a water bath canner and jars before beginning. Preheat the canner water for raw pack to hot (around 140°F / 60°C), but not yet simmering. This step is only necessary if canning.
- Prepare green tomatoes by washing them and slicing them into reasonable sized pieces for your pickles. Slices, quarters, or halves all work well for larger tomatoes; small cherry tomatoes can be left whole.
- Pack the prepared green tomatoes into hot, clean pint canning jars, leaving 1/2 inch headspace. Choose your preferred spice mix from the list above and add the specified amount of spices and other vegetables (garlic, onion, etc.) directly to each jar.
- In a saucepan, combine the brine ingredients: vinegar, water, salt, and sugar (if using). Bring to a boil on the stove, stirring until the salt and sugar are fully dissolved. Remove from heat.
- Carefully pour the hot brine over the green tomatoes and spices in the jars, maintaining 1/2 inch headspace. Use a bubble remover tool to release any trapped air bubbles and adjust headspace if needed by adding more brine.
- Wipe jar rims clean and cap with new two-part canning lids, tightening screw bands finger-tight.
- For Refrigerator Pickles: Allow the jars to cool completely on the counter, then transfer to the refrigerator. Let the flavors infuse for at least 2 days, preferably a week, before enjoying.
- For Shelf-Stable Canned Pickles: Load the capped jars into the pre-heated water bath canner. Bring the canner to a full rolling boil. Process pint jars for 15 minutes (or 20 minutes for quart jars), adjusting for altitude if necessary.
- After processing, turn off the heat and let the jars sit in the canner for 5 minutes before carefully removing them. Place jars on a towel-lined surface to cool undisturbed for 12-24 hours. Check seals and store properly sealed jars in a cool, dark place. Refrigerate any unsealed jars.
Notes
- Choose only one spice mix per batch of pickles. If using quart jars, double the amount of spices per jar.
- The quantities of spices, salt, and sugar can be adjusted to your taste, as they do not affect canning safety.
- Crucially, do not reduce the amount of vinegar in the brine. For a safe canning recipe, the brine must be at least 50% vinegar (standardized to 5% acidity). Do not use weaker vinegar, and ensure at least half of the liquid volume is vinegar.
- You may increase the vinegar and reduce the water if you prefer a more sour pickle, which is often done with bread and butter pickles to offset additional sugar.
Nutrition
(Approximate values per serving, based on 48 servings per recipe)
- Calories: 25 kcal
- Carbohydrates: 4g
- Protein: 1g
- Fat: 0.5g
- Saturated Fat: 0.1g
- Polyunsaturated Fat: 0.1g
- Monounsaturated Fat: 0.2g
- Sodium: 602mg
- Potassium: 124mg
- Fiber: 1g
- Sugar: 3g
- Vitamin A: 382 IU
- Vitamin C: 12mg
- Calcium: 18mg
- Iron: 1mg
Nutrition information is automatically calculated and should only be used as an approximation.
Like this recipe? Leave a comment below and share your thoughts!
More Delightful Pickling Recipes
If you’ve discovered a love for pickling, there’s a whole world of tangy treats waiting to be explored. Here are some more easy and delicious pickle recipes to expand your pantry:
- Classic Bread and Butter Pickles
- Crunchy Dill Pickles
- Flavorful Sweet Dill Pickle Relish
- Adorable Gherkins (Baby Pickles)
- Zesty Pickled Peppers
Fall Canning Inspiration
As autumn approaches, the harvest extends beyond just green tomatoes. If you’re looking to fill your pantry with other seasonal delights, I have hundreds of canning recipes to guide you. Here are a few to get you started on your fall preserving adventures:
- Sweet Canning Apple Slices
- Tender Canning Pears
- Homemade Pear Jelly
- Preserving Pumpkin (for pies and more)
- Vibrant Canning Beets