
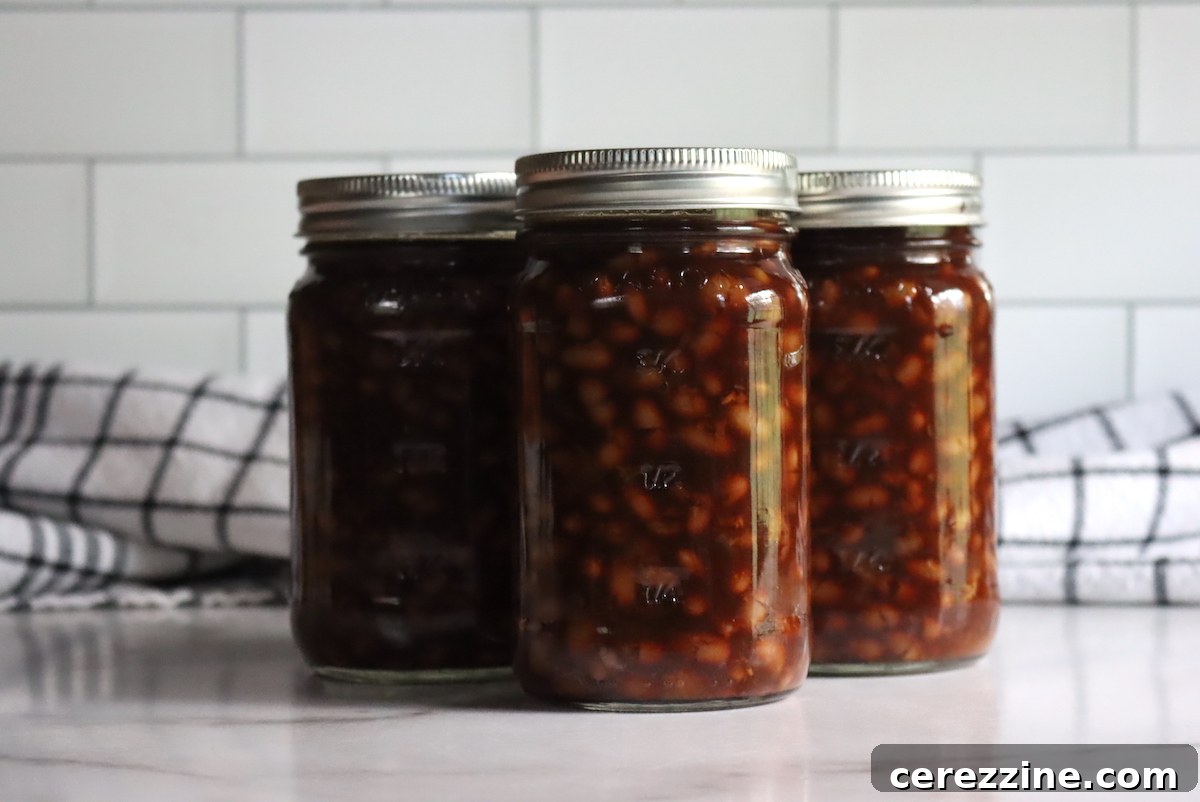
Vegetarian baked beans are a delicious and versatile meal-in-a-jar canning recipe that perfectly captures the rich, comforting flavors of classic baked beans, all while being entirely meat-free. This guide will walk you through preserving this wholesome dish, making it a staple in your pantry for quick, nourishing meals.
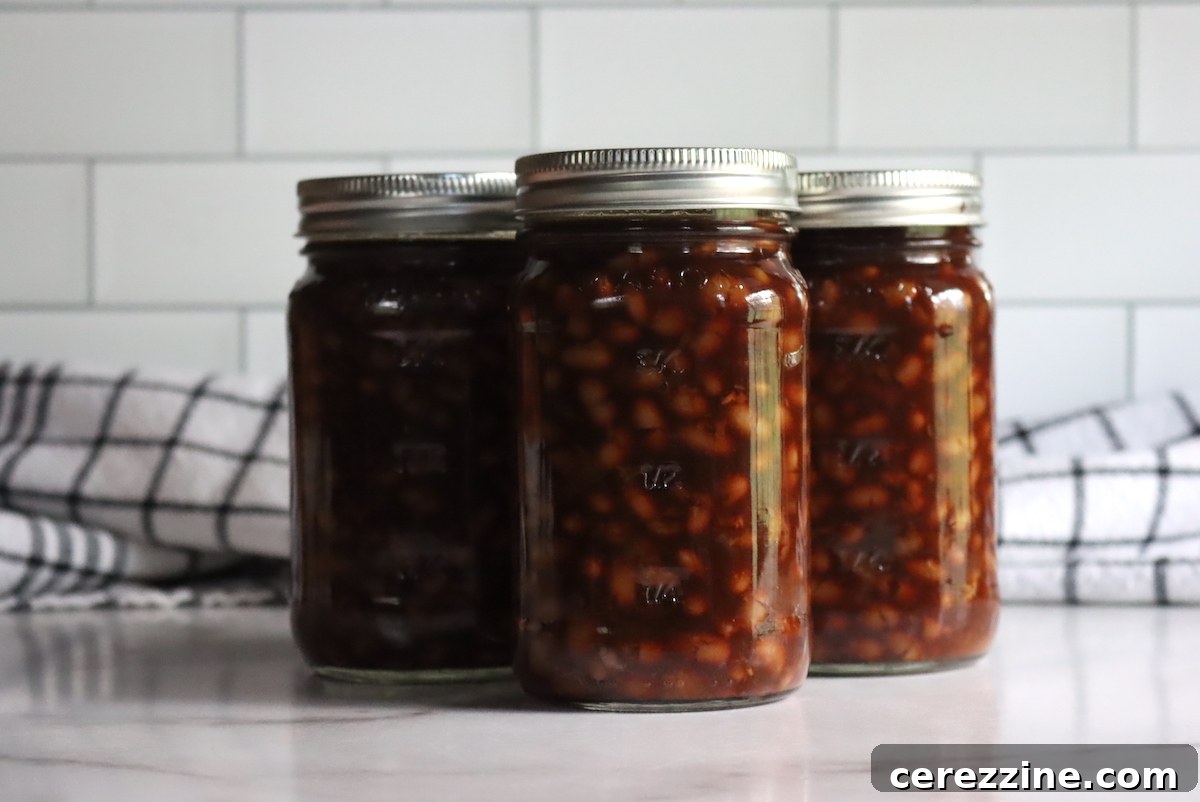
Mastering Home-Canned Vegetarian Baked Beans: A Flavorful and Economical Recipe
Imagine having a delicious, homemade meal ready to go whenever you need it, saving you both precious time and hard-earned money. If this sounds like a dream, then learning to can vegetarian baked beans is your ideal solution! This traditional comfort food, packed with savory and sweet notes, can be easily preserved, allowing you to enjoy its goodness throughout the year. Home canning not only locks in the fresh flavors but also offers a satisfying sense of self-sufficiency and control over the ingredients your family consumes.
Canned baked beans are an exceptional way to prepare food in bulk, ensuring you always have a wholesome side dish or a quick main meal on hand. Whether you’re planning a last-minute barbecue, a potluck, or simply need a fulfilling weeknight dinner, a jar of your homemade vegetarian baked beans will be a welcome sight. In this comprehensive guide, we will meticulously walk you through every step of canning vegetarian baked beans, providing expert tips and tricks to make the process as straightforward and safe as possible, even for beginners.
For those interested in a meat-inclusive version of this beloved recipe, you might want to explore our canning recipe for Boston baked beans.
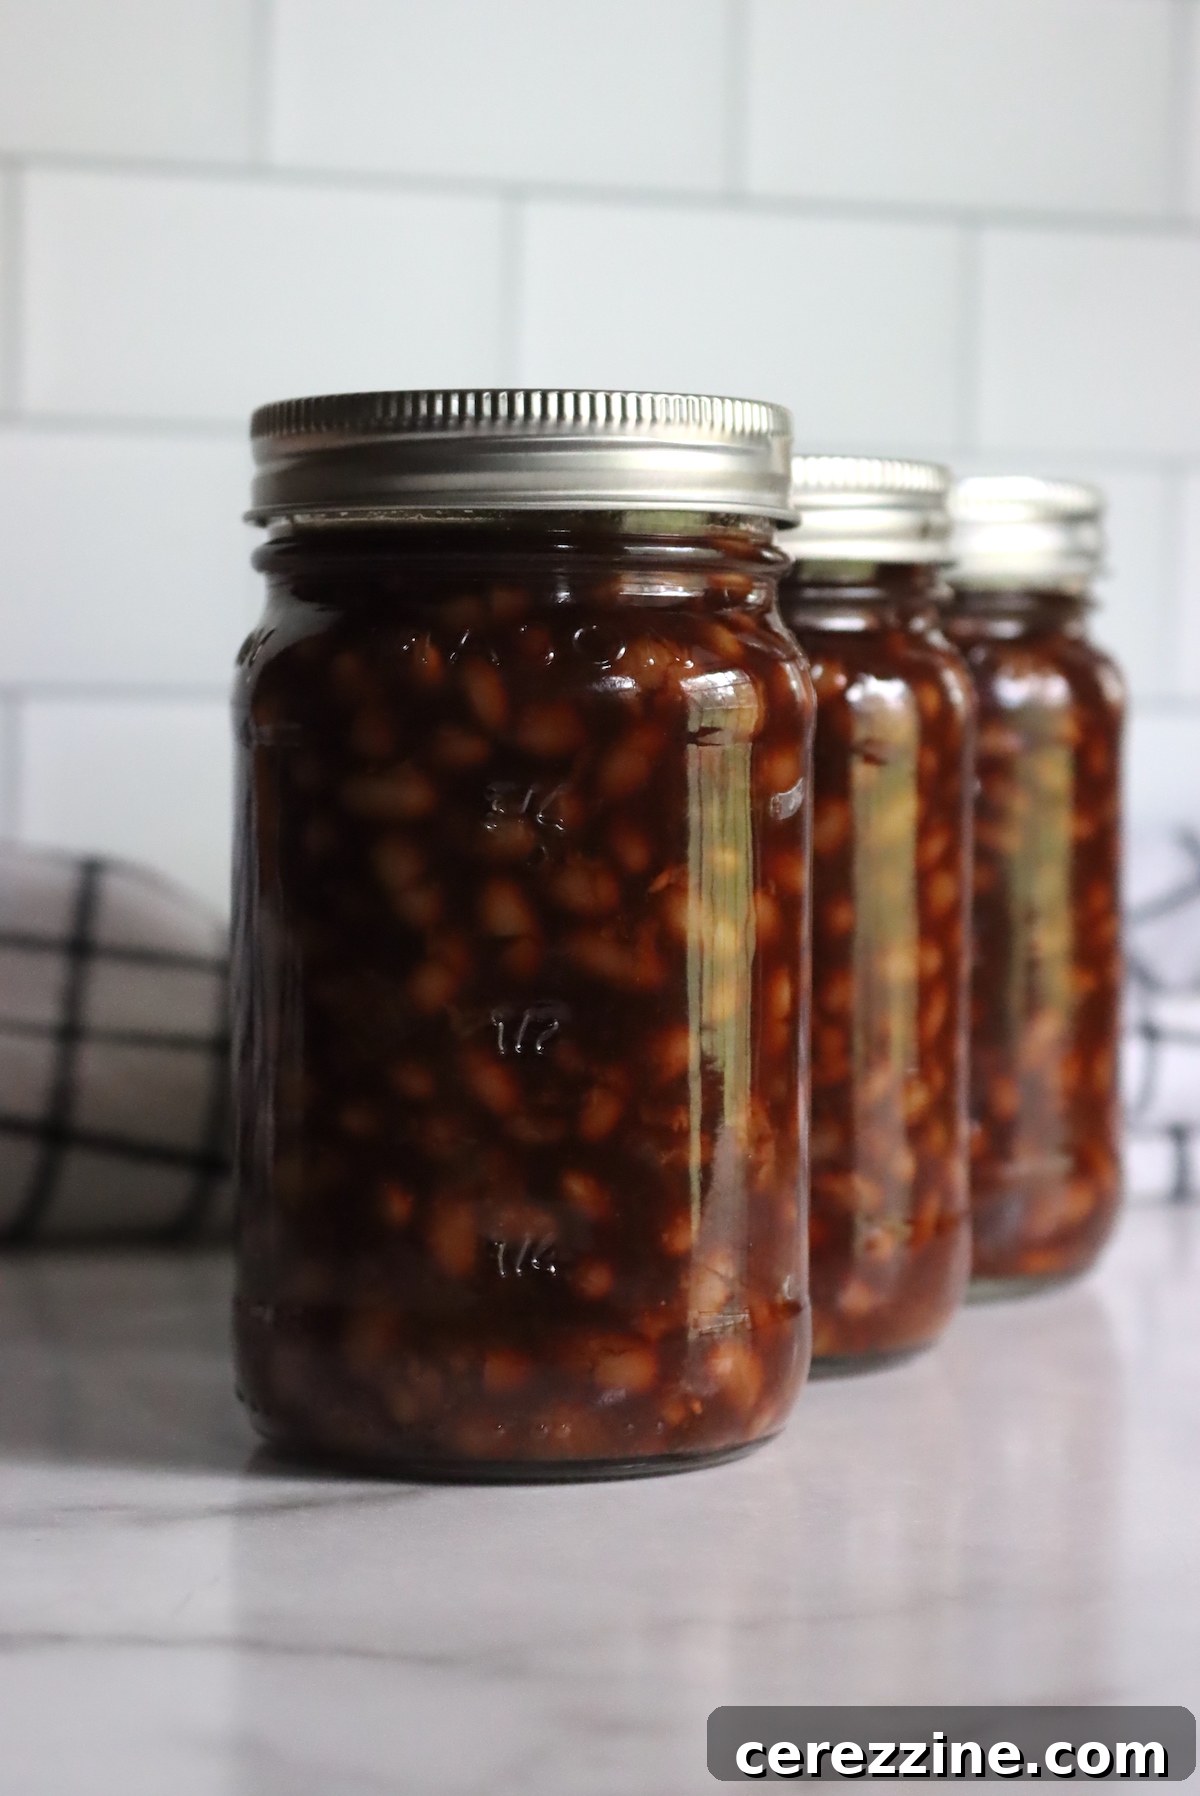
Why Choose Vegetarian Baked Beans for Canning?
Choosing a vegetarian option for your home-canned baked beans offers a multitude of benefits, catering to various dietary needs and preferences without compromising on taste. Firstly, it’s an excellent way to incorporate more plant-based meals into your diet, which is often associated with numerous health advantages, including improved heart health and reduced risk of certain chronic diseases. For those following a vegetarian, vegan, or flexitarian lifestyle, this recipe provides a hearty and satisfying option that can be enjoyed by everyone at the table.
Moreover, opting for a meatless version simplifies the canning process by eliminating the need to handle and preserve meat, which can sometimes add complexity to food safety considerations. This recipe focuses on the natural richness of navy beans and the deep, complex flavors created by molasses, brown sugar, and aromatic spices. The result is a robust, full-bodied dish that proves vegetarian doesn’t mean sacrificing flavor or substance. It’s a truly comforting meal, perfect for a cozy evening or a bustling family gathering, and an ideal choice for economical and sustainable meal planning.
Essential Ingredients for Your Vegetarian Baked Beans
Crafting a memorable batch of vegetarian baked beans starts with a careful selection of ingredients. The beauty of this recipe lies in its simplicity and the way a few core components come together to create a deeply satisfying flavor profile. For a generous canner batch, yielding approximately six pints, you’ll need the following:
- 1 quart dried navy beans (approximately 2 pounds)
- 2/3 cup robust molasses
- 2/3 cup firmly packed brown sugar
- 4 cups water (or high-quality vegetable stock/broth for richer flavor)
- 3 large onions, finely diced
- 3 tsp canning salt (non-iodized)
- 2 tsp dry mustard powder
- 1 tsp liquid smoke (optional, for a distinct smoky depth)
For the beans, navy beans are traditionally used due to their creamy texture and ability to absorb flavors, but other small white beans can also work. When choosing your dried beans, opt for fresh, high-quality legumes for the best results, as older beans can take longer to cook and may not soften as thoroughly. The quantity listed, one quart or two pounds, is designed to fill six pint jars effectively.
The choice between water and vegetable stock or broth is a matter of preference. Stock or broth will undoubtedly impart a richer, more complex base flavor to your beans, enhancing the overall depth of the dish. If you desire that classic smoky taste often associated with baked beans, a teaspoon of liquid smoke is a fantastic vegetarian-friendly addition. It provides a distinct, authentic smoky aroma without any meat products.
If dry mustard powder isn’t available, don’t worry! You can substitute it with plain prepared yellow mustard, though you might need to adjust the quantity slightly to achieve your desired level of pungency. The salt specified is canning salt, which is preferred over iodized table salt as iodine can sometimes cause discoloration or cloudiness in canned goods.
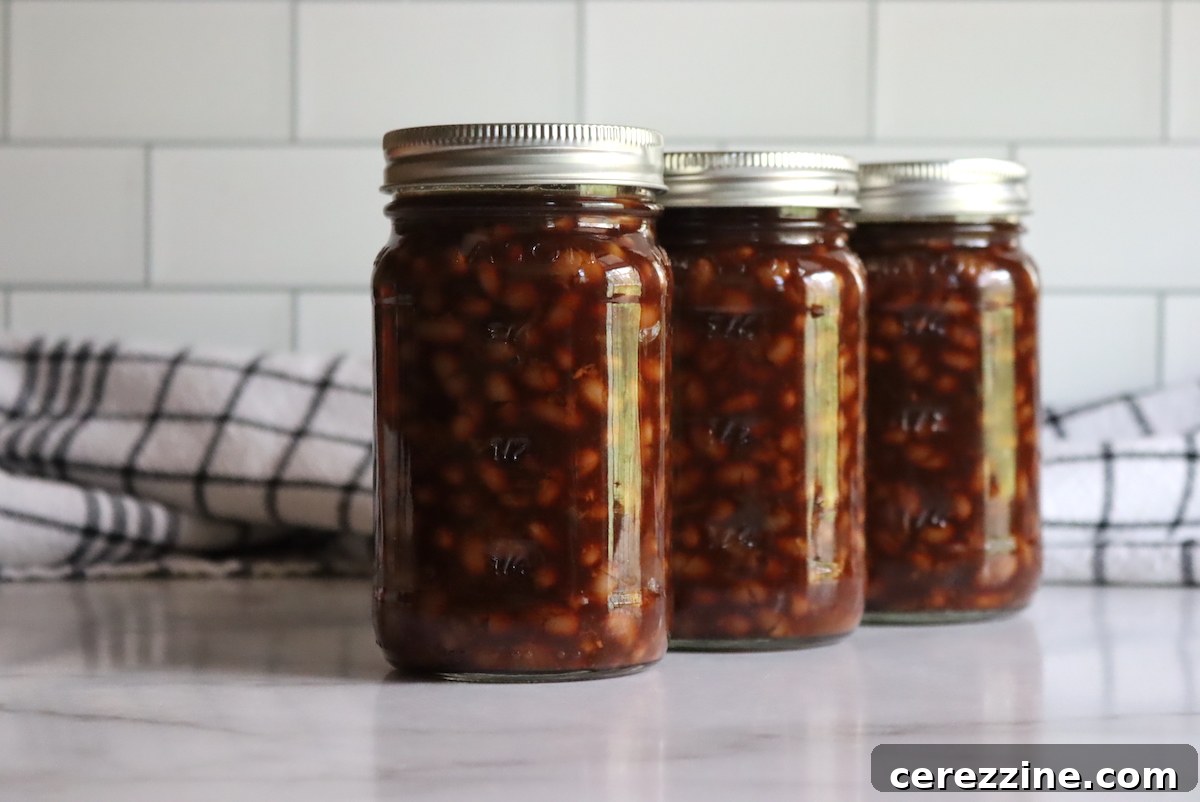
Step-by-Step Guide to Canning Vegetarian Baked Beans
Canning vegetarian baked beans is a rewarding process that ensures you have a convenient and nourishing meal ready at a moment’s notice. Follow these detailed steps carefully to achieve perfectly preserved, delicious beans.
Preparing the Beans: Soaking for Perfection
The initial preparation of your beans is crucial for both texture and cooking time. Soaking helps the beans rehydrate evenly, reduces cooking time, and can improve digestibility.
- Overnight Soak Method: Begin by thoroughly rinsing your dried navy beans under cold water. Place them in a large bowl and cover them with at least three times their volume in cool water. Ensure they are fully submerged, as beans will expand significantly. Let them soak at room temperature for 6-8 hours, or preferably overnight.
- Quick Soak Method: If you’re short on time, the quick soak method is an excellent alternative. Rinse the beans and place them in a large pot. Cover them with water, again at least three times their volume. Bring the water to a rolling boil and let it boil for 2 minutes. Then, remove the pot from the heat, cover it, and let the beans soak for 1 hour.
- After soaking, regardless of the method, drain the beans thoroughly and discard the soaking water. Transfer the soaked beans to a clean pot and add fresh water, just enough to cover them. Bring the water to a boil, then reduce the heat to a simmer. Cook the beans until they just begin to soften and some skins start to split, typically around 45 minutes to an hour. They should not be fully cooked or mushy at this stage, as they will undergo further cooking in the oven and during the canning process. Once cooked to this point, drain the beans again.
Crafting the Signature Sauce
While your beans are simmering, prepare the rich, flavorful sauce that defines classic baked beans.
- In a large mixing bowl, combine the molasses, brown sugar, finely diced onions, canning salt, and dry mustard powder. If using, now is the time to add the liquid smoke for that deep, smoky aroma.
- Gradually whisk in the 4 cups of water or vegetable stock/broth. Stir vigorously until the brown sugar is completely dissolved and all the ingredients are well incorporated, forming a smooth, somewhat soupy mixture. The consistency should be liquid enough to coat the beans generously.
The Slow Bake: Unlocking Deep Flavor
The slow baking process is where the magic happens, allowing the flavors to meld and deepen into that characteristic baked bean profile.
- Preheat your oven to 300°F (150°C).
- Pour the prepared sauce over the pre-cooked beans in the pot, stirring gently to ensure every bean is thoroughly coated with the flavorful mixture.
- Transfer the bean mixture into a sturdy four-quart Dutch oven with a tight-fitting lid. This slow-cooking vessel is ideal for achieving the desired texture and flavor.
- Bake in the preheated oven for approximately four hours. During this baking period, it is crucial to monitor the liquid level. Periodically check the beans and add additional hot water (usually 4 to 6 cups throughout the baking time, or more if your Dutch oven doesn’t create a good seal) as needed, ensuring the beans remain submerged and moist. The goal is to keep the mixture nice and liquidy, preventing the beans from drying out. This long, slow bake is essential for developing the complex, smoky, and sweet flavors that make baked beans so irresistible. Do not rush this step!
- Once baked, the beans are technically cooked and ready to eat. You can taste them now and adjust seasonings like salt or sweetness if desired, before proceeding with the canning.
Safe Pressure Canning Practices
Pressure canning is the only safe method for preserving low-acid foods like beans, as it reaches temperatures high enough to destroy harmful bacteria, including those that cause botulism.
- Prepare Your Canner: Before you begin, thoroughly clean and inspect your pressure canner according to the manufacturer’s instructions. Add the recommended amount of water to the canner (usually 2-3 inches). Place the canning rack at the bottom of the canner. Gently pre-heat the canner to approximately 180°F (82°C) while you prepare your jars.
- Prepare Jars and Lids: Wash pint or quart-sized canning jars in hot, soapy water, rinse them well, and keep them hot (e.g., in a dishwasher or a pot of simmering water) to prevent thermal shock when filled with hot beans. Lids should be prepared according to the manufacturer’s instructions, typically by simmering in hot water to soften the sealing compound. Rings should also be clean.
- Fill Jars: Carefully ladle the hot baked bean mixture into the hot jars, leaving exactly one inch of headspace from the rim of the jar. This headspace is critical for proper sealing and to allow for expansion during processing. Use a ruler or a headspace tool for accuracy.
- Add Sauce/Water: After filling with beans, ensure the sauce level also maintains that one-inch headspace. If your jars are not completely full of the bean mixture and sauce up to the headspace mark, add additional hot water to reach the required headspace.
- Clean Rims and Seal: Wipe the rims of each jar with a clean, damp cloth to remove any food particles that could interfere with the seal. Center a hot lid on each jar, then screw on the band fingertip-tight. This means tightening until you feel resistance, then giving it just a slight extra turn – do not overtighten.
- Load and Process: Carefully place the filled jars onto the rack in the preheated canner, ensuring they do not touch each other. Secure the canner lid according to your model’s instructions. Bring the canner to a boil over high heat, allowing steam to vent steadily from the vent pipe for a full 10 minutes. This purges air from the canner. After venting, place the weighted gauge or close the petcock (for dial gauge canners) and allow the pressure to rise to the recommended level based on your altitude and canner type (refer to the pressure table below).
- Processing Time: Once the target pressure is reached and maintained steadily, begin your processing time. Process pint jars for 80 minutes and quart jars for 95 minutes. Maintain a consistent pressure throughout the entire processing time, adjusting heat as necessary.
- Cool Down: After the processing time is complete, turn off the heat and allow the canner to cool naturally, without opening the lid, until the pressure gauge returns to zero. This gradual cooling is essential to prevent liquid loss from the jars. Once at zero pressure, wait another 5-10 minutes before carefully removing the canner lid.
- Final Steps: Remove the hot jars from the canner using a jar lifter and place them on a clean towel or wooden cutting board in a draft-free area, leaving space between them for air circulation. Let them cool undisturbed for 12-24 hours. After cooling, check all seals by pressing on the center of the lid; it should be concave and not flex. If any jars haven’t sealed, refrigerate them and consume within a few days. Remove the bands, wipe down jars, label with contents and date, and store in a cool, dark, dry place for up to one year.
Crucial Pressure Canning Altitude Adjustments
When pressure canning, the total processing time remains constant regardless of your altitude. However, the atmospheric pressure changes at higher elevations, which impacts the boiling point of water and thus the required pressure inside your canner to reach a safe temperature. It’s vital to adjust the pressure level based on your specific altitude and the type of pressure canner you are using to ensure proper and safe food preservation. Always consult your canner’s manual for specific instructions.
You need to know whether you are operating a dial gauge canner (commonly a Presto-type model) or a weighted gauge canner (such as an All-American type).
Dial Gauge Canners:
For dial gauge canners, the pressure adjustments are more incremental:
- 0 to 2,000 feet in elevation: Use 11 pounds of pressure
- 2,001 to 4,000 feet in elevation: Use 12 pounds of pressure
- 4,001 to 6,000 feet in elevation: Use 13 pounds of pressure
- 6,001 to 8,000 feet in elevation: Use 14 pounds of pressure
Weighted Gauge Canners:
Weighted gauge canners have fewer pressure increments, simplifying the adjustment:
- 0 to 1,000 Feet in elevation: Use 10 pounds of pressure
- Above 1,000 Feet in elevation: Use 15 pounds of pressure
Enjoying Your Home-Canned Vegetarian Baked Beans
One of the greatest joys of home canning is the convenience of having delicious, ready-to-eat meals on your pantry shelf. To serve your perfectly preserved vegetarian baked beans, simply open a jar, empty its contents into a microwave-safe bowl or saucepan, and gently reheat until warmed through. The flavors will be as rich and satisfying as the day you canned them.
Creative Serving Suggestions
Vegetarian baked beans are incredibly versatile and can be enjoyed in a multitude of ways:
- As a Main Dish: For a complete and satisfying meal, pair your hearty baked beans with a crisp green salad tossed with a light vinaigrette, or serve them alongside a medley of steamed seasonal vegetables. They also make a fantastic filling for baked potatoes or a delicious base for a vegetarian chili.
- As a Side Dish: These beans are the quintessential accompaniment to a summer barbecue spread. Serve them alongside grilled corn on the cob, veggie burgers, or plant-based sausages. They are also a comforting addition to classic macaroni and cheese, adding fiber and protein.
- For Gatherings: Vegetarian baked beans are always a crowd-pleaser at potlucks, picnics, and family gatherings. Their universal appeal and ease of preparation make them a stress-free option for entertaining.
Elevating the Flavor
To add an extra layer of zest and personalize your beans, consider these toppings and flavor enhancers:
- Savory Toppings: Sprinkle with shredded dairy-free or regular cheddar cheese, finely diced red onions, fresh cilantro, or sliced jalapeños for a delightful kick. A dollop of plain Greek yogurt or sour cream (dairy or plant-based) can also add a creamy texture.
- Sweet Enhancements: If you prefer a sweeter profile, stir in a touch more maple syrup or brown sugar before heating. Remember to taste first, as many vegetarian baked bean recipes already contain sweeteners like molasses, ensuring you don’t overdo it.
- Spice it Up: A dash of your favorite hot sauce, a pinch of smoked paprika, or a touch of chili powder can transform the flavor profile, making your beans uniquely yours.
With these versatile serving and topping ideas, your home-canned vegetarian baked beans are sure to be a hit every time!
Equipment You’ll Need for Canning
To successfully and safely can your vegetarian baked beans, you’ll need a few essential pieces of equipment:
- Pressure Canner: This is non-negotiable for low-acid foods.
- Glass Canning Jars: Pint or quart sized, with new lids and bands.
- Large Pot or Dutch Oven: For soaking, cooking beans, and baking.
- Large Mixing Bowl: For preparing the sauce.
- Jar Lifter: For safely placing and removing hot jars from the canner.
- Canning Funnel: To minimize mess when filling jars.
- Headspace Tool/Ruler: For accurate headspace measurement.
- Ladle: For transferring beans and sauce to jars.
- Clean Cloths: For wiping jar rims.
No ratings yet
Servings: 24 servings, Makes 6 pints or 3 quarts
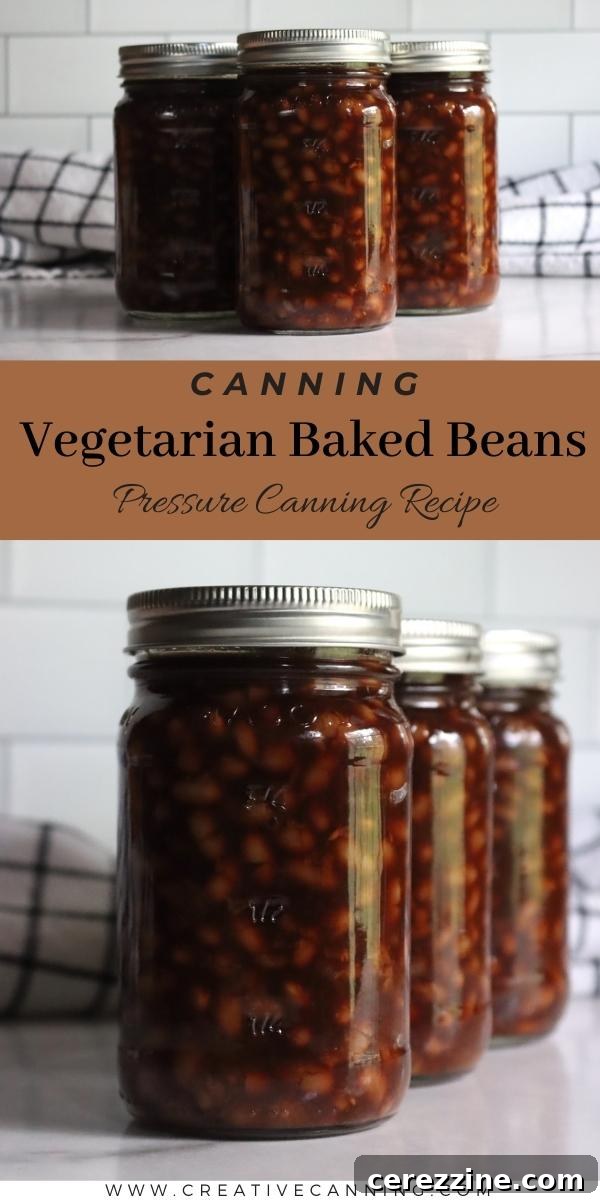
Canning Vegetarian Baked Beans
By Ashley Adamant
Canning vegetarian baked beans means you have a simple, ready to heat and eat side dish ready at a moment’s notice. Grab it off the pantry shelf and you’re ready for a BBQ or Potluck any day!
Prep: 30 mins
Cook: 1 hr 30 mins
Additional Time: 1 hr 30 mins
Total: 3 hrs 30 mins
Rate This Recipe
Print Recipe
Equipment
- Pressure Canner
Ingredients
- 1 Quart dried navy beans
- 2/3 cup molasses
- 2/3 cup brown sugar
- 4 cups water, or vegetable stock/broth
- 3 large onions, finely diced
- 3 tsp salt
- 2 tsp dry mustard powder
- 1 tsp liquid smoke, optional
Instructions
- Soak your beans overnight or by using the quick soak methods.
- Drain the water and put the beans in a pot with fresh water. Bring the water to a boil, then come down to a simmer. Cook until the beans begin splitting, which usually takes around 45 minutes. Drain the beans.
- Mix the remaining ingredients together in a large bowl, including water or stock, molasses, mustard, onion, brown sugar and salt. Make sure the sugar is completely dissolved, and the mixture is soupy.
- Drizzle the sauce over the cooked beans, stirring it to coat every bean.
- Preheat your oven to 300°F (150°C). Put the bean mixture in a four-quart Dutch oven and bake for about four hours. Add water if necessary to keep the beans from cooking dry (usually not necessary if your dutch oven has a nice tight seal.) At this point, the baked beans are done and you can taste them and adjust seasonings or salt to taste.
- Prepare the canner according to manufacturer’s instructions. Have some hot water in a pot ready to go for headspace adjustments.
- Ladle the hot beans and sauce into hot, clean jars, leaving an inch of headspace. Ensure sauce covers the beans, maintaining that one-inch headspace.
- If your jars aren’t completely full to the headspace mark, add hot water. Wipe the rims of the jar with a clean cloth. Put on the lids, and seal the rings until they are fingertip tight.
- Load the jars into the canner and secure the lid. Let steam vent for 10 minutes. Add the weight, then bring it up to the appropriate pressure for your altitude and canner type. (Typically 11 lbs pressure for dial gauge at 0-2000ft, or 10 lbs for weighted gauge at 0-1000ft).
- Process the jars for 80 minutes for pints and 95 minutes for quarts based on the pressure levels for different altitudes outlined in the article.
- Once the processing time has finished, turn the burner off and allow the canner to return to zero pressure naturally. Do not force cool.
- Remove the jars using a jar lifter and let them cool undisturbed on a towel for 24 hours.
- Check the seals. Remove bands, wipe jars clean, label, and store in a cool, dark place for about one year.
Notes
Canning Pressures for Vegetarian Baked Beans:
The total canning time does not change with altitude when pressure canning, but the pressure level does change at higher elevations. It also changes depending on the type of canner you’re using.
Be sure you know whether you’re working with a dial gauge canner (presto type) or a weighted gauge canner (all-American type).
Dial Gauge Canners:
- 0 to 2,000 feet in elevation use 11 pounds of pressure
- 2,001 to 4,000 feet in elevation use 12 pounds of pressure
- 4,001 to 6,000 feet in elevation use 13 pounds of pressure
- 6,001 to 8,000 feet in elevation use 14 pounds of pressure
Weighted Gauge Canners:
- 0 to 1,000 Feet in elevation use 10 pounds of pressure
- Above 1,000 Feet in elevation use 15 pounds of pressure
Nutrition
Calories: 191kcal, Carbohydrates: 39g, Protein: 9g, Fat: 1g, Saturated Fat: 0.1g, Polyunsaturated Fat: 1g, Monounsaturated Fat: 0.1g, Sodium: 301mg, Potassium: 639mg, Fiber: 10g, Sugar: 15g, Vitamin A: 0.4IU, Vitamin C: 1mg, Calcium: 88mg, Iron: 3mg
Nutrition information is automatically calculated, so should only be used as an approximation.
Like this? Leave a comment below!
Explore More Vegetarian Canning Recipes
If you enjoyed canning these delicious vegetarian baked beans and are looking to expand your meatless meal-in-a-jar collection, here are a few more fantastic recipes to consider:
- Canning Carrot Soup: A creamy and wholesome soup, perfect for a quick lunch.
- Canning Chipotle Black Bean Soup: Add a smoky and spicy kick to your pantry with this hearty soup.
- Canning Butternut Squash Soup Base: A versatile base for many autumnal dishes.
- Canning Butternut and White Bean Soup: Combining the sweetness of squash with the richness of beans.
- Canning Thai Coconut Squash Soup: An exotic and flavorful option for a unique meal.
Conclusion: Embrace the Art of Canning!
Canning vegetarian baked beans is more than just a recipe; it’s an investment in your culinary future. It offers the unparalleled satisfaction of preserving your own food, the confidence of knowing exactly what goes into your meals, and the sheer convenience of having wholesome, delicious food readily available. By following this detailed guide, you’ve equipped yourself with the knowledge to create a pantry full of flavorful, meatless baked beans that will nourish your family and impress your friends. So, gather your ingredients, fire up your canner, and embark on this incredibly rewarding journey of home food preservation!