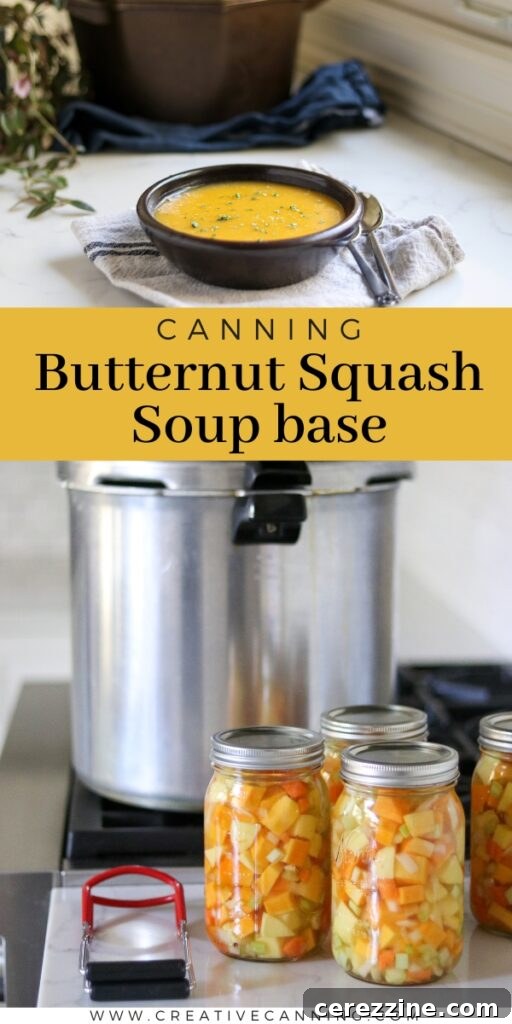
Canning Butternut Squash Soup Base: Your Ultimate Guide to Year-Round Comfort
Imagine the cozy warmth of homemade butternut squash soup, ready in minutes, even on the busiest weeknights. Canning butternut squash soup base makes this dream a delicious reality, transforming seasonal bounty into a convenient “meal in a jar” that awaits on your pantry shelf. Since butternut squash cannot be safely canned as a puree, this recipe guides you through preserving it in chunks, allowing you to simply puree the soup before heating and serving. Everything you need for a comforting, nutritious meal is sealed within each jar, cooked and prepared for effortless enjoyment.
There’s a special magic in butternut squash soup that perfectly encapsulates the essence of autumn. Yet, why limit this comforting delight to just one season? By mastering the art of canning, you can savor the unparalleled taste and freshness of homemade butternut squash soup year-round. This vegetarian soup canning recipe is designed to become a staple in your pantry, offering both convenience and a wholesome option for any time of the year.
For preserving low-acid vegetables like squash, pressure canning stands as the safest and most effective method. It ensures a shelf life of up to 18 months, and often even longer, providing you with a reliable way to extend the harvest’s bounty. This method is crucial for safely preserving foods that are not acidic enough to prevent bacterial growth with a water bath canner alone.
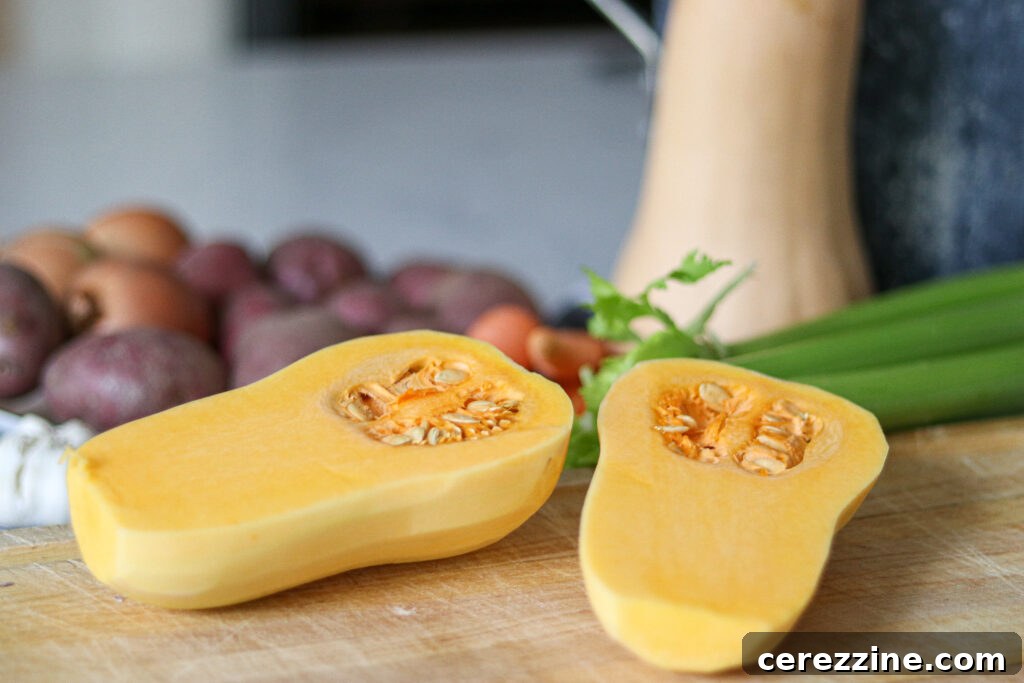
Butternut squash is often the preferred choice for canning among winter squashes, primarily due to its relatively easy preparation. Its smooth skin makes it simple to peel with a vegetable peeler, and its dense flesh is straightforward to cube. After peeling, a quick cut in half allows for effortless seed removal. As a bonus, these seeds can be roasted later for a delicious and healthy snack, ensuring no part of the squash goes to waste. The mild, sweet flavor of butternut squash also makes it incredibly versatile.
The true brilliance of this recipe lies in its ability to create a versatile soup base. While it’s utterly delicious on its own, it also serves as an exceptional starting point for a myriad of culinary creations. Imagine incorporating it into creamy pasta sauces, enriching hearty stews, or even crafting more complex gourmet soups. This soup base is not only adaptable but also packed with essential nutrients, making it a healthy foundation for countless meals.
Join us as we guide you through the process of pressure canning butternut squash soup base at home. This method will empower you to stock your pantry with an incredibly delicious and nutritious meal that will see you through the colder months, offering a taste of fall whenever you desire.
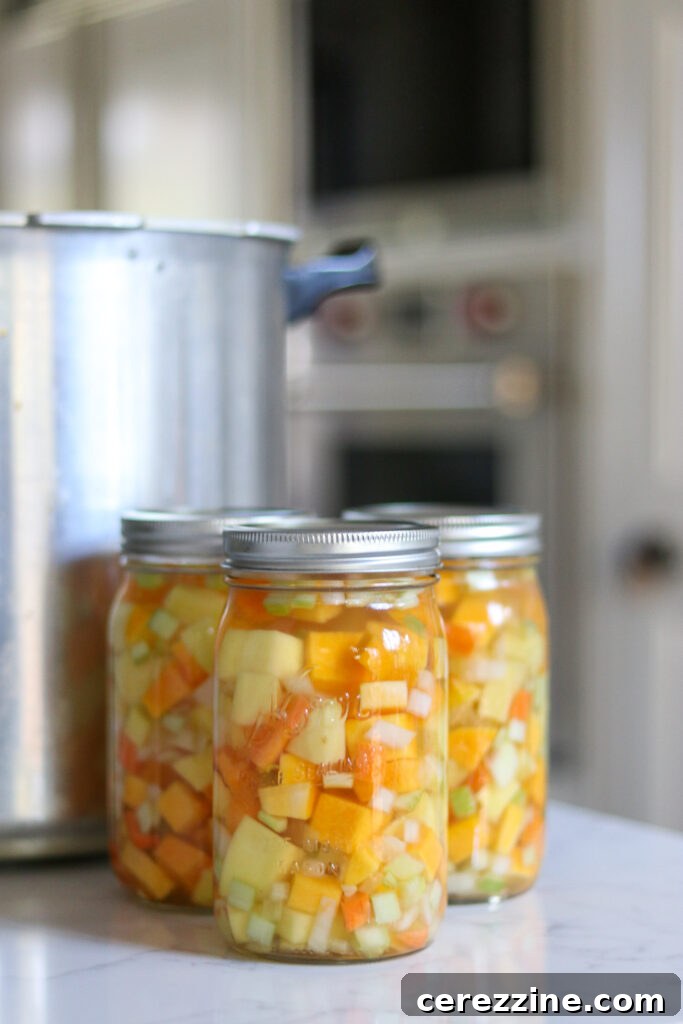
Ingredients for Canning Butternut Squash Soup Base
This recipe for canning butternut squash soup base draws inspiration from trusted sources in home preservation. It’s adapted from the Homestead Canning Cookbook by Georgia Varozza, incorporating best practices from the National Center for Home Food Preservation’s guidelines for canning pumpkin and other winter squash, as well as their general instructions for canning soup. By adhering to these principles, we ensure a safe and delicious product. The key distinction here is that the squash is canned as a chunky soup base and pureed upon serving, rather than being pureed before canning, which is critical for food safety in low-acid foods.

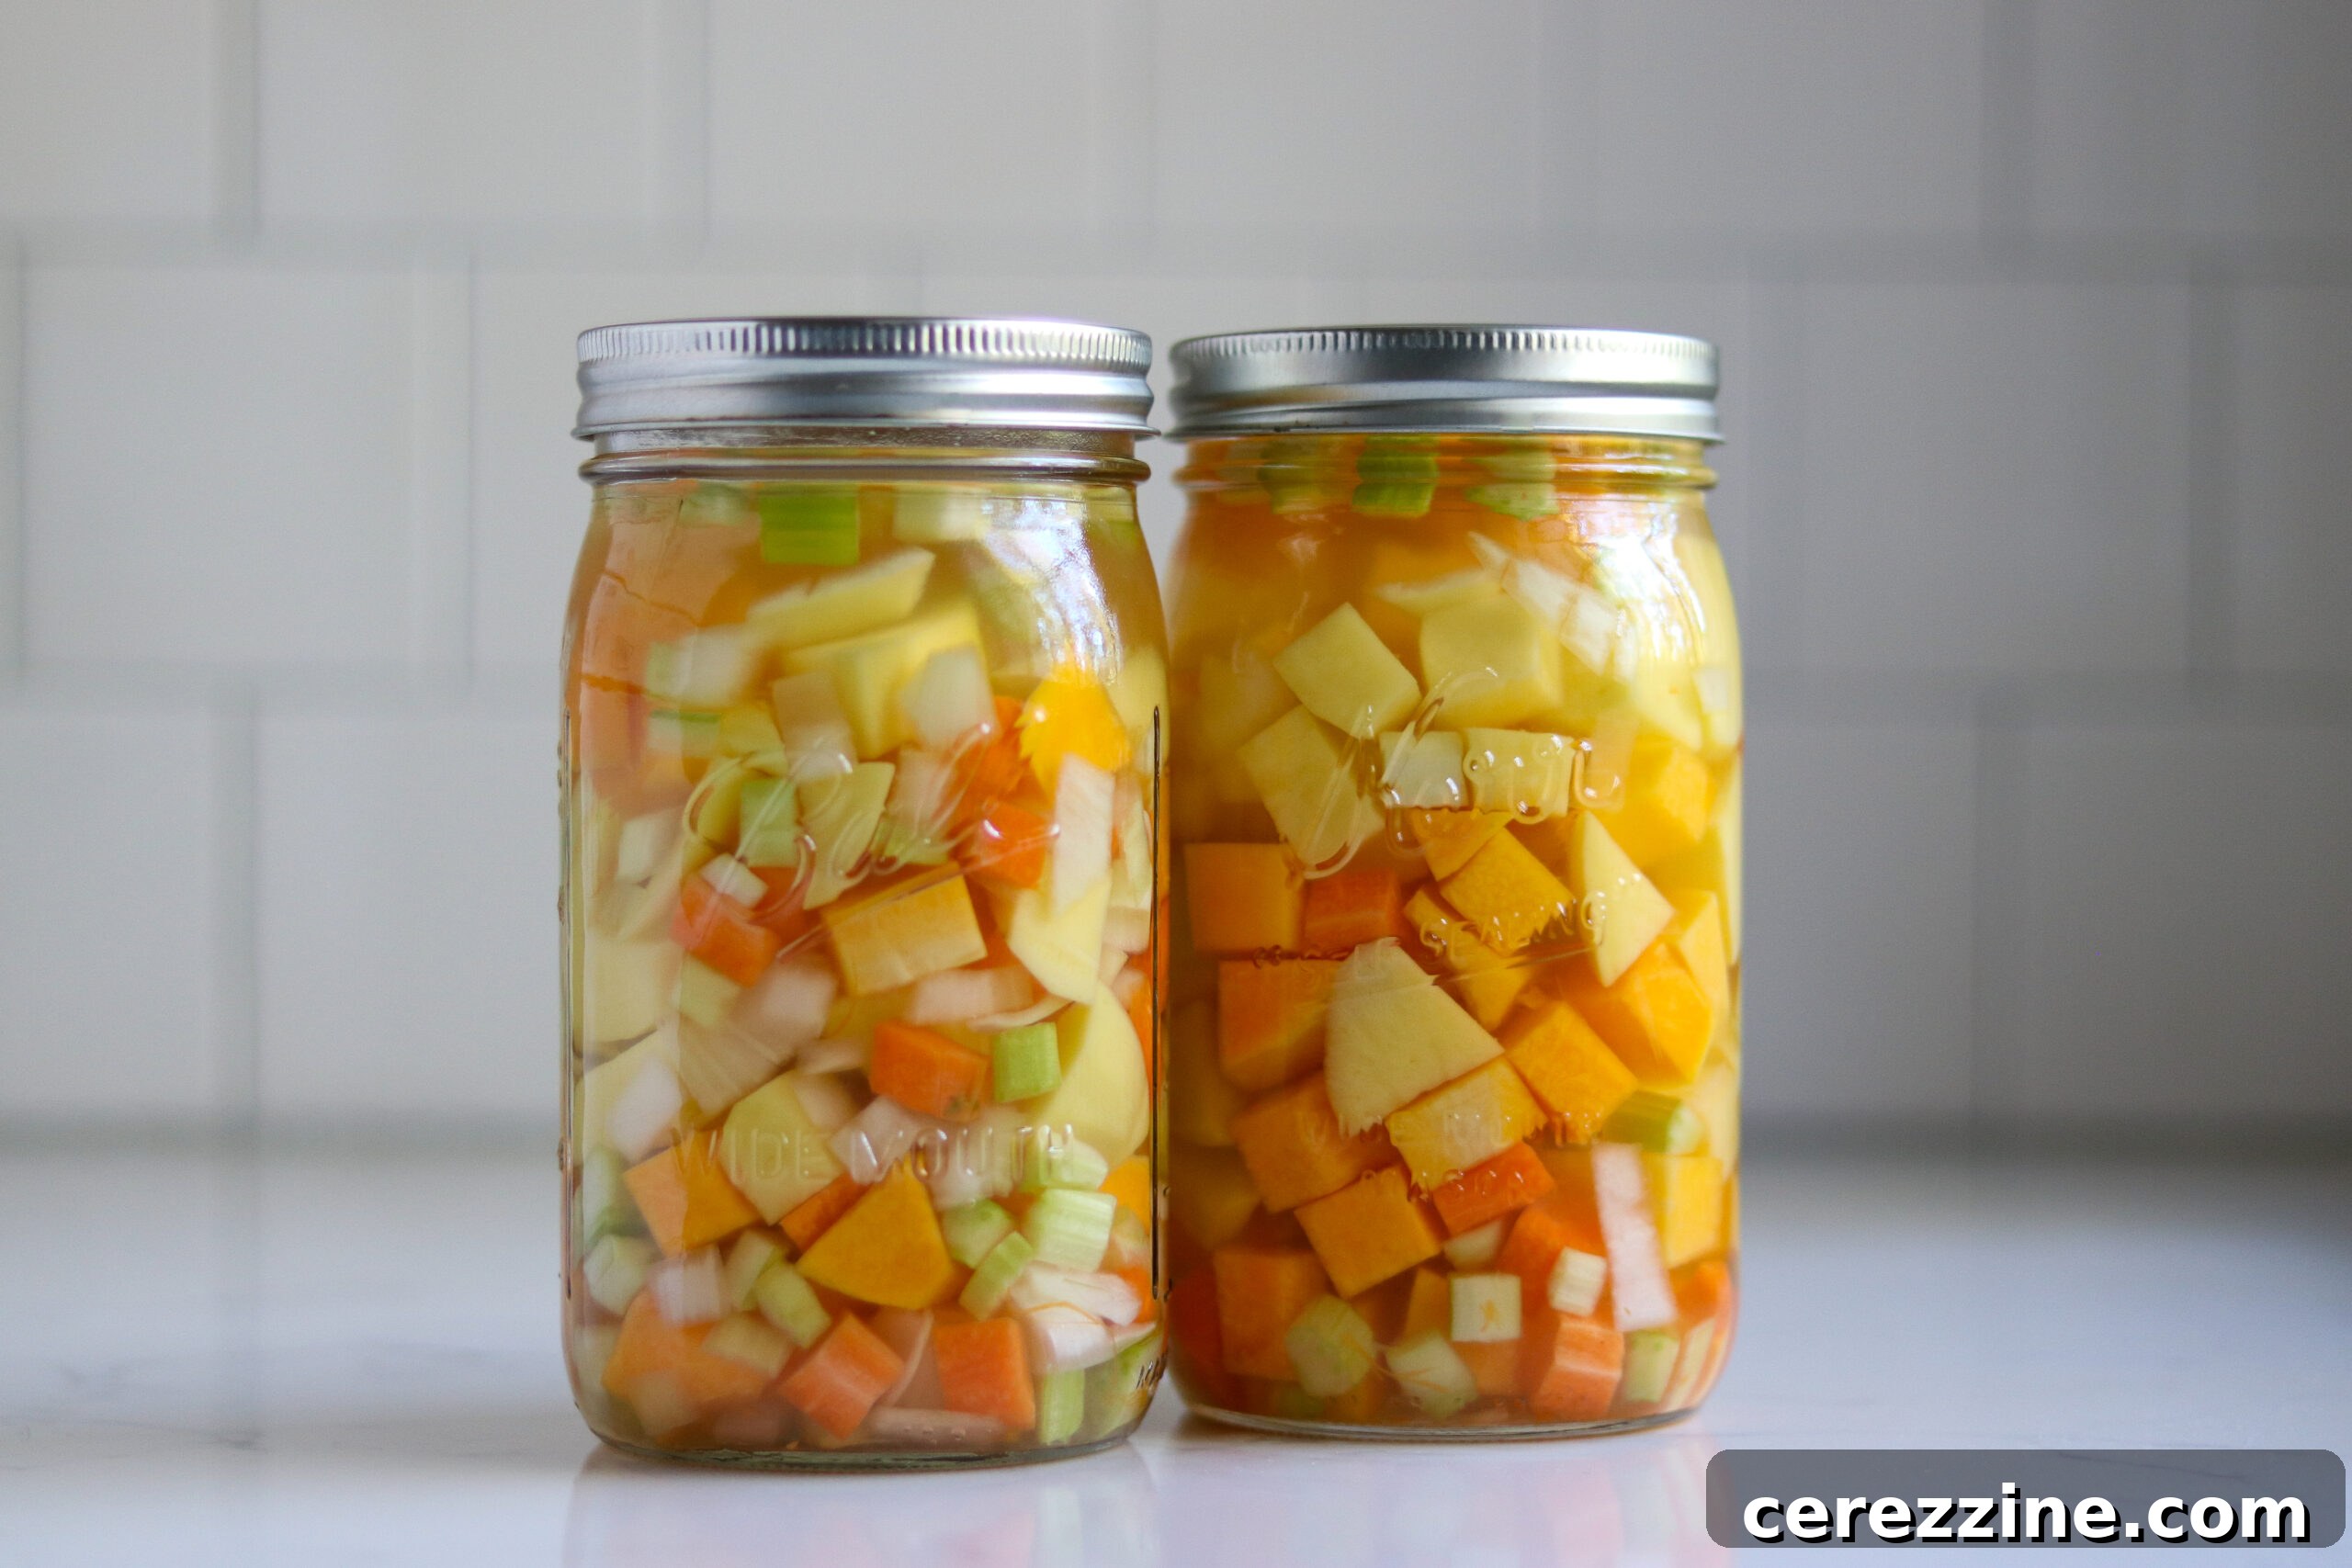
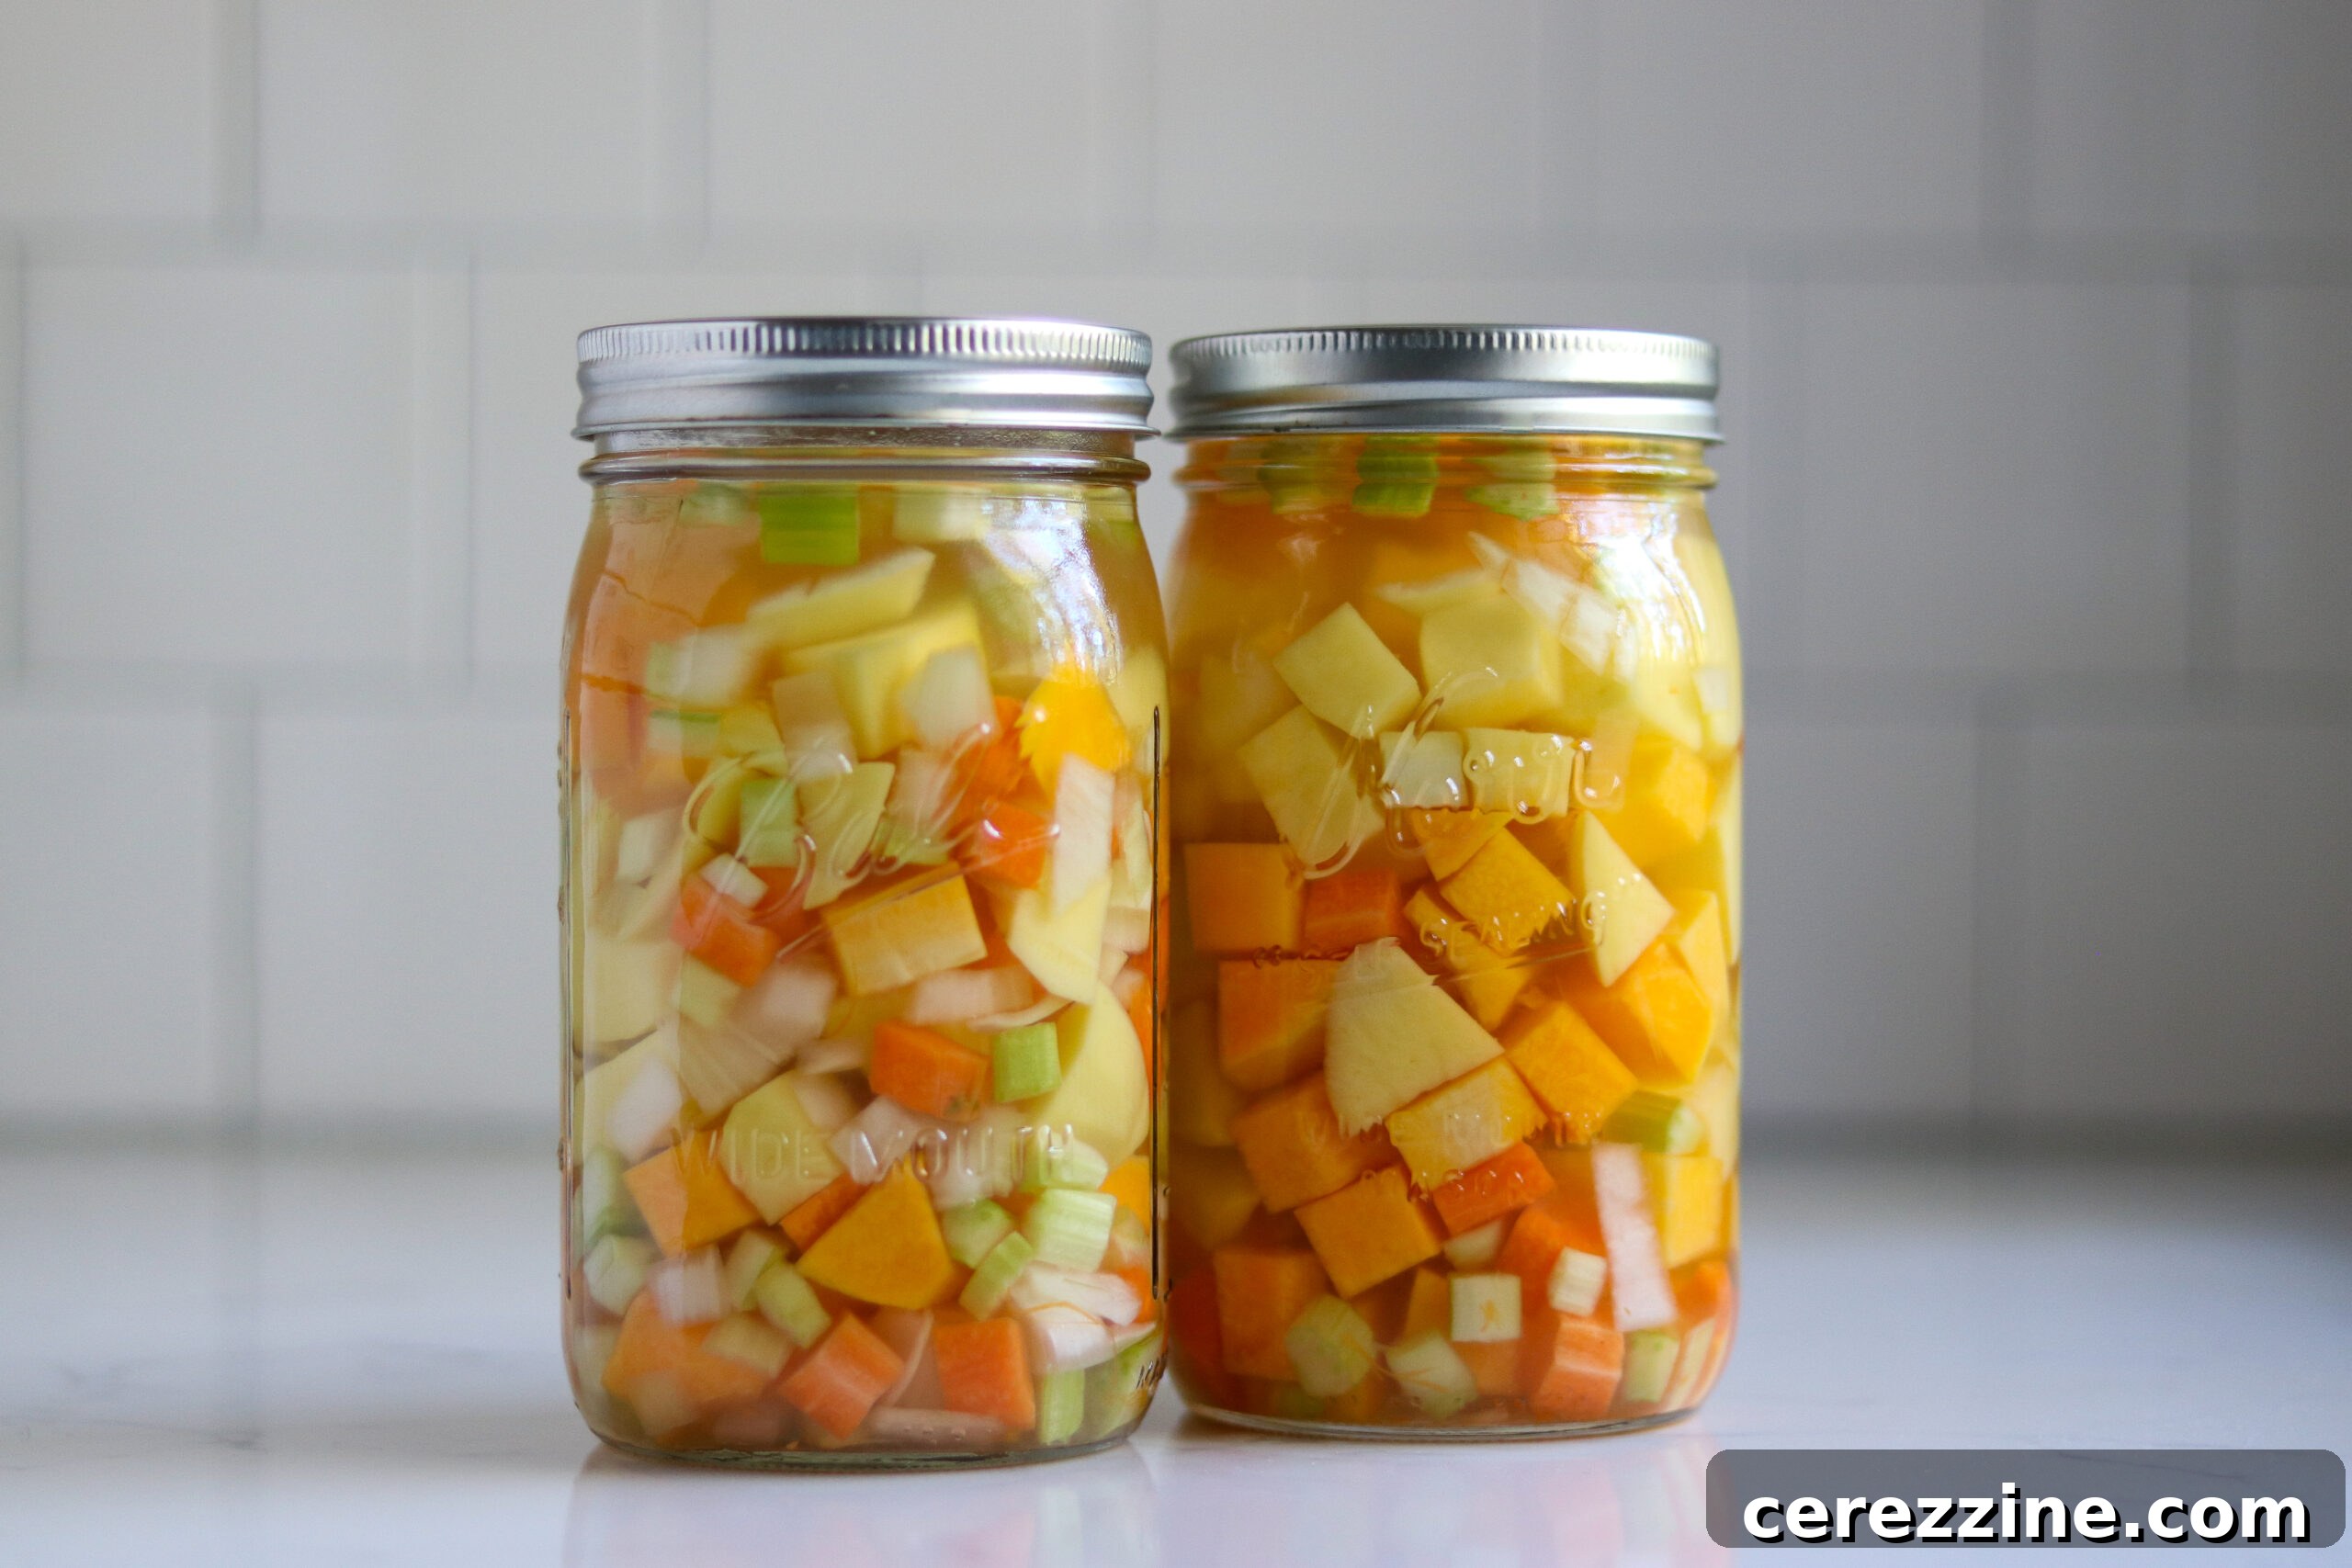
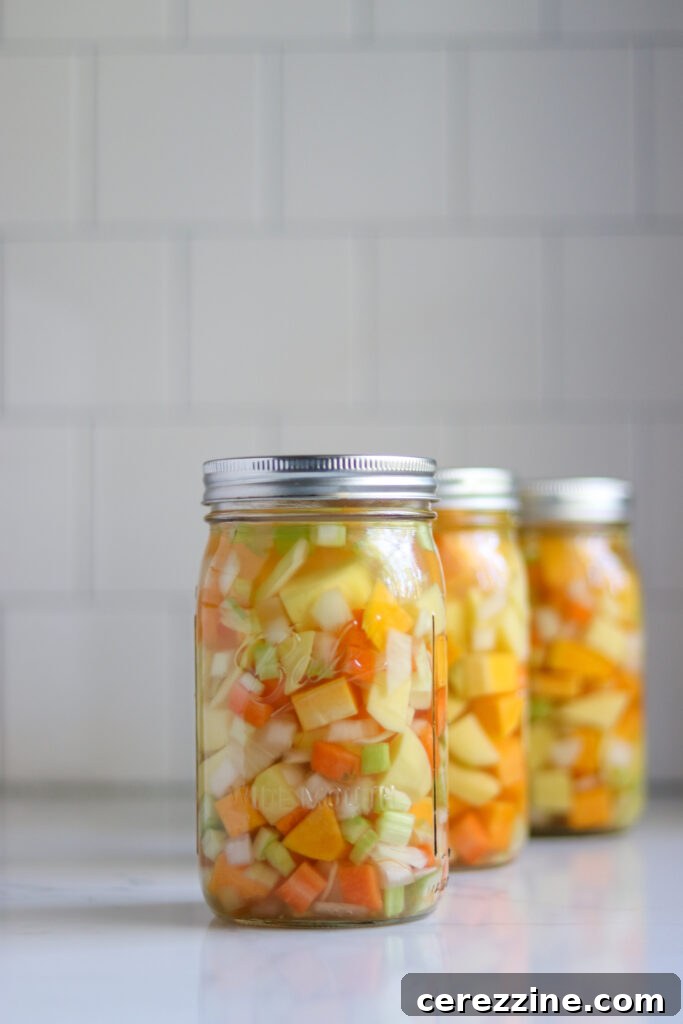
The foundational recipe for this butternut squash soup base is wonderfully simple, yet it yields a rich and creamy texture when finished. It combines butternut squash with a medley of aromatic vegetables: onions, celery, carrots, and potatoes. The potatoes, in particular, contribute a lovely body and natural creaminess to the final soup, enhancing its satisfying nature. This blend not only adds depth of flavor but also ensures a nutritionally dense base for your meals.
One of the many advantages of pressure canning soup recipes is the flexibility it offers for customization through spices. You have the freedom to incorporate reasonable amounts of any dry spices you desire, without compromising the safety of the canned product. This means you can truly make this soup your own, adjusting the flavor profile to suit your personal preferences. Whether you prefer a hint of warmth or a bolder, more exotic taste, the choice is yours.

Beyond dry spices, you can also safely add natural sweeteners such as sugar, honey, or maple syrup. A personal favorite for enhancing butternut squash soup is homemade apple cider syrup, which offers a unique depth of flavor. If making your own isn’t an option, you can easily purchase Vermont-made cider syrup online. Even a small dash of these sweeteners can significantly amplify the natural sweetness of the squash, making the flavors of this simple soup truly pop.
For an intriguing twist that adds an amazing flavor dimension, consider replacing about one-third of the total broth or water in the recipe with fresh apple cider. This substitution introduces a subtle fruity tang that beautifully complements the earthy notes of the squash and other vegetables, creating a more complex and delightful soup experience.
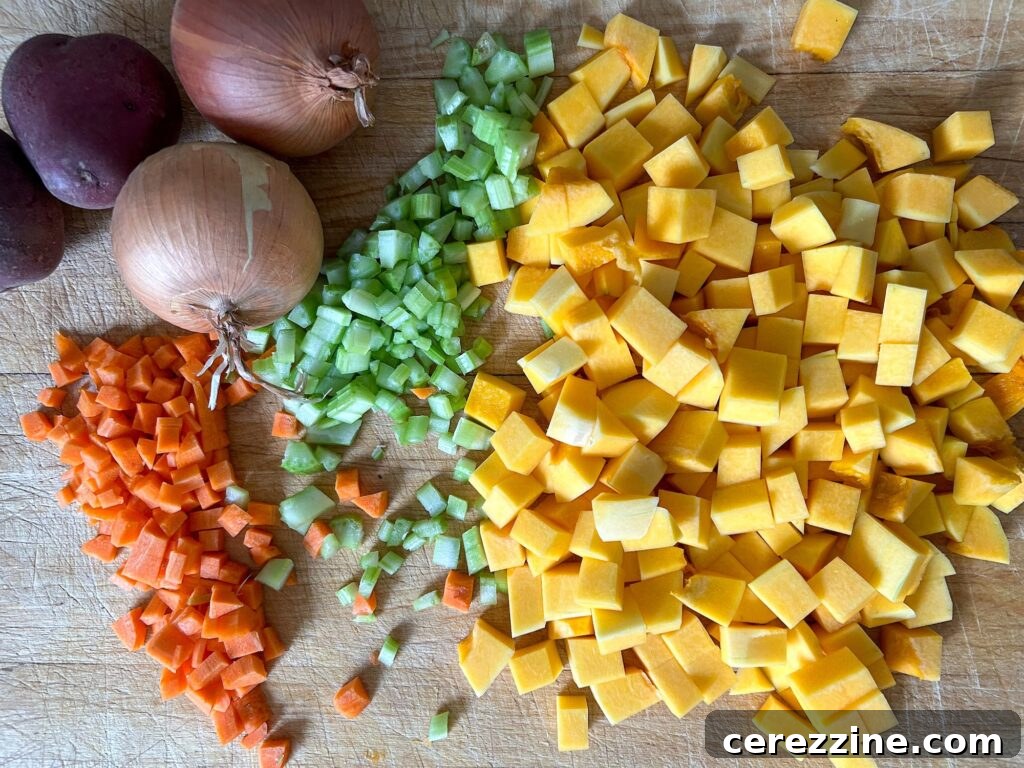
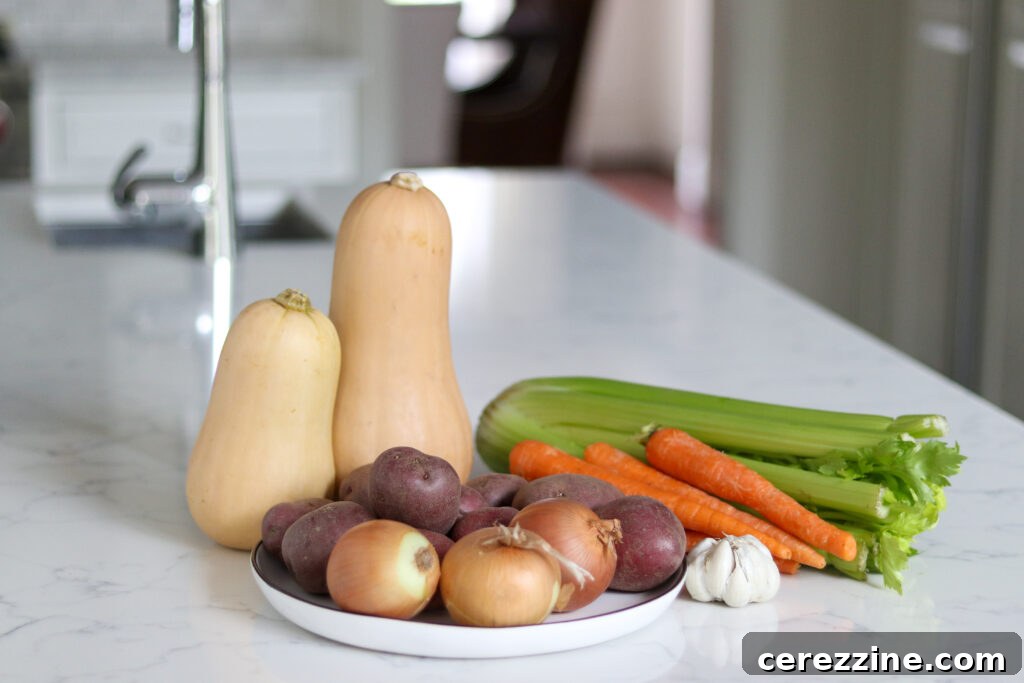
Canning butternut squash soup base is a straightforward process that requires a handful of fresh ingredients. To prepare a full canner batch, yielding approximately 10 pints or 5 quarts of finished soup, gather the following:
- 5 lbs butternut squash, thoroughly peeled and cubed into ½ inch pieces
- 2 ½ lbs red potatoes, peeled and cubed into ½ inch pieces
- 5 stalks of celery, carefully chopped
- 5 carrots, peeled and chopped
- 3 onions, finely chopped
- 2 tablespoons of salt
- Approximately 3 quarts of water or broth, sufficient to cover the vegetables in the jars
Feel free to choose any variety of butternut squash, potatoes (red, russet, or yukon gold all work well), carrots, celery, and onions that you prefer or have on hand. The quality of your fresh produce will directly impact the flavor of your finished soup, so opt for fresh, firm vegetables.
This recipe is quite forgiving, allowing for several adjustments to suit your personal taste while strictly adhering to the safe canning guidelines established by the National Center for Home Food Preservation. One such variation permits you to omit some of the other vegetables, such as celery or carrots, if you prefer a simpler squash soup. However, it is crucial not to mash or puree the squash until *after* the canning process is complete. Mashing or pureeing vegetables before canning can prevent them from heating evenly throughout the jar, potentially leading to an unsafe product. Canning them in chunks ensures proper heat penetration and sterilization.
Another excellent recipe variation involves using chicken stock instead of vegetable stock or water. For every five pounds of butternut squash you plan to can, you can add four cups of chicken stock, using this flavorful liquid to cover the vegetables in the jars. This substitution will impart a richer, more savory profile to your soup base, making it even heartier. As always, dry spices and herbs can be added freely, as they do not affect the safety of the pressure canning process. For a classic savory rendition, consider incorporating dried thyme and rosemary. These herbs complement butternut squash beautifully, adding an aromatic depth.
To create a savory and earthy soup, a modest addition of about ¼ teaspoon of nutmeg per quart of soup base works wonders, bringing a warm, subtly sweet spice. For those who enjoy more adventurous flavors, a Thai-style butternut squash soup can be achieved by adding a tablespoon of red curry paste and two teaspoons of fresh chopped ginger to the pot. This combination delivers a vibrant, aromatic, and slightly spicy kick. Alternatively, a hint of molasses, cinnamon, and a pinch of allspice can transform the soup into a warmly spiced, dessert-like experience, perfect for cooler evenings. These variations allow for endless culinary exploration, all while maintaining the safety of your home-canned goods.
Canning Butternut Squash Soup Base
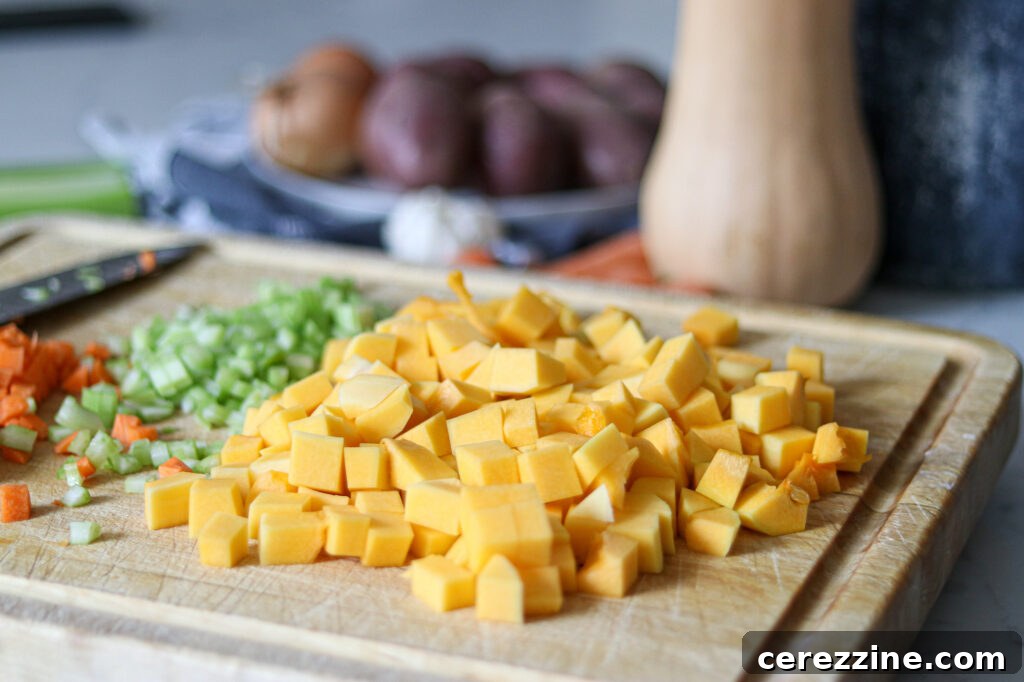
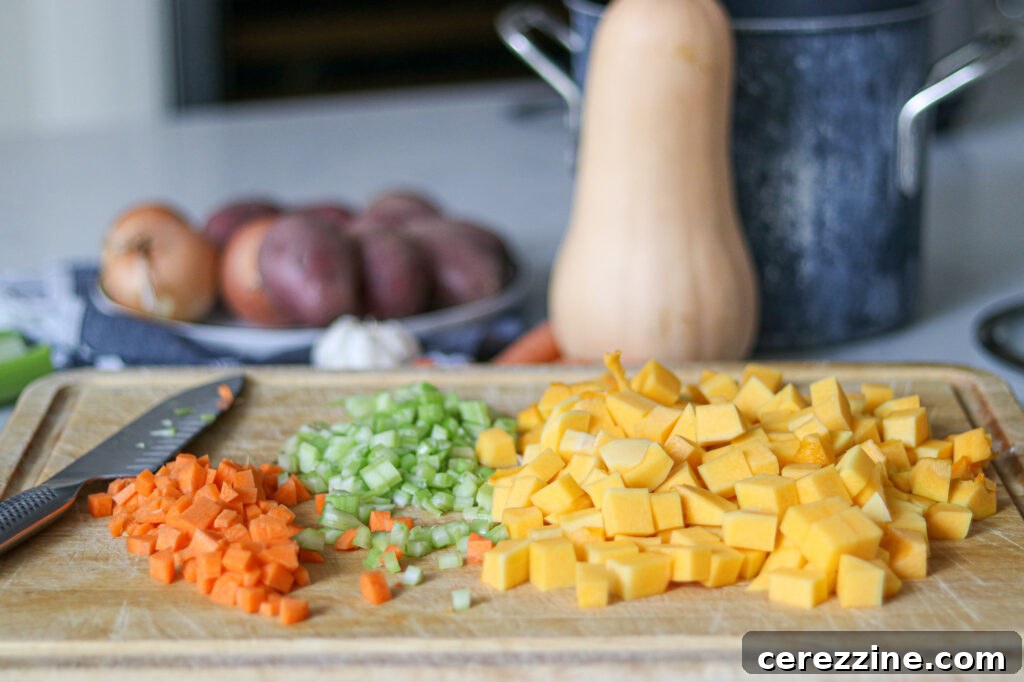
Proper preparation is key to safe and successful home canning. Begin by thoroughly washing all your vegetables, including squash, potatoes, celery, carrots, and onions, to remove any dirt or surface bacteria. It’s important to wash them before peeling to prevent pushing contaminants into the clean flesh during the peeling process. Once washed, peel the butternut squash, carrots, and potatoes. Then, cut all the vegetables – squash, celery, carrots, onions, and potatoes – into uniform ½-inch cubes. Remember to remove all seeds and stringy bits from the butternut squash before cubing.

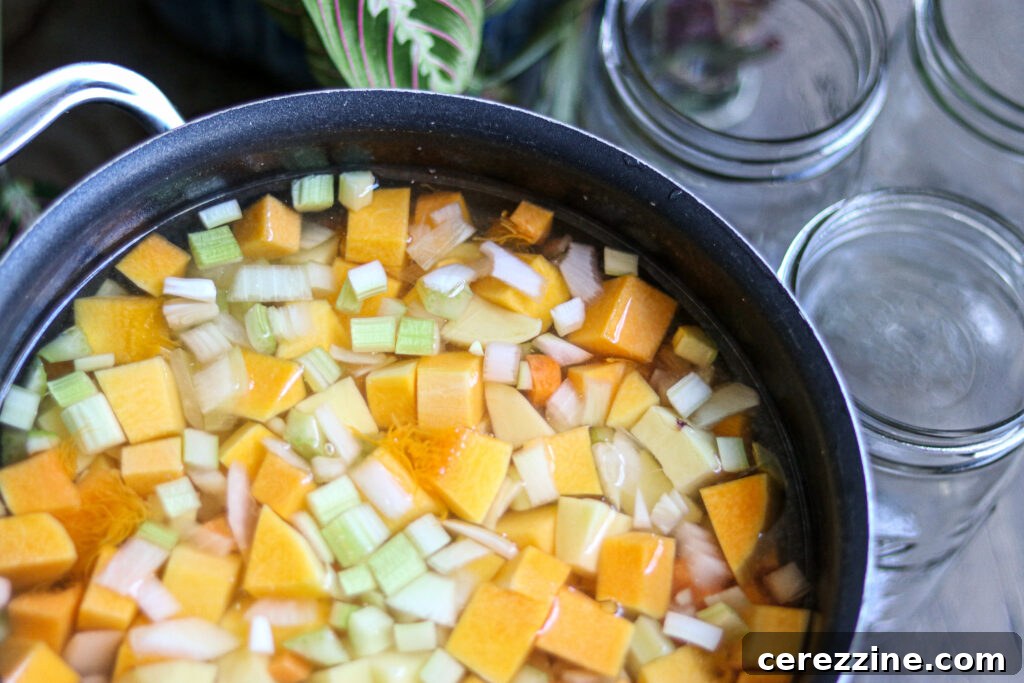
Next, combine all the prepared ingredients into a large stockpot. Add salt and cover the vegetables with water or broth. Bring the mixture to a low boil, then reduce the heat to a simmer and cook for precisely 5 minutes. This brief simmering period is crucial not for fully cooking the vegetables, but for thoroughly heating them through. It serves several important purposes: it helps prevent thermal shock to your canning jars when they enter the hot pressure canner, ensuring that all contents come up to pressure evenly, which is vital for safety. Furthermore, this process helps to drive off excess air trapped within the vegetable tissues. Believe it or not, this actually helps the vegetables maintain their structure better during the high-pressure canning process; raw vegetables, when rapidly brought to pressure, tend to break apart more easily due to the air expanding within them.
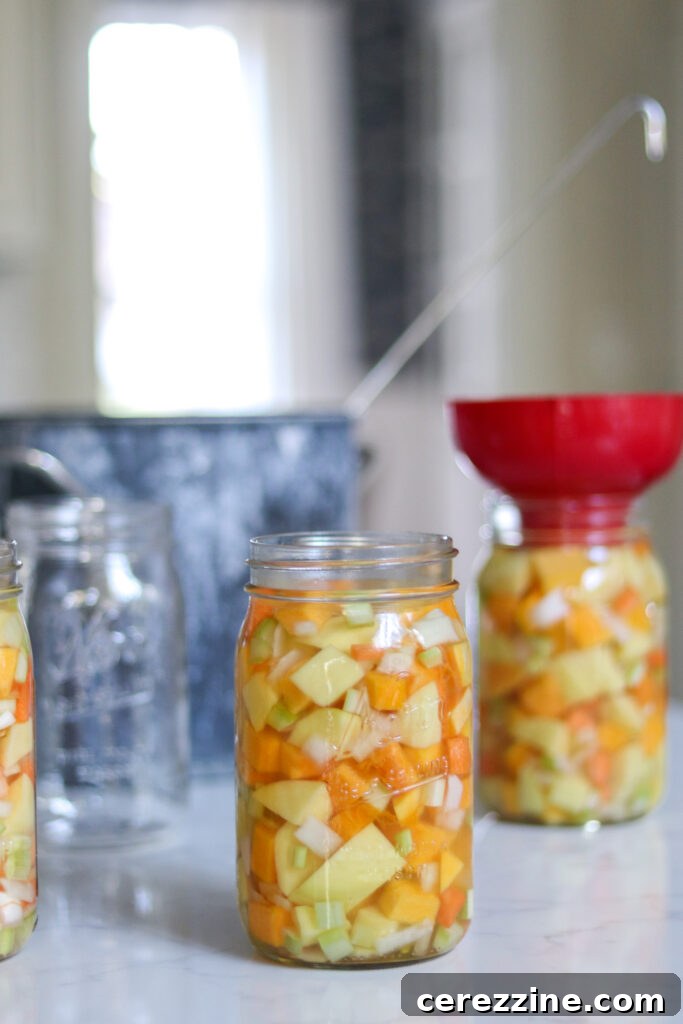
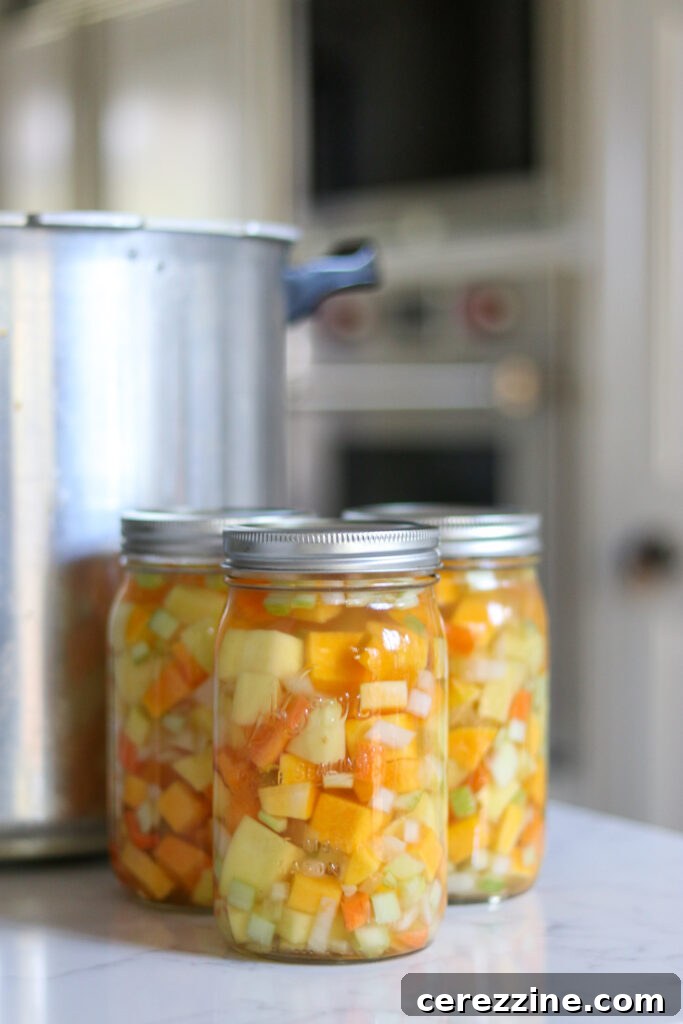
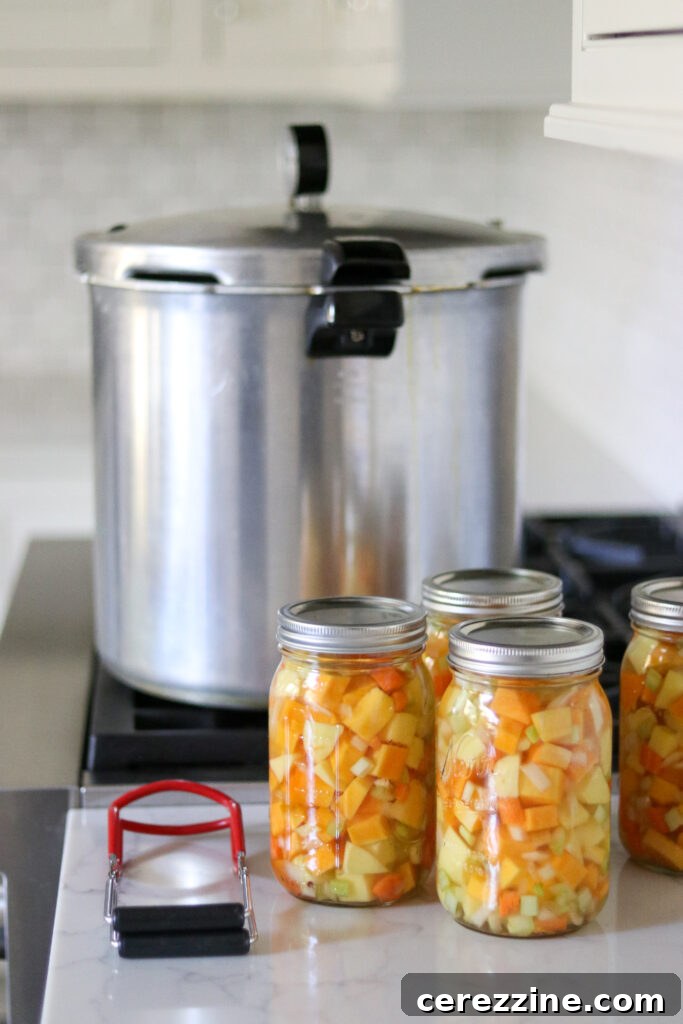
After the quick 5-minute simmer, the soup base is perfectly pre-heated and ready for packing into jars, even though the vegetables are not fully cooked. Using a slotted spoon, carefully transfer the hot solids into clean, prepared canning jars. It is essential to leave precisely one inch of headspace from the rim of the jar. This headspace is critical for proper sealing and to prevent food from siphoning out during processing. Once the solids are in, ladle the hot liquid (either the boiling water or broth from your pot) over the vegetables, ensuring the one-inch headspace is maintained. Double-check this by inserting a headspace tool or ruler. Finally, use a non-metallic utensil to remove any trapped air bubbles by gently running it around the inside of the jar. Wipe the rims of the jars thoroughly with a clean, damp cloth to remove any food particles that could interfere with a proper seal. Place the lids and screw bands onto the jars, tightening them to fingertip-tight.
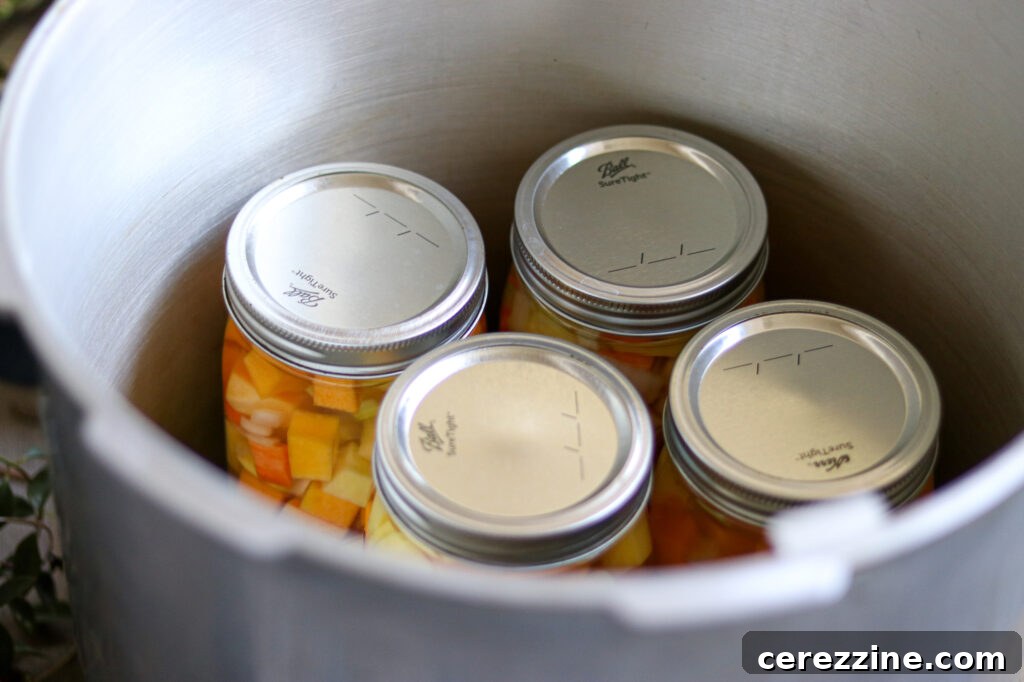
Carefully place the filled jars into your pressure canner, ensuring they do not touch each other and are covered with water according to your canner’s instructions (usually 2-3 inches of water). Secure the canner lid, and process quarts for 90 minutes and pints for 75 minutes at 10 pounds of pressure. This pressure level will need to be adjusted based on your altitude to ensure proper sterilization. Once the prescribed canning time has elapsed, turn off the heat and allow the pressure canner to depressurize naturally. Do not attempt to force open the lid or cool the canner quickly, as this can lead to siphoning or jar breakage. Once the pressure gauge reads zero, carefully remove the lid, tilting it away from your face to avoid steam. Remove the hot jars using a jar lifter and place them on a towel-lined surface, ensuring they are not touching, to cool undisturbed for 24 hours. After cooling, check the seals. Properly sealed lids will be concave and will not flex when pressed. Any unsealed jars should be reprocessed or refrigerated and consumed promptly.
Altitude Adjustments for Canning Butternut Squash Soup Base
While the processing time for canning butternut squash soup base remains constant regardless of your altitude, the required processing pressure must be adjusted as elevation increases. This is critical to ensure a safe and properly preserved product.
Refer to the following tables to determine the correct processing pressure if you are canning at an elevation above 1,000 feet.
For dial gauge pressure canners:
- 0 to 2,000 feet in elevation – 11 lbs pressure
- 2,001 to 4,000 feet in elevation – 12 lbs pressure
- 4,001 to 6,000 feet in elevation – 13 lbs pressure
- 6,001 to 8,000 feet in elevation – 14 lbs pressure
For weighted gauge pressure canners:
- 0 to 1,000 feet in elevation – 10 lbs pressure
- Above 1,000 feet – 15 lbs pressure
Butternut Squash Soup Variations
We’ve already explored various spice additions, but the versatility of butternut squash soup allows for even further creative variations. Don’t hesitate to draw inspiration from other canning recipes for butternut squash and pumpkin soups to truly personalize your pantry staples. Combining elements from different recipes can lead to unique and exciting flavors.
For example, I am particularly fond of this recipe for butternut squash and white bean soup. It’s wonderfully hearty and incredibly filling, with just the right amount of butternut squash to impart its signature sweet and nutty flavor. The addition of white beans adds protein and a delightful texture, transforming it into a more substantial meal.
For those seeking a truly unique and exotic twist, I highly recommend trying the Thai Coconut Squash soup recipe, thoughtfully developed by Ball Canning. This recipe introduces vibrant Thai flavors, typically incorporating ingredients like coconut milk, ginger, lemongrass, and curry, for a bright and aromatic soup experience that is surprisingly easy to can and store.
Serving Butternut Squash Soup Base
When you’re ready to enjoy your home-canned butternut squash soup base, the first step is to carefully drain any excess liquid from the jar. Butternut squash, like many winter squashes, tends to release a significant amount of water during the canning process. This is a natural characteristic, and straining the excess liquid before proceeding is crucial for achieving the desired consistency and rich flavor in your finished soup.

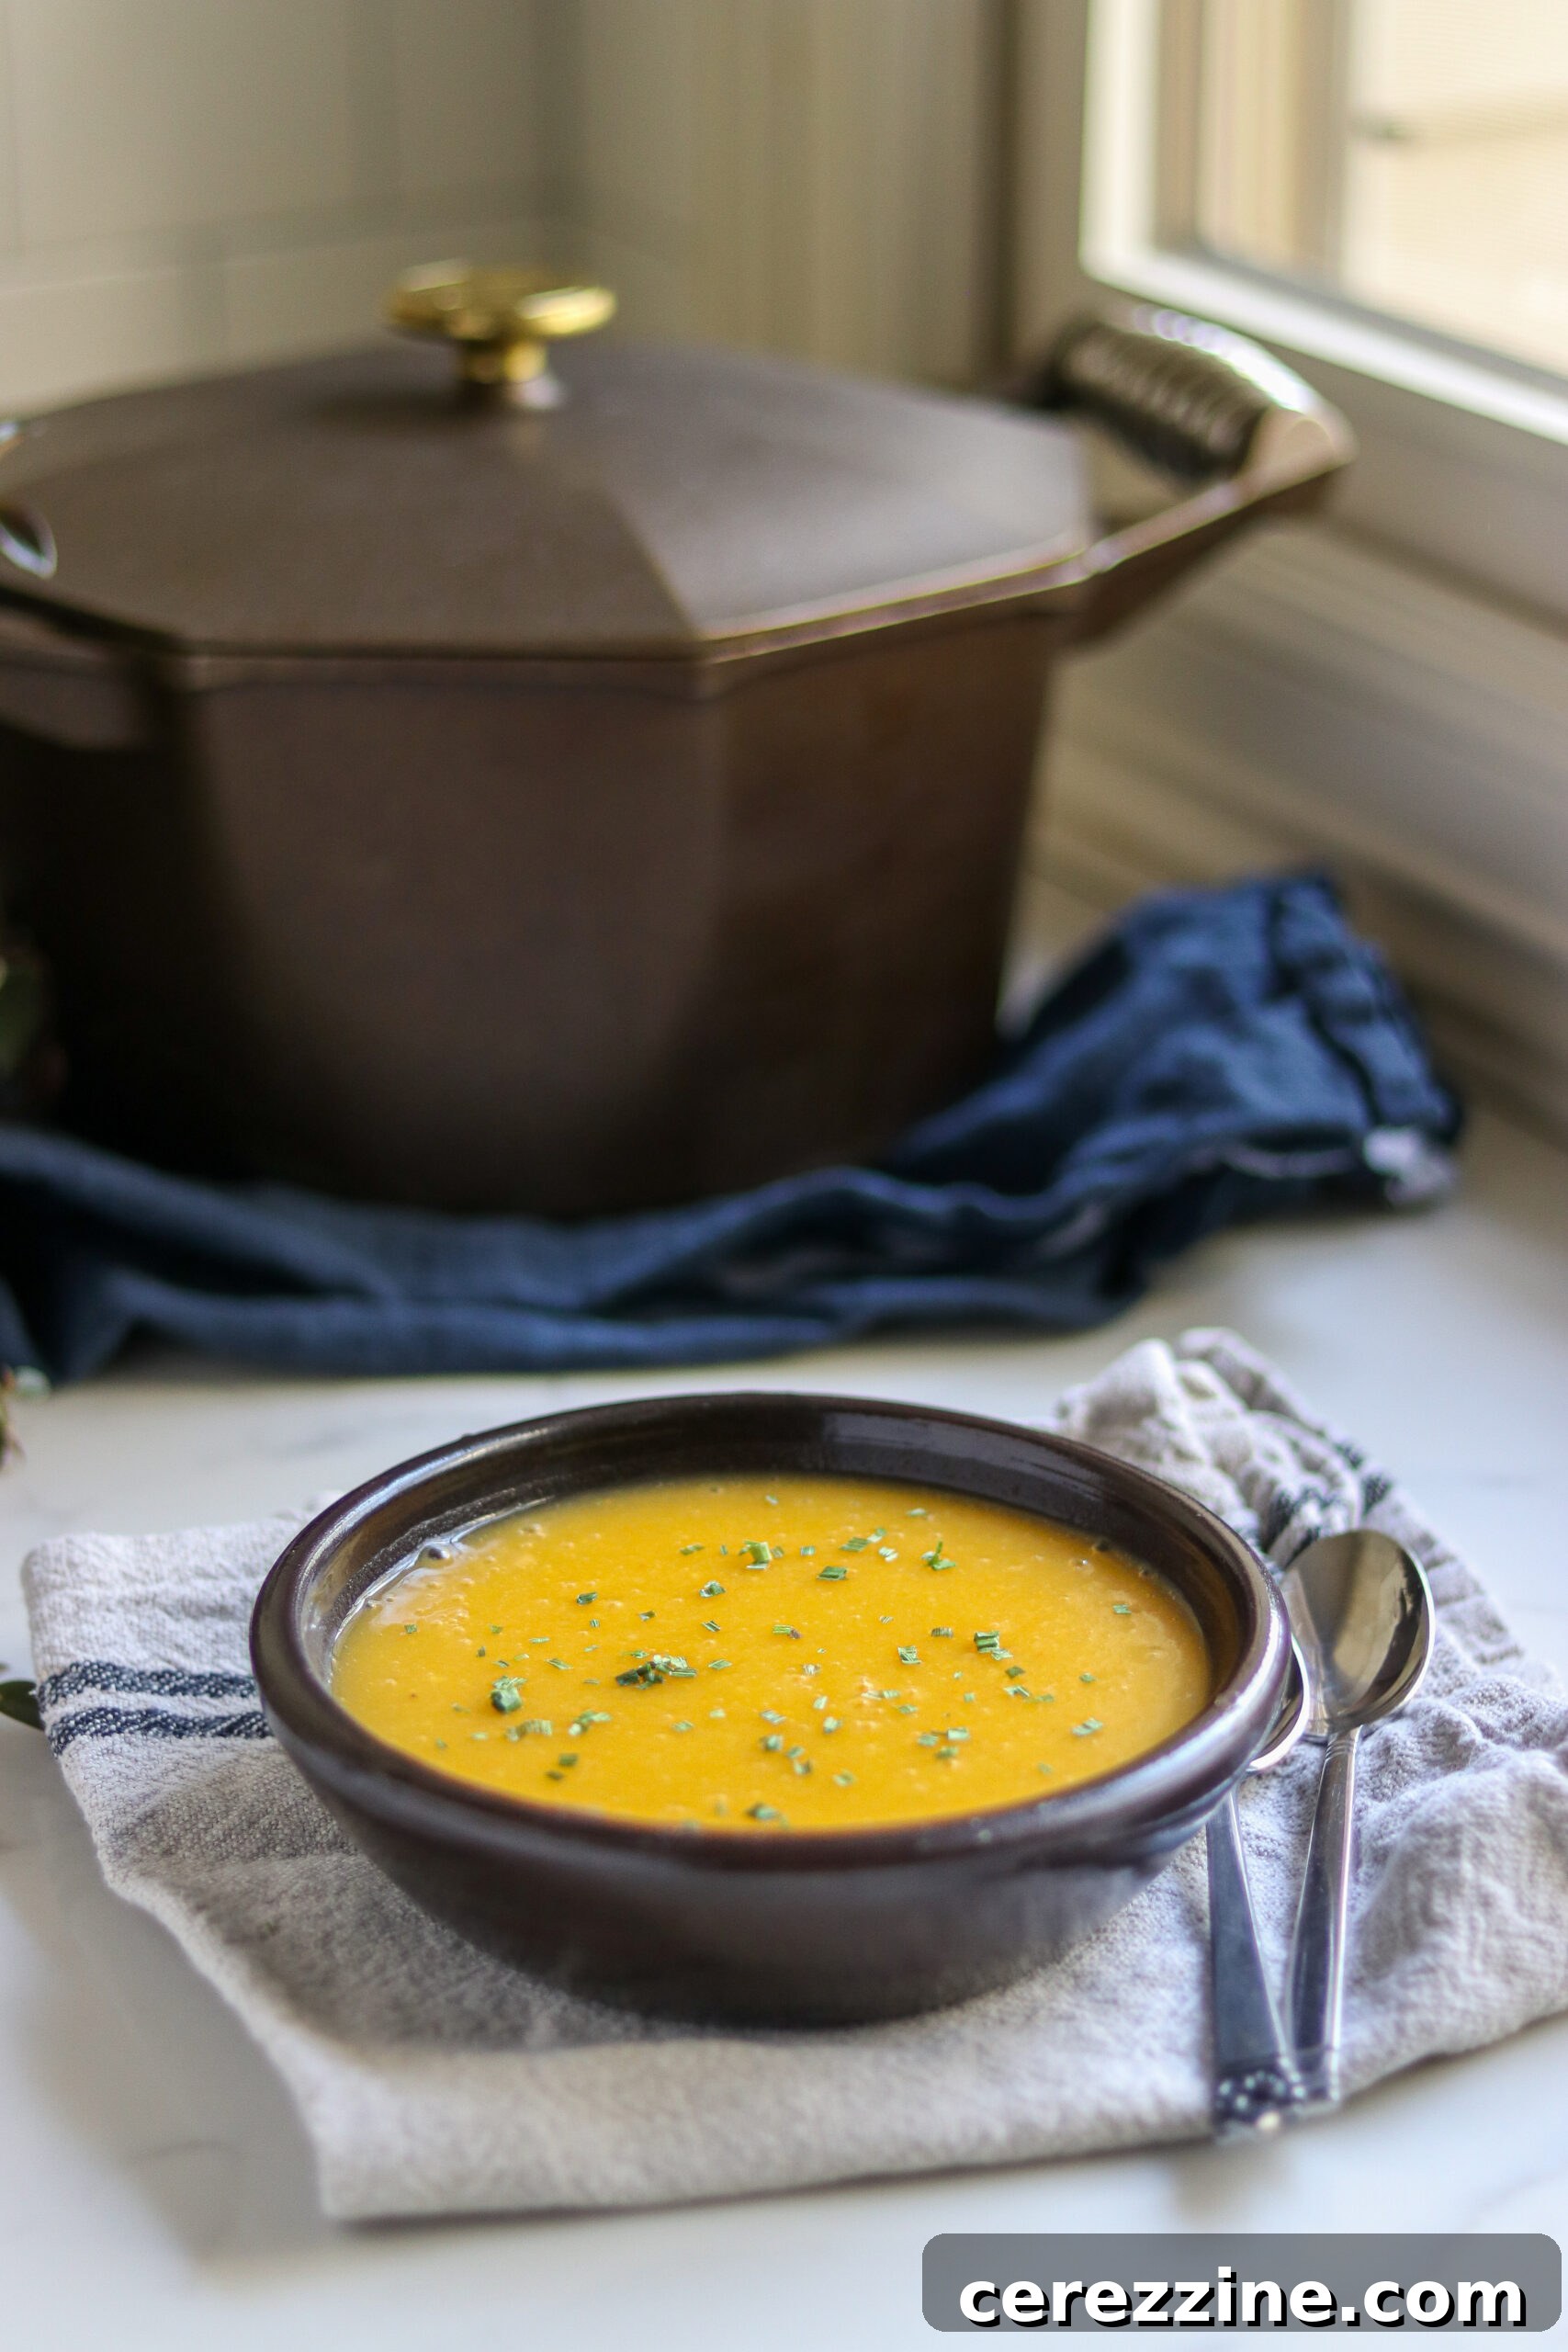
Once drained, you have the option to puree the soup base in a blender or with an immersion blender for a silky-smooth texture, or use a potato masher for a coarser, rustic mix with delightful chunks. After achieving your preferred consistency, return the soup to a saucepan and gently heat it. For an added layer of richness and creaminess, stir in about a cup of cream or milk (dairy or non-dairy options work equally well). Now is also the perfect time to add any fresh spices or herbs you desire to brighten the flavor; excellent choices include fresh parsley, a dash of curry powder, grated ginger, or a pinch of nutmeg. Serve warm, perhaps with a dollop of sour cream or a swirl of coconut cream on top of each serving for an extra touch of indulgence. Enjoy the comforting flavors of your perfectly preserved, homemade butternut squash soup!

Beyond being a comforting bowl on its own, this butternut squash soup base offers incredible versatility for elevating your dinnertime repertoire. It can seamlessly integrate into various dishes, transforming everyday meals into something special. Consider using it as a luscious base for a hearty casserole, adding depth and creaminess. It also makes for an unexpectedly delicious pasta sauce, perhaps tossed with roasted vegetables and your favorite pasta shape. For more complex culinary endeavors, this base is the perfect canvas for creating gourmet soups. Imagine a butternut squash soup enhanced with crisp apple chunks, tender kale, and savory bacon bits, offering a delightful balance of sweet and salty flavors. Or perhaps a more sophisticated option, like a butternut squash soup enriched with tangy goat cheese and fragrant sage, for an elegant and earthy profile. The possibilities are truly endless, making this home-canned base a valuable asset in any kitchen.

Canning Butternut Squash Soup Base Recipe
Canning Butternut Squash Soup Base
By Ashley Adamant
Butternut squash soup base is a puree, heat, and eat meal in a jar recipe that captures all the best parts about fall, ready for your pantry.
Servings: 10 servings, Makes 5 quarts or 10 pints
Prep Time: 20 mins | Cook Time: 1 hr 30 mins | Total Time: 1 hr 50 mins
Equipment
- Pressure Canner
Ingredients
- 5 lbs butternut squash, peeled and cubed into ½ inch pieces
- 2 ½ lbs potatoes, peeled and cubed into ½ inch pieces
- 5 stalks celery, chopped
- 5 medium carrots, chopped
- 3 medium onions, chopped
- 2 Tbsp salt
- 3 Quart vegetable broth, chicken broth or water*
Instructions
- Wash the squash, onions, potatoes, celery, and carrots thoroughly. Peel the squash, carrots, and potatoes. Remove the seeds from the squash.
- Cut the squash, celery, carrots, onions, and potatoes into cubes.
- Place all the ingredients into a stock pot and then bring to a boil. Once boiling, lower the heat to a simmer and cook for 5 minutes to ensure everything is heated through.
- Use a slotted spoon to put the hot vegetable mixture into prepared jars, leaving an inch of headspace. Ladle hot water or broth from the pot over the vegetables, checking for the inch of headspace.
- Remove air bubbles and wipe the jar rims to remove any food particles.
- Process in a pressure canner for 90 minutes (quarts) or 75 minutes (pints) at 10 lbs pressure. Adjust as needed for elevation (see notes below).
- Allow the canner to depressurize naturally, then remove the lid. Remove the jars and allow them to cool for 24 hours before storing.
Notes
This soup base can be made with any type of broth or stock, or plain water. To fill the jars and properly cook the soup base, you should need about 3 quarts of liquid. Have a kettle of hot broth or water heating on the side to help fill the jars if you run short of liquid. The jars should be filled to within 1 inch of the top rim with liquid to ensure proper processing. (Make sure you have no more than 1 inch headspace, but also no less than 1 inch headspace.)
Serving Butternut Squash Soup Base
To serve, drain the excess water from the cans. Butternut squash tends to be the wateriest of all winter squashes when canned, so straining the excess liquid before preparing is important.
Then, puree the contents in a blender for a smooth soup or mash with a potato masher for a coarser mix. Add a cup of cream or milk to the soup and heat, adding any other desired spices such as parsley, curry, ginger, and nutmeg.
Add a dollop of sour cream to each serving and enjoy!
If you’d like to take your dinnertime game up a notch, you can add other ingredients to this soup or use it as a base for all kinds of different recipes.
Use it in a casserole, as a pasta sauce, or even as a base for more complex soups (some popular options include a butternut squash soup with apple, kale, and bacon, or a butternut squash soup with goat cheese and sage).
Altitude Adjustments for Canning Butternut Squash Soup Base
Canning time remains the same regardless of altitude. However, the processing pressure increases as altitude increases.
Use the following table to determine the correct processing pressure if you’re above 1,000 feet in elevation.
For dial gauge pressure canners:
- 0 to 2,000 feet in elevation – 11 lbs pressure
- 2,001 to 4,000 feet in elevation – 12 lbs pressure
- 4,001 to 6,000 feet in elevation – 13 lbs pressure
- 6,001 to 8,000 feet in elevation – 14 lbs pressure
For weighted gauge pressure canners:
- 0 to 1,000 feet in elevation – 10 lbs pressure
- Above 1,000 feet – 15 lbs pressure
Nutrition
Calories: 224kcal, Carbohydrates: 55g, Protein: 5g, Fat: 1g, Saturated Fat: 0.1g, Polyunsaturated Fat: 0.2g, Monounsaturated Fat: 0.03g, Sodium: 2599mg, Potassium: 1512mg, Fiber: 8g, Sugar: 12g, Vitamin A: 29907IU, Vitamin C: 62mg, Calcium: 147mg, Iron: 3mg
Nutrition information is automatically calculated, so should only be used as an approximation.
Like this recipe? Leave a comment below!
Soup Canning Recipes
There are countless delicious soup canning recipes to explore, perfect for stocking your pantry with wholesome, ready-to-eat meals. Consider adding these to your home canning repertoire:
- Sausage, Potato, and Kale Soup
- Carrot Soup
- Split Pea Soup
- Chicken Soup
Meal in a Jar Canning Recipes
Looking for even more convenient and nourishing meal-in-a-jar canning recipes? These options are perfect for busy days:
- Boston Baked Beans
- Thai Curry Duck
- White Bean Chicken Chili
- Cajun Red Beans and Sausage