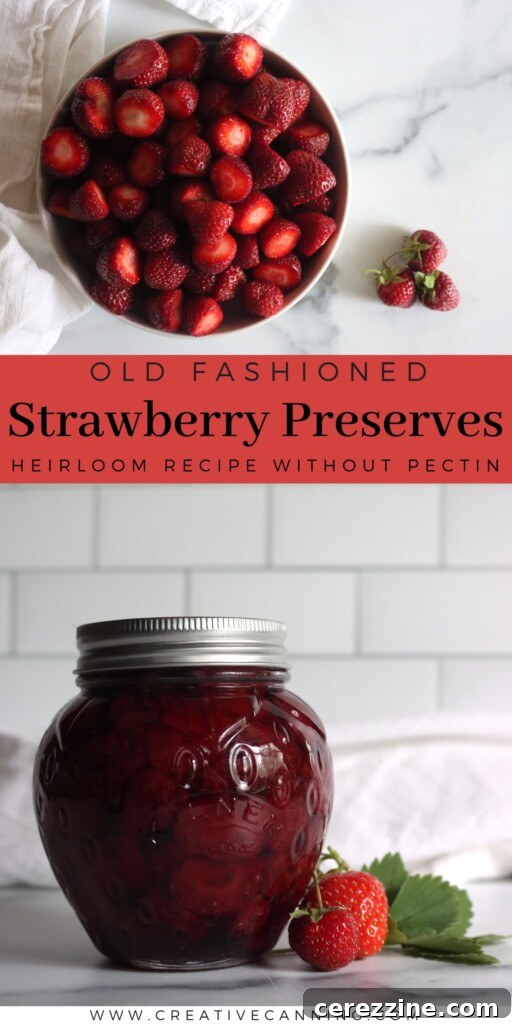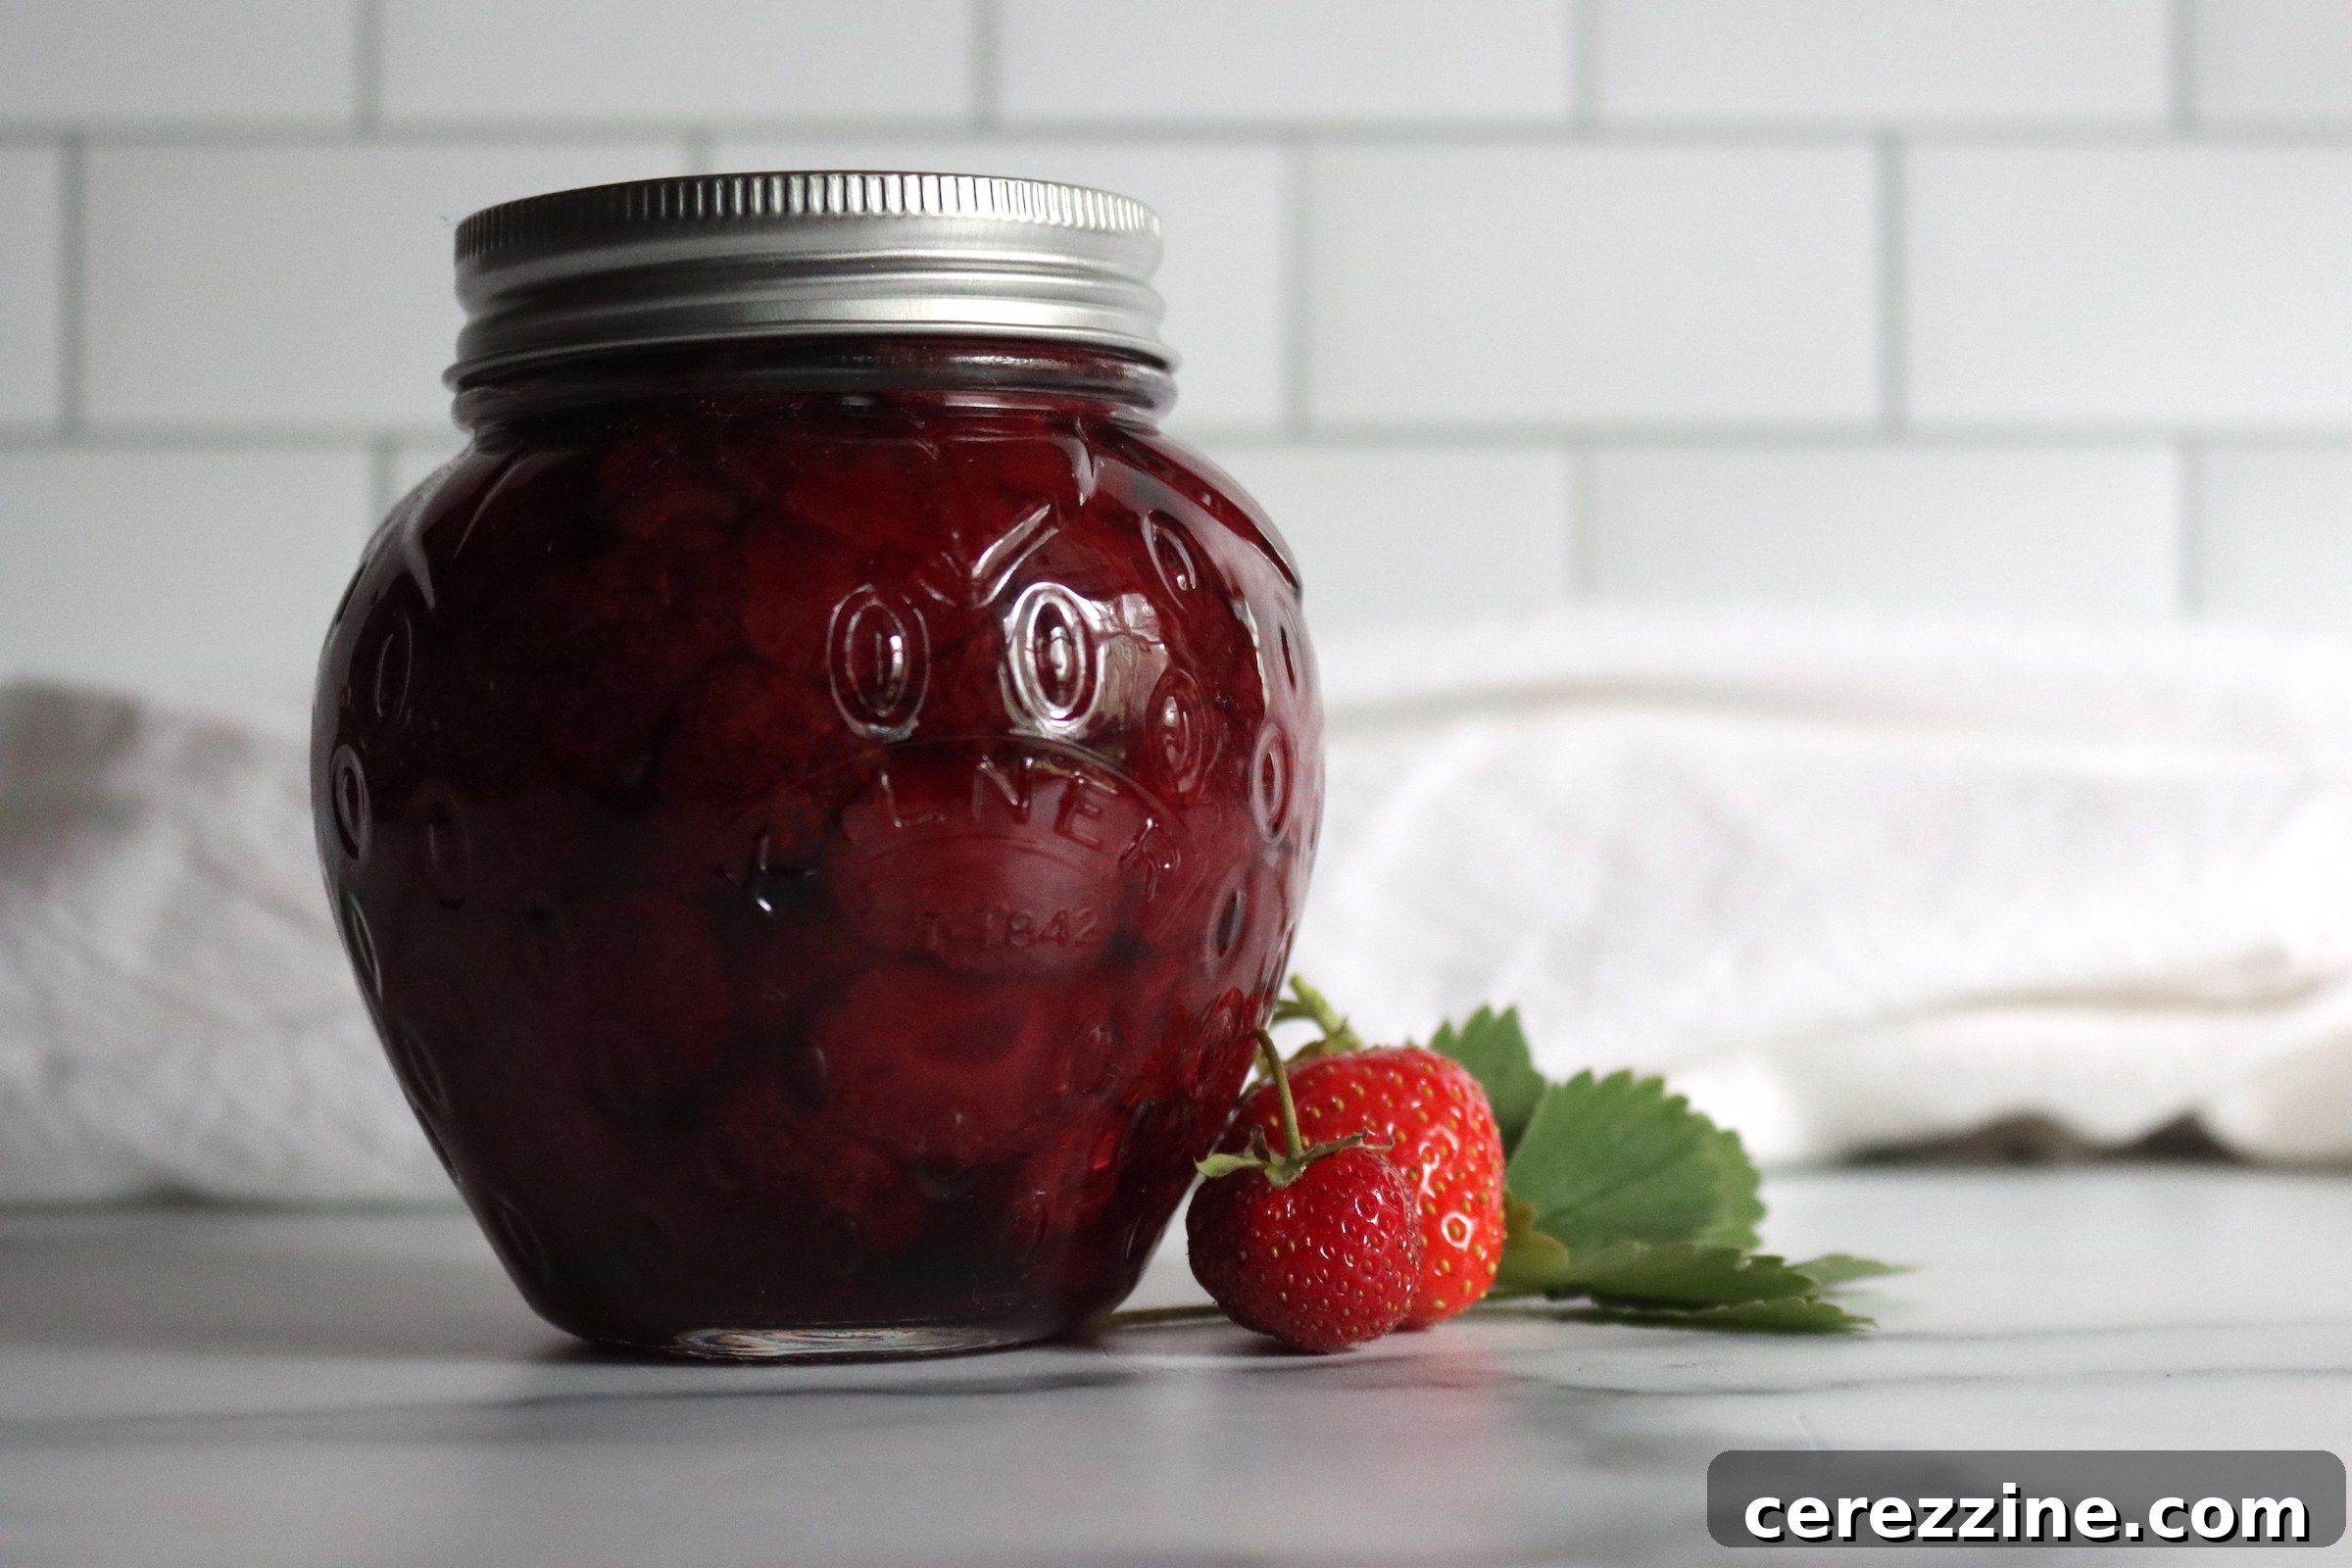
Step back in time with this exquisite recipe for Old-Fashioned Strawberry Preserves. Forget about added pectin and shortcuts; this traditional method celebrates the pure essence of strawberries, transforming them into a thick, jewel-toned syrup brimming with whole, tender berries. After an essential overnight maceration, these vibrant fruits are gently simmered, creating a rich, nostalgic spread perfect for drizzling over creamy yogurt, decadent vanilla ice cream, golden shortcake, or simply slathering onto a warm biscuit. It’s more than just a preserve; it’s a taste of history, a celebration of summer’s bounty, and a testament to time-honored culinary techniques that truly let the natural glory of strawberries shine through.
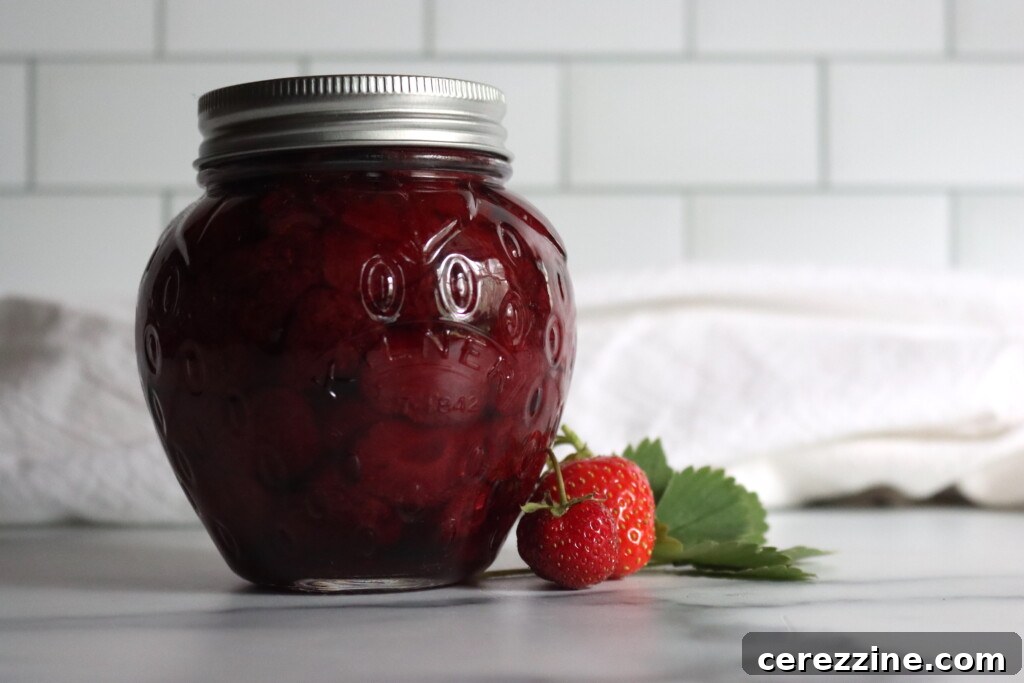
This heirloom recipe for strawberry preserves offers a delightful return to an era before modern canning, when preserving fruit meant relying on generous amounts of sugar and careful technique. Unlike contemporary jams that often call for commercial pectin to achieve their set, this classic preserve stands apart. It doesn’t need mashed fruit or artificial thickeners. Instead, whole, plump strawberries are lovingly cooked in their own naturally released juices, combined with sugar to form a luscious, ruby-red syrup that coats each berry in a sublime, sweet embrace. The result is a preserve with unparalleled depth of flavor and a wonderfully varied texture, where the integrity of each strawberry is maintained.
Indeed, this recipe is designed to be sweet – delightfully, purposefully sweet. This sweetness isn’t just for flavor; it’s a critical component for preservation, echoing methods used when preserves were stored in cool cellars or basements without the aid of modern hermetic sealing. Today, we enhance this traditional preservation by finishing the jars in a water bath canner, ensuring long-term shelf stability for your pantry. However, the rich, authentic flavor and the irresistible texture of this original recipe remain perfectly untouched, offering a truly authentic experience.
If you prefer a preserve with a more “modern” sugar content while still seeking that old-fashioned, no-pectin flavor profile, you might enjoy my recipe for Strawberry Jam without Pectin. For those aiming for a significantly reduced sugar option, my recipe for Low Sugar Strawberry Jam with Pectin provides an excellent alternative, offering a lighter touch without compromising on taste.
But if your heart is set on embracing the full, glorious sweetness and traditional texture of classic, full-sugar strawberry preserves, then you have undoubtedly found your perfect recipe. Prepare to create a batch of preserves that will transport you back in time with every spoonful.
The Indispensable Role of Maceration in Preserves
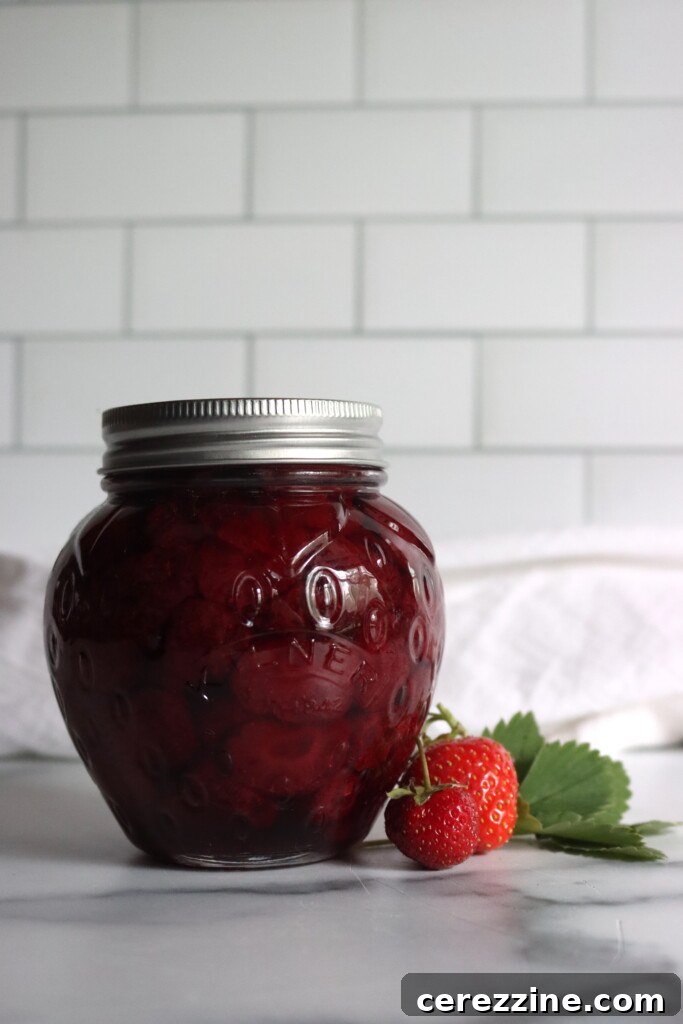
The single most crucial step in crafting these traditional strawberry preserves is the overnight maceration. This isn’t just a suggestion; it’s the foundation upon which the success of this recipe rests. You’ll carefully layer whole strawberries with granulated sugar, then allow this mixture to rest undisturbed for an extended period. During this crucial time, a magical transformation occurs: the sugar draws out the natural liquids from the fruit through osmosis, creating a vibrant, natural syrup. But its importance extends beyond just syrup formation. Maceration also works to gently firm the strawberries, fortifying their structure so they can withstand the heat of cooking without disintegrating into a mush. This ensures that your finished preserves will feature beautiful, intact berries suspended in a glistening, thick syrup.
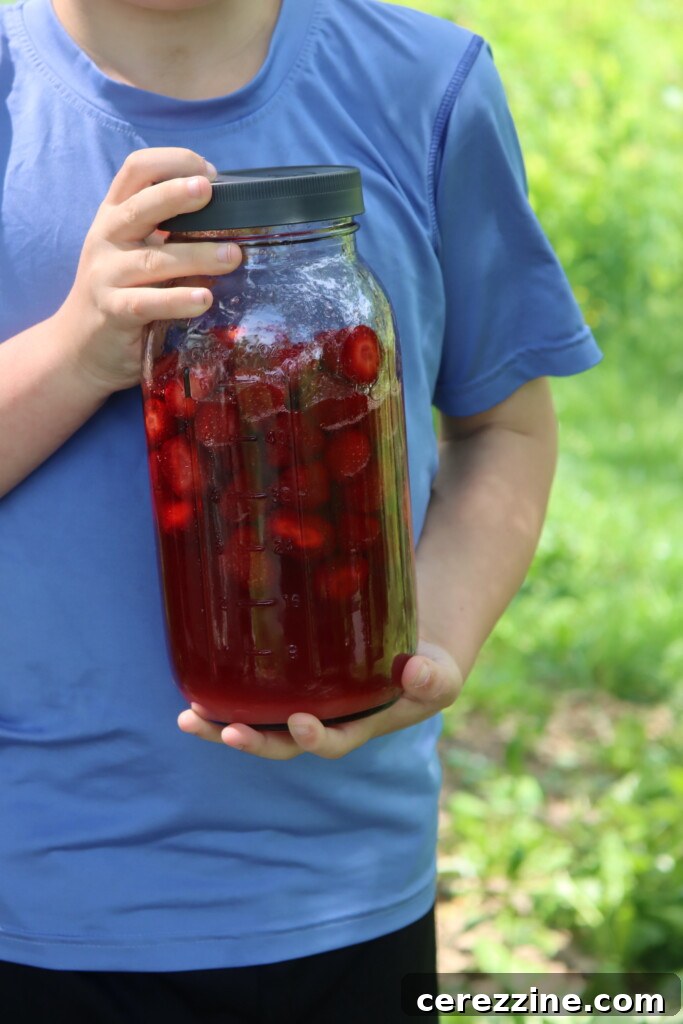
Initially, you might find yourself questioning the generous amount of sugar, as it can appear overwhelming when first layered with the fruit. Don’t panic; this is entirely normal and by design. With time, and perhaps an occasional gentle stir or shake of the container, the sugar will gradually dissolve completely into the liquid released by the strawberries, forming a rich, cohesive syrup. This patient waiting period is essential for developing both the texture and the intense, concentrated flavor that defines true old-fashioned preserves.
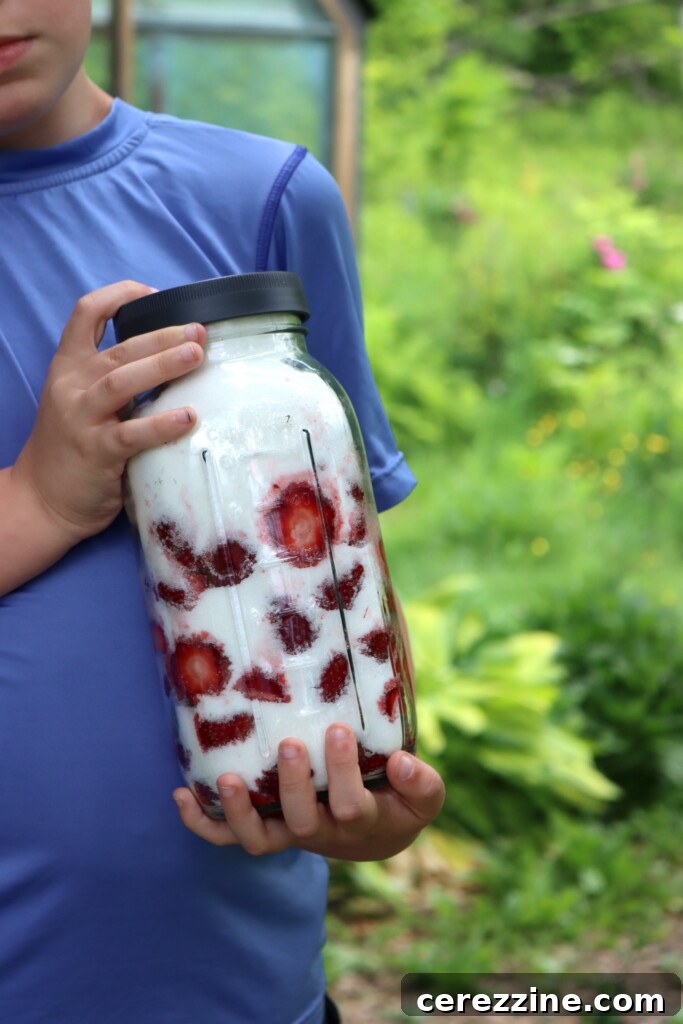
For convenience and optimal maceration, I often layer the fruit and sugar directly into a half-gallon mason jar. Its ideal size perfectly accommodates the quantity specified in this recipe, and the lid provides a secure, tidy cover while the mixture rests. This method keeps everything contained and allows for easy shaking to help the sugar dissolve.
You can safely macerate the fruit at room temperature on your kitchen counter for up to 12 hours. However, if you plan for a longer maceration period or if your kitchen is particularly warm, it’s advisable to move the jar to the refrigerator. This will prevent any unwanted fermentation, especially important when working with fruit and sugar. (If you’ve ever experimented with making homemade strawberry wine, you’ll be well aware of how quickly fruit sugars can start to bubble and ferment!)
Essential Ingredients for Old-Fashioned Strawberry Preserves
Creating truly exceptional strawberry preserves begins with selecting the finest ingredients. For this classic recipe, simplicity reigns, emphasizing the natural goodness of ripe strawberries and the preserving power of sugar. Here’s what you’ll need:
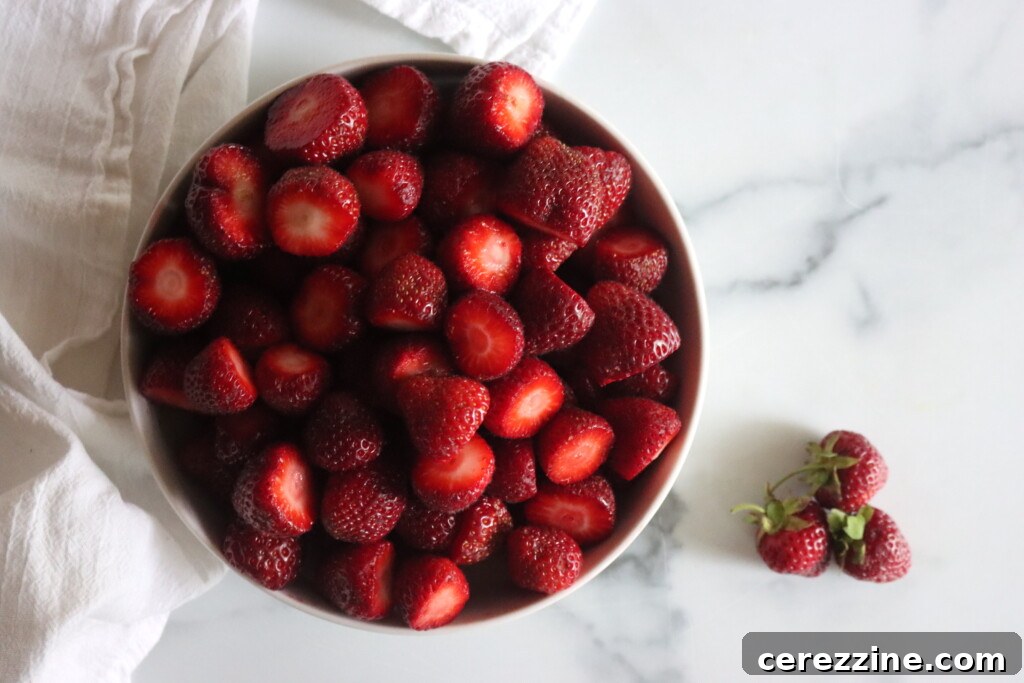
- 6 cups prepared strawberries: This amounts to approximately 2 quarts of fresh, unhulled fruit. “Prepared” means washed and hulled (green tops removed). Choose firm, ripe, and flavorful strawberries for the best results. Varieties known for their vibrant color and slight tartness, like Chandler or Sequoia, work wonderfully, but any sweet, aromatic berry will yield delicious preserves.
- 4½ cups granulated sugar: This significant amount is crucial for both the traditional flavor profile and the preservative qualities of these old-fashioned preserves. It works to create the thick, glossy syrup and ensures the preserves can be stored for extended periods.
This recipe is designed to yield approximately 4 half-pint jars of luscious strawberry preserves. When filling your jars, you have a couple of options for distributing the fruit and syrup. The berries will release a substantial amount of juice, forming a rich syrup. You can either strive for an even distribution, canning each jar about half full of fruit and topping it off with the remaining syrup, or you can use a slotted spoon to concentrate most of the whole fruit into two of your half-pint jars, leaving the other two predominantly as a rich, intensely flavored strawberry syrup. Both approaches are perfectly acceptable for safe canning and result in delightful products, catering to your textural preference.
Step-by-Step Guide: How to Make Old-Fashioned Strawberry Preserves
Crafting these traditional preserves is a labor of love, but the process is straightforward and incredibly rewarding. Follow these detailed steps to create your own homemade culinary masterpiece:
- Strawberry Preparation: Begin by carefully selecting large, firm, and intensely flavorful strawberries. A slight tartness in the berries can actually enhance the final taste of the preserves, providing a beautiful balance to the sweetness. Wash the berries thoroughly under cool running water, then drain them well. Using a huller or a small paring knife, meticulously remove the green tops and any white core. It is vital for this recipe that you do not chop, slice, or crush the fruit; the goal is to preserve the berries whole, allowing them to retain their individual shape and texture within the syrup.
- The Maceration Process: In a large, non-reactive bowl or, ideally, a half-gallon mason jar, begin layering your prepared strawberries and granulated sugar. Alternate between a layer of strawberries and a layer of sugar until all ingredients are used, ensuring the top layer is sugar. Once layered, cover the container and let the mixture stand for 8 to 10 hours, or conveniently overnight, in a cool spot on your counter. If your kitchen is particularly warm, or if you plan to extend the maceration beyond 12 hours, transfer the jar to the refrigerator to prevent fermentation. During this critical period, the sugar will work its magic, drawing out the natural juices from the strawberries and gradually dissolving into a rich, flavorful syrup. Give the container a gentle shake or stir occasionally to aid in the dissolution of the sugar.
- Canning Setup: When your macerated strawberries are ready for cooking, it’s time to prepare your canning equipment. Ensure your boiling water bath canner is filled with water and heating. Sterilize your canning jars by either running them through a dishwasher cycle on a heated dry setting or submerging them in boiling water for at least 10 minutes. Keep the jars hot until you’re ready to fill them. Wash and sterilize your two-piece canning lids and rings according to manufacturer instructions.
- Cooking the Preserves: Carefully pour the macerated strawberries and their beautiful, natural syrup into a large, heavy-bottomed saucepan or a wide, shallow preserving pot. Bring the mixture to a gentle boil over medium-high heat, stirring occasionally to prevent sticking and ensure even cooking. Continue to cook until the mixture reaches a precise temperature of 8°F above the boiling point of water at your elevation. At sea level, this is typically around 220°F (104.4°C). The syrup will visibly thicken as it cooks, a process that usually takes between 15 to 20 minutes, depending on the heat and pot size. Stir very gently as needed to keep the fruit from adhering to the bottom of the pot or breaking apart. Once the desired temperature and thickness are achieved, use a clean metal spoon to skim off any foam that has risen to the surface; this improves the clarity and appearance of your preserves.
(Remember: The boiling point of water decreases by approximately 1 degree Fahrenheit for every 500 feet of elevation. Therefore, if you are at 1,000 feet in elevation, your preserves should finish cooking at around 218°F (103.3°C), and even lower for higher altitudes. An accurate candy thermometer is indispensable here.)
- Filling and Sealing Jars: Carefully ladle the hot, shimmering preserves into your hot, sterilized jars, leaving exactly ¼ inch of headspace from the rim. This headspace is crucial for proper sealing and creating a vacuum. Using a clean, damp cloth, meticulously wipe the rims of each jar to remove any spills or sticky residue that could interfere with the seal. Center a two-piece canning lid onto each jar, then screw on the band fingertip-tight (just until resistance is met).
- Water Bath Processing: Carefully place the filled jars onto the rack in your boiling water bath canner. Ensure the jars are fully submerged in water by at least 1 inch. Bring the water to a rolling boil, then begin timing. Process the jars for 10 minutes. If you are at an elevation above 6,000 feet, extend the processing time to 15 minutes to ensure proper sterilization.
- Cooling and Checking Seals: Once the processing time is complete, turn off the heat and allow the jars to rest in the canner for 5 minutes. This gradual cooling helps prevent “siphoning” (loss of liquid from the jars) and promotes a stronger seal. Carefully remove the jars from the canner using a jar lifter and place them on a towel-lined counter, ensuring they are not touching each other, to cool completely for 12-24 hours. After they have cooled, check the seals: the center of each lid should be concave and should not flex when pressed. If any jar has not sealed, refrigerate it and consume its contents within a few weeks.
Traditional Strawberry Preserves
A timeless, high-sugar preserve crafted with whole, tender strawberries suspended in a rich, ruby-red syrup. Ideal for enhancing yogurt, fresh biscuits, fluffy pancakes, or classic shortcake.
Servings: 32 servings (or approximately 4 half-pint jars)
Prep Time: 8 hours (for maceration)
Cook Time: 40 minutes
Canning Time: 10 minutes
Total Time: 8 hours 50 minutes
Equipment
- Water Bath Canner
- Large, heavy-bottomed saucepan or preserving pot
- Half-gallon mason jar (for maceration)
- Canning jars (half-pint size), lids, and bands
- Jar lifter
- Canning funnel
- Accurate candy thermometer
Ingredients
- 6 cups prepared strawberries (about 2 quarts fresh, hulled)
- 4½ cups granulated sugar
Instructions
- Wash and hull the strawberries, ensuring they remain whole. Remove all green tops and blemishes.
- In a large bowl or half-gallon mason jar, layer the whole strawberries with the granulated sugar. Allow the mixture to stand for 8-10 hours, or overnight, to macerate. This process draws out the fruit’s natural juices and helps firm the berries.
- Before cooking, prepare your boiling water bath canner, sterilize your canning jars, and warm your lids and bands.
- Transfer the macerated strawberry-sugar mixture into a large saucepan. Bring it to a gentle boil over medium-high heat, stirring occasionally. Continue to cook until the syrup thickens and reaches 220°F (104.4°C) at sea level (adjust for higher altitudes – subtract 2°F for every 1,000 feet above sea level).
- Once cooked, carefully skim off any foam from the surface of the preserves. Ladle the hot preserves into the hot, sterilized jars, leaving exactly ¼ inch of headspace.
- Wipe the rims of the jars clean with a damp cloth. Apply the two-piece canning lids and screw on the bands fingertip-tight.
- Process the jars in a boiling water bath canner for 10 minutes (or 15 minutes if you are above 6,000 feet elevation).
- After processing, turn off the heat and let the jars rest in the canner for 5 minutes before carefully removing them. Place the jars on a towel-lined counter to cool completely for 12-24 hours. Check seals after cooling.
Notes
- Do not skip the maceration step: This step is absolutely essential for the success of these preserves. It firms the fruit, preventing it from disintegrating during cooking, and allows the natural juices to combine with the sugar to form a beautiful, thick syrup. The sugar amount is high by modern standards, but it’s integral to the traditional texture and shelf stability of this specific preserve style.
- Utilize a candy thermometer: Achieving the correct finish temperature (220°F at sea level, adjusted for altitude) is crucial for ensuring your syrup will set to the desired thickness once cooled. For accurate altitude adjustments, subtract approximately 2°F for every 1,000 feet above sea level from the 220°F target. For instance, at 1,000 feet elevation, aim for 218°F.
- Proper storage: Store sealed jars of preserves in a cool, dark pantry or cellar. They will remain fresh and flavorful for up to a year. Once a jar has been opened, always refrigerate it and aim to consume the contents within a few weeks for the best quality and safety.
Nutrition
(Approximate values per serving)
- Calories: 117 kcal
- Carbohydrates: 30g
- Protein: 0.2g
- Fat: 0.2g
- Saturated Fat: 0.004g
- Polyunsaturated Fat: 0.04g
- Monounsaturated Fat: 0.01g
- Sodium: 1mg
- Potassium: 42mg
- Fiber: 1g
- Sugar: 29g
- Vitamin A: 3 IU
- Vitamin C: 16mg
- Calcium: 5mg
- Iron: 0.1mg
Nutrition information is automatically calculated and should only be used as an approximation. Individual results may vary based on ingredient sourcing and preparation methods.
We hope you love making these traditional strawberry preserves! If you enjoyed this recipe, please consider leaving a comment below to share your experience and thoughts.