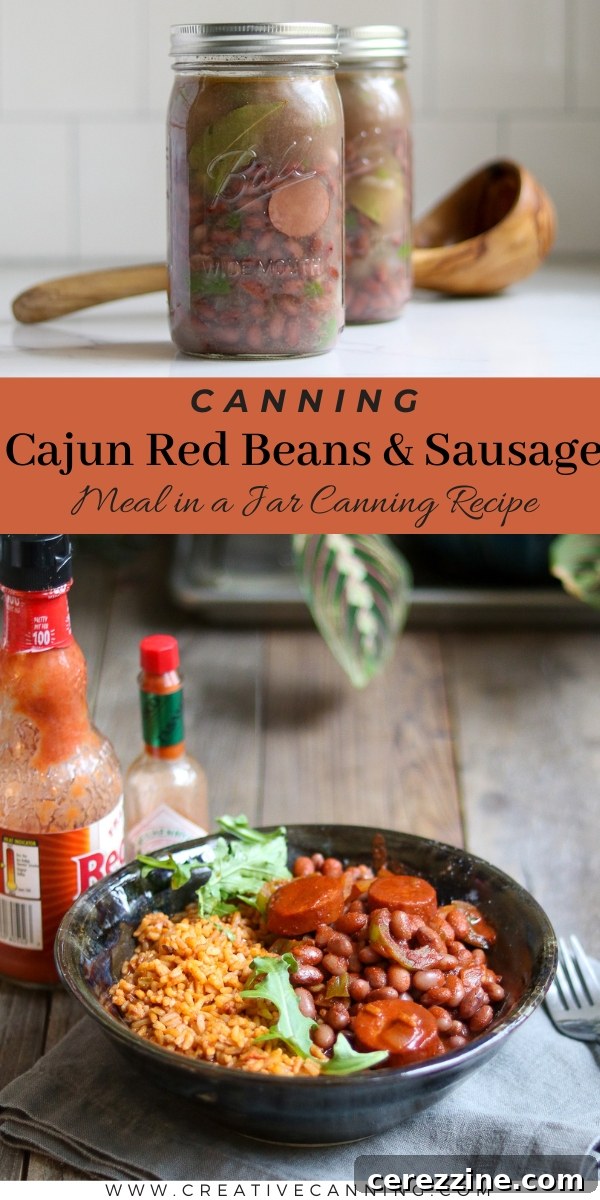
Canning Cajun Red Beans and Sausage: A Delicious Pantry Staple for Quick Meals
Transforming hearty Cajun red beans and savory sausage into a shelf-stable meal is a brilliant way to stock your pantry with convenience and flavor. Also known as Louisiana Red Beans, this iconic, well-seasoned dish is traditionally served over fluffy rice, offering a comforting and satisfying meal that’s perfect for busy weeknights. While cooking dried beans can often be a time-consuming affair, canning them ahead of time radically simplifies meal preparation, turning a complex recipe into a speedy, last-minute solution.
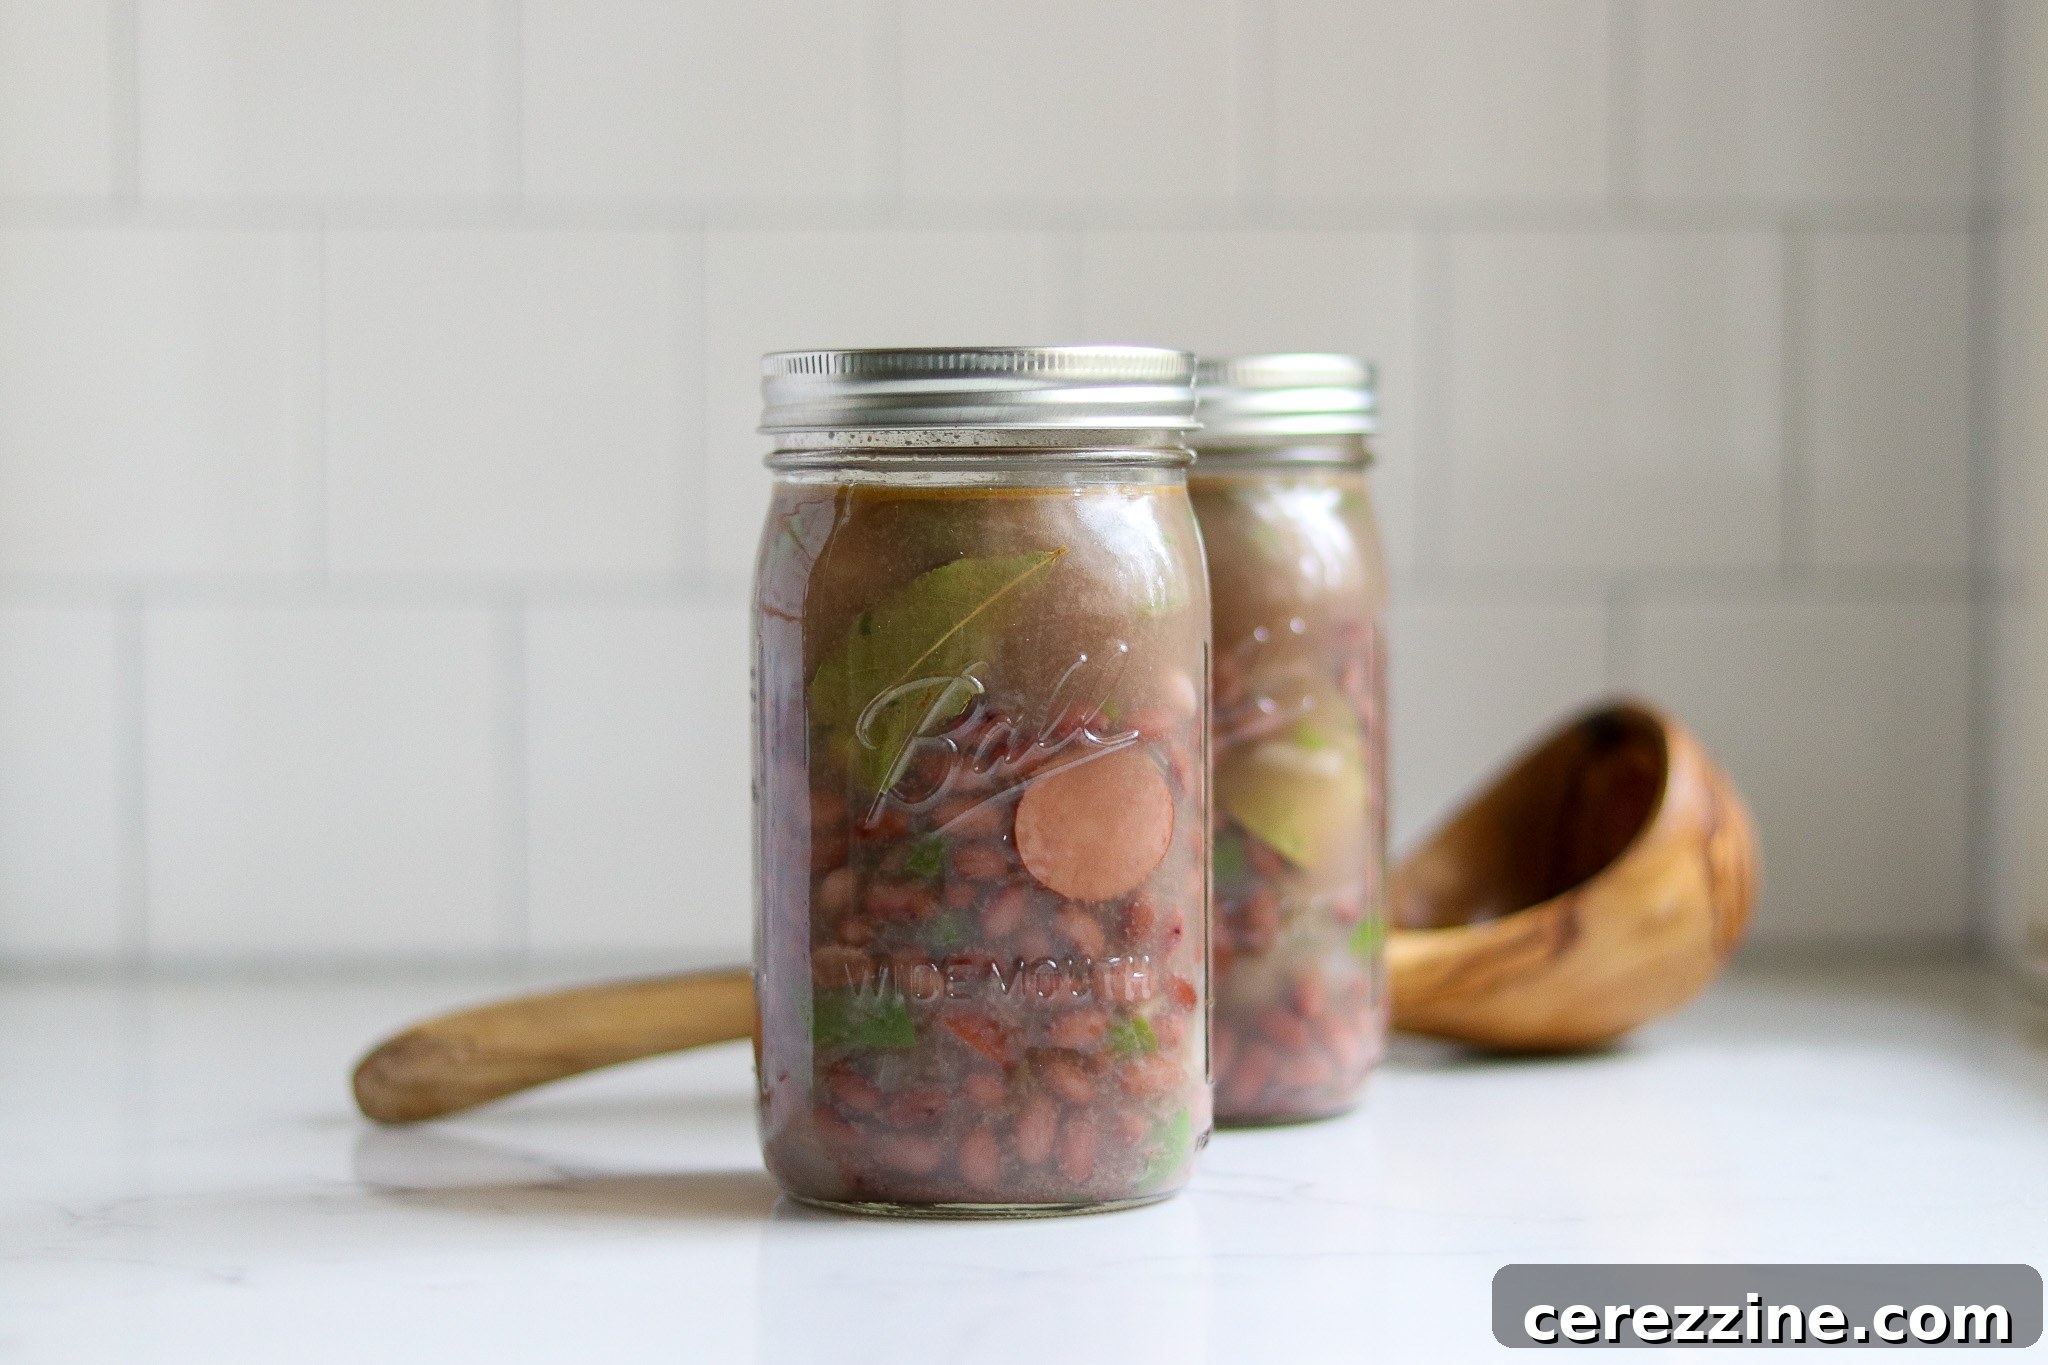
Cajun red beans and rice stands as a cornerstone of Southern cuisine, renowned for its rich, complex layers of flavor and aromatic spices. This traditional dish isn’t just delicious; it’s also perfectly safe for home canning, provided that the rice is cooked and served separately. The lengthy cooking time typically associated with dried beans is the primary barrier to enjoying this dish more often. By pressure canning your Cajun red beans and sausage, you effectively bypass this hurdle, allowing you to have a delicious, home-cooked meal ready in minutes. This not only makes it an incredibly efficient meal to preserve for months but also incredibly easy to serve.
The process of creating these delectable canned Cajun Red Beans involves several key steps: starting with thoroughly soaking the dried beans overnight (or using a quick-soak method), simmering them with a robust blend of aromatic ingredients like onions, garlic, bay leaves, and authentic Cajun seasoning, and finally, sealing them securely in jars using a pressure canner. The meticulous adherence to safe canning practices ensures that you create a product that is both safe and exceptionally flavorful.
The ultimate reward is a delicious, Southern-inspired meal ready to be heated and enjoyed at a moment’s notice. Once canned, these savory red beans prove to be an incredibly versatile ingredient, making a fantastic foundation for rice dishes, gumbo, or as a hearty side to any of your favorite meals. This recipe empowers you to bring the authentic taste of Louisiana home, with the convenience of a ready-to-eat meal.
The Art of Canning Louisiana Red Beans Safely
This recipe for canning Cajun red beans is not only flavorful but also rigorously adapted from trusted, safe canning guidelines. Drawing inspiration from established sources like Ball Canning’s recipe for Louisiana Red Beans and Bernardin, along with expert advice from Angi Schneider’s “Pressure Canning for Beginners and Beyond,” this variation makes the process accessible by utilizing common pantry staples. We’ve ensured that every step aligns with the latest recommendations from the National Center for Home Food Preservation, guaranteeing a safe and high-quality product for your family.
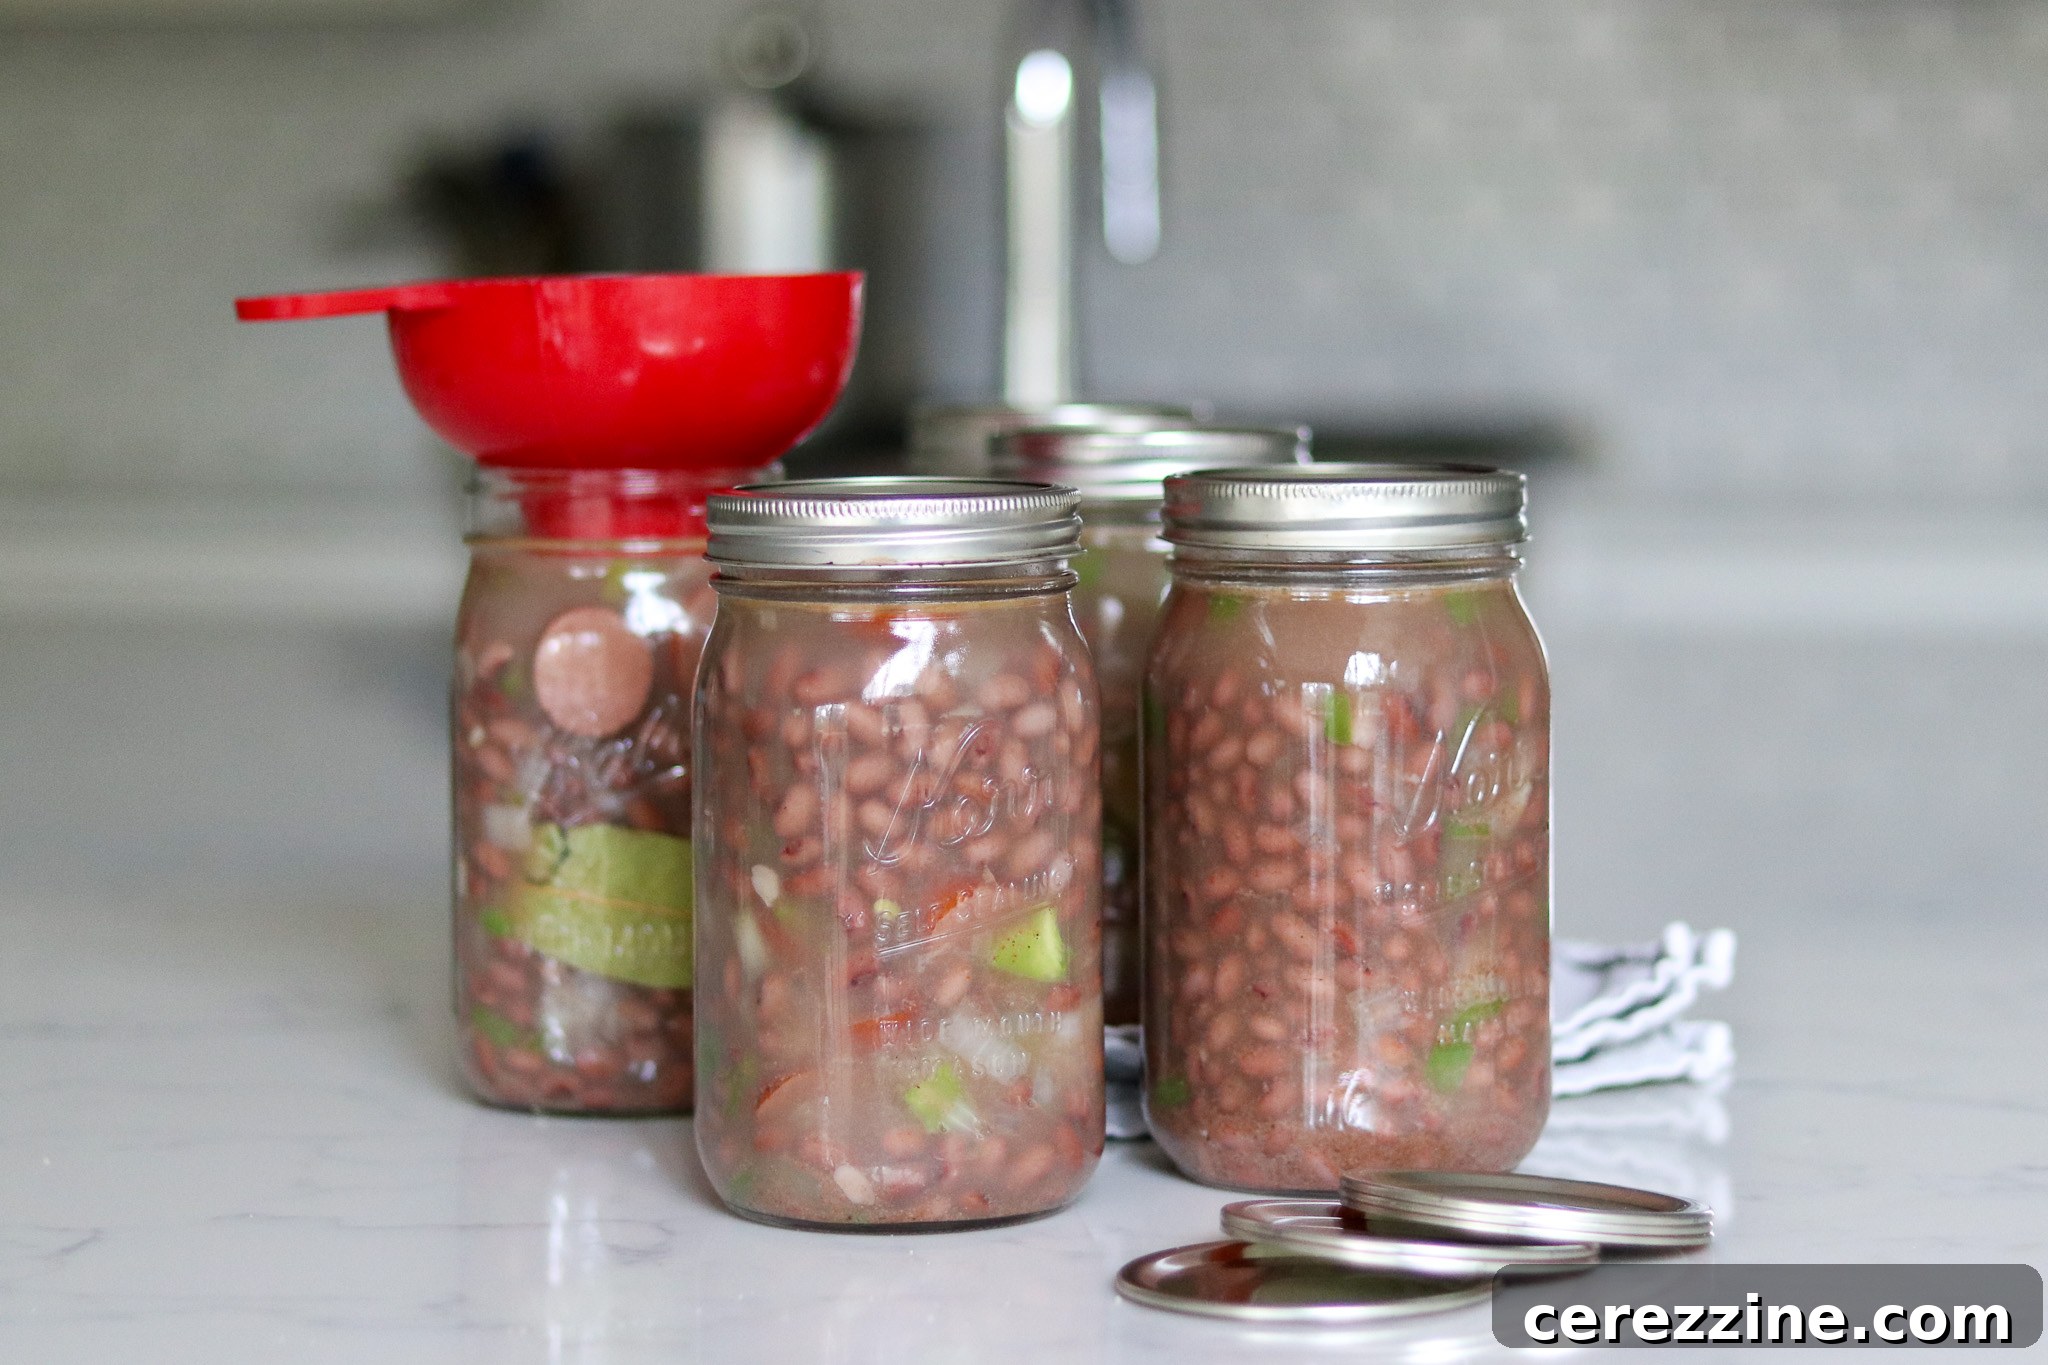
Essential Ingredients for Flavorful Canned Red Beans
The ingredients required for canning a batch of Cajun red beans are straightforward and readily available. To prepare a full canner batch, yielding approximately 14 pints or 7 quarts of this delicious dish, you will need the following:
- 2 lbs dried red beans, thoroughly pre-soaked
- 6 cups (1.4 L) water
- 6 cups (1.4 L) chicken broth (or vegetable broth for a vegetarian option)
- 4 cups (650 g) onions, finely chopped
- 2 cups (225 g) bell peppers, chopped (any color)
- 2 tbsp (35 g) canning salt
- 3 tbsp (36 g) Cajun seasoning (refer to notes below for homemade blend)
- 2 tbsp (15 g) garlic powder (or a few cloves of minced fresh garlic)
- 7 bay leaves (one per quart jar, or half a leaf per pint jar)
- 2 lbs cased sausage, smoked or cooked, and sliced (such as Andouille sausage, optional)
- 1 lb thick-cut bacon, chopped (optional)
While canning recipes often emphasize strict adherence, there’s some flexibility within safe guidelines for certain ingredients, particularly spices. We’ll explore these permissible adjustments to customize the recipe to your preferences, all while maintaining the safety standards established by the National Center for Home Food Preservation.
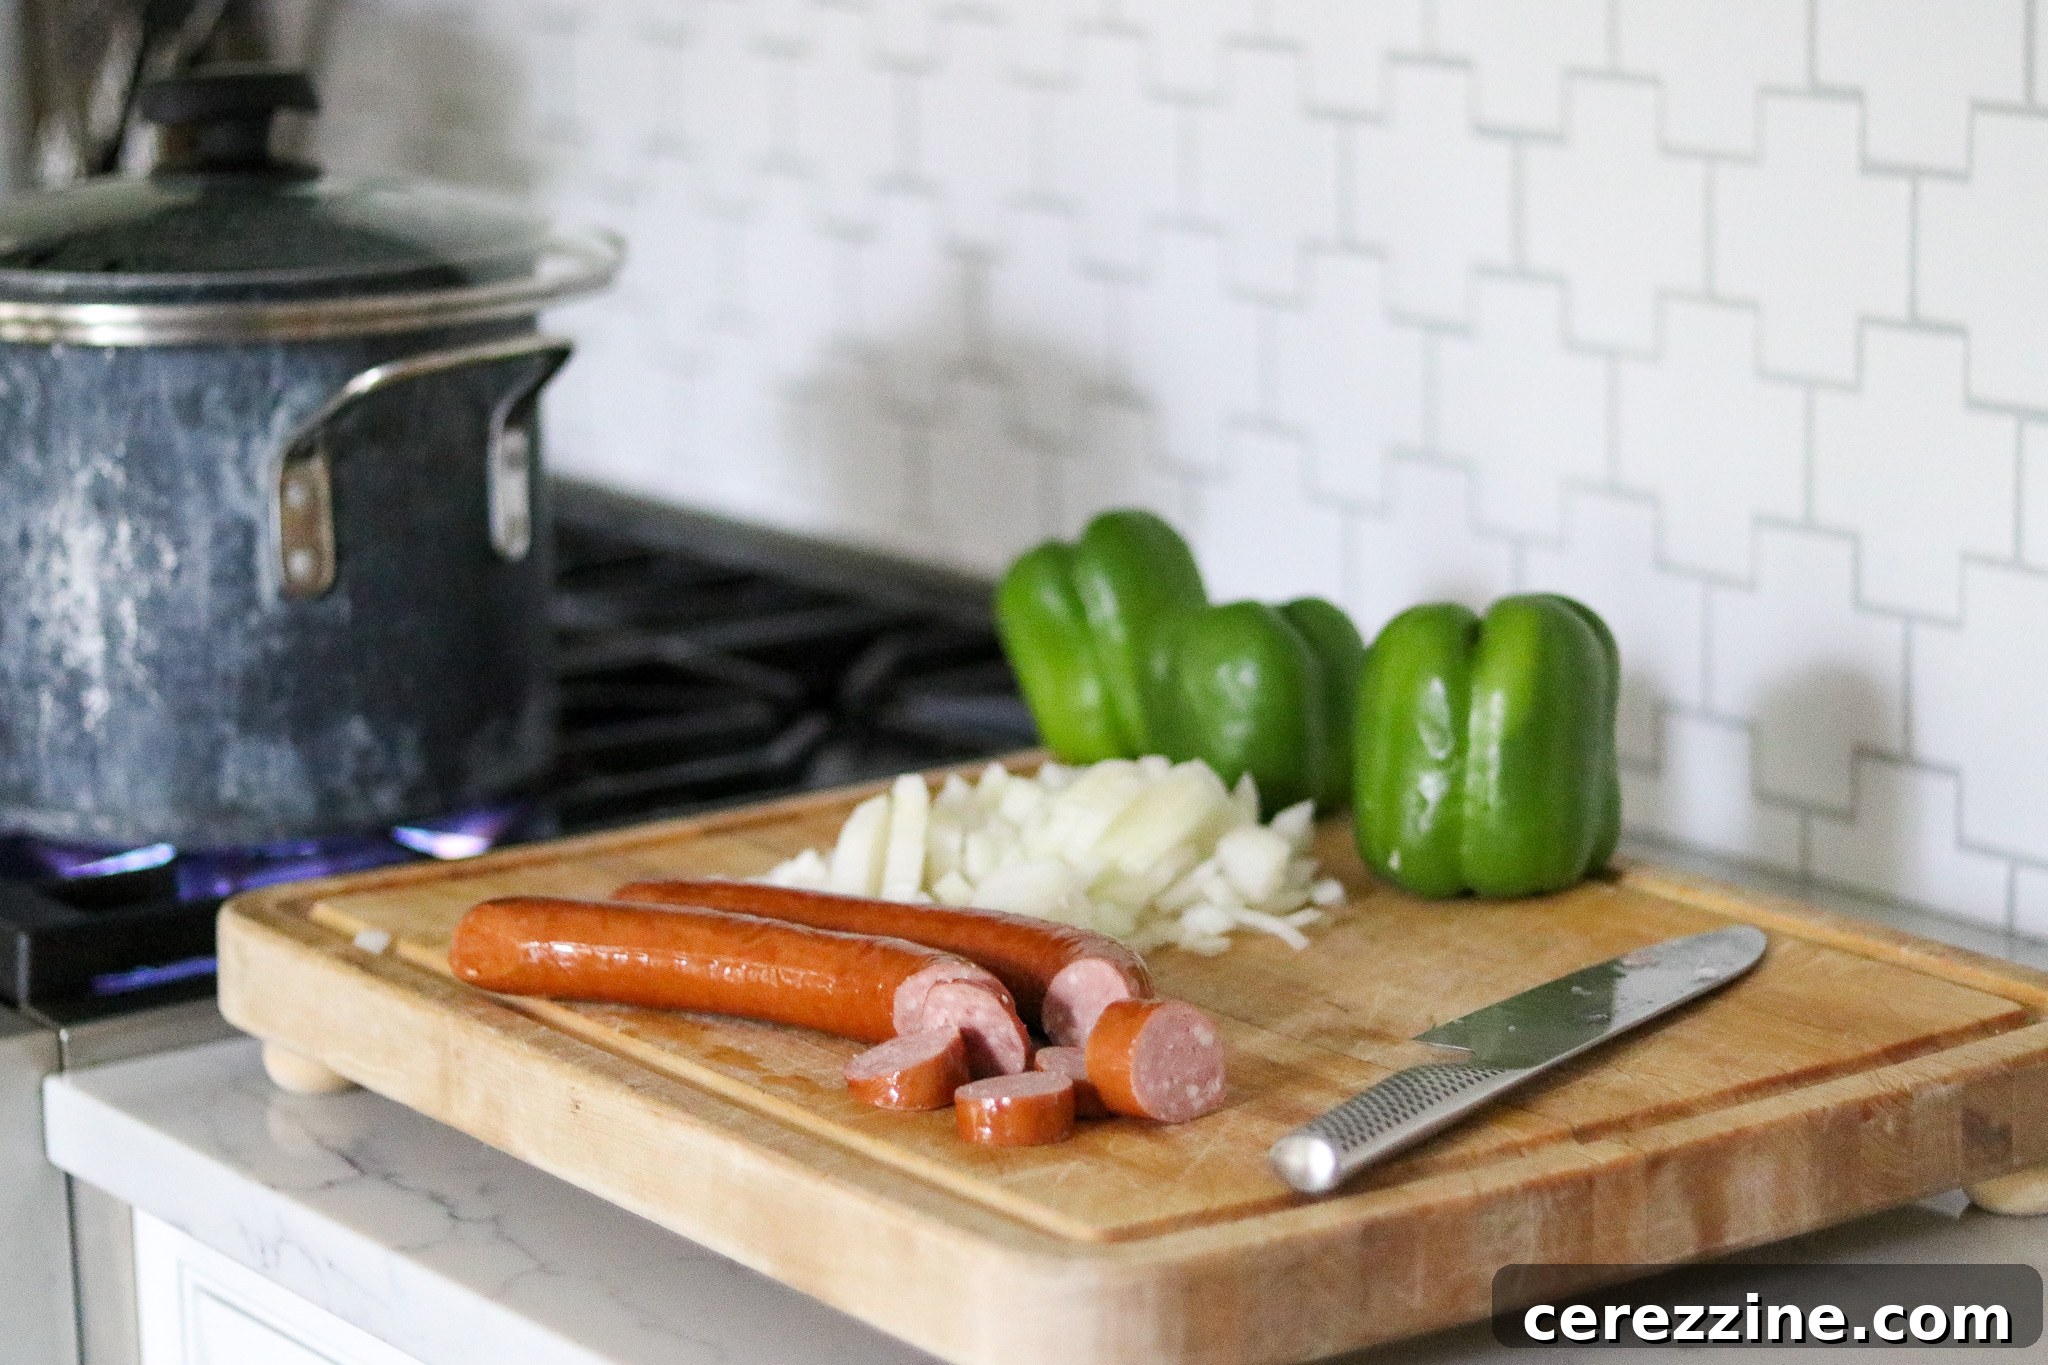
Customizing Your Cajun Red Beans: Ingredient Notes & Safe Variations
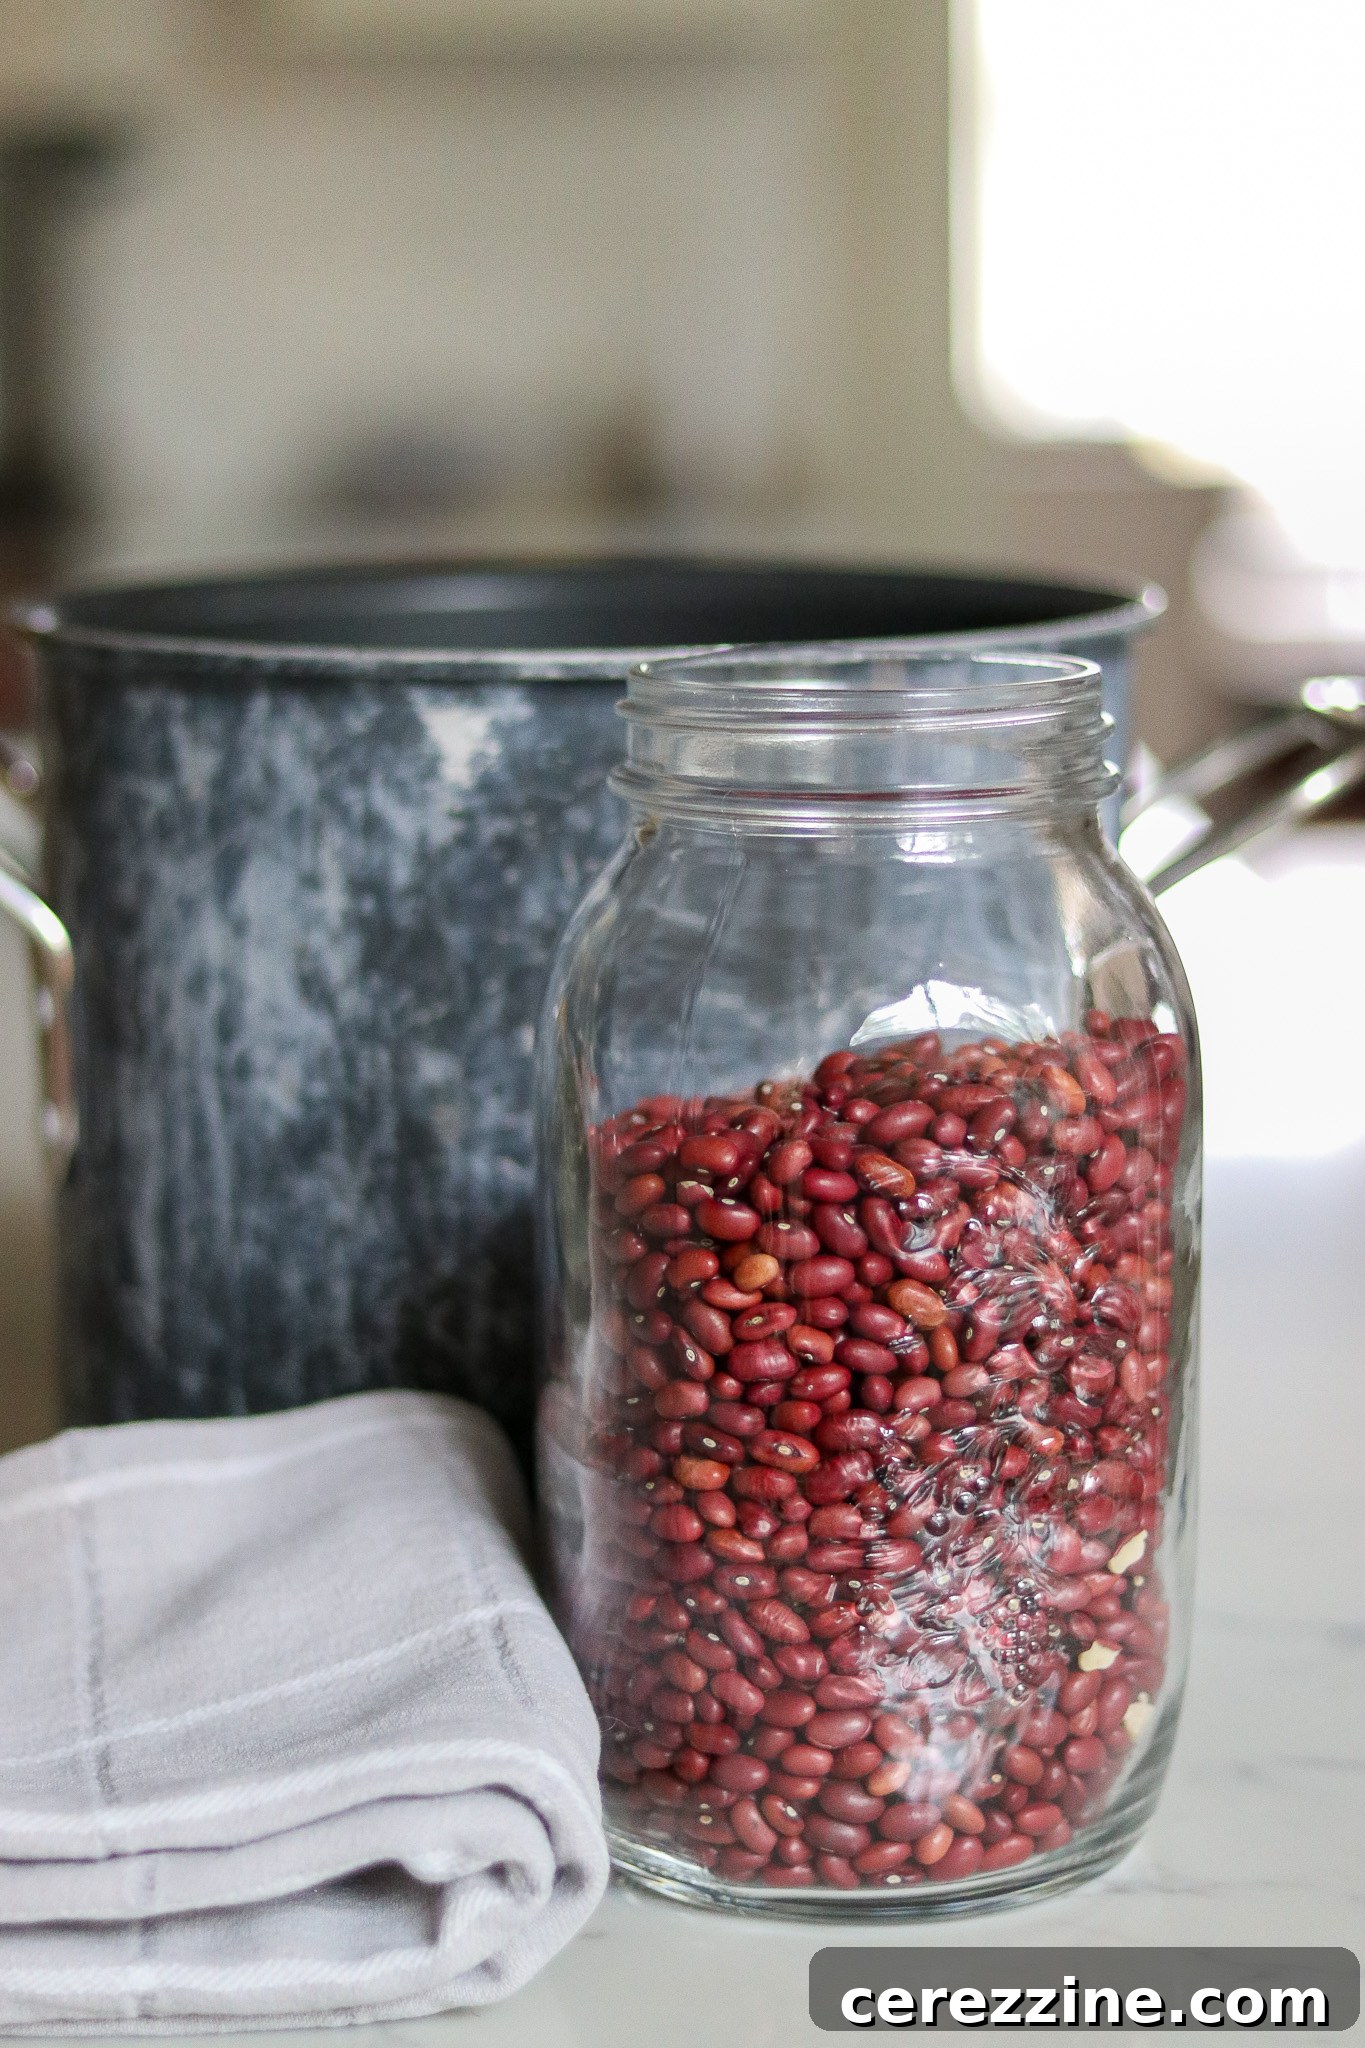
Red Beans: Soaking for Success
The dried red beans are the star of this dish, and proper preparation is paramount for safe and successful canning. Before cooking, the beans must be either soaked overnight or subjected to a quick-soak method. This crucial step allows the beans to fully rehydrate. Skipping this can lead to the beans absorbing the precious canning liquid from your jars during processing, resulting in insufficient liquid and compromising the safety seal and quality of your canned product.
For the **overnight soak**, simply place the 2 lbs of dried red beans in a large pot or bowl and cover them with at least 8-10 cups of water. The beans will expand significantly, so ensure there’s ample room and water. Let them soak for 8-12 hours, or overnight, at room temperature. After soaking, drain the beans thoroughly and discard the soaking water before proceeding with the recipe.
Alternatively, if you’re short on time, the **quick-soak method** is an effective option. Begin by placing the dried beans in a large pot and covering them generously with water. Bring the water to a rolling boil over high heat. Boil vigorously for exactly 1 minute, then remove the pot from the heat. Cover the pot with a lid and let the beans stand in the hot water for 1 hour. After an hour, drain the beans well, discarding the water, and they will be ready to use in the recipe. Both methods achieve the necessary rehydration for optimal canning results.
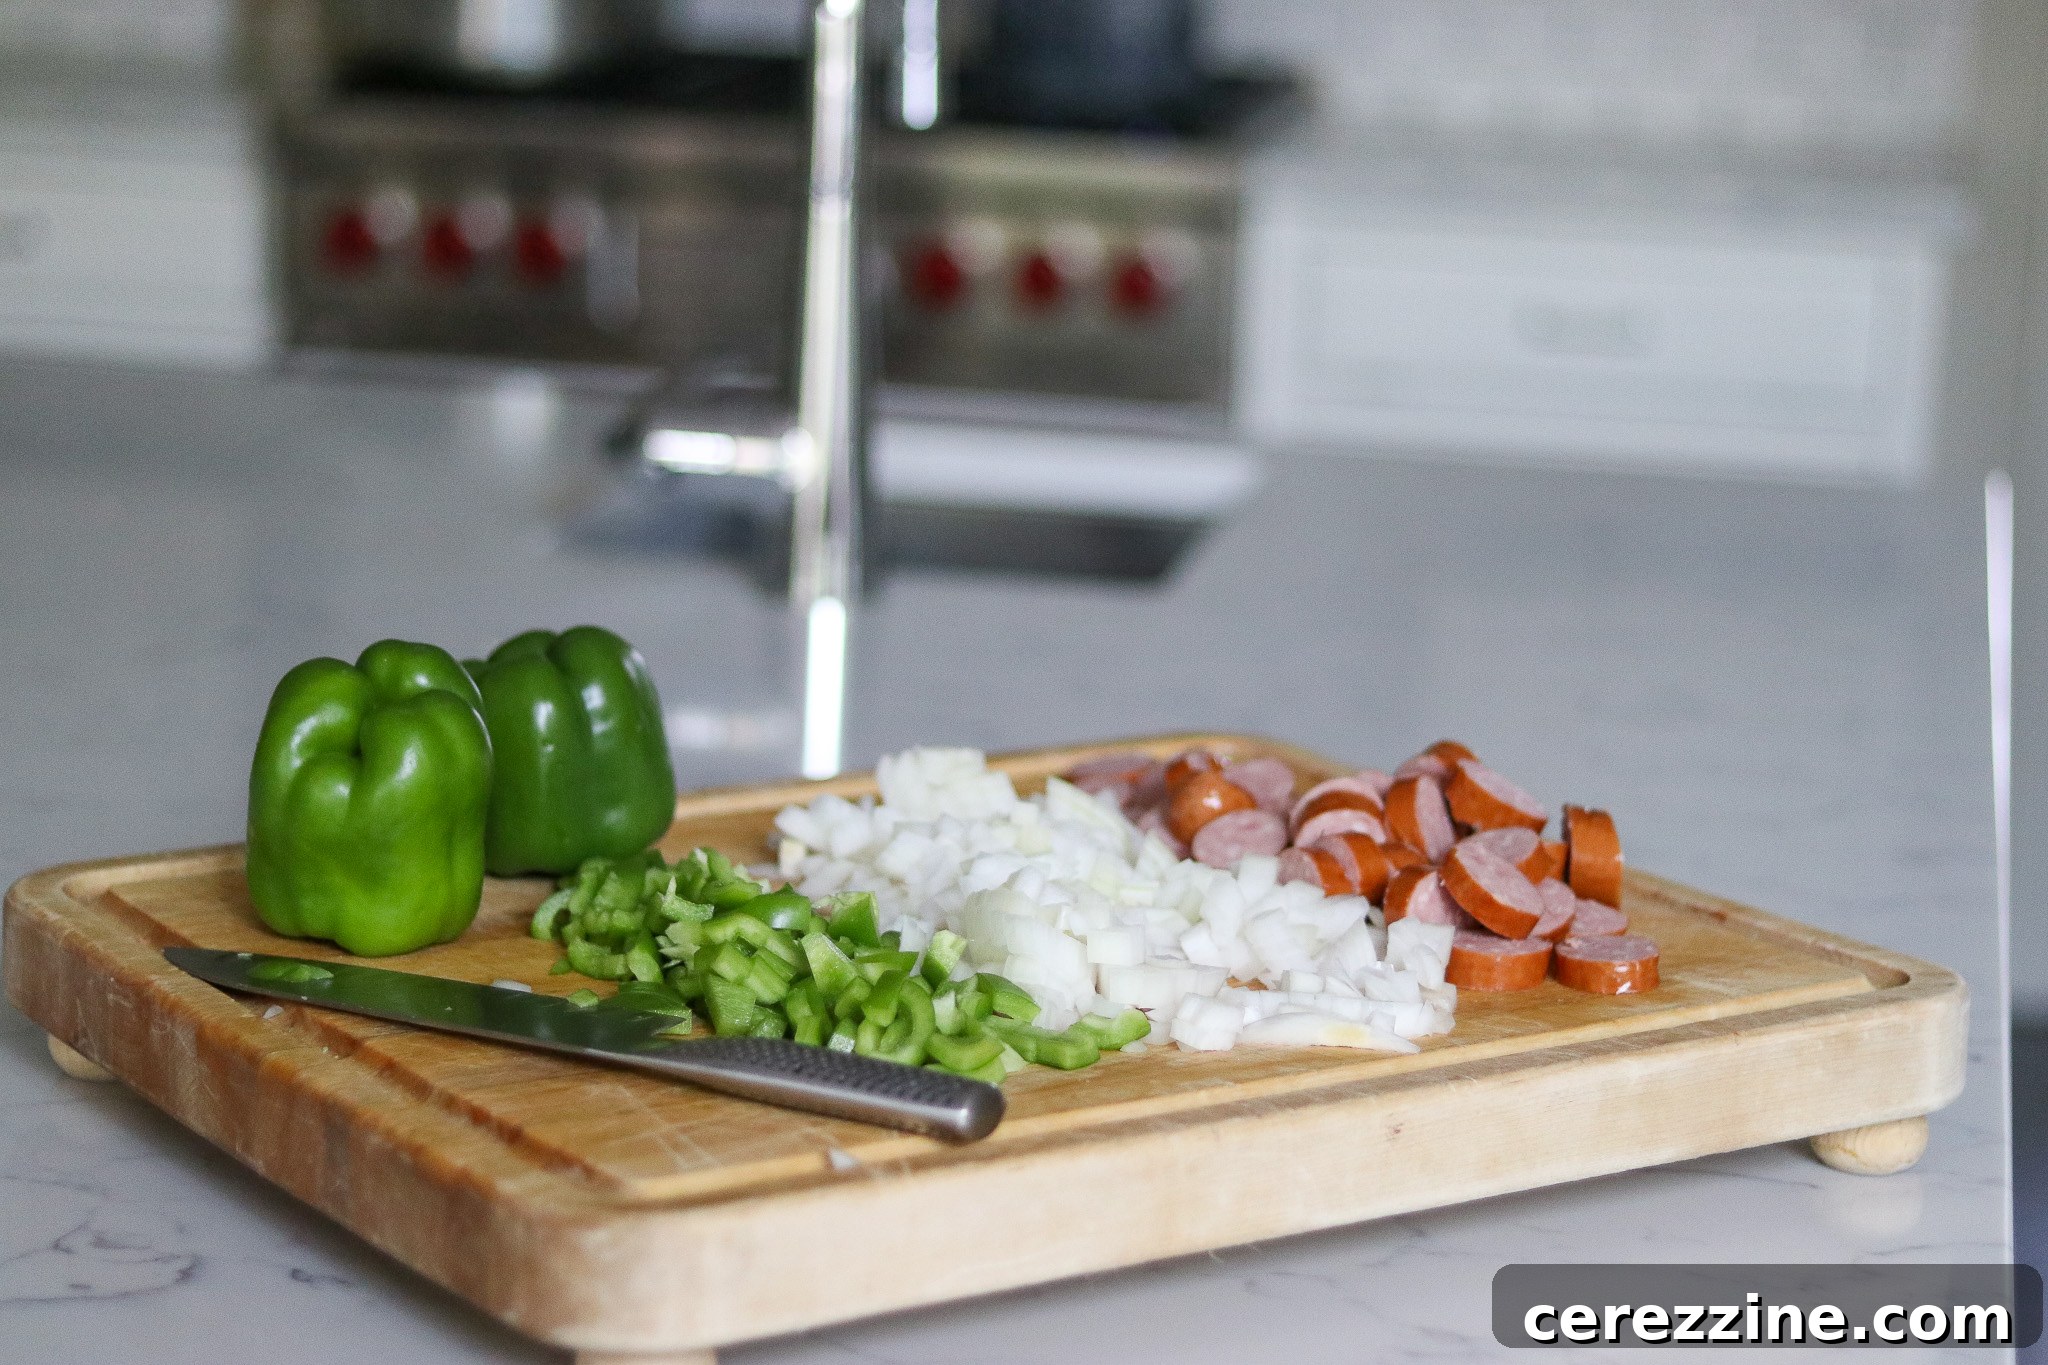
Flavorful Vegetables: Onions, Peppers, and Garlic
The addition of fresh vegetables significantly enhances the overall flavor profile of these Cajun red beans. This recipe includes onions and bell peppers, both of which are optional but highly recommended for an authentic taste. If you prefer not to include them, simply omit them from the recipe; however, be prepared to add a bit more boiling water to your jars to ensure adequate liquid and proper headspace during canning. It is important not to exceed the specified quantities for these vegetables to maintain canning safety standards.
For the **onions**, the recipe calls for 4 cups of finely chopped onion, which typically translates to about 1 ½ pounds of whole onions before peeling and chopping. Any variety of onion will work, though yellow or white onions are commonly used in Cajun cooking.
As for **peppers**, you have the freedom to choose between hot or sweet varieties. Bell peppers are a popular choice, and approximately 2 to 3 medium-sized bell peppers will yield the required 2 cups chopped. You can also opt for canned peppers as a convenient substitute for fresh ones, ensuring they are well-drained before adding them to the pot. For an extra kick, a small amount of minced fresh garlic can be used in place of, or in addition to, the garlic powder, allowing you to tailor the aromatic intensity to your liking.
Crafting the Perfect Cajun Seasoning Blend
One of the beauties of pressure canning recipes, particularly those featuring robust flavors, is the inherent flexibility regarding dry spices. You are generally allowed to adjust the types, quantities, and proportions of dry seasonings to suit your personal taste preferences, provided you use “reasonable amounts.” This means avoiding an excessive quantity that could turn the entire mixture into a thick paste or significantly alter the density of the product, which could impact heat penetration during processing. Normal seasoning amounts are perfectly acceptable and encouraged to achieve your desired flavor.
While Ball’s traditional Louisiana Red Beans recipe might suggest a simpler seasoning palette of just dried thyme and bay leaves, many enthusiasts find this insufficient for a truly “Cajun” or richly flavored red bean dish. Authentic red bean recipes are celebrated for their depth and complexity of spice.
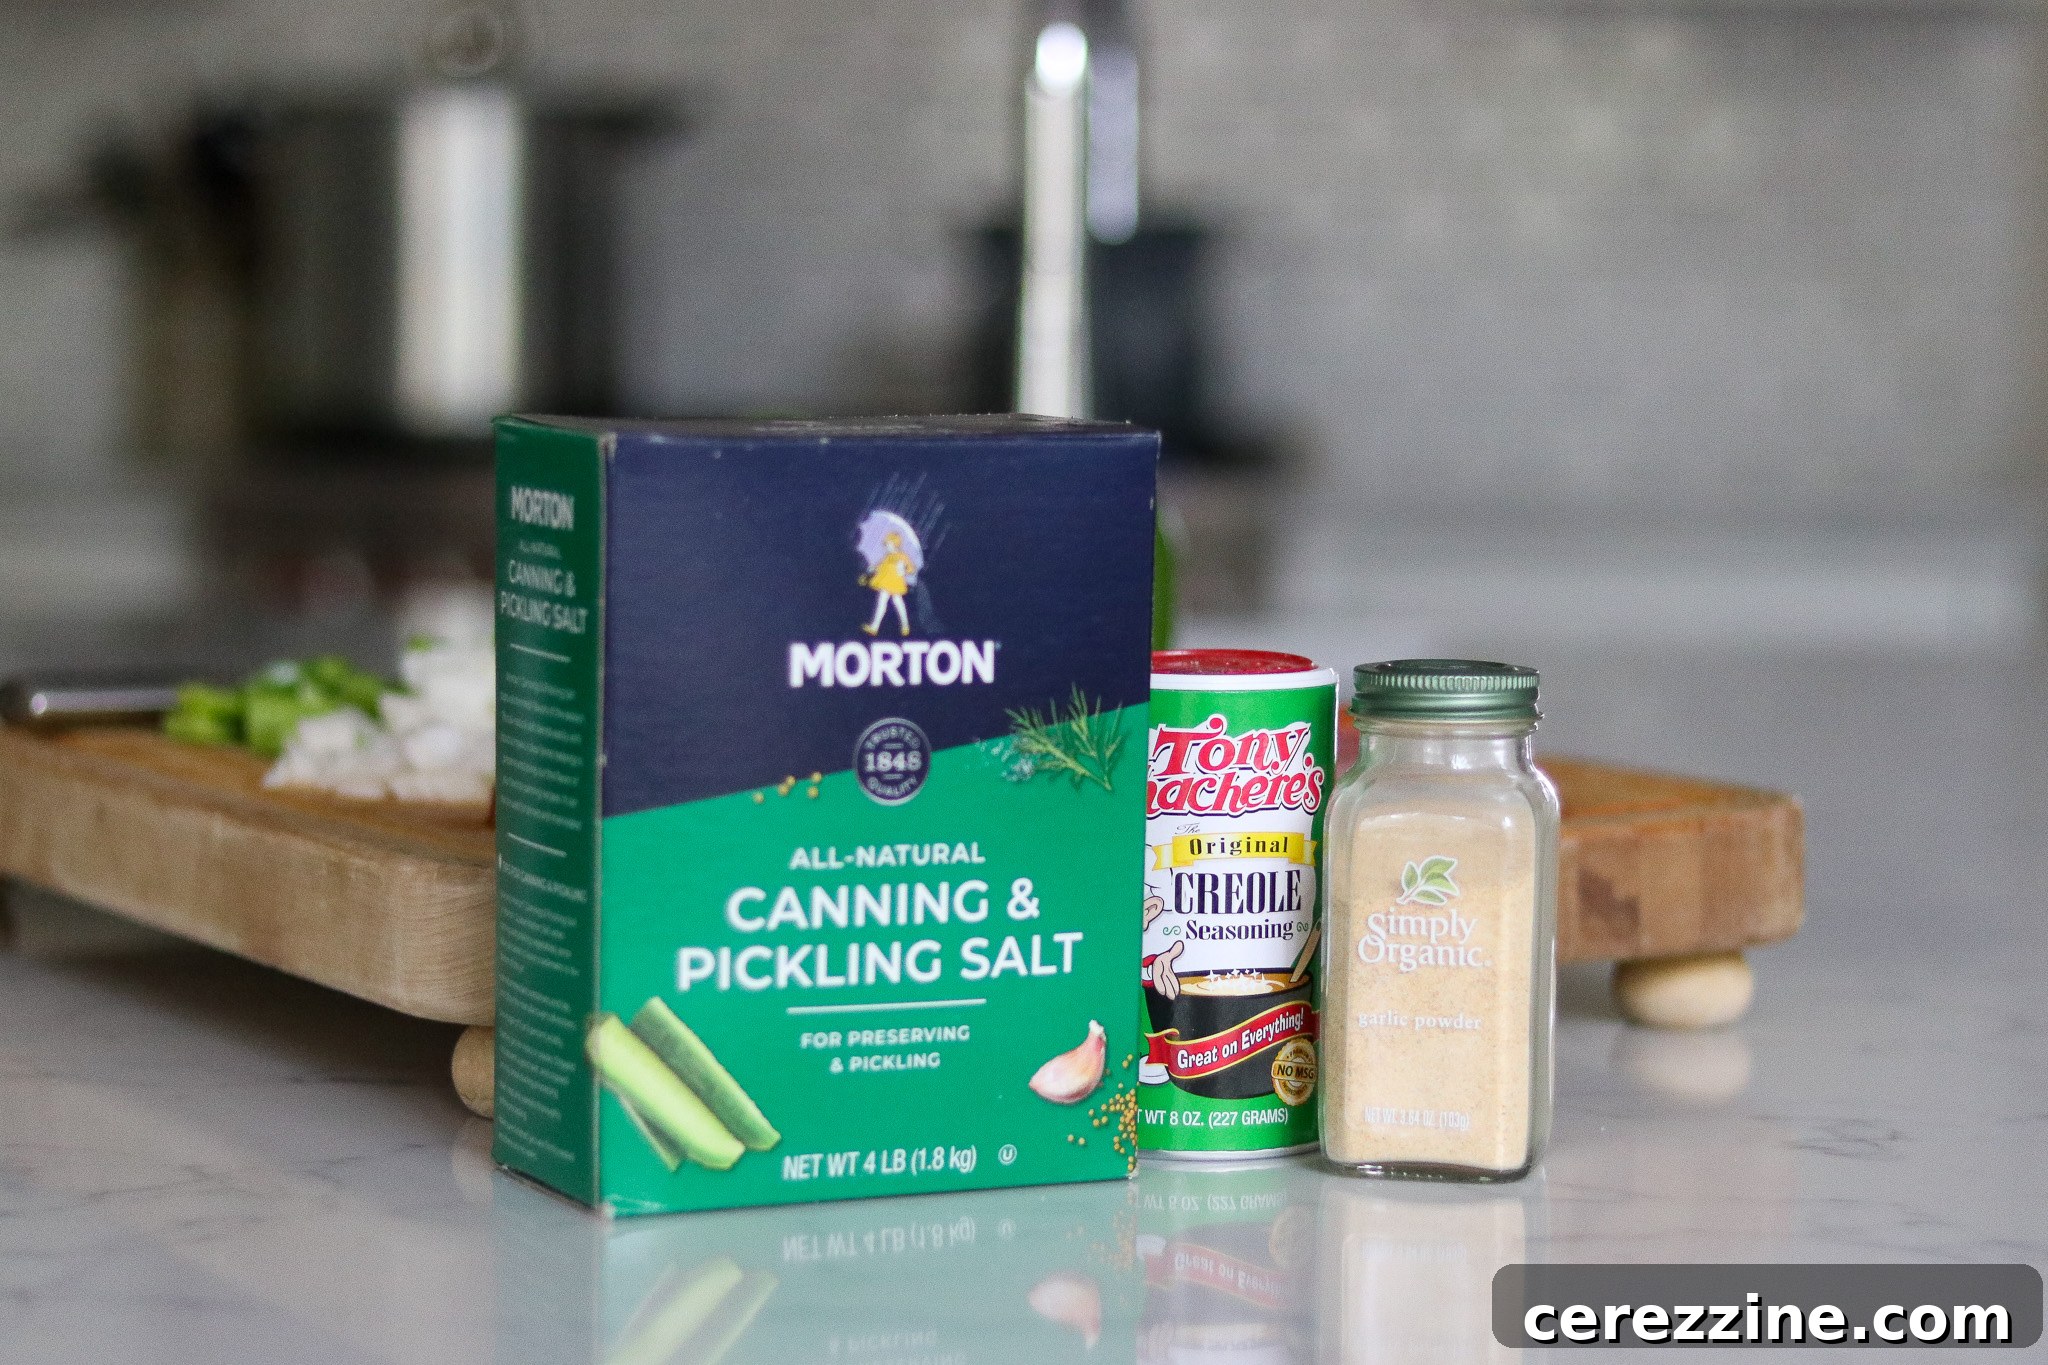
Angi Schneider’s recipe introduces 2 tablespoons of “Cajun Seasoning,” which can sometimes be challenging to find outside of the Southern United States. Generally, a classic Cajun seasoning blend typically includes:
- Paprika (sweet or smoked)
- Garlic Powder
- Onion Powder
- White Pepper
- Black Pepper
- Dried Oregano
- Dried Thyme
- Cayenne Pepper
To ensure a robust and authentic flavor profile, this recipe increases the spicing slightly to 3 tablespoons of either a store-bought Cajun or Creole seasoning blend, or you can easily create your own at home with the following ingredients:
- 2 tsp Dried Oregano
- 2 tsp Dried Thyme
- 2 tsp Ground White Pepper
- 1 tsp Black Pepper
- 1 tsp Garlic Powder
- 1 to 3 tsp Cayenne Pepper (optional, adjust to your preferred heat level)
Remember, all these spices are adaptable, so feel free to modify the blend to perfectly match your taste buds, ensuring a homemade canned dish that’s uniquely yours.
Sausage and Bacon: Cured vs. Uncured in Canning
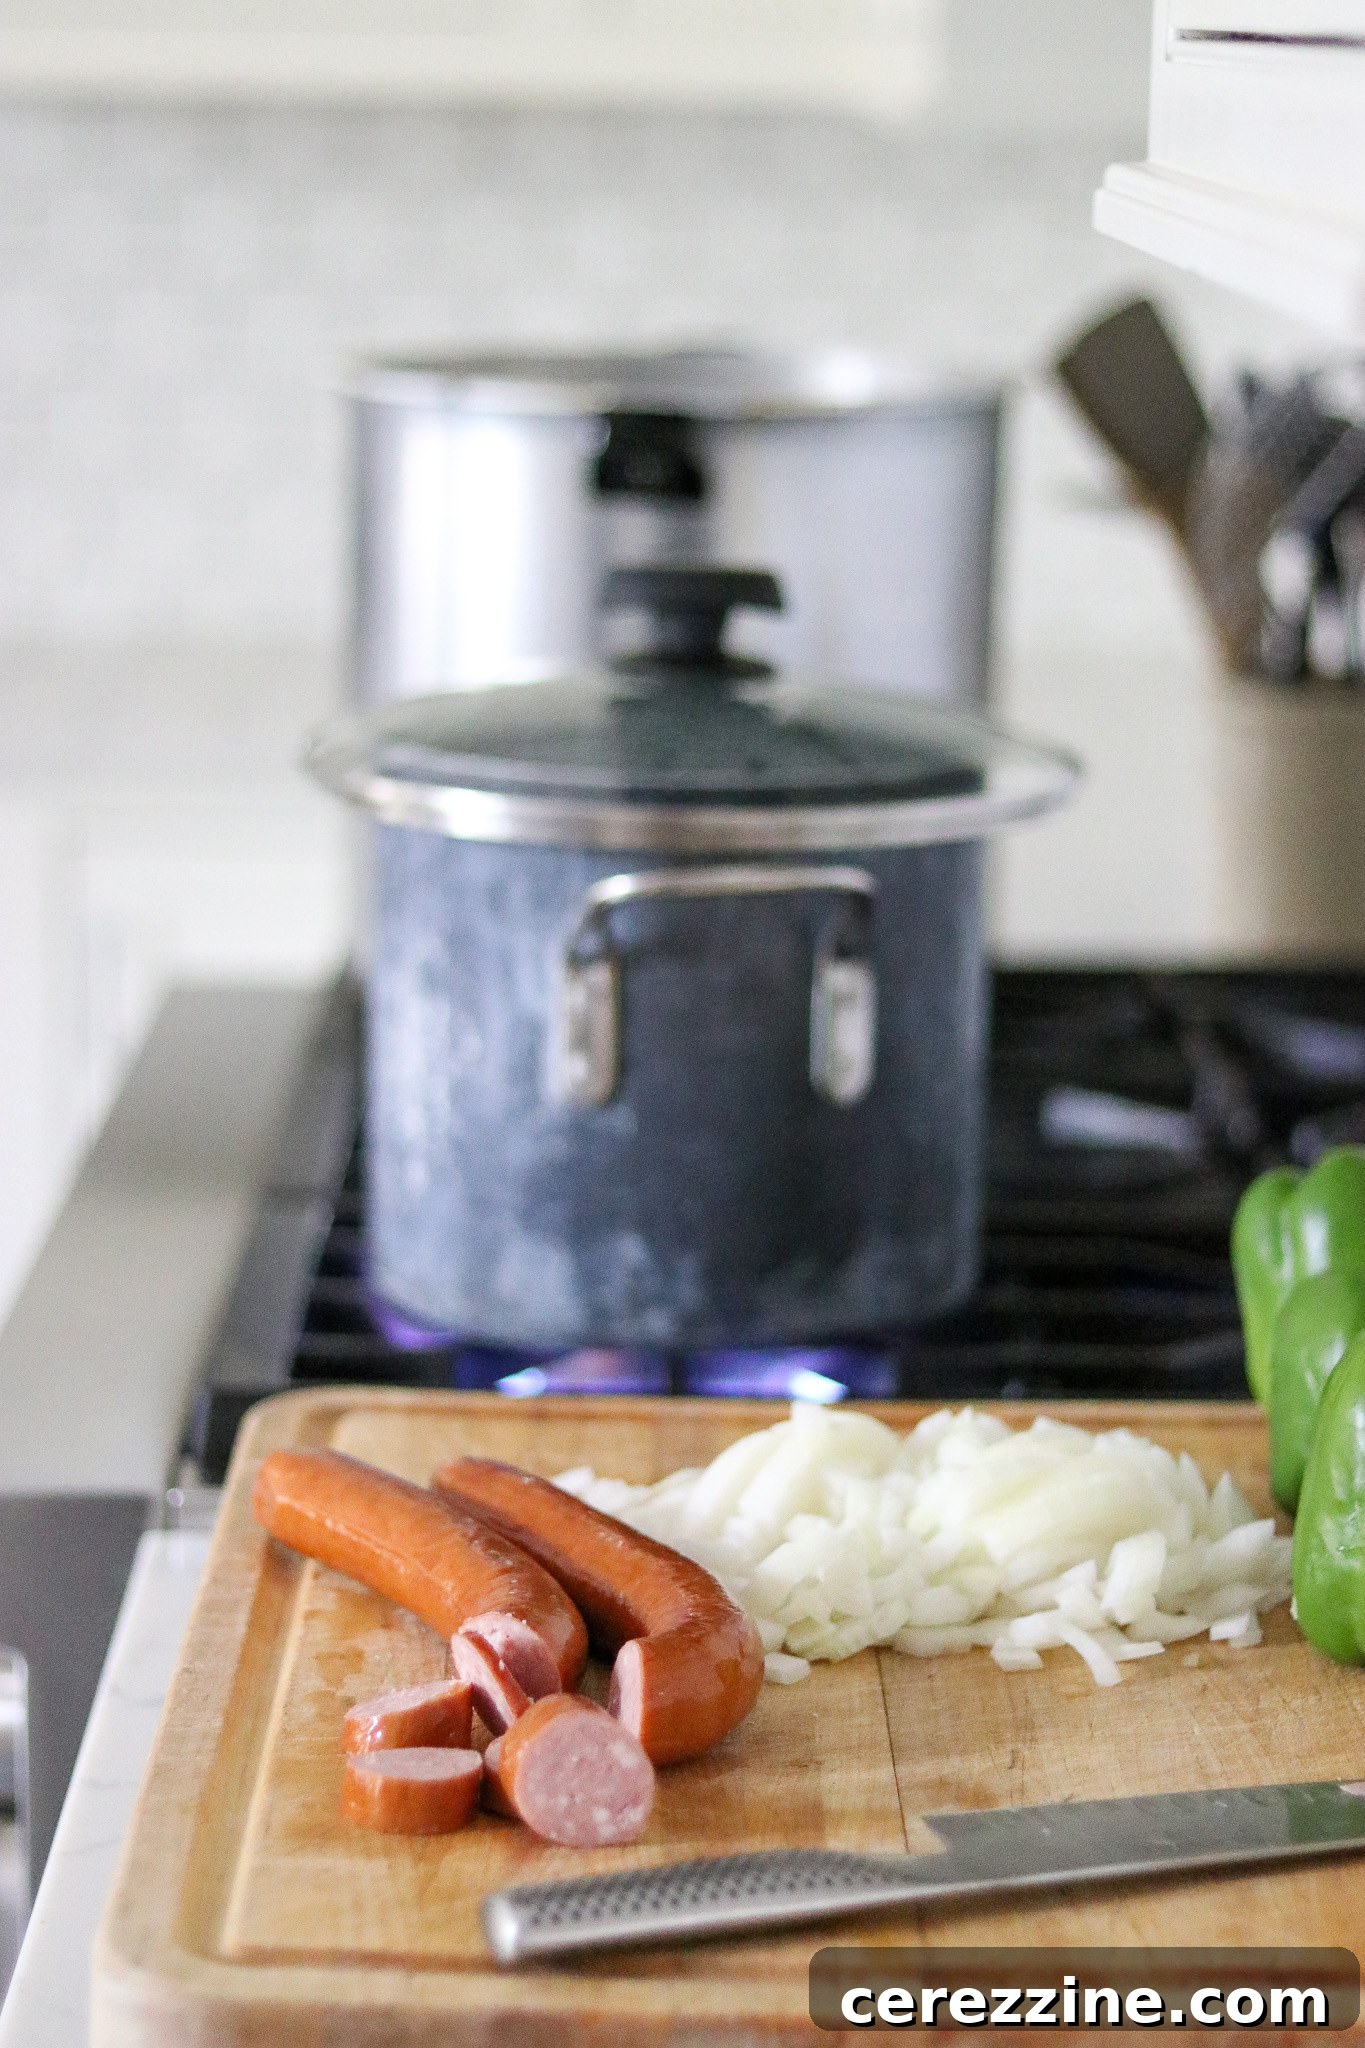
The inclusion of Andouille sausage and bacon adds a smoky, rich depth of flavor that is quintessential to Cajun red beans. Angi Schneider’s recipe specifically notes that any cased sausage can be used, provided it is uncured, meaning it does not contain nitrites or nitrates. The general rule in home canning is to avoid cured meats because their denser texture can impede heat penetration during the pressure canning process, potentially compromising safety. However, there are notable exceptions to this rule, such as home canned baked beans and ham and bean soup, where cured meats have been safely incorporated into tested recipes.
Interestingly, Ball Canning’s recipe for Louisiana Red Beans explicitly calls for regular smoked Andouille sausage and bacon, neither of which specify a nitrite-free requirement. Ball’s recipe is a thoroughly tested and approved method, even going so far as to include making your own ham stock from a ham bone and adding the remaining cured ham meat to the finished product. This highlights that if a cured meat is part of a professionally tested and approved canning recipe, it is safe to use as directed.
Ultimately, the choice between cured and uncured meats depends on your personal comfort level and adherence to specific recipe guidelines. If you are using a tested recipe that includes cured meats, you can proceed with confidence. Regardless of your choice, it is crucial not to increase the total amount of meat beyond what is specified in the recipe, and always ensure that any added meat is sliced or chopped into small pieces, rather than large chunks, to facilitate proper heat distribution during processing. This attention to detail ensures both safety and the delicious outcome of your home-canned red beans.
Step-by-Step Guide to Canning Cajun Red Beans and Sausage
Preparation is Key
Before you begin the canning process, meticulously prepare your pressure canner according to the manufacturer’s instructions. This typically involves adding 2-3 inches of water to the bottom of the canner and bringing it to a gentle simmer (around 180°F/82°C) for hot pack canning. Simultaneously, prepare your canning jars, lids, and rings. This recipe yields approximately 7 quarts or 14 pints, so ensure you have enough sterilized jars on hand. Remember, your jars will only be filled about three-quarters full with solids, with the remaining space topped off with cooking broth or boiling water.
Cooking the Beans and Building Flavor
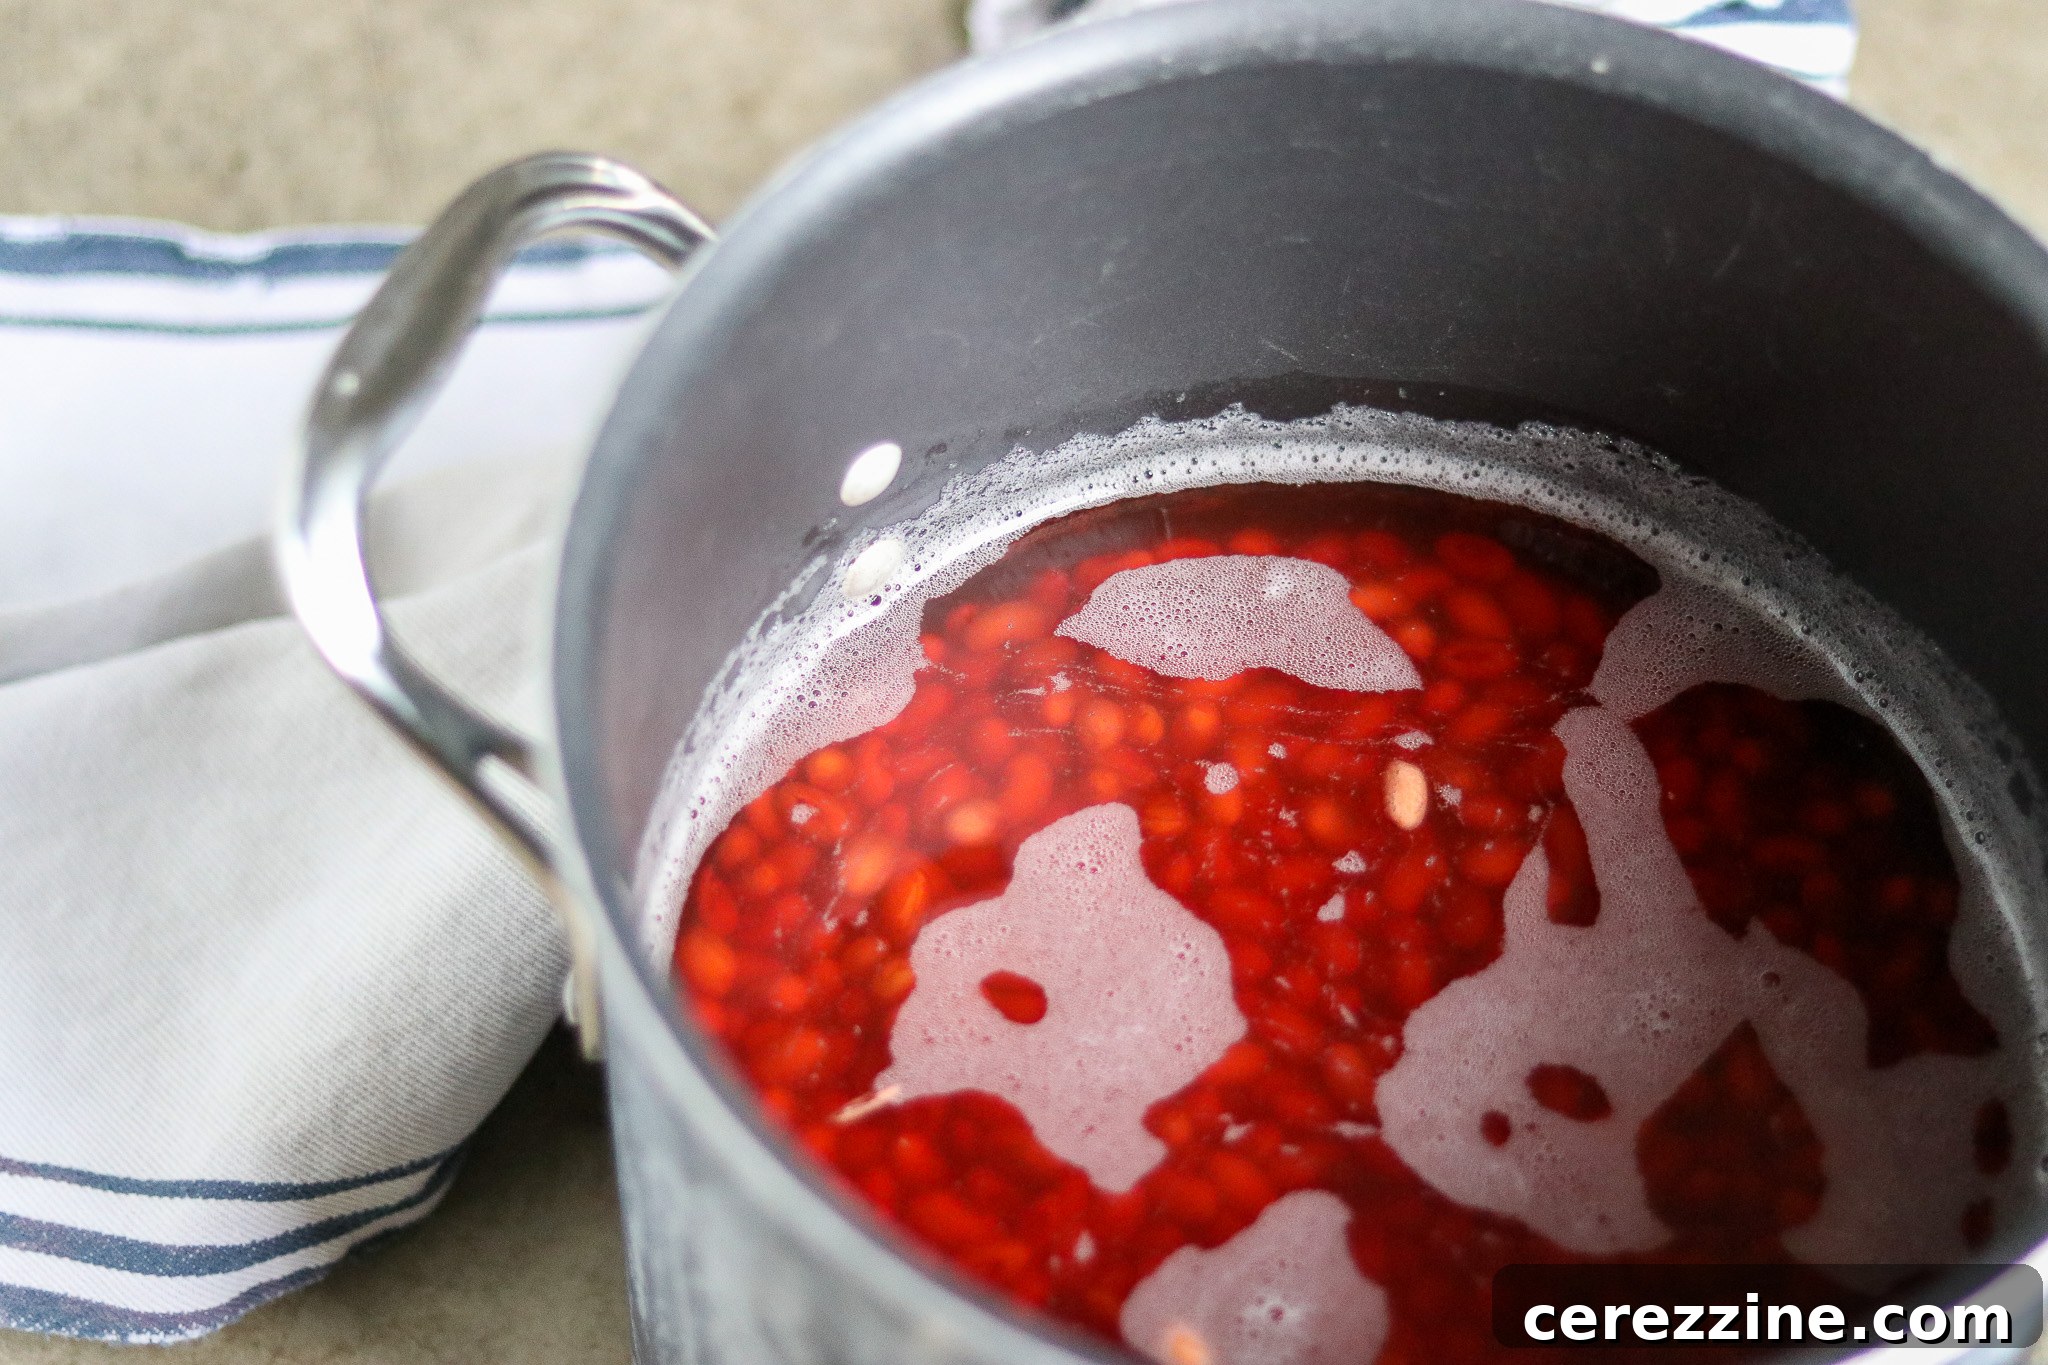
Once your beans have been properly soaked, drain them thoroughly and transfer them to a large stockpot. Add 6 cups of fresh water and 6 cups of chicken broth (or a combination, or all broth, to your preference). Bring this mixture to a strong boil over high heat, then reduce the heat to maintain a gentle boil and allow the beans to cook for 30 minutes. This pre-cooking step is vital for proper rehydration and texture.
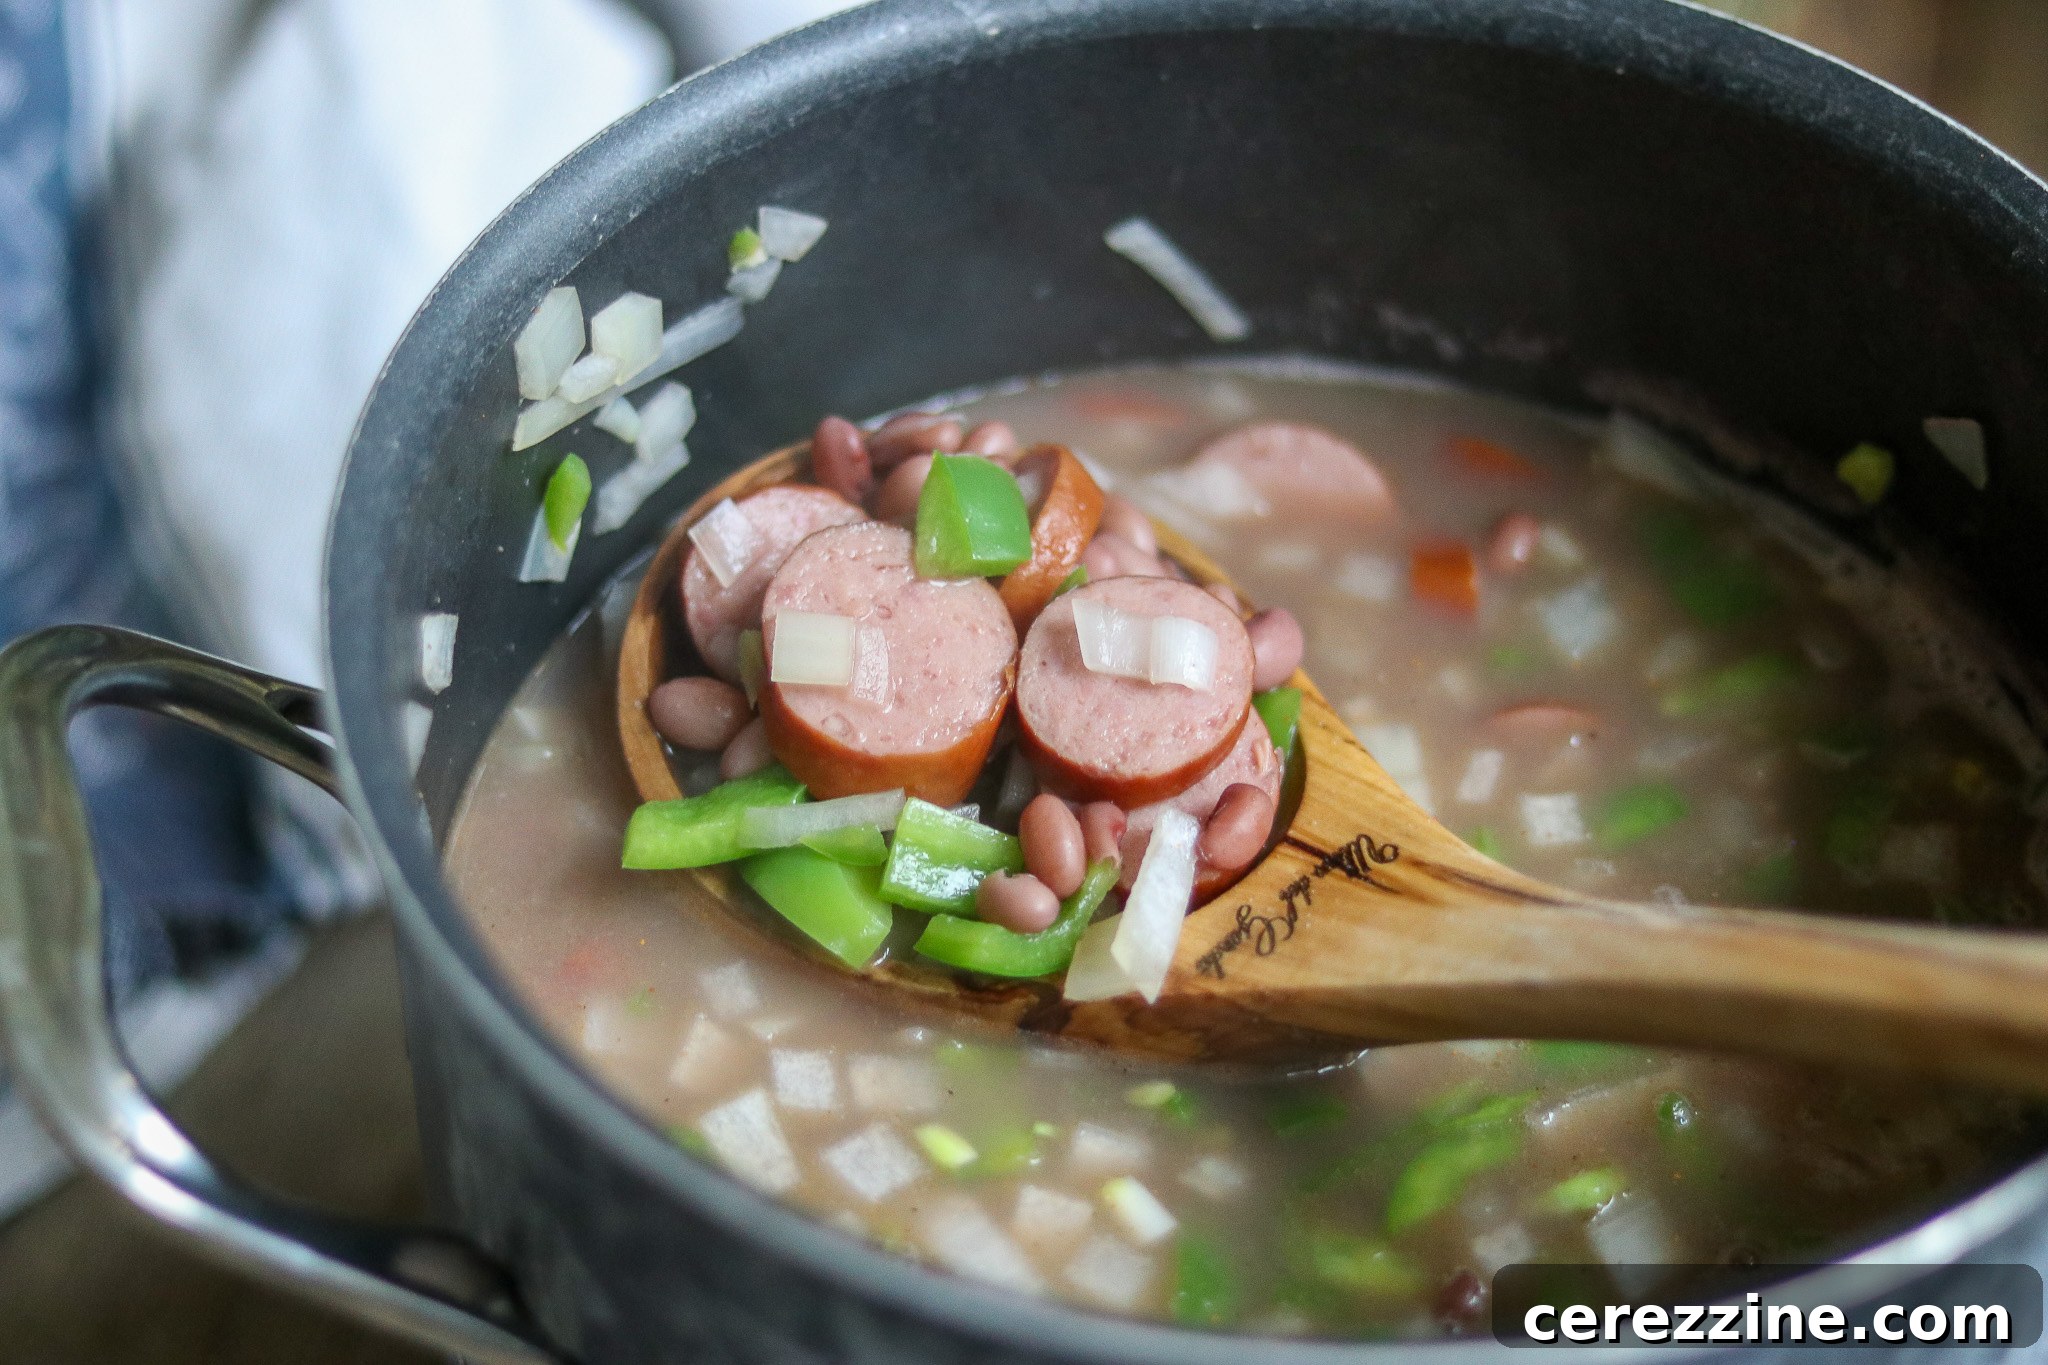
While the beans are simmering, take this opportunity to finely chop your onions and bell peppers. Add these chopped vegetables, along with all the specified dry spices (reserving the bay leaves for later), to the pot with the beans. Next, slice your sausage and chop the bacon into small, manageable pieces. In a separate skillet, brown both the sausage and bacon over medium heat until cooked through and slightly crispy. Once browned, add these flavorful meats to the simmering bean and vegetable mixture. At this stage, all ingredients except for the bay leaves should be combined in the pot.
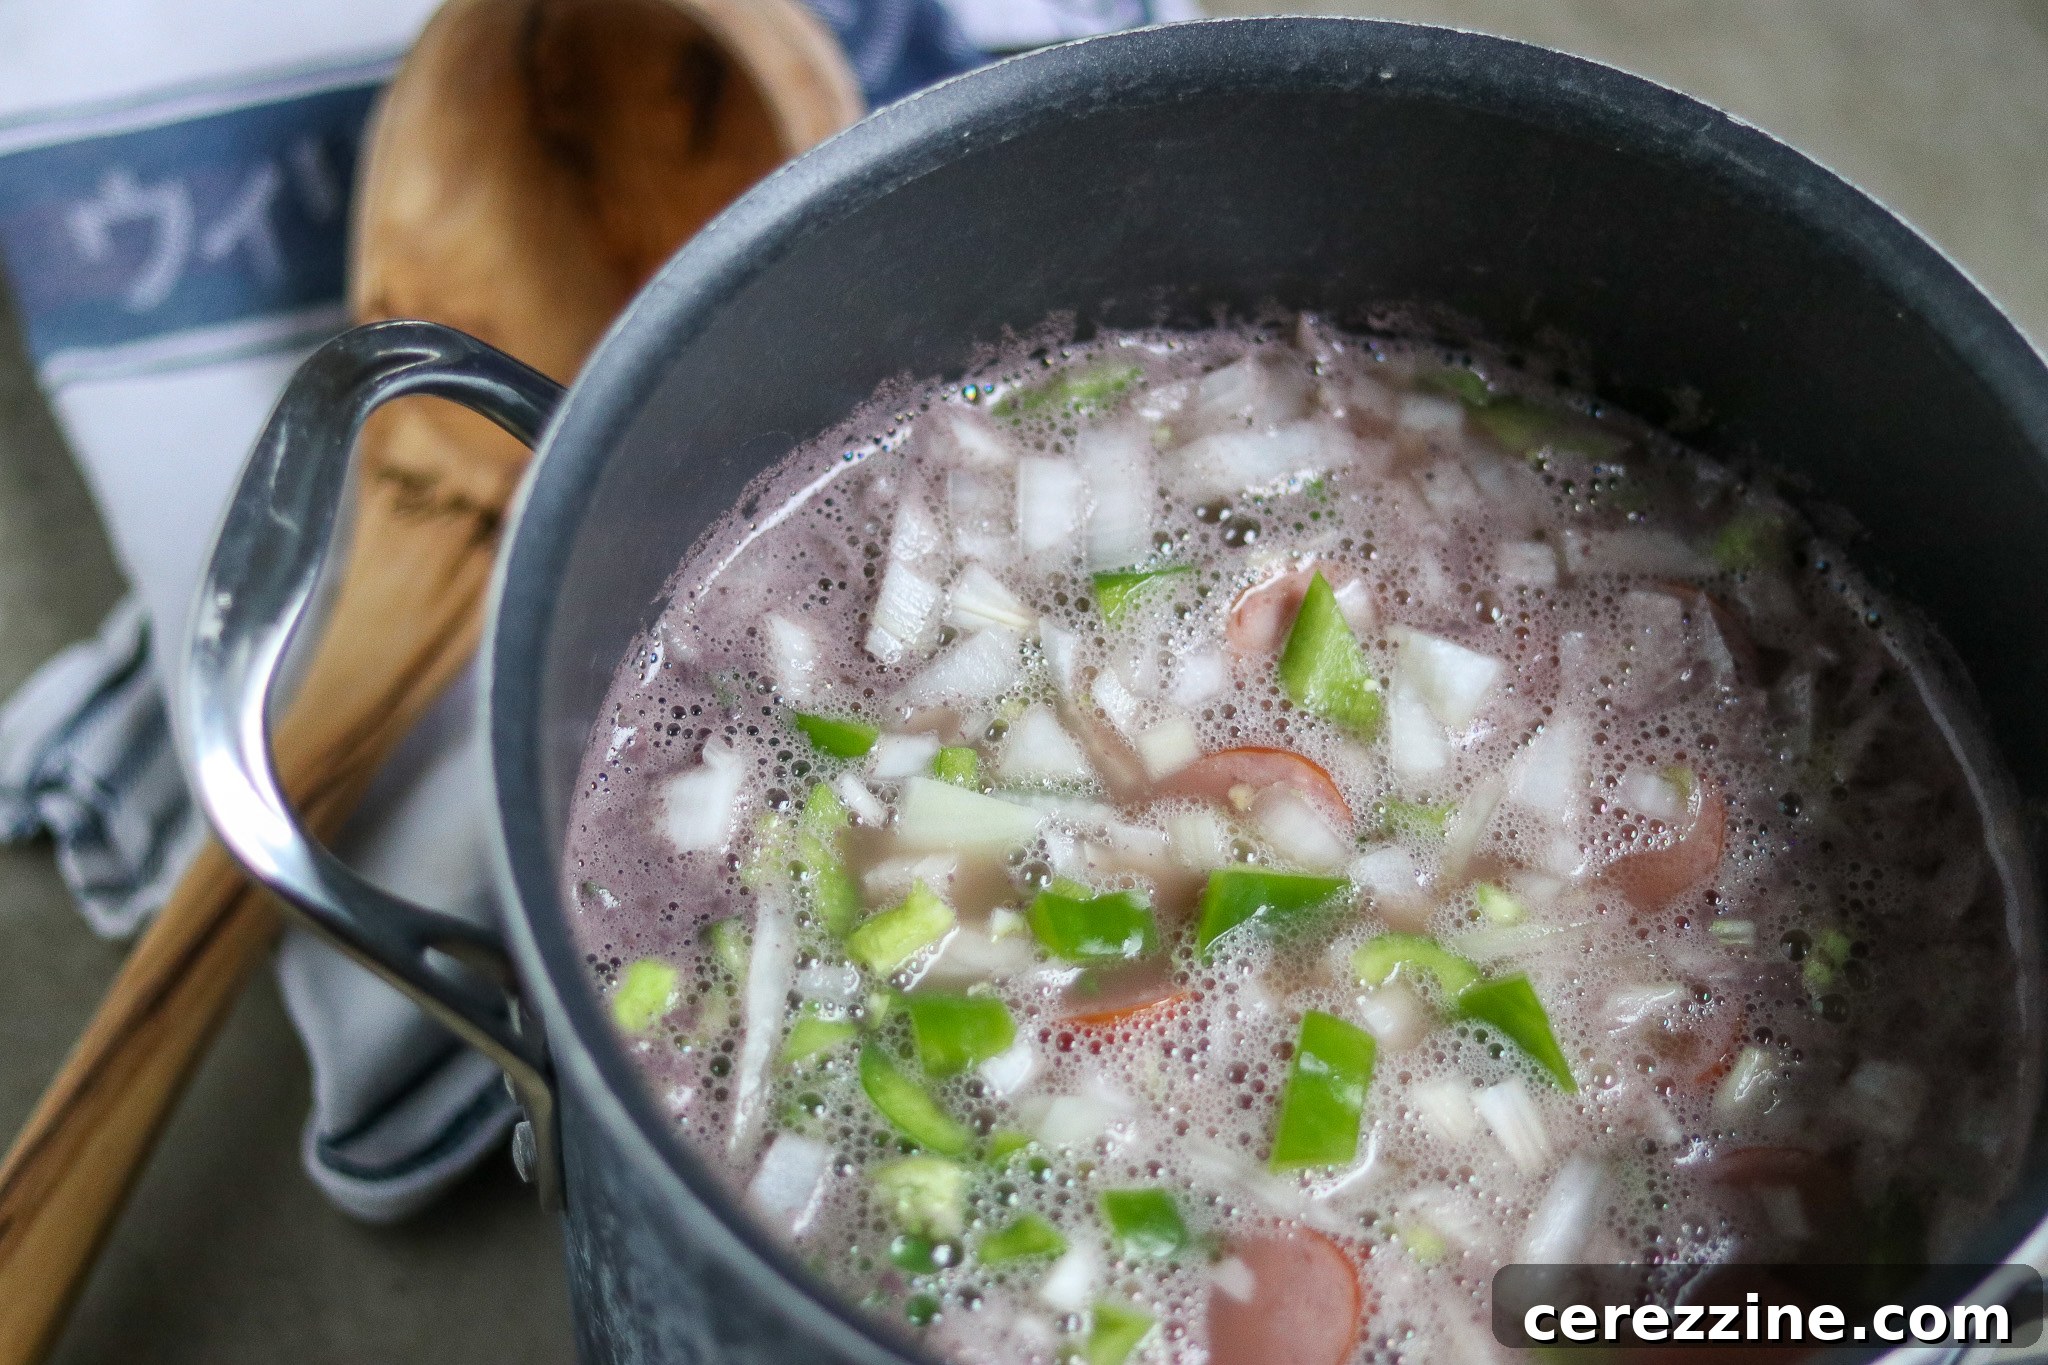
Filling the Jars
After the full 30 minutes of cooking time for the beans (and ensuring all other ingredients have simmered for at least 5 minutes to reach temperature), remove the stockpot from the heat. Carefully ladle the hot bean, meat, and vegetable mixture into your prepared hot canning jars. It’s crucial to distribute the solids evenly across all 7 quart jars (or 14 pint jars). Aim to fill each jar approximately three-quarters full with the solid ingredients. The remaining space will be filled with the hot cooking liquid, ensuring a proper 1-inch headspace.
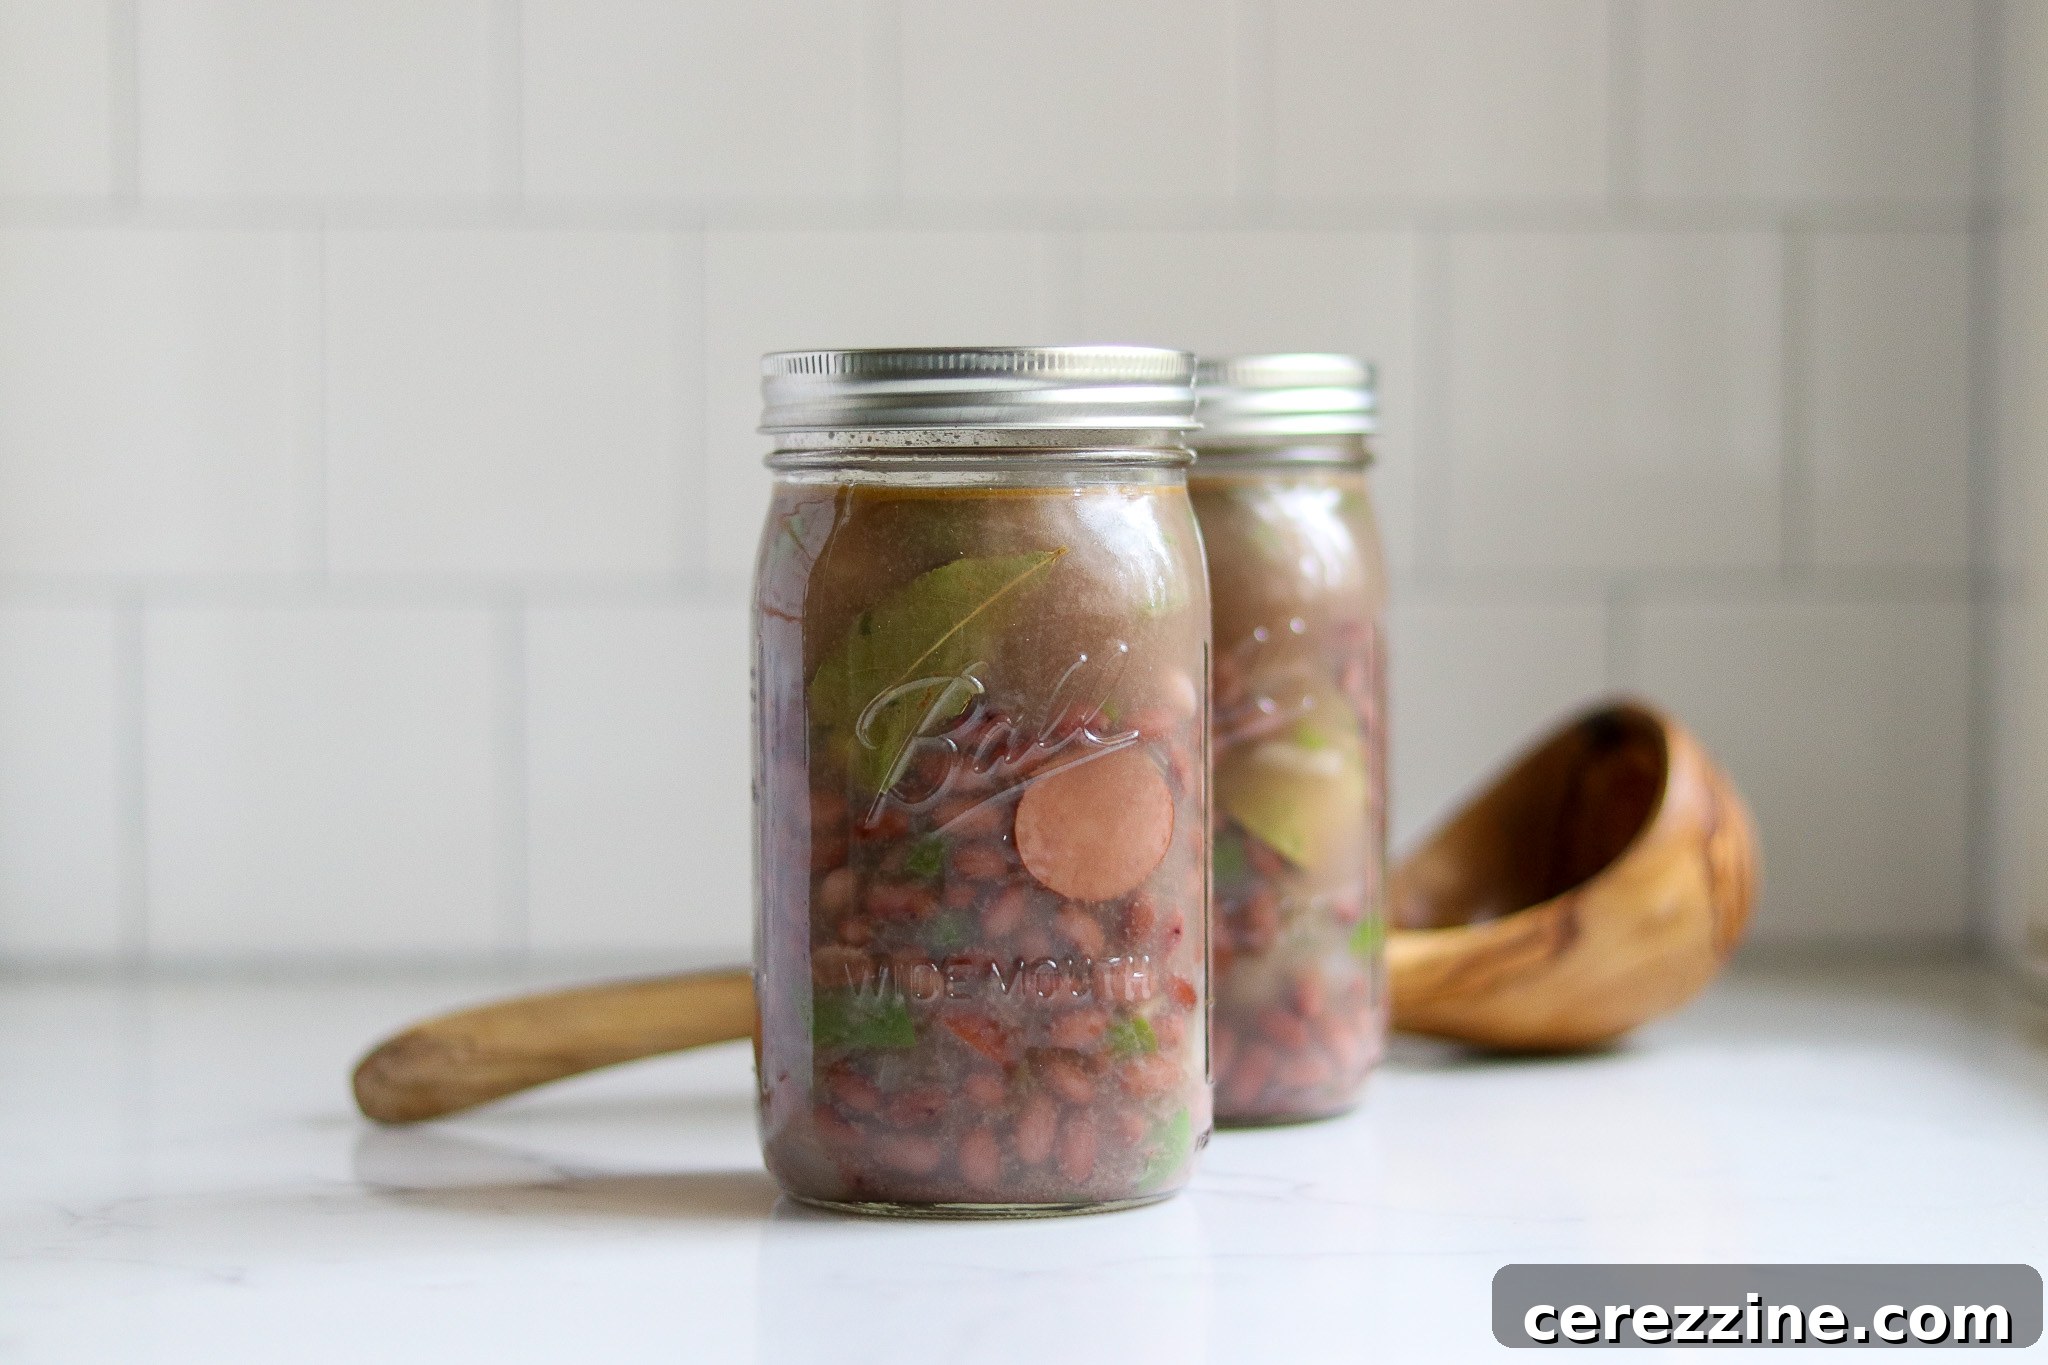
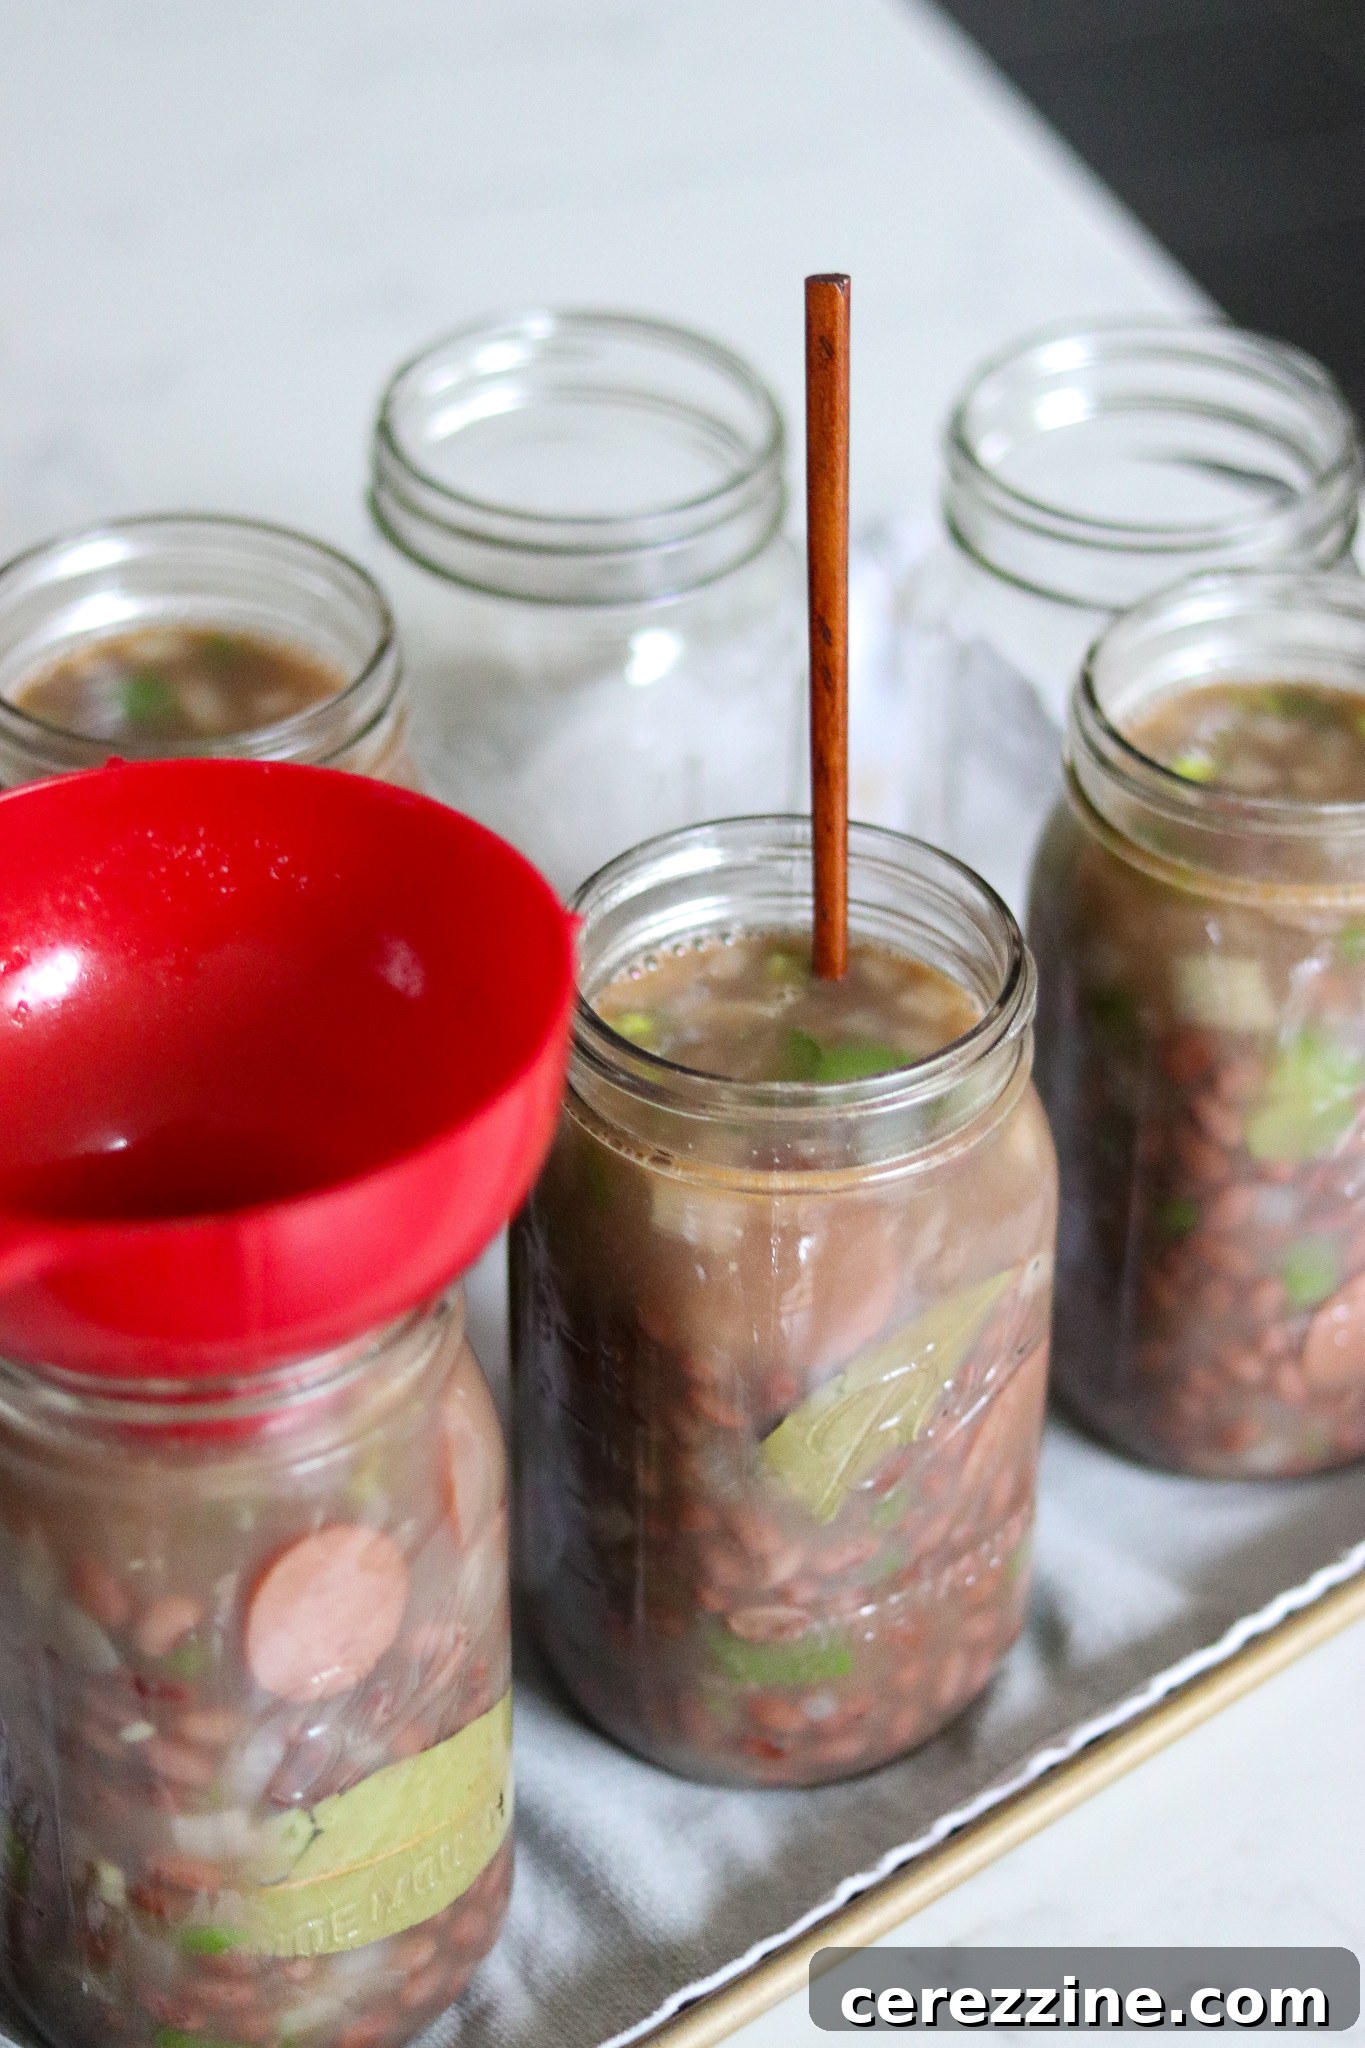
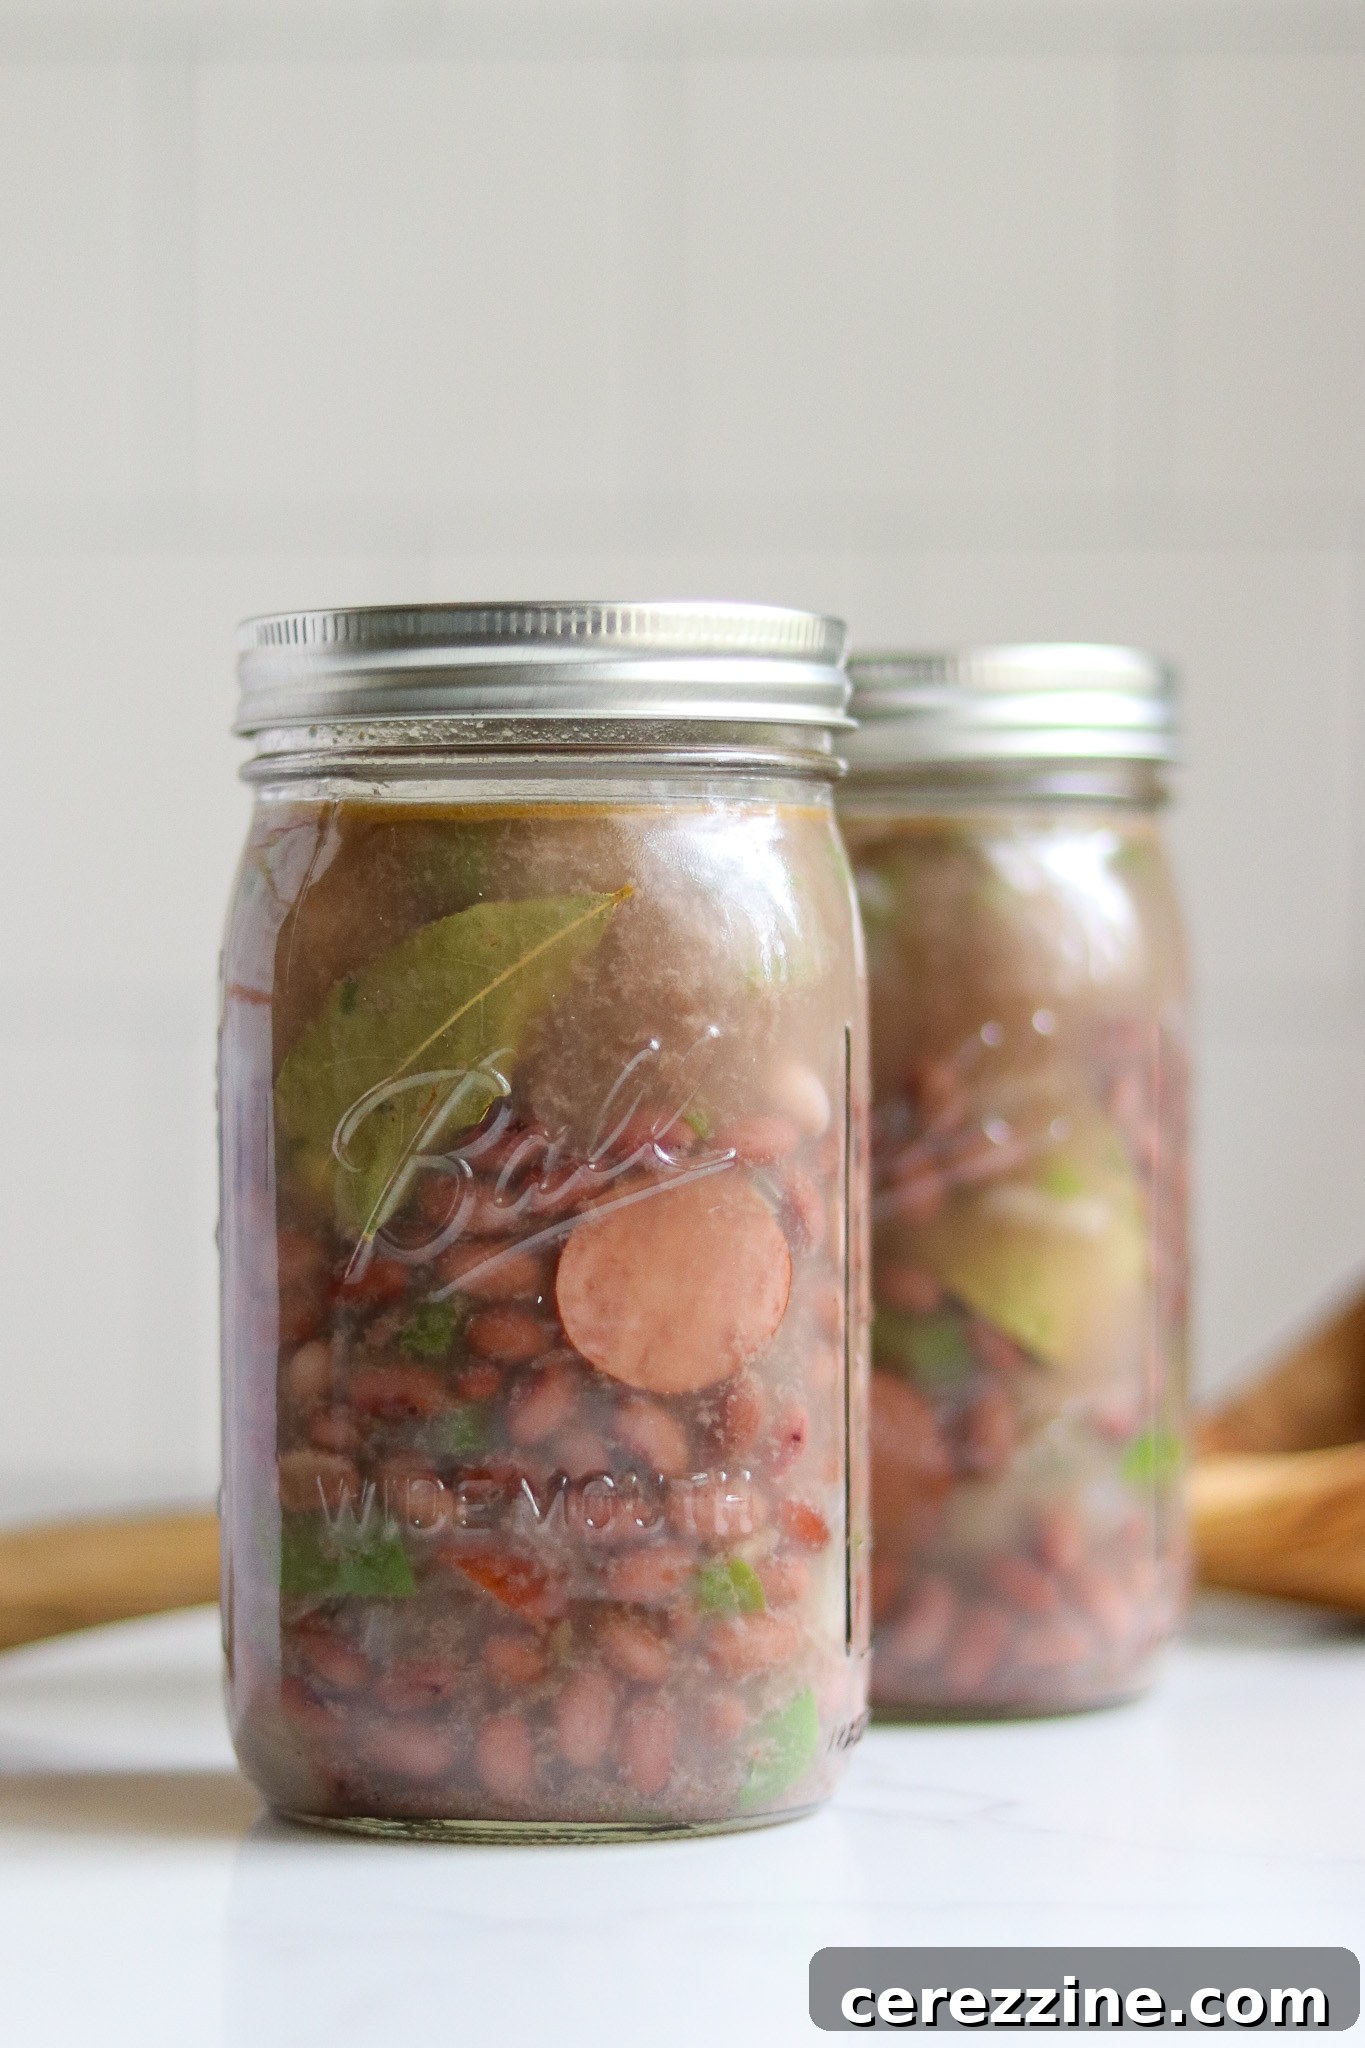
Once the solids are evenly distributed, carefully pour the hot cooking broth from the pot into each jar, ensuring you maintain precisely a 1-inch headspace from the rim of the jar. If you find yourself short on liquid, use freshly boiled water to top off the jars to the correct headspace. Although the solids might float slightly, this is entirely normal and acceptable in pressure canning; just ensure they are evenly distributed before adding the liquid. Finally, add a single bay leaf to each quart jar, or half a bay leaf to each pint jar, for an extra layer of aromatic flavor.
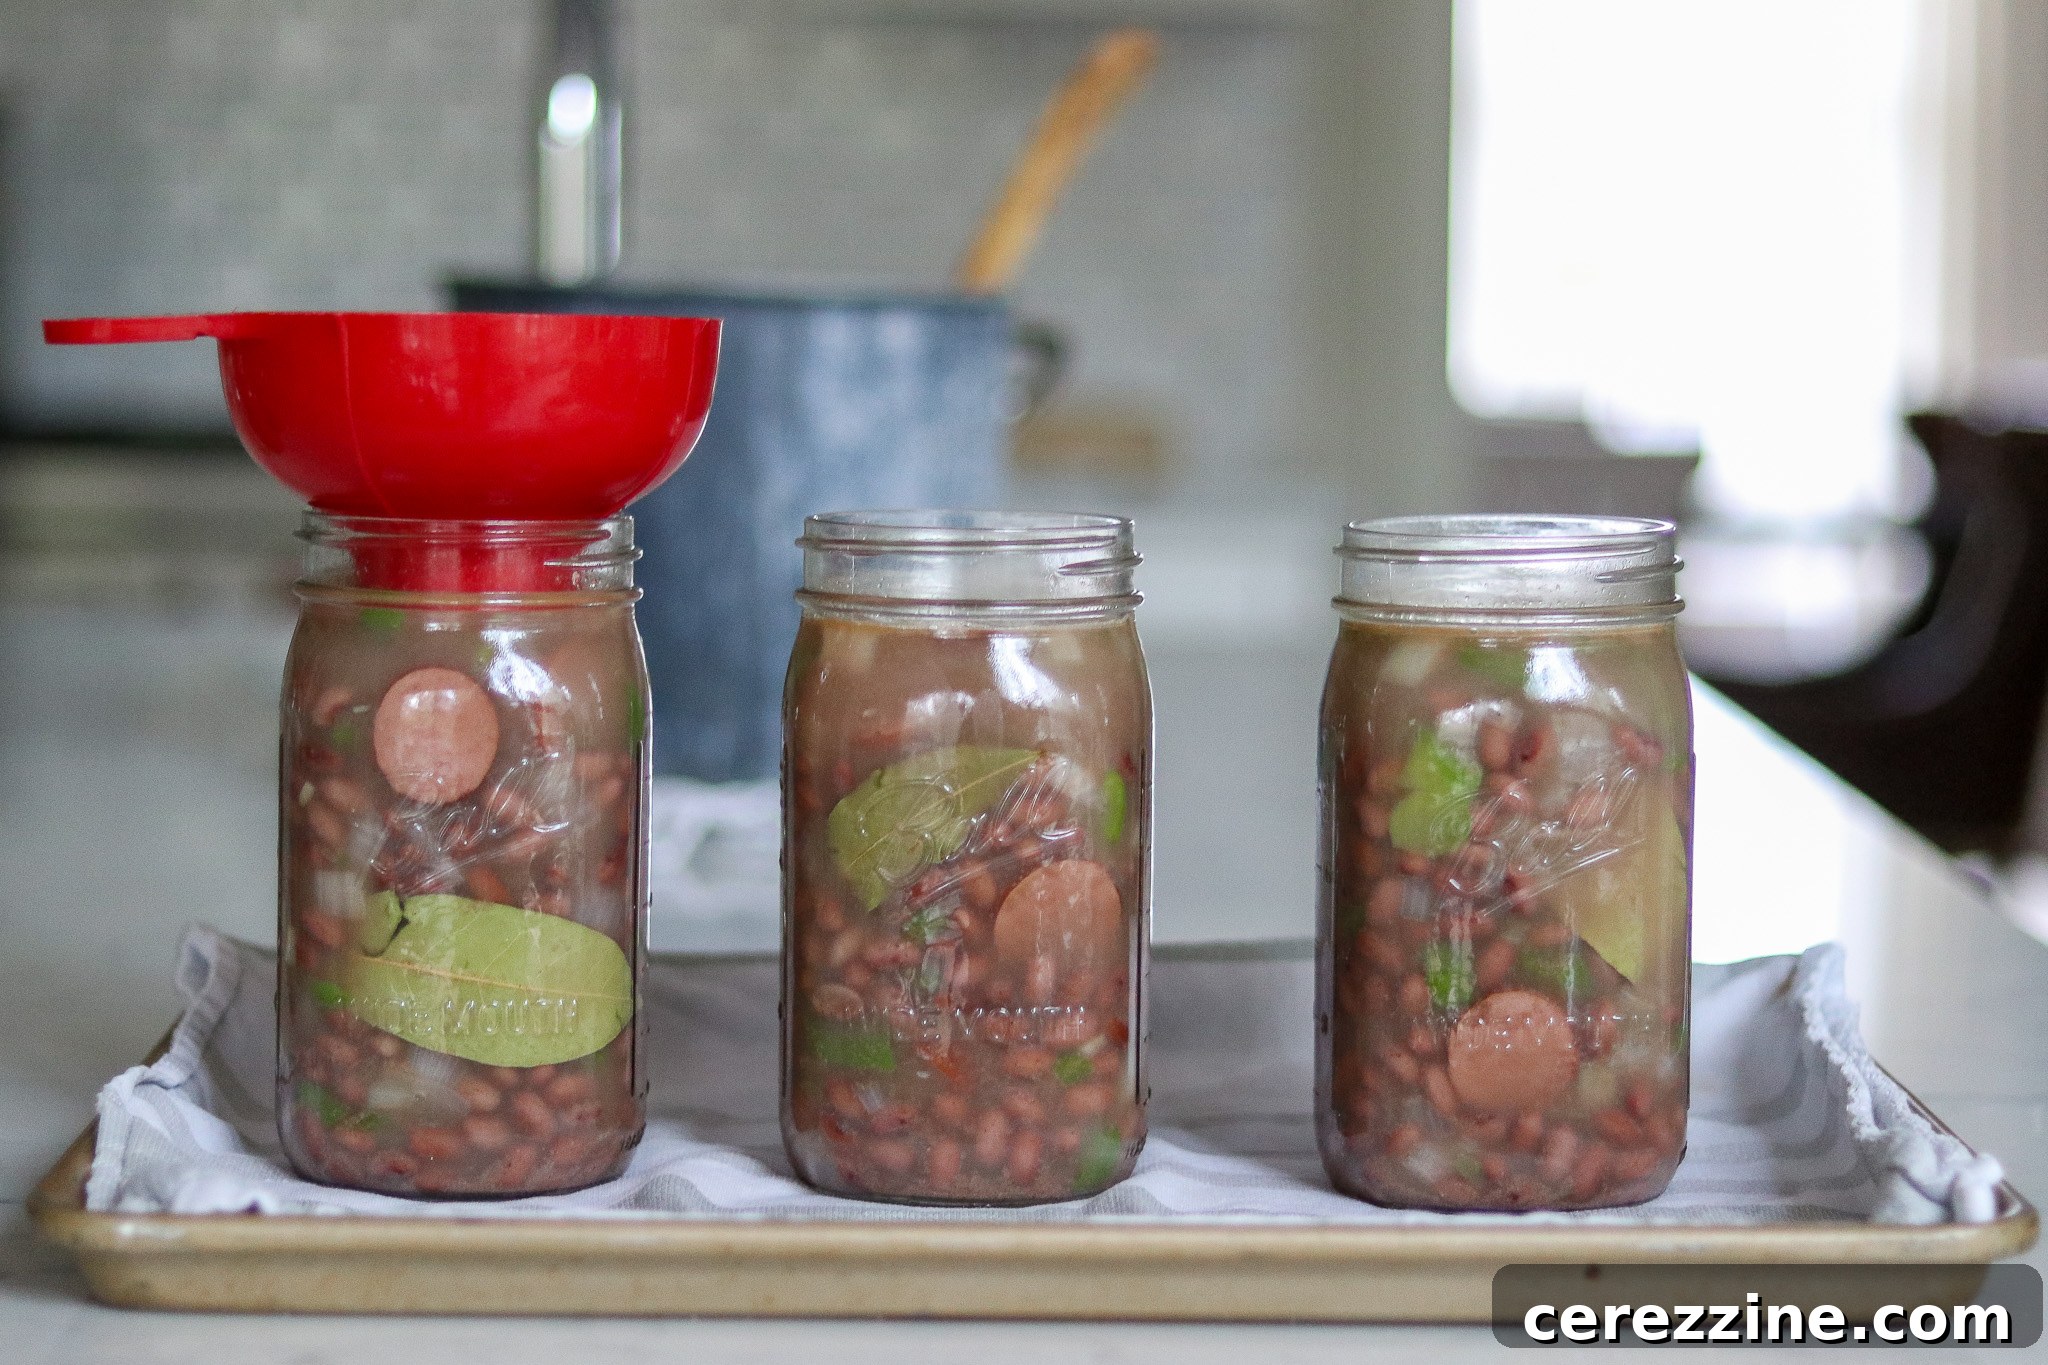
Sealing and Processing
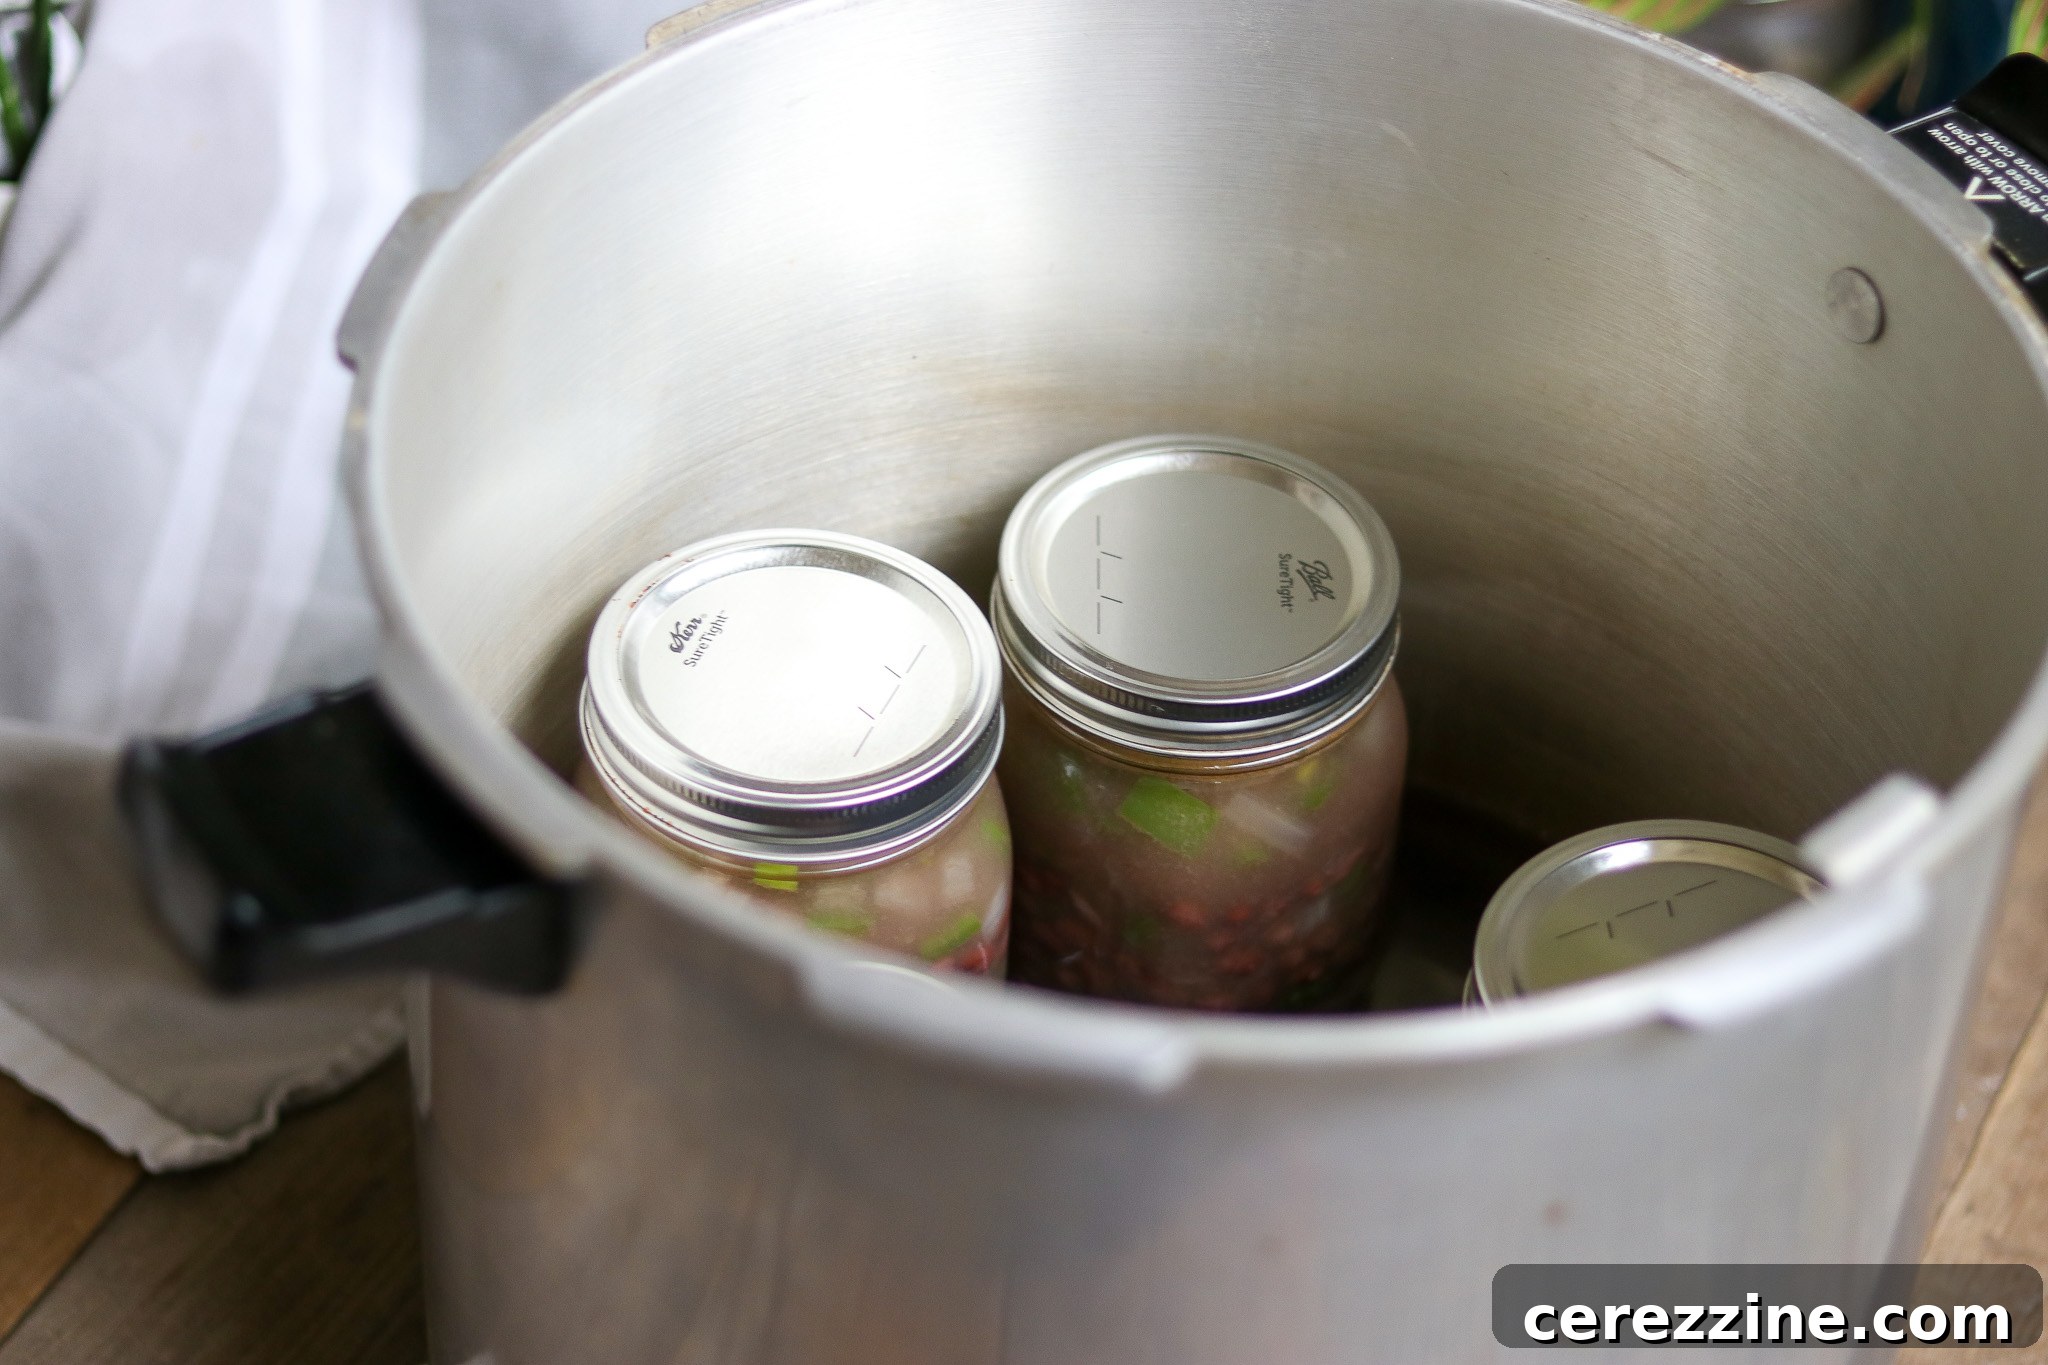
With the jars filled, use a bubble removal tool (or a non-metallic spatula) to gently remove any trapped air bubbles from the jars. After debubbling, recheck the headspace; if it has fallen below 1 inch, add a bit more boiling water to restore the proper level. Be prepared with a kettle of boiling water nearby, as liquid loss can sometimes occur during the initial cooking phase. Wipe the rims of each jar thoroughly with a clean, damp cloth to remove any food residue that could prevent a proper seal. Center the lids on the jars and apply the rings, tightening them to fingertip-tight. Load the prepared jars into your preheated pressure canner.
Process the jars at 10 lbs of pressure for 75 minutes for pint jars and 90 minutes for quart jars. This processing time remains consistent regardless of altitude, but the pressure itself needs adjustment if you are located above 1,000 feet in elevation. Refer to the altitude adjustment table below to determine the correct pressure for your location. After the processing time is complete, allow the pressure canner to depressurize naturally before opening. Once safely opened, remove the hot jars and place them on a towel-lined counter to cool undisturbed for 12-24 hours. Check for proper seals, then store your delicious home-canned Cajun red beans in a cool, dark place.
Altitude Adjustments for Pressure Canning
While the canning time for this recipe remains consistent regardless of your altitude, the required processing pressure must be adjusted if you reside above 1,000 feet in elevation. Pressure increases with altitude to ensure that the internal temperature within your canner reaches the necessary level for safe food preservation. Please use the following tables to determine the correct processing pressure for your specific elevation:
For dial gauge pressure canners:
- 0 to 2,000 feet in elevation – 11 lbs pressure
- 2,001 to 4,000 feet in elevation – 12 lbs pressure
- 4,001 to 6,000 feet in elevation – 13 lbs pressure
- 6,001 to 8,000 feet in elevation – 14 lbs pressure
For weighted gauge pressure canners:
- 0 to 1,000 feet in elevation – 10 lbs pressure
- Above 1,000 feet – 15 lbs pressure
Serving Your Home-Canned Cajun Red Beans
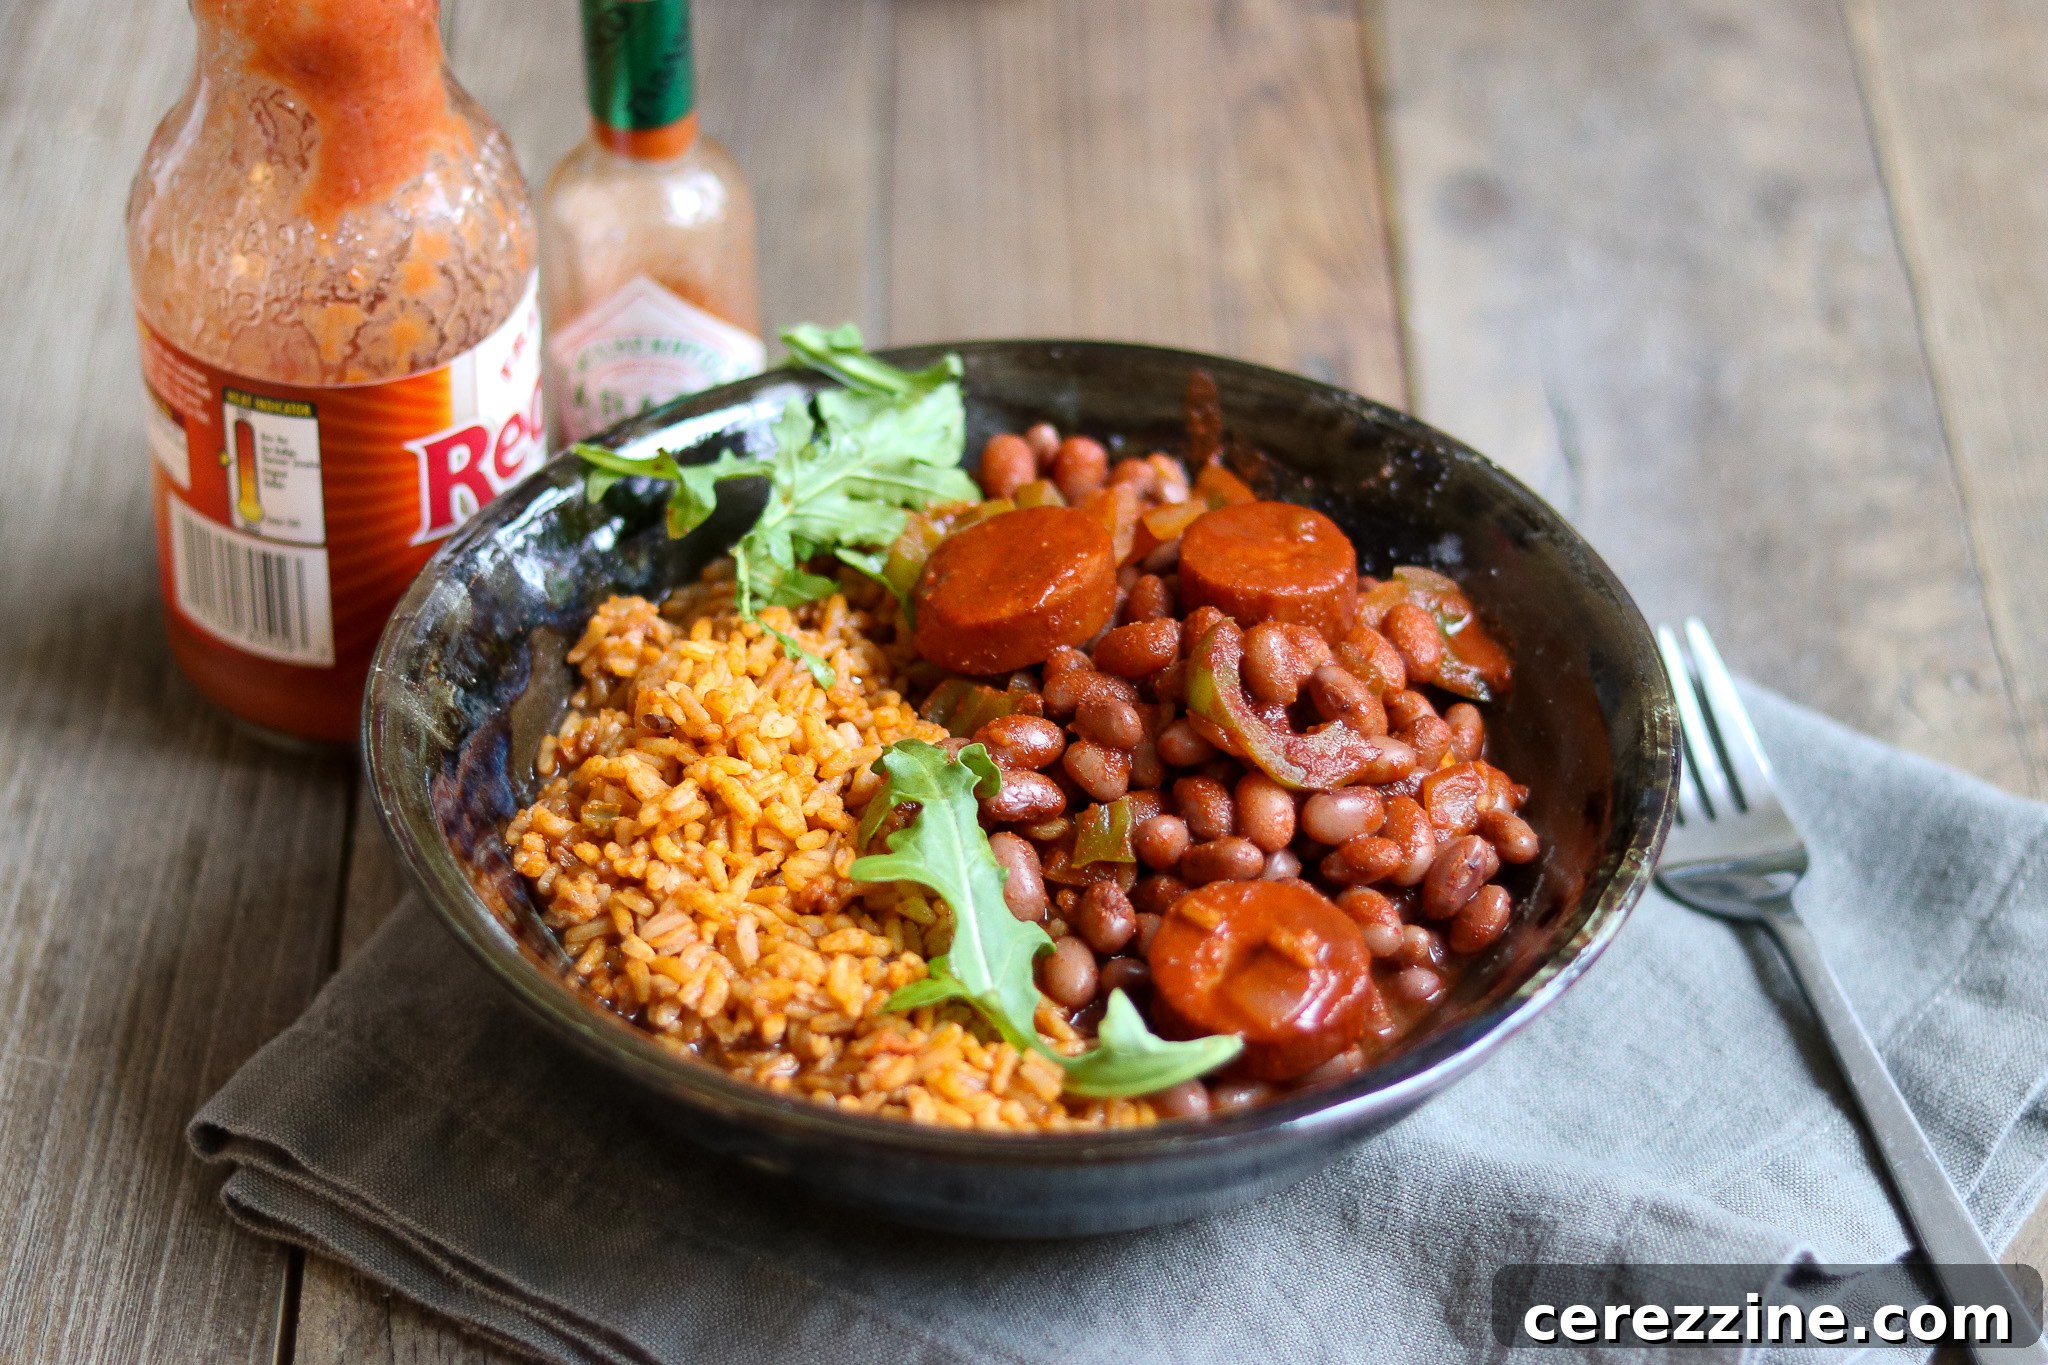
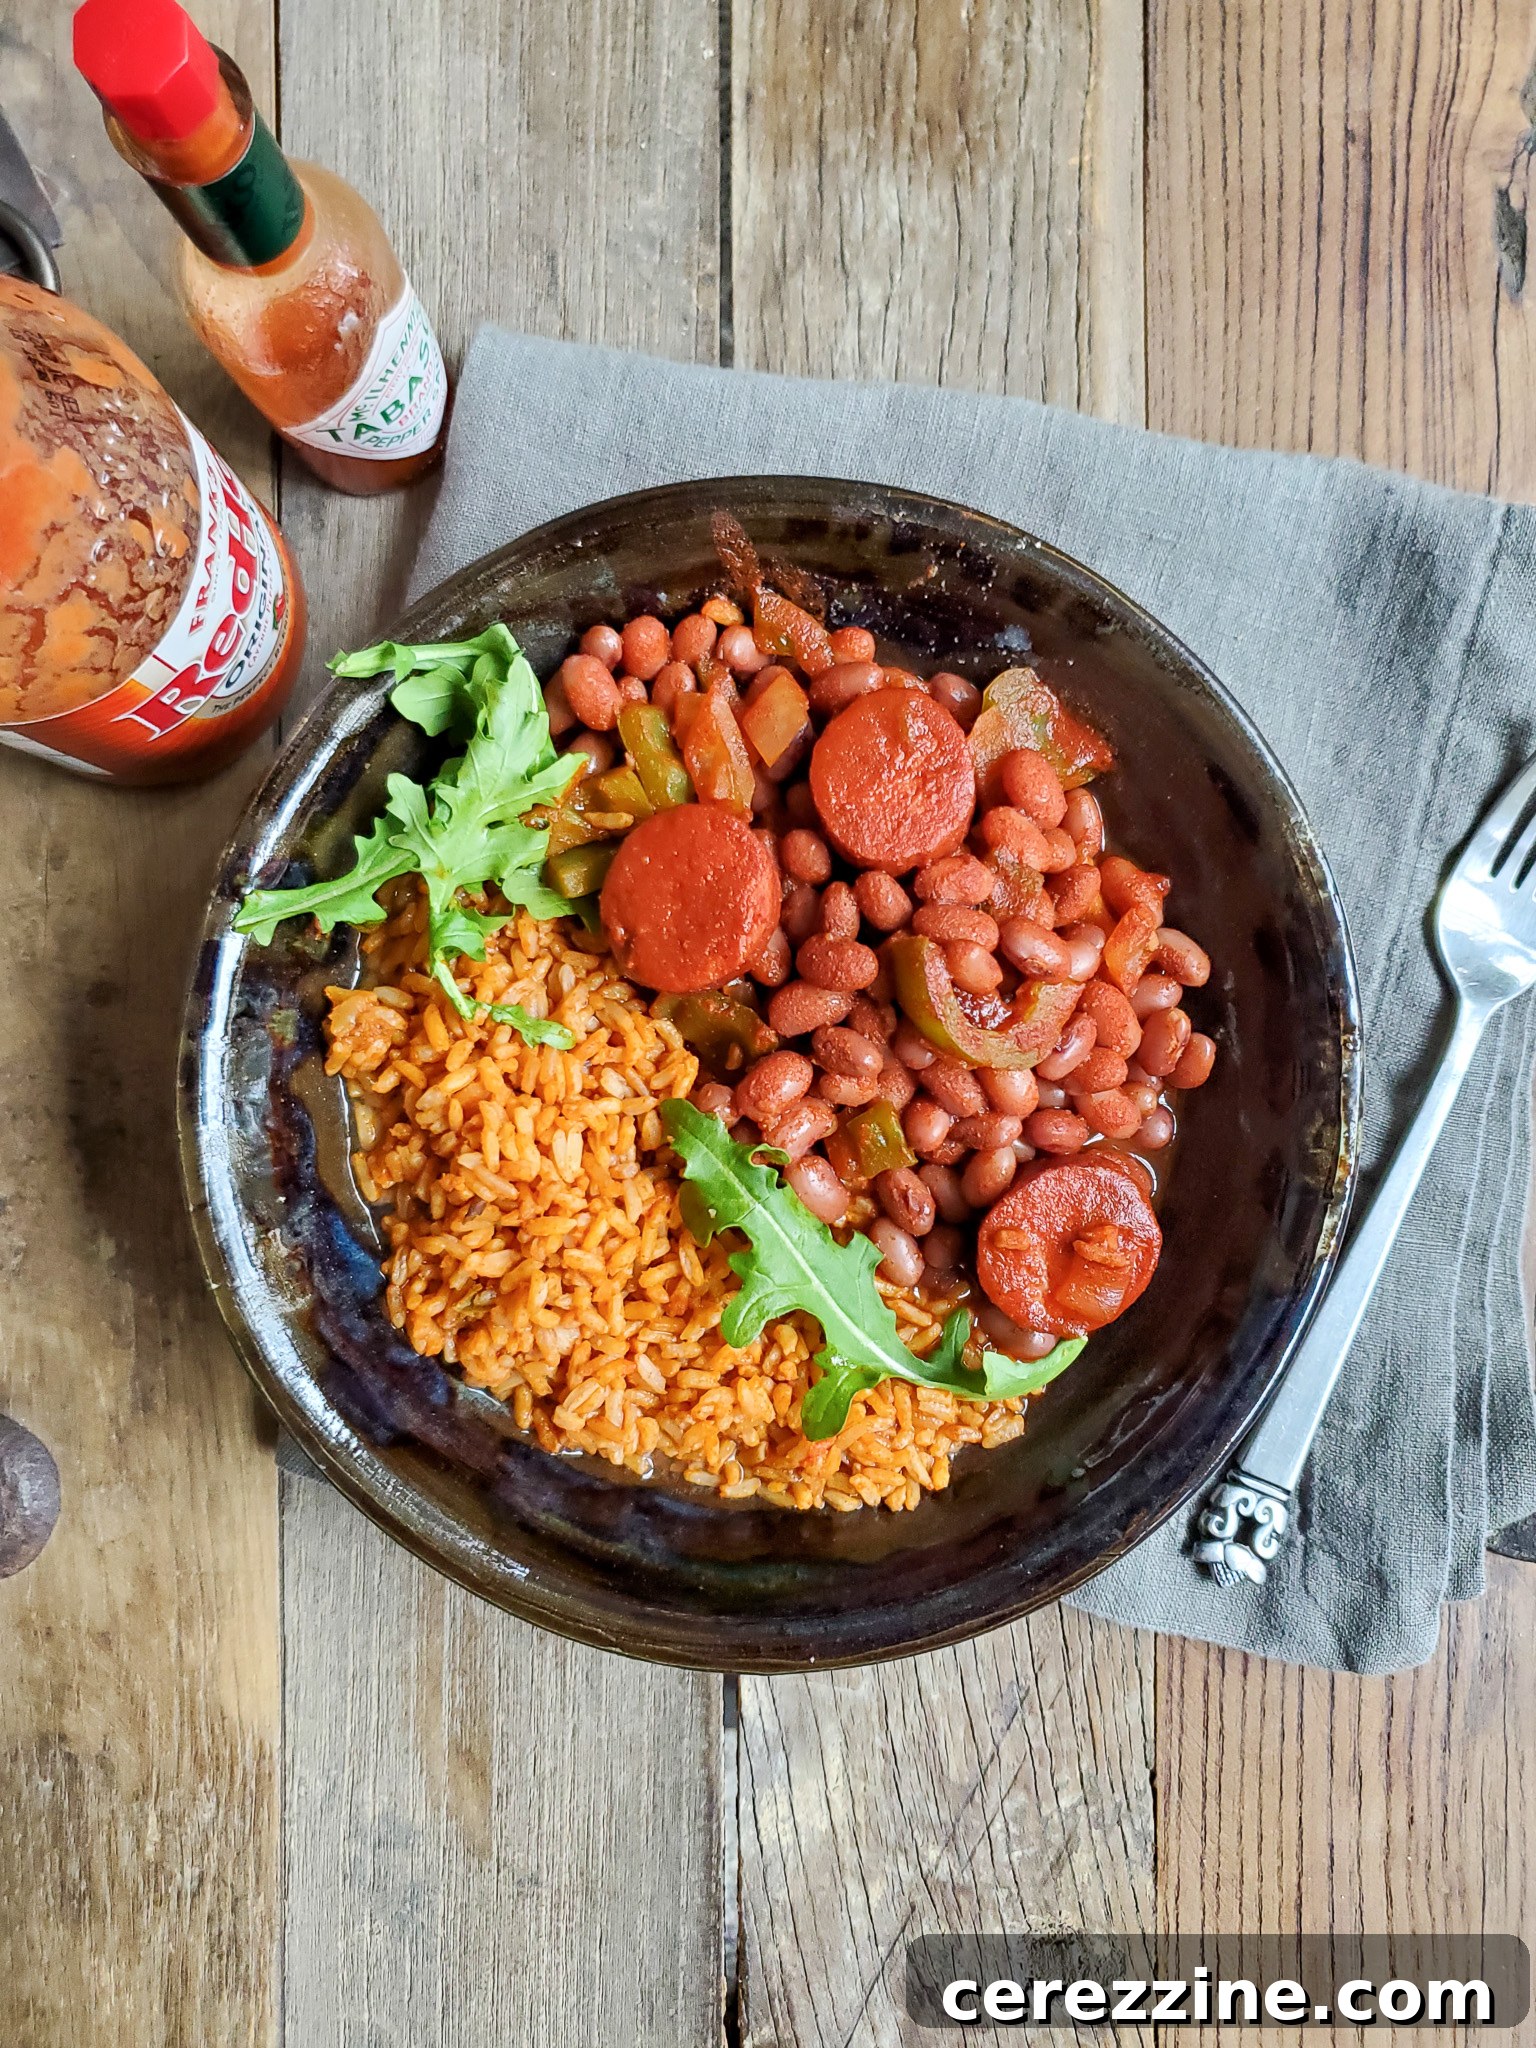
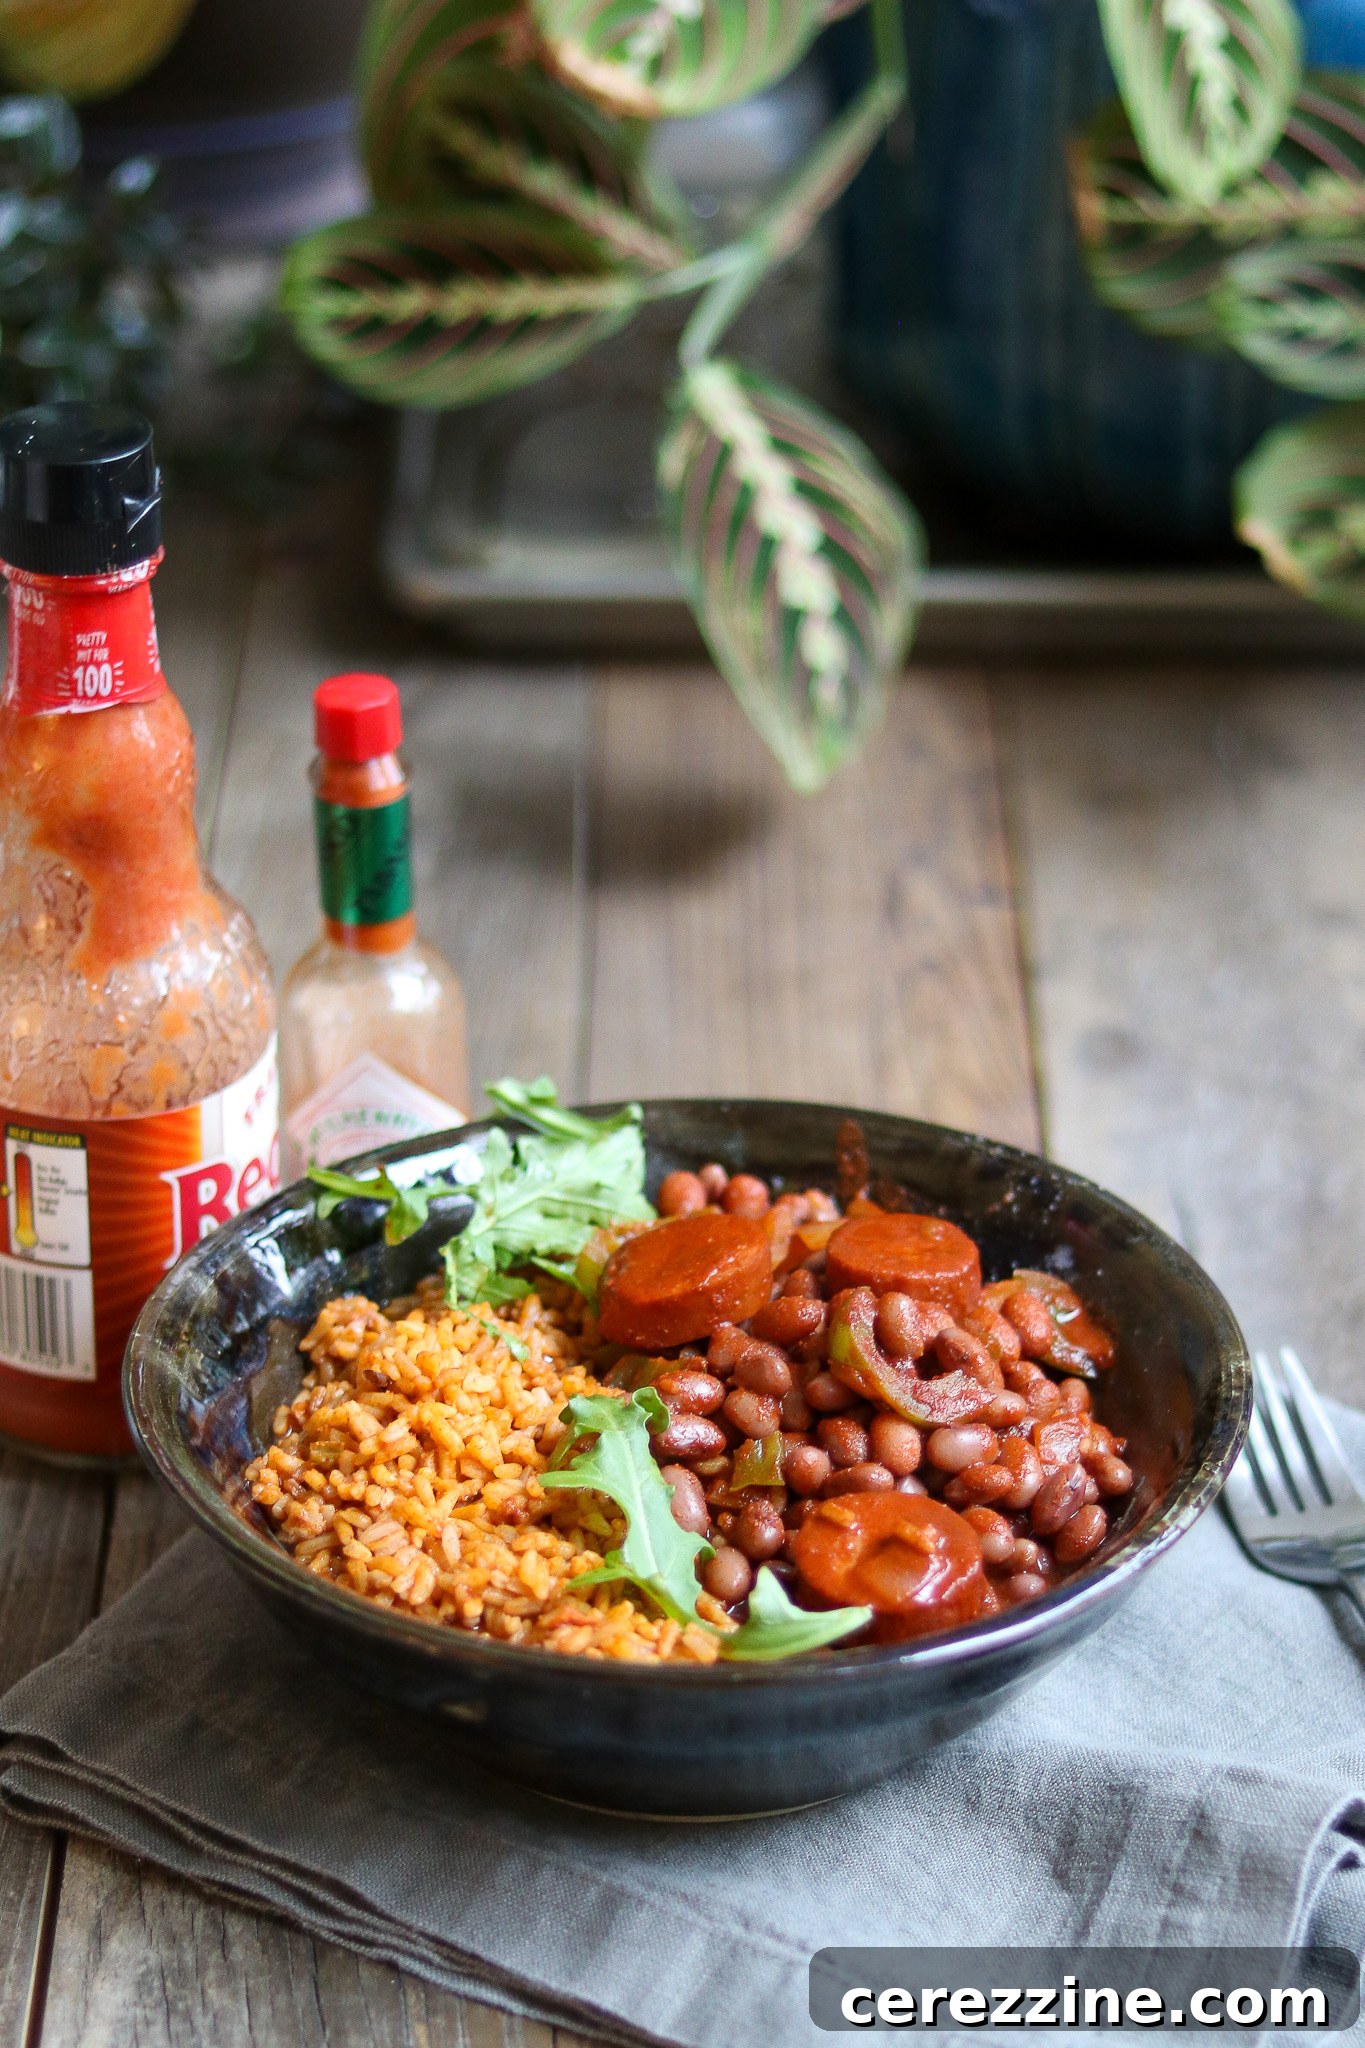
Serving your freshly canned Cajun red beans is wonderfully simple and quick. To prepare, pour the contents of a jar into a medium stockpot and heat gently for about 10 minutes, or until the liquid is bubbling and the beans are thoroughly heated through. Remember to remove the bay leaf before serving. These red beans are a hearty and incredibly flavorful dish that pairs beautifully with a wide array of main entrees.
The classic presentation involves serving them generously over a bed of fluffy, cooked white rice, creating the iconic “Red Beans and Rice.” For a truly authentic Cajun feast, consider serving them alongside warm, crusty French bread, perfect for soaking up every last bit of the rich sauce. You can also elevate the dish with a dollop of cool sour cream, a sprinkle of fresh chopped green onions, or a dusting of shredded cheese on top for added creaminess and flavor. No matter how you choose to enjoy them, you’re sure to savor the deep, comforting flavors of Louisiana cuisine – and you’ll likely find yourself without any leftovers!
Explore More Home Canning Recipes
Filling your pantry shelves with delicious, homemade preserves is a rewarding endeavor. Expand your home canning repertoire with these other fantastic recipes:
Delicious Meal-in-a-Jar Options
- Explore more Meal-in-a-Jar Canning Recipes
- Canning Beef Stew
- Canning Boston Baked Beans
- Canning Split Pea Soup
- Canning Sausage, Potato and Kale Soup
Essential Pressure Canning Recipes
Master the art of pressure canning with these pantry staples:
- Canning Corn
- Canning Pumpkin
- Canning Peas
- Canning Beef Broth
- Canning Hamburger (Ground Beef)
More Bean Canning Adventures
Discover additional ways to preserve beans in jars:
- Canning Cuban Black Bean Soup
- Canning Chipotle Black Bean Soup
- Canning Boston Baked Beans
- Canning White Bean and Greens Soup
- Canning Butternut Squash and White Bean Soup
- Canning Cajun Red Beans and Sausage
Cajun Red Beans & Sausage Recipe Card
14
servings, Makes 7 quarts (or 14 pints)
Canning Cajun Red Beans & Sausage
Ashley Adamant
15
mins
30
mins
1
hr
30
mins
2
hrs
15
mins
Equipment
-
Pressure Canner
Ingredients
- 2 lbs dried red beans, pre-soaked
- 6 cups water
- 6 cups chicken broth
- 4 cups onions, finely chopped
- 2 cups bell peppers, chopped
- 2 tbsp canning salt
- 3 tbsp Cajun seasoning, see notes
- 2 tbsp garlic powder
- 7 medium bay leaves, one per quart jar
- 2 lbs cased sausage, smoked or cooked, sliced, such as Andouille sausage (optional)
- 1 lb bacon, thick cut (optional)
Instructions
-
Prepare the pressure canner according to the manufacturers instructions. Also prepare jars, lids and rings.
-
Drain the water from your soaked beans, then place them in a stockpot with 6 cups water and 6 cups chicken broth. Bring to a steady boil over high heat, then reduce the heat and simmer for 30 minutes. (Start another kettle of water simmering right before you begin ladling everything into jars, as sometimes you need more boiling water to top off the jars.)
-
While the beans are cooking, chop the onions and peppers. Add all the chopped vegetables to the pot, along with the seasonings (all but the bay leaves).
-
Slice the sausage, and chop the bacon into small pieces. Brown both on the stove over medium heat, and then add them to the cooking bean pot.
-
After 30 minutes total cook time, remove the beans from the heat and ladle into hot jars. (The beans and veggies should cook for a minimum of 5 minutes.) Be sure to divide all the solids evenly between the jars. They’ll only be about 3/4 full.
-
Add 1 bay leaf to each quart jar, and 1/2 leaf to each pint.
-
Top off each jar with the liquid you used to boil the beans, adding more boiling water if necessary. Leave 1″ of headspace.
-
De-bubble jars and re-adjust headspace if necessary.
-
Wipe the rims of the jars with a damp cloth to clean. Put the lids and rings on the jar, tightening them until they are fingertip-tight.
-
Load the jars into the pressure canner and process at 10 lbs pressure for 75 minutes for pints, 90 minutes for quarts.
-
After the time has elapsed, allow the canner to depressurize naturally. Remove the jars and allow them to cool for 12 hours. Store in a cool, dark place for up to one year.
Notes
Ingredients Notes
Generally, canning recipes should be followed exactly to ensure safe processing. However, there are some small changes you can make to a recipe that still follow the guidelines from the National Center for Food Preservation.
Broth/Water
You can use all broth or all water in this recipe, or a combination of the two. A simple chicken broth works well, but a ham hock broth or pork broth works even better.
Vegetable stock will help make this a vegetarian recipe, provided you omit the added meats as well.
Beans
The beans need to soak overnight in plenty of water before you begin cooking this recipe. If you forget to soak the beans, you can use the quick soak method.
To do that, place the beans in plenty of water and bring them to a boil in a pot on the stove. Boil 1 minute, then turn off the heat and leave them standing in the hot water for an hour.
Drain, and proceed with the recipe using the drained “quick soaked” beans in place of overnight beans.
Vegetables
The veggies in this recipe are onions and peppers. Both are optional, and you don’t have to add them. You will need a bit more liquid to fully fill the jars, but just add boiling water.
If you do choose to add them, don’t use more than the recipe specifies.
For onions, the recipe calls for 4 cups chopped, which is about 1 1/2 pounds onions as purchased.
For peppers, you may use any type of pepper, hot or sweet. You can also substitute canned peppers in place of fresh. If using bell peppers, you’ll need about 2 to 3 medium bell peppers to make 2 cups chopped.
Spices
You’re allowed to change the amount, type and quantities of dry spices in canning recipes without affecting canning safety. Use whatever spices you choose, provided they’re dry spices.
This recipe calls for “Cajun Seasoning” or “Creole Seasoning” which may be hard to find.
To make 3 Tablespoons of Cajun Seasoning, use the following:
- 2 tsp Oregano, dried
- 2 tsp Thyme, dried
- 2 tsp White Pepper, ground
- 1 tsp Black Pepper
- 1 tsp Garlic powder
- 1 to 3 tsp Cayenne (optional, adjust to you heat level)
Andouille Sausage
Generally, you’re not allowed to use cured meats (ham, bacon, etc) in canning recipes, except where they’d been specifically tested. The cured andouille sausage and cured bacon in this recipe were tested by Ball Canning. They’re optional, and you can make this as a vegetarian canning recipe.
If you do choose to use the meats, do not increase the quantities, and be sure to slice them as directed (rather than putting in large chunks).
Altitude Adjustments
Canning time remains the same regardless of altitude, however, the processing pressure increases as altitude increase.
Use the following table to determine the correct processing pressure if you’re above 1,000 feet in elevation.
For dial gauge pressure canners:
- 0 to 2,000 feet in elevation – 11 lbs pressure
- 2,001 to 4,000 feet in elevation – 12 lbs pressure
- 4,001 to 6,000 feet in elevation – 13 lbs pressure
- 4,001 to 6,000 feet in elevation – 13 lbs pressure
- 6,001 to 8,000 feet in elevation – 14 lbs pressure
For weighted gauge pressure canners:
- 0 to 1,000 feet in elevation – 10 lbs pressure
- Above 1,000 feet – 15 lbs pressure
Nutrition
Carbohydrates: 48g,
Protein: 30g,
Fat: 31g,
Saturated Fat: 10g,
Polyunsaturated Fat: 5g,
Monounsaturated Fat: 13g,
Trans Fat: 0.2g,
Cholesterol: 70mg,
Sodium: 2014mg,
Potassium: 1284mg,
Fiber: 12g,
Sugar: 5g,
Vitamin A: 1472IU,
Vitamin C: 34mg,
Calcium: 86mg,
Iron: 6mg
Nutrition information is automatically calculated, so should only be used as an approximation.