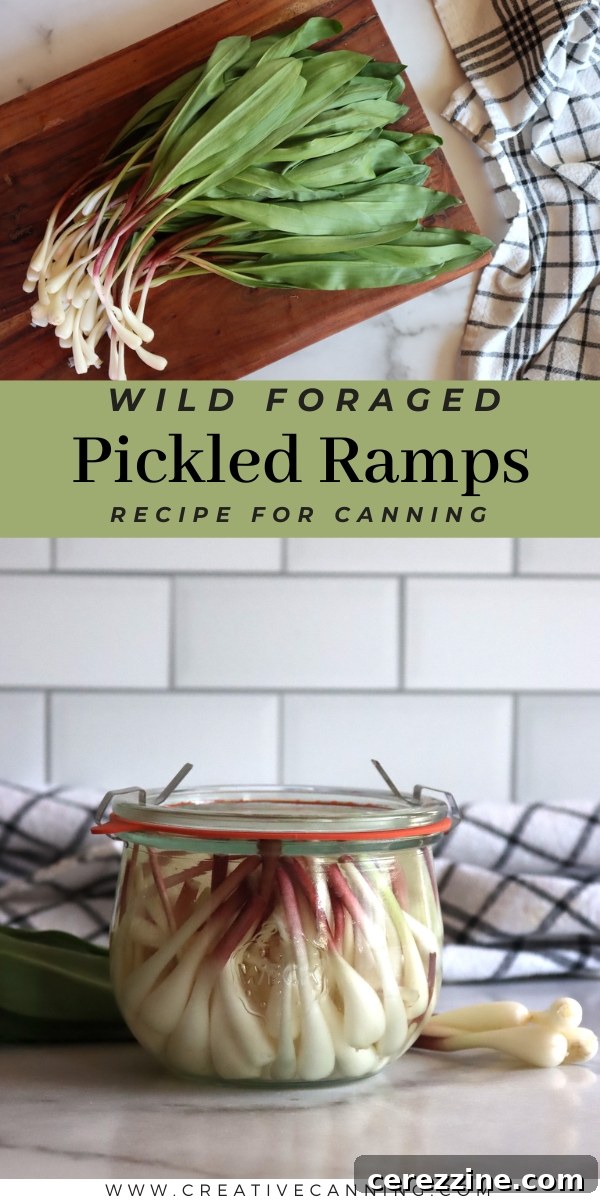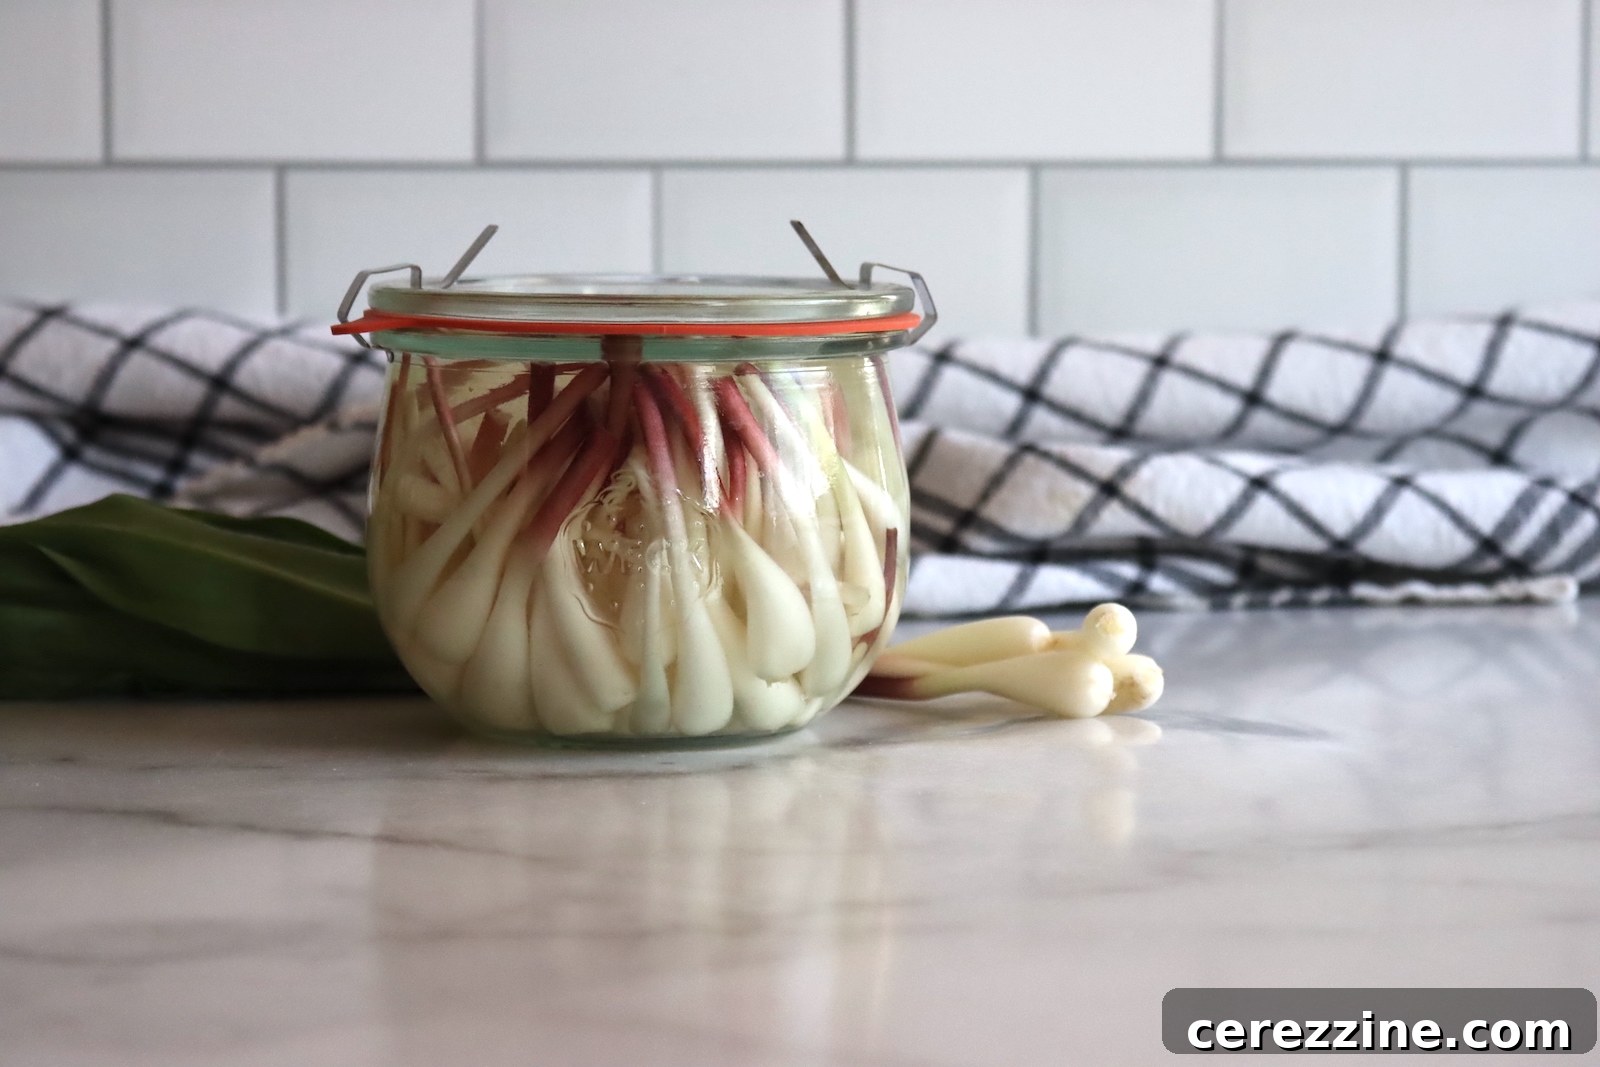
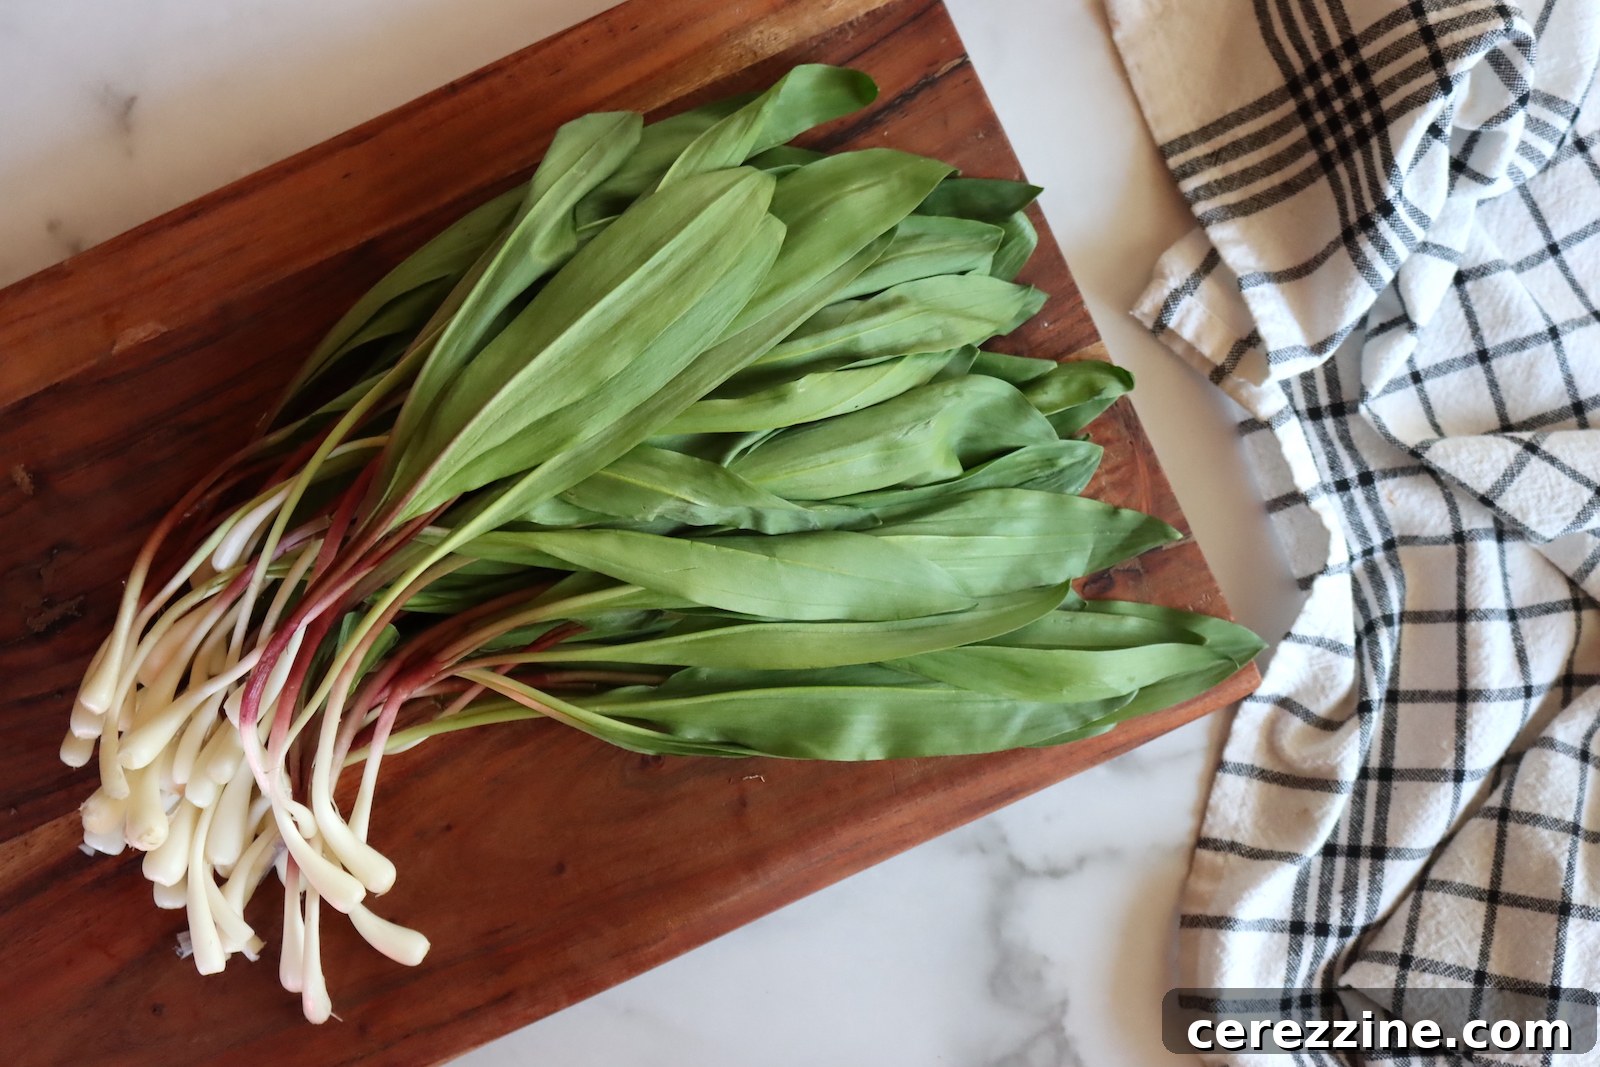
Wild ramps, with their distinctive garlic-onion flavor, are a true harbinger of spring. These ephemeral delicacies emerge from forest floors for a brief window each year, making them a highly sought-after wild-foraged treasure. While their season is fleeting, the magic of pickling allows us to capture their unique taste and enjoy these vibrant green and white bulbs long after spring has faded. Imagine adding just one or two of these tangy, aromatic beauties to a hearty winter stew or alongside a delicate summer grill – a burst of springtime flavor that truly elevates any meal.
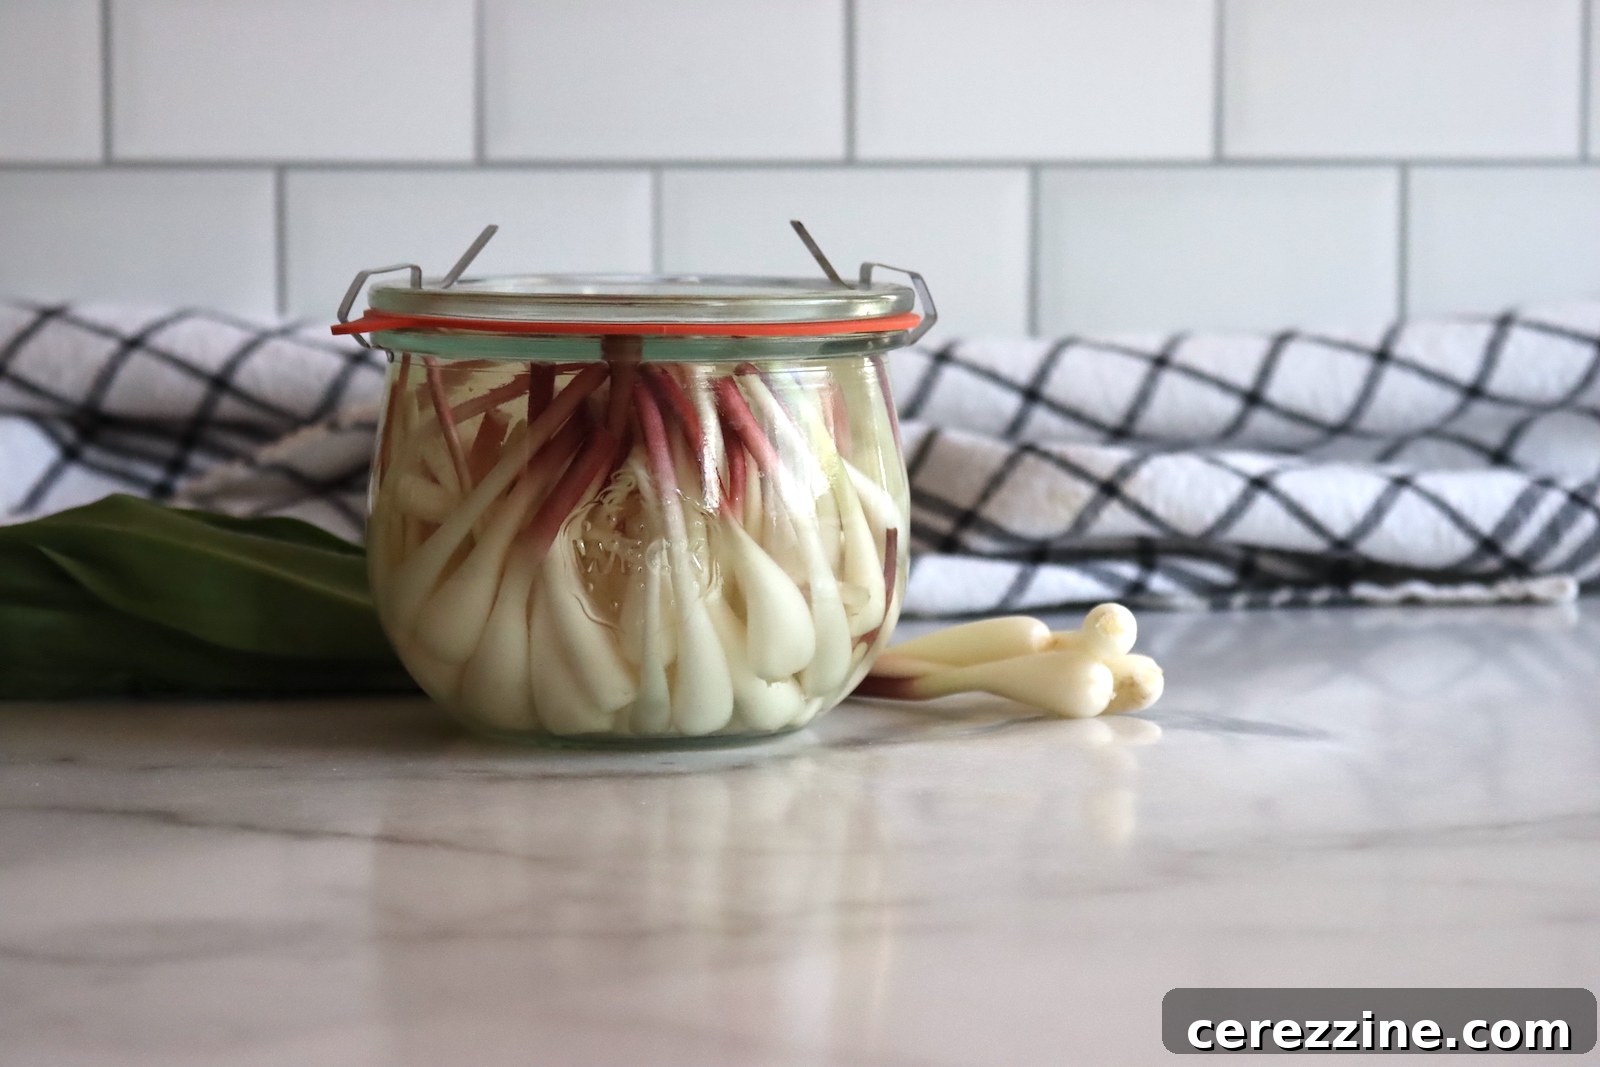
Embracing the Season: The Allure of Wild Ramps
Ramps, scientifically known as Allium tricoccum, are often referred to as wild leeks or wild garlic. They are native to the deciduous forests of eastern North America, growing in shaded, moist areas. Their flavor profile is a delightful blend of garlic and onion, yet distinctly milder and sweeter, with a pungent aroma that announces their presence even before they are seen. Foraging for ramps is a time-honored tradition for many, a ritual that connects them with nature and the changing seasons.
However, it’s crucial to practice sustainable foraging. Ramps take several years to mature, and over-harvesting can severely deplete their populations. When foraging, always leave the root system intact, taking only a few leaves from each plant, or opting for only the bulb of larger, established clumps. If foraging isn’t an option, look for ramps at local farmers’ markets during their peak season, typically late April to early June, depending on your region.
Why Pickle Ramps? Preserving Spring’s Essence
The short ramp season means that once they’re gone, they’re truly gone – unless you preserve them! Pickling is an excellent method to extend their enjoyment, transforming the fresh bulbs into a tangy, flavorful condiment that can be savored for months. Beyond mere preservation, the pickling process itself enhances the ramps’ unique taste, softening their raw bite and infusing them with a bright, acidic tang and aromatic spices.
Pickled ramps are incredibly versatile. They can brighten up a dull winter evening with their vibrant flavor, offering a nostalgic taste of spring when fresh produce is scarce. They’re equally at home with light spring and summer dishes, adding a gourmet touch to salads, sandwiches, or charcuterie boards. This simple preservation technique allows you to enjoy the distinctive taste of wild ramps year-round, bringing a special flair to your culinary creations.
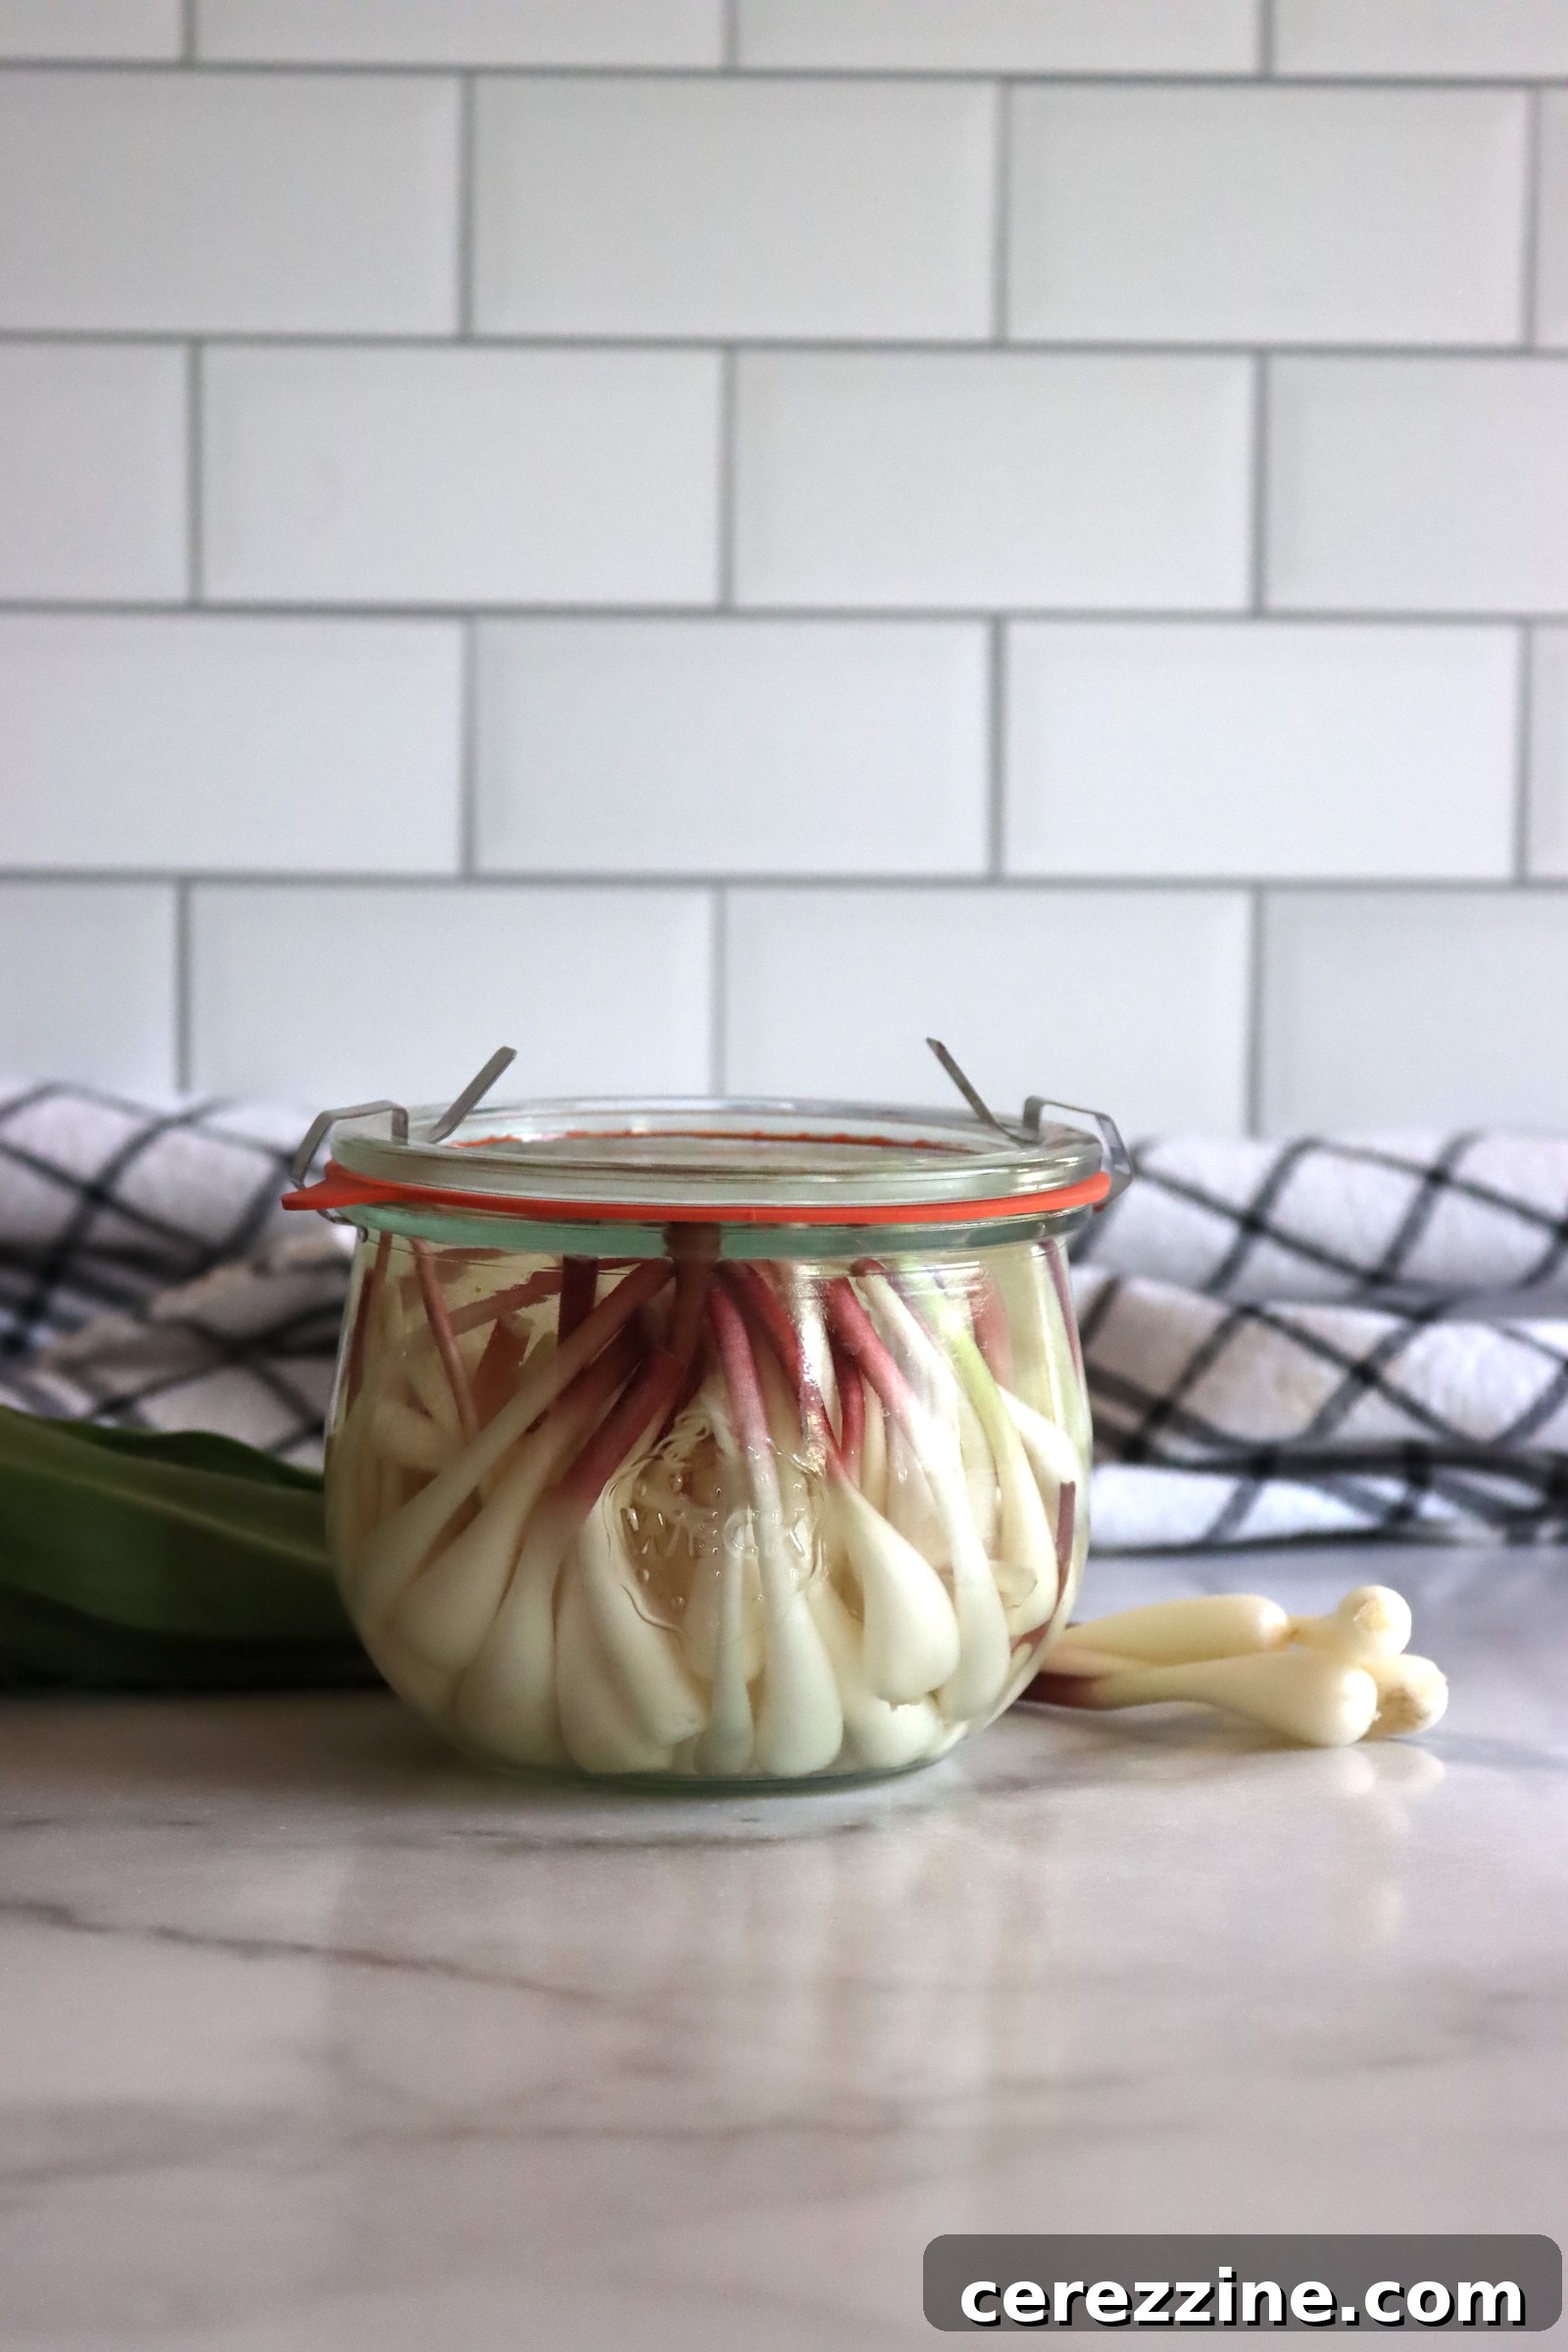
Essential Ingredients for Perfectly Pickled Ramps
This recipe for pickled ramps is designed for both delicious flavor and safe home preservation. It is thoughtfully adapted from Saving the Season by Kevin West, ensuring it adheres to best practices for safe home canning, specifically regarding appropriate canning times for vegetable pickles and a brine composed of at least half vinegar by volume. For a batch yielding two half-pint jars of exquisite pickled ramps, gather the following:
- 1 pound whole ramps, or ½ pound trimmed bulbs (no greens)
- 1 1/4 cup white wine vinegar (ensure 5% acidity for canning safety)
- 3/4 cup water
- 1 Tbsp dry white vermouth (optional, but adds a lovely aromatic depth)
- 1 Tbsp sugar (balances the acidity)
- 1½ teaspoons kosher salt (or coarse sea salt/pickling salt)
- 10 black peppercorns
- 1-2 bay leaves
- 3-inch sprig fresh thyme
- 1-inch sprig fresh rosemary
Ingredient Notes: The quality of your ingredients significantly impacts the final product. Using a good quality white wine vinegar will impart a subtle, fruity acidity. The vermouth is entirely optional but contributes a complex herbal note that complements the ramps beautifully. For salt, kosher salt, coarse sea salt, or pickling salt are recommended as they are free of anti-caking agents and iodine, which can cloud your brine or alter the color of your pickles. Fresh herbs offer a more vibrant flavor than dried, but dried can be used in a pinch (use about 1/2 teaspoon of each dried herb).
Step-by-Step Guide: Crafting Your Pickled Ramps
You have two main options for preserving your pickled ramps: storing them in the refrigerator for up to a year, or processing them in a hot water bath for extended shelf stability. If you’re new to water bath canning or need a refresher on safety protocols, I highly recommend consulting a reliable resource like my Beginner’s Guide to Water Bath Canning before you begin.
Preparing the Ramps: The Foundation of Flavor
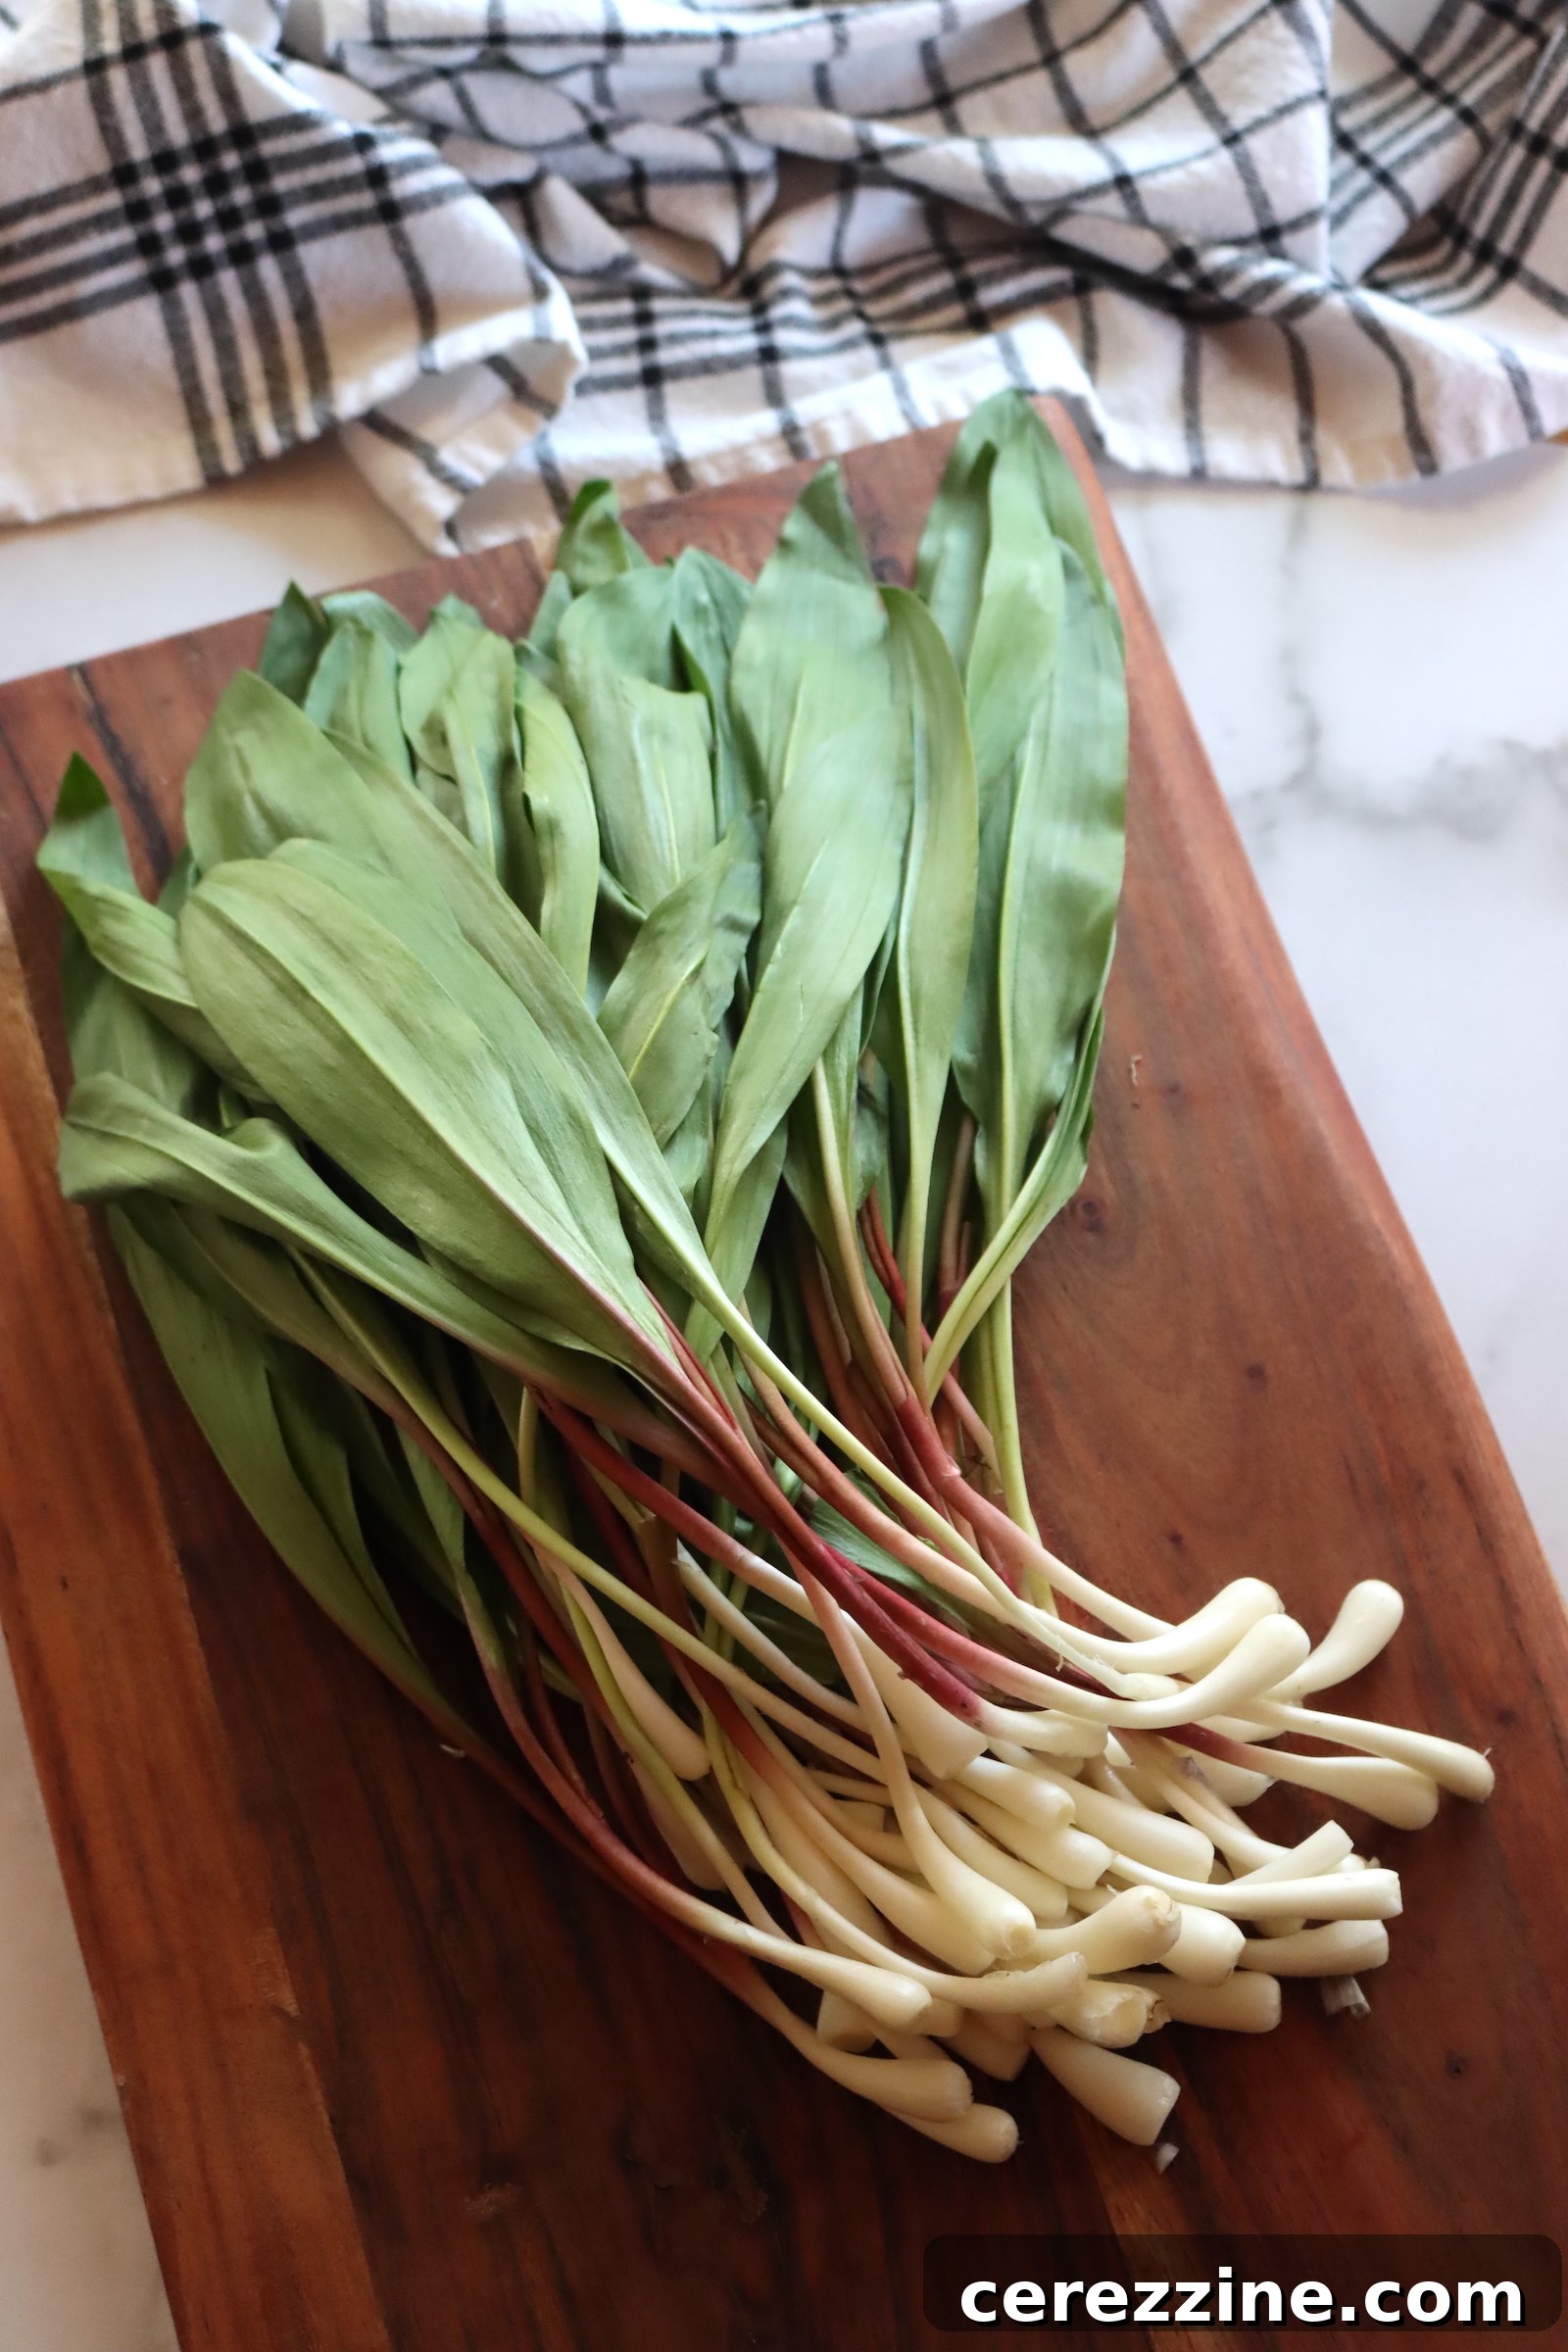
Proper preparation of the ramps is key to ensuring a delicious and visually appealing finished product. Start by thoroughly cleaning your ramps. This means gently washing them under cool running water to remove any soil or debris from their journey from the forest floor. Once clean, trim the root ends from the bottom of the white bulbs, much as you would with green onions. Inspect the outer layers of the bulbs; if they appear dry, tough, or discolored, carefully peel them away to reveal the tender, pristine white inner bulb.
The vibrant green leaves of the ramps are indeed edible and packed with flavor, but for this pickling recipe, we will be using only the white bulbs and the reddish stems. Don’t discard those beautiful greens! They are incredibly versatile and can be used in myriad culinary applications. Chop them like chives or green onion tops to add a fresh, garlicky kick to salads, omelets, stir-fries, or compound butters. They are particularly exceptional when transformed into a fragrant ramp greens pesto, a truly gourmet spring treat.
Cooking the Brine and Ramps: Infusing Flavor
Once your ramps are meticulously cleaned and trimmed, place the white bulbs into a medium saucepan or pot. Add all the remaining pickling ingredients—white wine vinegar, water, dry white vermouth (if using), sugar, kosher salt, black peppercorns, bay leaves, fresh thyme, and fresh rosemary—to the pot with the ramps. This method, where the ramps are briefly cooked in the brine, helps them absorb the flavors more effectively and achieve a tender-crisp texture.
Bring the mixture to a boil over medium-high heat, stirring occasionally to ensure the sugar and salt fully dissolve and the flavors meld. Once a rolling boil is achieved, reduce the heat to low and allow the mixture to gently simmer for 5 minutes. This brief simmer is enough to tenderize the ramps slightly and allow the aromatic spices and herbs to infuse the pickling liquid thoroughly.
Preparing Jars and Packing: Setting Up for Success
While your ramps and brine are simmering, prepare your jars. For two half-pint (8-ounce) jars, sterilize them by submerging them in boiling water for at least 10 minutes. Keep the jars hot until you are ready to fill them. Also, prepare your two-part canning lids (flats and bands) according to the manufacturer’s instructions. Keep the flat lids in simmering, not boiling, water until ready to use; this softens the sealing compound.
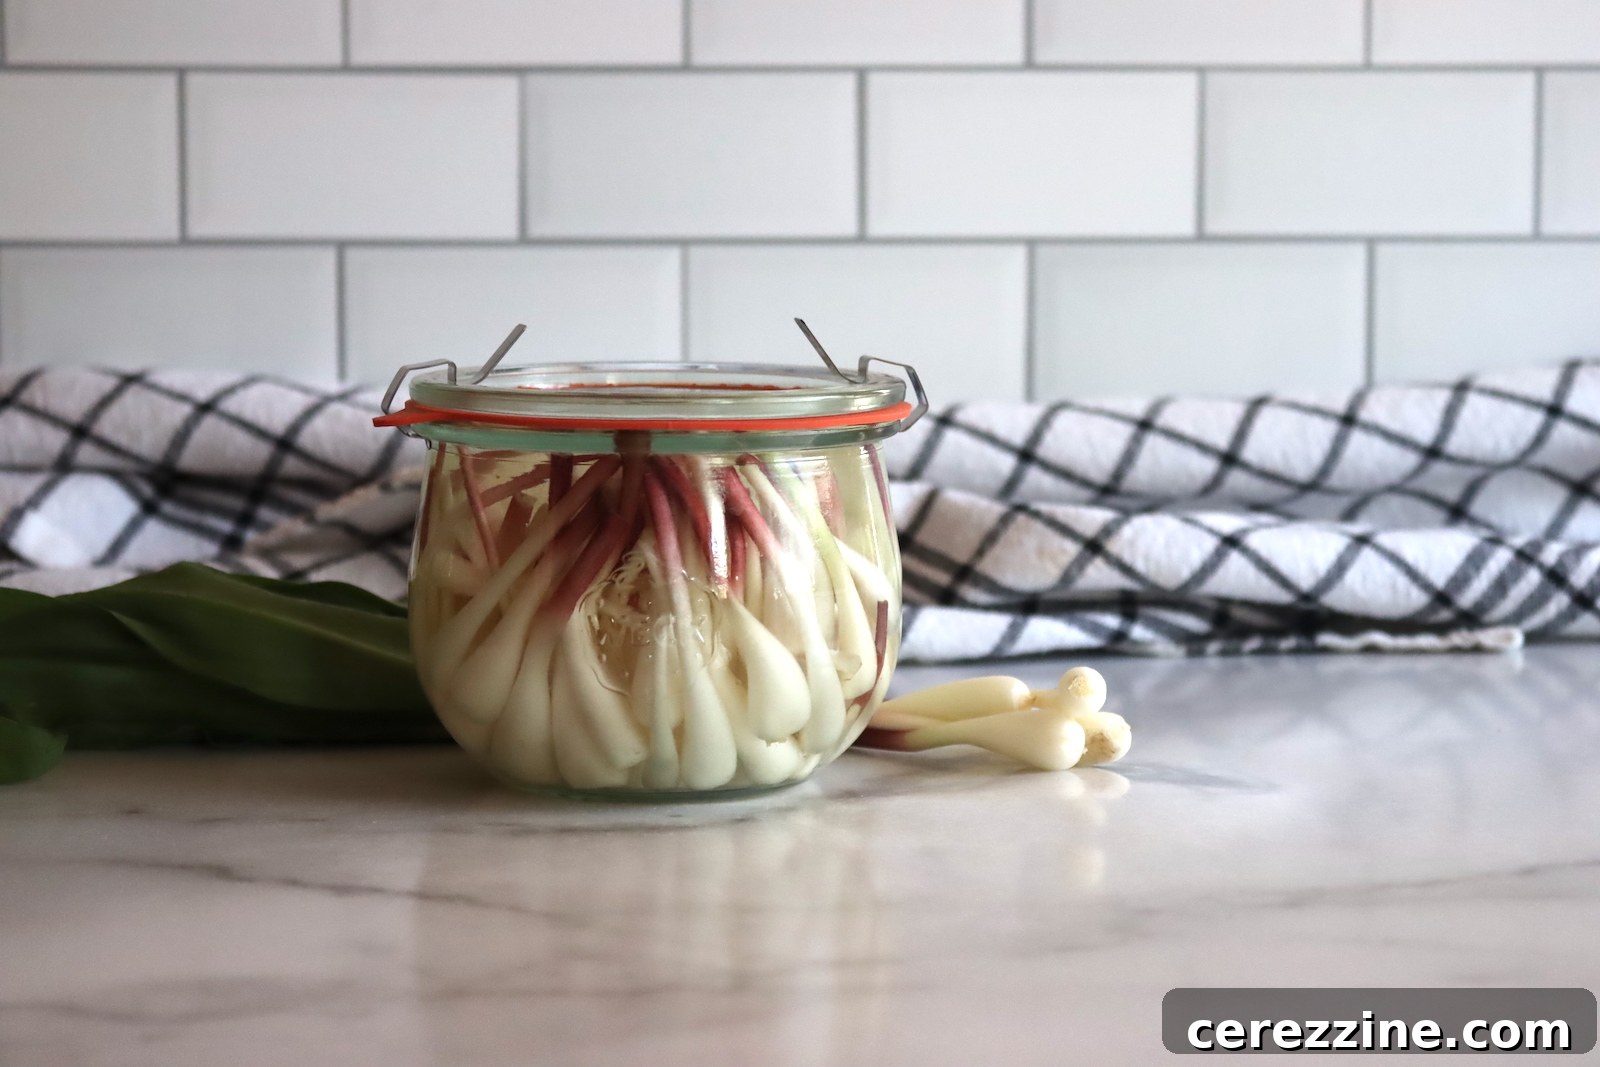
Carefully remove the hot, sterilized jars from the boiling water. Using a slotted spoon, meticulously pack the hot, simmered ramps into the prepared jars. Distribute the ramps as evenly as possible between the two jars. Once the ramps are in place, pour the boiling pickling liquid over them, ensuring the ramps are completely submerged. It’s crucial to leave a 1/2-inch headspace at the top of each jar. This space is essential for proper sealing during the cooling process or water bath canning.
Using a clean, damp cloth, carefully wipe the rims of the jars to remove any drips or food particles that could interfere with the seal. Immediately apply the prepared two-part canning lids (the flat disk and the metal band). For refrigerator pickles, tighten the bands snugly. For water bath canning, tighten only to “finger-tight” – just until resistance is met, allowing air to escape during processing.
Refrigerator Pickles vs. Water Bath Canning: Choosing Your Method
For **refrigerator pickles**, once the lids are applied, simply allow the jars to sit undisturbed on your countertop at room temperature. As they cool, a vacuum seal will often form. Once completely cool, store these jars in your refrigerator. They will develop flavor over a few days and can be stored in the refrigerator for up to one year, provided the ramps remain covered by the pickling liquid.
If you opt for **water bath canning**, which offers pantry-stable preservation, the next crucial step is to process the filled jars in a water bath canner. This ensures a safe, long-term seal.
Achieving Pantry Stability: Water Bath Canning Pickled Ramps
For long-term, shelf-stable storage, water bath canning is the preferred method. This process creates a vacuum seal that keeps your pickled ramps fresh and safe for an extended period.
Canning Procedure:
- **Jar and Lid Preparation:** Ensure your canning jars are sterilized in boiling water and kept hot. Prepare your two-part canning lids (flats and bands) by simmering the flats in hot, but not boiling, water to soften the sealing compound.
- **Packing the Jars:** Using a slotted spoon, carefully pack the hot ramps into the hot, prepared jars. Then, using a canning funnel, pour the hot pickling liquid over the ramps, ensuring they are fully submerged. Maintain a precise 1/2-inch headspace at the top of each jar. This measurement is critical for proper sealing.
- **Wiping Rims and Sealing:** Wipe the rims of the jars meticulously with a clean, damp cloth to remove any food particles or liquid that could prevent a seal. Place the hot flat lids centered on the jar rims, then screw on the metal bands. Tighten them only to “finger-tight” – meaning firm but not overly tight, allowing air to escape during processing.
- **Processing in Water Bath:** Using a jar lifter, carefully place the filled jars into your prepared water bath canner, ensuring the water is already simmering or gently boiling. The jars must be completely covered with at least 1-2 inches of water. Bring the water back to a rolling boil, then begin your processing time. Process pint jars for **10 minutes**. *Remember to adjust this time for your altitude, as detailed below.*
- **Cooling and Sealing:** Once the processing time is complete, turn off the heat. Remove the canner cover and let the jars sit in the hot water for an additional 5 minutes. This helps prevent “siphoning,” where liquid can be drawn out of the jars.
- **Final Resting:** Using a jar lifter, carefully remove the jars from the canner and place them on a towel-lined countertop or cooling rack, ensuring they are not touching each other. Do not tip the jars, disturb the lids, or wipe any excess water off the lids. Let them sit undisturbed for at least 12 to 24 hours to cool completely and allow the seals to fully form.
Checking for Seals and Storage:
After the cooling period (12-24 hours), check if the lids have sealed. A sealed lid will be concave (curved downwards) and will not flex when pressed in the center. If you remove the band, you should be able to lift the jar by holding the edge of the lid. Any jars that have not sealed properly should be stored in the refrigerator and consumed within a few weeks.
Sealed jars of pickled ramps should be stored in a cool, dark place, such as a pantry, for optimal quality. They will retain their peak flavor and quality for up to 18 months. Once a jar is opened, always store it in the refrigerator and consume within 2-3 weeks.
Critical Canning Altitude Adjustments
Water boils at a lower temperature at higher altitudes, which means food processing requires a longer time to ensure safety. Adjust your canning time according to your elevation:
- **For 0 to 1,000 Feet in Elevation:** Process pint jars for 10 minutes, and quart jars for 15 minutes.
- **For 1,001 to 6,000 Feet in Elevation:** Process pint jars for 15 minutes, and quart jars for 20 minutes.
- **Above 6,001 Feet in Elevation:** Process pint jars for 20 minutes, and quart jars for 25 minutes.
Flavorful Variations for Your Pickled Ramps
While the classic recipe for pickled ramps is fantastic on its own, don’t hesitate to experiment with different flavor profiles to suit your palate. The beauty of pickling lies in its adaptability!
Spice It Up:
Introduce new dimensions of flavor with additional pickling spices. Consider adding a pinch of red pepper flakes for a subtle heat, or mustard seeds for a classic pickling tang. Cardamom seeds can lend an exotic, aromatic sweetness, while a few coriander seeds or dill seeds can add a fresh, herbaceous note. Star anise or cloves can also be used sparingly for a warm, fragrant undertone. Just a small addition can significantly alter the overall character of your pickled ramps.
Vinegar Choices:
The type of vinegar you choose will also profoundly impact the final taste and even the appearance of your pickled ramps. While white wine vinegar offers a crisp, clean profile, rice wine vinegar provides a milder, slightly sweeter acidity, ideal for Asian-inspired dishes. Apple cider vinegar, with its robust, fruity notes, can add a rustic depth. Be aware that using darker vinegars, such as cider vinegar, may slightly alter the color of the ramps, imparting a light brownish hue as they cook and pickle, which is purely cosmetic.
Beyond Ramps:
This versatile pickling brine can also be used to preserve other spring and summer treasures. It works wonderfully for pickling pearl onions, garlic scapes (the flower stalks of hardneck garlic), or small green garlic bulbs. This allows you to utilize the same technique for various seasonal produce, creating a diverse pantry of homemade pickles.
Creative Ways to Savor Your Pickled Ramps
Once you’ve made your batch of pickled ramps, the culinary possibilities are endless! Their distinctive, tangy flavor makes them a versatile ingredient and a delightful garnish.
- **Charcuterie & Cheese Boards:** Place a small bowl of pickled ramps on your next charcuterie or cheese board. Their sharp, briny kick perfectly cuts through the richness of cured meats and creamy cheeses.
- **Sandwiches & Burgers:** Finely slice or chop pickled ramps and add them to sandwiches, wraps, or as a vibrant topping for burgers and hot dogs. They offer a more sophisticated alternative to traditional pickles.
- **Garnish for Savory Dishes:** Use whole pickled ramp bulbs as an elegant garnish for various main courses. They pair exceptionally well with roasted chicken, grilled pork chops, pan-seared steak, or even flaky baked fish. Their bright flavor provides a beautiful contrast to rich meats.
- **In Salads:** Chop pickled ramps and add them to potato salad, pasta salad, or green salads for an unexpected burst of flavor and texture. The pickling liquid can even be incorporated into salad dressings.
- **Sauces & Dressings:** Mince pickled ramps and fold them into homemade aioli, mayonnaise, or vinaigrettes to create unique condiments. They can also be blended into a savory compound butter.
- **Cocktails:** For the adventurous, use a pickled ramp as a garnish for a dirty martini or a Bloody Mary, adding a gourmet twist to classic drinks.
- **Eggs & Breakfast:** Chop and stir into scrambled eggs, omelets, or frittatas. They also make a fantastic accompaniment to savory pancakes or breakfast hashes.
No ratings yet
16 Servings, or 2 half-pint (8-ounce) jelly jars
Pickled Ramps (Wild Leeks)
Ashley Adamant
10 mins
20 mins
10 mins
10 mins
Rate
Equipment
-
Water Bath Canner
Ingredients
- 1 lb whole ramps, or ½ pound trimmed bulbs (no greens)
- 1 1/4 cup white wine vinegar, 5% acidity
- 3/4 cup water
- 1 Tbsp dry white vermouth
- 1 Tbsp sugar
- 1 ½ tsp kosher salt
- 10 black peppercorns
- 1-2 bay leaves
- 3- inch sprig fresh thyme
- 1- inch sprig fresh rosemary
Instructions
-
Prepare the ramps by cutting off the roots from the bottom of the white bulb. Remove the outer layer of the ramp if it is dry or tough. Cut off the green part above the reddish area of the ramp; the green stems may be reserved for other uses.
-
Place the prepared ramps into a medium pot or saucepan, and add the remaining ingredients (vinegar, water, vermouth, sugar, salt, peppercorns, bay leaves, thyme, rosemary).
-
Cook the mixture over medium-high heat, stirring occasionally, until it reaches a boil.
-
Reduce heat to low and simmer for 5 minutes.
-
Using a slotted spoon, carefully pack the hot ramps into prepared hot jars.
-
Using a canning funnel, pour the hot pickling liquid over the ramps, leaving 1/2″ headspace at the top of the jars.
-
Wipe the rims of the jars with a clean, damp cloth, and apply the 2-part canning lids.
-
For refrigerator pickles, allow the jars to sit undisturbed on the counter to cool. Once cool, store them in the refrigerator for up to one year.
-
To preserve using a hot water bath canning method, process the jars for 10 minutes, adjusting time if necessary for altitude (refer to the altitude adjustments section).
-
After water bath processing, turn off the heat and leave jars in the canner, uncovered, for 5 minutes. Remove the jars from the canner and let them cool on a towel-lined surface for 12-24 hours. Check that the jars have sealed properly. Refrigerate any unsealed jars.
-
Sealed pickled ramps will retain peak quality for up to 18 months when stored in a cool, dry place or pantry. Refrigerate once opened.
Notes
Canning Altitude Adjustments
Water boils at a lower temperature at higher altitudes, so jars need to be processed a bit longer as you go up in elevation. Here are the altitude adjustments for canning pickled ramps:
- For 0 to 1,000 Feet in Elevation – Process pint jars for 10 minutes, and quart jars for 15 minutes.
- For 1,001 to 6,000 Feet in Elevation – Process pint jars for 15 minutes, and quart jars for 20 minutes.
- Above 6,001 Feet in Elevation – Process pint jars for 20 minutes, and quart jars for 25 minutes.
Nutrition
Calories: 24kcal, Carbohydrates: 5g, Protein: 0.3g, Fat: 0.01g, Saturated Fat: 0.001g, Polyunsaturated Fat: 0.001g, Monounsaturated Fat: 0.001g, Sodium: 220mg, Potassium: 8mg, Fiber: 1g, Sugar: 2g, Vitamin A: 483IU, Vitamin C: 3mg, Calcium: 19mg, Iron: 1mg
Nutrition information is automatically calculated, so should only be used as an approximation.
Like this? Leave a comment below!
Explore More Vegetable Pickling Recipes
If you’ve enjoyed the process of pickling ramps, consider expanding your repertoire with these other fantastic vegetable-pickling recipes. Preserving fresh produce is a rewarding endeavor that fills your pantry with homemade goodness:
- Pickled Corn Salad: A sweet and tangy way to preserve summer corn.
- Pickled Three Bean Salad: A classic side dish, perfect for picnics and barbecues.
- Pickled Green Tomatoes: Transform unripe tomatoes into a vibrant, savory condiment.
- Pickled Green Beans (Dilly Beans): Crunchy, garlicky, and delightfully dilly.
- Pickled Jalapenos: Add a spicy kick to your meals with these homemade pickled peppers.
- Pickled Fiddleheads: Another unique wild-foraged spring vegetable, excellent when pickled.
- Old Fashioned Lime Pickles (Cucumber pickles with pickling lime): A traditional method for extra crisp cucumber pickles.
Discover More Wild Foraged Canning Recipes
The bounty of the wild offers incredible opportunities for preservation. Beyond ramps, many other foraged ingredients can be transformed into delicious jams, jellies, and preserves. Embrace the art of wild crafting with these recipes:
- Autumn Olive Jam: A sweet and tart jam from a common invasive berry.
- Pin Cherry Jelly: Capture the unique flavor of these small, tart wild cherries.
- Wild Grape Jelly: A classic taste of the wild, rich and flavorful.
- Aronia Jelly: Harness the superfood power of aronia berries into a healthful jelly.
- Black Locust Flower Jelly: A delicate, fragrant jelly with notes of honey and vanilla.
- Saskatoon Jelly: A beloved berry from the prairie regions, perfect for sweet preserves.
Making pickled ramps is a wonderful way to connect with the seasons and enjoy the unique flavors of the wild throughout the year. Whether you’re a seasoned forager or just discovering the joy of preserving, this recipe offers a rewarding culinary experience. Enjoy your taste of spring, anytime!