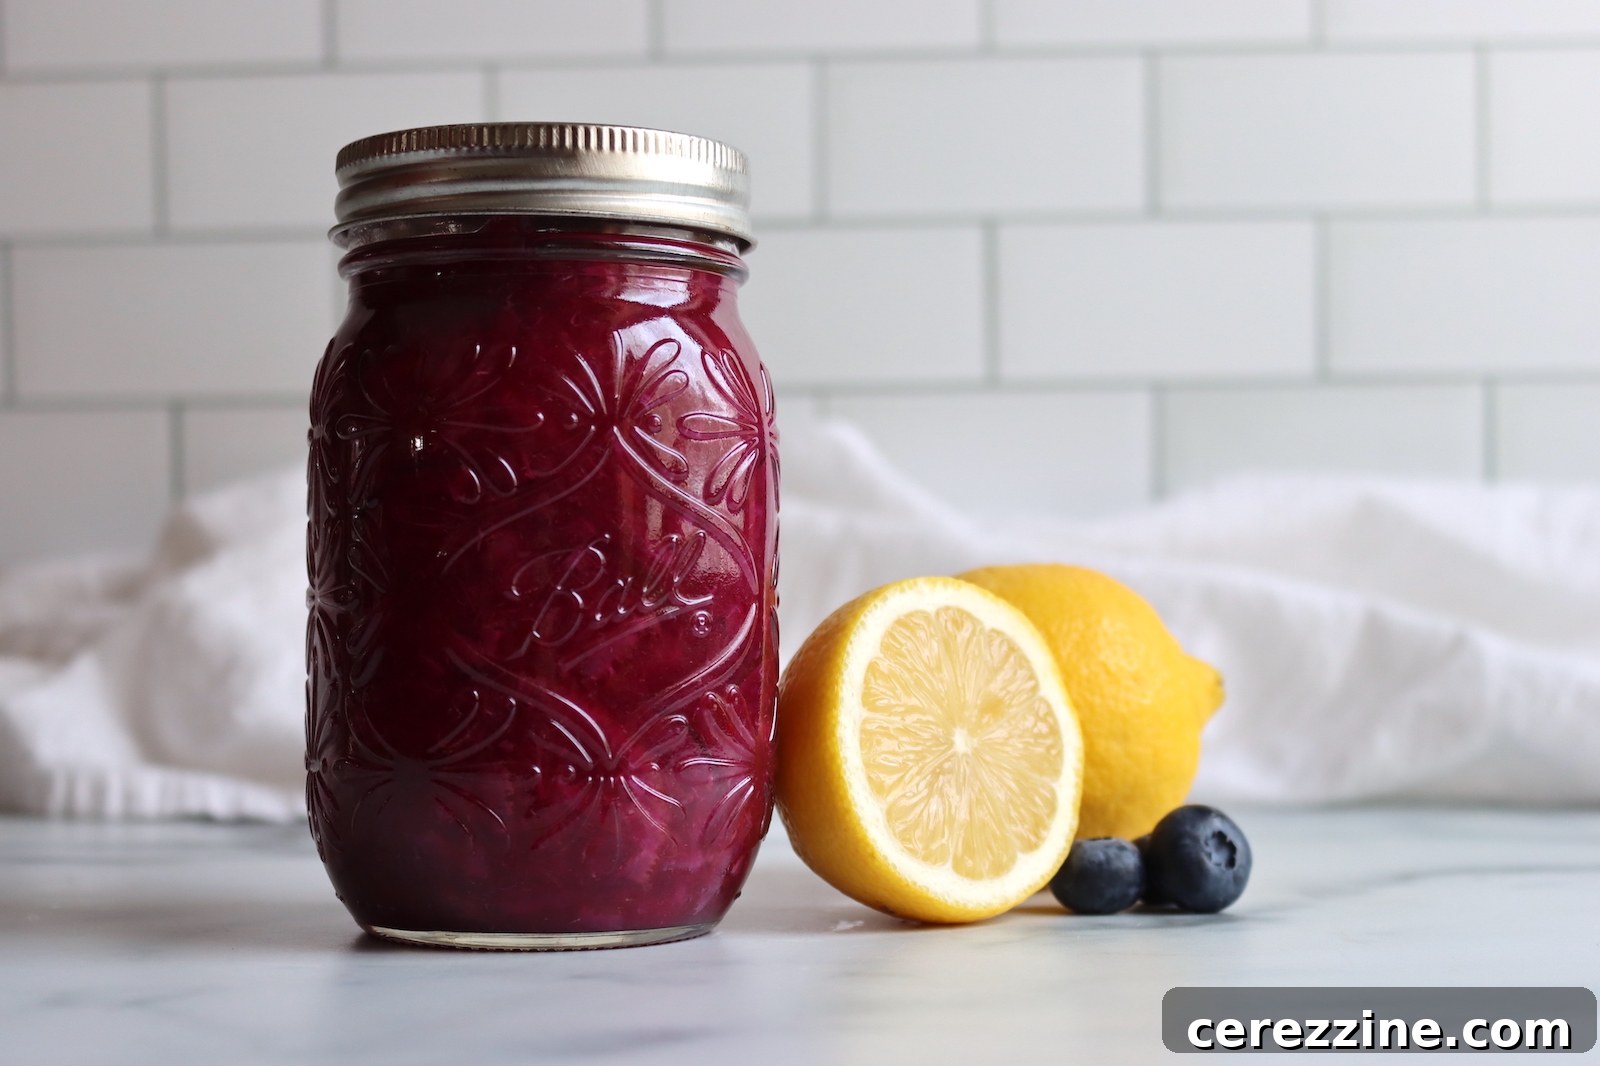
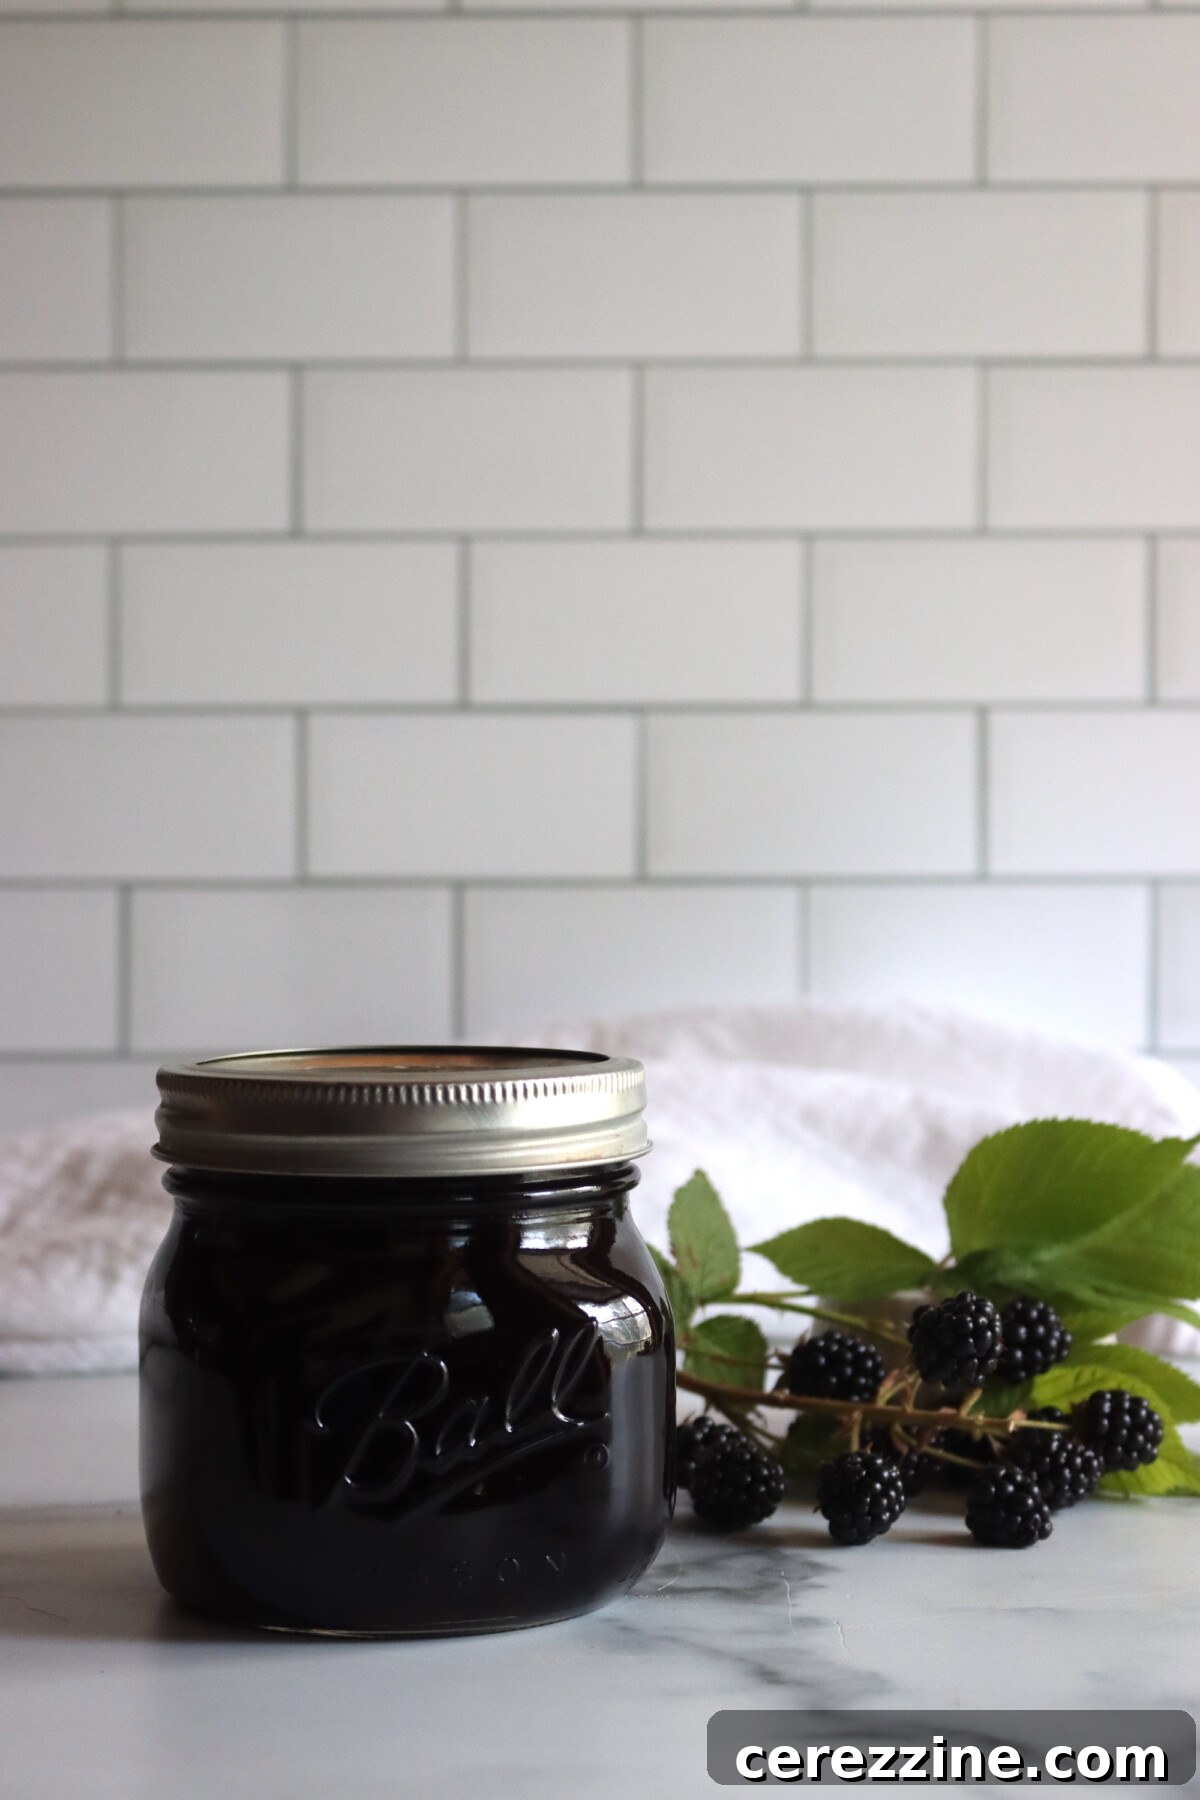
Blackberry jelly is a timeless delight, capturing the essence of fresh, ripe blackberries in a smooth, seedless spread. Its vibrant flavor and luxurious texture make it a cherished homemade preserve, perfect for gliding onto toast, biscuits, or a warm scone without any interruption from seeds. Crafted the traditional way, with minimal ingredients – just fruit, sugar, and a touch of patience – this recipe harnesses the natural pectin found in blackberries, eliminating the need for commercial pectin and resulting in a beautifully set jelly with an authentic taste.
For those fortunate enough to have access to a bounty of wild blackberries or a prolific garden harvest, transforming them into jelly is one of the most rewarding methods of preservation. The deep, jewel-toned color and the intense, concentrated flavor of the fruit make the extra effort of straining out the seeds incredibly worthwhile. This method ensures a crystal-clear jelly that truly showcases the fruit’s natural brilliance.
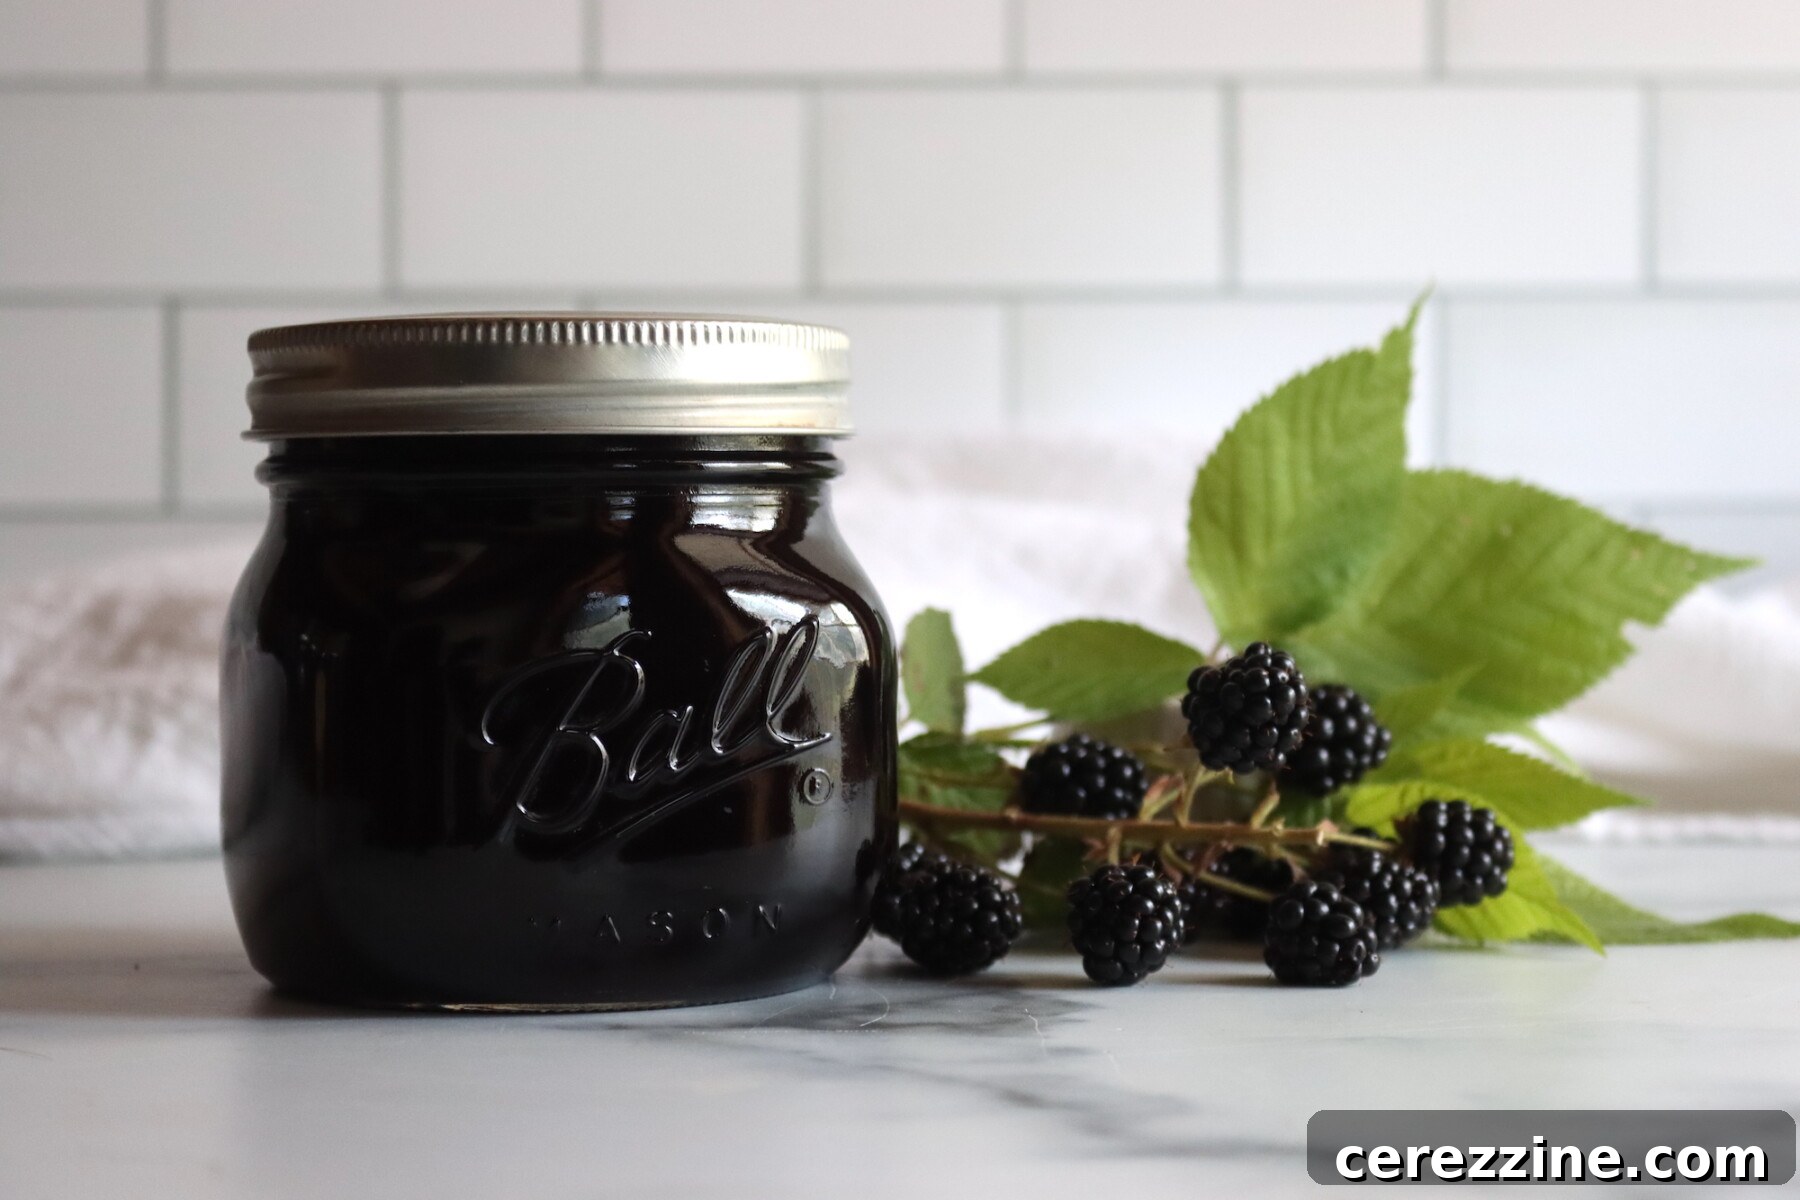
This recipe has been thoroughly reviewed for safety and accuracy by a Master Food Preserver, certified through the esteemed University of Cornell Cooperative Extension, ensuring reliable results for your home canning efforts.
Our recipe is thoughtfully adapted from the National Center for Home Food Preservation (NCHFP), widely recognized as the gold standard for safe and reliable home canning practices. The process is straightforward yet effective: fresh blackberries are gently cooked with a small amount of water to extract their rich juices, which are then strained through a jelly bag to remove all seeds. The resulting clear juice is then combined with sugar and boiled until it reaches its ideal gel point, creating a perfectly set jelly.
Blackberries are naturally rich in pectin, particularly when your harvest includes a mix of fully ripe and slightly underripe berries. This inherent pectin content is key, as it allows the jelly to achieve a firm and appealing set without the addition of any commercial pectin. The result is a jelly with a softer, more delicate texture—often described as “old-fashioned”—and a remarkably more intense, pure fruit flavor compared to recipes that rely on added pectin for their structure.
If your preference leans towards retaining the fruit pulp and you don’t mind a textured spread, our blackberry jam without pectin recipe utilizes a similar fundamental technique, simply bypassing the straining step. For a completely seedless experience with more body than a jelly, our seedless blackberry jam offers a luxurious spread, though it requires the extra step of pressing the cooked pulp through a fine mesh strainer to achieve its smooth consistency.
From My Kitchen: The Appeal of Seedless Blackberry Jelly

While my husband is a staunch advocate for blackberry jam, seeds and all, my children have a distinct preference for smooth, seedless spreads. They adore jellies that effortlessly spread onto toast without any unexpected crunch, much like our popular strawberry jelly and raspberry jelly. Crafting seedless blackberry jam is certainly an option, but the labor-intensive process of pressing cooked fruit pulp through a fine mesh screen to separate seeds from fruit can be quite demanding.
This old-fashioned blackberry jelly recipe offers a beautifully simple alternative. By straining the juice through a jelly bag or cheesecloth at the outset, you effortlessly remove all the seeds, leaving behind pure, vibrant blackberry liquid. Then, it’s a matter of adding sugar and carefully cooking the mixture until it reaches its perfect set. There’s no need for added pectin, no complicated steps – just the pure goodness of fruit and sugar, combined with a little patient tending at the stove. The outcome is a wonderfully clear, shimmering jelly with that unmistakable, intense blackberry flavor that delights even the pickiest eaters.
Sometimes, the most enduring and beloved recipes are indeed the simplest ones.
Quick Overview: Blackberry Jelly Recipe Highlights
- Recipe Name: Blackberry Jelly (No Added Pectin)
- Recipe Type: Jelly
- Canning Method: Water Bath Canning
- Preparation Time: Approximately 1 hour (includes fruit preparation and juice straining)
- Cooking Time: Roughly 8 to 15 minutes for the jelly to reach its set point
- Canning Processing Time: 10 minutes for half-pint or pint jars
- Yield: Approximately 4 to 5 half-pint jars
- Recommended Jar Sizes: Half-pints or pints
- Headspace: 1/4 inch
- Core Ingredients: Blackberries, water, granulated sugar
- Trusted Source for Safety: National Center for Home Food Preservation (NCHFP)
- Skill Level: Moderate. Familiarity with testing for jelly set without added pectin is beneficial.
- Similar Preserves: This no-pectin blackberry jelly shares techniques with other traditional fruit jellies that rely on natural pectin, such as black raspberry jelly, red currant jelly, cranberry jelly, or quince jelly. Explore more delightful blackberry canning recipes, including blackberry jam and blackberry pie filling, for diverse ways to preserve this fantastic fruit.
Essential Ingredients for Old-Fashioned Blackberry Jelly
Crafting this exquisite blackberry jelly requires only three fundamental ingredients, relying heavily on the fruit’s natural properties and a straightforward cooking method to achieve its perfect set. The simplicity of the ingredient list truly allows the vibrant flavor of the blackberries to shine.
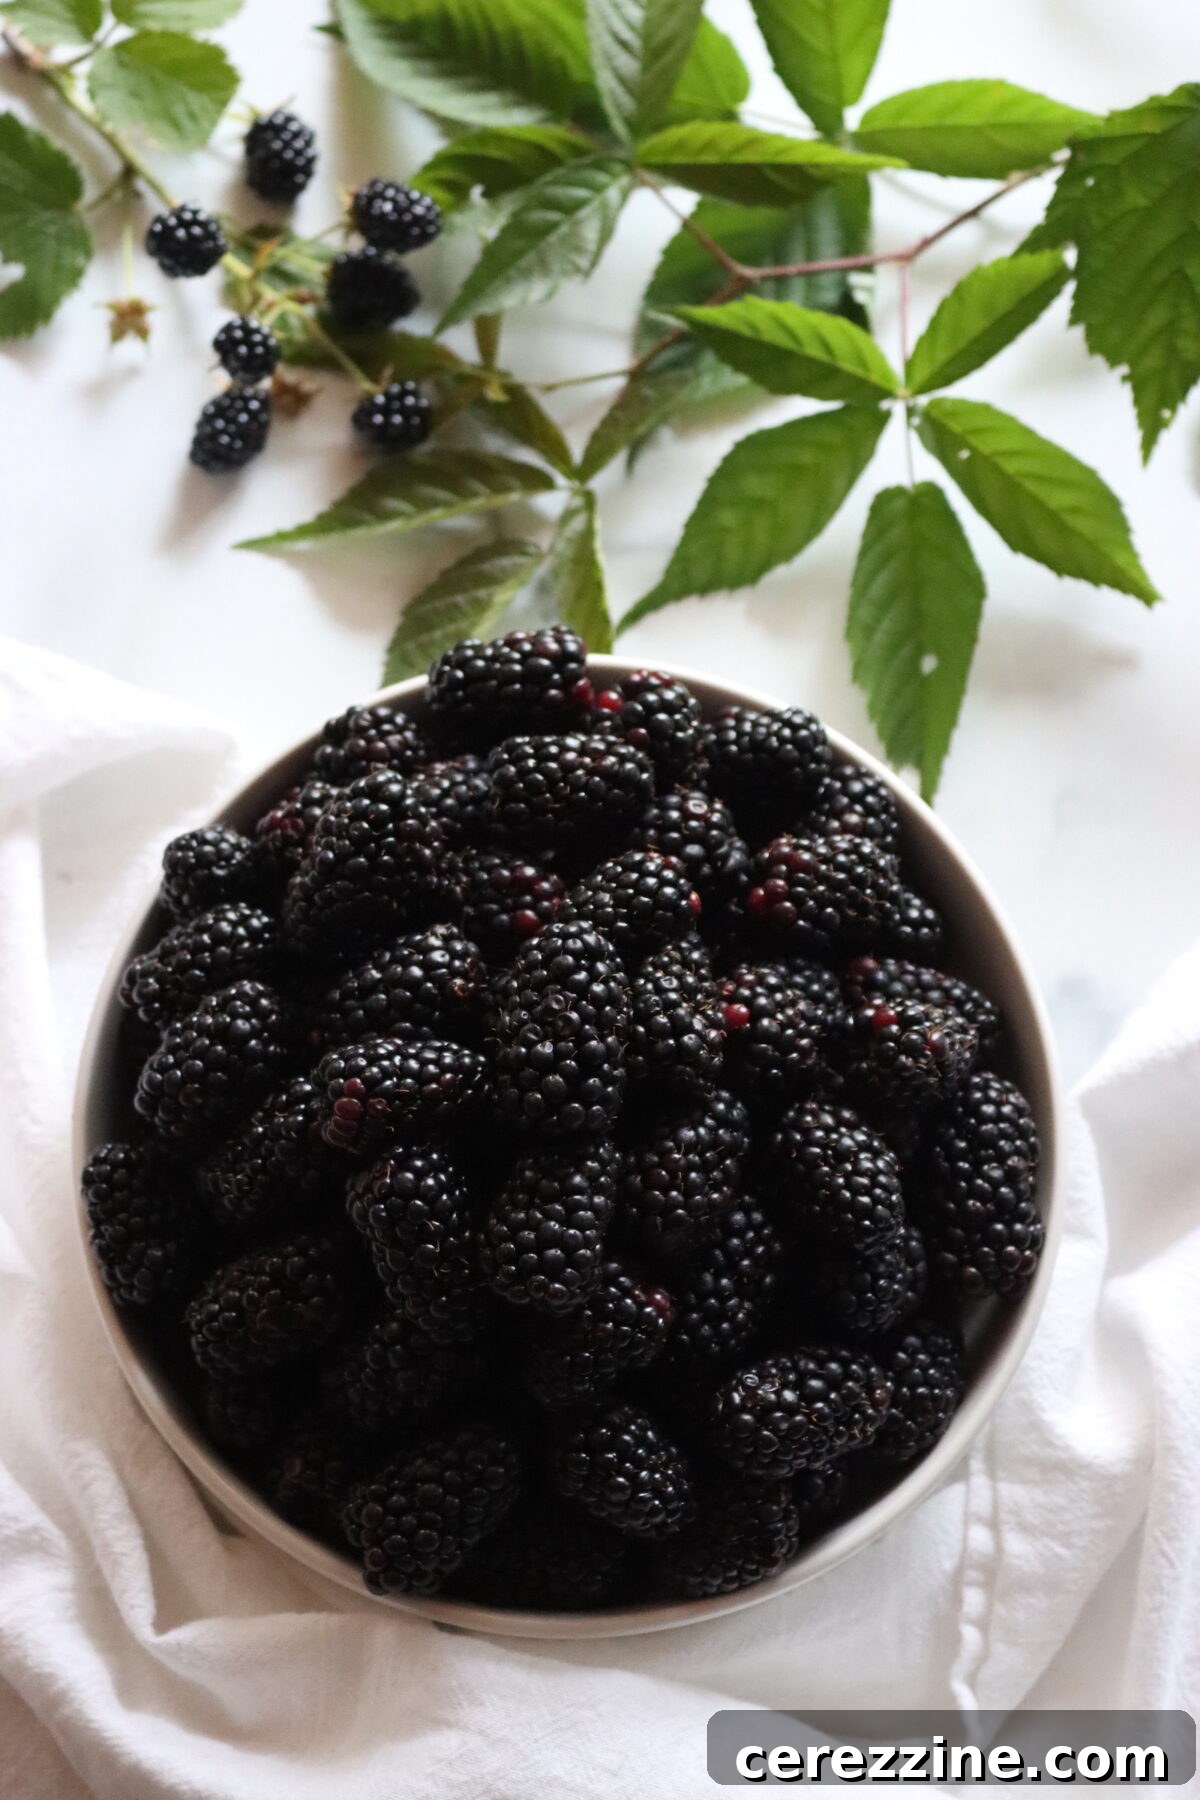
- Blackberries: To yield the necessary 4 cups of strained juice, you’ll typically need approximately 2 ½ quarts (or about 9 cups) of fresh blackberries. For the most dependable and firm set without added pectin, aim for a balanced mix: roughly one-quarter slightly underripe berries combined with three-quarters fully ripe berries. The firmer, slightly tart underripe berries are naturally higher in pectin, which is crucial for helping the jelly gel properly. While wild blackberries and cultivated varieties both work wonderfully, wild berries often boast a higher natural pectin content. Frozen blackberries can also be used; simply add them to the pot without fully thawing. However, be aware that freezing can slightly degrade natural pectin, potentially leading to a softer set compared to fresh fruit.
- Water: A modest amount of water, typically around ¾ cup, serves a vital purpose during the initial cooking phase. It helps prevent the berries from scorching at the bottom of the pot as they begin to heat and soften, simultaneously aiding in the efficient release of their rich, flavorful juices.
- Granulated Sugar: Standard granulated sugar is used in a specific ratio with the blackberry juice—generally 3 cups of sugar for every 4 cups of strained juice. Sugar is indispensable not only for sweetening the jelly and enhancing its flavor but also for its critical role in the gel formation process. It interacts with the fruit’s natural pectin to create the desired firm yet spreadable consistency. It is imperative not to reduce the amount of sugar specified in this recipe, as doing so will significantly impact the jelly’s ability to set correctly and can compromise its safety for canning. If you are seeking a lower-sugar blackberry spread, it is essential to use a recipe specifically formulated for Pomona’s pectin or another type of low-sugar pectin, which are designed to gel with reduced sugar content.
Some experienced canners choose to incorporate a tablespoon or two of fresh lemon juice into their blackberry jelly. While this addition can brighten the overall flavor profile and add a pleasant tartness, it is not strictly required for the safety or the setting of this particular recipe, thanks to the natural acidity and pectin content of blackberries. Feel free to include fresh lemon juice if you desire that extra layer of vibrant flavor.
Detailed Step-by-Step Instructions for Making Blackberry Jelly
With a short ingredient list, the success of this old-fashioned blackberry jelly truly lies in carefully following each step of the process. Do not rush or skip any stages, and ensure the jelly reaches its precise gel point for a perfect consistency.
Step 1: Prepare the Blackberries
Begin by meticulously sorting through your fresh blackberries. Remove any lingering stems, leaves, or any fruit that appears damaged, bruised, or moldy. Gently rinse the clean berries under cool running water and allow them to drain thoroughly. Transfer the drained berries into a large, heavy-bottomed pot. Using a potato masher or the back of a sturdy spoon, lightly crush the berries. This initial crushing helps break down the fruit and encourages the release of their flavorful juices during cooking.
Step 2: Extract the Blackberry Juice
Add the measured water to the crushed blackberries in the pot. Cover the pot with a lid and bring the mixture to a full boil over high heat, stirring occasionally to prevent the fruit from sticking and scorching. Once a vigorous boil is achieved, reduce the heat to a gentle simmer. Continue to simmer for approximately 5 minutes, or until the blackberries are completely soft and have released a significant amount of their dark, rich juices.
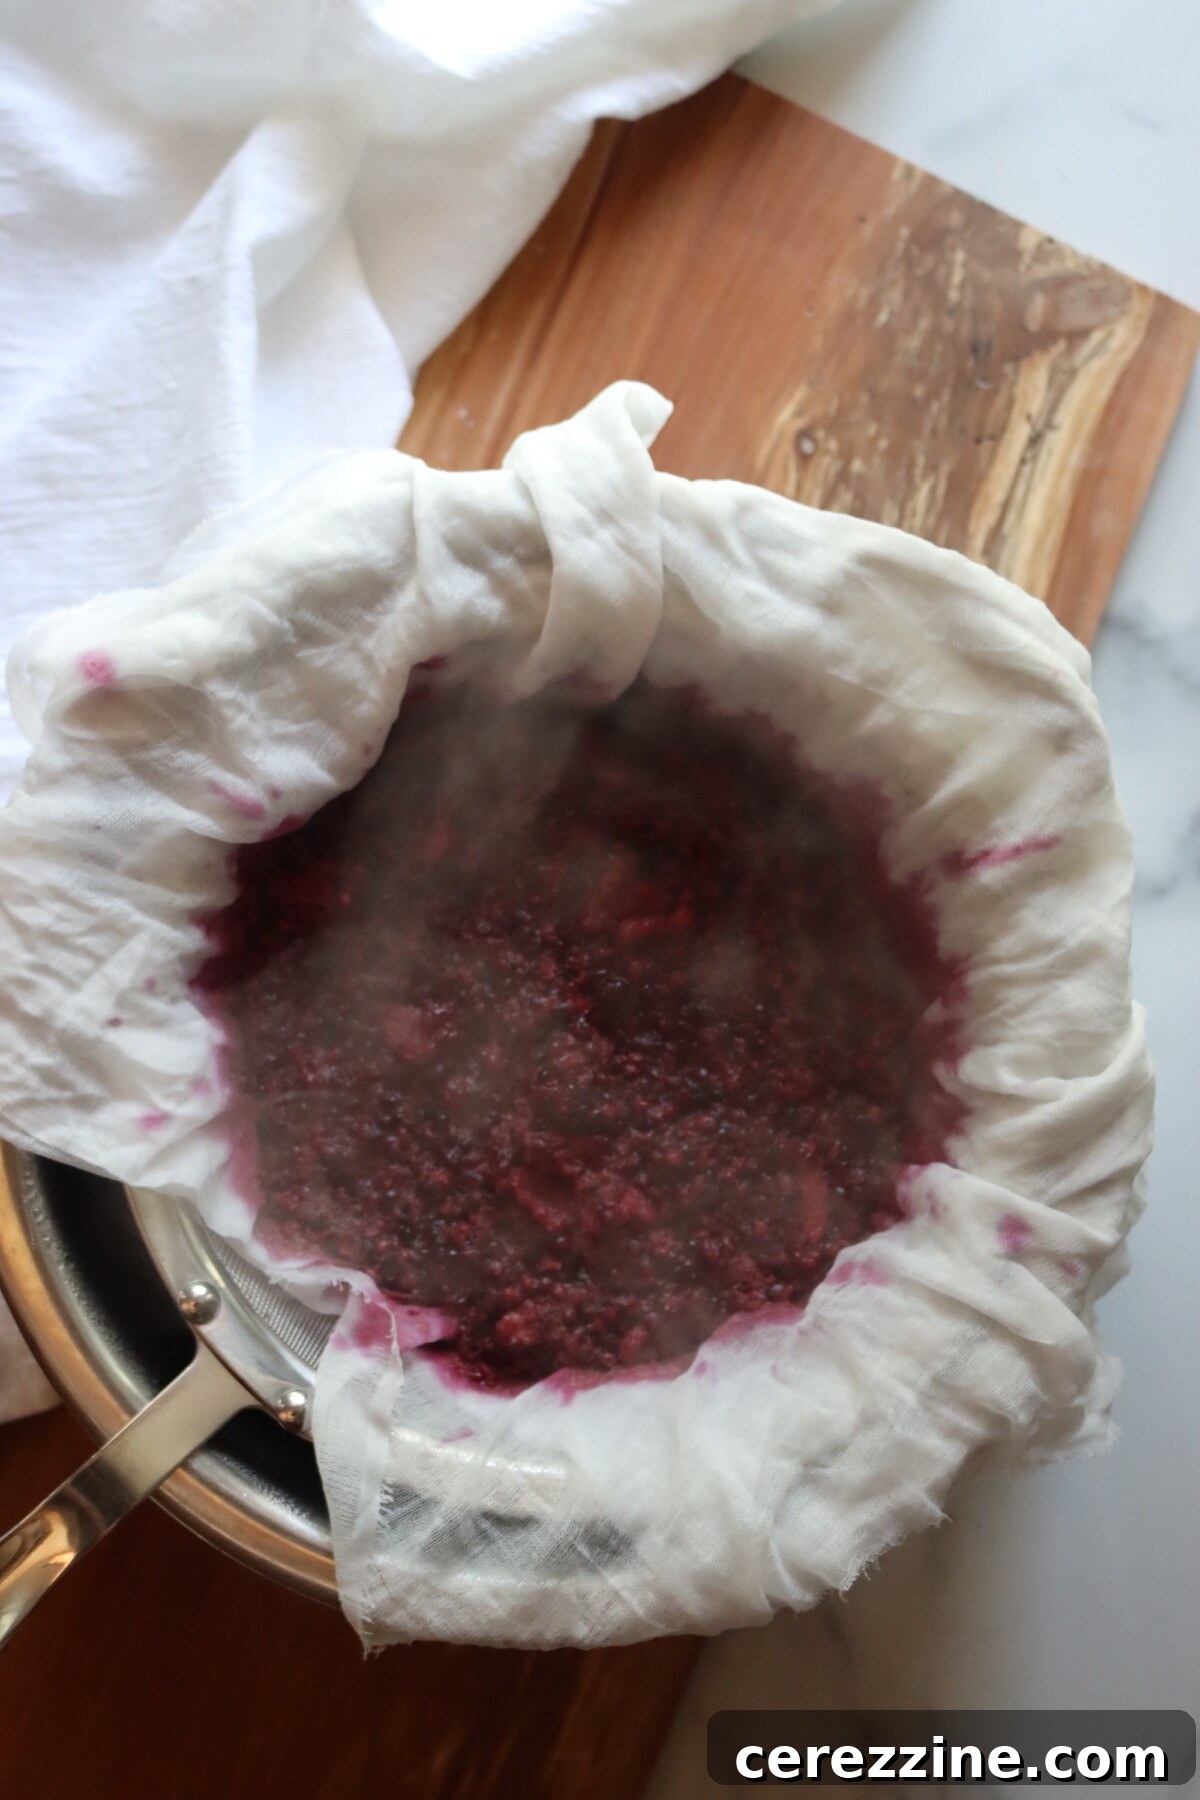
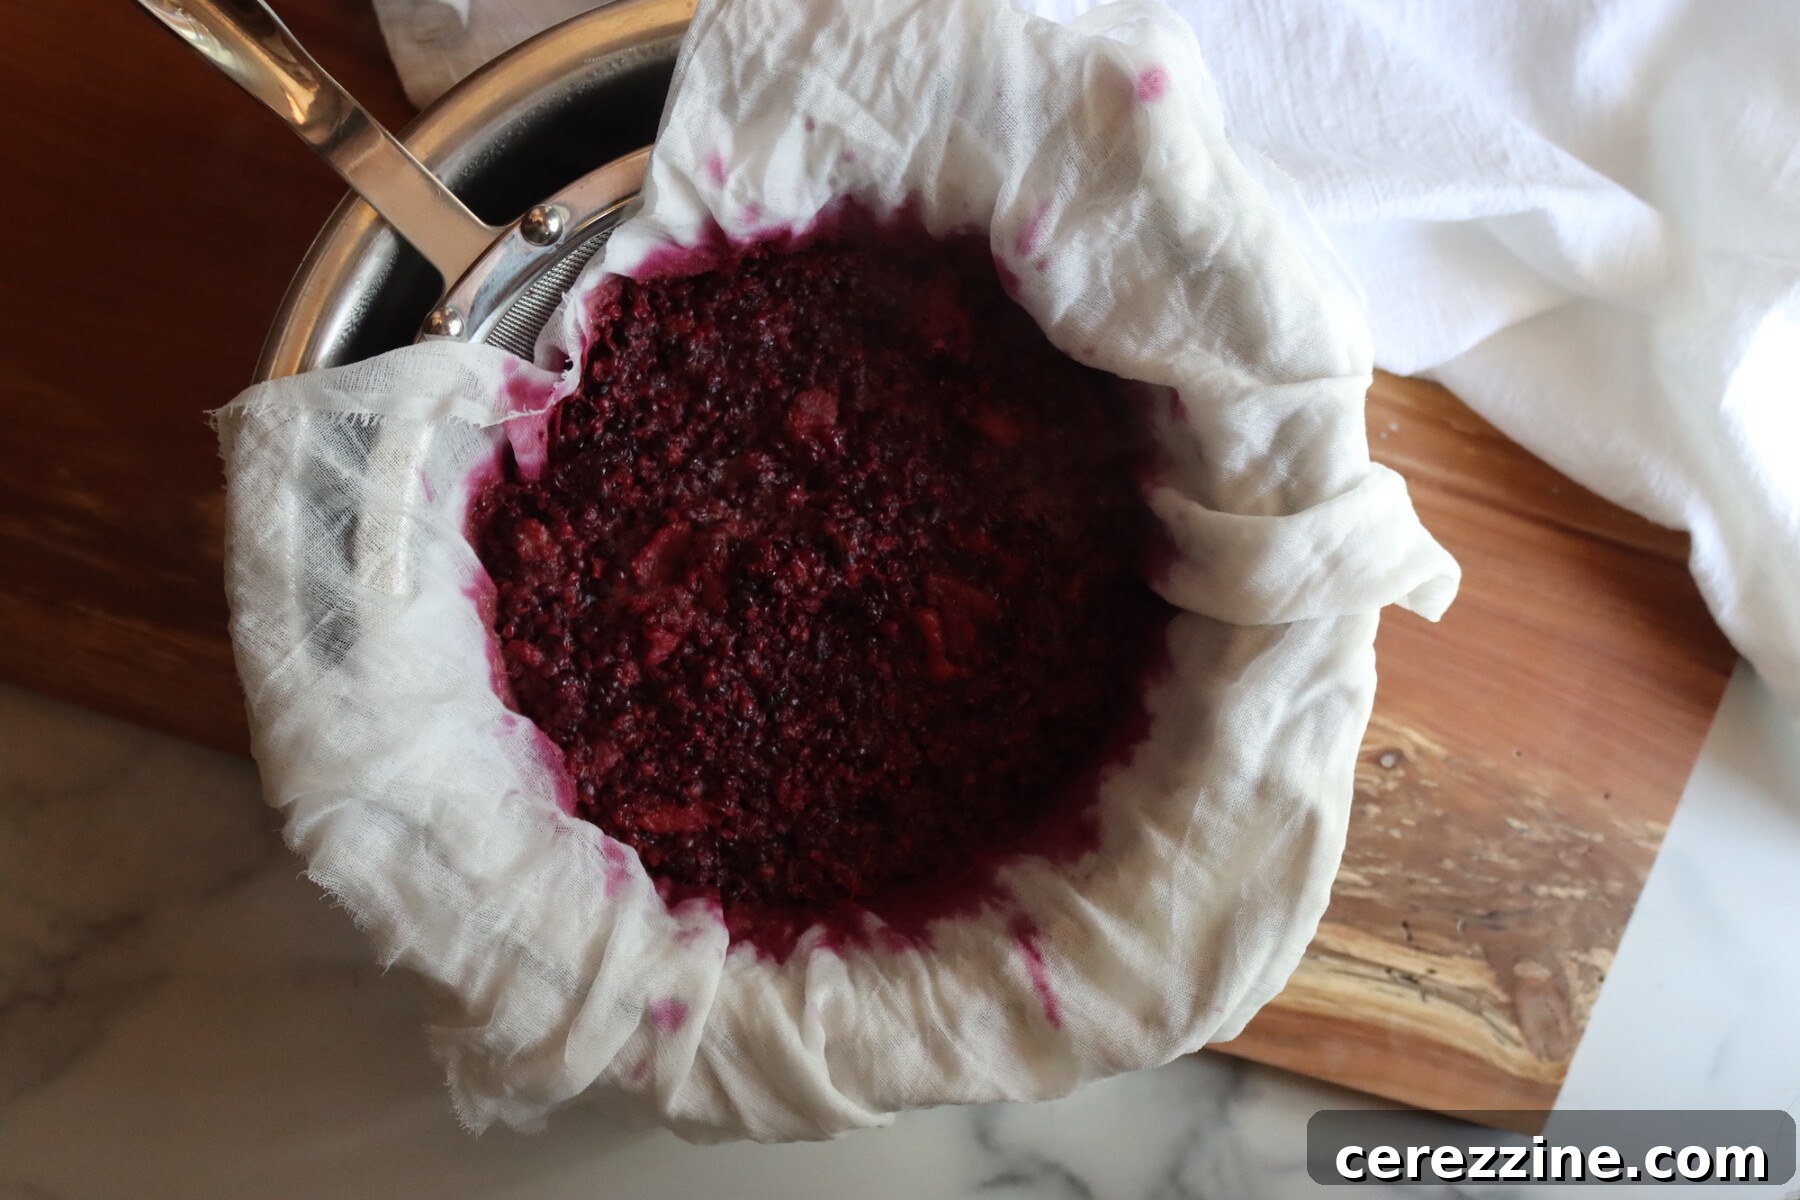
Carefully pour the hot berry mixture into a damp jelly bag, or a large strainer that you’ve lined with several layers of damp cheesecloth. Suspend the bag or strainer over a large, clean bowl, allowing the juice to drip through naturally. Let the juice drip undisturbed for at least one hour, or until the dripping ceases entirely. For the clearest, most sparkling jelly, it is crucial to resist the temptation to squeeze the bag or cheesecloth. While some experienced canners may gently squeeze without issue, squeezing can force tiny pulp particles through, resulting in a cloudy jelly. Patience here ensures clarity.
Step 3: Measure Juice and Cook the Jelly to Set Point
Once the juice has finished dripping, measure the strained blackberry juice. You should aim for approximately 4 cups of juice for this recipe. For every cup of juice you have, add ¾ cup of granulated sugar. So, for 4 cups of juice, you will add 3 cups of sugar. Pour the measured juice and sugar into a large, deep pot. It’s important to use a pot that can comfortably hold at least double the volume of your ingredients, as the mixture will foam up considerably during cooking. Stir the juice and sugar thoroughly until the sugar is completely dissolved.
Place the pot over high heat and bring the mixture to a vigorous, rolling boil, stirring frequently to prevent any scorching on the bottom of the pot. Continue to boil the jelly, stirring regularly, until it reaches 220°F (at sea level) on an accurate instant-read thermometer. Alternatively, you can perform the sheet test: dip a cool metal spoon into the boiling jelly, lift it out, and observe the drips. When two drops merge and sheet off the side of the spoon, the jelly has reached its gel point. This hard boiling typically takes between 8 to 15 minutes, but the exact time can vary depending on the natural pectin content of your particular blackberries and the width of your cooking pot.
Step 4: Fill the Jars and Prepare for Canning
As soon as the jelly reaches its gel point, remove the pot from the heat. Promptly skim off any foam that has accumulated on the surface using a large metal spoon. Ladle the hot, shimmering jelly into your prepared, clean canning jars, ensuring you leave precisely 1/4 inch of headspace at the top of each jar. Using a clean, damp cloth, carefully wipe the rims of the jars to remove any drips or sticky residue, which is crucial for a proper seal. Place new, clean canning lids on top of the jars, followed by the screw bands. Tighten the bands to fingertip-tight; this means tightening them until resistance is met, then giving them just a quarter-turn more. Avoid overtightening.
Important Notes on Jelly Setting
Jelly typically reaches its optimal gel point at 220°F when cooking at sea level. If you are canning at a higher elevation, remember that the boiling point of water (and thus the gel point) decreases by approximately 1°F for every 500 feet above sea level. For example, at 1,000 feet elevation, you would aim for a gel point of 218°F.
The time required for your jelly to reach this crucial gel stage can fluctuate. Factors such as the pectin content of your specific batch of berries, the diameter and material of your cooking pot, and the intensity of your boil all play a role. It is wise to begin checking for the set early and frequently, especially once the mixture has been boiling vigorously for around 8 minutes.
The cold plate test remains one of the most reliable methods for confirming a jelly’s set, particularly for recipes without added pectin. Before you start cooking, place a small, clean plate or saucer in your freezer to chill thoroughly. When you believe the jelly is approaching its set point, carefully spoon a small amount (about half a teaspoon) of the hot jelly onto the cold plate. Allow it to rest on the plate for approximately 30 seconds, then gently push it with your finger. If the jelly surface wrinkles and holds its shape, it has reached its proper set and is ready. If it remains liquid and runs easily, continue cooking for another minute or two, then repeat the cold plate test. For more comprehensive guidance and solutions, refer to our guide on troubleshooting jelly that didn’t set.
Preserving Your Blackberry Jelly: Water Bath Canning Method
Without proper canning, homemade blackberry jelly will maintain its quality in the refrigerator for about 2 to 3 weeks, or in the freezer for up to 6 months. For stable, long-term storage at room temperature, it is essential to process the filled jars in a boiling water bath canner.
It’s best practice to prepare your water bath canner and sterilize your jars before you even begin making the jelly. A good time to do this is while your blackberry juice is slowly straining. The canner should be filled with water and brought to a gentle simmer (around 180-185°F / 82-85°C) by the time your jelly is cooked and poured into jars. Carefully lower the hot, filled jars onto the rack inside the simmering canner, ensuring that they are covered by at least 1 inch of water. Bring the water to a full, rolling boil, then begin your processing time. Process the jars for 10 minutes, whether they are half-pint or pint sizes, making sure to adjust this processing time for your specific altitude as outlined below.
Once the processing time is complete, turn off the heat under the canner. Allow the jars to remain undisturbed in the hot water for an additional 5 minutes. This crucial waiting period helps equalize the pressure and reduces the chance of siphoning (liquid loss) from the jars. After 5 minutes, carefully remove the hot jars from the canner using a jar lifter and place them upright on a towel-lined counter or a wire rack. Allow the jars to cool completely and undisturbed for 12 to 24 hours. During this cooling period, you should hear the characteristic “ping” sounds as the lids seal. After the jars have fully cooled, check all seals: press firmly on the center of each lid. If the lid is concave and does not flex, it is sealed. Any jars that have not sealed properly should be refrigerated immediately for prompt consumption. Properly sealed jars can be stored in a cool, dark place at room temperature for 12 to 18 months, providing delicious blackberry jelly year-round.
Altitude Adjustments for Water Bath Canning
When performing water bath canning, it is vital to increase processing times at higher elevations to ensure food safety:
- For elevations from 0 to 6,000 feet: Process for 10 minutes.
- For elevations above 6,000 feet: Increase processing time to 15 minutes.
Understanding Yield for Your Blackberry Jelly
This recipe is designed to start with approximately 2 ½ quarts (about 9 cups) of fresh blackberries, which should ideally yield around 4 cups of beautifully strained blackberry juice. When combined with 3 cups of sugar and cooked diligently to the proper gel stage, you can anticipate filling 4 to 5 half-pint jars. The exact number of jars filled can vary slightly depending on several factors, including how long you cook the jelly (which affects evaporation) and how much foam you need to skim off the surface.
It’s worth noting that wild blackberries often possess a higher natural pectin content compared to many cultivated varieties. This characteristic can sometimes lead to a quicker set for the jelly and a slightly greater yield. If your final yield is unexpectedly lower than estimated, it could indicate that your berries were particularly ripe (meaning lower in natural pectin) and therefore required a longer cooking time to reach the necessary gel point, resulting in more evaporation and a slightly reduced volume of finished jelly.
Delightful Serving Suggestions for Blackberry Jelly
Blackberry jelly, with its exquisite flavor and velvety texture, is incredibly versatile and pairs wonderfully with a variety of dishes. It’s far more than just a breakfast spread; its smooth consistency and intense fruitiness open up a world of culinary possibilities.
Classic pairings are always a hit: slather it generously on hot, buttered toast, fluffy homemade biscuits, or chewy English muffins. The absence of seeds makes it an ideal choice for stirring into creamy yogurt or warm oatmeal, adding a burst of fruit flavor without any textural surprise. It’s also the perfect complement to a classic peanut butter sandwich, creating a truly harmonious and smooth bite.
Beyond breakfast, let blackberry jelly elevate your savory and sweet creations in the kitchen. Use it as a vibrant glaze for roasted pork loin, chicken breasts, or even duck, providing a beautiful sheen and a tangy-sweet counterpoint. Warm it gently and brush it over a freshly baked fruit tart to add gloss and an extra layer of fruitiness. Incorporate a spoonful into vinaigrettes for green salads, transforming a simple dressing into a sophisticated, fruity accompaniment. For baking, it makes an excellent, deeply flavored filling for thumbprint cookies or a luscious layer between vanilla cake layers, especially when paired with fresh whipped cream.
For thoughtful homemade gifts, blackberry jelly’s jewel-like clarity and rich color make it particularly stunning in decorative jars. Present it alongside a basket of freshly baked scones or a loaf of artisan bread for a truly memorable and heartfelt present that showcases your homemade efforts.
Frequently Asked Questions About Blackberry Jelly
Absolutely, frozen blackberries are an excellent choice for making jelly. There’s no need to thaw them completely before you begin cooking; simply add them directly to your pot with the specified water and proceed with the recipe as usual. While frozen berries may release slightly more liquid during cooking, which is easily managed, they can sometimes result in a slightly softer set compared to jelly made with fresh fruit, due to pectin degradation during freezing. This often doesn’t detract from the delicious flavor, however.
The most common culprits behind a soft or unset jelly are usually related to cooking errors or fruit ripeness. Undercooking, meaning the jelly mixture did not reach its proper gel point temperature, is a frequent issue. Always ensure you cook the jelly to 220°F at sea level (adjusting for altitude) and, most importantly, confirm the set using the reliable cold plate test before you proceed to canning. Another key factor is using overly ripe blackberries, which have a naturally lower pectin content. To mitigate this, try to incorporate a mix of approximately one-quarter slightly underripe berries with three-quarters fully ripe berries in your batch; the underripe fruit provides a natural boost of pectin vital for a firm set.
It is generally not recommended to double jelly recipes. Larger batches require significantly longer cooking times to reach the necessary gel point, and this extended cooking can often prevent the jelly from setting properly, leading to a runny product. Furthermore, prolonged cooking can negatively impact the delicate flavor and vibrant color of the blackberry jelly. For the best possible results and a consistently firm set, it is always advisable to prepare one batch at a time, ensuring optimal control over the cooking process.
A cloudy appearance in jelly is most often caused by squeezing the jelly bag or cheesecloth during the straining process. Squeezing forces tiny particles of fruit pulp through the straining material, which then become suspended in the juice, leading to cloudiness. To achieve a sparkling, crystal-clear jelly, allow the juice to drip naturally and entirely without any pressing. Using a finer mesh jelly bag or lining your strainer with multiple layers of cheesecloth can also help prevent pulp from passing through. While cloudy jelly tastes just as wonderful and is perfectly safe to eat, it simply won’t have that visual clarity that many desire.
More Blackberry Canning Recipes to Explore
Canning Blackberry Pie Filling
Old Fashioned Blackberry Jam (No Added Pectin)
Seedless Blackberry Jam (No Added Pectin)
If you tried this Blackberry Jelly recipe, or any other recipe on Creative Canning, we’d love to hear from you! Leave a ⭐ star rating and share your thoughts in the 📝 comments below!
And make sure you stay in touch with us by following on social media for more canning tips and recipes!