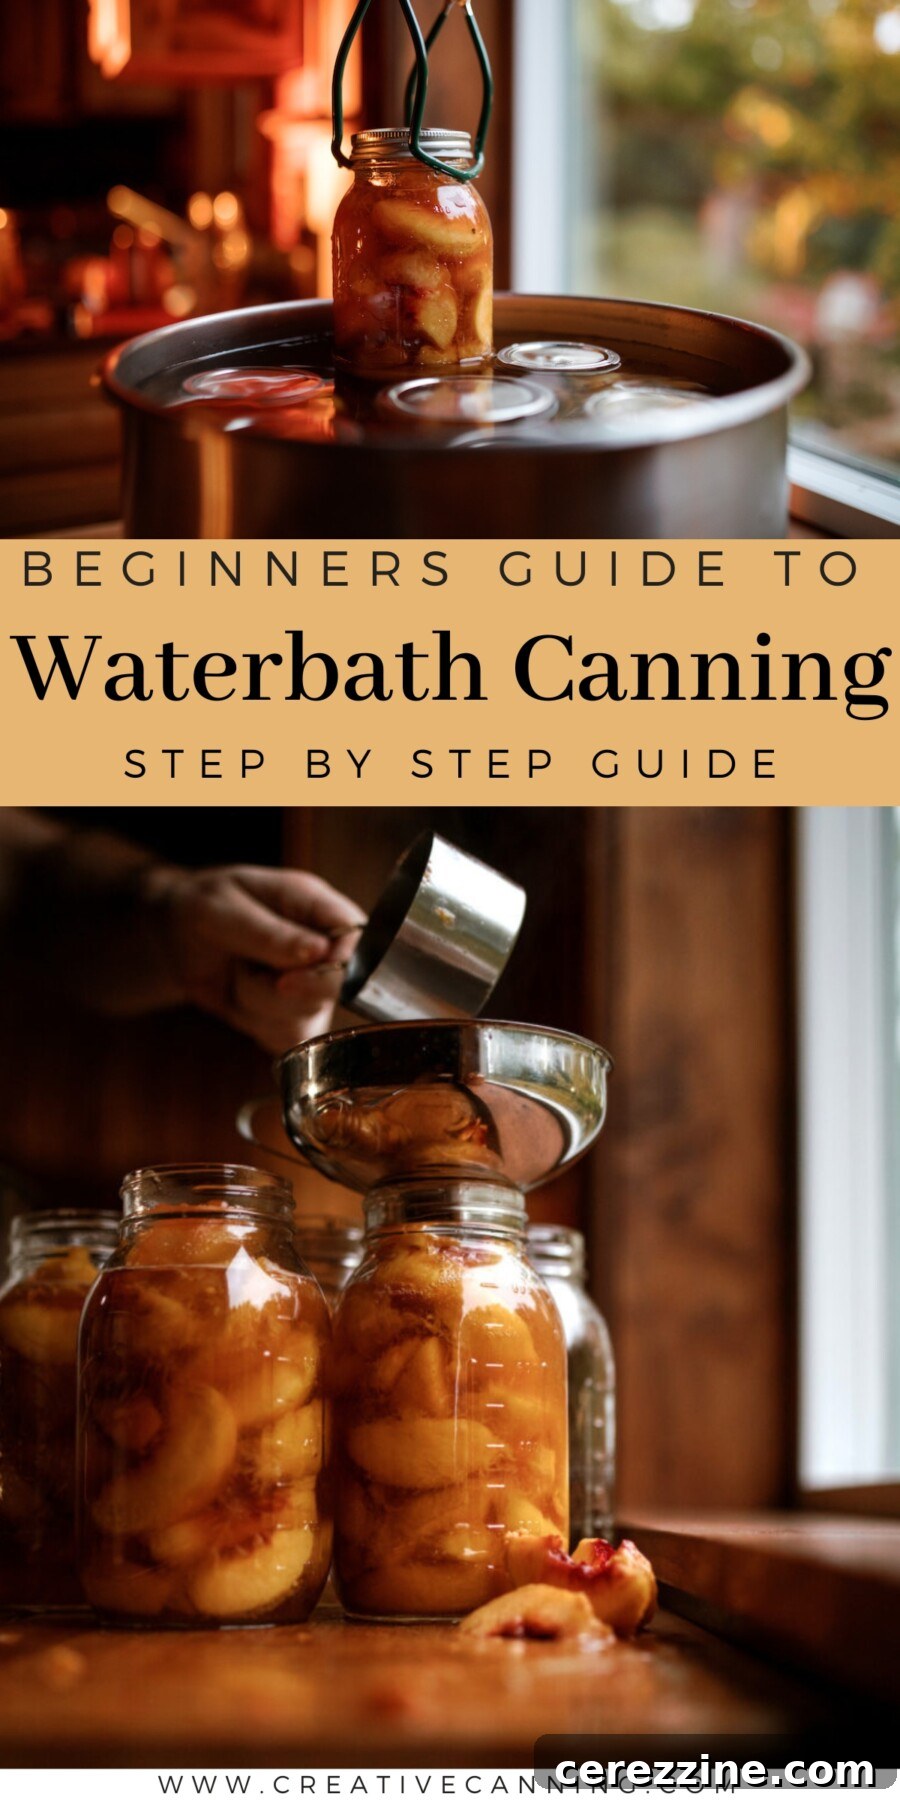
Water bath canning is an incredibly rewarding and straightforward method for preserving food at home, transforming seasonal abundance into pantry staples. It’s often considered the ideal starting point for anyone new to home food preservation, largely because of its simplicity and the minimal specialized equipment required. With just a few basic steps and an understanding of the underlying principles, you can fill your shelves with an array of delicious homemade jams, vibrant pickles, zesty salsas, and sweet fruit preserves that not only taste superior to store-bought alternatives but also carry the unique satisfaction of having made them yourself.
Imagine the delight of reaching for a jar of sun-kissed summer peaches in the dead of winter, or serving homemade raspberry jam at breakfast, knowing every ingredient was carefully selected and preserved by your own hands. This deep sense of self-sufficiency and connection to your food supply is a major draw for home canners.
This comprehensive guide has been meticulously reviewed for accuracy and safety by a Master Food Preserver, certified through the highly respected University of Cornell Cooperative Extension.
Many people find the idea of canning intimidating, recalling complicated processes or cautionary tales. If you’ve ever watched someone can and thought it looked overly complex, rest assured, you’re not alone. I once felt the same apprehension. However, water bath canning is fundamentally about boiling water with a series of precise, well-established steps – steps that are crucial for ensuring food safety and quality. This guide will demystify the entire process, providing you with all the essential knowledge and confidence to embark on your canning journey safely and successfully.
The core principles and techniques outlined here are universally applicable to all water bath canning recipes. Whether you’re making luscious homemade jams, preparing smooth silky fruit butters, or creating crisp pickled vegetables, the steps remain consistent. By understanding the “why” behind each action, you’ll gain a firm grasp of the process, empowering you to confidently tackle any water bath canning recipe that sparks your interest.
What is Water Bath Canning? A Foundation of Home Food Preservation
Water bath canning is a heat-processing method specifically designed to preserve high-acid foods in hermetically sealed jars. The process involves submerging filled glass jars in a large pot of boiling water for a predetermined amount of time. This sustained high temperature effectively eliminates spoilage microorganisms such as yeasts, molds, and many bacteria that could otherwise cause food to spoil. As the jars cool down after being removed from the boiling water, a vacuum seal is created, which forms an airtight barrier. This seal prevents recontamination and ensures the food remains shelf-stable and safe for consumption for 12 to 18 months, often much longer when stored properly.
The efficacy of water bath canning hinges on a critical combination: the high heat of the boiling water and the natural acidity of the food itself. This acidic environment, when combined with sufficient heat, creates conditions where harmful bacteria, yeasts, and molds cannot survive or thrive. The vacuum seal then maintains this sterile environment, preserving the food’s quality and safety without refrigeration. It’s a beautifully simple yet scientifically sound method.
This method is exclusively suitable for **acidic foods with a pH below 4.6**. This category primarily includes most fruits, fruit juices, fruit-based jams and jellies, vinegar-based pickles, relishes, safely acidified salsas, and certain tomato products (always with added acid). Foods with higher pH levels, meaning they are less acidic, pose a risk for the growth of Clostridium botulinum, the bacterium responsible for botulism. These low-acid foods mandate a different preservation technique: pressure canning, which reaches significantly higher temperatures necessary to destroy the heat-resistant spores of botulism-causing bacteria.
Why pH Matters: The Cornerstone of Safe Canning
Understanding the concept of acidity, measured by pH, is not merely helpful but absolutely fundamental to safe home canning. The pH level of a food dictates which preservation method—water bath or pressure canning—must be used. The pH scale ranges from 0 to 14, where 0 represents the most acidic, 14 the most alkaline (basic), and 7 is neutral. For canning purposes, a critical dividing line is drawn at pH 4.6.
Foods are categorized into two groups based on their pH:
High-acid foods (pH 4.6 or below): This crucial category includes the vast majority of fruits, fruit juices, jams, jellies, pickles made with sufficient vinegar, fermented products like sauerkraut, and properly acidified tomatoes. These foods can be safely processed using a boiling water bath because their inherent acidity, combined with the heat treatment, effectively inhibits the growth of Clostridium botulinum, the bacterium that produces the deadly botulinum toxin. The acidic environment itself acts as a natural safeguard against this particular pathogen.
Low-acid foods (pH above 4.6): This group encompasses most vegetables (such as green beans, corn, and potatoes), meats, poultry, seafood, dry beans, and soups. These foods lack the natural acidity to inhibit C. botulinum and therefore require a more intense heat treatment. For low-acid foods, pressure canning is mandatory. A pressure canner reaches temperatures of 240-250°F (116-121°C), significantly higher than the 212°F (100°C) achieved by boiling water. These elevated temperatures are essential to destroy the heat-resistant spores of Clostridium botulinum, ensuring the safety of the preserved food.
Some foods, like tomatoes, naturally hover around the critical pH 4.6 mark. This is why virtually all tomato canning recipes, whether for water bath or pressure canning, explicitly call for the addition of acid, typically lemon juice or citric acid. This vital step guarantees that the pH level is safely below 4.6. Similarly, fruits such as figs also require added acidity to be safe for water bath canning.
When in doubt about a food’s acidity or the appropriate canning method, always, without exception, consult and follow a tested recipe from a reliable, research-based source. These recipes have undergone rigorous scientific testing to ensure the pH levels and processing times are correct for safe preservation. Never guess or rely on anecdotal information when it comes to food safety.
Essential Equipment for Successful Water Bath Canning
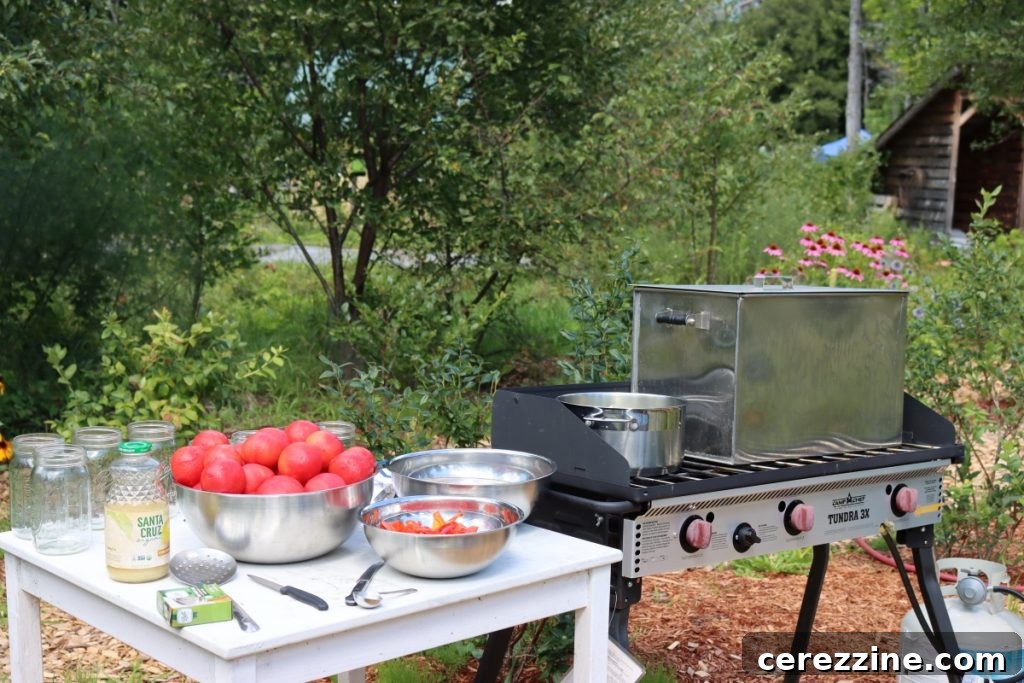
One of the great advantages of water bath canning is that you don’t need a kitchen full of highly specialized, expensive gadgets to get started. Many of the items required are likely already present in your kitchen, and the few specialized tools are both affordable and readily available. Investing in the right tools ensures safety, efficiency, and consistent results.
Essential Equipment for Every Canner
These items are non-negotiable for safe and effective water bath canning:
- Water Bath Canner or Large Stockpot: The primary vessel for processing. This pot must be deep enough to allow your canning jars to be completely covered by at least 1 inch of boiling water, with an additional 2-3 inches of space above the water level to prevent boil-over. A standard 21-quart water bath canner is a popular choice, typically accommodating seven quart-sized jars or eight to nine pint-sized jars. If you don’t have a dedicated canner, a very large stockpot will suffice, provided it meets the height requirements. Crucially, you will also need a rack to keep the jars elevated off the bottom of the pot, ensuring even heat distribution and preventing direct contact with the hot bottom, which can cause breakage.
- Glass Canning Jars: Not all glass jars are created equal for canning. Always use proper Mason-style jars specifically designed for home canning. These jars are made from tempered glass, engineered to withstand the repeated heating and cooling cycles involved in preservation. Their threaded necks are perfectly matched to two-piece canning lids. Before each use, meticulously inspect every jar for any chips, cracks, or imperfections, particularly around the rim where the seal forms, as even a tiny flaw can compromise safety. Half-pints, pints, and quarts are the most common and versatile sizes for water bath canning.
- Two-Piece Canning Lids: This system comprises two components: a flat metal disc with a rubber sealing compound and a threaded metal band. The flat lids are single-use items; the sealing compound is designed to create a secure, airtight seal only once. Therefore, always use new flat lids for each canning session. The metal bands, however, are reusable as long as they are free from rust, dents, or warping, which could interfere with proper lid placement.
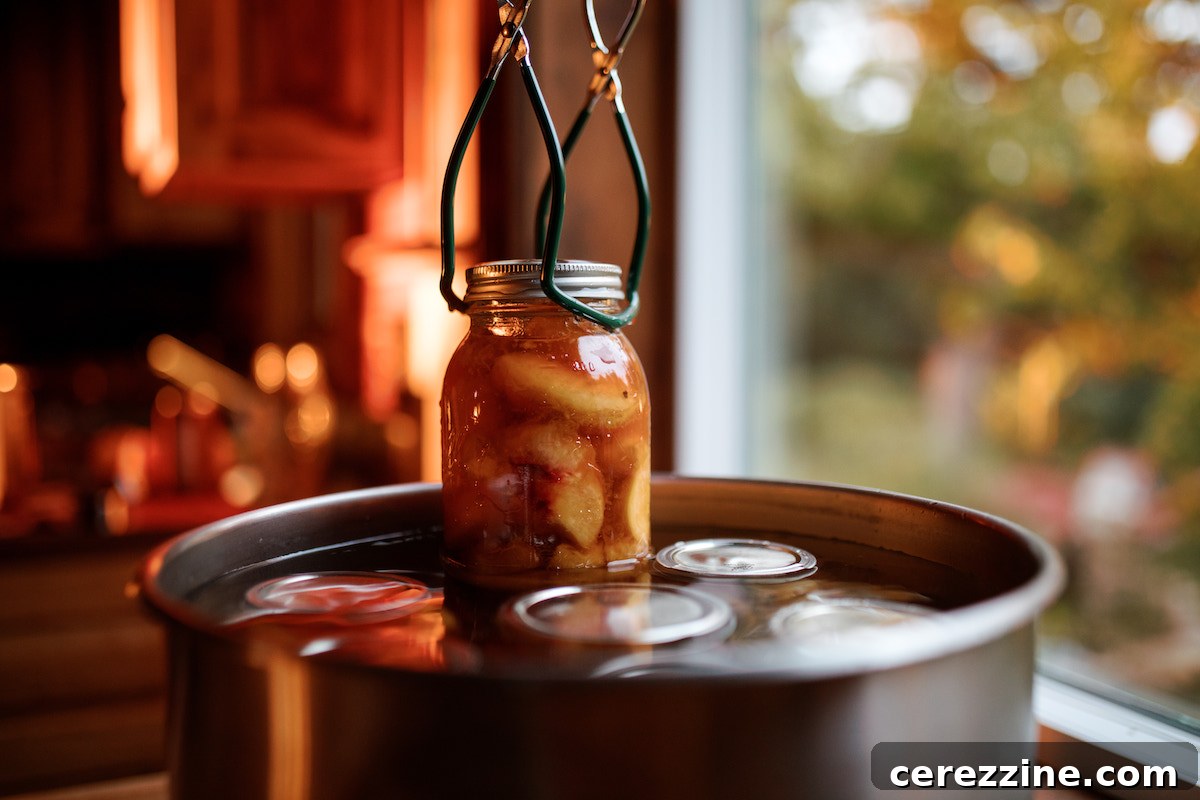
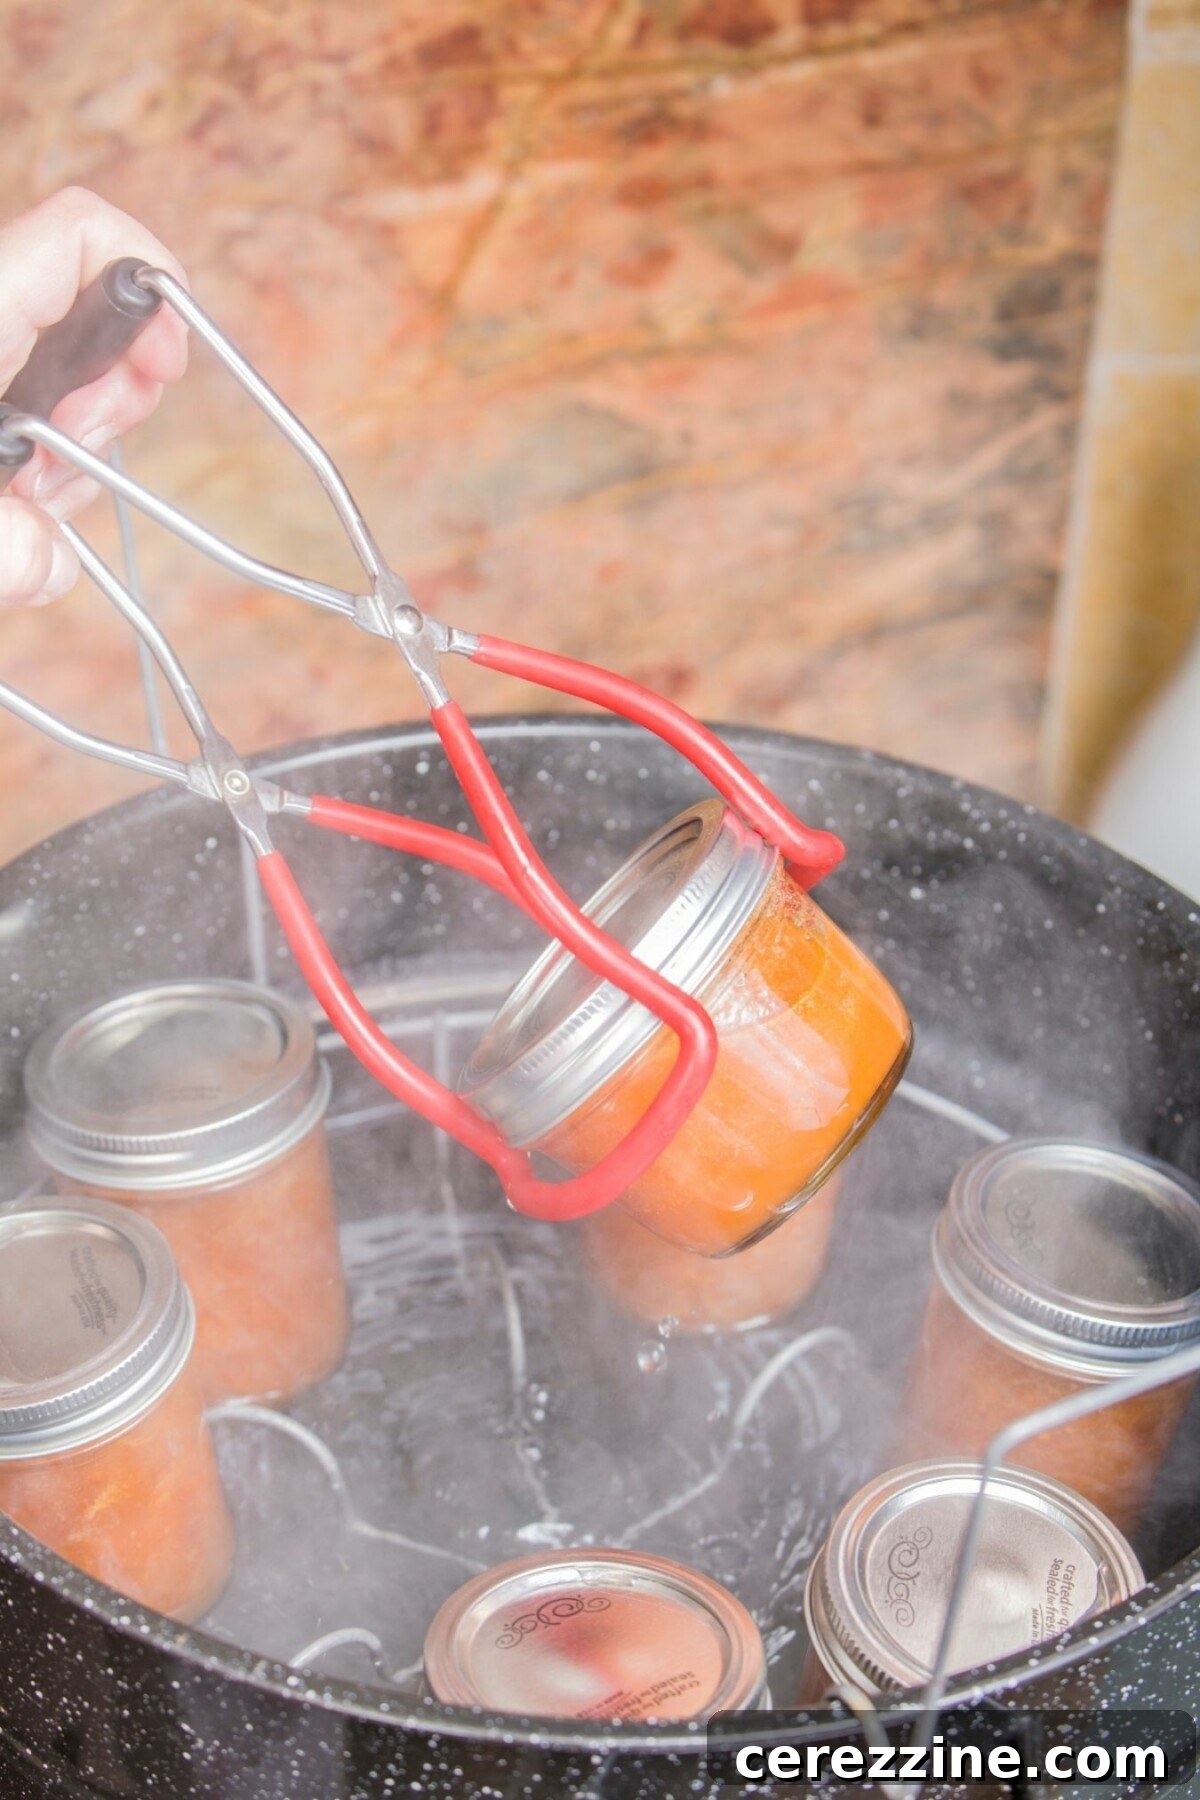
- Jar Lifter: This is a critical safety tool and absolutely not optional. Specialized jar lifters feature rubberized grips designed to securely grasp hot, slippery jars, allowing you to safely lower them into and remove them from boiling water. Attempting to use regular kitchen tongs is extremely risky, as they can easily slip, leading to burns or broken jars. Given their low cost, a jar lifter is a minimal yet indispensable investment for any canner.
- Canning Funnel: A wide-mouth canning funnel simplifies the jar-filling process immensely. Its wide opening fits snugly into the mouth of canning jars, directing food precisely and cleanly, minimizing spills on the jar rims. Keeping rims clean is paramount for a proper seal. Some funnels even feature integrated headspace measurements, adding to their convenience.
- Bubble Remover and Headspace Tool: This specialized flat plastic tool serves a dual purpose. It’s designed to gently slide between the food and the interior wall of the jar to release any trapped air bubbles that could otherwise impede heat penetration or compromise the seal. The stepped end of the tool is also used to accurately measure headspace – the crucial empty space between the food surface and the jar rim. While a thin silicone spatula or wooden chopstick can be used for bubble removal, avoid metal tools that could scratch the jar’s tempered glass.
Helpful But Not Essential Tools for Convenience
While not strictly necessary for safety, these items can enhance your canning experience:
- Lid Lifter (Magnetic Wand): This handy magnetic tool allows you to easily retrieve flat lids from hot water without touching them. However, with current recommendations from the National Center for Home Food Preservation (NCHFP) advising against boiling lids before use (most modern lids only require washing), its necessity has diminished.
- Timer: Any reliable timer will do, whether it’s built into your stove, a dedicated kitchen timer, or even your smartphone. The key is to ensure it’s easily audible from your canning workspace.
- Large Ladle: Essential for efficiently and safely transferring hot food from your cooking pot into the canning jars, especially when hot packing.
- Clean Towels: Keep several clean towels on hand. They are invaluable for wiping jar rims, catching spills, and providing a stable, insulated surface for hot jars as they cool after processing.
- Instant-Read Thermometer: Useful for accurately checking the water temperature in your canner, especially when aiming for a specific preheating temperature (e.g., 180°F for hot jars) before loading.
Delicious Foods Safe for Water Bath Canning
Water bath canning is perfectly suited for a wide array of high-acid foods, allowing you to preserve an incredible variety of sweet and savory delights. Here’s a detailed look at what you can safely put up using this versatile method, always emphasizing the importance of following tested recipes:
Jams, Jellies, and Marmalades
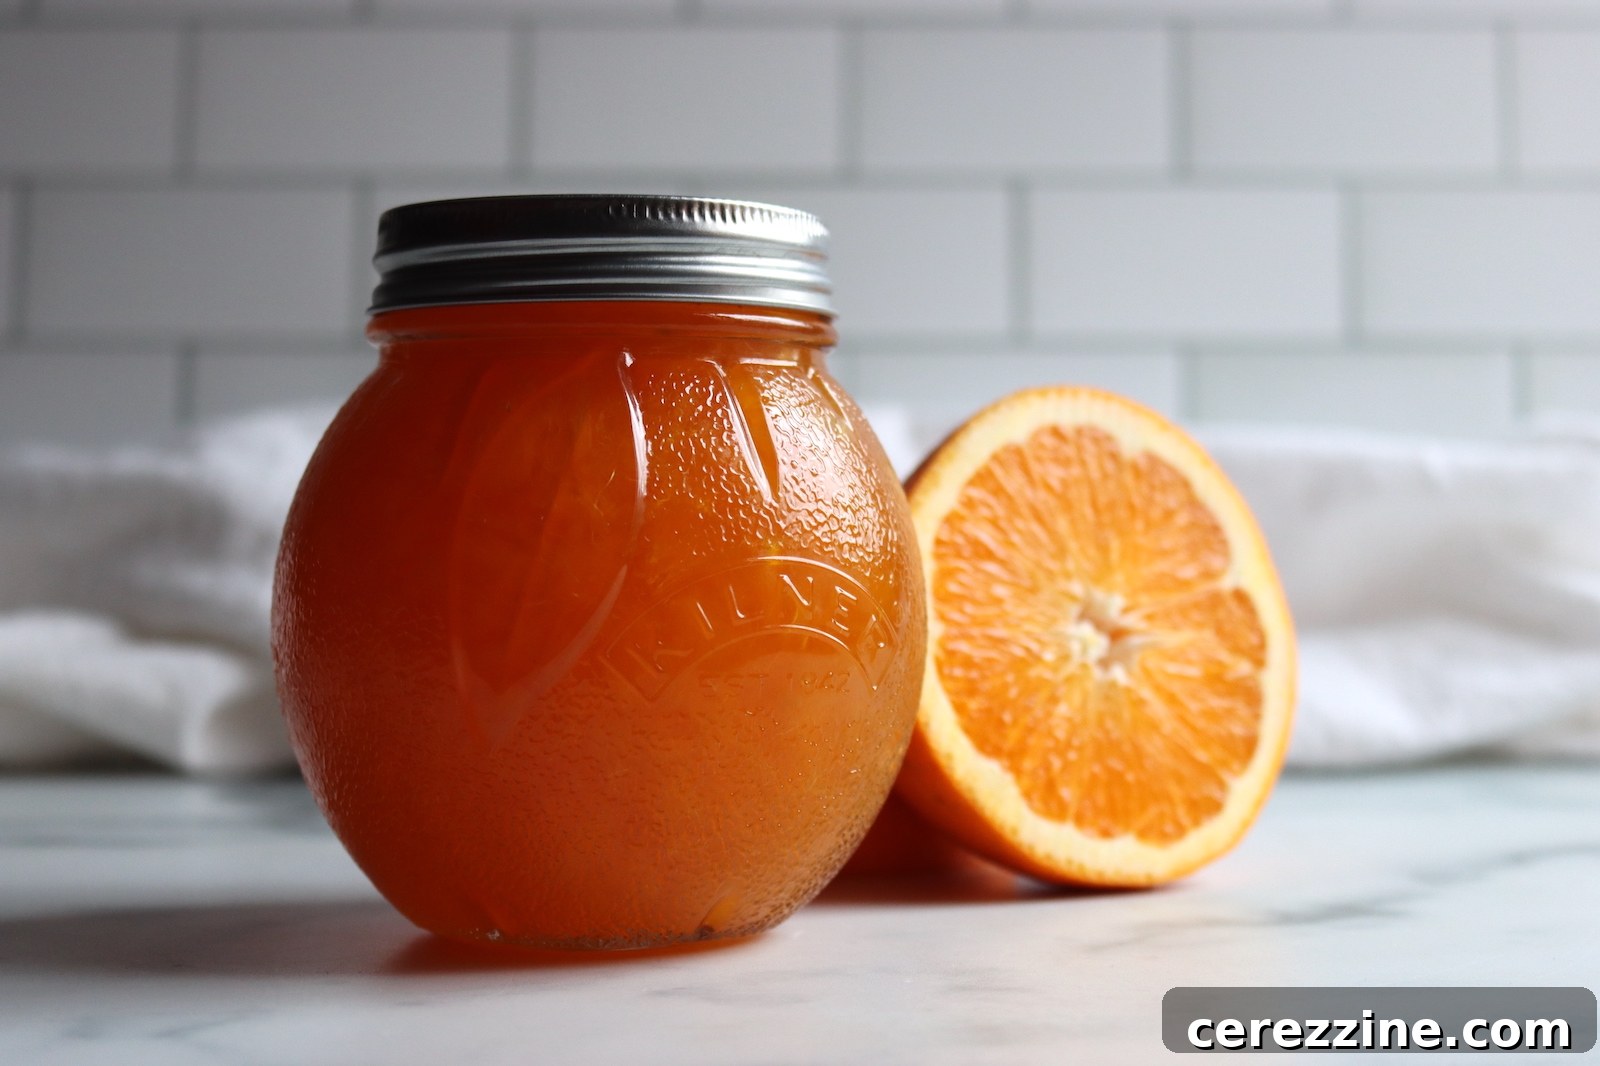
All types of fruit spreads, from vibrant berry jams to elegant citrus marmalades, are prime candidates for water bath canning. Whether you prefer recipes with added pectin for a firm set or desire more natural spreads without pectin, the natural acidity of the fruit, often boosted by added sugar (which contributes to texture and flavor, though not primarily preservation in water bath canning), makes these creations perfectly safe for processing. Explore a wealth of inspiration with various jam recipes and jelly recipes.
Fruit Butters
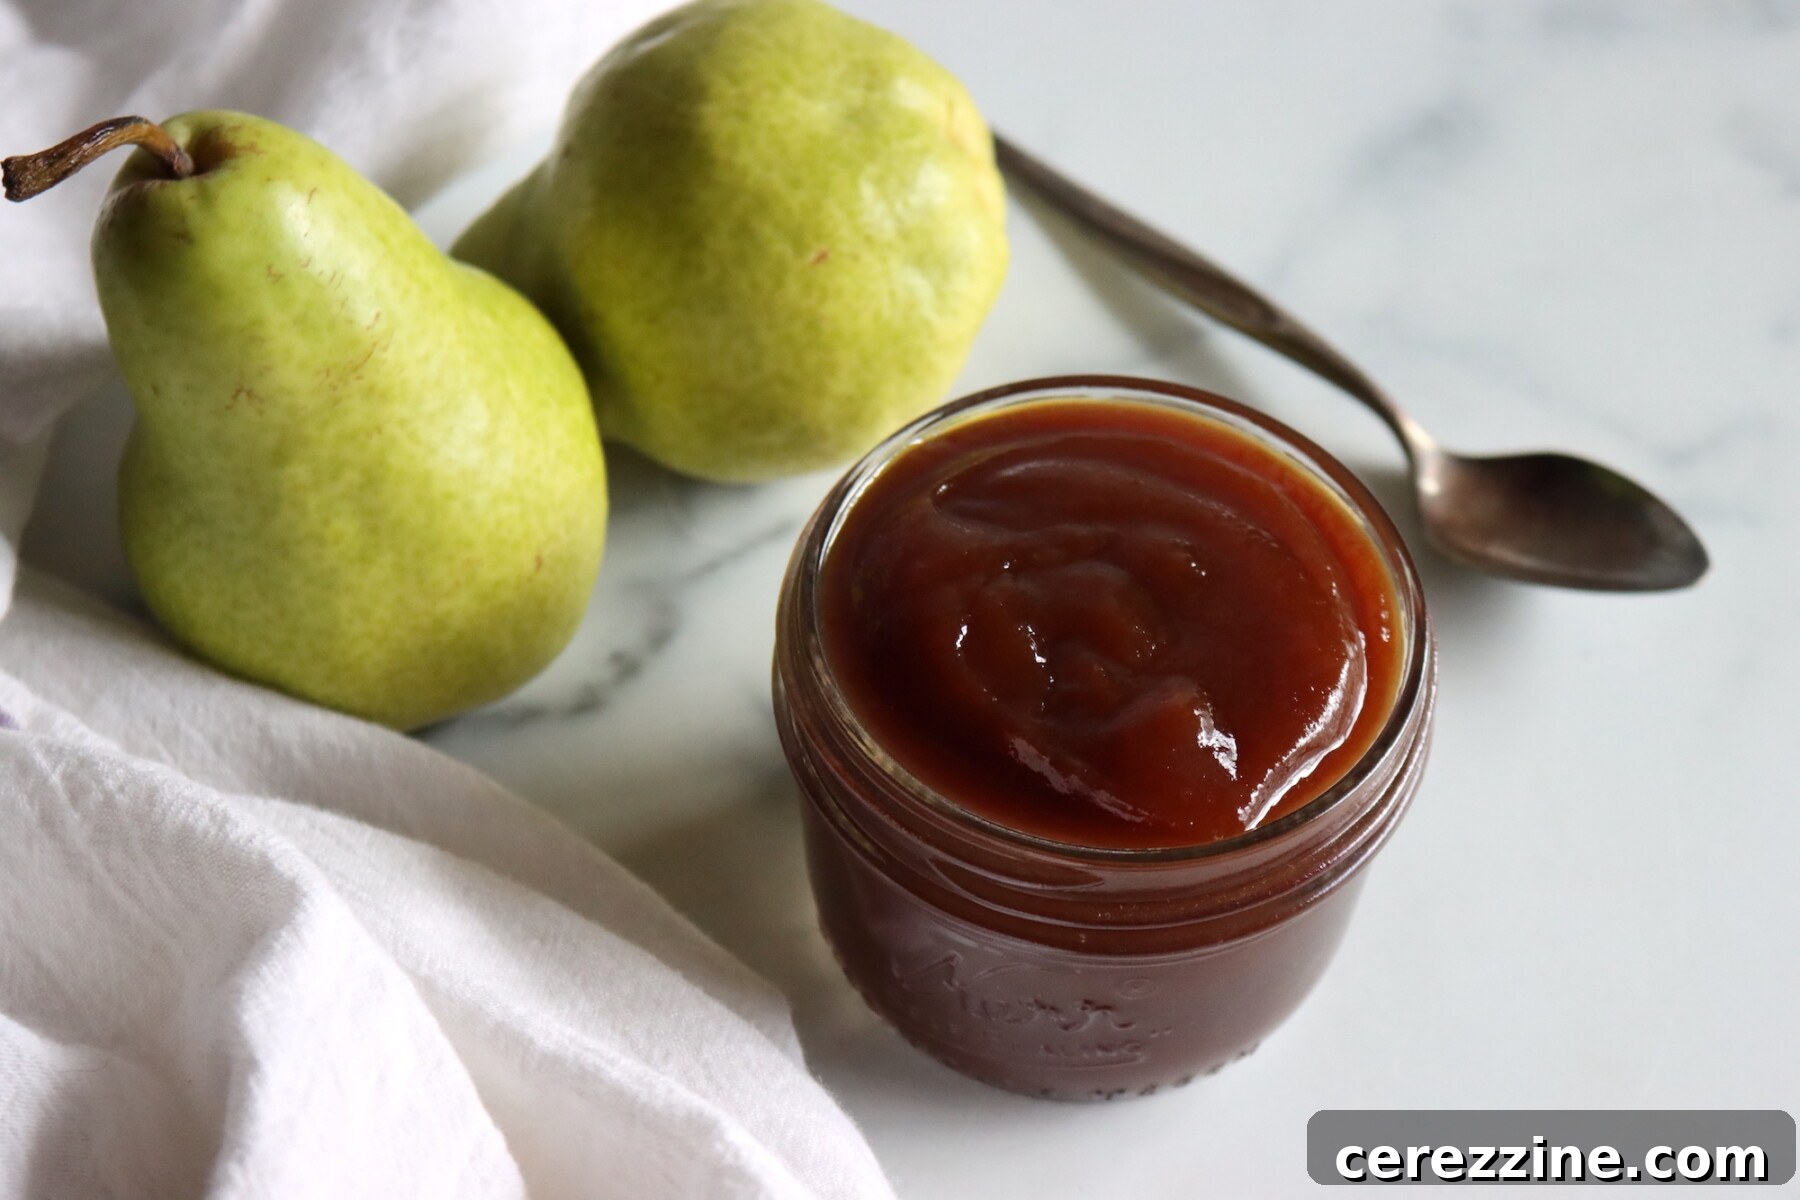
These rich, concentrated fruit spreads, often slow-cooked to a thick, smooth consistency, are also excellent for water bath preservation. Popular choices include luscious apple butter, aromatic pear butter, and sweet peach butter. The intensive cooking process further concentrates the fruit’s natural acidity, ensuring safety. The basic method for making fruit butter is remarkably adaptable to almost any fruit, offering endless possibilities.
Whole, Halved, or Sliced Fruits
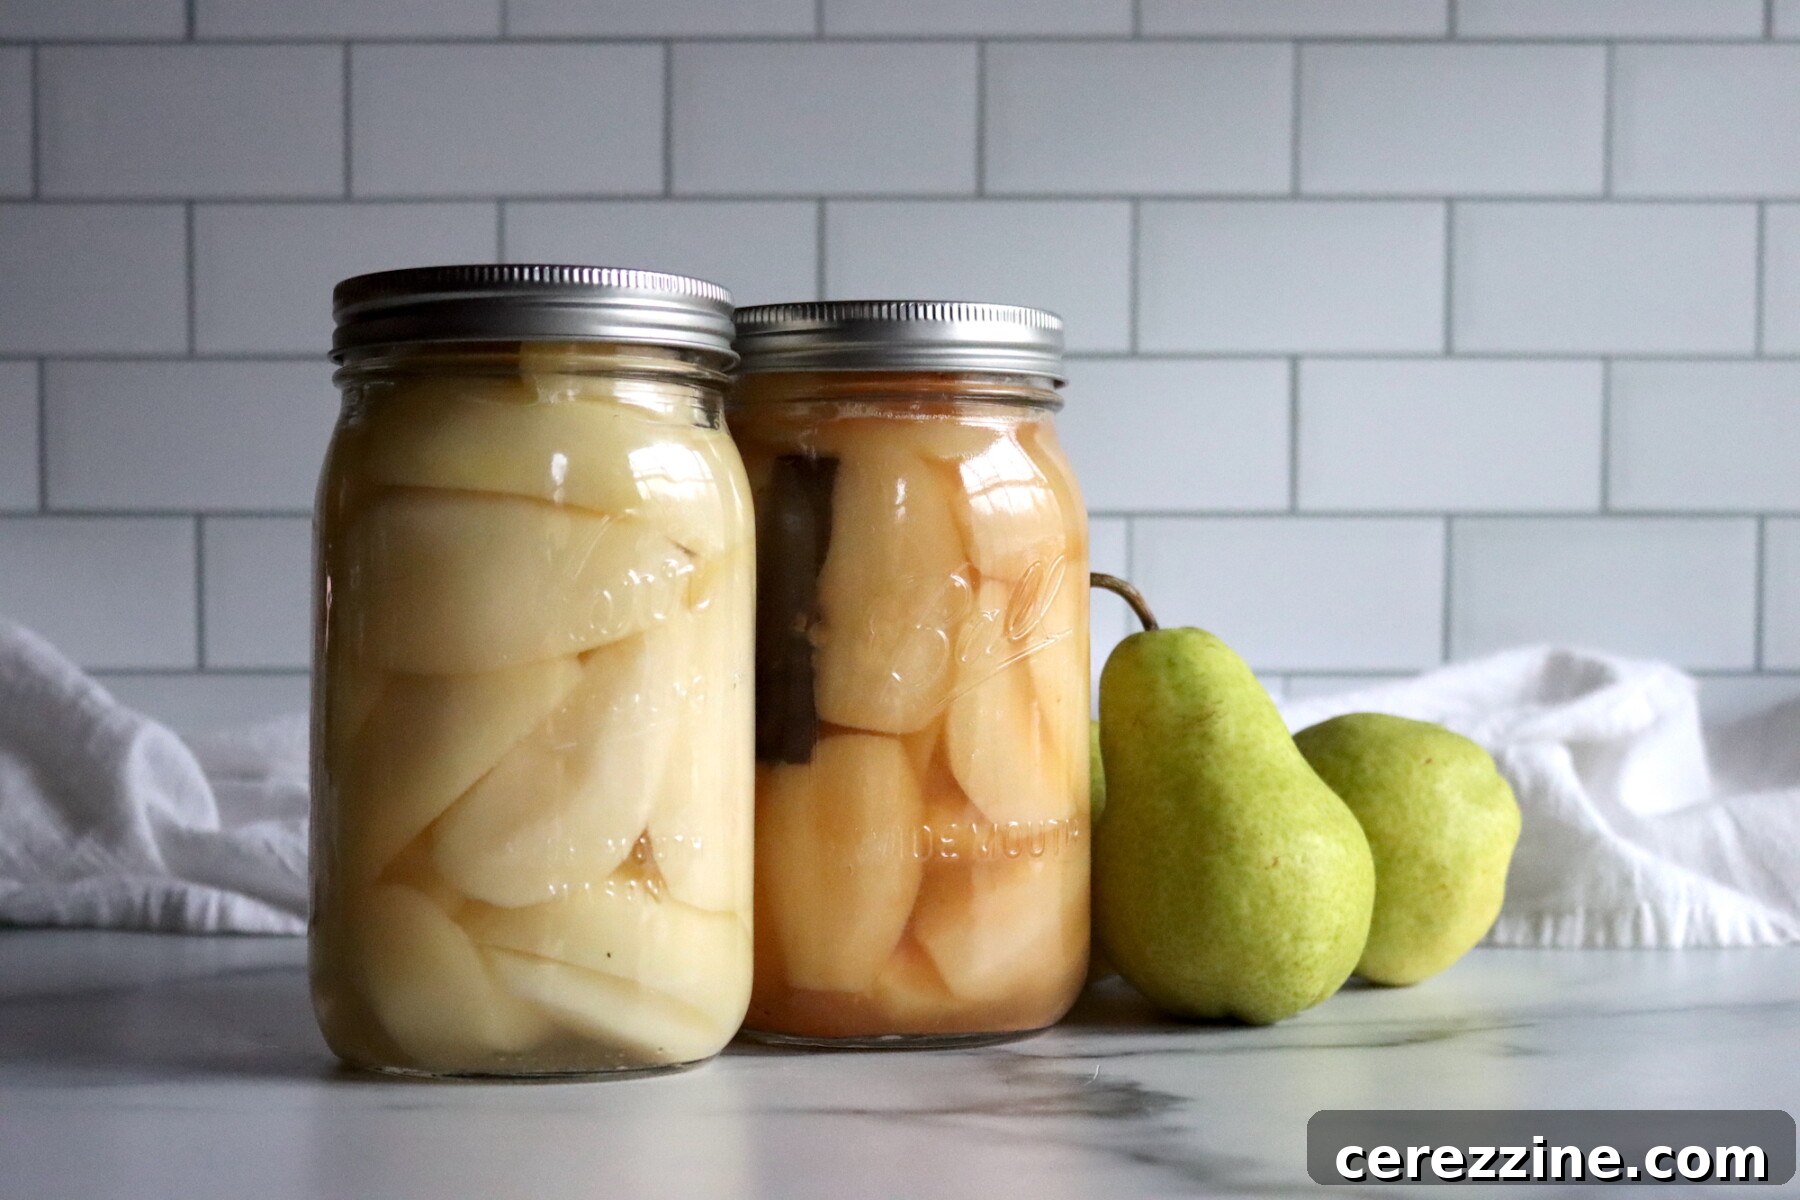
Preserving fresh fruit in its natural form is a classic water bath canning application. Fruits like tender peaches, juicy pears, crisp apples, sweet cherries, and delicate berries can be safely canned in a light syrup, fruit juice, or even plain water. Their inherent acidity makes them perfectly safe for water bath processing, allowing you to enjoy summer’s bounty year-round.
Fruit Juices and Concentrates
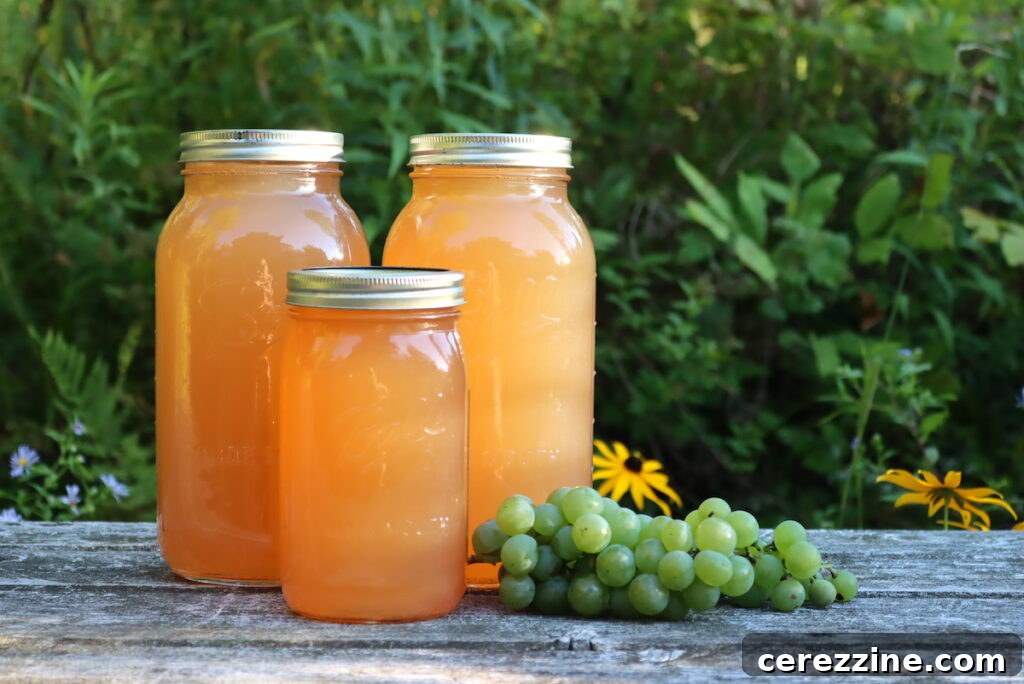
Capturing the fresh taste of fruit in liquid form is another excellent use of water bath canning. Whether it’s refreshing apple juice, homemade grape juice, vibrant berry juices, or tart lemonade concentrates, these high-acid beverages are ideal for water bath processing, offering a taste of summer long after the harvest.
Syrups
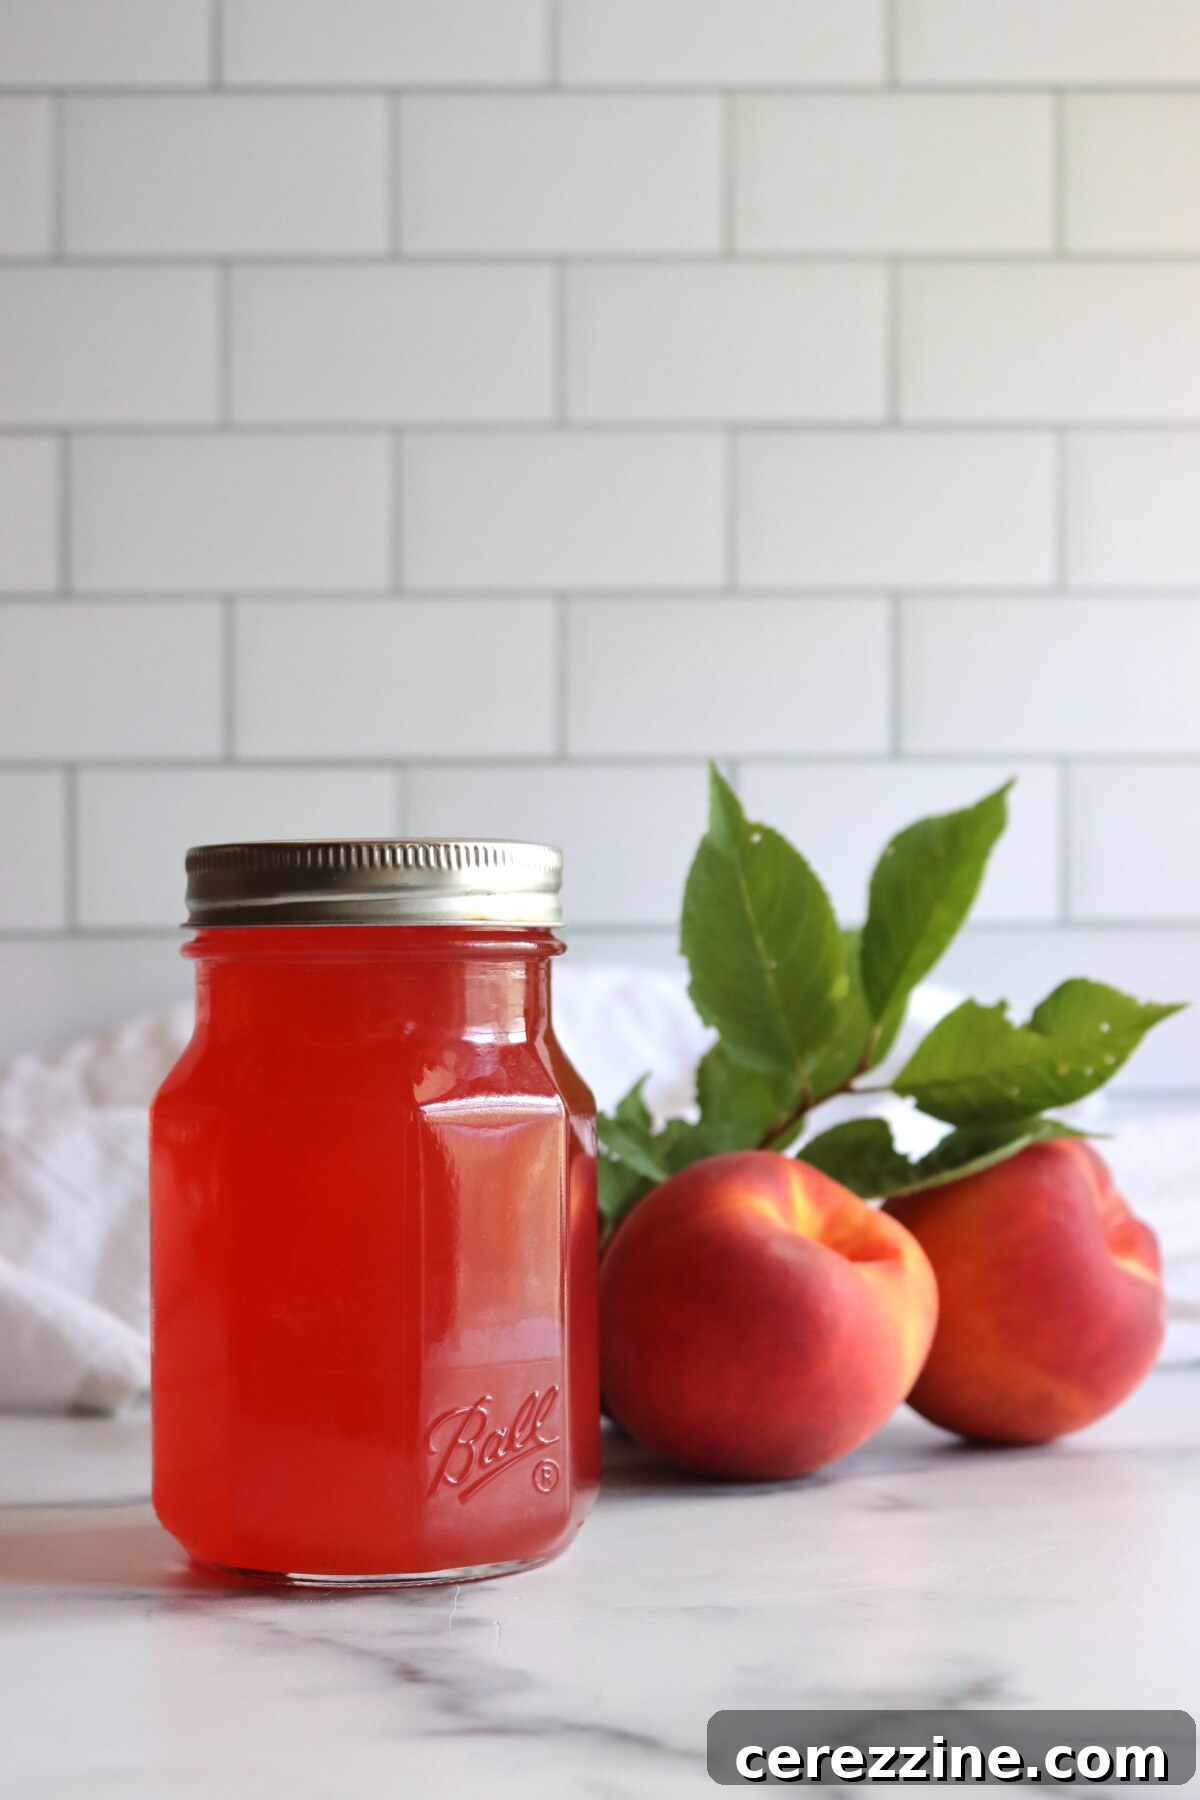
Sweet fruit syrups, perfect for drizzling over pancakes, waffles, or mixing into cocktails, can also be safely preserved. Examples include delightful strawberry syrup or rich blueberry syrup. The high sugar content and often naturally acidic fruit base contribute to their safety for water bath processing, creating a versatile pantry staple.
Pie Fillings
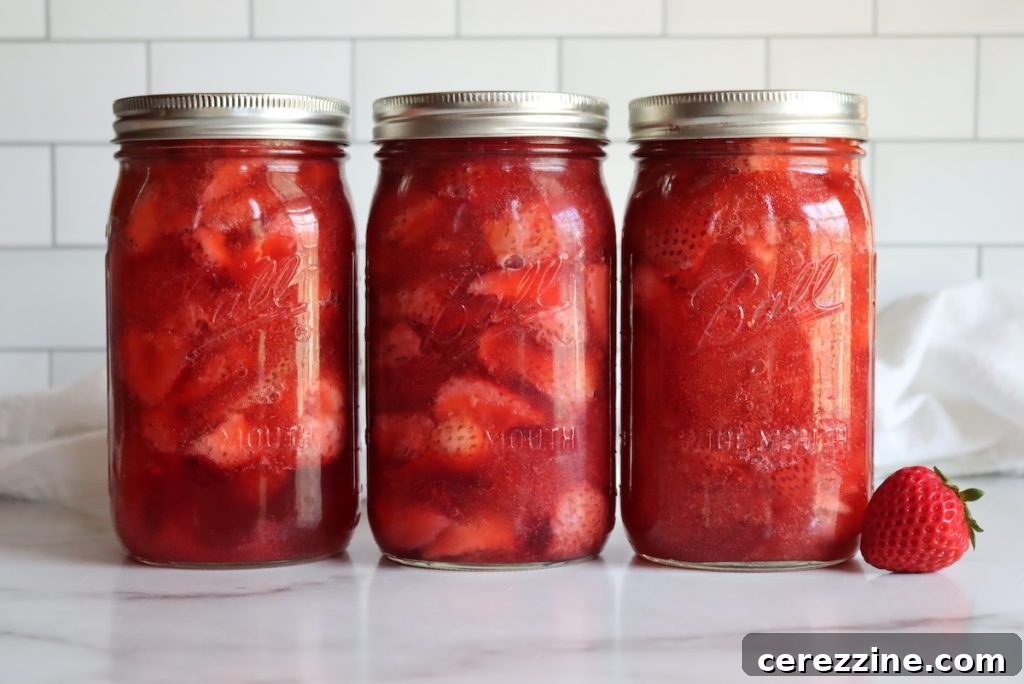
Imagine having ready-to-use fruit pie filling in your pantry! Cherry, apple, blueberry, and other fruit pie fillings that are thickened with Clear Jel (a canning-safe starch) can be safely water bath canned. It is absolutely crucial to use only canning-safe Clear Jel and never other thickeners like cornstarch or flour, which can interfere with heat penetration and compromise safety.
Pickles
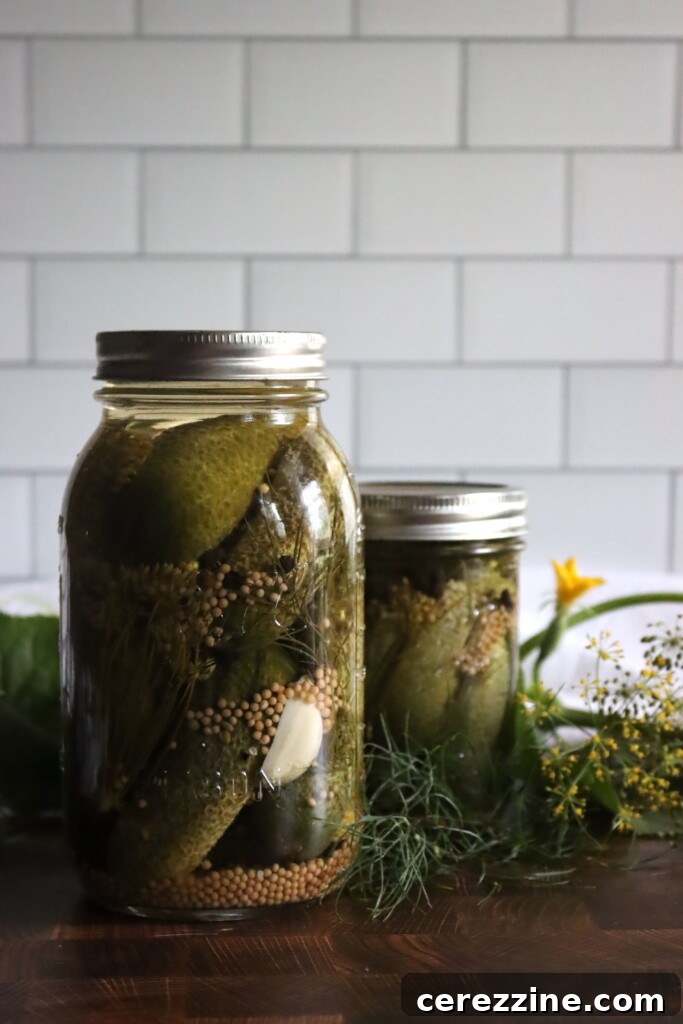
From crisp cucumber dill pickles to savory green beans, tangy asparagus, and spicy peppers, a wide variety of vegetables can be transformed into delicious pickles. The key to their safety for water bath canning is the vinegar, which provides the necessary acidity. There are even unique recipes, like pickled three-bean salad (which includes green beans and cooked dry beans), or specific tested recipes for marinated mushrooms and marinated peppers, which safely incorporate oil alongside vinegar.
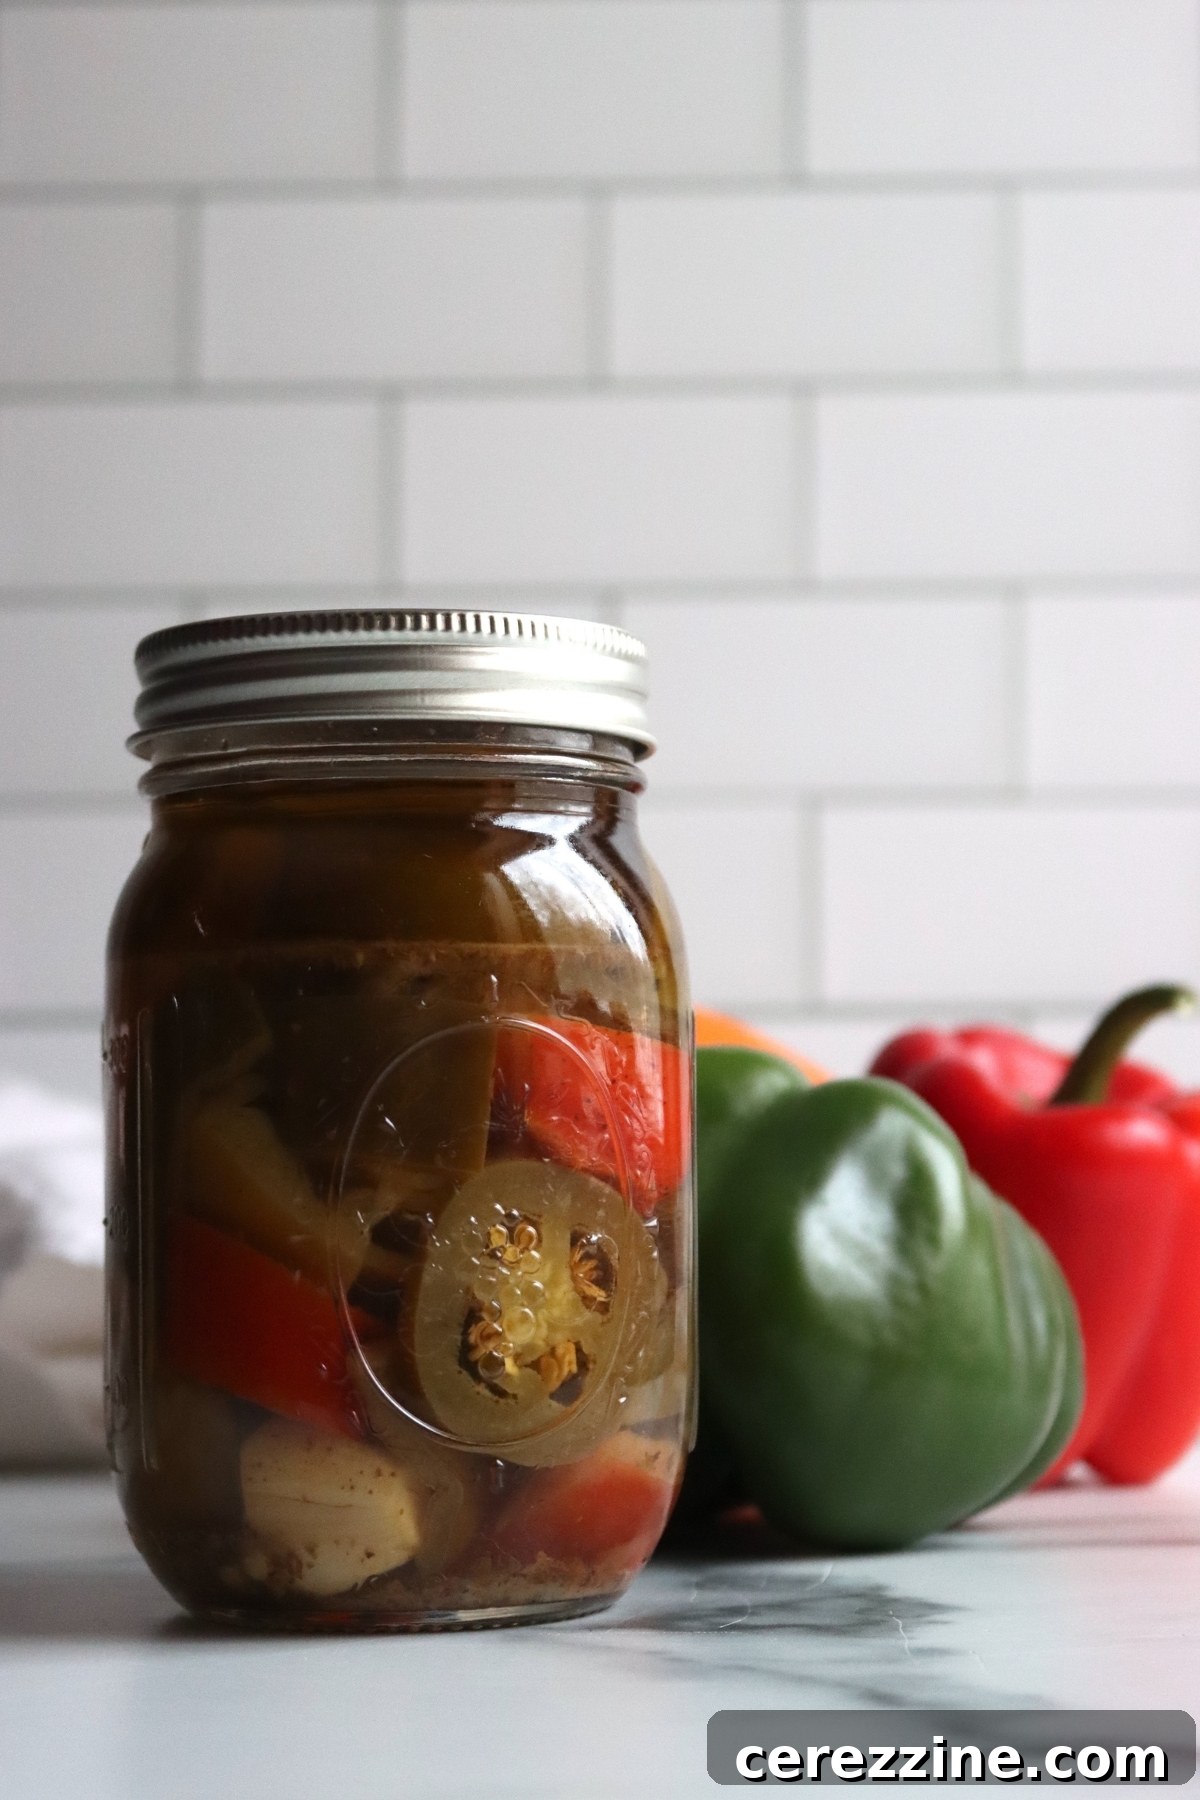
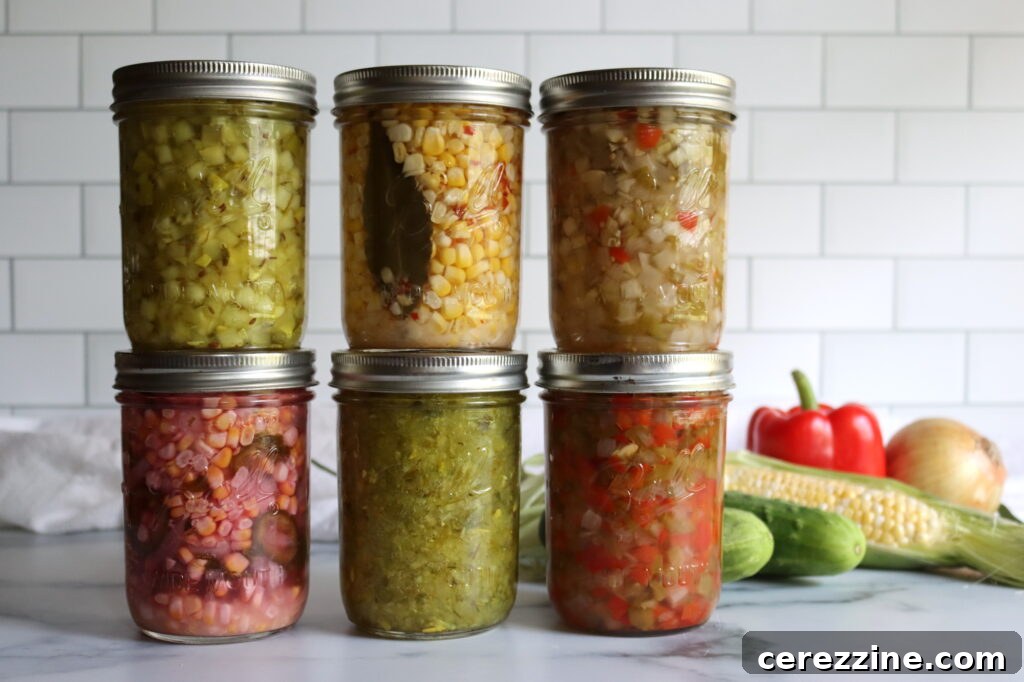
Relishes and Chutneys
These flavorful, vinegar-based condiments, which often contain a mix of vegetables and/or fruits, are perfectly safe for water bath processing when you adhere to tested recipes. Excellent starting points include vibrant zucchini relish or sweet and savory corn relish, adding a burst of flavor to any meal.
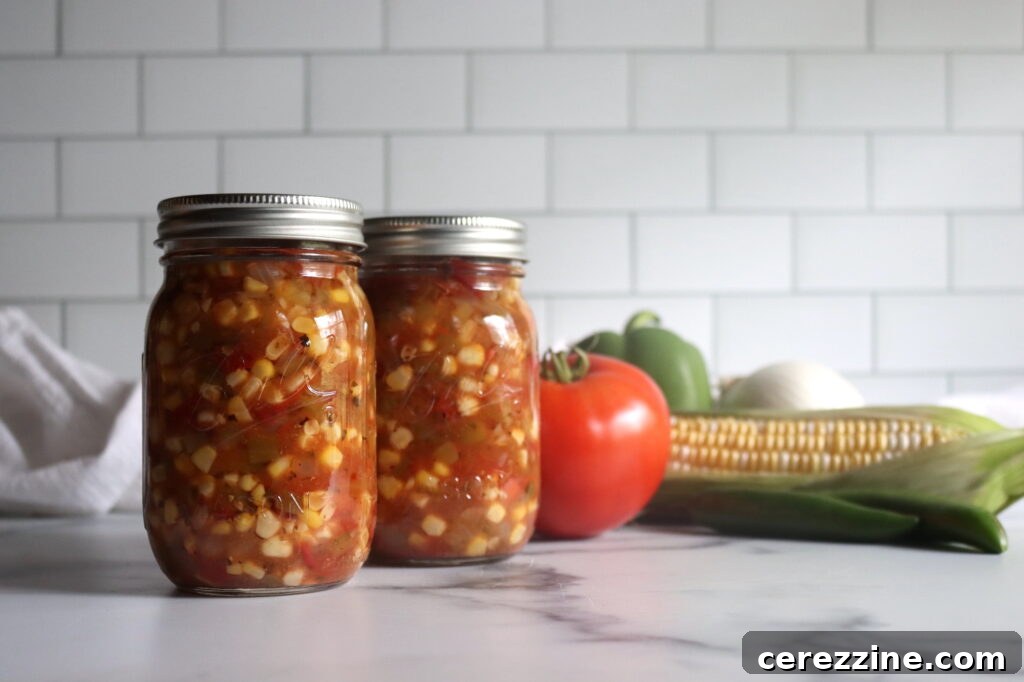
Salsas
Homemade salsas, whether tomato-based or fruit-based, can be safely water bath canned provided they are prepared according to tested salsa recipes that specify proper proportions of tomatoes, peppers, onions, and critical added acid. For instance, corn salsa, which contains significant low-acid ingredients, requires a substantial amount of added acidity to ensure its pH level drops to safe processing levels. Adhering to tested recipes is always important, but it is especially paramount when working with salsas that blend various ingredients, some of which may be low-acid.
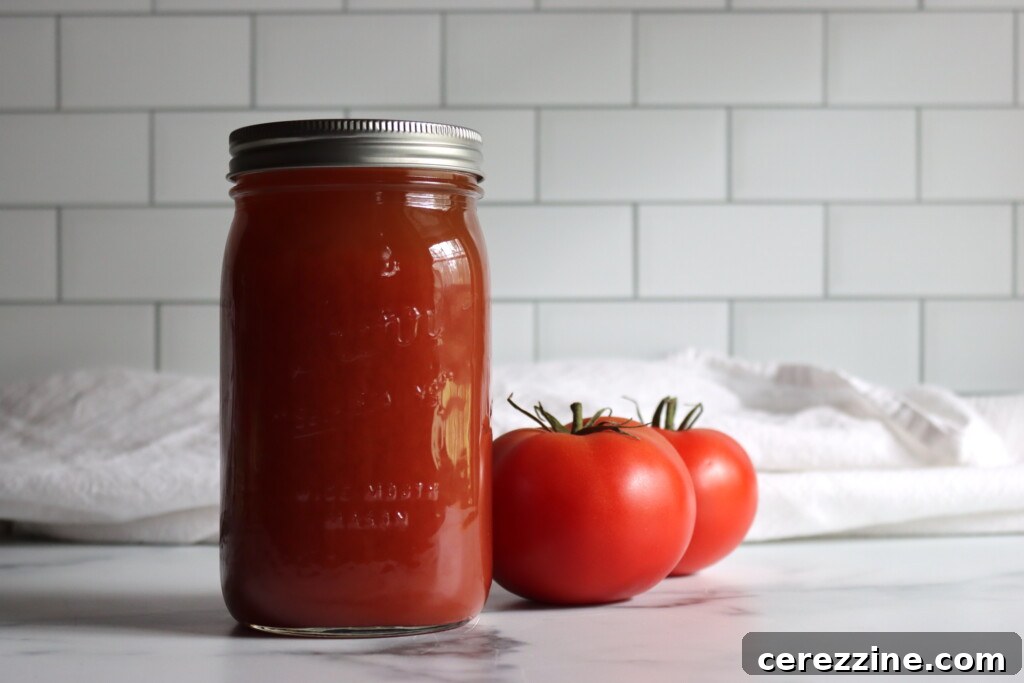
Acidified Tomatoes
Tomatoes, whether whole, crushed, or juiced, are excellent for water bath canning. However, due to variations in modern tomato varieties and growing conditions, it is a non-negotiable safety requirement to add lemon juice or citric acid to all tomato products before water bath canning. This ensures the pH is consistently below 4.6, preventing the risk of botulism.
Fermented Foods
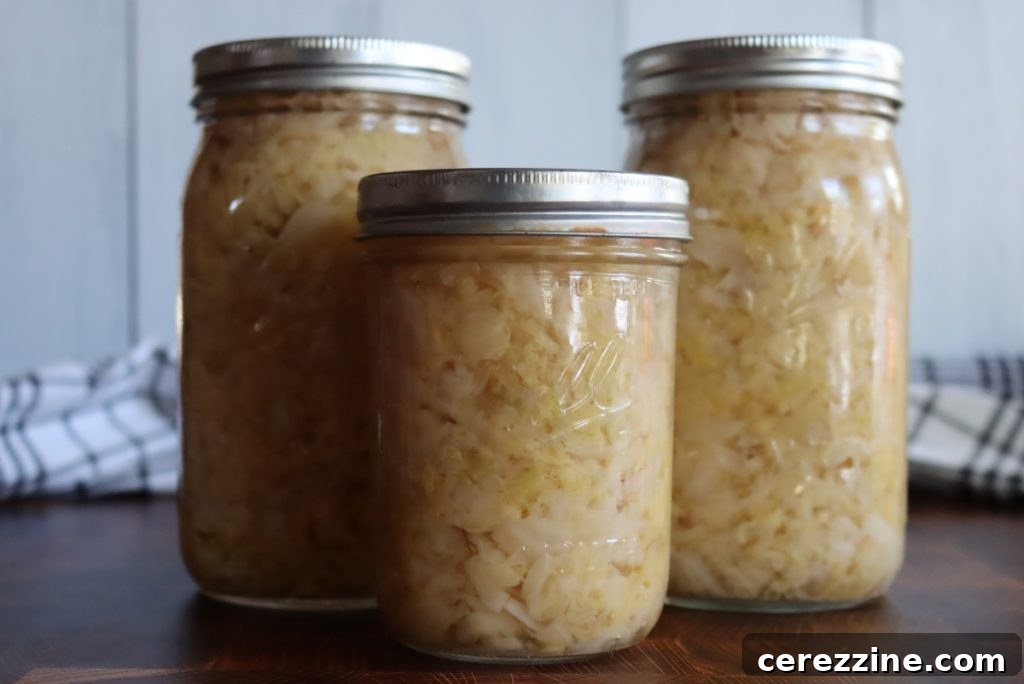
Fermented foods like tangy sauerkraut and certain fermented pickles undergo a natural process where beneficial bacteria produce lactic acid. This self-acidification makes them safe for water bath processing, allowing you to enjoy the probiotic benefits and unique flavors of fermentation year-round.
Foods NOT Safe for Water Bath Canning: Know the Critical Differences
While water bath canning is wonderfully versatile, it is absolutely crucial to understand that not all foods can be safely preserved using this method. Attempting to water bath can low-acid foods is extremely dangerous, as it creates an environment where the deadly Clostridium botulinum bacterium can thrive. These foods require pressure canning, which achieves the much higher temperatures needed to eliminate botulism spores, or other appropriate preservation techniques.
- Plain Vegetables: Most vegetables, including green beans, corn, peas, carrots, potatoes, and virtually all other vegetables when canned plain (without added acid), are low-acid foods. They *must* be pressure canned to ensure safety.
- Meat, Poultry, and Seafood: All animal proteins, regardless of form (whole cuts, ground, stewed), are low-acid and require the intense heat of pressure canning. For proper, safe methods, refer to guides on canning chicken, canning ground beef, and canning pork.
- Soups, Stews, and Broths: Any combination of low-acid ingredients, whether it’s homemade beef broth, hearty chicken soup, or rich beef stew, requires pressure canning. The density and varied pH of these mixed ingredients necessitate higher processing temperatures.
- Dry Beans: Legumes such as black beans, pinto beans, navy beans, and other dry beans are low-acid foods. They also require pressure canning for safe long-term storage. An example of a safely pressure-canned bean product is canning baked beans.
- Some Low-Acid Fruits: While most fruits are high-acid, there are exceptions. Fruits like melons, bananas, mangoes, persimmons, and coconut are not acidic enough for safe water bath canning on their own. If you wish to preserve these, specific tested recipes that incorporate a significant amount of added acid are essential, or they may require alternative preservation methods.
- Dairy and Eggs: There are currently no scientifically tested and approved recipes for the home canning of dairy products or eggs. These items should be preserved using refrigeration, freezing, or drying methods.
Step by Step: A Detailed Guide to Water Bath Canning Success
The beauty of water bath canning lies in its consistent methodology. Once you grasp these fundamental steps, the process becomes intuitive, regardless of the specific recipe you’re using. Repetition builds confidence and makes canning a natural, enjoyable part of your routine.
Step 1: Prepare Your Equipment for a Smooth Start
Begin by setting up your water bath canner. Fill it approximately halfway with water and place it on your stove over medium-high heat. The goal is to have the water simmering at around 180°F (82°C) by the time your jars are filled and ready to be loaded. This crucial preheating prevents thermal shock, which can cause cold jars to crack when introduced to hot water, or vice versa.
While your canner heats, take the time to meticulously inspect your canning jars. Run your finger carefully around the entire rim of each jar, feeling for any chips, cracks, or rough spots that could compromise the seal. Flaws, even tiny ones, can prevent an airtight seal or cause the jar to break during processing. Wash all jars thoroughly in hot, soapy water or run them through a dishwasher cycle. Keep the clean jars hot until you are ready to fill them. A common practice is to place the clean jars upside down on the canner rack, submerging them partially in the warming water, to keep them at an ideal temperature.
Next, prepare your flat canning lids. Follow the manufacturer’s instructions, which typically involve washing them in hot, soapy water. While older recommendations often suggested simmering lids to soften the sealing compound, most modern lids do not require or even recommend this step; excessive heat can sometimes damage the sealing compound prematurely. Always check the specific guidance on your lid’s packaging.
Step 2: Carefully Prepare Your Recipe
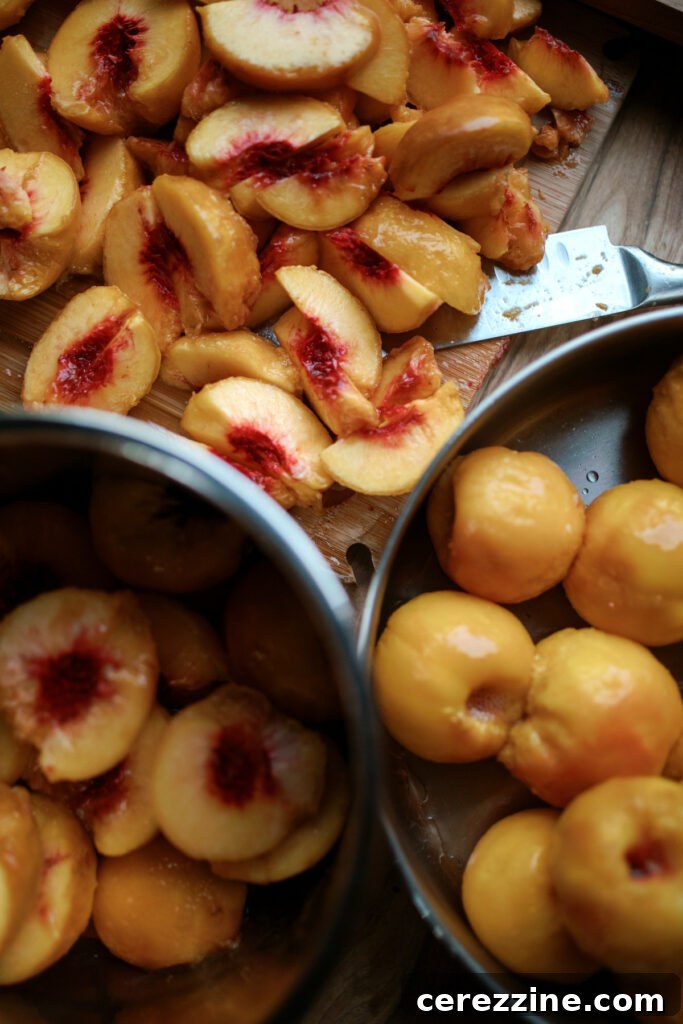
With your equipment heating, it’s time to focus on your food. Prepare your chosen recipe precisely as instructed. The majority of water bath canning recipes utilize a technique known as “hot packing,” where food is heated to a simmering temperature before being packed into hot jars. This helps to remove air from the food tissue, reduces floating, and ensures better color and flavor retention. Some recipes, particularly for certain whole fruits or pickles, may allow “raw packing,” where unheated food is placed into jars, and then hot liquid (brine or syrup) is poured over it.
It cannot be stressed enough: follow your canning recipe meticulously. Canning recipes are developed and tested by food scientists to ensure the safety and stability of the final product. Any modifications to ingredients, proportions, or preparation methods—especially regarding the amount of acid, sugar, or density of ingredients—can alter the food’s pH, affect heat penetration, and potentially compromise the safety of the preserved food. This adherence is particularly critical for tomato products, salsas, and any recipe that relies on precise ratios of acidic to low-acid ingredients to achieve a safe pH level.
Step 3: Accurately Fill Jars
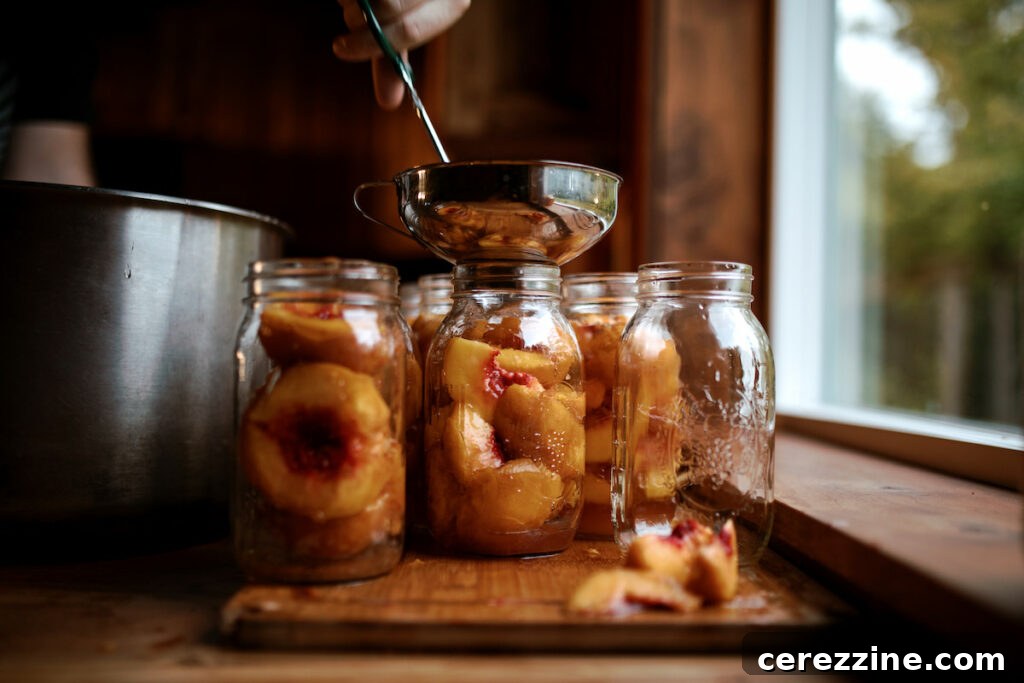
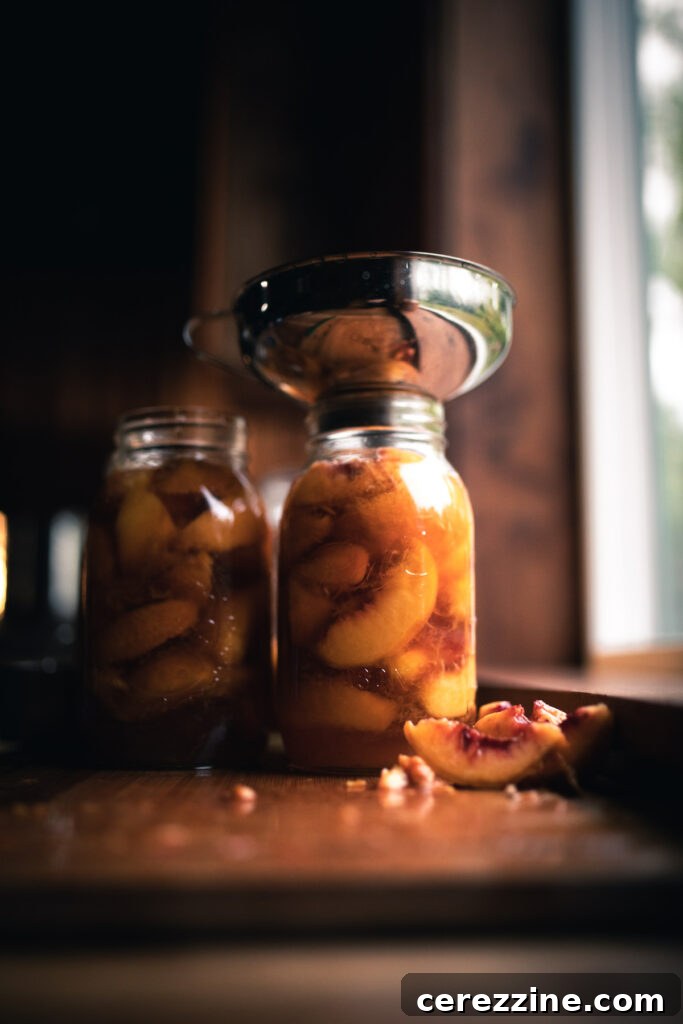
Carefully remove one hot, clean jar at a time from the canner or dishwasher and place it on a clean towel or cutting board to prevent thermal shock from cold surfaces. Using your canning funnel, ladle the hot food into the jar, leaving the exact amount of headspace specified in your recipe. Headspace is the empty space between the surface of the food and the rim of the jar. This space is crucial: it allows for expansion of food during heating, creation of a strong vacuum seal as the jar cools, and prevents liquid from siphoning out. Recipes typically call for 1/4 inch, 1/2 inch, or 1 inch of headspace, depending on the food type.
Once filled, gently insert a bubble remover or thin, non-metallic spatula (such as silicone or wood) between the food and the inside wall of the jar. Slowly move it around the entire circumference of the jar to release any trapped air bubbles. Air pockets can interfere with effective heat penetration and the formation of a strong seal. After removing bubbles, recheck the headspace and add more food or liquid if necessary to maintain the specified level.
Finally, and this step is absolutely critical for seal formation, thoroughly wipe the rim of the jar with a clean, damp cloth or paper towel. Even a minuscule amount of food residue, grease, or sugary syrup on the rim can prevent the lid’s sealing compound from making full contact and creating a proper, airtight seal. This step is especially important with sticky foods like jams and syrups.
Step 4: Securely Apply Lids and Bands
Carefully center a new, flat canning lid onto the clean rim of the filled jar, ensuring the rubber sealing compound is in direct contact with the glass. Place a metal band over the lid and screw it down to “fingertip tight.” This means tightening the band until you feel gentle resistance, then stopping. Do not overtighten! The goal is to allow air to escape from the jar during the processing stage, which is essential for creating the strong vacuum seal. Overtightening can prevent this air release, leading to buckle lids or seal failures. A good way to gauge fingertip tight is to use only your fingertips to turn the band, not your entire hand or wrist, which can apply too much force.
Step 5: Process the Jars in Boiling Water
Using your jar lifter, carefully lower the filled, lidded jars onto the rack inside your canner. Arrange the jars so they do not touch each other or the sides of the pot, allowing for even water circulation and heat distribution. If necessary, add more hot water to the canner so that all jars are covered by at least 1 inch of water, and preferably 1 to 2 inches. Ensure the water being added is hot to minimize temperature shock to the jars.
Place the lid on the canner and bring the water to a vigorous, full rolling boil. A “rolling boil” is characterized by large, continuous bubbles that cannot be stirred down. It’s important not to start your processing timer until this full rolling boil has been achieved across the entire surface of the water.
Once the water is at a full rolling boil, set your timer for the exact processing time specified in your recipe. Maintain the full rolling boil for the entire duration, adjusting the heat as needed. If, for any reason, the water stops boiling at any point during the processing time, bring it back to a full boil and restart your timer from the beginning. This ensures the food receives the full, required heat treatment for safety.
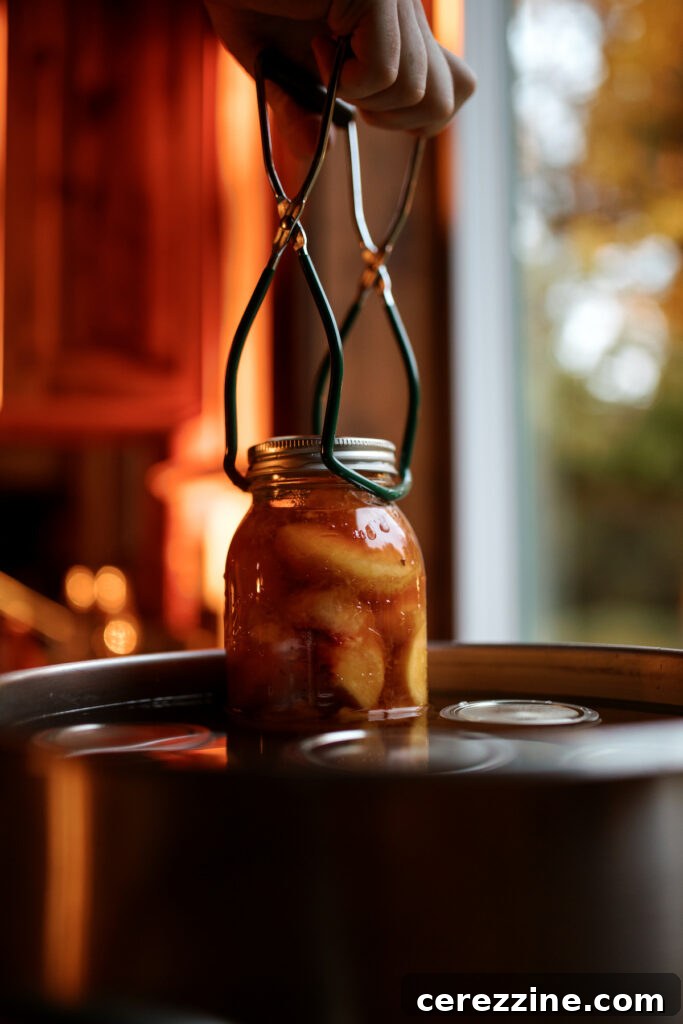
Step 6: Safely Remove and Cool Jars
Once the specified processing time is complete, turn off the heat source and carefully remove the canner lid. Allow the jars to rest undisturbed in the hot water within the canner for an additional 5 minutes. This brief resting period is crucial as it allows the internal pressure within the jars to equalize gradually, significantly reducing the likelihood of siphoning (liquid being forced out of the jars during cooling) and helps establish a stronger seal.
After the 5-minute rest, use your jar lifter to carefully remove each jar from the canner, lifting them straight up without tilting. Place the hot jars on a clean, towel-lined counter or a wire rack. Ensure there is at least 1 inch of space between each jar to allow for proper air circulation, which facilitates even cooling. Resist the urge to wipe any water off the lids or tighten the bands further at this stage.
Leave the jars to cool undisturbed for a full 12 to 24 hours. During this cooling period, as the contents contract, you will likely hear the distinct and satisfying “ping” or “pop” sounds, indicating that the lids are sealing. It is imperative not to press on the lids, move the jars, or try to test the seals during this critical time, as the seal is still forming and can be compromised.
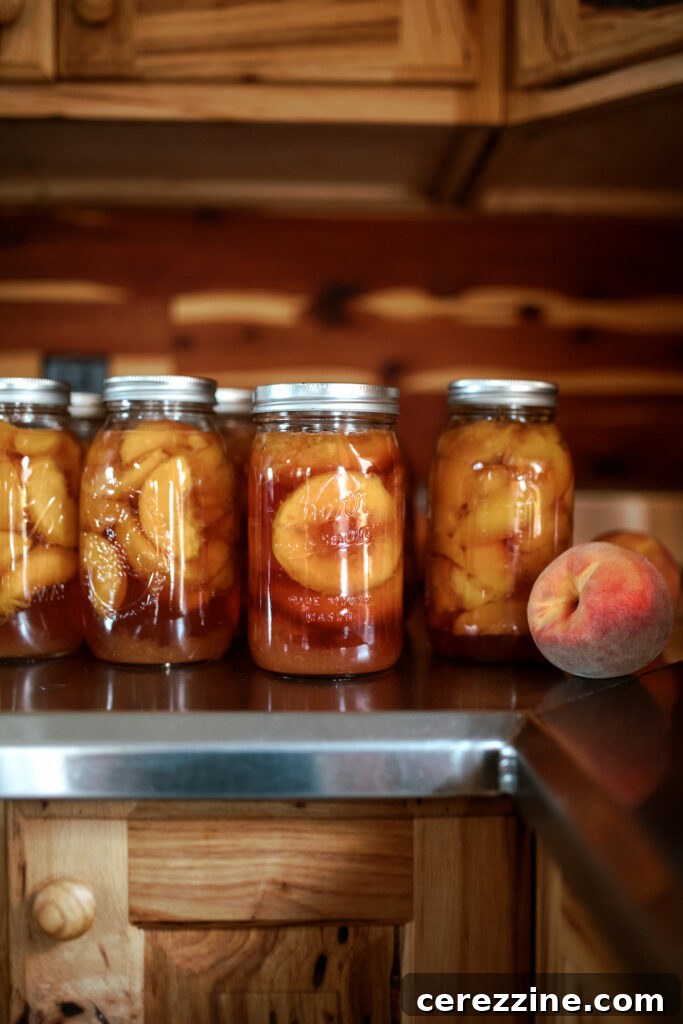
Step 7: Check Seals and Store Your Preserves
After 12 to 24 hours of undisturbed cooling, it’s time to verify that each jar has properly sealed. There are a few reliable ways to check: Press the center of the lid – if it’s concave (curved downward) and does not flex or pop up when pressed, the jar is sealed. Another test is to tap the center of the lid with a spoon; a properly sealed lid will produce a clear, ringing sound, while an unsealed lid will sound dull. Finally, holding the jar at eye level and looking for a slight indentation in the lid is also a good indicator.
Once you’ve confirmed a secure seal, remove the metal bands from all sealed jars before storing. This practice is important for several reasons: it prevents rust from forming between the band and the lid, allows you to easily spot any seal failures that might occur during storage (a lid that unseals will typically become flat or convex), and prevents false seals (where the band holds a lid in place even if the vacuum seal has failed). After removing bands, wash the outside of the jars to remove any food residue that may have accumulated. Label each jar clearly with its contents and the date of canning. This ensures you use older preserves first and can easily identify your delicious creations.
Store your finished jars in a cool, dark, dry place, such as a pantry, closet, or basement. Avoid areas exposed to direct sunlight or subject to extreme temperature fluctuations, as these conditions can degrade food quality and potentially weaken seals over time. Properly water bath canned foods, when sealed and stored correctly, are generally safe for 12 to 18 months, though they remain safe to eat indefinitely as long as the seal remains intact and there are no signs of spoilage. For optimal flavor and texture, it’s best to consume them within this recommended timeframe, as quality may decline beyond a year or two.
Any jars that did not seal should be immediately refrigerated and consumed within a few weeks, or you have the option to reprocess them within 24 hours. If reprocessing, use a brand new flat lid and repeat the entire processing steps, ensuring you address any potential issues that caused the initial seal failure.
Critical Altitude Adjustments for Water Bath Canning
One often-overlooked but absolutely critical factor in safe canning is your elevation above sea level. Water boils at a lower temperature at higher altitudes because atmospheric pressure is lower. This means that at higher elevations, the boiling water in your canner is not as hot, and therefore, less heat is transferred to the food during processing. To compensate for this reduced heat, you must increase your processing time to ensure the food receives adequate heat treatment for safety.
Most canning recipes provide processing times for sea level (0 to 1,000 feet). If you live above 1,000 feet in elevation, it is mandatory to increase your processing time according to established guidelines. If you are unsure of your precise elevation, you can easily find this information by contacting your local extension office or performing a quick online search for your city’s elevation.
Default Altitude Adjustments for Water Bath Canning
Unless your specific recipe provides alternative altitude adjustments, use these default guidelines:
- 0 to 1,000 feet: Use the processing time exactly as specified in the recipe.
- 1,001 to 3,000 feet: Add an additional 5 minutes to the processing time.
- 3,001 to 6,000 feet: Add an additional 10 minutes to the processing time.
- Above 6,000 feet: Add an additional 15 minutes to the processing time.
It’s important to note that many specific water bath canning recipes, especially those from reputable sources like the National Center for Home Food Preservation or Ball/Bernardin, will often include their own tested altitude adjustments. For example, many jam recipes are generally canned for 10 minutes below 6,000 feet and 15 minutes above 6,000 feet. Always prioritize and check the specific recipe for altitude guidance, as adjustments can occasionally vary based on the unique characteristics and ingredients of the food being canned. Following these adjustments is not optional; it’s a vital safety measure.
Common Water Bath Canning Mistakes and How to Prevent Them
As with any new skill, mistakes are a natural part of the learning process when you’re first starting with canning. The good news is that most common canning errors are easily identifiable and fixable. Understanding these pitfalls ahead of time can save you frustration and, more importantly, ensure the safety of your home-preserved foods.
- Using untested recipes: This is perhaps the most significant mistake. Canning recipes from reliable sources (USDA, Ball/Bernardin, NCHFP, university extension offices, or trusted, science-based cookbooks like So Easy to Preserve) have been rigorously laboratory-tested to ensure they meet precise safety criteria. Recipes found on random blogs, social media, or old, untested family cookbooks may not have the correct acidity levels or processing times, potentially leading to unsafe products. Always stick to thoroughly tested recipes.
- Modifying recipes: It can be tempting to tweak a recipe – perhaps reducing sugar, adding extra vegetables, or substituting ingredients. However, such changes, especially to the proportions of acidic to low-acid ingredients, can dramatically alter the food’s pH and affect how heat penetrates the jar. While minor modifications like adjusting spices are generally fine, never change the type or quantity of primary ingredients, especially acid (vinegar, lemon juice) or the density of the food, without using a tested recipe that accounts for such alterations.
- Not checking jars before use: A tiny chip or hairline crack, particularly around the rim, can prevent a proper seal from forming or even cause the jar to break during the heat processing. Make it a habit to run your finger carefully around the entire rim of each jar every single time before filling it.
- Using cold jars with hot food (or vice versa): A significant temperature difference between the jars and the food, or between the jars and the water in the canner, can lead to thermal shock, causing the glass to crack or shatter. Always ensure your jars are hot when filling them with hot food, and the water in your canner is also preheated to a warm or simmering temperature before introducing the hot, filled jars.
- Incorrect headspace: Headspace is the empty space between the food and the jar rim. Too little headspace can cause food to bubble out (siphon) during processing, preventing a proper seal. Too much headspace can result in discoloration at the top of the jar, food floating, and weak seals. Always precisely follow the headspace measurement specified in your recipe.
- Overtightening bands: The metal bands should be applied only to “fingertip tight.” Overtightening can prevent air from escaping the jar during processing, which is essential for creating the vacuum seal. This can lead to buckled lids or seal failures.
- Not covering jars with water: All jars must be submerged under at least 1 inch (and preferably 1-2 inches) of water throughout the entire processing time. If water levels drop, the upper portions of the jars may not reach safe temperatures. Always add more *hot* water if needed, taking care not to pour cold water directly onto hot jars.
- Starting the timer before a full boil: Processing time officially begins only when the water in the canner reaches a full, rolling boil that cannot be stirred down. Starting the timer prematurely means the food will not receive the full, required heat treatment.
- Removing jars too quickly or disturbing them while cooling: After processing, allow jars to rest in the turned-off canner for 5 minutes. Then, remove them to a towel-lined surface and let them cool undisturbed for 12 to 24 hours. Moving, tilting, or tightening bands on jars too soon can disrupt the sealing process, leading to seal failures or siphoning.
- Using outdated or unsafe methods: Practices like open kettle canning (pouring hot food into jars without further processing), paraffin wax sealing (which provides an inadequate seal and harbors mold), or oven canning are not considered safe and reliable methods for food preservation. Always adhere to modern, tested water bath or pressure canning techniques.
Troubleshooting Common Problems in Water Bath Canning
Even experienced canners encounter minor issues from time to time. Don’t be discouraged if you face a challenge; understanding why problems occur is the first step to resolving them. Here’s how to address some common canning hiccups:
- Jars didn’t seal: This is a common occurrence. First, check for obvious culprits: food residue on the jar rim, a tiny chip in the glass, or an old/defective lid. If a jar hasn’t sealed after 12-24 hours, you have two safe options: either refrigerate the contents immediately and consume them within a few weeks, or reprocess the jar within 24 hours. If reprocessing, you *must* use a brand new flat lid and repeat the entire canning process from Step 1, ensuring the jar and food are properly prepared again.
- Liquid loss (siphoning): This happens when some of the liquid or syrup in the jar is forced out during processing or cooling. Common causes include removing jars from the canner too quickly (not allowing the 5-minute rest), significant temperature shock, overpacking jars, or trapped air bubbles. As long as the jar has a strong, concave seal, the food is still safe to eat. The food at the top that is no longer covered by liquid may discolor over time, but its safety is not compromised. For a deeper dive, see What Causes Liquid Loss in Canning.
- Jelly didn’t set: A runny jelly can be frustrating. This is typically due to incorrect measurements of pectin or sugar, not reaching the proper gel point during cooking, or environmental factors like high humidity affecting pectin activation. Don’t discard it! You can often reprocess runny jelly to achieve a better set. Consult Troubleshooting Jelly That Didn’t Set for detailed solutions.
- Fruit floated to the top: This is a common cosmetic issue, particularly with whole or halved fruits, and it does not indicate a safety problem. It often occurs when air is trapped in the fruit tissue, or the fruit is significantly lighter than the packing liquid. Hot packing (heating the fruit thoroughly before placing it in jars) can help reduce floating by releasing more air from the fruit.
- Color changes: Some degree of color change in canned foods during storage is normal. Fruits, especially those at the top of the jar or exposed to light, may darken slightly over time. This is primarily a quality issue, not a safety concern, as long as the seal is intact. To minimize discoloration, store jars in a cool, dark place and ensure you adhere to proper headspace guidelines to limit air exposure. For more tips, refer to Preventing Browning in Fruits for Canning.
Advice from My Canning Kitchen: Embrace the Journey

Water bath canning was my personal entry point into the wonderful world of home food preservation, and even after many years, it remains the method I turn to most frequently. There’s an undeniable, grounding rhythm that accompanies canning season: the gentle hum of the canner, the satisfying “ping” of lids sealing as they cool, and the immense sense of accomplishment that comes from surveying a pantry filled with your own handiwork. I’ve strived to share every piece of knowledge I wish I had possessed when I first started, because often, the biggest obstacle to embracing canning is simply the uncertainty of whether one is doing it correctly.
My best advice is to begin with something straightforward and forgiving, such as a basic fruit jam or a batch of simple pickles. Don’t feel pressured to fill an entire canner during your very first attempt. Instead, focus on a small batch, paying close attention to each individual step outlined in a tested recipe. Before you know it, the entire process will begin to feel natural and intuitive. Every experienced canner I know, myself included, has a handful of tales about jars that didn’t quite seal or jelly that refused to set. These initial “mistakes” are invaluable learning experiences that ultimately build your expertise and confidence. Embrace the journey, and enjoy the delicious rewards!
Water Bath Canning FAQs: Your Questions Answered
Yes, absolutely! A standard stockpot can function as a water bath canner, provided it meets specific depth requirements. It needs to be deep enough for your jars to be covered by at least 1 inch of boiling water, with a few extra inches of space above the water level to prevent splashing and boil-over. You will also need a rack at the bottom to elevate the jars off the pot’s surface, ensuring even heat circulation and preventing breakage. If you don’t have a commercial canning rack, you can improvise one by tying extra canning bands together with twist ties or using a heat-safe silicone trivet.
For recipes with a processing time of 10 minutes or longer, pre-sterilizing empty jars is generally not required. The prolonged heat treatment during the canning process effectively sterilizes both the jars and their contents. However, for recipes with shorter processing times (less than 10 minutes), it is still recommended to sterilize jars by boiling them in water for 10 minutes (with adjustments for altitude, if necessary) before filling. Most common jam, jelly, and pickle recipes typically have processing times of 10 minutes or more, simplifying this step for beginners.
The flat metal lid portion, which contains the rubber sealing compound, is designed for single use only and should not be reused for canning. The sealing compound creates a reliable, airtight seal only once. However, the threaded metal bands, which hold the flat lids in place during processing, are reusable as long as they are free from rust, significant bends, or any other damage that could interfere with proper lid placement. Many resourceful canners choose to save their used flat lids for non-canning purposes, such as covering dry goods in the refrigerator.
Properly canned and sealed foods are generally safe to eat indefinitely, provided the seal remains intact and there are no signs of spoilage. However, for optimal flavor, texture, and nutritional quality, it is recommended to consume water bath canned foods within 12 to 18 months. Beyond this timeframe, while still safe, the quality may begin to decline. Always store your jars in a cool, dark place and visually inspect the seal before opening any jar.
For water bath canning, sugar is not the primary preservative. The preservation comes from the combination of the food’s natural acidity and the heat processing. Sugar plays a vital role in affecting the texture, flavor, and, particularly in jams and jellies, the gel set. In many fruit canning recipes, you can safely reduce or substitute sugar with alternative sweeteners without compromising safety, though it will impact the final product’s characteristics. However, for jams and jellies, sugar is integral to achieving the desired gel consistency, so significant alterations may lead to a runny product.
Yes, you absolutely can use a pressure canner for water bath canning recipes. When doing so, simply treat your pressure canner as a large boiling water canner. This means filling it with water as you would a regular water bath canner, placing the lid on, but crucially, leaving the vent open so that no pressure builds up inside. This method can sometimes be preferred as it keeps less steam in your kitchen, making for a cooler canning environment. However, it’s vital to remember that the reverse is NOT safe: you cannot convert pressure canning recipes to be processed in a water bath canner, as the water bath method does not reach the high temperatures required to safely preserve low-acid foods.
Jar breakage, while uncommon, can happen. It’s usually caused by thermal shock (placing cold jars into hot water or hot jars into cold water), using jars that have pre-existing hairline cracks or chips, or jars hitting each other or the sides of the canner during processing due to improper spacing. To prevent this, always preheat your jars, thoroughly inspect each one before use, and ensure they are spaced adequately on the canner rack so they don’t touch during the boiling process. If a jar breaks, you’ll need to discard its contents, as glass shards may have contaminated the food.
No, absolutely not. Reducing the processing time specified in a tested recipe is a critical safety violation. Processing times are scientifically determined through rigorous testing to ensure that enough heat penetrates the food to destroy all spoilage microorganisms and create a safe, stable vacuum seal. Shorter times may not achieve these critical safety parameters, risking spoilage or, in severe cases, the growth of harmful bacteria. Always adhere to the exact processing time provided in your tested recipe, making sure to adjust for your altitude.
For even more in-depth answers to common canning questions and challenges, explore our complete Canning FAQ section. You’ll find detailed posts covering topics like the role of sugar in canning recipes, understanding and preventing liquid loss and siphoning, and expert tips for troubleshooting jelly that didn’t set.
Recommended Canning Resources for Further Learning
As you delve deeper into the world of home canning, having access to reliable, science-based information is paramount. These resources are highly recommended and considered the gold standard in the canning community:
- The Ball Complete Book of Home Preserving: This is arguably the most comprehensive and authoritative canning cookbook available. Featuring over 400 meticulously tested recipes and detailed, easy-to-understand instructions for both water bath and pressure canning, it’s an indispensable guide for canners of all experience levels.
- So Easy to Preserve: Published by the University of Georgia Extension, this book is another excellent, research-backed resource. It offers a wealth of science-based recipes and covers a broad spectrum of home food preservation methods, not just canning.
- The National Center for Home Food Preservation (NCHFP): Accessible online at nchfp.uga.edu, this website is the definitive, free online resource for canning information. It provides USDA-tested recipes, detailed guidelines, and comprehensive advice on all aspects of safe home food preservation, making it a must-bookmark for every canner.
Exciting Water Bath Canning Recipes to Get You Started
Now that you have a solid understanding of water bath canning, are you ready to transform fresh produce into delectable, shelf-stable treasures? Dive into these curated recipe collections to find inspiration and begin your preserving adventure today:
- 300+ Water Bath Canning Recipes: This extensive collection features every water bath-safe recipe available on our site, encompassing everything from sweet jams and jellies to tangy pickles and savory salsas.
- 100+ Fruit Canning Recipes: Explore a bountiful array of fruit-focused recipes, including canning whole fruits in light syrup, crafting exquisite jams and jellies, preparing luscious pie fillings, and making smooth fruit butters.
- 50+ Pickle Recipes: Satisfy your craving for tang and crunch with a diverse selection of pickled vegetables. From classic cucumber dills to unique pickled asparagus, green beans, and peppers, there’s a pickle for every palate.
- 50+ Salsa Recipes for Canning: Spice up your pantry with a variety of salsas, ranging from traditional tomato-based recipes to vibrant fruit salsas and everything in between, all tested for safe canning.
- 20+ Pie Filling Canning Recipes: Make pie baking a breeze by canning your own fruit pie fillings. Learn to preserve apple, cherry, blueberry, peach, and other fruit fillings using safe methods.
- 50+ Marmalade Recipes: Master the art of citrus preservation with a wide selection of marmalade recipes. Discover variations from classic orange to zesty lime, bright grapefruit, and delightful mixed citrus combinations.
- How to Make Fruit Butter: This tutorial teaches you the versatile basic method for making fruit butter, applicable to a multitude of fruits including apples, pears, peaches, and almost any other fruit you can imagine.
- How to Make Flower Jelly (with 20+ Recipes): For a truly unique and enchanting canning project, explore the world of flower jellies. This guide provides an inspiring starting point with over 20 creative recipes.
Canning Tutorials
Presto Digital Pressure Canner Review (Electric Pressure Canner)
How to Create Your Own Soup Canning Recipe
Pressure Canning for Beginners
Find the perfect recipe
Searching for something else? Enter keywords to find the perfect recipe!