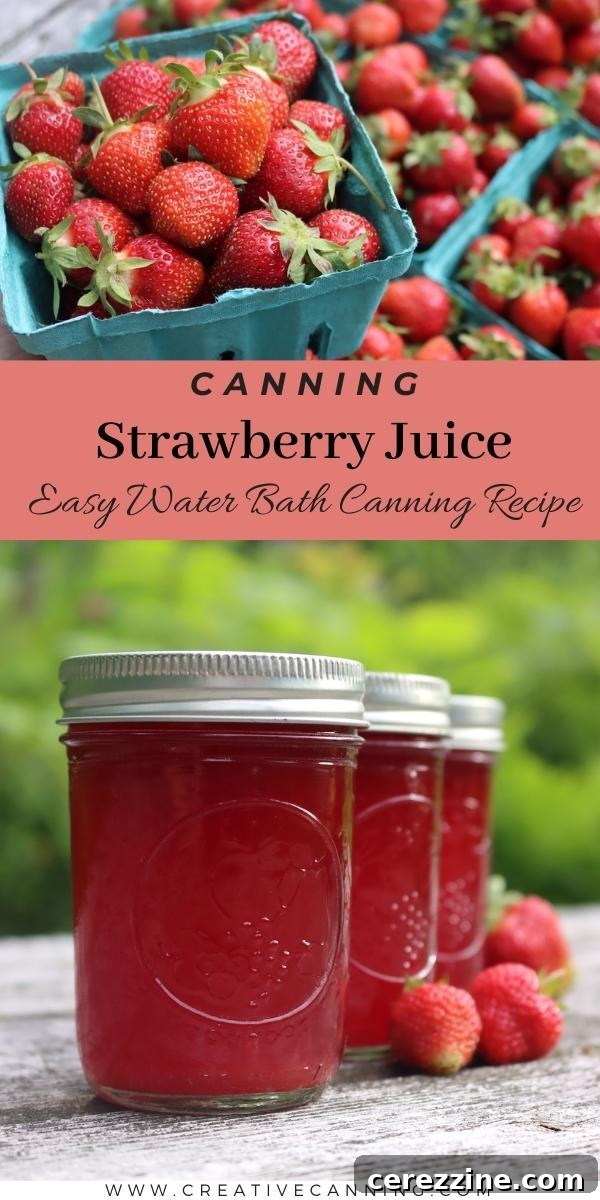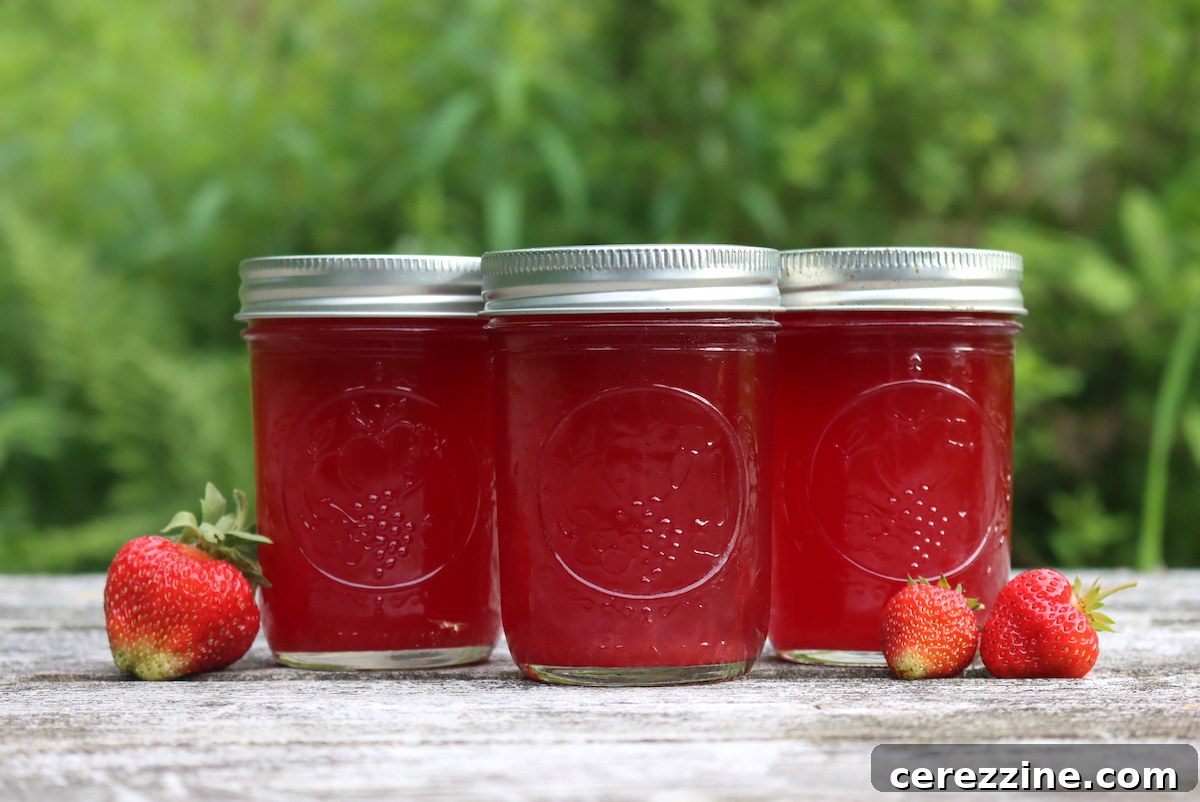
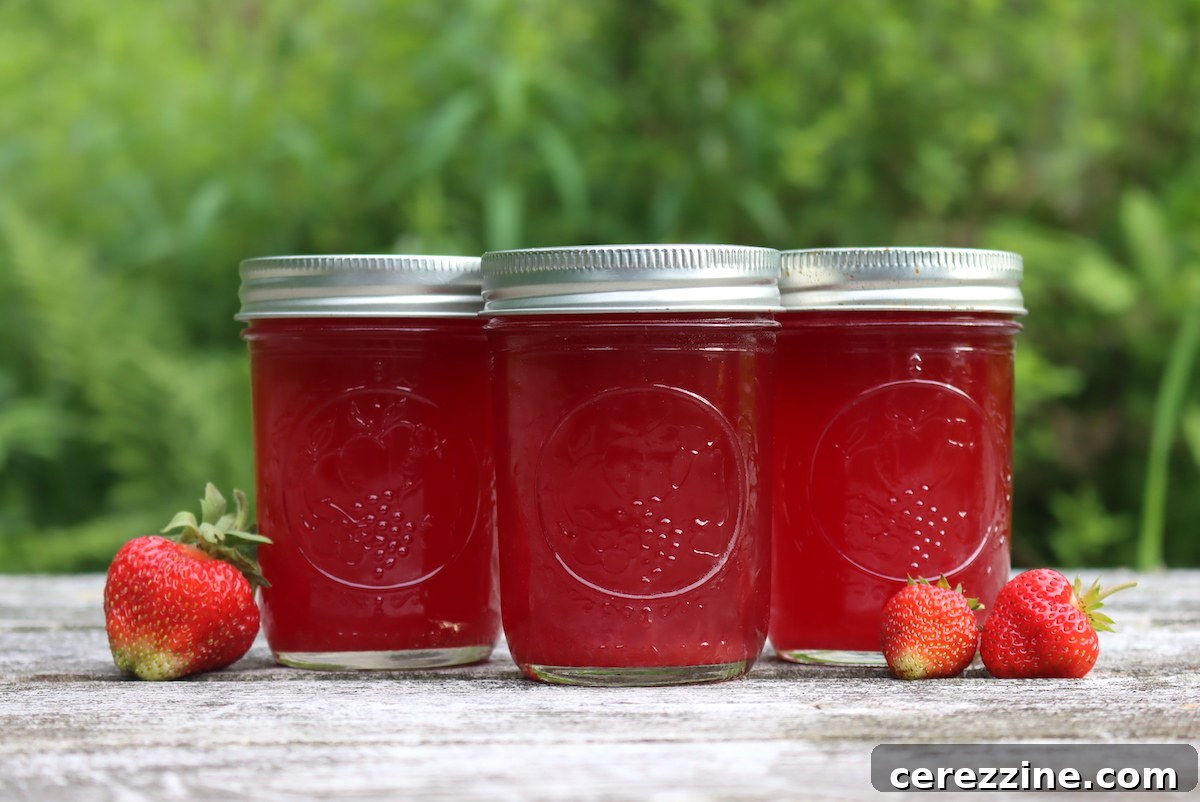
Canning strawberry juice is a delicious way to preserve a bumper crop of strawberries, and it’s perfect for adding amazing strawberry flavor to drinks and desserts later (without the seeds).
There’s nothing quite like the taste of fresh, sun-ripened strawberries. But when your garden yields an overwhelming abundance, or you find an incredible deal at the farmer’s market, you might find yourself with more berries than you know what to do with. You’ve likely already filled your freezer, made batches of canned whole strawberries, whipped up some classic old-fashioned strawberry jam, and perhaps even delighted the kids with jars of seedless strawberry jelly.
Perhaps you’ve even ventured into making home-canned strawberry pie filling, or considered fermenting a batch of homemade strawberry wine. But when the strawberries just keep coming, seemingly without end, it’s time to explore another incredibly rewarding preservation method: canning strawberry juice. This often-overlooked technique allows you to capture the pure essence of summer strawberries, ready to be enjoyed months down the line.
Home-canned strawberry juice is a true culinary gem. Its vibrant flavor and beautiful color make it an exceptional addition to a variety of recipes. Imagine serving refreshing mixed drinks infused with authentic strawberry taste, or stirring it into desserts for an extra burst of natural sweetness. My own children adore it as a base for homemade strawberry soda – simply combine it with a splash of seltzer water. Best of all, with naturally sweet, homegrown strawberries, often no added sugar is needed, making it a healthier alternative to store-bought options.
Why Can Strawberry Juice? The Benefits of Liquid Sunshine
Canning strawberry juice offers numerous advantages, making it a highly practical and delightful way to preserve your strawberry harvest. Unlike freezing whole berries, which can sometimes result in a mushy texture upon thawing, juice retains its quality and flavor profile perfectly. The biggest advantage, however, is the complete absence of seeds, making it ideal for those who prefer smooth drinks and desserts without any gritty texture.
Furthermore, having ready-to-use strawberry juice on hand simplifies meal prep and entertaining. No more washing, hulling, or mashing berries when you want a quick strawberry fix. It’s a concentrated burst of flavor that stores beautifully on your pantry shelf, providing a taste of summer even in the depths of winter. This method also allows you to make the most of less-than-perfect berries that might be too soft for jams or whole canning, transforming them into a valuable liquid asset.
Preparing Delicious Homemade Strawberry Juice
While a countertop juicer can process strawberries, for canning purposes, a stovetop method (or a steam juicer) often extracts a richer, deeper flavor profile. The slight cooking involved in the stovetop method helps to break down the fruit cells more effectively, releasing maximum flavor. Since we’ll be heat-processing the juice for canning anyway, preserving a “raw” state isn’t a primary concern.
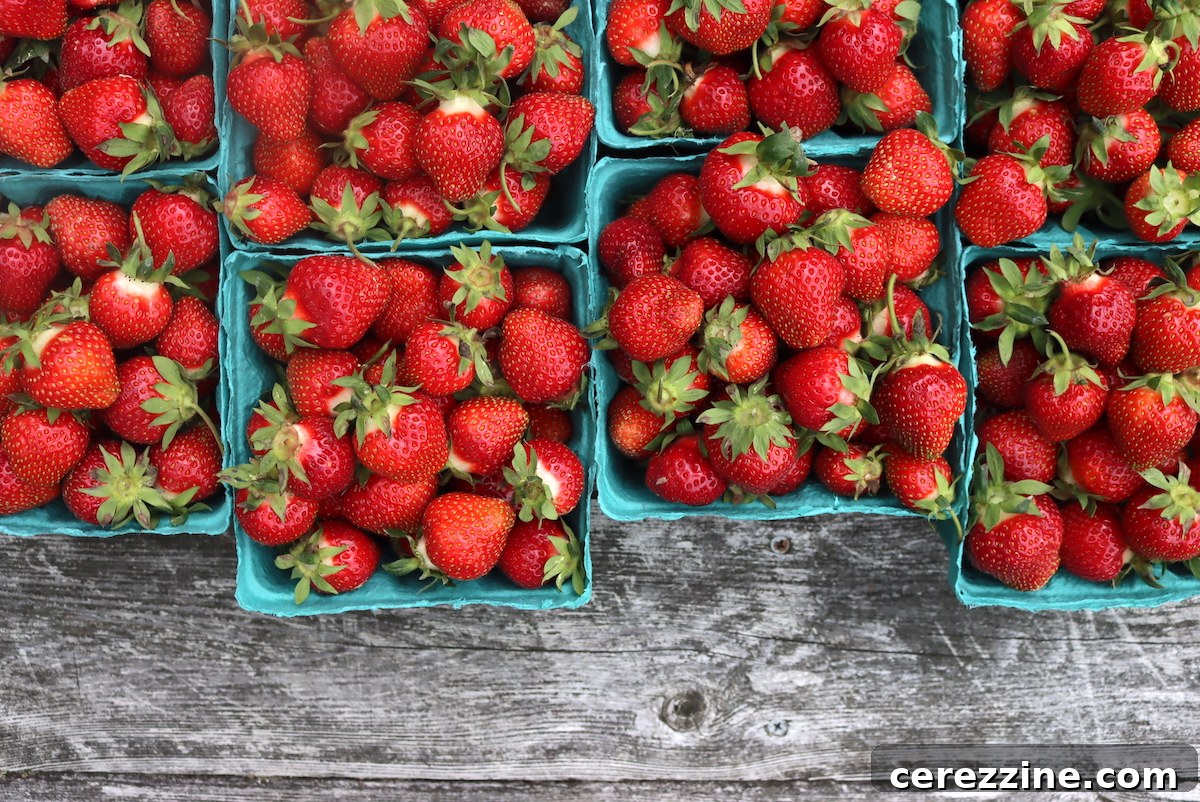
To begin, select ripe, flavorful strawberries. Hull them by removing the green tops and any bruised spots. Give them a quick rinse under cool water if needed. Then, place the prepared fruit into a large saucepan or stockpot. Add a small amount of water to the pot – this helps to prevent scorching and gets the juicing process started.
Gently simmer the strawberries over medium heat, allowing them to soften and release their natural juices. As they cook, use a potato masher to occasionally press down on the fruit, encouraging it to break down further. This process is surprisingly quick; the berries should become very soft and start falling apart within 5 to 10 minutes. Avoid overcooking, as this can dull the fresh strawberry flavor.
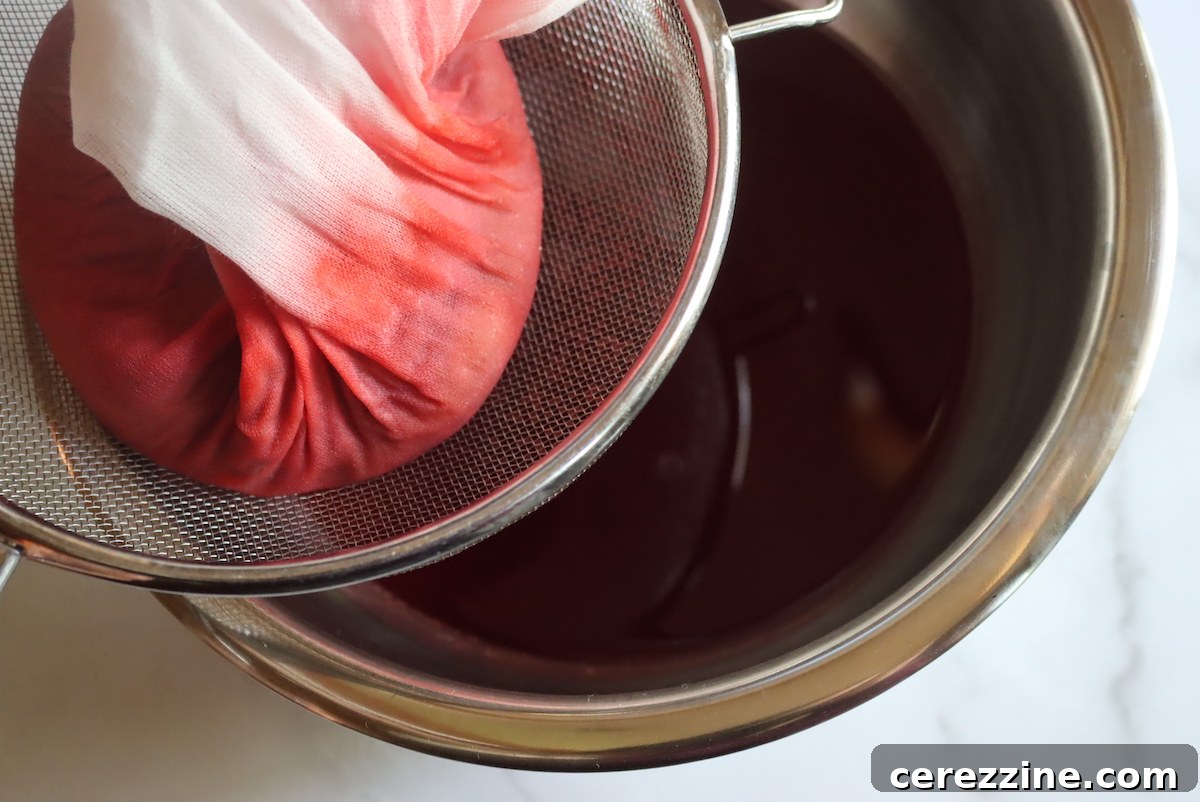
Once the berries have completely softened and resemble a thick compote, it’s time to separate the juice from the pulp and seeds. Carefully pour the cooked strawberry mixture into a jelly bag, or a fine-mesh strainer generously lined with a double layer of dampened cheesecloth. Allow the juice to drip naturally, resisting the urge to squeeze the bag or cloth, which can force pulp and cloud the juice. For the clearest juice, let it drip for several hours or even overnight.
Understanding Strawberry Juice Yield
The yield of strawberry juice can vary depending on the variety of strawberries, their ripeness, and how juicy they naturally are. As a general guideline, a quart of whole, fresh strawberries typically yields about 1 cup of finished juice. To put this into perspective, for every cup of pure strawberry juice you aim to produce, you’ll need approximately 3 1/4 to 3 1/2 cups of chopped strawberries (derived from about 1 quart of whole berries) and 1/2 cup of water added during the cooking process. After simmering for 5 to 10 minutes and thorough straining, you should achieve your target 1 cup of juice.
It’s worth noting that homegrown, tender, fresh-eating strawberry varieties tend to be juicier than the firmer, longer-shipping varieties often found in grocery store clamshells. Adjust your expectations and quantities based on the quality and type of strawberries you are using. Don’t worry if your exact yield varies slightly; this recipe is adaptable.
Mastering the Art of Canning Strawberry Juice
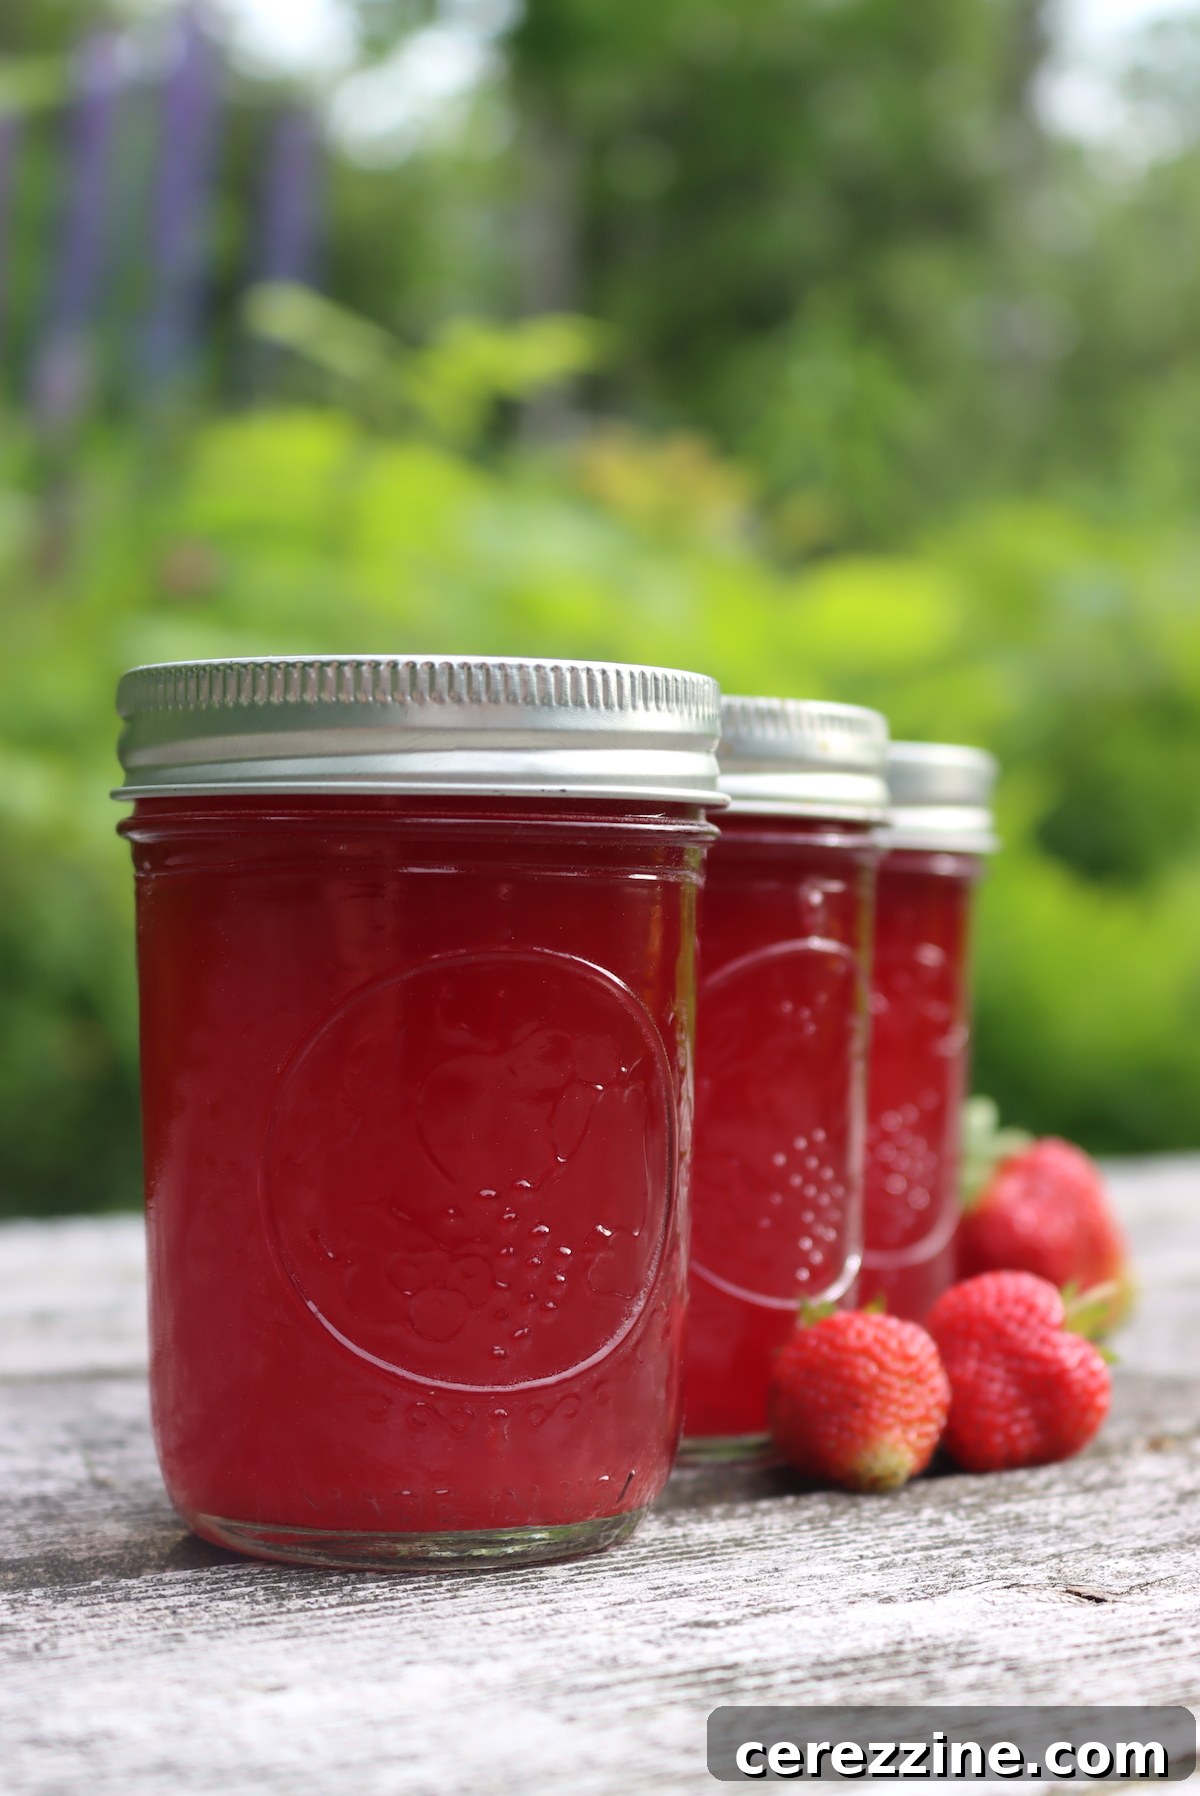
Once you have your beautifully filtered strawberry juice, it’s time for the canning process. This recipe utilizes the water bath canning method, which is safe and effective for high-acid foods like strawberry juice. If you are new to canning, I strongly recommend reviewing a comprehensive beginner’s guide to water bath canning before you begin to ensure all safety protocols are understood and followed.
These instructions for canning strawberry juice are based on the reliable “Canning Berry Juice” recipe found on page 189 of The Ball Complete Book of Home Preserving, a trusted resource for home canners. This versatile recipe can also be applied to other berry juices, such as blackberry, blueberry, and raspberry, but I find strawberry juice to be particularly exceptional for its vibrant flavor.
Optional Sweetening: The Ball Blue Book suggests, “For average sweetness, add 1 to 2 cups (250 to 500 ml) of sugar for each 16 cups (4 L) of juice.” This translates to approximately 1/4 to 1/2 cup of sugar per quart of juice, or 1 to 2 tablespoons per cup. Adding sugar is entirely optional and depends on the sweetness of your strawberries and your personal preference. For naturally sweet homegrown strawberries, I often skip the added sugar altogether, allowing the pure fruit flavor to shine.
Preparation for Canning:
- Begin by preparing your water bath canner. Ensure it has a rack at the bottom and is filled with enough water to cover your jars by at least 1-2 inches. Bring the water to a bare simmer (around 180°F or 82°C) for a hot pack.
- Wash canning jars, lids, and rings thoroughly. Keep the jars hot (either in the simmering canner water or a warm oven/dishwasher) to prevent thermal shock when adding hot juice. New lids should be simmered gently in a small pot of water (do not boil) to soften the sealing compound. Rings can be kept at room temperature.
Heating the Juice for Hot Pack:
- In a clean saucepan, gently heat your strained strawberry juice over medium-high heat until it reaches approximately 190°F (88°C). It is crucial not to let the juice come to a rolling boil, as this can degrade its fresh flavor and color.
- Once the juice reaches 190°F, reduce the heat to low and maintain this temperature for 5 minutes. If you are adding sugar, stir it into the hot juice until it is fully dissolved during this stage.
Filling and Processing Jars:
- Carefully ladle the hot juice into your prepared hot jars, leaving 1/4 inch of headspace (the space between the top of the juice and the rim of the jar).
- Wipe the rims of the jars clean with a damp cloth to ensure a proper seal.
- Center the hot lids on the jars and apply the screw bands to finger-tight. Do not overtighten, as this can prevent air from escaping and hinder sealing.
- Carefully place the filled jars onto the rack in your simmering water bath canner. Ensure the jars are fully submerged under water.
- Increase the heat to bring the water to a full, rolling boil. Once boiling vigorously, start your processing time.
- Process half-pint, pint, and quart jars for 15 minutes. If you are canning at altitudes above 6,000 feet, increase the canning time to 20 minutes to account for the lower boiling point of water at higher elevations.
- Once the processing time is complete, turn off the heat. Leave the jars in the hot water for an additional 5 minutes to cool down slightly. This helps to prevent siphoning (liquid loss from jars) and ensures a better seal.
- Using a jar lifter, carefully remove the jars from the canner and place them on a clean towel on your countertop. Leave ample space between jars to allow for even air circulation and cooling.
Cooling and Storage:
- Allow the jars to cool undisturbed for 12-24 hours. During this time, you should hear the satisfying “ping” sound as the lids seal.
- After 24 hours, check all seals. Press the center of each lid; if it doesn’t flex, the jar is sealed. Remove the screw bands (they can be reused) and wipe down the jars.
- Any jars that did not seal properly should be stored in the refrigerator for immediate consumption.
- Properly canned and sealed jars of strawberry juice will maintain peak quality on the pantry shelf for 18 months or even longer. Store them in a cool, dark, dry place. Once a jar is opened, refrigerate it and consume within a few weeks.
Creative Uses for Leftover Strawberry Pulp
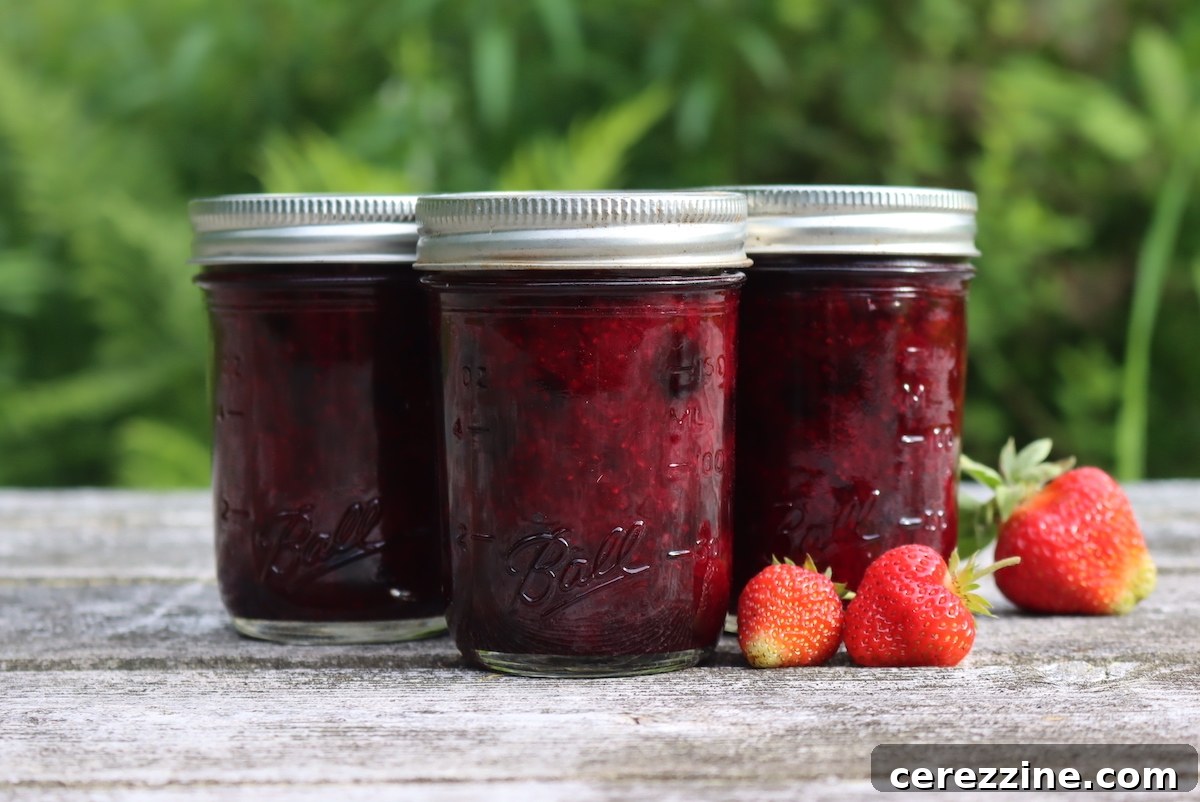
After extracting all that wonderful juice, you’ll be left with a flavorful strawberry pulp. It would be a shame to simply discard it! This pulp still contains a good amount of fiber, nutrients, and concentrated strawberry flavor. I discovered it’s a fantastic addition to other recipes. For instance, I successfully added it to a mixed berry jam, and the result was absolutely amazing. You can substitute the strawberry pulp for fresh strawberries in a 1-to-1 ratio by volume in your favorite mixed berry jam recipe.
Beyond jam, the pulp can be incorporated into smoothies for an extra fiber boost, baked into muffins or quick breads, or even dehydrated into fruit leathers for a chewy, nutritious snack. I recently combined my strawberry pulp with the last of the season’s honeyberries (haskaps), and the resulting jam had an incredibly unique and delicious flavor profile. Don’t let this valuable byproduct go to waste – get creative with it!
Canning Strawberry Juice
By Ashley Adamant
Strawberry juice offers an incredible flavor experience, and it’s an excellent method to preserve a generous strawberry harvest for enjoyment all year long. This recipe ensures seedless, vibrant juice ready for drinks and desserts.
Servings: 1 serving, Makes 1 cup of Juice (easily scalable)
Prep Time: 1 hour
Cook Time: 5 minutes
Canning Time: 15 minutes
Total Time: 1 hour 20 minutes (excluding cooling time)
Equipment
- Jelly Strainer with Bag (or fine-mesh strainer with cheesecloth)
- Water Bath Canner with rack
- Large Saucepan or Stockpot
- Potato Masher
- Canning Jars, Lids, and Rings
- Jar Lifter
Ingredients
(Amounts below are for 1 cup of juice. Scale up as needed.)
- 1 quart strawberries, fresh or frozen (yields approx. 3 1/4 to 3 1/2 cups chopped)
- 1/2 cup water
- 1 to 2 tbsp sugar, optional (per cup of juice, adjust to taste)
Instructions
Making Strawberry Juice
- Hull and chop strawberries. Place them in a pot with water. For every 3 1/4 to 3 1/2 cups of chopped strawberries (from 1 quart fresh or frozen), add 1/2 cup of water.
- Bring the strawberries and water to a simmer over medium heat. Cook, mashing frequently with a potato masher, until the berries have completely fallen apart and released their juice (about 5 to 10 minutes).
- Strain the cooked mixture through a jelly bag or a fine-mesh strainer lined with a double layer of dampened cheesecloth. Allow to drip thoroughly for clear juice.
Canning Strawberry Juice
- Prepare a water bath canner, ensuring it’s barely simmering (180°F / 82°C) for a hot pack. Wash and heat jars, and prepare new lids by simmering in hot water.
- Heat the strained strawberry juice to about 190°F (88°C) over medium-high heat, but do not boil. Reduce heat to low and maintain 190°F for 5 minutes. If using, add sugar and stir until completely dissolved.
- Ladle the hot juice into hot, prepared jars, leaving 1/4 inch headspace. Wipe jar rims clean. Apply canning lids and screw-on rings to finger-tight.
- Place jars into the water bath canner, ensuring they are covered by at least 1-2 inches of water. Bring the canner to a full, rolling boil.
- Process in a boiling water bath for 15 minutes for half-pints, pints, and quarts. For altitudes above 6,000 feet, increase canning time to 20 minutes.
- After processing, turn off the heat and let the jars remain in the hot water for an additional 5 minutes to cool slightly and prevent siphoning.
- Carefully remove jars with a jar lifter and place them on a towel-lined counter, leaving space between them to cool undisturbed for 12-24 hours.
- Check seals after 24 hours. If any jars haven’t sealed (lid center flexes), refrigerate and use promptly. Properly sealed jars can be stored in a cool, dark pantry for 18+ months. Refrigerate after opening.
Notes
This recipe is initially written to guide you for making a single cup of juice, allowing for easy expansion to accommodate any quantity of fruit you have. For practical canning, it works best if you begin with at least 3 to 4 quarts of fresh strawberries to produce a more substantial batch of juice.
Nutrition
Nutrition information is automatically calculated and should only be used as an approximation.
- Calories:
- 349 kcal
- Carbohydrates:
- 85 g
- Protein:
- 6 g
- Fat:
- 3 g
- Saturated Fat:
- 0.1 g
- Polyunsaturated Fat:
- 1 g
- Monounsaturated Fat:
- 0.4 g
- Sodium:
- 15 mg
- Potassium:
- 1448 mg
- Fiber:
- 19 g
- Sugar:
- 58 g
- Vitamin A:
- 114 IU
- Vitamin C:
- 556 mg
- Calcium:
- 155 mg
- Iron:
- 4 mg
More Delightful Strawberry Canning Recipes
If you’re still awash in strawberries and looking for more innovative ways to preserve this sweet fruit for your pantry, consider these fantastic recipes:
- Canning Whole Strawberries: Preserve them whole for versatile use in desserts or as a garnish.
- Old-fashioned Strawberry Jam: A classic, rich jam bursting with natural strawberry goodness.
- Strawberry Jelly: A clear, smooth, and vibrant jelly, perfect for toast and pastries.
- Canning Strawberry Pie Filling: Ready-to-use filling to make delicious pies anytime.
- Strawberry Rhubarb Jam: A delightful blend of sweet strawberries and tart rhubarb.
Expand Your Horizons: Other Juice Canning Recipes
Strawberry juice is just one of many delicious fruit juices you can preserve at home using the water bath canning method. Once you’ve mastered the technique, consider exploring these other options to stock your pantry with a variety of homemade juices:
- Canning Rhubarb Juice Concentrate: A wonderfully tart and refreshing juice, excellent on its own or as a mixer.
- Canning Apple Juice: Perfect for a crisp, natural juice or as a base for cider.
- Canning Grape Juice: A rich, sweet juice, ideal for drinking or making jelly.
- Canning Berry Blends: Combine different berries for unique flavor profiles in your homemade juices.
Home canning juice allows you to control the ingredients, avoid artificial additives, and enjoy the pure, concentrated flavors of your favorite fruits all year round. It’s a rewarding skill that enhances both your pantry and your culinary creations.