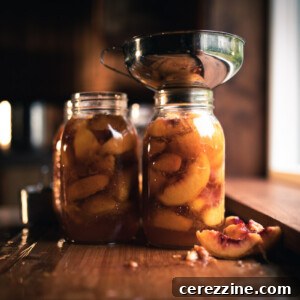
Canning peaches is widely regarded as the perfect entry point into the world of water bath canning, offering an unparalleled method to preserve the essence of summer peaches right in your kitchen. Imagine enjoying the vibrant taste of sun-ripened peaches throughout the year, whether in comforting pies, delightful baked goods, or simply as a refreshing snack straight from the jar!
For many, the arrival of in-season peaches signals the undeniable peak of summer. It’s a time of long, leisurely days spent outdoors, bathed in sunshine, and an abundance of fresh, flavorful fruit – with sweet, juicy peaches often topping the list. If you’ve ever had the misfortune of tasting an out-of-season peach, you’ll understand the profound disappointment: a grainy texture and lack of flavor that’s a mere shadow of its summer glory.
This is precisely where the magic of home-canned peaches comes into play. Forget the overly sweet, heavy-syrup varieties found in grocery stores. We’re talking about homemade canned peaches that deliver the same amazing taste and aroma on a chilly December day as they would fresh from the tree during the height of summer. You might be pleasantly surprised to discover that canning peaches at home is remarkably straightforward, requiring minimal ingredients – just the finest, ripest peaches you can find!
This comprehensive guide is designed to demystify the entire process of canning peaches, breaking it down into easy-to-follow, step-by-step instructions. We’ll cover everything from selecting the ideal peach varieties for canning (and those to avoid) to choosing the perfect canning liquid tailored to your taste preferences. Furthermore, we’ll dive deep into both successful water bath canning and pressure canning techniques, ensuring you have all the knowledge for a safe and delicious outcome. For good measure, a dedicated section addresses common home canning troubleshooting issues, alongside quick FAQs to answer all your burning questions about canning peaches.
Once your pantry is stocked with these golden treasures, you’ll be eager for inspiration. Below, you’ll find our favorite creative ideas and uses for both the preserved fruit and its flavorful syrup, along with invaluable tips for maximizing their shelf life and maintaining their beautiful appearance.
Essential Ingredients for Canning Peaches
Our recipe for canned peaches champions simplicity for a reason: the goal is to capture the pristine flavor of freshly picked summer peaches, preserved in a delicate, light syrup. To achieve this authentic taste, you’ll only need a few core ingredients:
- Peaches: The star of our show, choose fresh, firm, and ripe yellow-fleshed peaches.
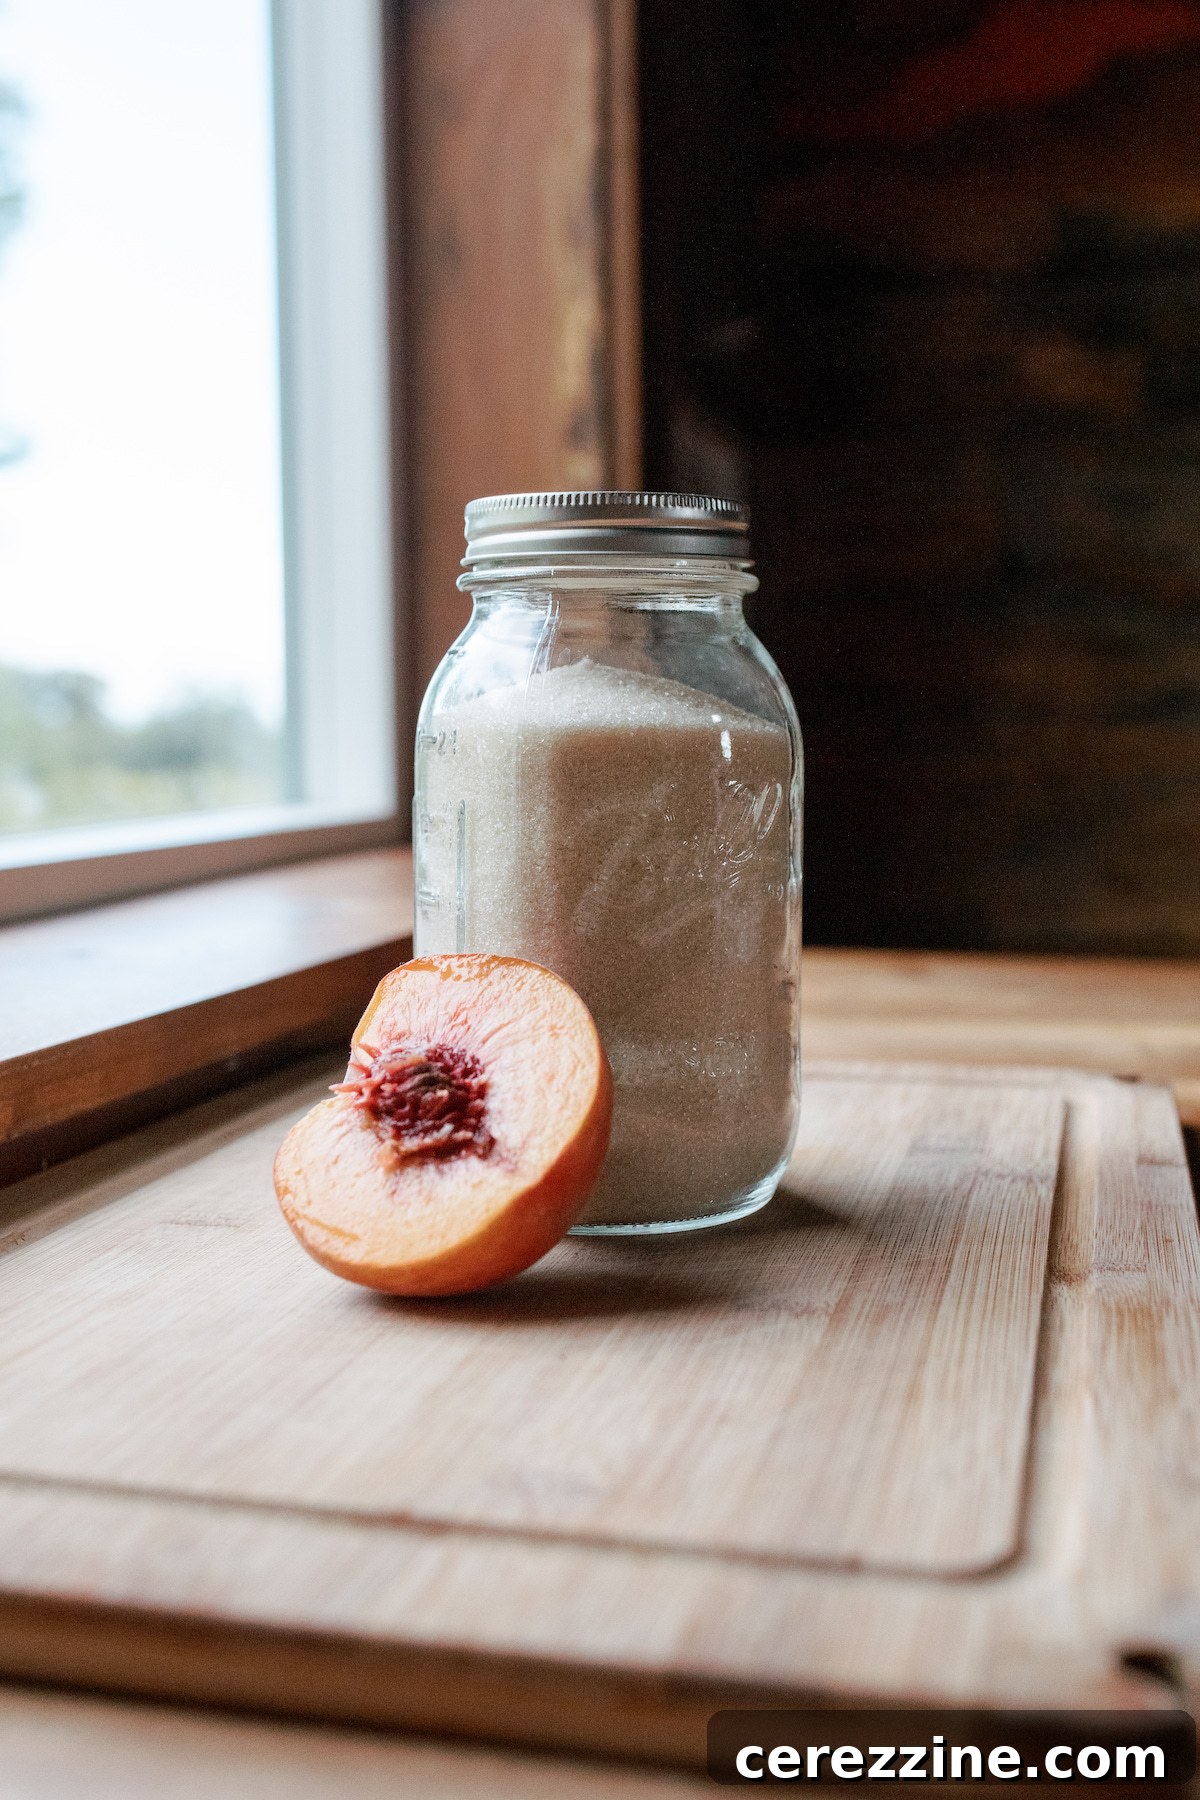
- Granulated Sugar: Combined with water to create the syrup. The quantity will vary based on your preferred sweetness level (see our syrup section for detailed ratios).
- Water: The base for your canning syrup.
- Lemon Juice (Optional): A small amount can be added to the fruit during preparation to prevent browning and maintain their vibrant color, though it’s not essential for food safety due to peaches’ natural acidity.
For those seeking alternatives to granulated sugar, honey and maple syrup can be excellent substitutes, offering unique flavor profiles. You can also opt for fruit juice as your canning liquid, such as apple or white grape juice, completely omitting the sugar and water. To infuse your canned peaches with additional layers of flavor, consider adding a vanilla bean or a cinnamon stick directly into the jars with the peaches before processing.
Selecting the Best Peaches for Canning
When it comes to choosing the ideal peach variety for canning, you have a wide array of options, with one crucial exception. Since yellow-fleshed peaches are naturally a high-acid food, all varieties of them are considered safe for both water bath and pressure canning.
However, a few considerations will help you select the best peaches for a superior canning experience:
- Fruit Size Matters: If possible, opt for larger peaches. Their generous size significantly reduces the time and effort spent on peeling and pitting. However, if you plan to use smaller jars or intend to can your peaches whole or halved, medium to smaller peaches might be more suitable.
- Freestone vs. Clingstone: Freestone peaches are generally the preferred choice for canning today. Readily available at most grocery stores and farmers markets, their flesh easily separates from the pit, making preparation a breeze. That said, clingstone peaches often boast an unparalleled flavor intensity that makes the extra effort worthwhile. Be prepared that separating the flesh from the pit of a clingstone peach might result in more rustic, chunkier pieces rather than perfectly neat slices.
- Optimal Ripeness: While the allure of super-ripe peaches for immediate eating is strong, for canning, it’s best to choose peaches that are barely ripe. Look for fruit that is still very firm to the touch but has lost all hints of green around the stem. Overly ripe peaches tend to become mushy and fall apart during the high-heat canning process, especially if you’re using a pressure canner.
The sole exception to the “any yellow-fleshed peach” rule is white-fleshed peaches. These varieties are categorized as low-acid foods, meaning they typically do not meet the pH level requirements (below 4.6) necessary for safe water bath canning without acidification. While theoretically, lemon juice or citric acid could be added to adjust their pH, for absolute safety and peace of mind, it is strongly recommended to stick with yellow-fleshed peaches for all canning projects.
If you find yourself with an abundance of delicious white peaches, don’t despair! They freeze beautifully. Simply halve, quarter, or slice the peaches, arrange them in a single layer on a baking sheet, and freeze until solid. Once frozen, transfer them to resealable freezer bags or containers, ready to be enjoyed whenever a craving for white peaches strikes.
Understanding Peach Yield for Canning
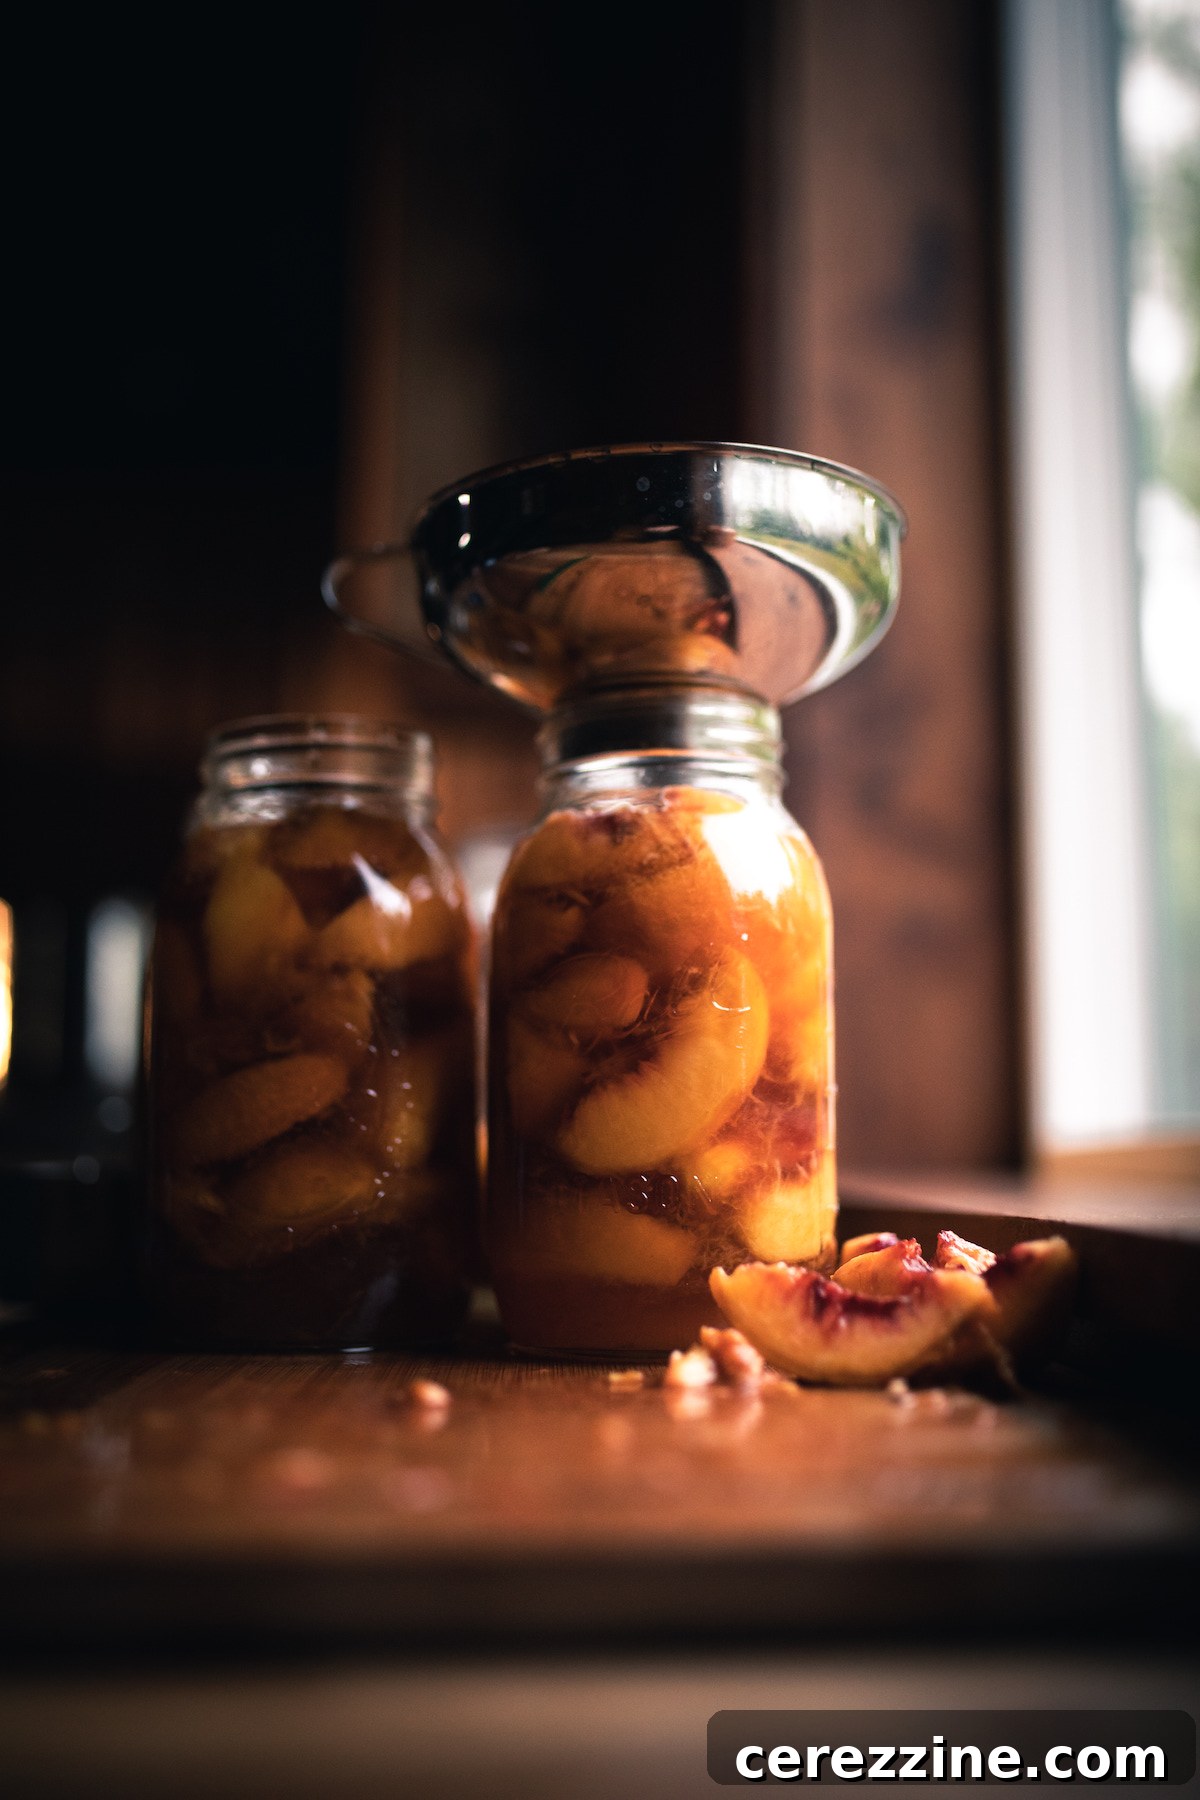
Given the natural variations in peach size, the most accurate way to determine the quantity needed per jar is by weight. From extensive experience, approximately 1 1/4 pounds of peaches can be snugly packed into a pint jar. For a quart jar, plan on needing about 2 to 3 pounds of peaches.
Naturally, these weights will be slightly less if you choose to can whole or halved peaches, as they don’t pack as densely. This is why I often prefer to cut peaches into slices for canning; they allow for a much tighter fill. Peaches will inevitably shrink a bit during the canning process, so the more densely packed they are initially, the better your final jars will look. Jars that are only partially filled can result in a less appealing, half-empty appearance on your pantry shelf, even though the fruit inside remains perfectly edible.
The recipe outlined in this guide is designed to yield a full 7-quart canner load, which typically requires 2 to 3 pounds of peaches per quart, totaling 17 to 18 pounds of fruit. Alternatively, it can fill a 9-pint canner load, requiring 1 1/4 pounds per pint, or 10 to 12 pounds of peaches overall.
Mastering Peach Preparation for Canning
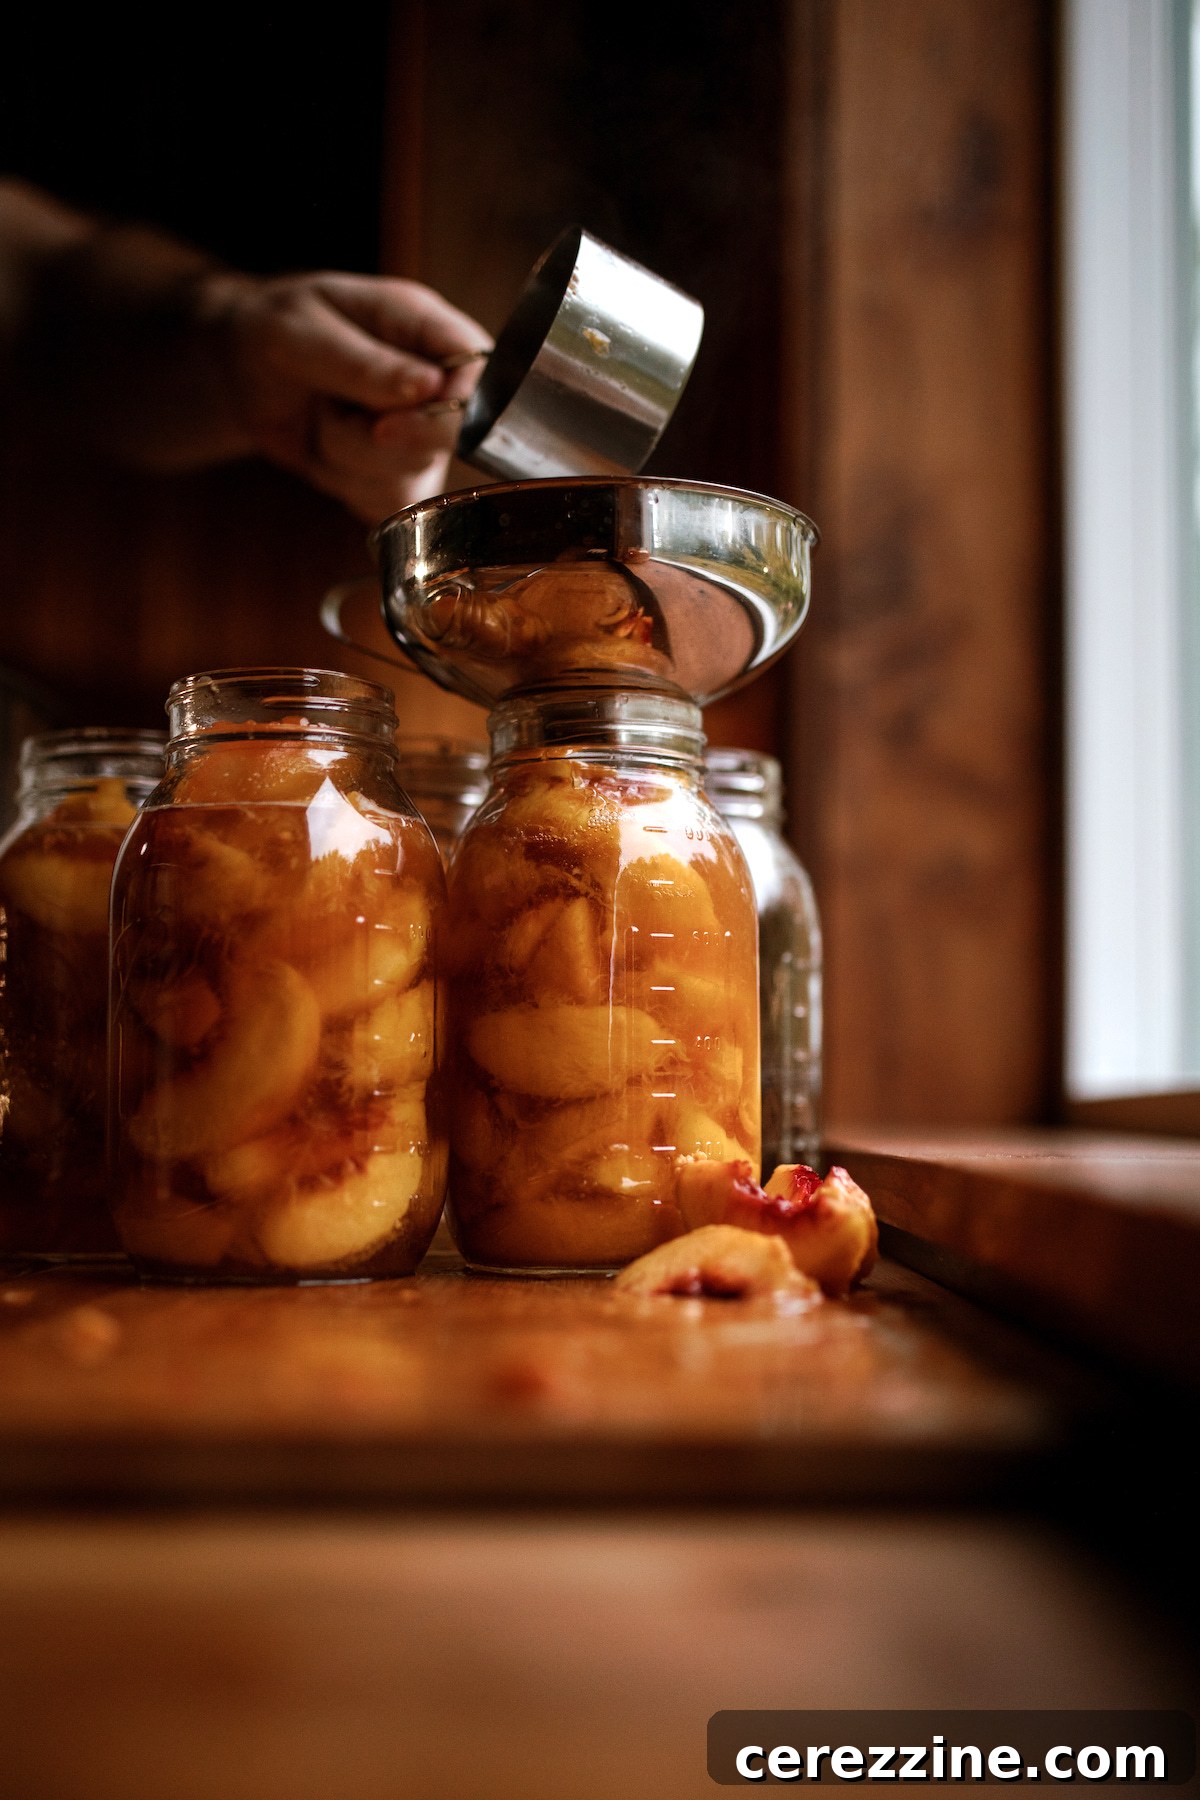
The preparation stage, particularly peeling and slicing, is often the most labor-intensive part of canning peaches. However, with a few smart tips and tricks, you’ll find yourself breezing through the task in no time. An extra pair of hands from a helper can make the process even faster and more enjoyable!
Effortless Peach Peeling Technique
If the idea of peeling a large quantity of peaches seems daunting, rest assured there’s a highly effective technique that will drastically cut down your preparation time. This method involves lightly scoring the peaches, briefly blanching them in boiling water, and then allowing their skins to slip off effortlessly with just your fingers.
1. Wash the Peaches: Begin by thoroughly washing all your peaches under cold running water. A large farmhouse sink filled with ice and cold water after rinsing is ideal; this allows you to reuse the chilled water for the ice bath later.
2. Prepare Boiling Water: Fill a large stockpot (the bigger, the better for efficiency) with water and bring it to a rolling boil over high heat.
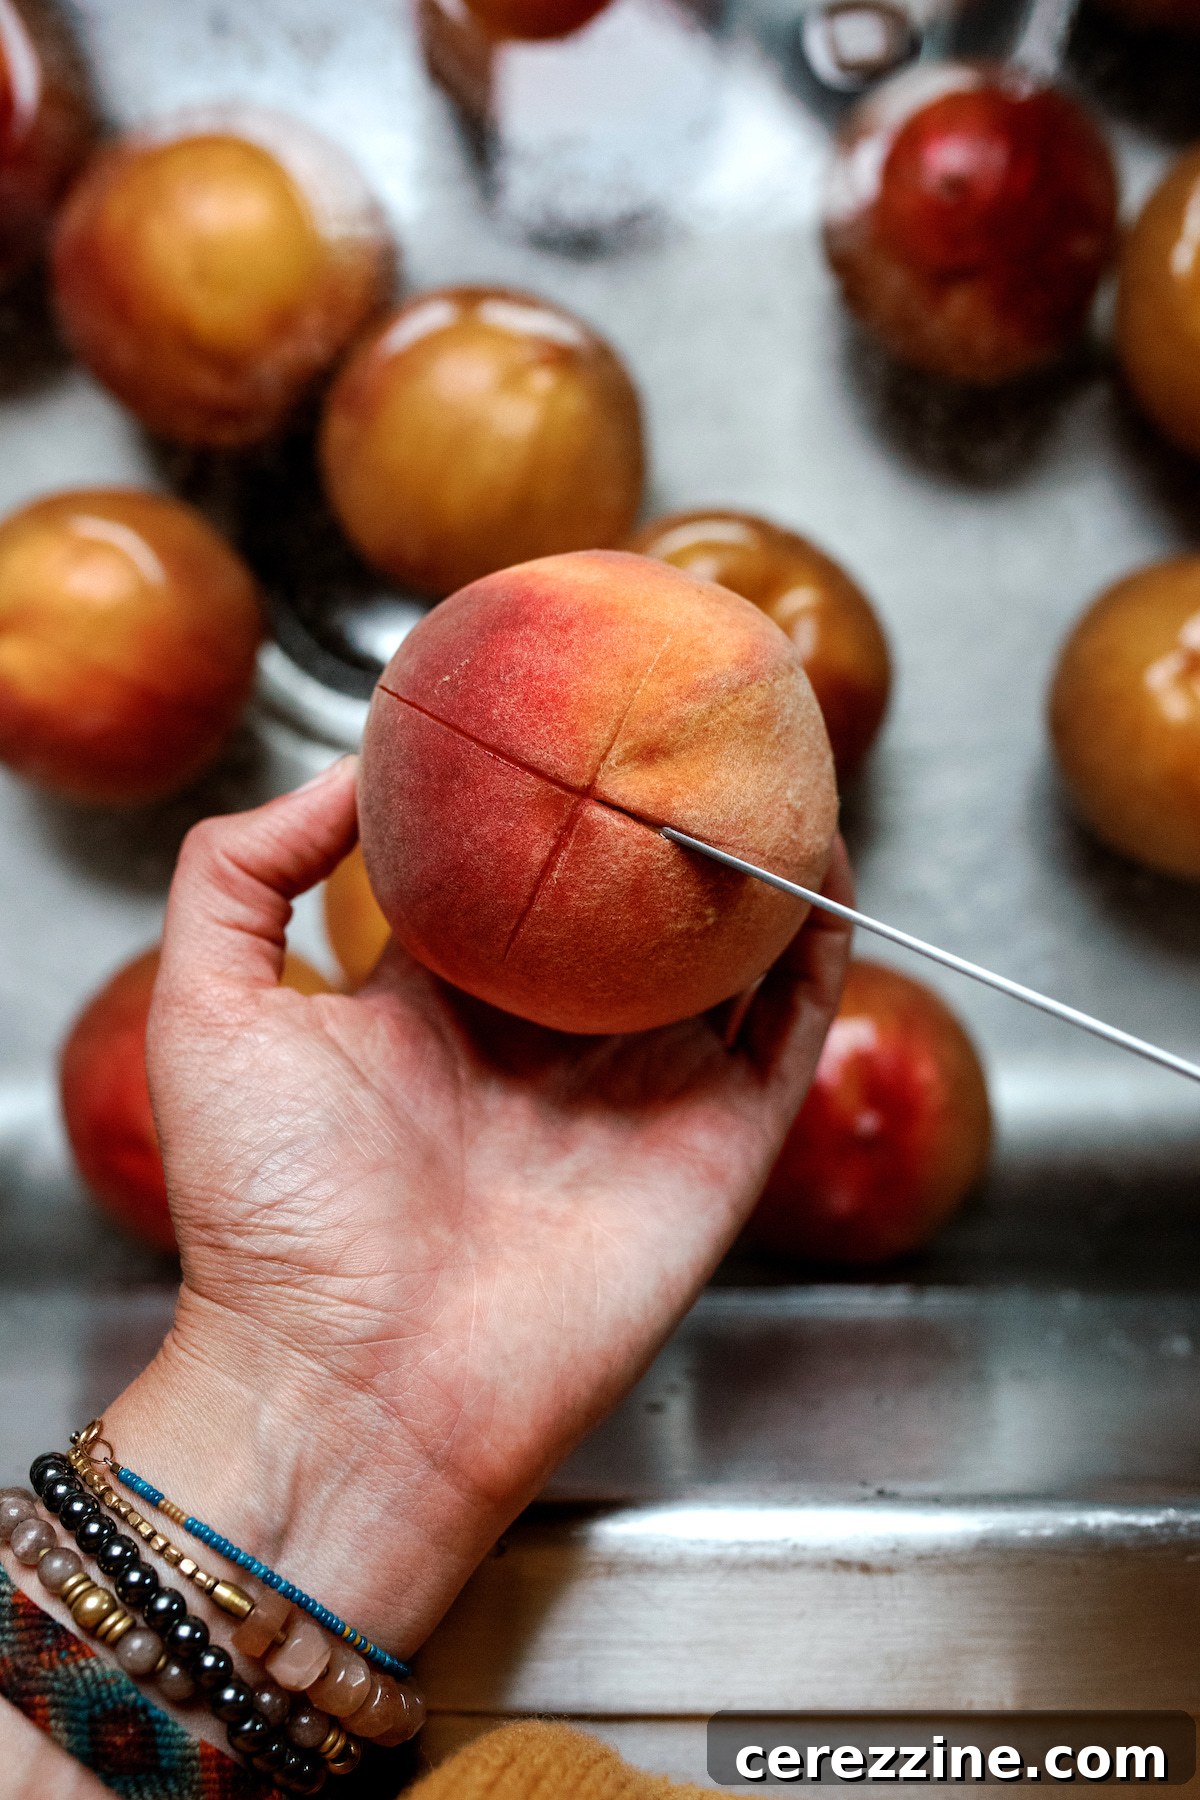
3. Score the Peaches: While the water heats, use a sharp knife to carefully score a small “x” on the bottom of each peach. This small incision helps the skin loosen during blanching.
4. Blanch in Boiling Water: Using a spider strainer or a slotted ladle, gently lower the scored peaches into the vigorously boiling water. Allow them to blanch for two to three minutes. Slightly underripe fruit may require a little more time than peaches that are already quite ripe. I recommend beginning to test the skins around the two-minute mark, checking every 15 seconds thereafter.
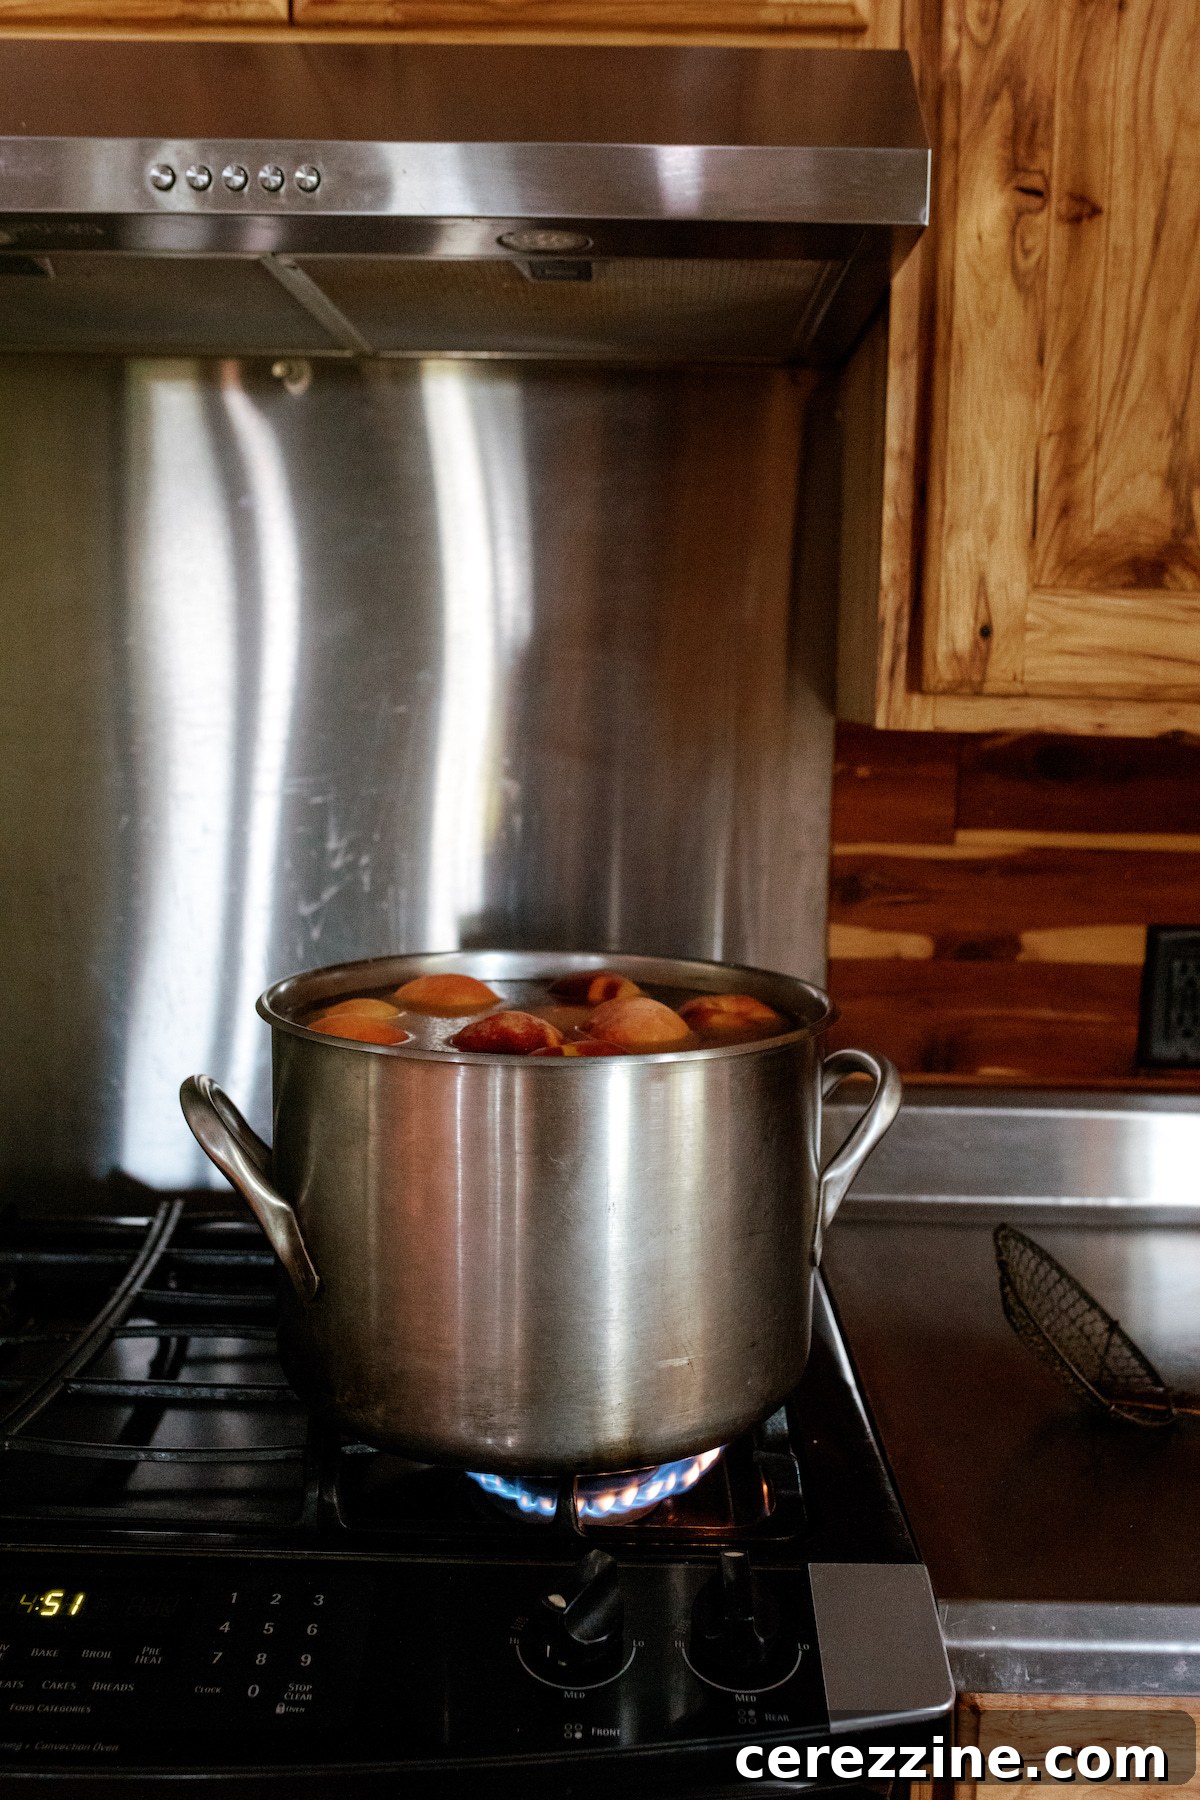
5. Test for Readiness: The peaches are ready for their cold water bath when their skins begin to slip off easily when gently rubbed with a clean dish towel. Exercise caution, as the peaches will be very hot to the touch.
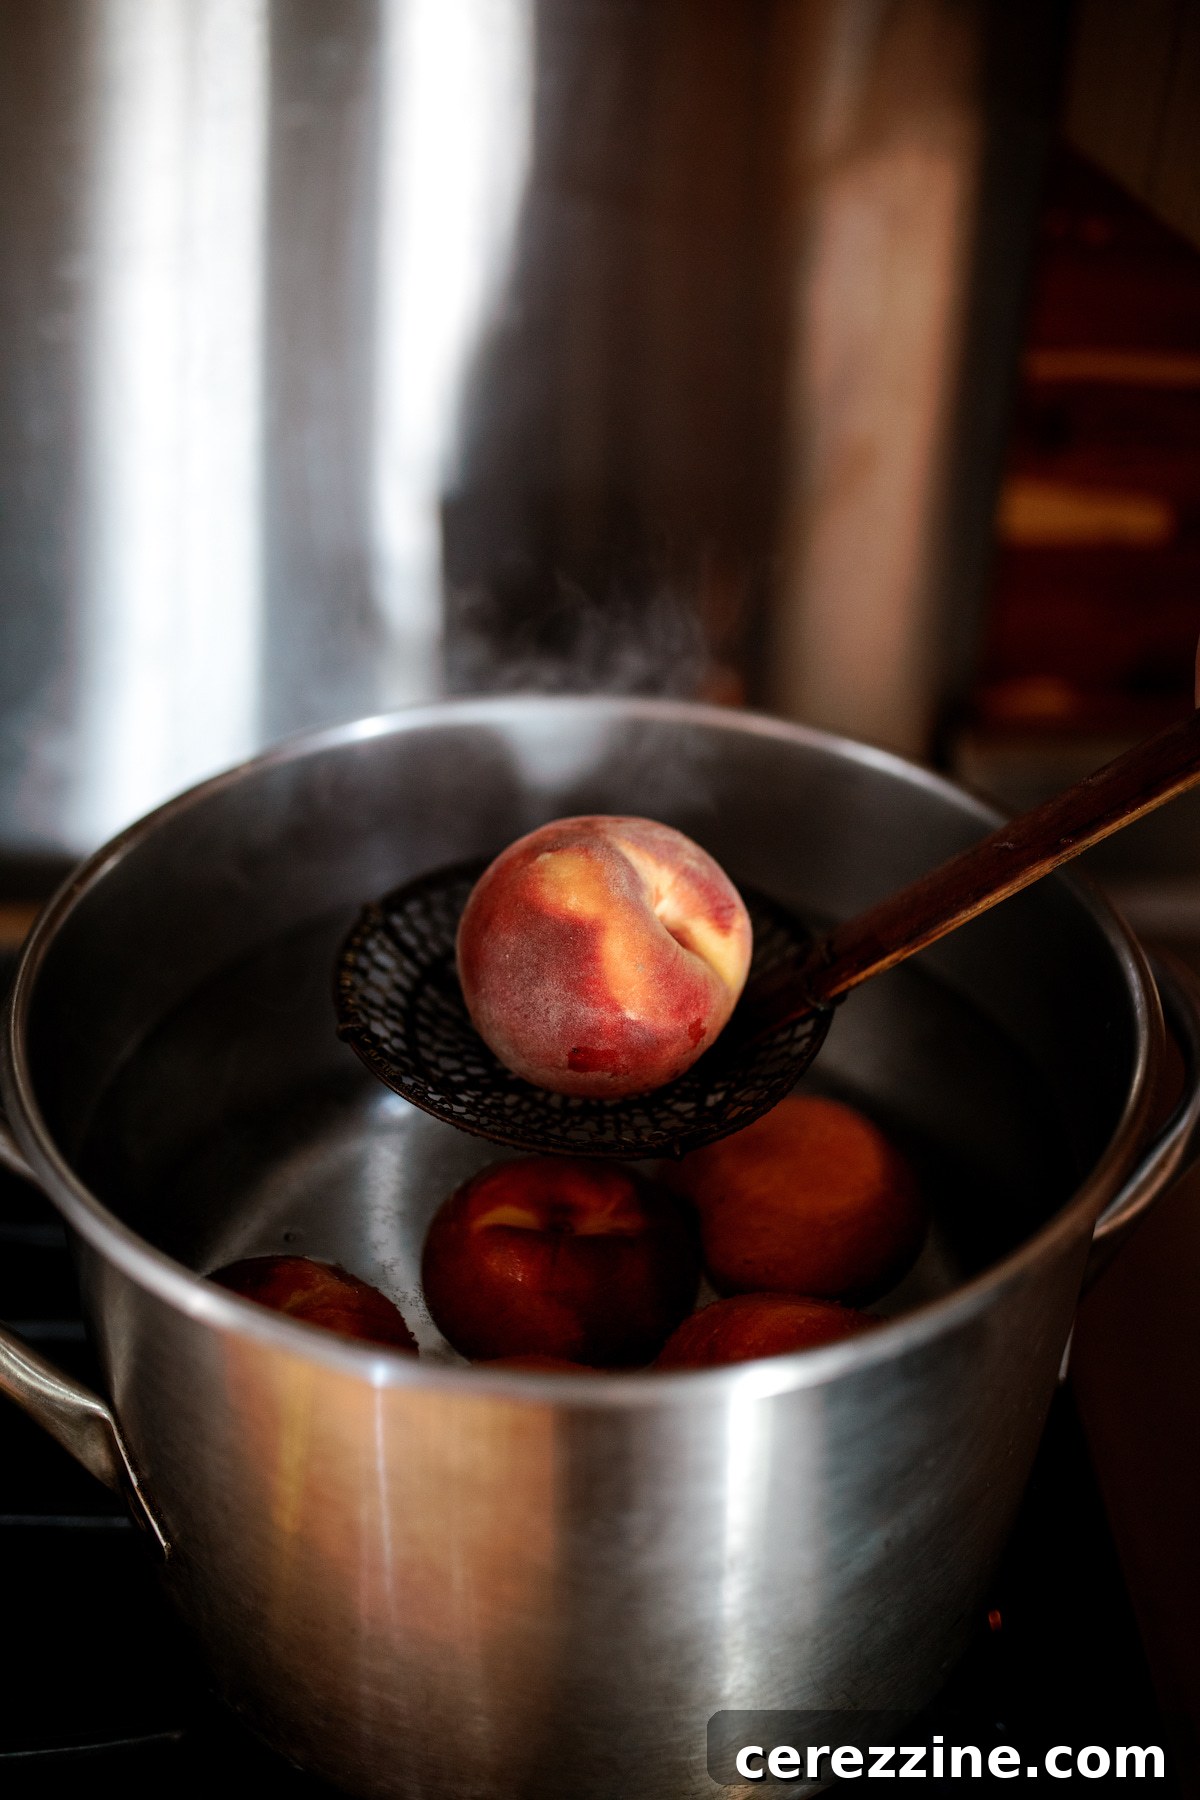
6. Ice Water Shock: Immediately transfer the blanched peaches into the prepared ice water bath. It’s vital to keep extra ice on hand to ensure the water temperature remains consistently low. This cold shock abruptly halts the cooking process and further loosens the skins. Repeat these steps in batches until all your peaches are blanched and chilled.
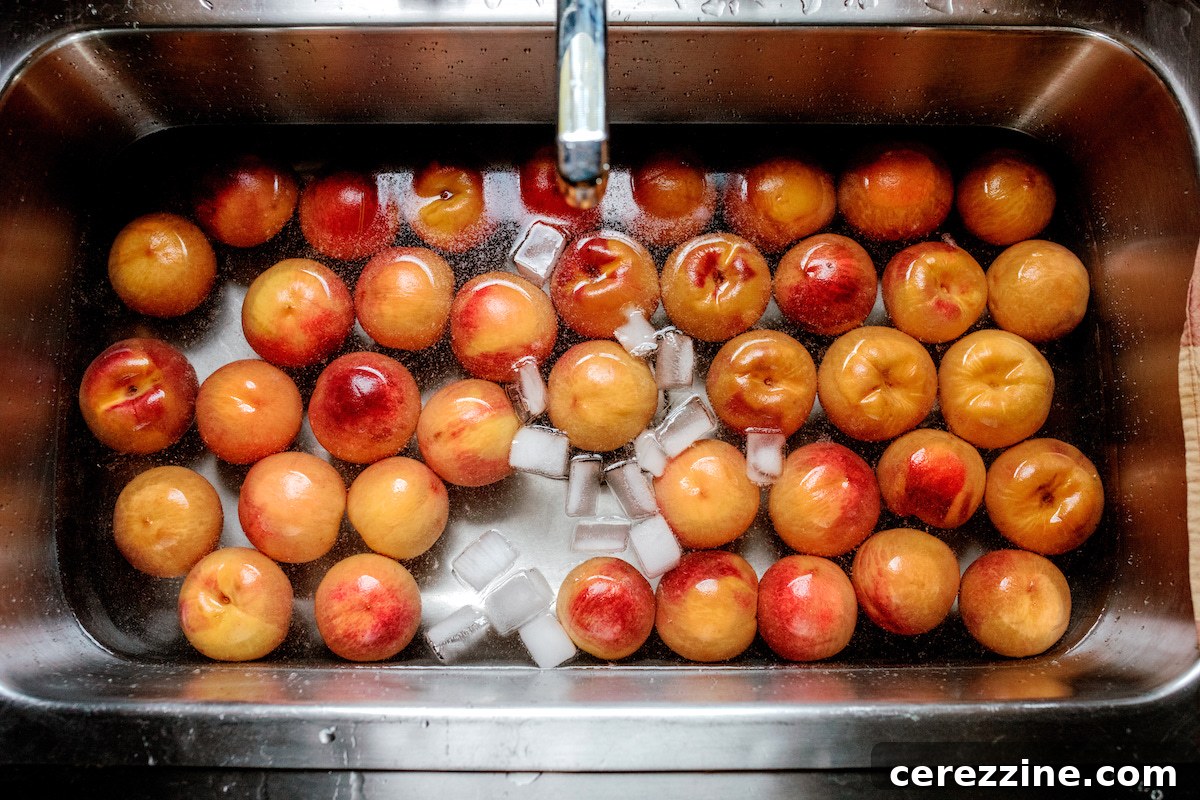
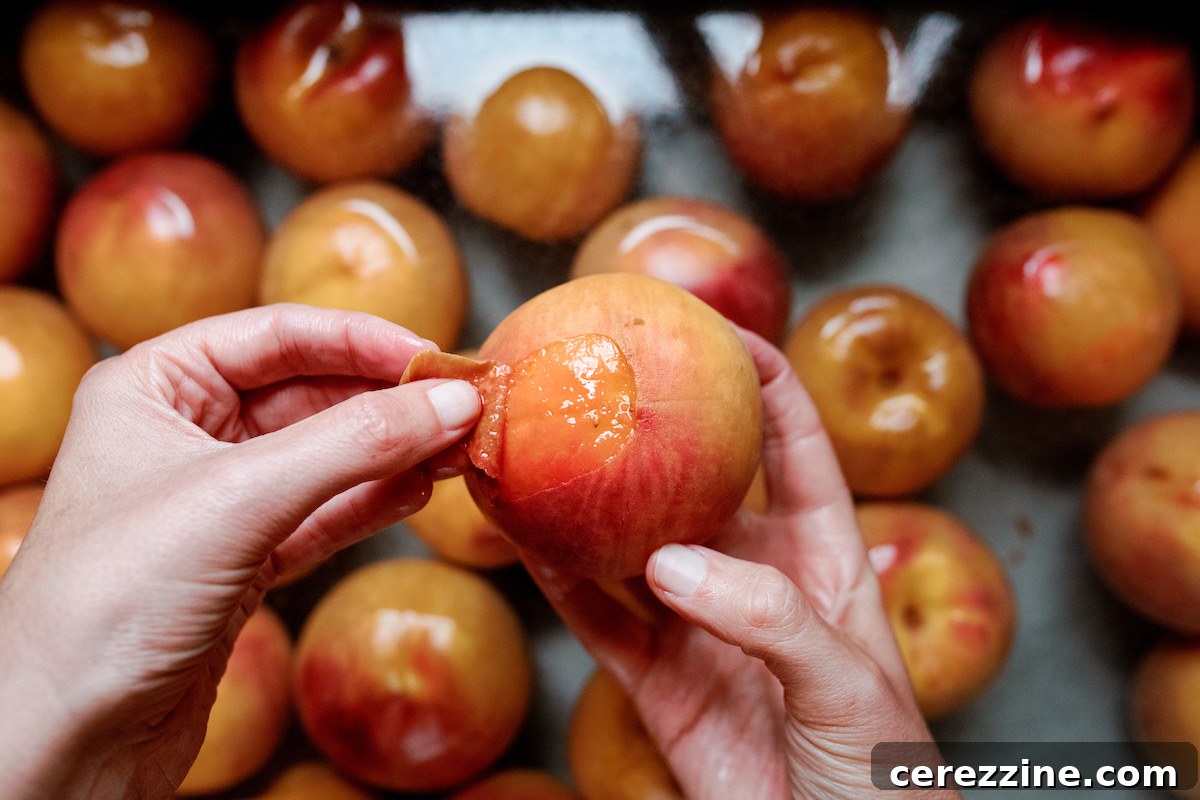
7. Peel with Ease: Once the peaches are cool enough to handle, simply use your fingers to peel away the skins; they should glide right off. To minimize mess, keep a separate bowl nearby to collect the discarded skins as you work. After all the peaches are peeled, the next step is to prepare them for canning by halving or slicing.
Slices or Halves: Customizing Your Peaches for Canning
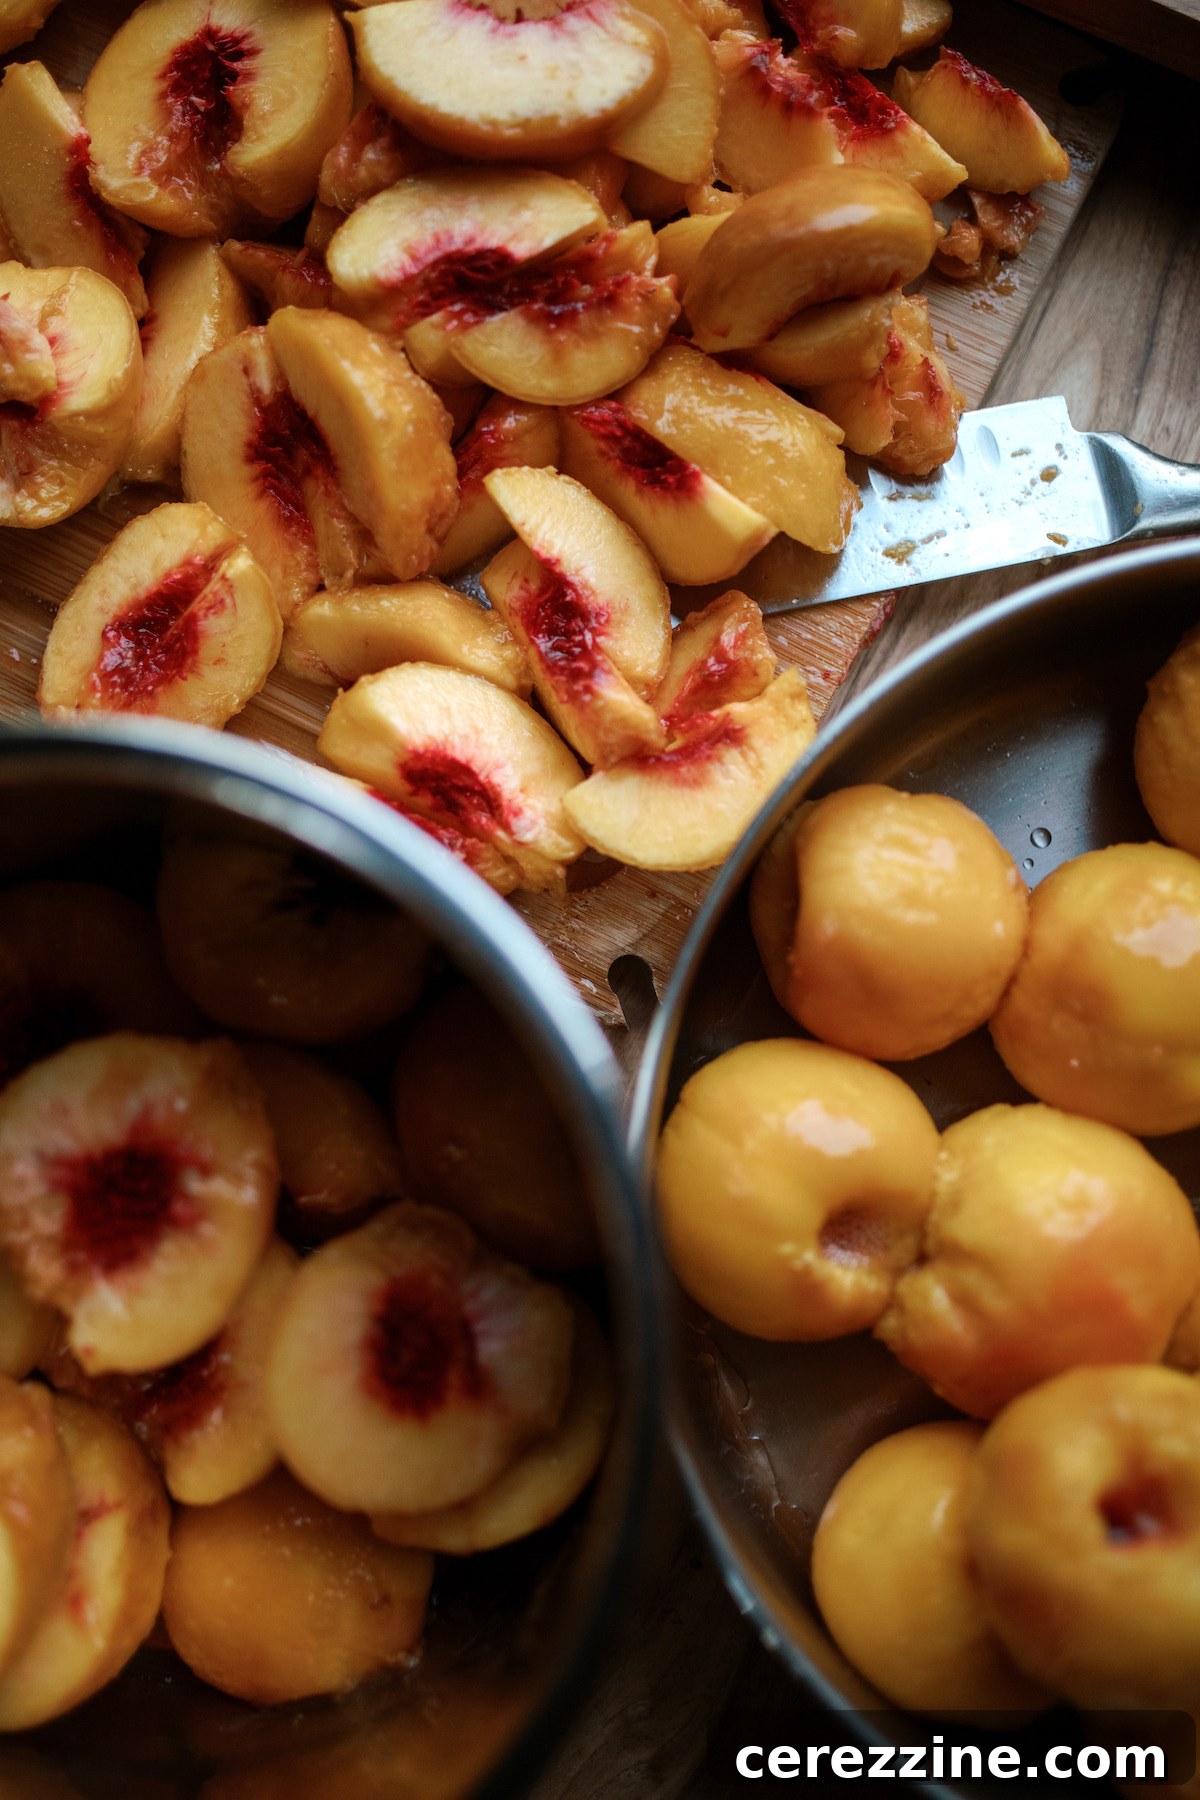
The choice between slicing your peaches or simply halving them for canning is entirely up to personal preference and how you envision using them later. Consider their ultimate destination: will they be destined for a filling in a baked pie, served elegantly with breakfast yogurt, or perhaps enjoyed directly from the jar with a spoon?
If your canned peaches are primarily intended for baked goods where smaller, more manageable pieces are desirable, slicing them makes perfect sense. From a canning efficiency standpoint, you can also fit a greater quantity of peach slices into a jar compared to halves, leading to a denser pack. Conversely, if you prefer to enjoy larger, more substantial pieces of fruit, then simply halving the peaches before canning is the way to go.
Regardless of whether you choose slices or halves, the required canning time remains the same. This flexibility means you can even prepare a combination of both in different jars, keeping your culinary options wide open for future use.
To help the sliced or halved peaches retain their beautiful, vivid color and prevent premature discoloration, especially if you plan on raw packing the fruit, you might consider tossing them with a small amount of lemon juice or citric acid immediately after preparation. If using citric acid, prepare a solution by dissolving 1 teaspoon of citric acid in 1 cup of cold water.
Crafting the Perfect Syrup for Canning Peaches
Peaches possess a natural sweetness that often requires only a delicate touch of added sugar, if any. In fact, due to their high acidity, peaches are remarkably versatile and can be safely canned in a variety of liquids, including plain water, without compromising safety. My family’s personal preference leans towards peaches canned in an extra light syrup, which beautifully complements their natural flavor without overwhelming it.
- Water Pack: This is the simplest option for canning peaches. Just ensure the water is brought to a vigorous boil before pouring it over the peaches in the jars. While the water pack preserves the natural flavor with zero added sweetness, some find it can slightly dilute the peach’s inherent taste. This method is ideal for those who prefer no added sugar at all.
- Juice Pack: For a natural sweetness and added fruit flavor, apple or white grape juice can serve as excellent canning liquids. As with water, ensure the juice is boiling hot when filling the jars to ensure proper heat penetration and safety.
- Extra Light Syrup: An extra light syrup is designed to closely match the natural sweetness of peaches, enhancing rather than overpowering their flavor.
- For a 9-pint canner load: Use 3/4 cup of granulated sugar combined with 6 1/2 cups of water.
- For a 7-quart canner load: Use 1 1/4 cups of granulated sugar combined with 10 1/2 cups of water.
- Light Syrup: This is a popular choice that adds a noticeable, but not excessive, touch of sweetness to your canned peaches, often creating a balanced flavor profile.
- For a 9-pint canner load: Use 1 1/2 cups of granulated sugar combined with 5 3/4 cups of water.
- For a 7-quart canner load: Use 2 1/4 cups of granulated sugar combined with 9 cups of water.
- Medium Syrup: If you distinctly prefer very sweet peaches, a medium syrup will deliver a more pronounced sugary taste. Be aware that these peaches will be quite sweet.
- For a 9-pint canner load: Use 2 1/4 cups of granulated sugar combined with 5 1/4 cups of water.
- For a 7-quart canner load: Use 3 3/4 cups of granulated sugar combined with 8 1/4 cups of water.
While options exist for heavy or extra heavy syrups for canning peaches, it’s generally advisable to exercise caution. Most palates would find these syrups excessively sweet, effectively turning your peaches into candied fruit. For the best flavor and texture, I strongly recommend avoiding anything heavier than a medium syrup.
Exciting Canning Peaches Recipe Variations
One of the delightful aspects of canning peaches is their adaptability. Because peaches are a high-acid fruit, offering a wide margin of safety, there’s ample room to get creative with different sweeteners and flavor enhancements.
Alternative Sweeteners: Honey and maple syrup make fantastic substitutes for white granulated sugar, imparting a richer, more complex sweetness. Honey, in particular, often harmonizes beautifully with the natural flavor of peaches. When swapping sweeteners, a general rule of thumb is to use approximately two-thirds the amount of honey or maple syrup by volume compared to sugar. For instance, if your recipe calls for 3/4 cup of sugar for an extra light syrup for a 9-pint batch, you would use about 1/2 cup of honey while maintaining the original 6 1/2 cups of water. Don’t hesitate to experiment with these ratios to achieve your perfect level of sweetness, as the peaches’ acidity provides a forgiving buffer.
Flavor Enhancements: For an additional layer of aromatic flavor, try placing a cinnamon stick or a halved vanilla bean at the bottom of each canning jar before adding your prepared peaches and hot canning liquid. These additions will gently infuse the peaches with their distinct notes during the processing and storage period, resulting in a more gourmet canned product.
The Hot Pack Method for Canning Peaches
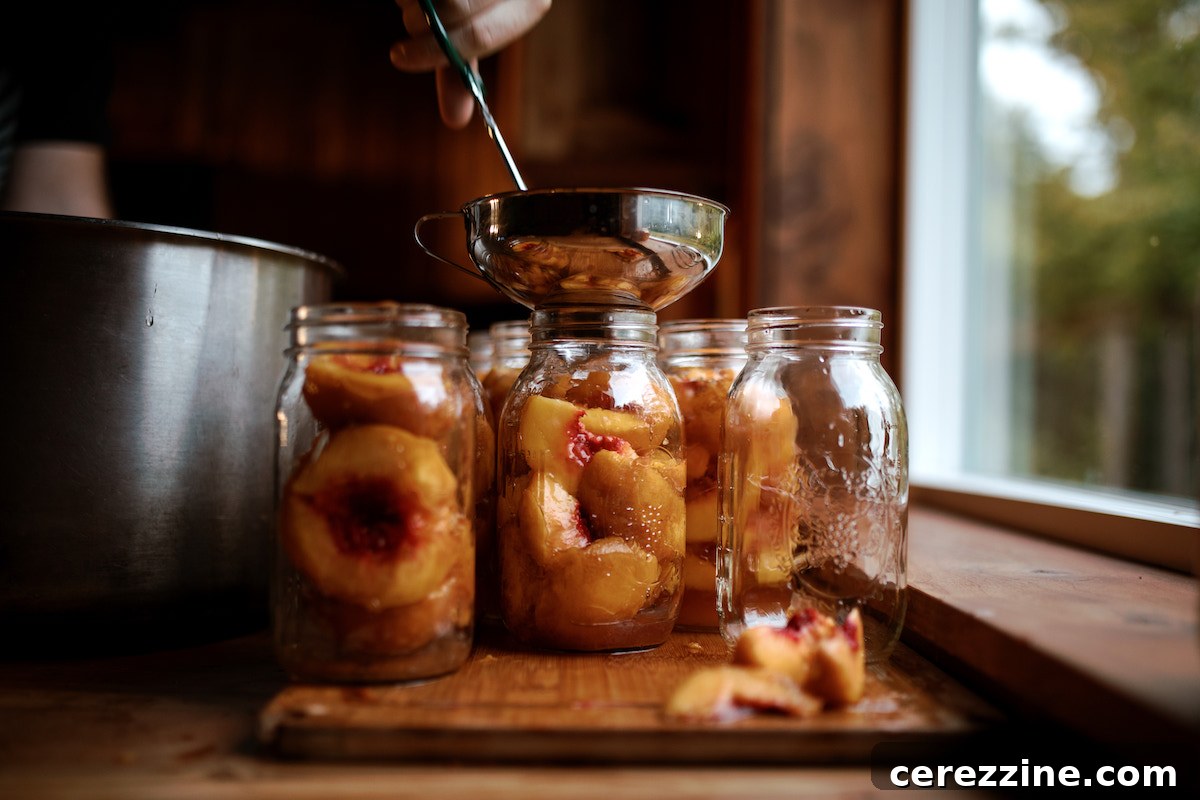
The hot pack method involves briefly boiling the prepared peaches in their canning liquid before transferring them to jars for processing. While it adds a small, manageable step to the overall process, its benefits are significant and highly recommended for superior quality canned fruit. Submerging the peaches in hot liquid helps to drive out naturally occurring air present in the fruit’s tissue. This crucial step not only plays a vital role in preventing the peaches from browning over time, but it also effectively minimizes or eliminates the frustrating issue of fruit floating to the top of the jar during storage.
The Raw Pack Method for Canning Peaches
In contrast to the hot pack, the raw pack method simplifies the process by packing raw, uncooked peaches directly into the canning jars. Once the raw fruit is in the jars, the boiling hot canning liquid is poured over them, filling the jar before it’s sealed and loaded into the canner. This technique is undeniably quicker and more convenient, as you don’t have to handle hot fruit, reducing the risk of burns. If your intention is to consume the canned peaches relatively quickly, perhaps within 2 to 3 months, then the raw pack method can work perfectly fine. However, if you anticipate your peaches remaining on the pantry shelf for a longer duration, I strongly advise opting for the hot pack method. The hot pack’s ability to remove air from the fruit tissue provides better long-term quality, significantly preventing browning and ensuring the peaches remain submerged in the liquid rather than floating.
Understanding Headspace for Canning Peaches
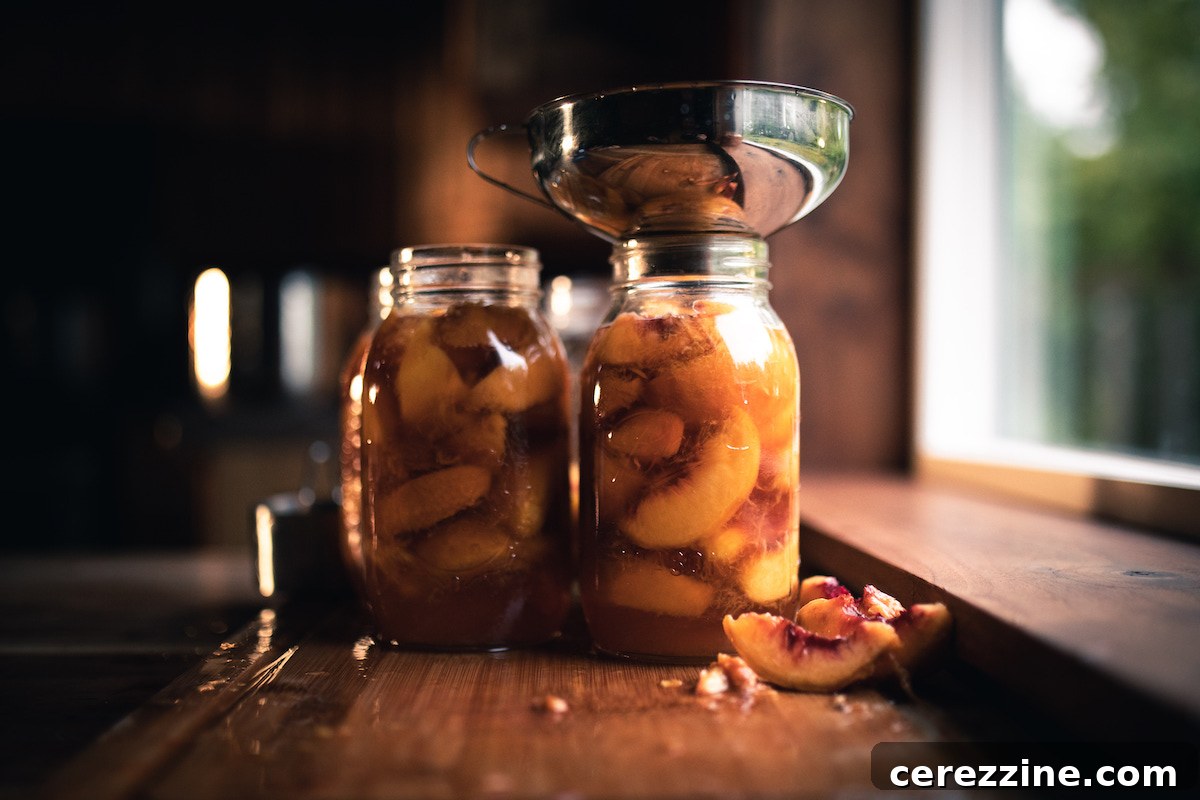
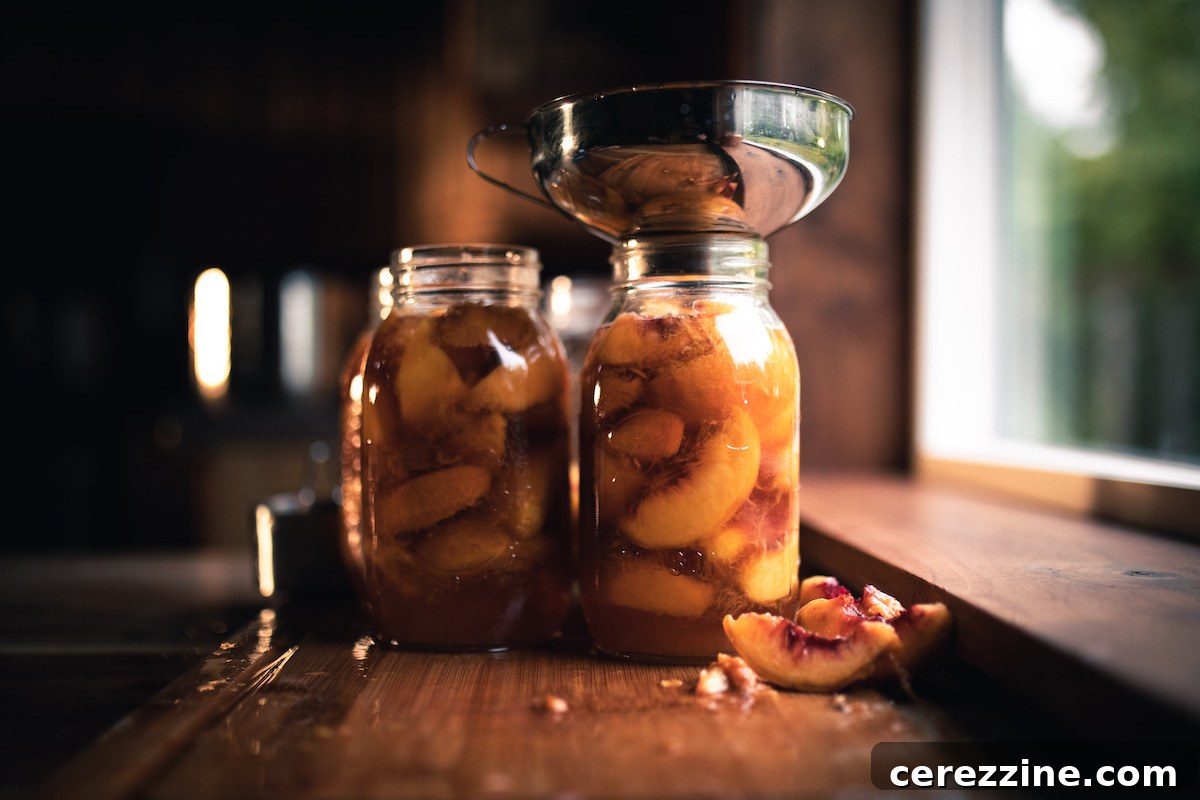
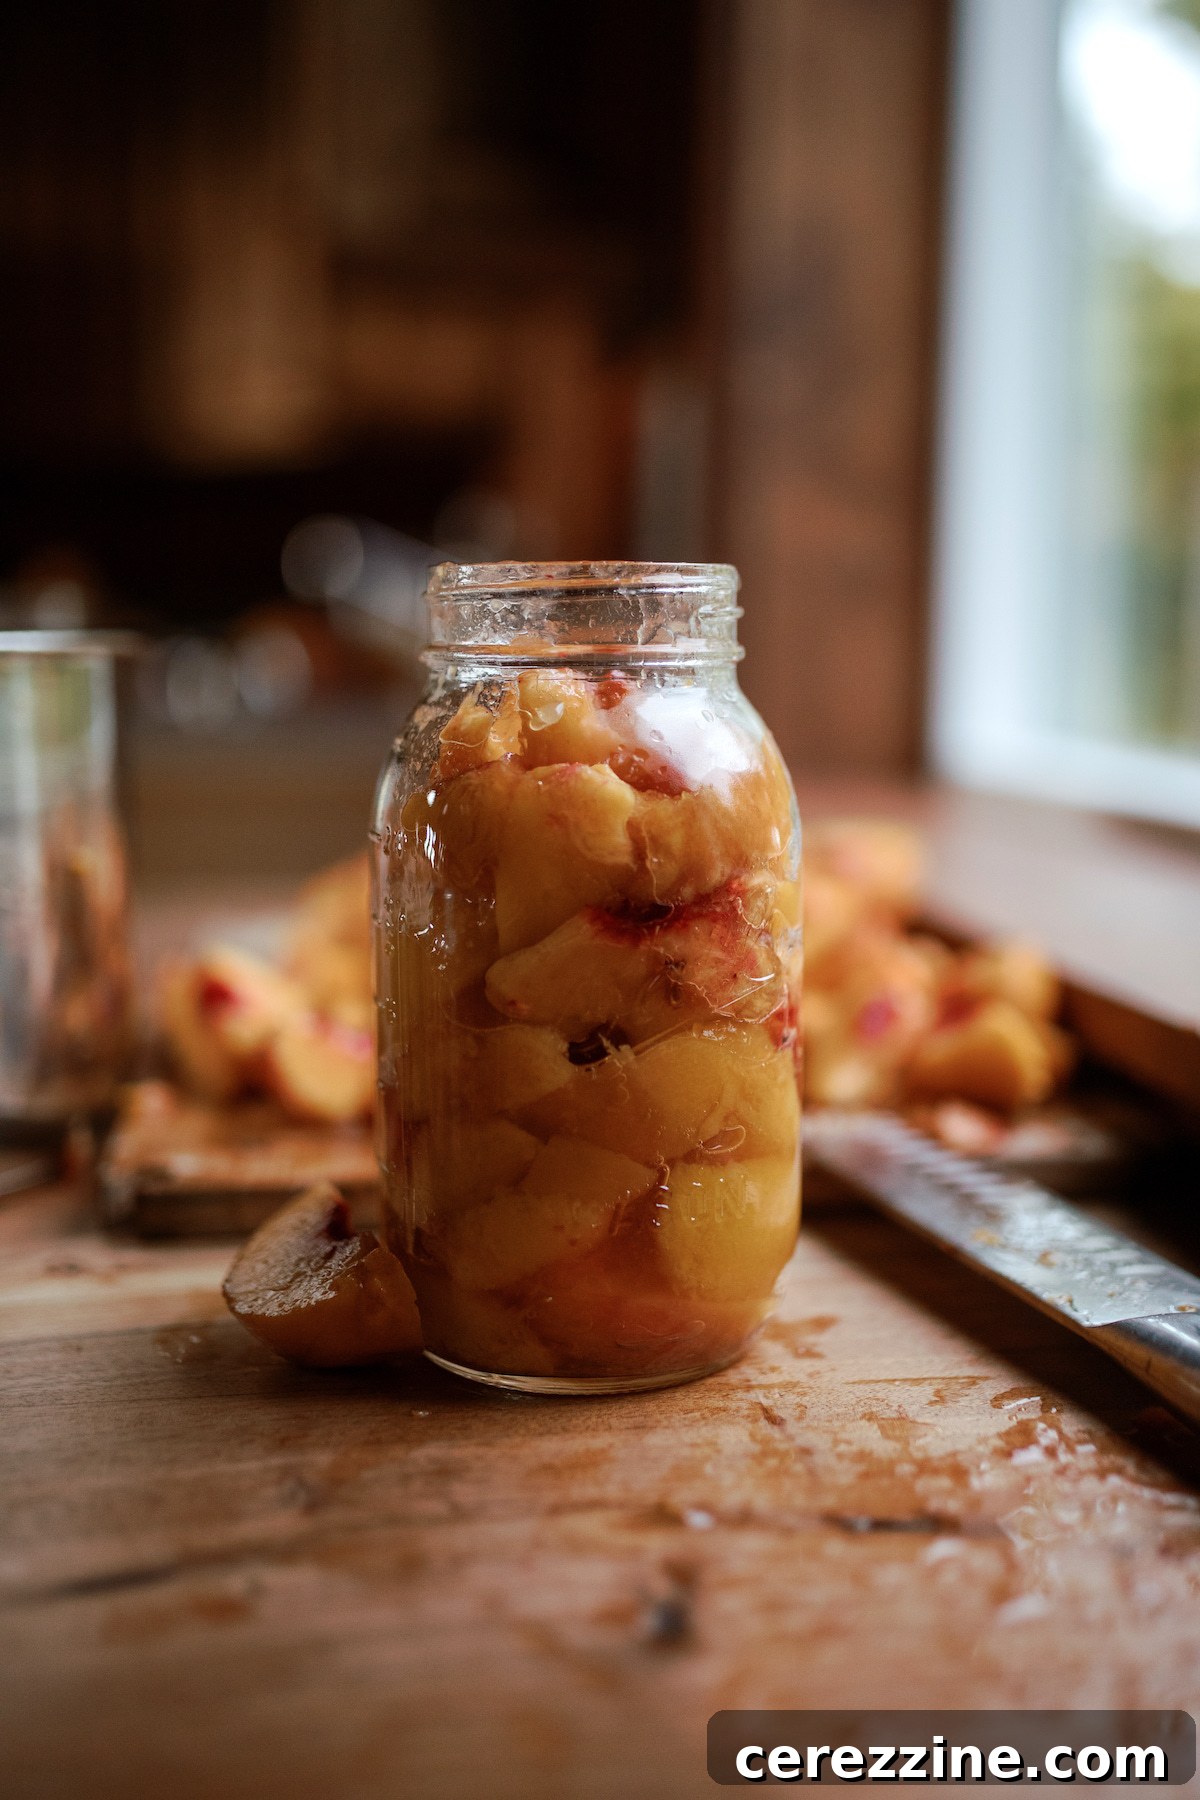
Headspace, a critical component of successful home canning, is defined as the empty space left between the inner surface of the jar lid and the very top of the food or its liquid contents. Precise headspace measurement is paramount because improper filling can lead to several issues: overfilling can cause the jar’s contents to boil out during processing, potentially preventing a proper seal. Conversely, insufficient headspace can result in inadequate vacuum formation. The simplest and most accurate way to measure headspace is by using a clean ruler or, even better, a canning funnel equipped with a built-in headspace measurer.
It is crucial to re-measure the headspace after the hot syrup or other canning liquid has been poured over the peaches and any trapped air bubbles have been carefully removed (a wooden chopstick is excellent for this task). Replenish the canning liquid as needed to meet the specified headspace requirements. Neglecting headspace can unfortunately trigger a host of frustrating canning problems both during and after processing. Taking these extra moments to ensure correct measurement is a small investment that pays off significantly in terms of jar seal reliability and overall product quality.
For canned peaches, the recommended headspace is 1/2-inch, measured from the top of the peaches/canning liquid to the bottom of the jar lid.
Critical Processing Times for Canning Peaches
All recommended canning times are based on the rigorous guidelines provided by the National Center for Home Food Preservation, ensuring safety and quality for your home-canned peaches.
Water Bath Canning Processing Times:
- For a hot pack method:
- Pint jars should be processed for 20 minutes.
- Quart jars should be processed for 25 minutes.
- For a raw pack method:
- Pint jars should be processed for 25 minutes.
- Quart jars should be processed for 30 minutes.
Essential Altitude Adjustments for Water Bath Canning Peaches
When canning at higher altitudes, it’s crucial to increase processing times to compensate for the lower boiling point of water. Failure to do so can result in under-processed food that poses a safety risk. Consult the following altitude adjustments for water bath canning peaches:
For Hot-Packed Peaches:
- If processing at an elevation greater than 1,000 feet (up to 3,000 feet): Pints should be processed for 25 minutes; quarts for 30 minutes.
- If processing at an elevation greater than 3,000 feet (up to 6,000 feet): Pints should be processed for 30 minutes; quarts for 35 minutes.
- If processing at an elevation greater than 6,000 feet (up to 8,000 feet): Pints should be processed for 35 minutes; quarts for 40 minutes.
For Raw-Packed Peaches:
- If processing at an elevation greater than 1,000 feet (up to 3,000 feet): Pints should be processed for 30 minutes; quarts for 35 minutes.
- If processing at an elevation greater than 3,000 feet (up to 6,000 feet): Pints should be processed for 35 minutes; quarts for 40 minutes.
- If processing at an elevation greater than 6,000 feet (up to 8,000 feet): Pints should be processed for 40 minutes; quarts for 45 minutes.
Utilizing a Pressure Canner for Peaches
While peaches are perfectly safe to process using a hot water bath canner due to their high acidity, you may certainly opt to use a pressure canner if that is your preferred method or if you are already comfortable with its operation. Pressure canning often results in shorter processing times.
The following pressure canning guidelines are derived from the National Center for Home Food Preservation. PSI refers to “pounds per square inch,” the unit of pressure required.
For Dial-Gauge Pressure Canners:
- For both raw pack and hot pack methods at elevations from 0 to 2,000 feet: Both pint and quart jars should be processed for 10 minutes at 6 PSI.
- For elevations from 2,000 to 4,000 feet: Process for 10 minutes at 7 PSI.
- For elevations from 4,001 to 6,000 feet: Process for 10 minutes at 8 PSI.
- For elevations from 6,000 to 8,000 feet: Process for 10 minutes at 9 PSI.
For Weighted-Gauge Pressure Canners:
- For both raw pack and hot pack methods at elevations from 1 to 1,000 feet: Both pint and quart jars should be processed for 10 minutes at 5 PSI.
- For elevations greater than 1,000 feet: Process for 10 minutes at 10 PSI.
Optimal Storage for Home-Canned Peaches
To maintain the best quality, color, and flavor of your home-canned peaches, store them in a cool, dry, and dark location, away from direct sunlight. Avoid storing canned goods in areas prone to heat fluctuations, such as cupboards directly adjacent to an oven or in uninsulated garages where temperatures can swing wildly. While properly canned peaches can remain safe to eat for up to 18 months, I consistently recommend consuming them within a year of canning. This ensures you enjoy them at their peak freshness, color, and flavor. Furthermore, using up last year’s preserves makes ideal space for the fresh, delicious crop of peaches you’ll be canning this year!
Step-by-Step Guide: How to Can Peaches at Home
Follow these detailed steps to successfully preserve delicious peaches in your kitchen:
- Determine Peach Quantity: Begin by weighing your fresh peaches, referring to the yield guidelines above to ensure you have the correct amount of fruit for your desired canner batch size (e.g., 9 pints or 7 quarts).
- Blanch and Peel Peaches: Bring a large pot of water to a rolling boil. Carefully score a small “x” on the bottom of each peach. Working in manageable batches, submerge the peaches in the boiling water for 2 to 3 minutes. Immediately remove them from the boiling water and plunge them into an ice water bath to stop the cooking process. Once cool enough to handle, gently peel the skins off with your fingers. Repeat this process until all peaches are peeled.
- Prepare Fruit for Jars: After peeling, prepare the peaches for canning by either halving or slicing them, based on your preference and intended use. If desired, toss them with a small amount of lemon juice or citric acid solution to prevent discoloration.
- Prepare Canning Liquid: Bring your chosen canning liquid to a boil in a large pot. If opting for a syrup, consult the detailed tables in the “Syrup for Canning Peaches” section for the precise sugar and water proportions. For example, to make an extra light syrup for a 9-pint load, combine 3/4 cup of sugar with 6 1/2 cups of water and bring to a boil. For a 7-quart load, use 1 1/4 cups of sugar with 10 1/2 cups of water.
- Hot Pack or Raw Pack: At this stage, you have two options. For the raw pack method, simply place the raw peach pieces directly into your prepared canning jars, then pour the hot canning liquid over them. For optimal quality, however, the hot pack method is highly recommended: carefully add the peach halves or slices to the boiling canning liquid and simmer for 2 minutes before removing from the heat. This helps remove air and prevents floating/browning.
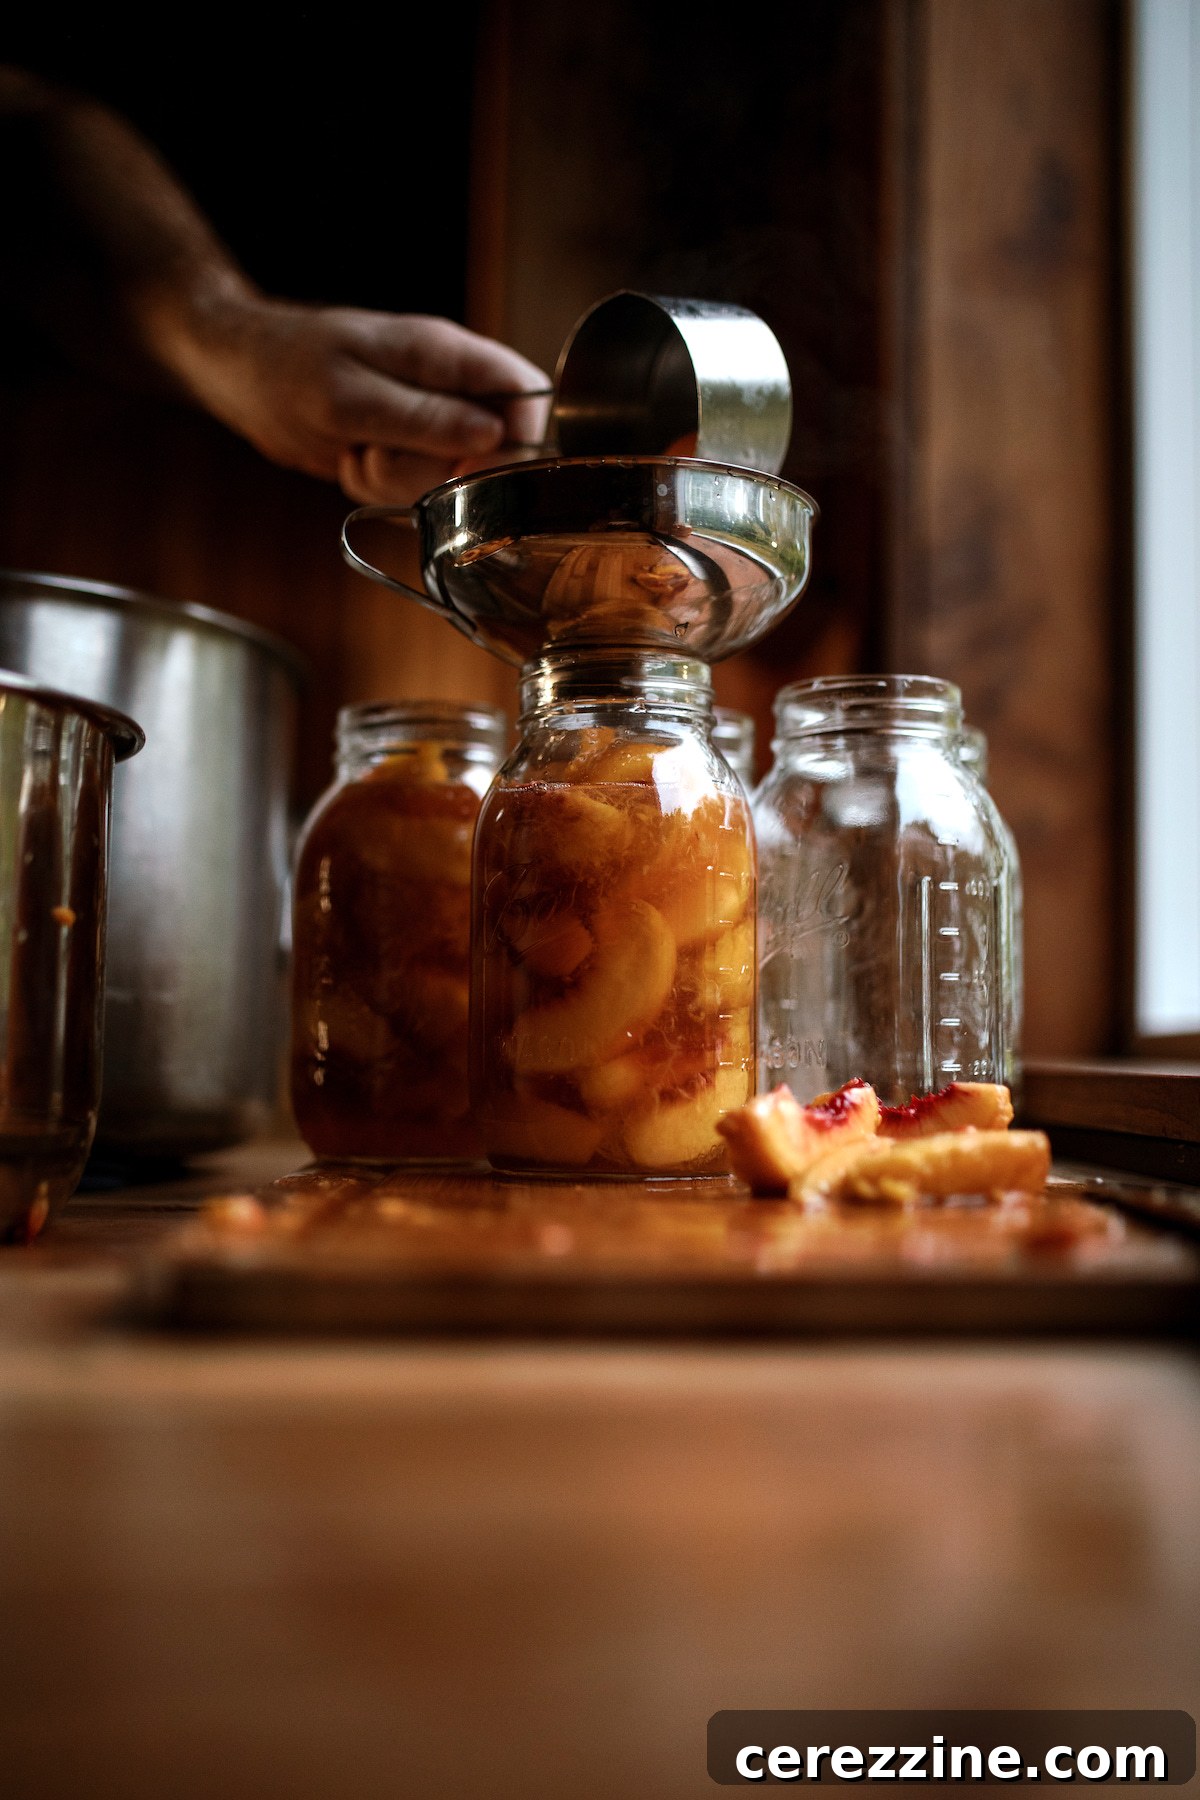
- Fill Jars and Establish Headspace: Carefully transfer the hot (or raw) peaches into clean, warm pint or quart jars using tongs or a large, shallow ladle. Pack the fruit pieces as tightly as possible, leaving enough room for liquid to circulate, which also helps minimize floating. Then, ladle the hot canning liquid over the peaches, ensuring a 1/2-inch headspace (the space between the liquid surface and the jar rim).
- Remove Air Bubbles and Adjust Headspace: Using a non-metallic utensil, such as a wooden chopstick, carefully run it around the inside of each jar to release any trapped air bubbles. Re-check the headspace and add more hot canning liquid if necessary to maintain the 1/2-inch requirement.
- Clean Rims and Seal Jars: Wipe the rims of each jar thoroughly with a clean, damp cloth to remove any food particles or syrup residue, which could interfere with the seal. Center a clean, new lid on each jar, then secure a screw band finger-tight (just until you feel resistance, do not overtighten).
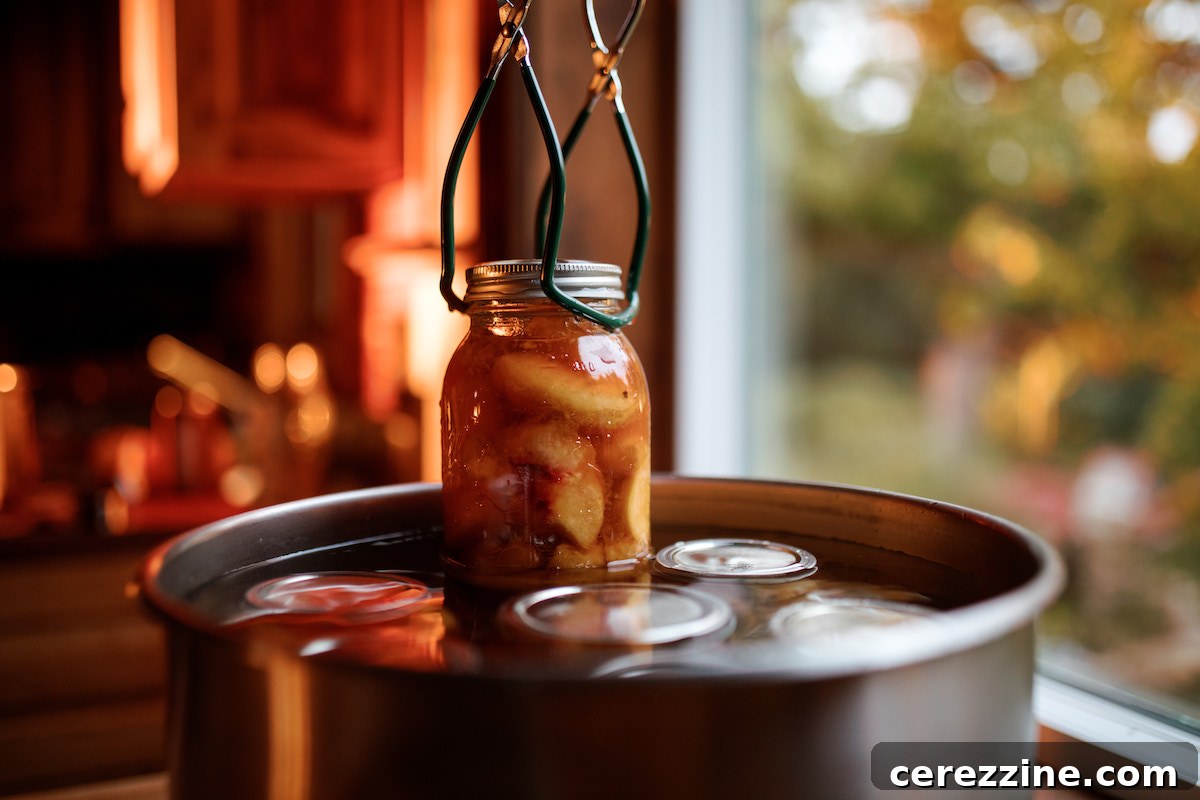
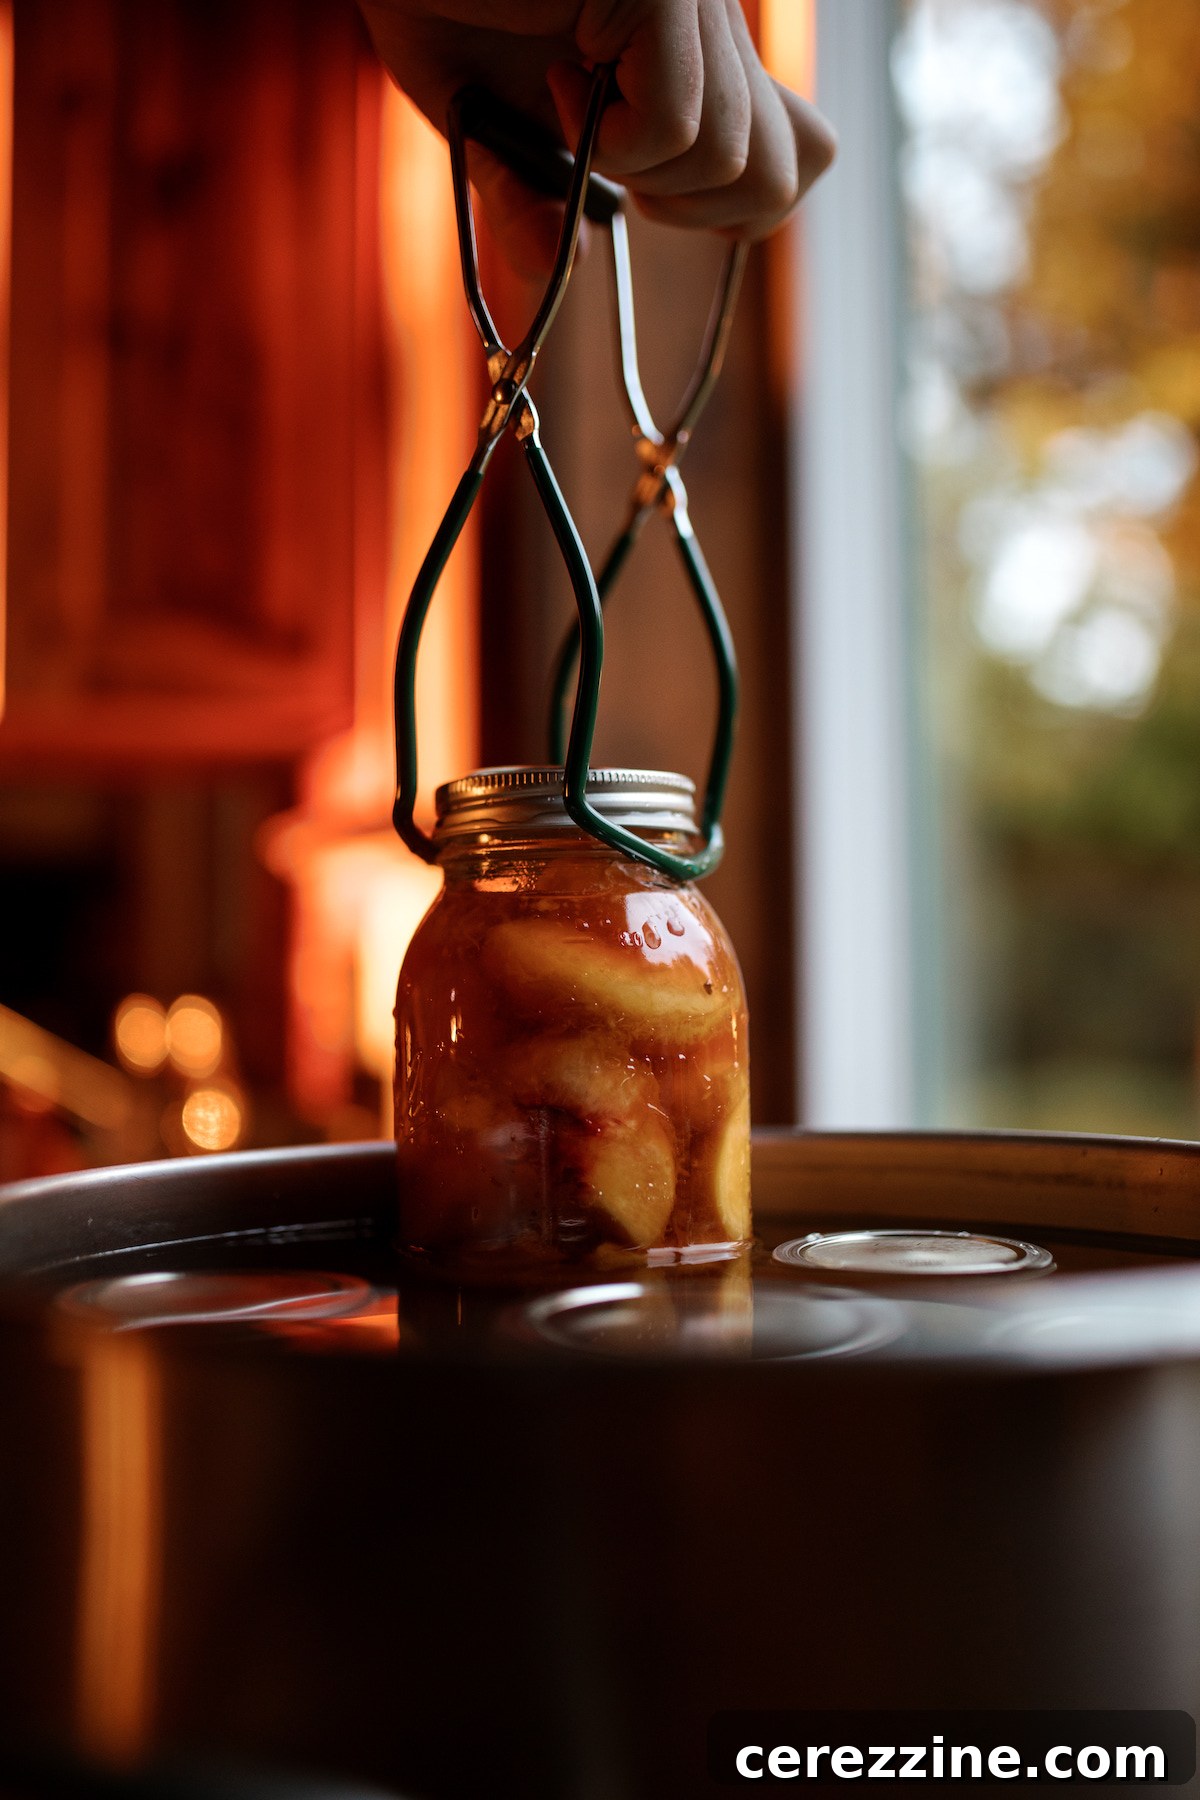
- Process Jars: Load the prepared jars into your water bath canner, ensuring they are fully submerged by at least 1 inch of water. Bring the water to a rolling boil and process according to the specific times provided in the “Processing Times” and “Altitude Adjustments” sections above, based on your jar size, pack method, and elevation.
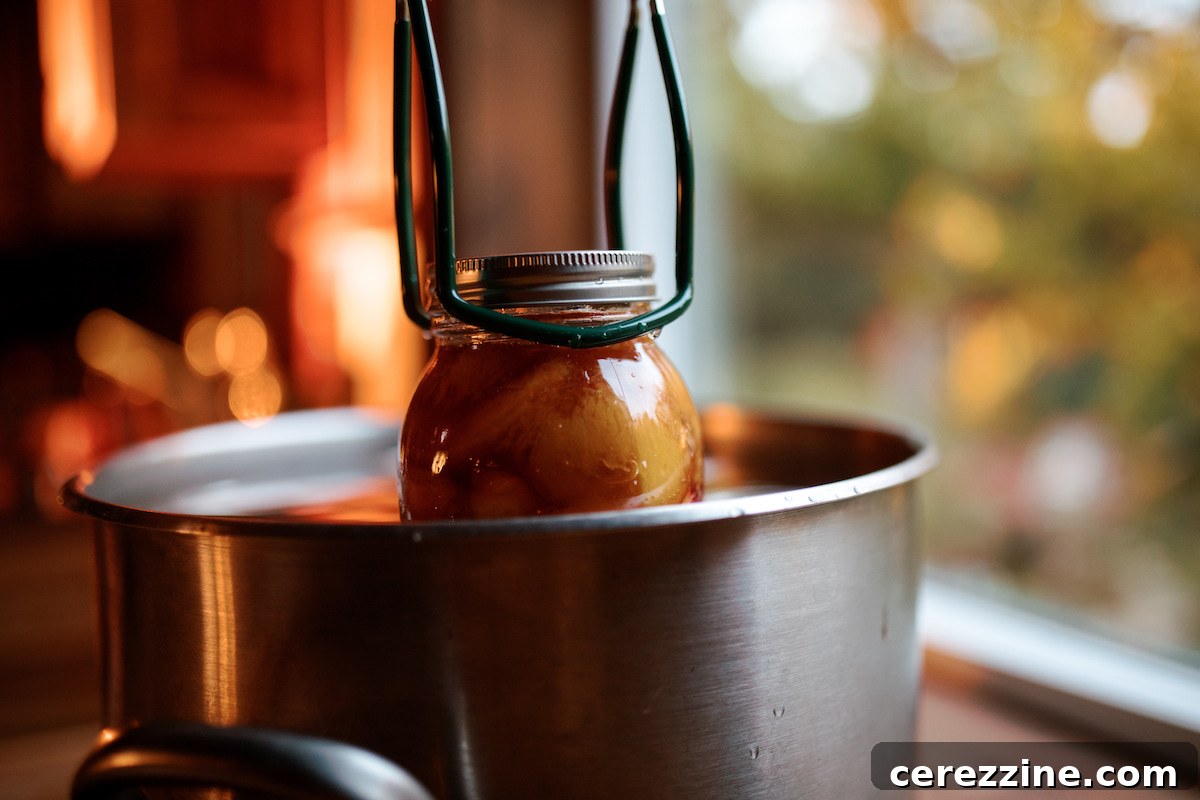
- Cool and Check Seals: Once the processing time is complete, turn off the heat and carefully remove the canner lid. Allow the jars to rest in the hot water for 5 minutes before carefully lifting them out with a jar lifter. Place the hot jars upright on a clean kitchen towel or cooling rack, ensuring at least an inch of space between each jar for proper air circulation.
- Final Cooling: Allow the jars and their contents to cool completely to room temperature, which can take anywhere from 12 to 24 hours, depending on jar size and ambient room temperature.
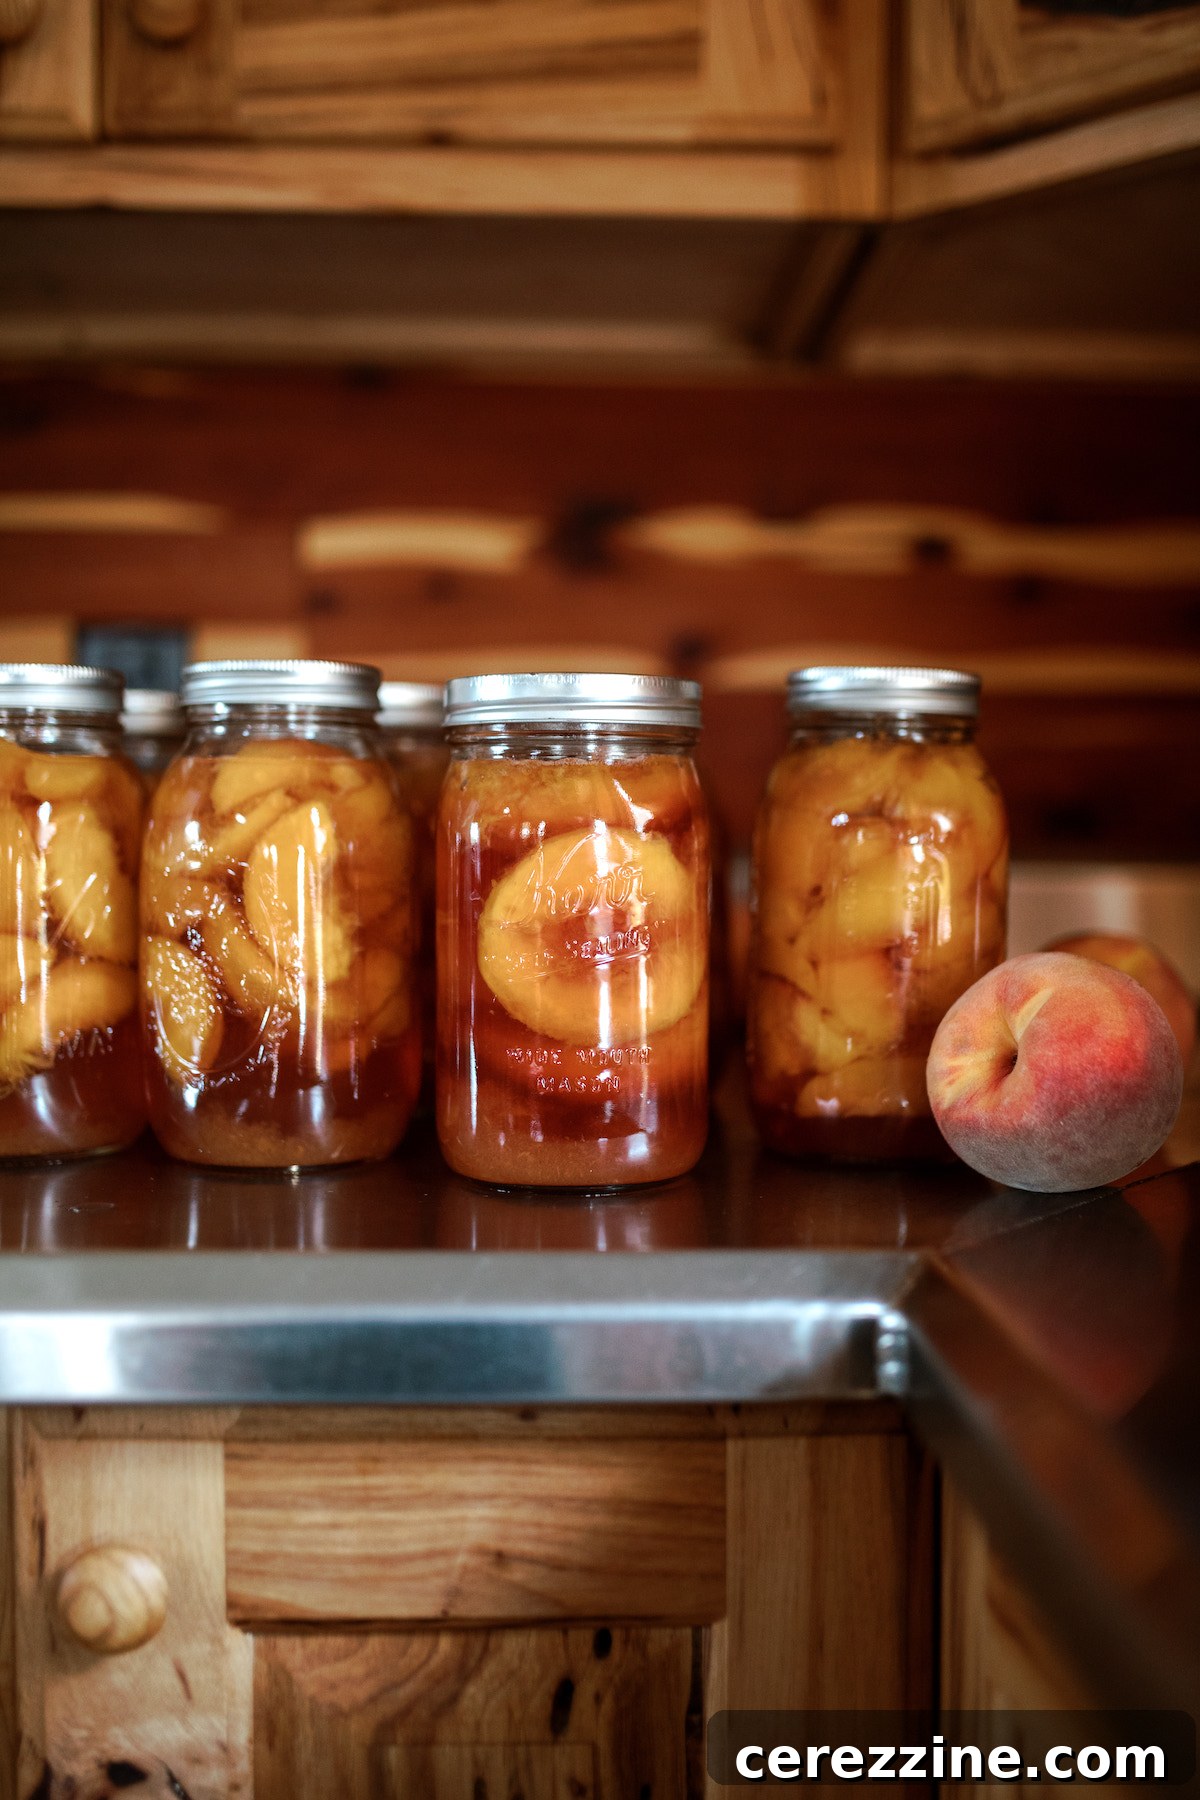
- Inspect Seals and Store: After cooling, inspect each jar to confirm a proper seal. The lids should be concave (curved inward) and not flex when pressed in the center. Any jars that have not sealed properly should be stored in the refrigerator and consumed within 5 to 7 days. For sealed jars, remove the screw bands (these can be reused for future canning projects). Label each jar with the contents and date of canning. Store your home-canned peaches in a cool, dry, dark place away from direct sunlight for up to 18 months.
Troubleshooting Common Home-Canned Peach Issues
Even experienced canners encounter challenges occasionally. Here are some of the most common issues you might face when canning peaches at home, along with practical solutions. If you’re new to canning, consider starting with a smaller batch or even a single jar to practice your technique before tackling a full canner load.
Problem: The peaches fall apart during the canning process.
Solution: This issue almost always stems from using peaches that are too ripe or soft at the outset. Always choose peaches that are semi-firm and just barely ripe. To test, gently press your finger into the peach; it should leave a slight, shallow indentation, indicating firmness. The intense heat experienced during canning, particularly with a pressure canner, is simply too much for overly soft fruit, causing it to disintegrate.
Problem: The peaches are floating to the top of the canning liquid.
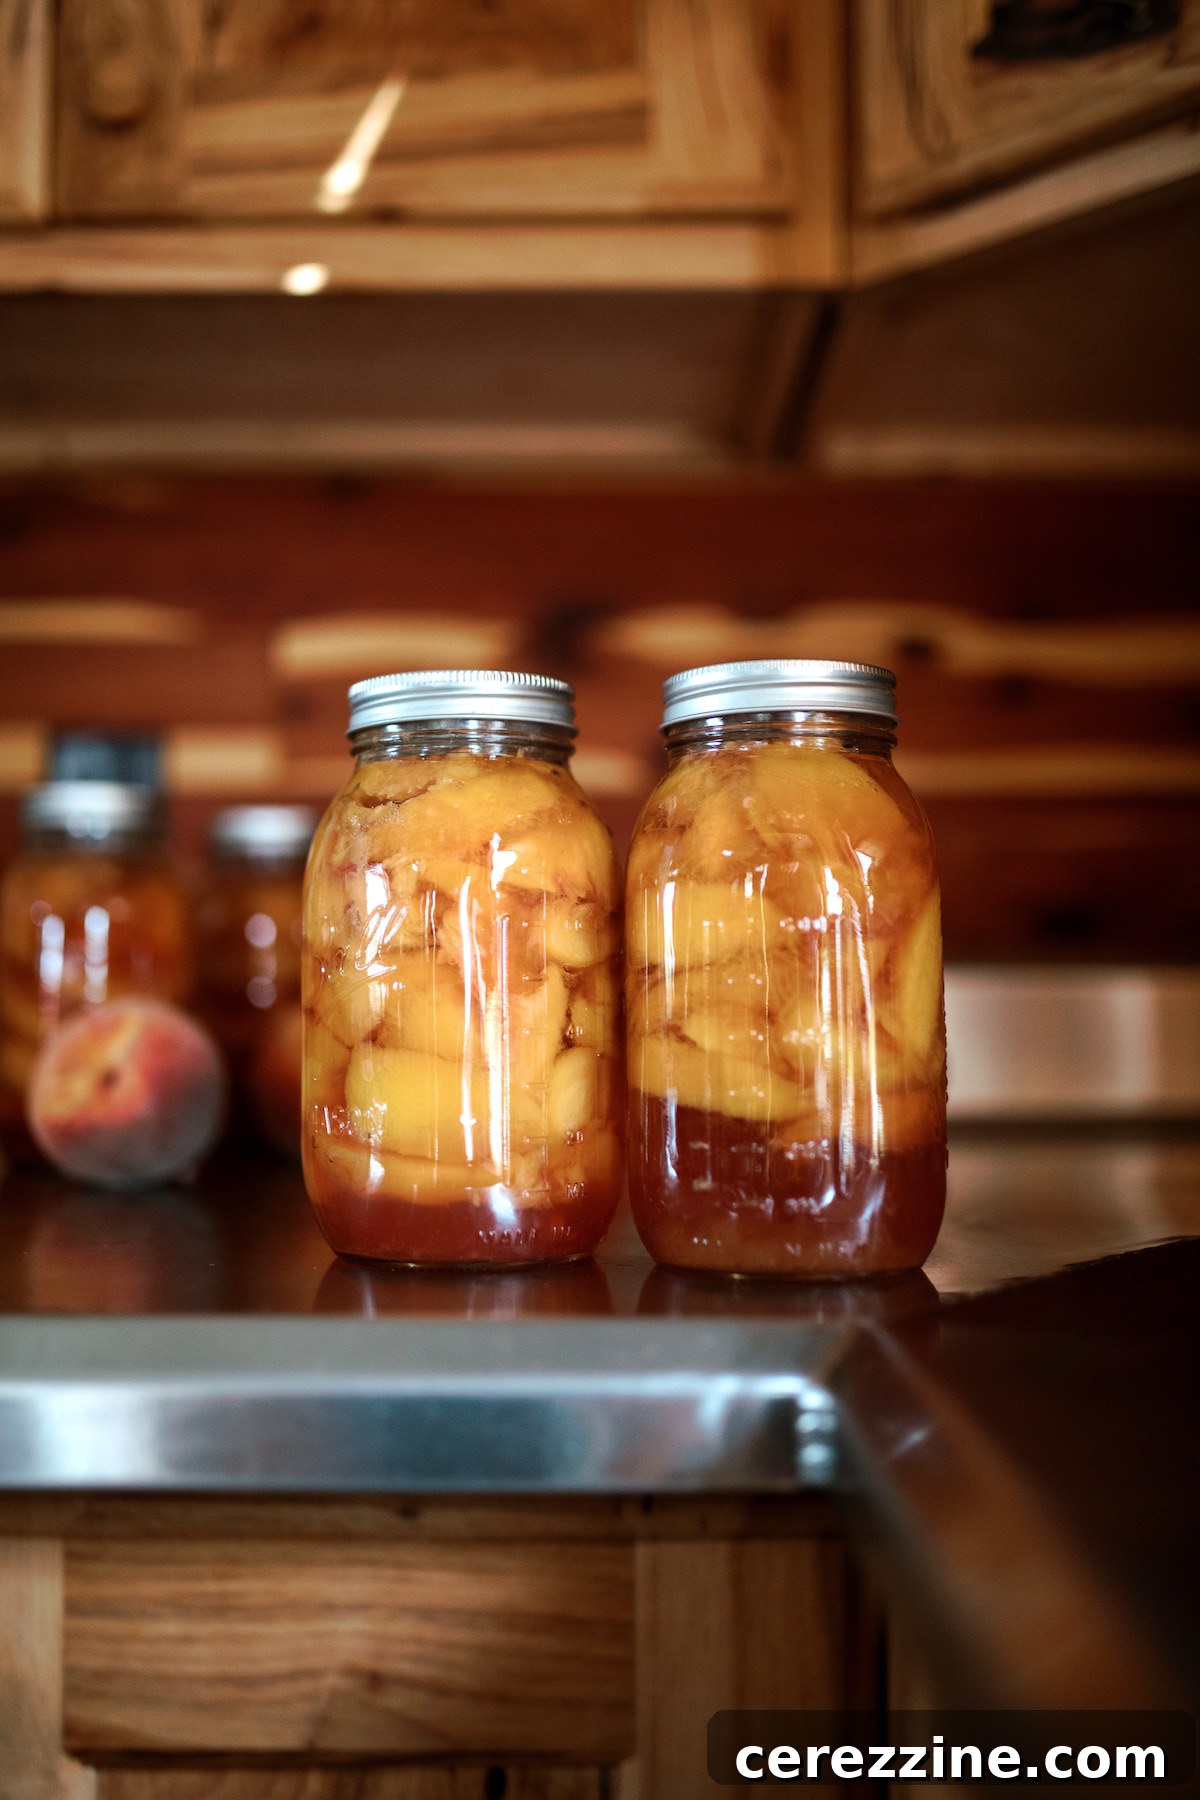
Solution: Several factors can contribute to floating fruit. If you used the raw pack method, raw peaches naturally contain a significant amount of trapped air, which makes them buoyant. This can be largely prevented by hot packing the peaches instead, as simmering them briefly expels much of this air. Another frequent culprit is peaches that have been packed too loosely into the jars; aim for a dense, yet not excessively crushed, pack in your next batch. Additionally, if fruit is processed for an extended period, some of its natural pectin can break down, which may also contribute to floating.
Problem: There was liquid loss during the processing stage.
Solution: Liquid loss is often a direct result of incorrect headspace, most commonly when jars are overfilled. However, other reasons can also cause this common problem. Removing jars from the boiling water too quickly can lead to siphoning; always turn off the heat and allow the jars to sit undisturbed in the hot canner water for 5 minutes before carefully lifting them out. Inadequate water levels in the canner (jars not covered by at least 1 inch of boiling water) can also contribute to liquid loss.
Problem: The peaches discolor and turn brown.
Solution: Discoloration in canned peaches, particularly browning, can be attributed to a few potential causes. It’s more likely to occur if the canning water temperature is too low (i.e., it drops below a rolling boil during processing) or if the jars are not adequately covered by at least 1 inch of water in the canner. Liquid loss during processing, which exposes the fruit to air, can also cause the peaches to darken. Remember, while discolored peaches might not be as visually appealing, they remain perfectly safe and delicious to eat!
Creative Ways to Enjoy Home-Canned Peaches
Having a stash of authentic summer peaches at your fingertips year-round truly unlocks a world of culinary possibilities. Here are some of my favorite and most inspiring ways to integrate home-canned peaches into meals and recipes:
- Breakfast Boost: Spoon sliced peaches (and a drizzle of their syrup) over creamy Greek yogurt, cottage cheese, or a bowl of warm oatmeal or rice pudding for a delightful start to your day. They’re also an incredible topping for pancakes, French toast, and waffles, often replacing maple syrup entirely.
- Sweet Snacks & Desserts: Add canned peaches to your favorite smoothies and milkshakes for a burst of fruity flavor. Of course, they are indispensable in baked goods and pastries—a freshly baked peach pie on a cold winter day is truly like a ray of sunshine when daylight hours are scarce.
- Savory Pairings: Don’t limit peaches to sweet applications! Incorporate them into savory chutneys and vibrant salsas, or serve them alongside roasted pork, wild boar, venison, or any other meat or game that harmonizes beautifully with a touch of sweetness.
- Refreshing Drinks: Utilize both the peaches and their flavorful syrup to create tantalizing beverages. Think a peachy cocktail, a light spritzer, homemade peach lemonade, or simply stir them into fruit-infused seltzer water for a refreshing twist.
Canning Peaches: Frequently Asked Questions
By now, we’ve covered nearly every aspect of successfully canning peaches at home. To ensure no question remains unanswered, here’s a quick guide to frequently asked questions:
How Long Does Canning Peaches Take?
The total time required for canning peaches varies based on several factors: the size of your jars (pints or quarts), whether you opt for a raw pack or hot pack method, and the type of canner you are using (water bath or pressure canner). Remember to consult the altitude adjustment information provided earlier if you live at a higher elevation, as processing times will need to be increased accordingly.
The peeling and slicing of peaches typically represent the most time-consuming part of the process. However, enlisting the help of a friend or family member can easily halve this preparation time, making the entire canning experience more efficient and enjoyable.
For Water Bath Canning:
- Hot Pack: Pint jars require 20 minutes; quart jars require 25 minutes.
- Raw Pack: Pint jars require 25 minutes; quart jars require 30 minutes.
For Pressure Canning: Processing times are considerably shorter.
- Dial-Gauge Pressure Canner (0-2,000 feet elevation): Both hot and raw packed pints and quarts require 10 minutes at 6 PSI.
- Weighted-Gauge Pressure Canner (1-1,000 feet elevation): Both hot and raw packed pints and quarts require 10 minutes at 5 PSI.
How Many Peaches Do You Need for Canning?
For optimal accuracy in canning, it is always best to weigh your peaches. Generally, you can fit about 1 1/4 pounds of prepared peaches into a pint jar. For a full 9-pint canner load, plan on needing approximately 10 to 12 pounds of peaches. For quart jars, estimate 2 to 3 pounds of peaches per jar, meaning a 7-quart canner load will require around 17 to 18 pounds of fruit.
How Much Sugar Do You Add When Canning Peaches?
The amount of sugar you add to your canned peaches is entirely dependent on your personal sweetness preference and how you plan to use the peaches. For precise guidance and detailed measurements for extra light, light, and medium syrups, please refer to the comprehensive “Syrup for Canning Peaches” section provided earlier in this guide. This section also covers alternatives like honey and maple syrup.
Which is Better: Canning or Freezing Peaches?
The choice between canning and freezing peaches ultimately comes down to individual preference, available storage space, and how you intend to use the fruit. Each method offers distinct advantages and disadvantages. From a nutritional standpoint, frozen peaches typically contain no added sugar, whereas canned peaches are often preserved in syrup (though you can always opt for water or juice instead). On the other hand, canned peaches boast a longer shelf life, are shelf-stable, take up less freezer space, and are ready for immediate use straight from the jar – no defrosting required. Consider which method best suits your lifestyle, storage capacity, and culinary needs, or embrace both techniques, especially if you’re blessed with an abundant peach harvest.
Is Citric Acid or Lemon Juice Necessary for Canning Peaches?
No, because peaches are naturally a high-acid fruit, adding citric acid or lemon juice to your canned peaches is not a requirement for food safety according to established canning guidelines. When these acidic additions are included in a peach canning recipe, their primary purpose is typically to help inhibit enzymatic browning and preserve the fruit’s bright, vibrant color. So, if color retention is a priority, a small amount can be beneficial, but it is not a safety imperative.
9 pints/7 quarts
Canning Peaches
Ingredients
- Whole peaches*
- Granulated sugar**
- Water**
Instructions
-
Peel peaches by scoring an “x” in the bottom of each fruit, submerging in boiling water, and shocking in water with ice cubes.
-
Slice or halve peeled peaches.
-
In a large stockpot, combine water and granulated sugar. Bring to a boil.
-
Add peaches to boiling syrup and simmer for 2 minutes. Remove from heat.
-
Carefully pack prepared jars with hot fruit. Cover with hot syrup, leaving 1/2-inch headspace. Remove air bubbles with a chopstick and adjust canning liquid if needed to fulfil headspace requirements.
-
Load jars into water bath canner and process for 20 minutes (pints) or 25 minutes (quarts). See notes for altitude adjustments and guidelines for pressure canning.
-
Remove jars from canner after processing and use a canning jar lifter to transfer hot jars to a clean surface lined with a kitchen towel—leave at least 1 inch of space between each jar.
-
Allow the jars and their contents to come to room temperature (this will take between 12 and 24 hours).
-
Check seals on each jar, storing any unsealed jars in the refrigerator; use within 5 to 7 days.
-
Remove bands from sealed jars. Label, date and store canned peaches in a cool, dry location away from direct sunlight for up to 18 months.
Notes
**To make light syrup for a 9-pint canner load use 1 1/2 cups sugar and 5 3/4 cups of water; to make light syrup for a 7-quart canner batch use 2 1/4 cups sugar and 9 cups of water.
For lighter or heavier syrups, or syrups made with with honey or maple syrup, see tables above.
Water bath canner altitude adjustments for hot pack:
- If processing at an elevation greater than 1,000 feet: Pints should be processed for 25 minutes; quarts should be processed for 30 minutes.
- If processing at an elevation greater than 3,000 feet: Pints should be processed for 30 minutes; quarts should be processed for 35 minutes.
- If processing at an elevation greater than 6,000 feet: Pints should be processed for 35 minutes; quarts should be processed for 40 minutes.
Guidelines for dial-gauge pressure canner:
- For a hot pack at an elevation of 0-2,000 feet: Both pints and quarts should be processed for 10 minutes at 6 PSI
- 2,000-4,000 feet: 10 minutes at 7 PSI
- 4,001-6,000 feet: 10 minutes at 8 PSI
- 6,000-8,000 feet: 10 minutes at 9 PSI
Guidelines for weight-gauge pressure canner:
- For a hot pack at an elevation of 1-1,000 feet: Both pints and quarts should be processed for 10 minutes at 5 PSI
- >1,000 feet: 10 minutes at 10 PSI
Like this? Leave a comment below!
More Peach Canning Recipes to Explore
While canning peaches as halves or slices is a classic and wonderfully simple way to preserve them, the versatility of peaches means there are many other delightful peach canning recipes you can try to diversify your pantry!
- Classic Peach Jam
- Homemade Peach Jelly
- Preserved Peach Pie Filling
Expand Your Skills: Other Fruit Canning Recipes
Eager to preserve more of summer’s bounty in jars? Explore these other fantastic fruit canning recipes:
- Nectarine Jam
- Persimmon Jam
- Canning Figs
- Cranberry Apple Jam