Imagine savoring the vibrant taste of peak-season watermelon, perfectly blended with tangy lemon, even when snow blankets the ground outside. This dream becomes a delicious reality with our recipe for **canned watermelon lemonade concentrate**. It’s more than just a drink; it’s a jar of summer sunshine, ready to brighten the darkest winter day and transport your senses straight back to warm, lazy afternoons.
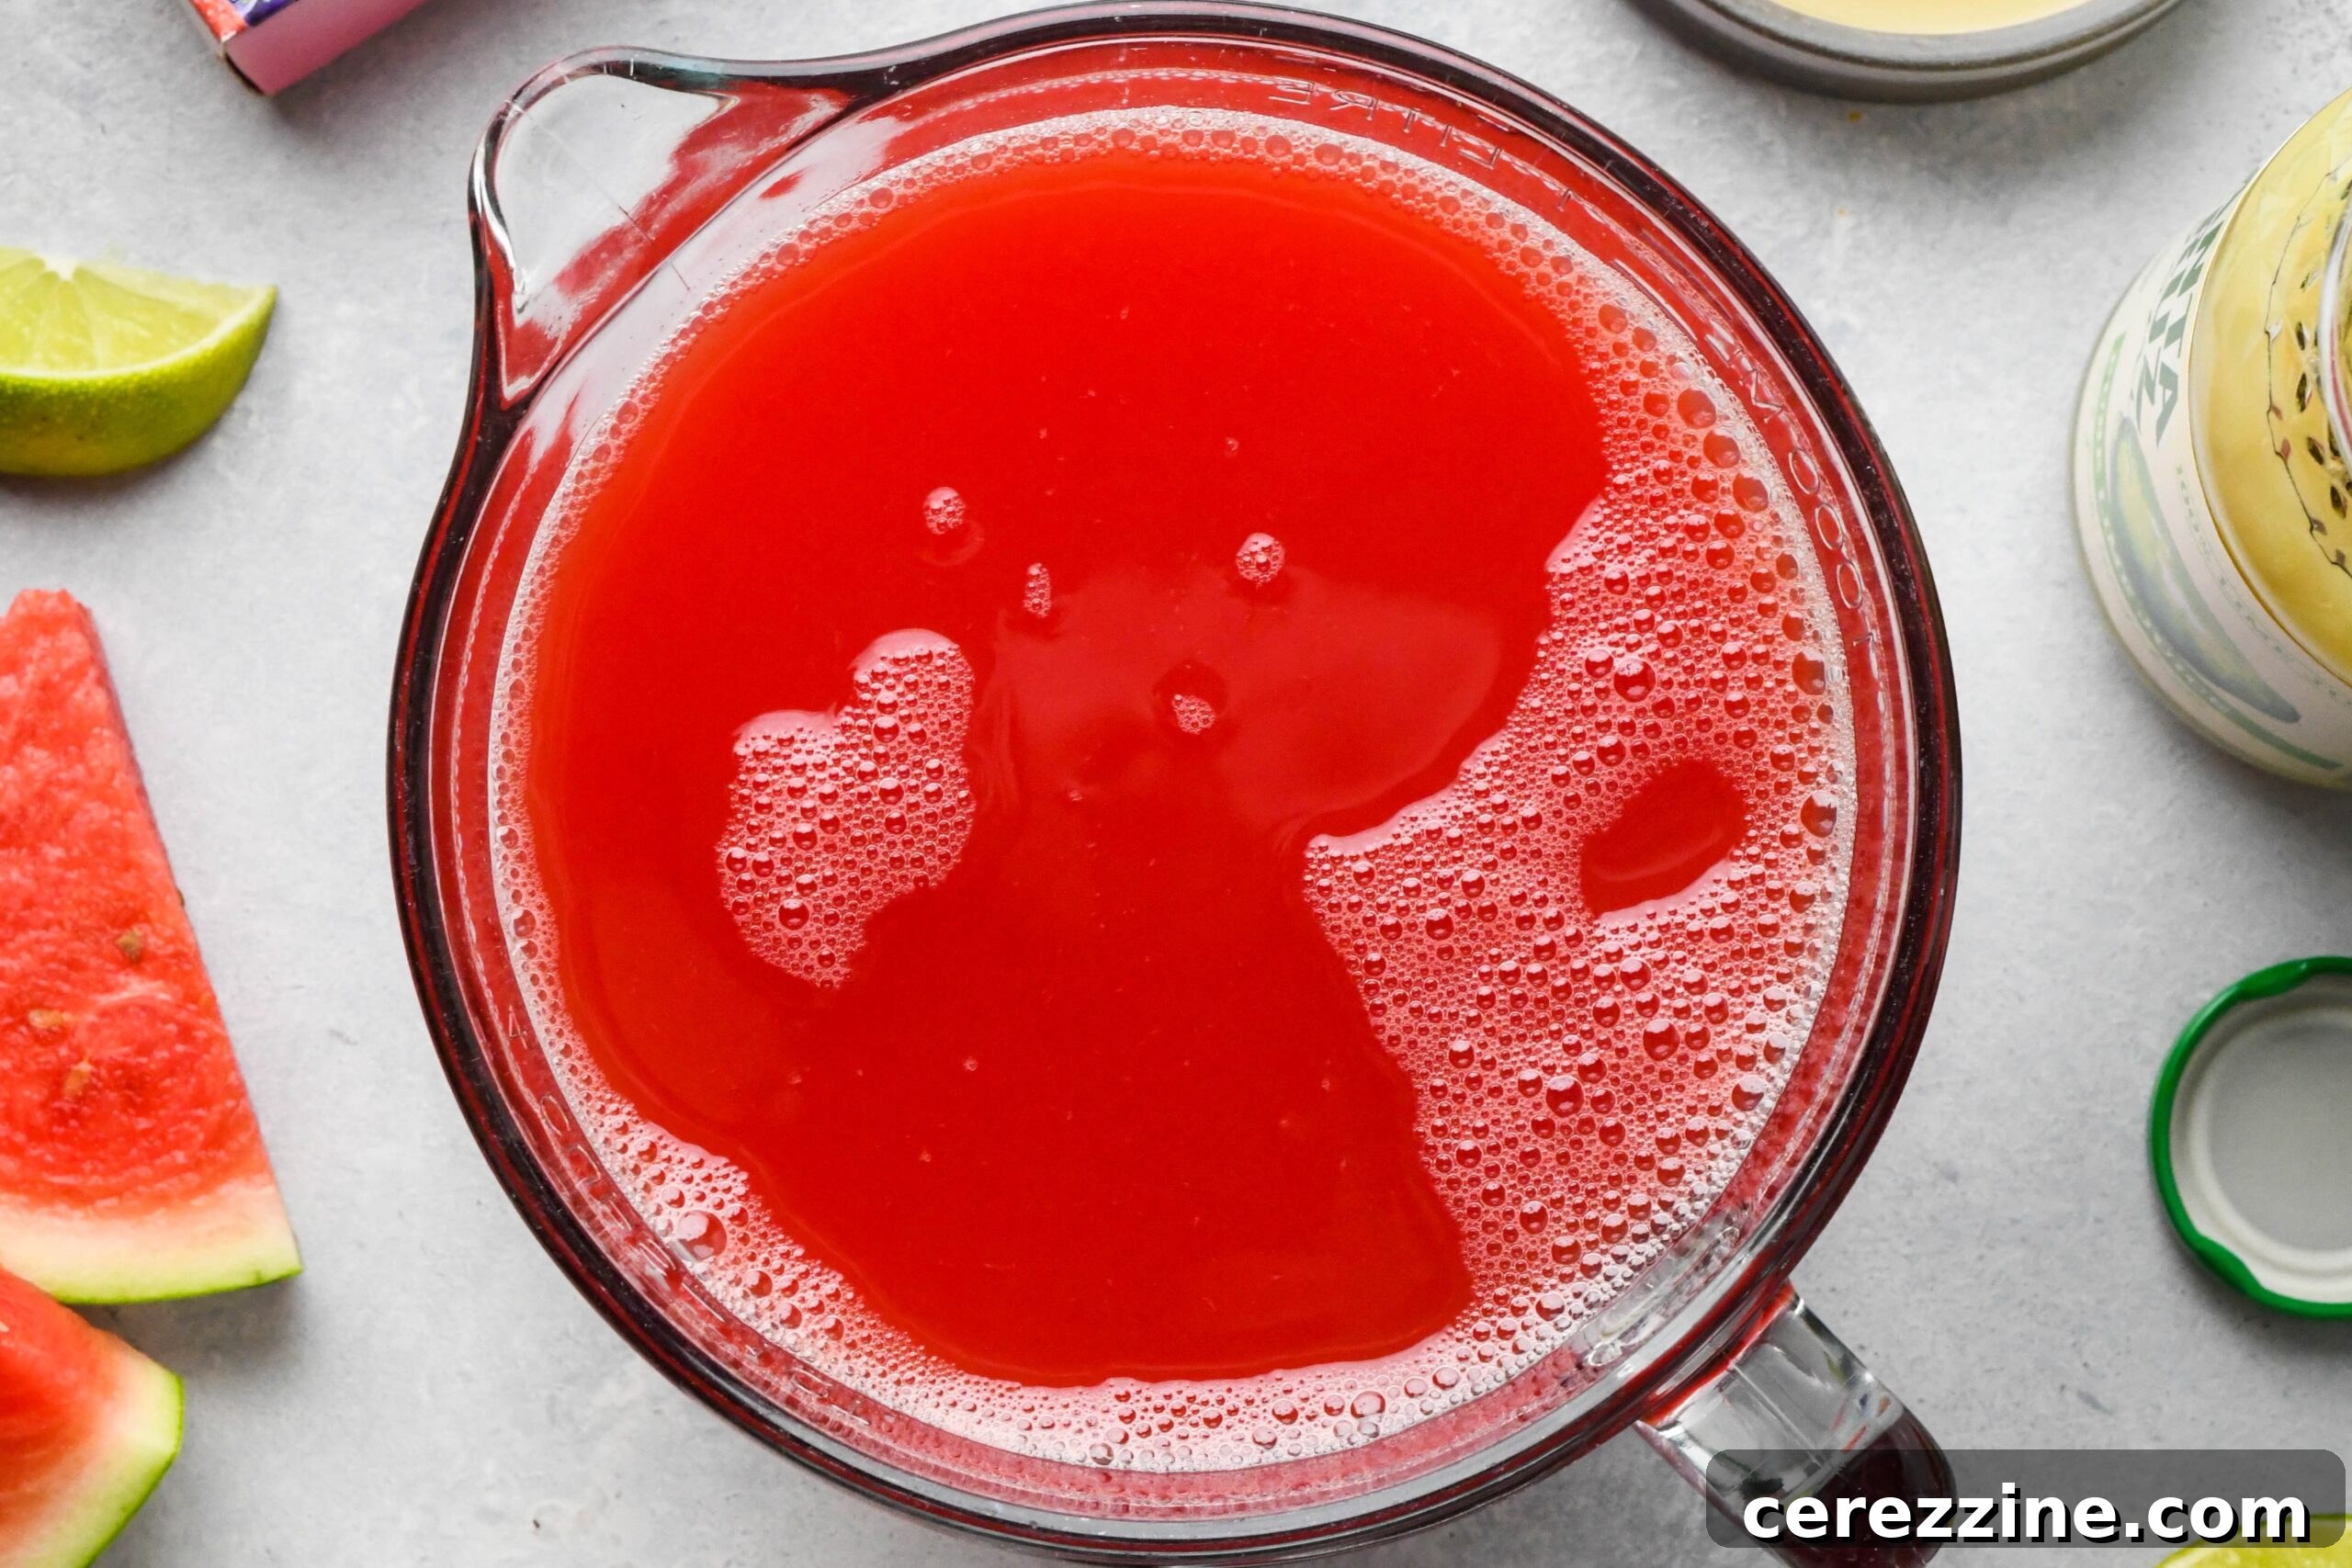
One of the true joys of home canning is extending the fleeting abundance of seasonal produce throughout the year. And when it comes to capturing the essence of summer, this watermelon lemonade concentrate recipe is an absolute champion. Whether you’re craving a single refreshing glass or need to whip up an entire pitcher for an impromptu gathering, this concentrate delivers a burst of authentic watermelon flavor, picked at its prime ripeness and preserved to perfection. It’s an easy, rewarding project that allows you to enjoy the unparalleled sweetness of summer’s favorite fruit long after the season has passed.
Your Go-To Guide: Watermelon Lemonade Concentrate at a Glance
Before diving into the detailed steps, here’s a snapshot of what you need to know about crafting this delightful concentrate:
- Recipe Name: Watermelon Lemonade Concentrate
- Recipe Type: Beverage Concentrate / Canning Recipe
- Canning Method: Water Bath Canning (High-Acid Food)
- Active Prep/Cook Time: Approximately 30 Minutes
- Processing Time (Canning): 10-20 Minutes (Adjust for Altitude)
- Yield: Approximately 6 Pint Jars (or 3 Quart Jars)
- Recommended Jar Sizes: Half-Pint, Pint, or Quart
- Required Headspace: 1/4 inch (0.6 cm)
- Key Ingredients: Fresh Watermelon Juice, Bottled Lemon Juice (Essential for Safety), Granulated Sugar
- Difficulty Level: Easy! Once your watermelon juice is prepared, the rest is a straightforward heating and canning process.
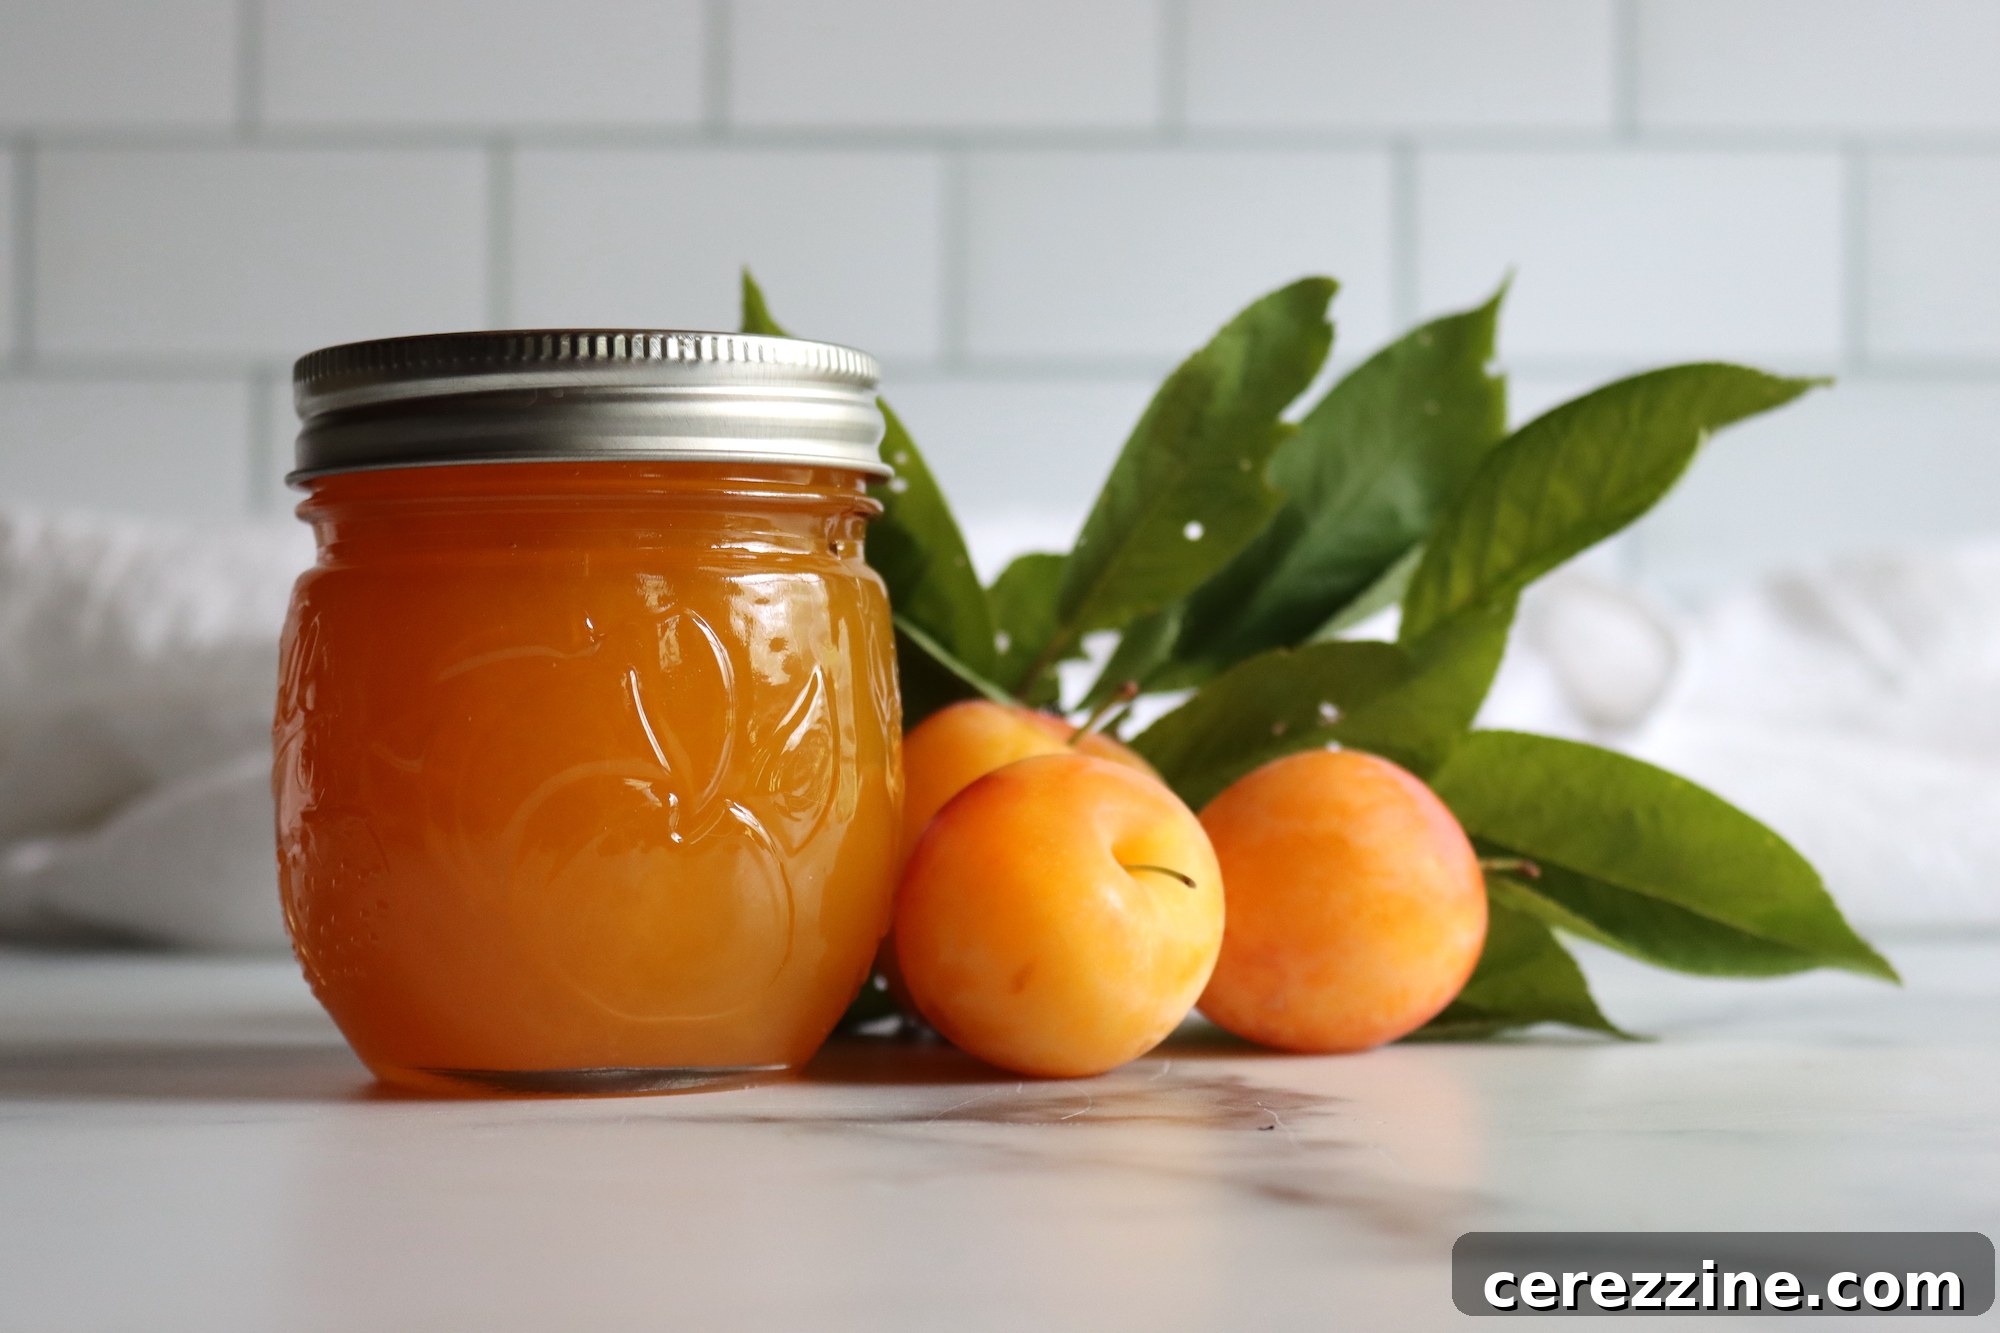
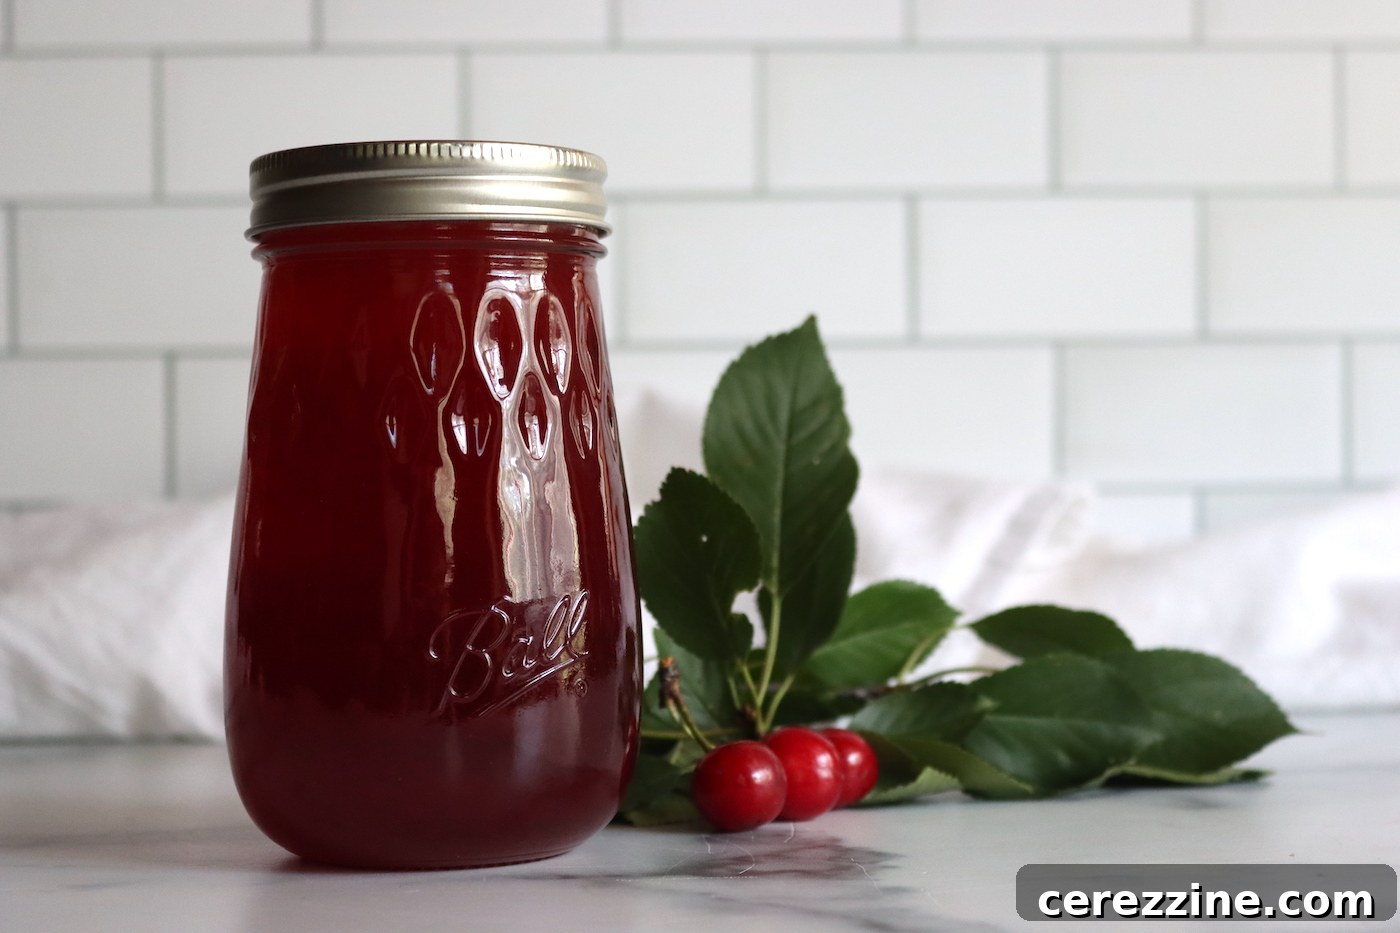
- Similar Canning Projects: This method is highly adaptable and similar to other fruit lemonade concentrates like Strawberry Lemonade Concentrate, Blueberry Lemonade Concentrate, Plum Lemonade Concentrate, and Cherry Limeade Concentrate. Master one, and you’ve mastered them all!
This recipe is designed for both novice and experienced canners, providing clear instructions and emphasizing critical food safety practices to ensure a delicious and safe product every time.
Is Watermelon Safe for Canning? Understanding pH Levels for Food Safety
When it comes to home canning, understanding the pH level of your ingredients is paramount for food safety. Watermelon, while wonderfully sweet and hydrating, naturally has a pH ranging from 5.2 to 5.6. This places it firmly in the “low-acid” category. For a food to be safely processed in a water bath canner, its pH level must be 4.6 or lower, meaning it needs to be sufficiently acidic. Without proper acidification, low-acid foods pose a risk of botulism, a serious foodborne illness.
This is where the magic of citrus comes in! To transform watermelon into a canning-safe product, a significant amount of an acidifying agent, such as lemon juice or vinegar, must be added. While vinegar works excellently for savory items like watermelon rind pickles, it’s not the ideal choice for a sweet lemonade concentrate. Lemon juice, however, is a perfect partner. Its natural acidity not only lowers the pH to a safe level but also complements and enhances the delicate flavor of watermelon, creating a balanced and refreshing drink.
For optimal food safety and consistent results, it is highly recommended to use bottled lemon juice when canning. The acidity of fresh lemons can vary significantly, making it difficult to guarantee the precise pH reduction required for safe preservation. Bottled lemon juice, on the other hand, has a standardized acidity, ensuring reliable results every time. This small step provides a big peace of mind, knowing your canned goods are safe to enjoy.
When selecting your bottled citrus juice, aim for quality brands. I’ve personally had excellent experiences with Santa Cruz organic lemon juice for its bright, natural flavor. While this recipe specifically calls for lemon juice, you could easily substitute it with lime juice to create an equally thirst-quenching watermelon limeade concentrate. Just remember the golden rule of canning: never reduce the amount of citrus juice specified in a tested recipe. These proportions are carefully calibrated to ensure the safety and longevity of your preserved goods.
Making Watermelon Juice: The Heart of Your Concentrate
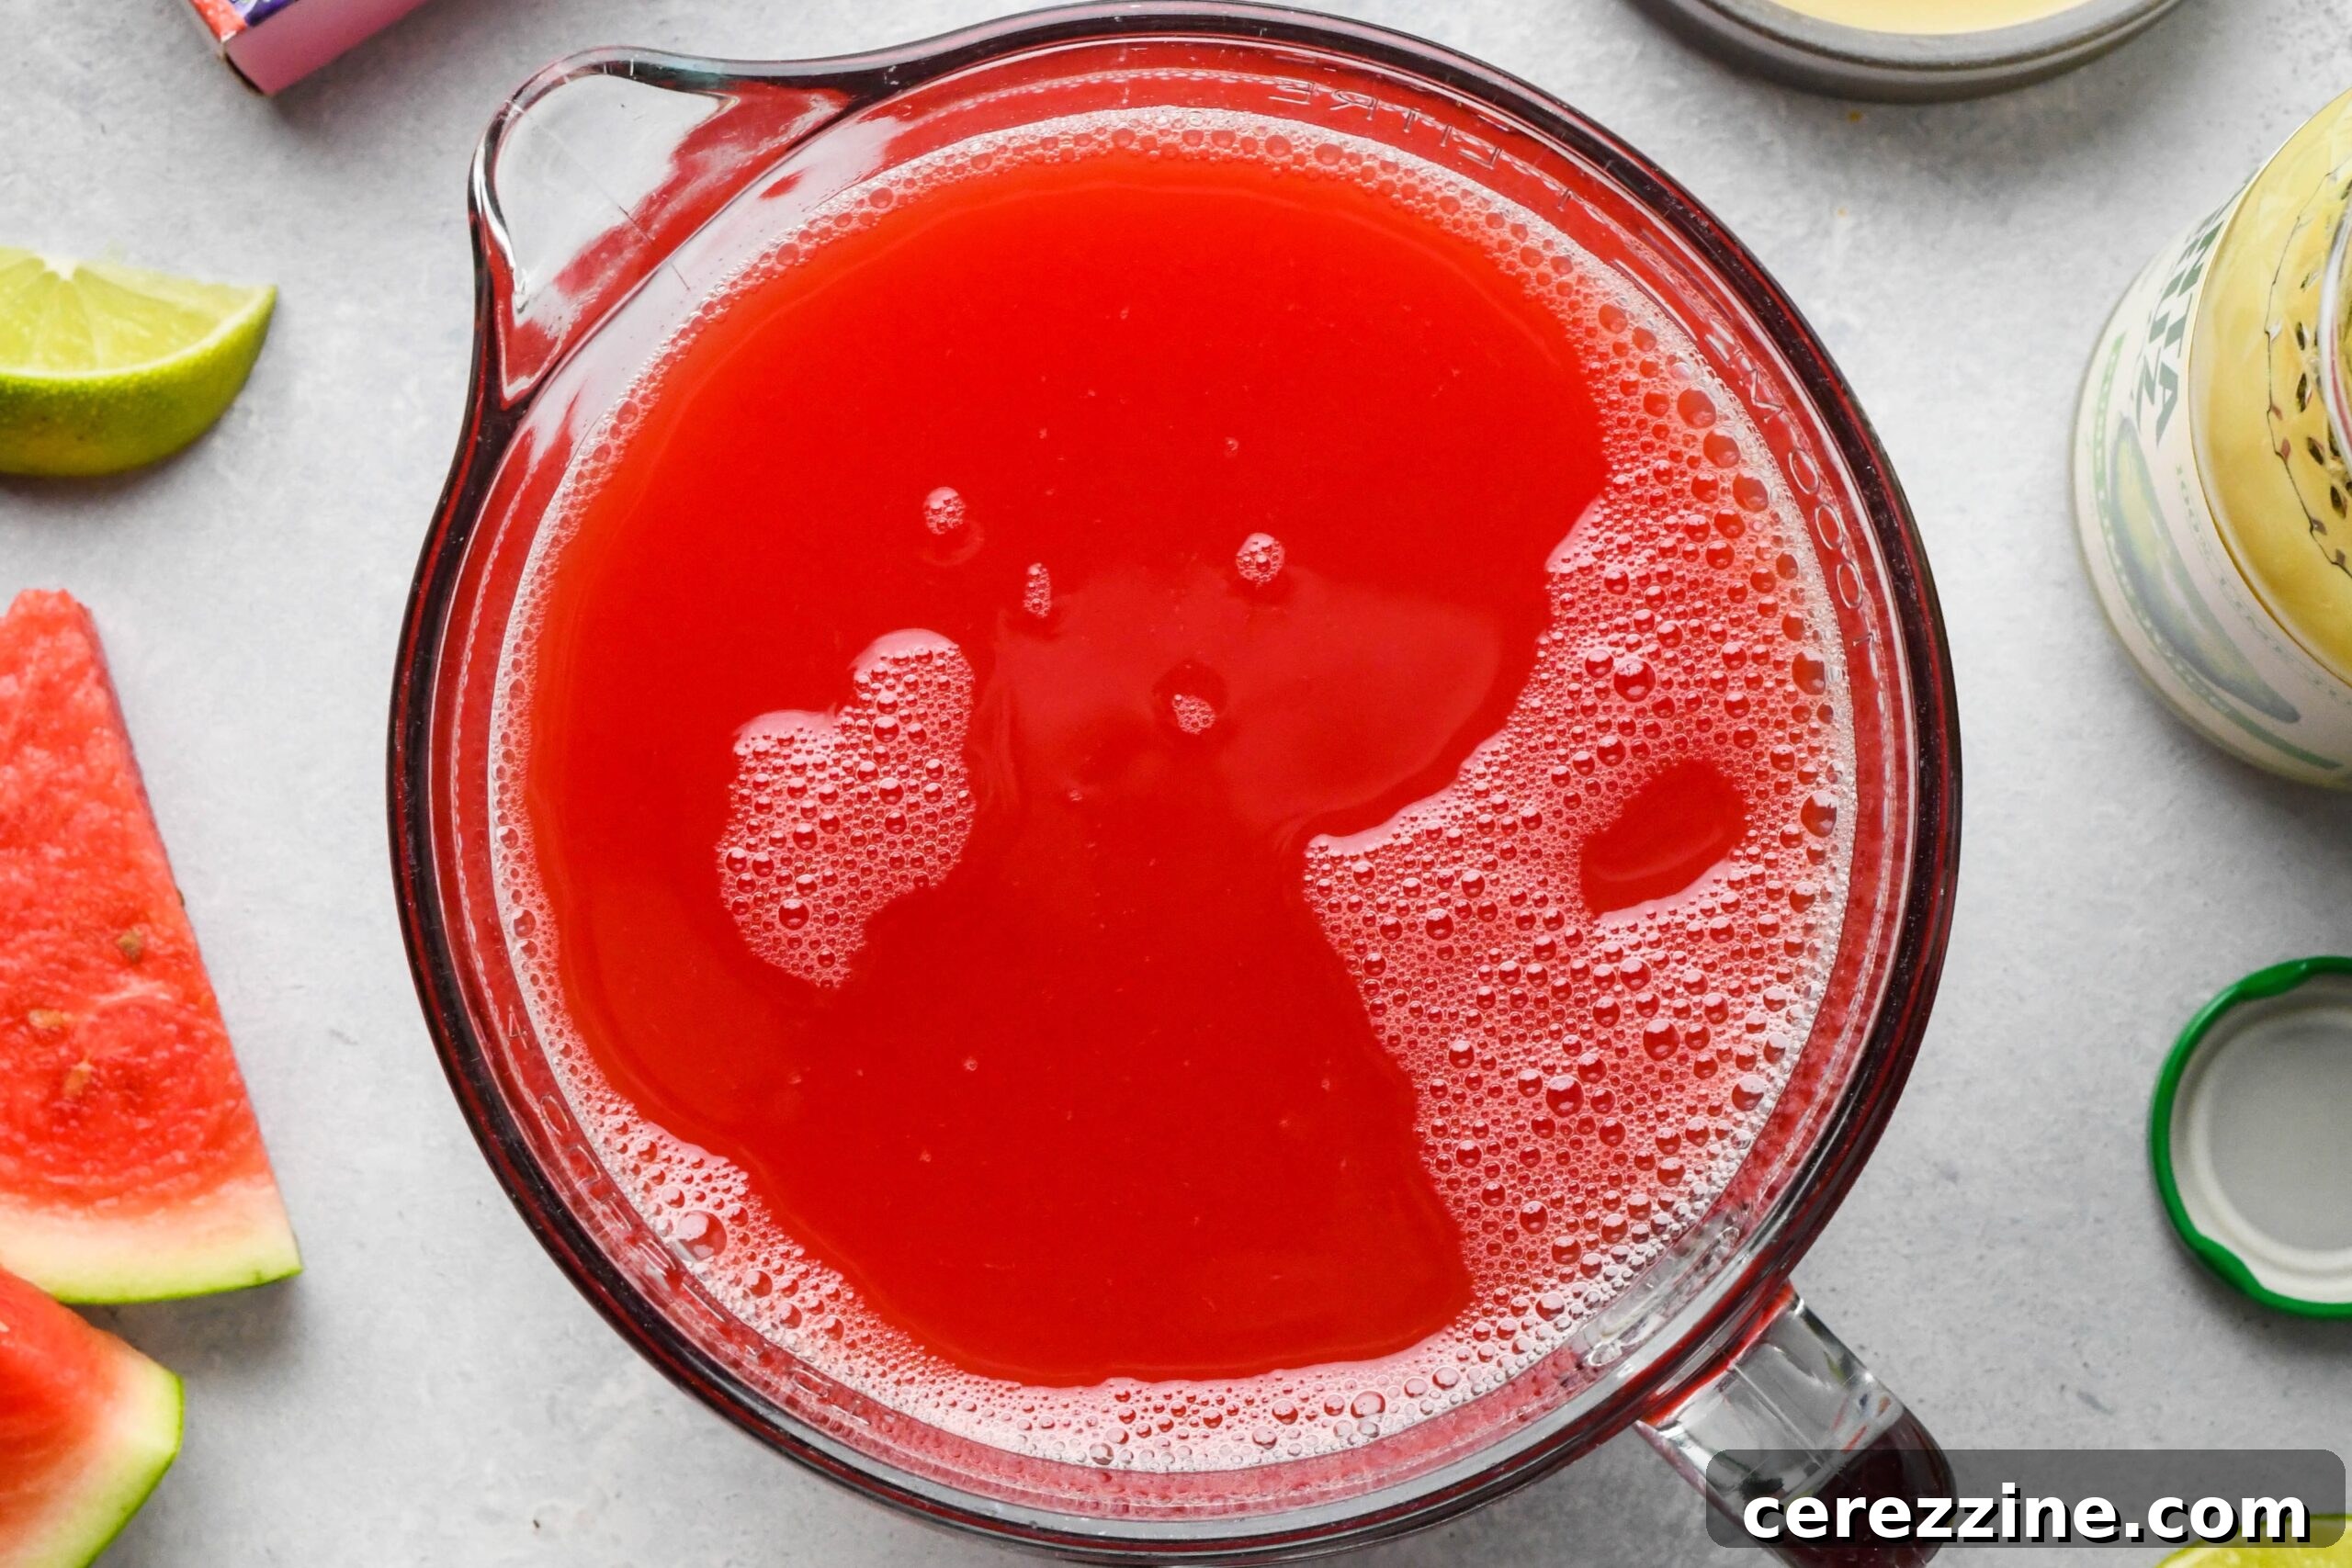
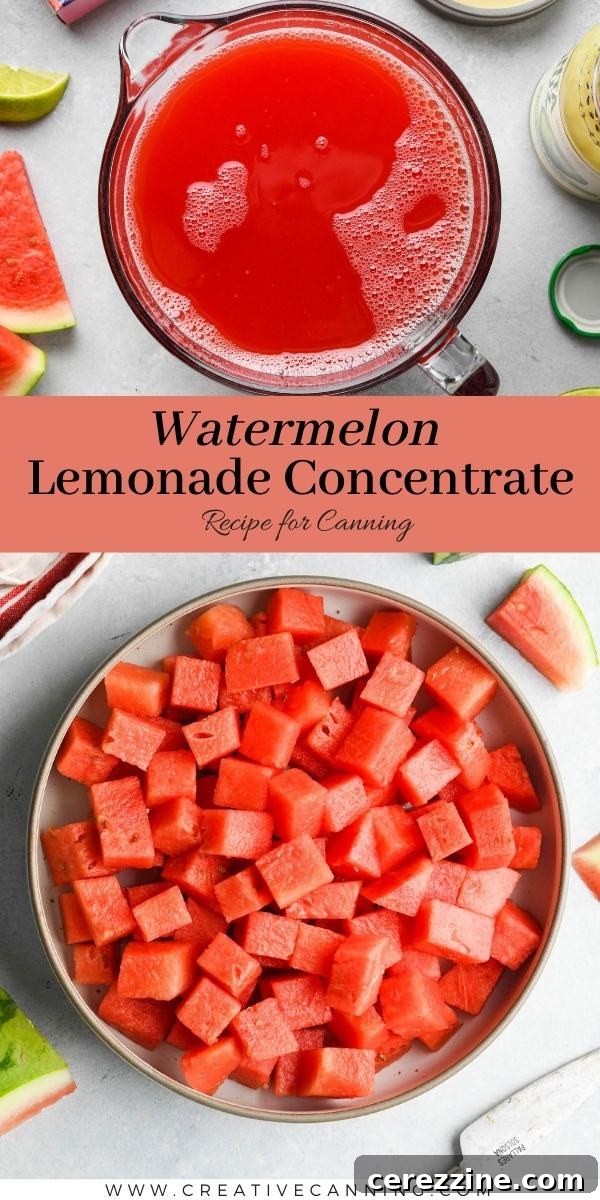
The foundation of this exquisite concentrate is, naturally, fresh watermelon juice. For this recipe, our goal is to produce 6 cups of beautifully strained juice. This process is straightforward and enjoyable, allowing you to appreciate the pure essence of the fruit.
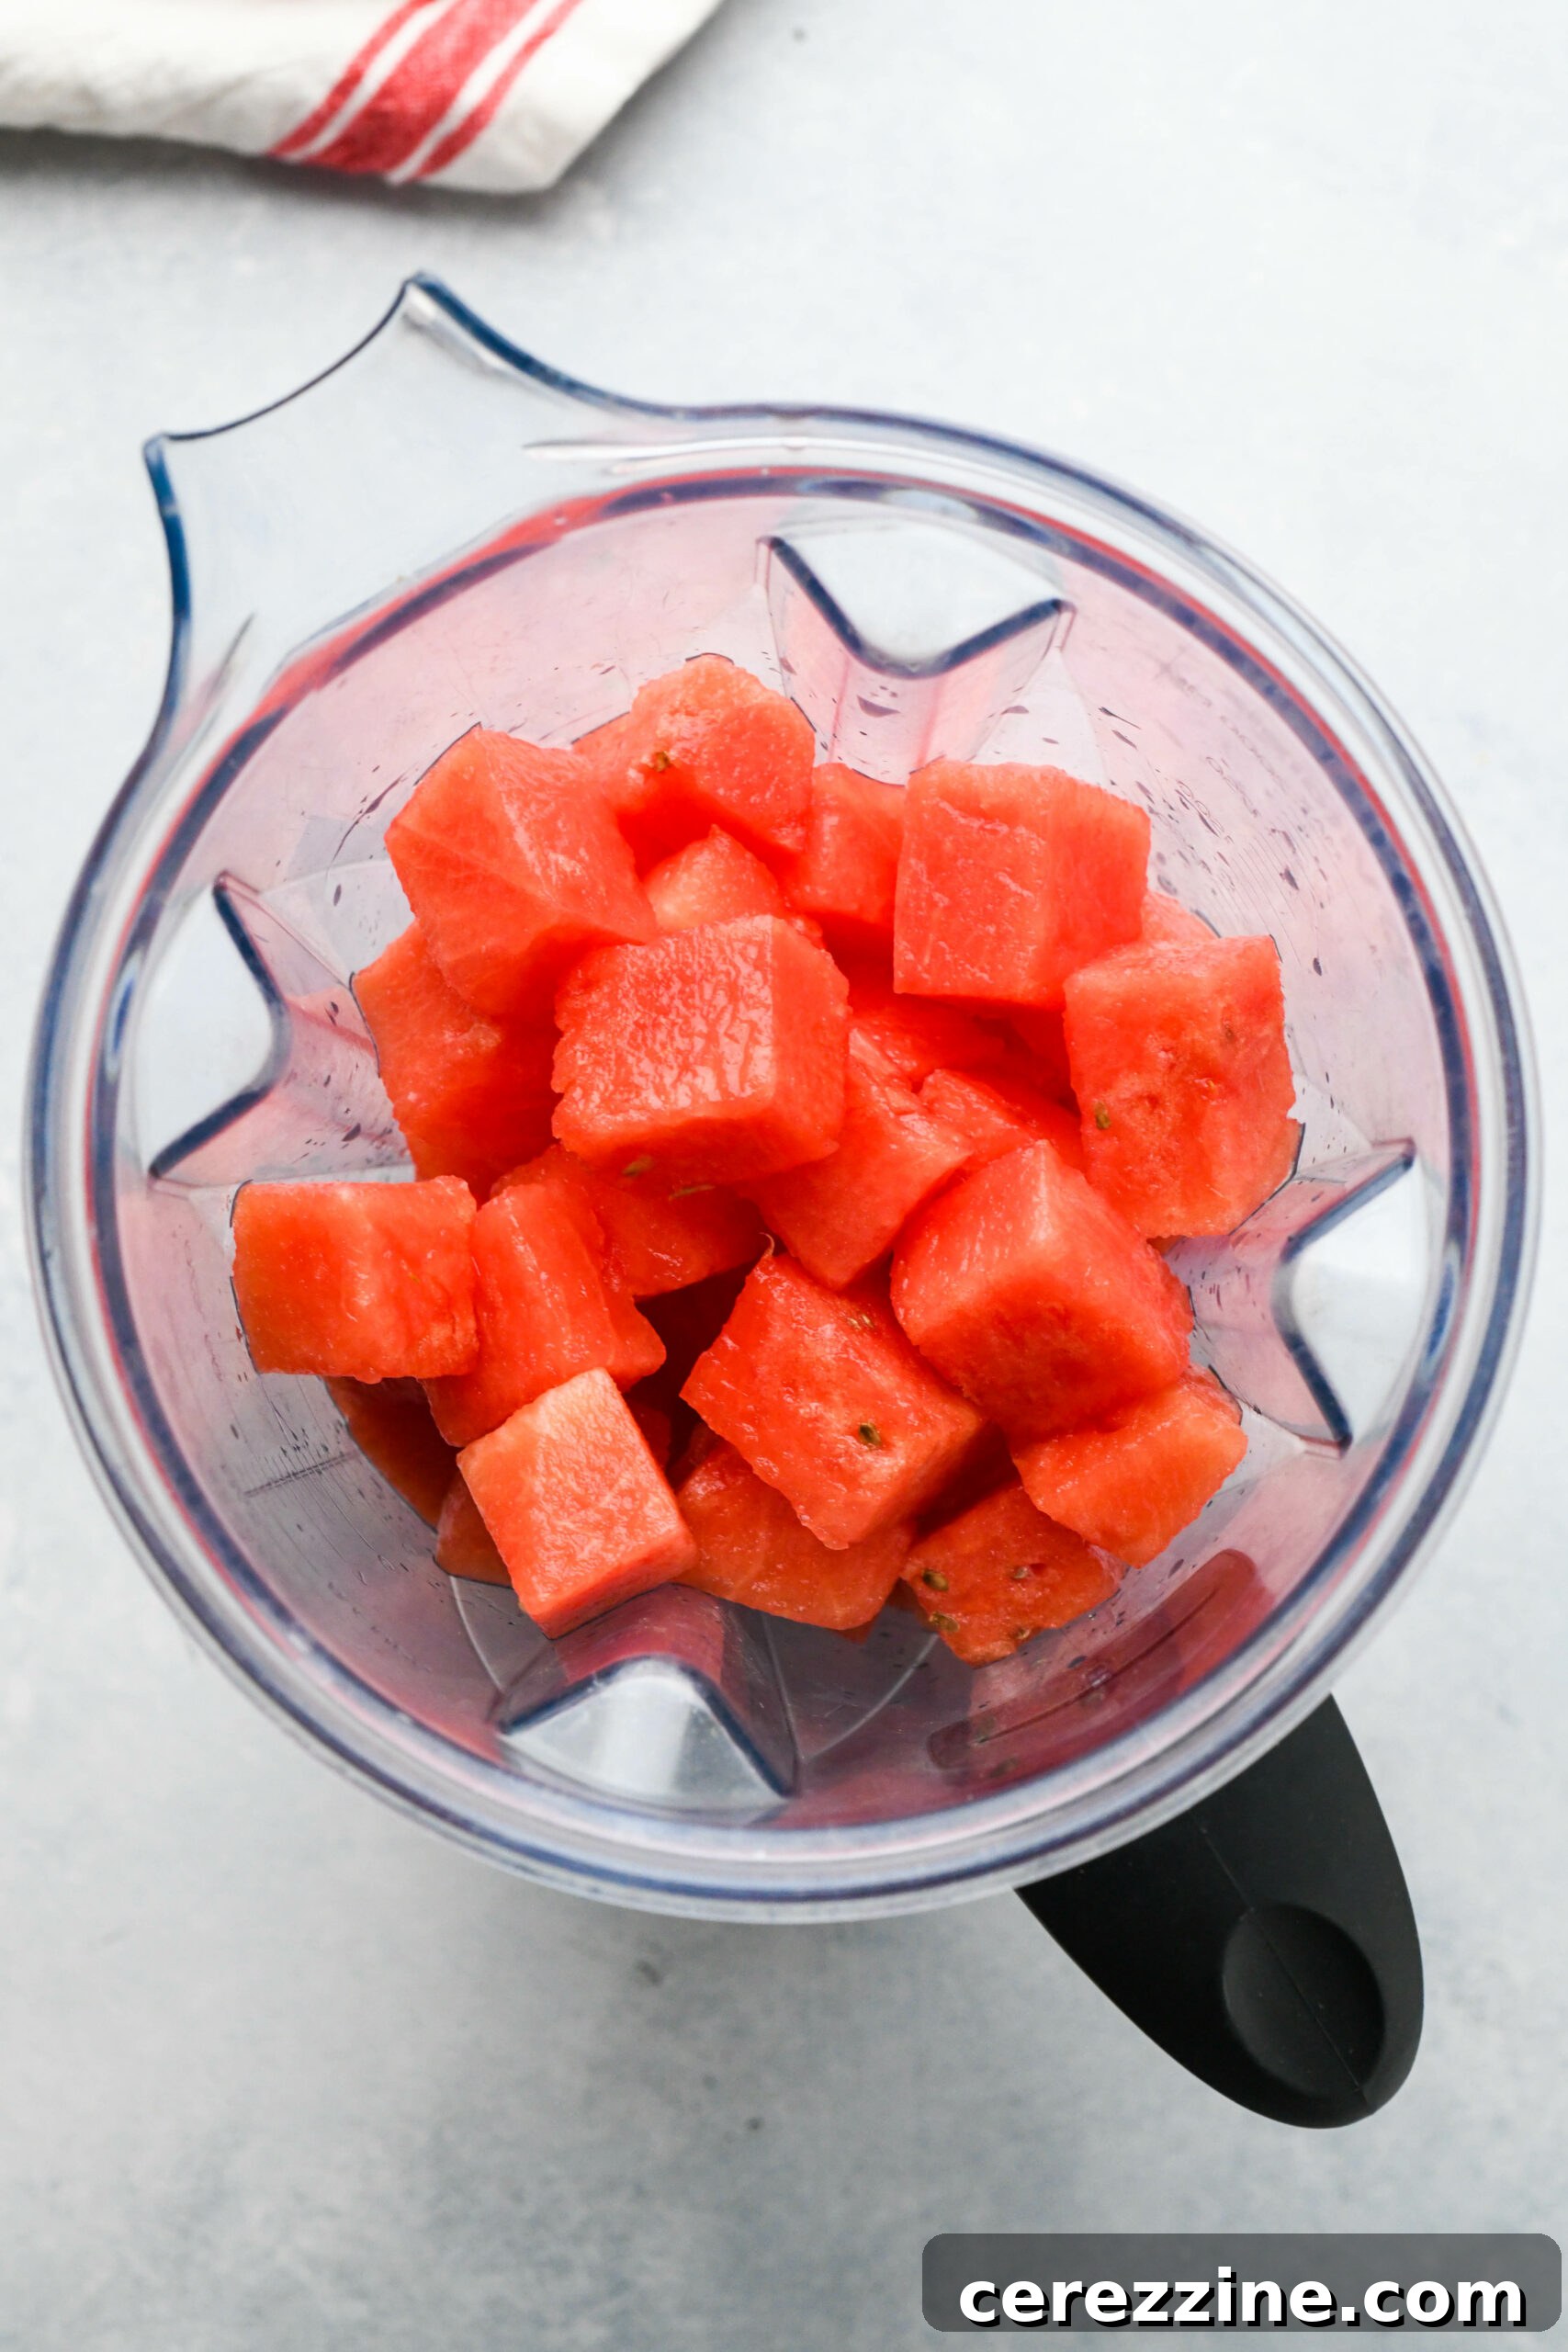
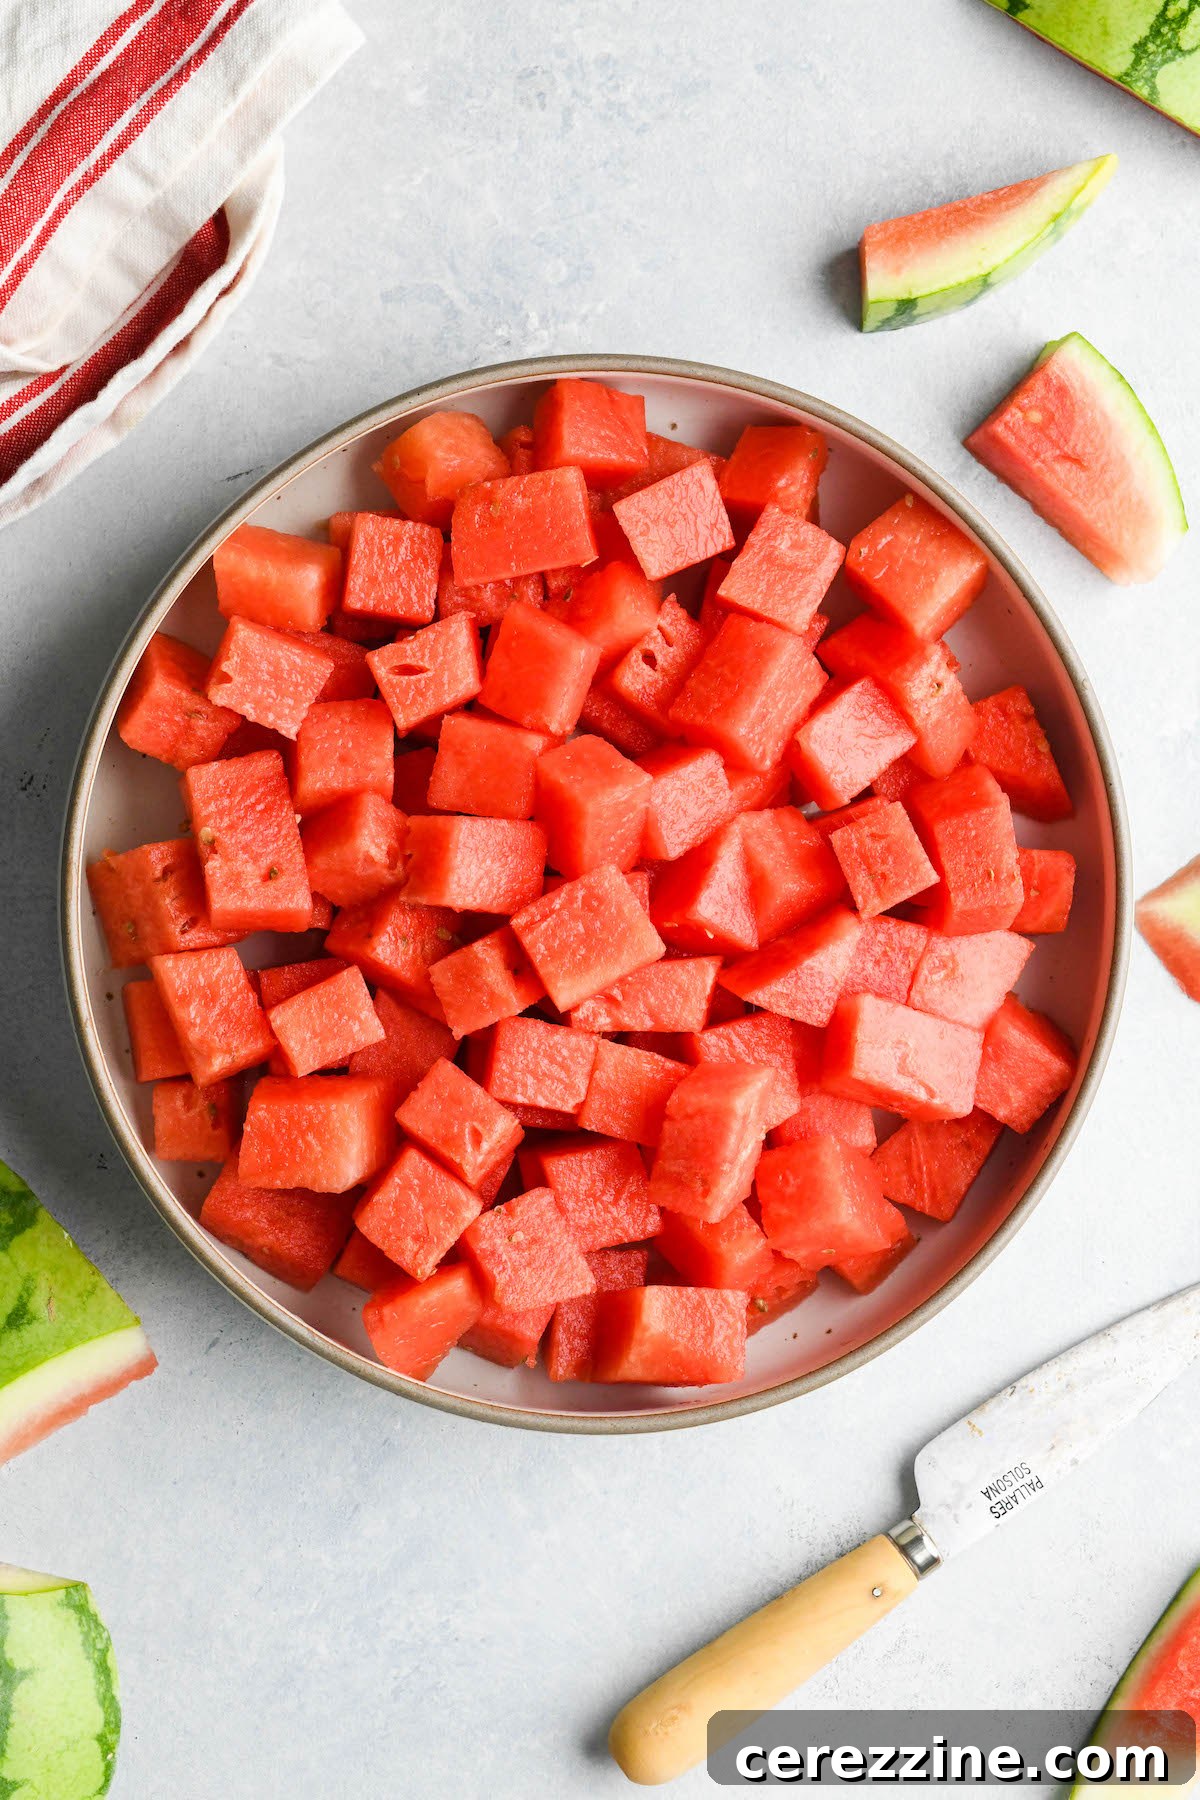
Typically, one medium-sized watermelon or two smaller ones will yield the necessary 6 cups of strained juice. Don’t fret if you end up with a little extra juice; it’s a delightful bonus that can be enjoyed immediately over ice with a squeeze of fresh lemon or lime. To begin, cut your watermelon into large, manageable chunks. There’s no need to meticulously remove every seed at this stage or to achieve a perfectly smooth purée. Simply blend the chunks in batches until they form a liquid consistency.
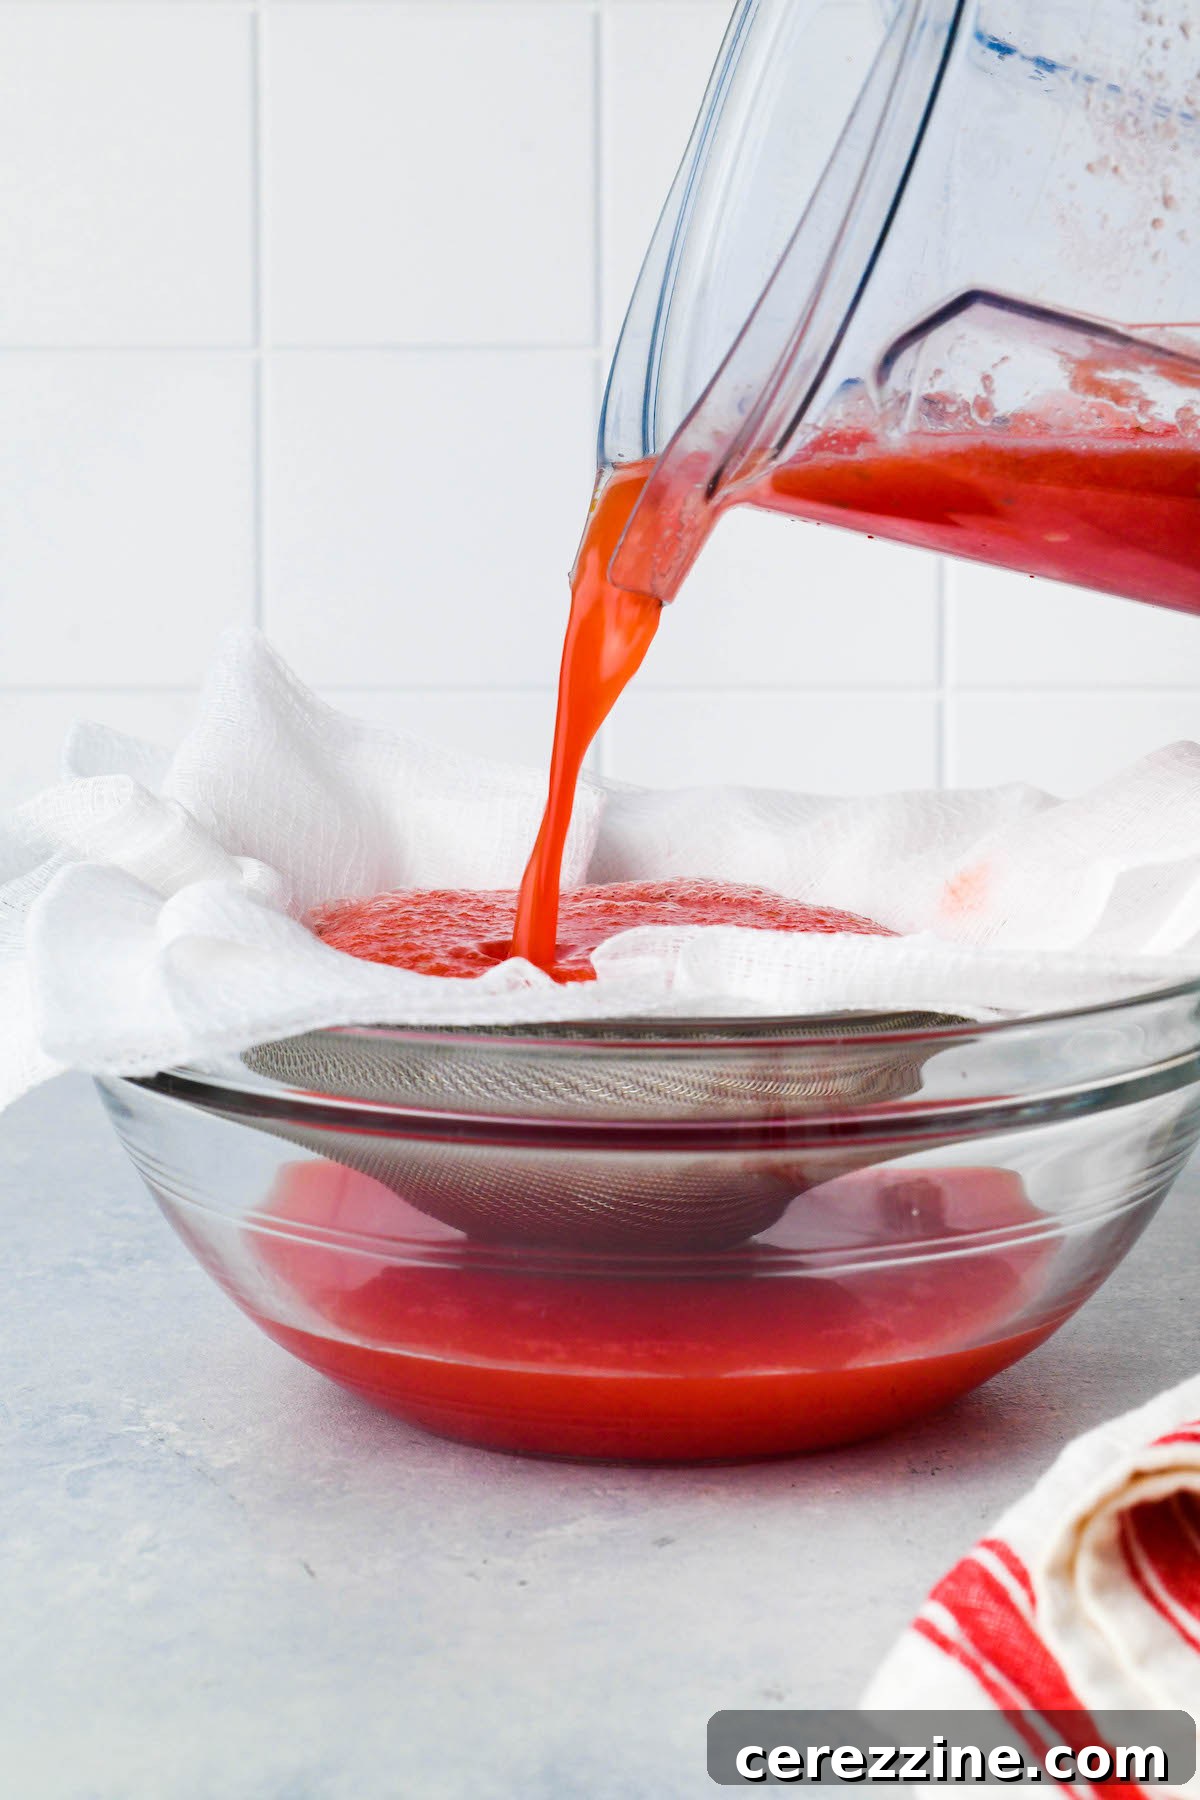
The next crucial step involves straining. Line a fine-mesh sieve with several layers of cheesecloth and place it over a large bowl. Carefully pour the blended watermelon through the cheesecloth-lined sieve. This ingenious method effectively captures any remaining seeds, pulp, and larger fruit bits, leaving you with a silky-smooth, vibrant watermelon juice that’s ready to be transformed into concentrate. Gently press the solids against the sieve to extract as much liquid as possible, ensuring you capture every drop of that luscious watermelon flavor.
Crafting Watermelon Lemonade Concentrate for Canning: The Concentration Process
With your fresh watermelon juice ready, it’s time to prepare the concentrate and get ready for canning. This recipe comes together quite swiftly, so it’s wise to have your water bath canner preheated and simmering at around 180°F (82°C) – ideal for hot pack canning. Ensure your canning jars, lids, and rings are also sterilized and ready for immediate use. Speed and efficiency are key to successful canning, especially when dealing with hot ingredients.
In a large, non-reactive pot, combine the 6 cups of freshly strained watermelon juice, 4 cups of bottled lemon juice, and 6 cups of granulated sugar. Stir these ingredients thoroughly with a large wooden spoon or heat-resistant spatula until the sugar completely dissolves. This ensures an even sweetness and proper distribution of acidity throughout the concentrate.
Place the pot over medium-high heat. Gently heat the lemonade concentrate, stirring frequently, until it reaches a temperature of 190°F (88°C). This temperature is crucial: it’s hot enough to ensure proper dissolution of sugar and prepare the mixture for canning, but not so hot as to cause issues. Using a reliable food thermometer is highly recommended for accuracy during this step. It’s an invaluable kitchen tool that will serve you well in many culinary and canning endeavors.
**Important note:** Do not allow the mixture to come to a full boil. Boiling can cause the natural pectin in the lemon juice to set, resulting in a cloudy or gelatinous concentrate rather than the smooth, refreshing liquid we desire for lemonade. As soon as your watermelon mixture registers 190°F (88°C), remove the pot immediately from the heat. It’s now perfectly prepared for the final canning stage.
Canning Watermelon Lemonade Concentrate: Preserving Summer’s Flavor
The actual canning process for your watermelon lemonade concentrate is quick and efficient, ensuring that with minimal effort, you can enjoy the vibrant, fresh taste of watermelon long into the colder months. Proper technique is vital for safe preservation.
Begin by carefully ladling the hot concentrate into your prepared, sterilized canning jars. Fill each jar, leaving precisely 1/4-inch (0.6 cm) of headspace. This headspace is critical as it allows for proper expansion during processing and helps create a strong vacuum seal. Use a clean chopstick or plastic knife to remove any trapped air bubbles by gently running it around the inside of the jar. If the liquid level drops below the 1/4-inch mark after de-bubbling, add more concentrate to restore the correct headspace.
Wipe the rims and sides of each jar with a clean, damp cloth to remove any sticky residue, which could prevent a proper seal. Center a clean, new two-piece canning lid onto each jar, and then screw on the band fingertip-tight. This means tightening until you feel resistance, then giving it just a slight extra turn – no need to overtighten.
Carefully load the jars into your preheated water bath canner, ensuring they are not touching each other and are fully submerged under at least 1 to 2 inches of water. Bring the water to a rolling boil.
Standard Processing Times: For elevations below 1,000 feet (305 meters), process half-pint, pint, and quart jars for 10 minutes once the water reaches a full rolling boil.
Altitude Adjustments for Canning Watermelon Lemonade Concentrate:
- Between 1,000 feet (305 m) and 6,000 feet (1,829 m) in elevation: Process for 15 minutes.
- Above 6,000 feet (1,829 m) in elevation: Process jars for 20 minutes.
Once the processing time is complete, turn off the heat and allow the canner to sit undisturbed for 5 minutes. This helps prevent siphoning and aids in creating a stronger seal. Carefully remove the hot jars from the canner using a jar lifter. Place the sealed jars on a clean surface lined with a kitchen towel, ensuring at least a 1-inch (2.5 cm) space between each jar to allow air to circulate freely. Let the jars cool undisturbed for 12 to 24 hours to reach room temperature. During this time, you’ll likely hear the satisfying “ping” sound as the lids seal.
After the cooling period, check the seal on each jar lid. The lid should be concave and not flex when pressed. Any jars that have not sealed properly should be moved to the refrigerator and consumed within a week or so. For properly sealed jars, remove the canning rings and store them in a cool, dry, dark location, away from direct sunlight. Your homemade watermelon lemonade concentrate will retain its quality for up to 6 months, though its irresistible flavor might mean it disappears much faster!
If you tried this Watermelon Lemonade Concentrate, or any other recipe from Creative Canning, please consider leaving a ⭐ star rating and sharing your thoughts in the 📝 comments section below!
Stay connected with us for more canning inspiration and seasonal recipes by following on social media!
- Substack
Explore More Melon Canning Recipes
A Guide to Watermelon Canning Recipes
Discover various ways to preserve watermelon, from sweet treats to savory delights, ensuring no part of this delicious fruit goes to waste.
Canning Watermelon Lemonade Concentrate
Our featured recipe for preserving the refreshing taste of watermelon and lemon in a convenient concentrate format.
Delightful Watermelon Rind Preserves
Learn how to transform often-discarded watermelon rinds into a surprisingly delicious and unique preserve.

48
servings, Makes 6 pints (or 3 quarts)
Watermelon Lemonade Concentrate
Ashley Adamant
10
10
10
30
Equipment
-
Water Bath Canner
-
Large Pot (non-reactive)
-
Blender
-
Fine Mesh Sieve & Cheesecloth
-
Canning Jars (Pint or Quart), Lids, and Rings
-
Jar Lifter & Canning Funnel
-
Food Thermometer
Ingredients
-
6
cups
watermelon juice,
freshly puréed and strained* -
4
cups
bottled lemon juice -
6
cups
granulated sugar
Instructions
-
Before starting, ensure your water bath canner is preheated to a gentle simmer (around 180°F / 82°C) and your canning jars, lids, and rings are clean and sterilized.
-
In a large, non-reactive pot, combine the prepared watermelon juice, bottled lemon juice, and granulated sugar. Stir the ingredients continuously until the sugar is fully dissolved.
-
Place the pot over medium-high heat and gradually heat the mixture to 190°F (88°C), stirring frequently to prevent scorching and ensure even heating. Use a food thermometer for accuracy. Do NOT allow the mixture to boil.
-
As soon as the concentrate reaches 190°F (88°C), remove the pot from the heat. Carefully ladle the hot concentrate into your prepared quart or pint jars, leaving precisely 1/4-inch (0.6 cm) of headspace.
-
Use a clean chopstick or plastic knife to remove any air bubbles trapped in the jars. If needed, adjust the liquid level to maintain the 1/4-inch headspace. Wipe down the rims and sides of each jar with a damp cloth to ensure a clean sealing surface.
-
Center a clean, new two-piece canning lid onto each jar, and then screw on the band fingertip-tight.
-
Load the jars into the preheated hot water bath canner, ensuring they are covered by at least 1-2 inches of water. Bring the water to a rolling boil and process the jars for 10 minutes, adjusting for your altitude (see notes below).
-
Once processing is complete, turn off the heat and let the canner sit undisturbed for 5 minutes. Then, carefully remove the jars from the canner using a jar lifter.
-
Place the hot jars on a clean surface lined with a kitchen towel, ensuring at least 1 inch of space between each jar for proper air circulation. Allow them to cool completely to room temperature (12 to 24 hours).
-
Check the seal on each jar lid. Lids should be concave and not move when pressed. Any unsealed jars should be refrigerated and consumed within approximately one week. Remove canning rings from sealed jars and store them in a cool, dry, dark place away from direct sunlight. Use within 6 months for best quality.
-
To reconstitute this watermelon lemonade concentrate: Simply combine with still or sparkling water according to your preference. A common ratio is 1.5 parts water per 1 part concentrate, but feel free to adjust to taste.
Notes
**Altitude adjustments for canning: Water bath canning times must be increased at higher altitudes to ensure proper sterilization.
- Between 1,000 feet (305 m) and 6,000 feet (1,829 m) in elevation: Process for 15 minutes.
- Above 6,000 feet (1,829 m) in elevation: Process jars for 20 minutes.
Nutrition (Per serving, approx. 1/4 cup concentrate)
Carbohydrates: 28g,
Protein: 0.2g,
Fat: 0.2g,
Saturated Fat: 0.01g,
Polyunsaturated Fat: 0.01g,
Monounsaturated Fat: 0.01g,
Sodium: 1mg,
Potassium: 43mg,
Fiber: 0.1g,
Sugar: 27g,
Vitamin A: 109IU,
Vitamin C: 9mg,
Calcium: 3mg,
Iron: 0.1mg
Nutrition information is automatically calculated and should only be used as an approximation. Individual results may vary.
Enjoyed this recipe? Share your experience!
Leave a comment below and let us know how your Watermelon Lemonade Concentrate turned out. We love hearing from you!
More Refreshing Drink Canning Recipes
If you’ve enjoyed the process of preserving this delightful watermelon lemonade, you’ll be thrilled to explore other ways to can your favorite beverages. Home-canned drink concentrates and juices are incredibly versatile, offering healthy and delicious options year-round. They make fantastic bases for cocktails and mocktails, a quick way to add flavor to sparkling water, or simply a refreshing drink on their own. Dive into these other popular drink canning recipes to expand your pantry of liquid sunshine:
- Classic Lemonade (and Lemonade Concentrate)
- Sweet Strawberry Lemonade Concentrate
- Zesty Limeade (& Limeade Concentrate)
- Assorted Berry Juices
- Tart Rhubarb Juice
Embrace the art of canning and transform your seasonal harvests into a pantry full of flavorful drinks that can be enjoyed with every passing season. Happy canning!