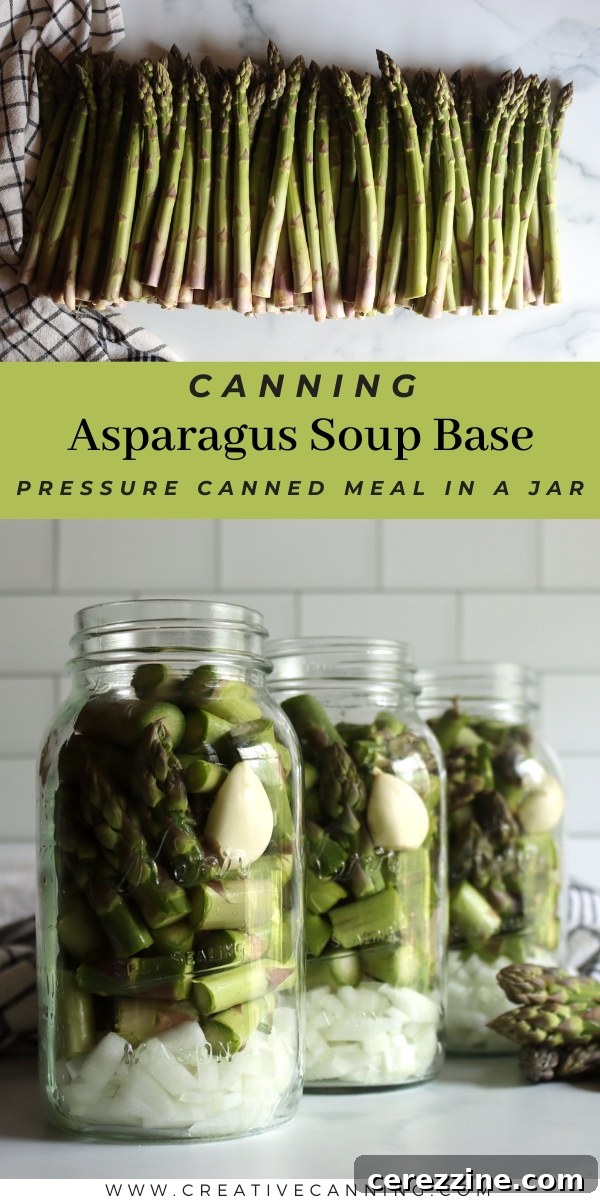
Embark on a culinary journey to preserve the vibrant taste of spring with this comprehensive guide to canning asparagus soup base. Asparagus, a true herald of warmer weather, delights us with its distinct flavor and tender texture, but its season is famously fleeting. By transforming this seasonal delicacy into a shelf-stable soup base, you can enjoy the fresh essence of asparagus year-round, bringing a touch of gourmet comfort to your table whenever the craving strikes.
This simple yet incredibly rewarding vegetarian soup canning recipe allows you to stock your pantry with a versatile ingredient that’s ready in moments. Just grab a jar, puree, heat, and serve a deliciously smooth and nourishing cream of asparagus soup. It’s an ideal way to embrace sustainable living, reduce food waste, and always have a wholesome, homemade meal option at your fingertips.
Why Can Asparagus Soup as a “Base”? Understanding Canning Safety
While the thought of a silky-smooth cream of asparagus soup is enticing, it’s crucial to understand the science behind safe home canning. We call this recipe an “asparagus soup base” because it’s specifically designed to be chunky when canned and pureed at the time of serving. This distinction is vital for safety, particularly when pressure canning low-acid foods like vegetables.
The primary reason for canning the soup in a chunky style, rather than pureed, is related to heat penetration. Smooth, thick purees or soups containing dairy (like cream or milk) are much denser than chunky, brothy soups. This density can impede the even distribution of heat during the pressure canning process, making it difficult for the heat to reach the center of the jar effectively and eliminate harmful bacteria, including Clostridium botulinum.
By canning a chunky base and adding cream or pureeing just before serving, you ensure that the soup processes safely according to tested guidelines. This method guarantees that every jar reaches the necessary temperature for the specified duration, providing you with a delicious and safe product that can be stored on your pantry shelf for months. The added benefit? You maintain full control over the final texture and richness of your soup, customizing it to perfection each time you open a jar.
The Hot Pack Method: Essential for Safe Canning
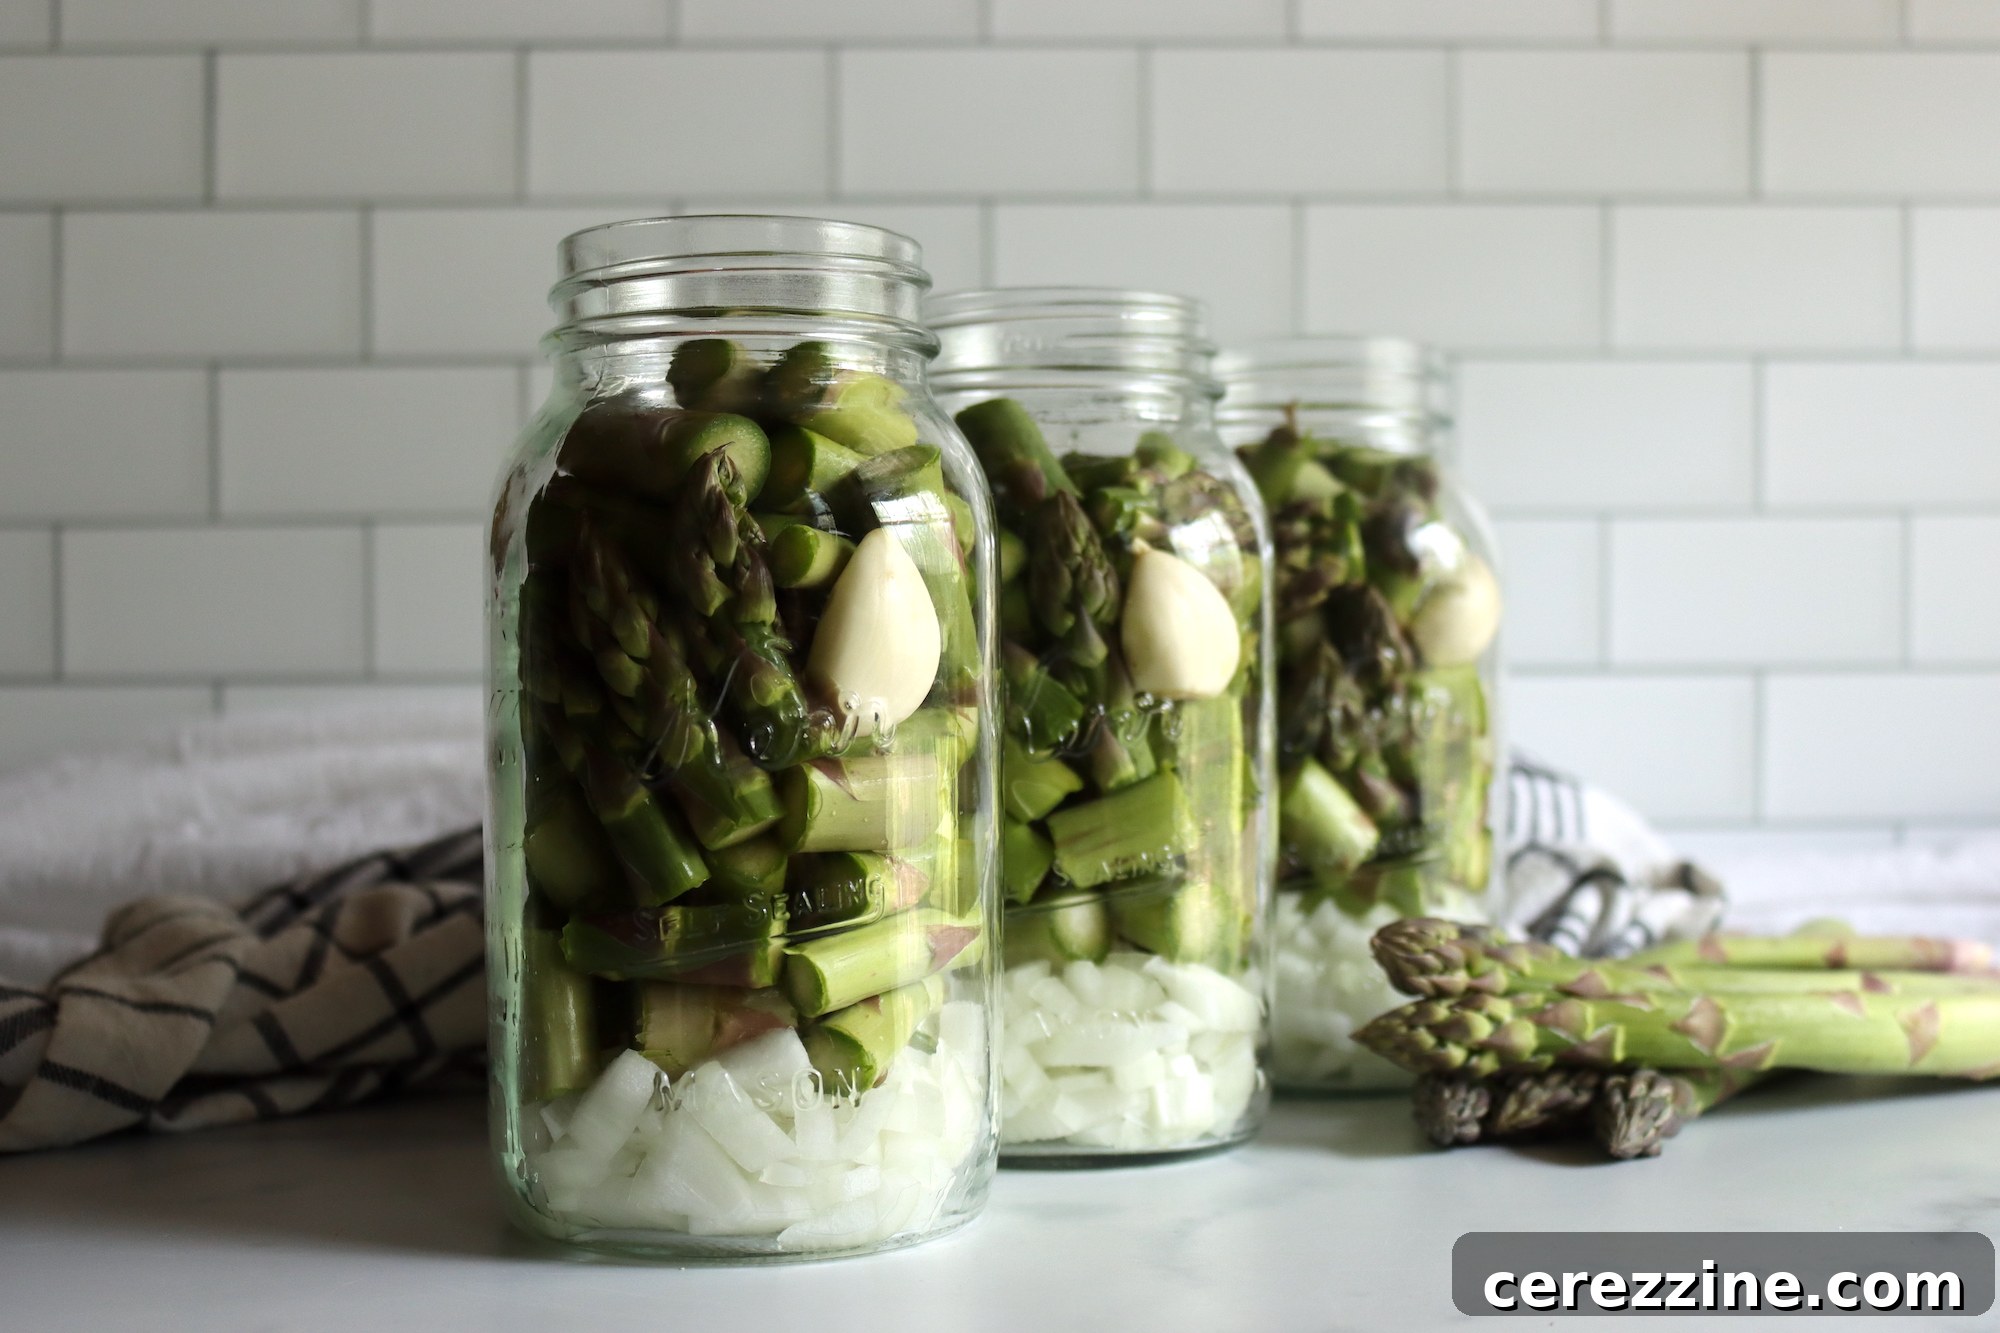
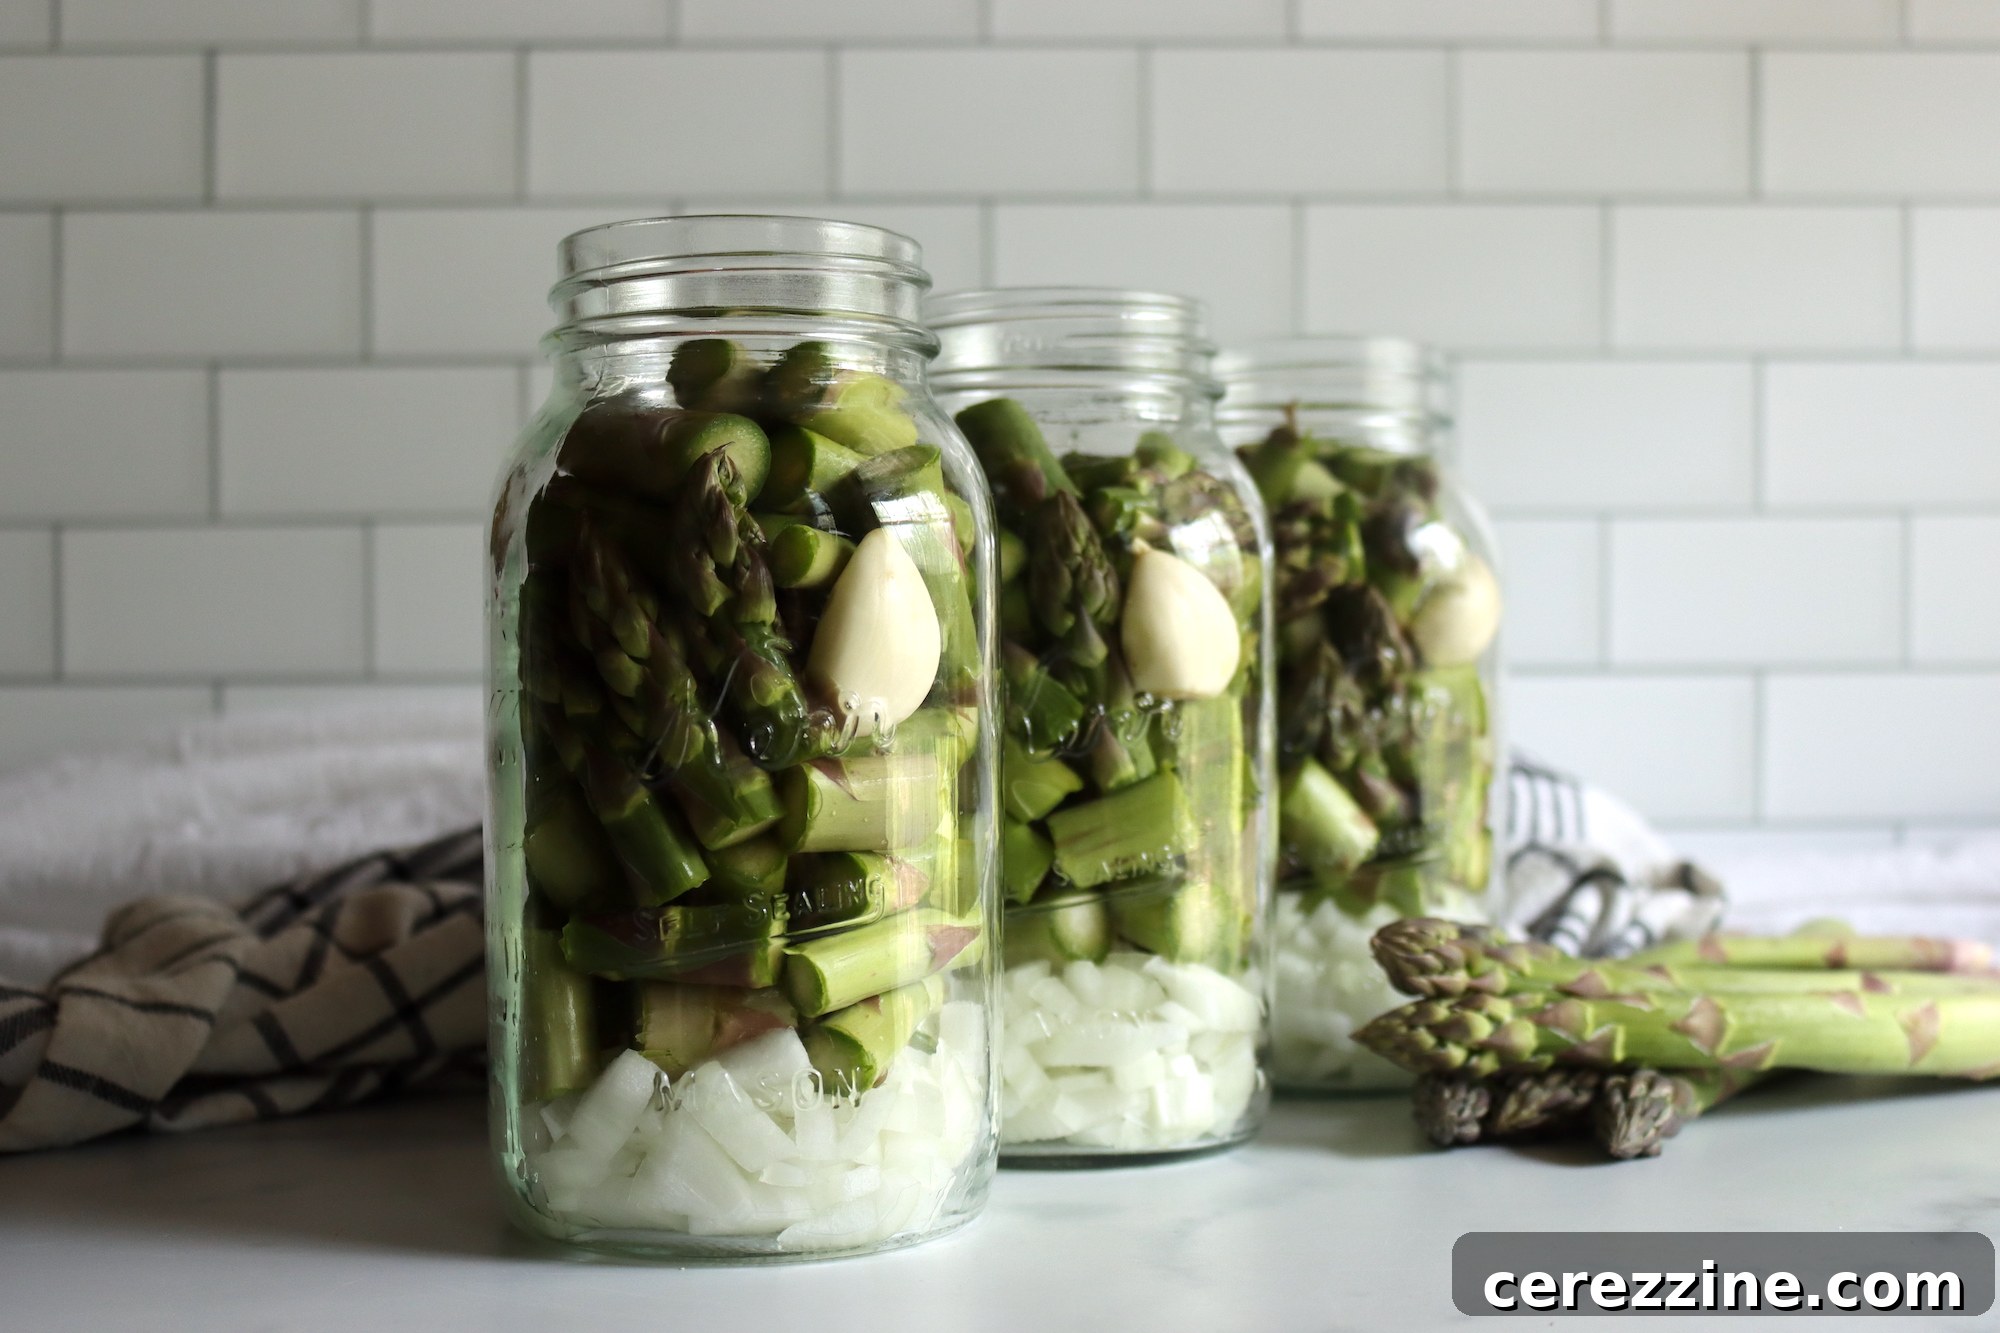
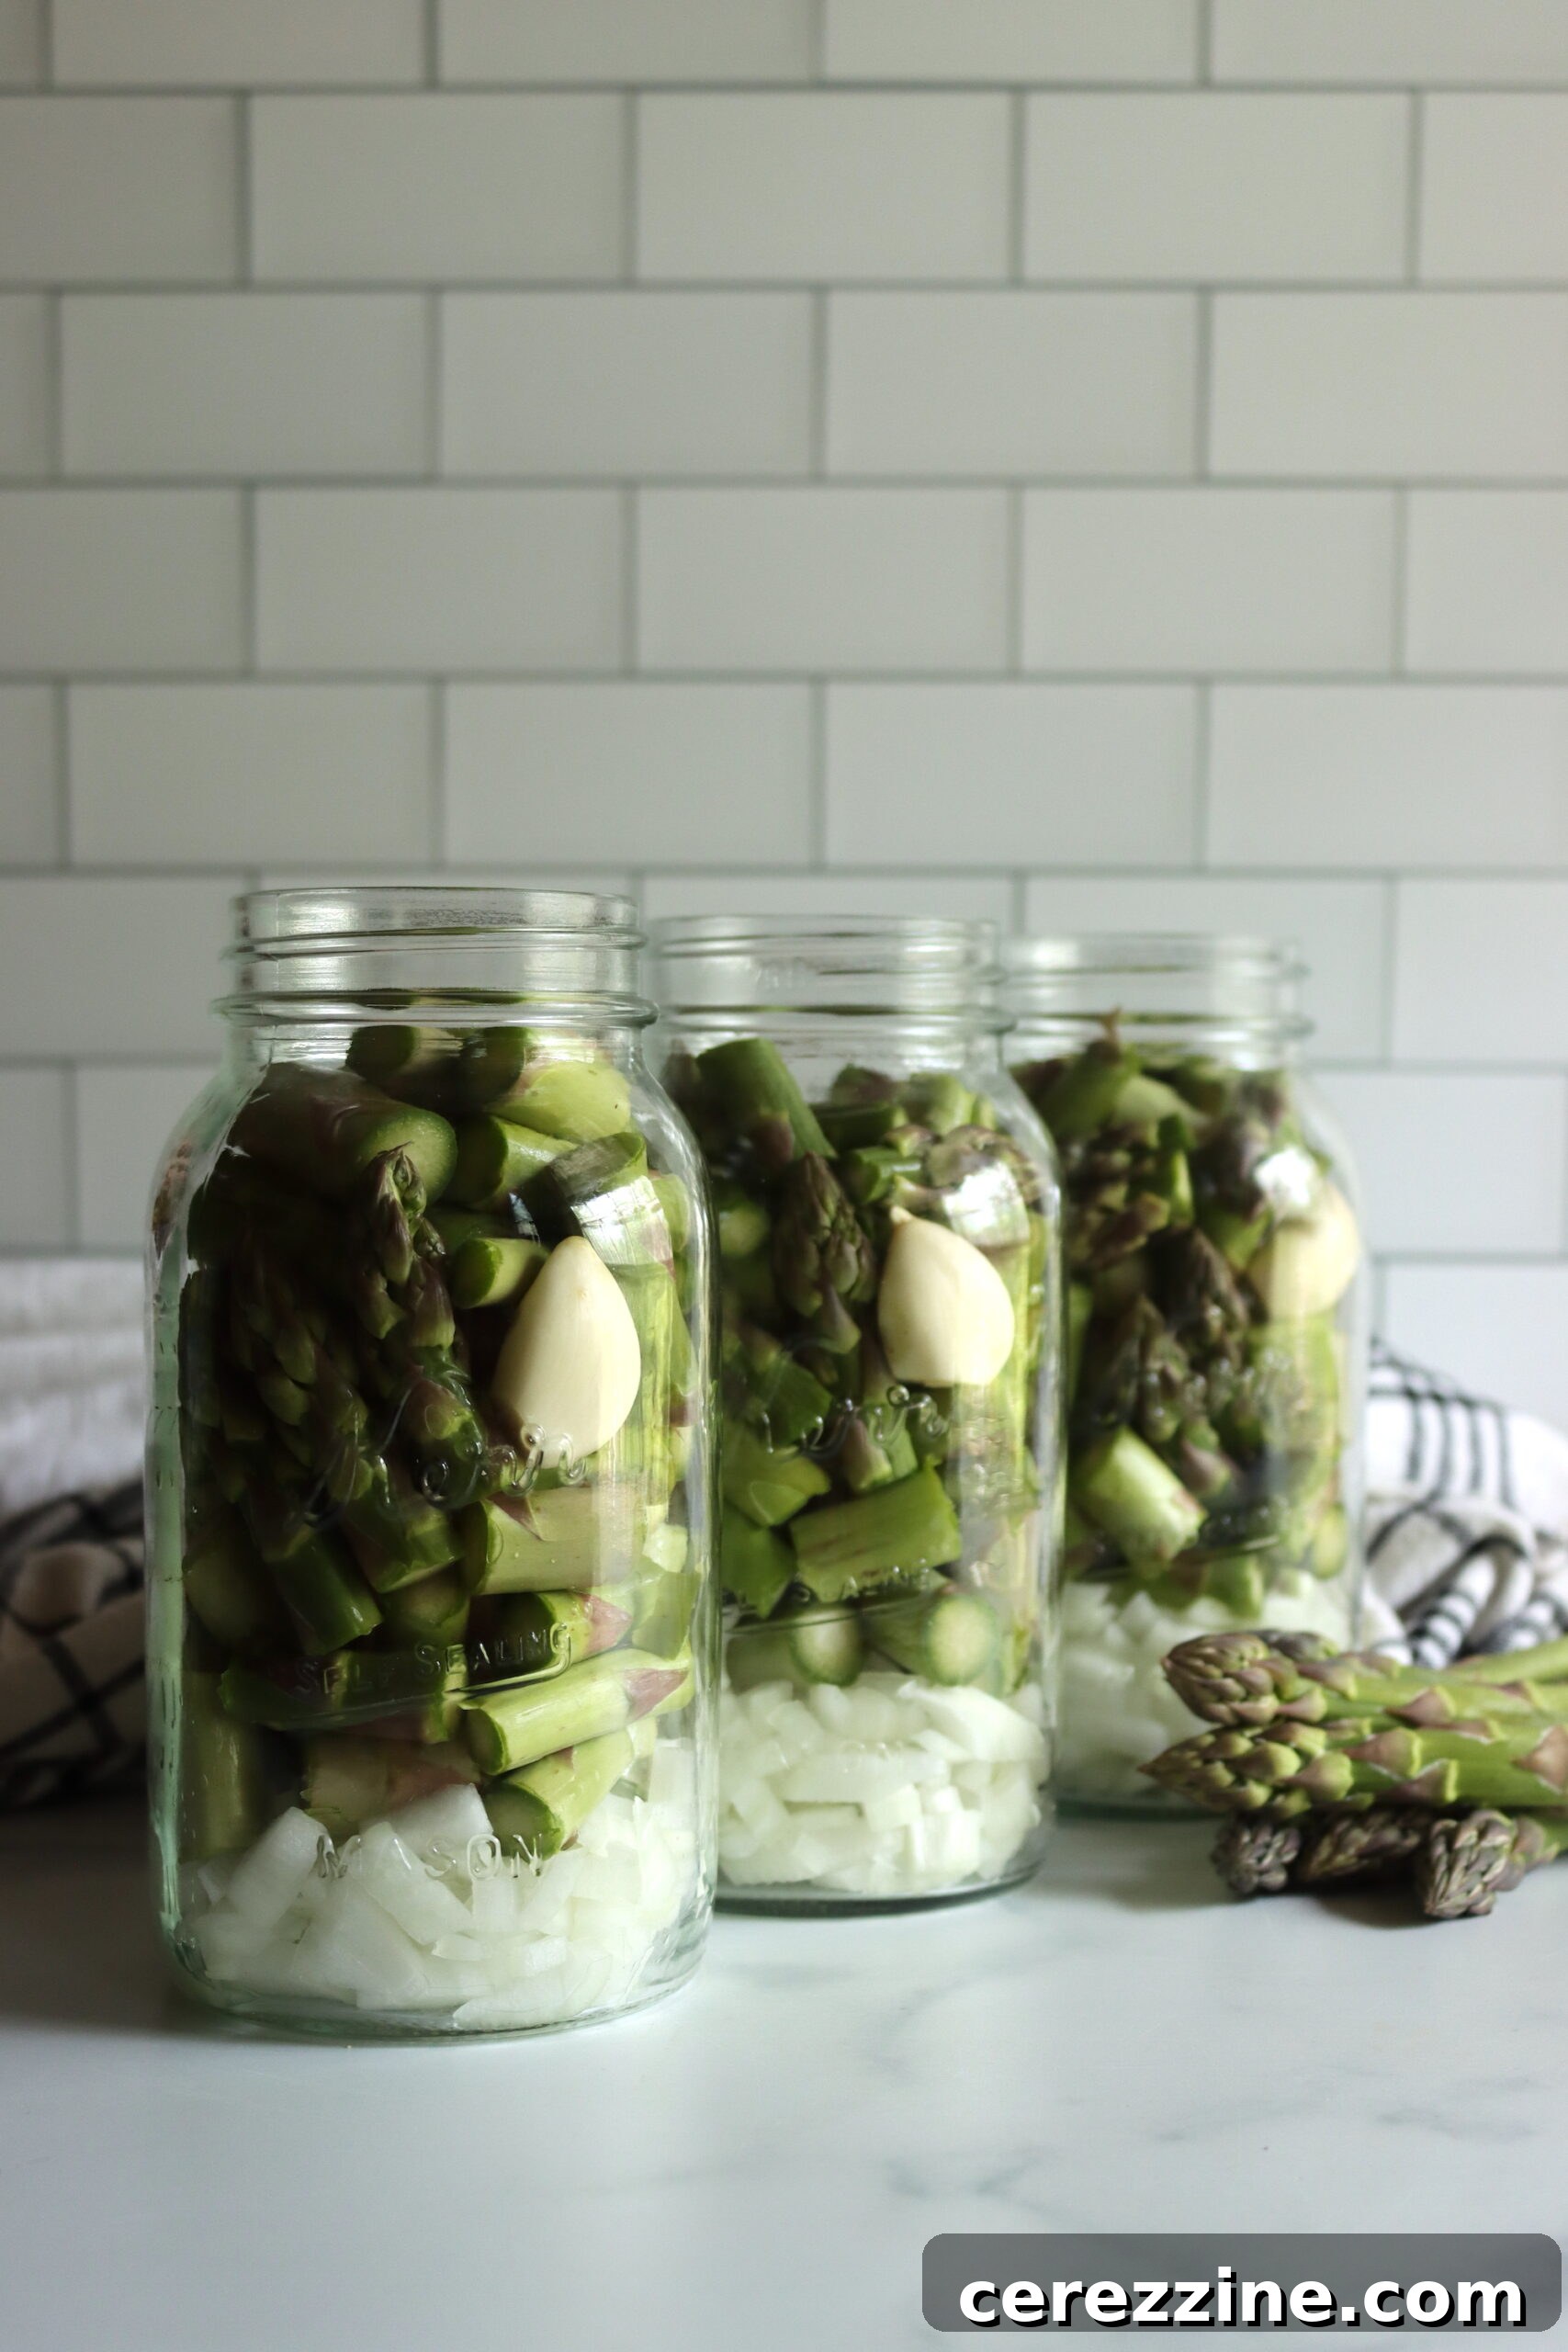
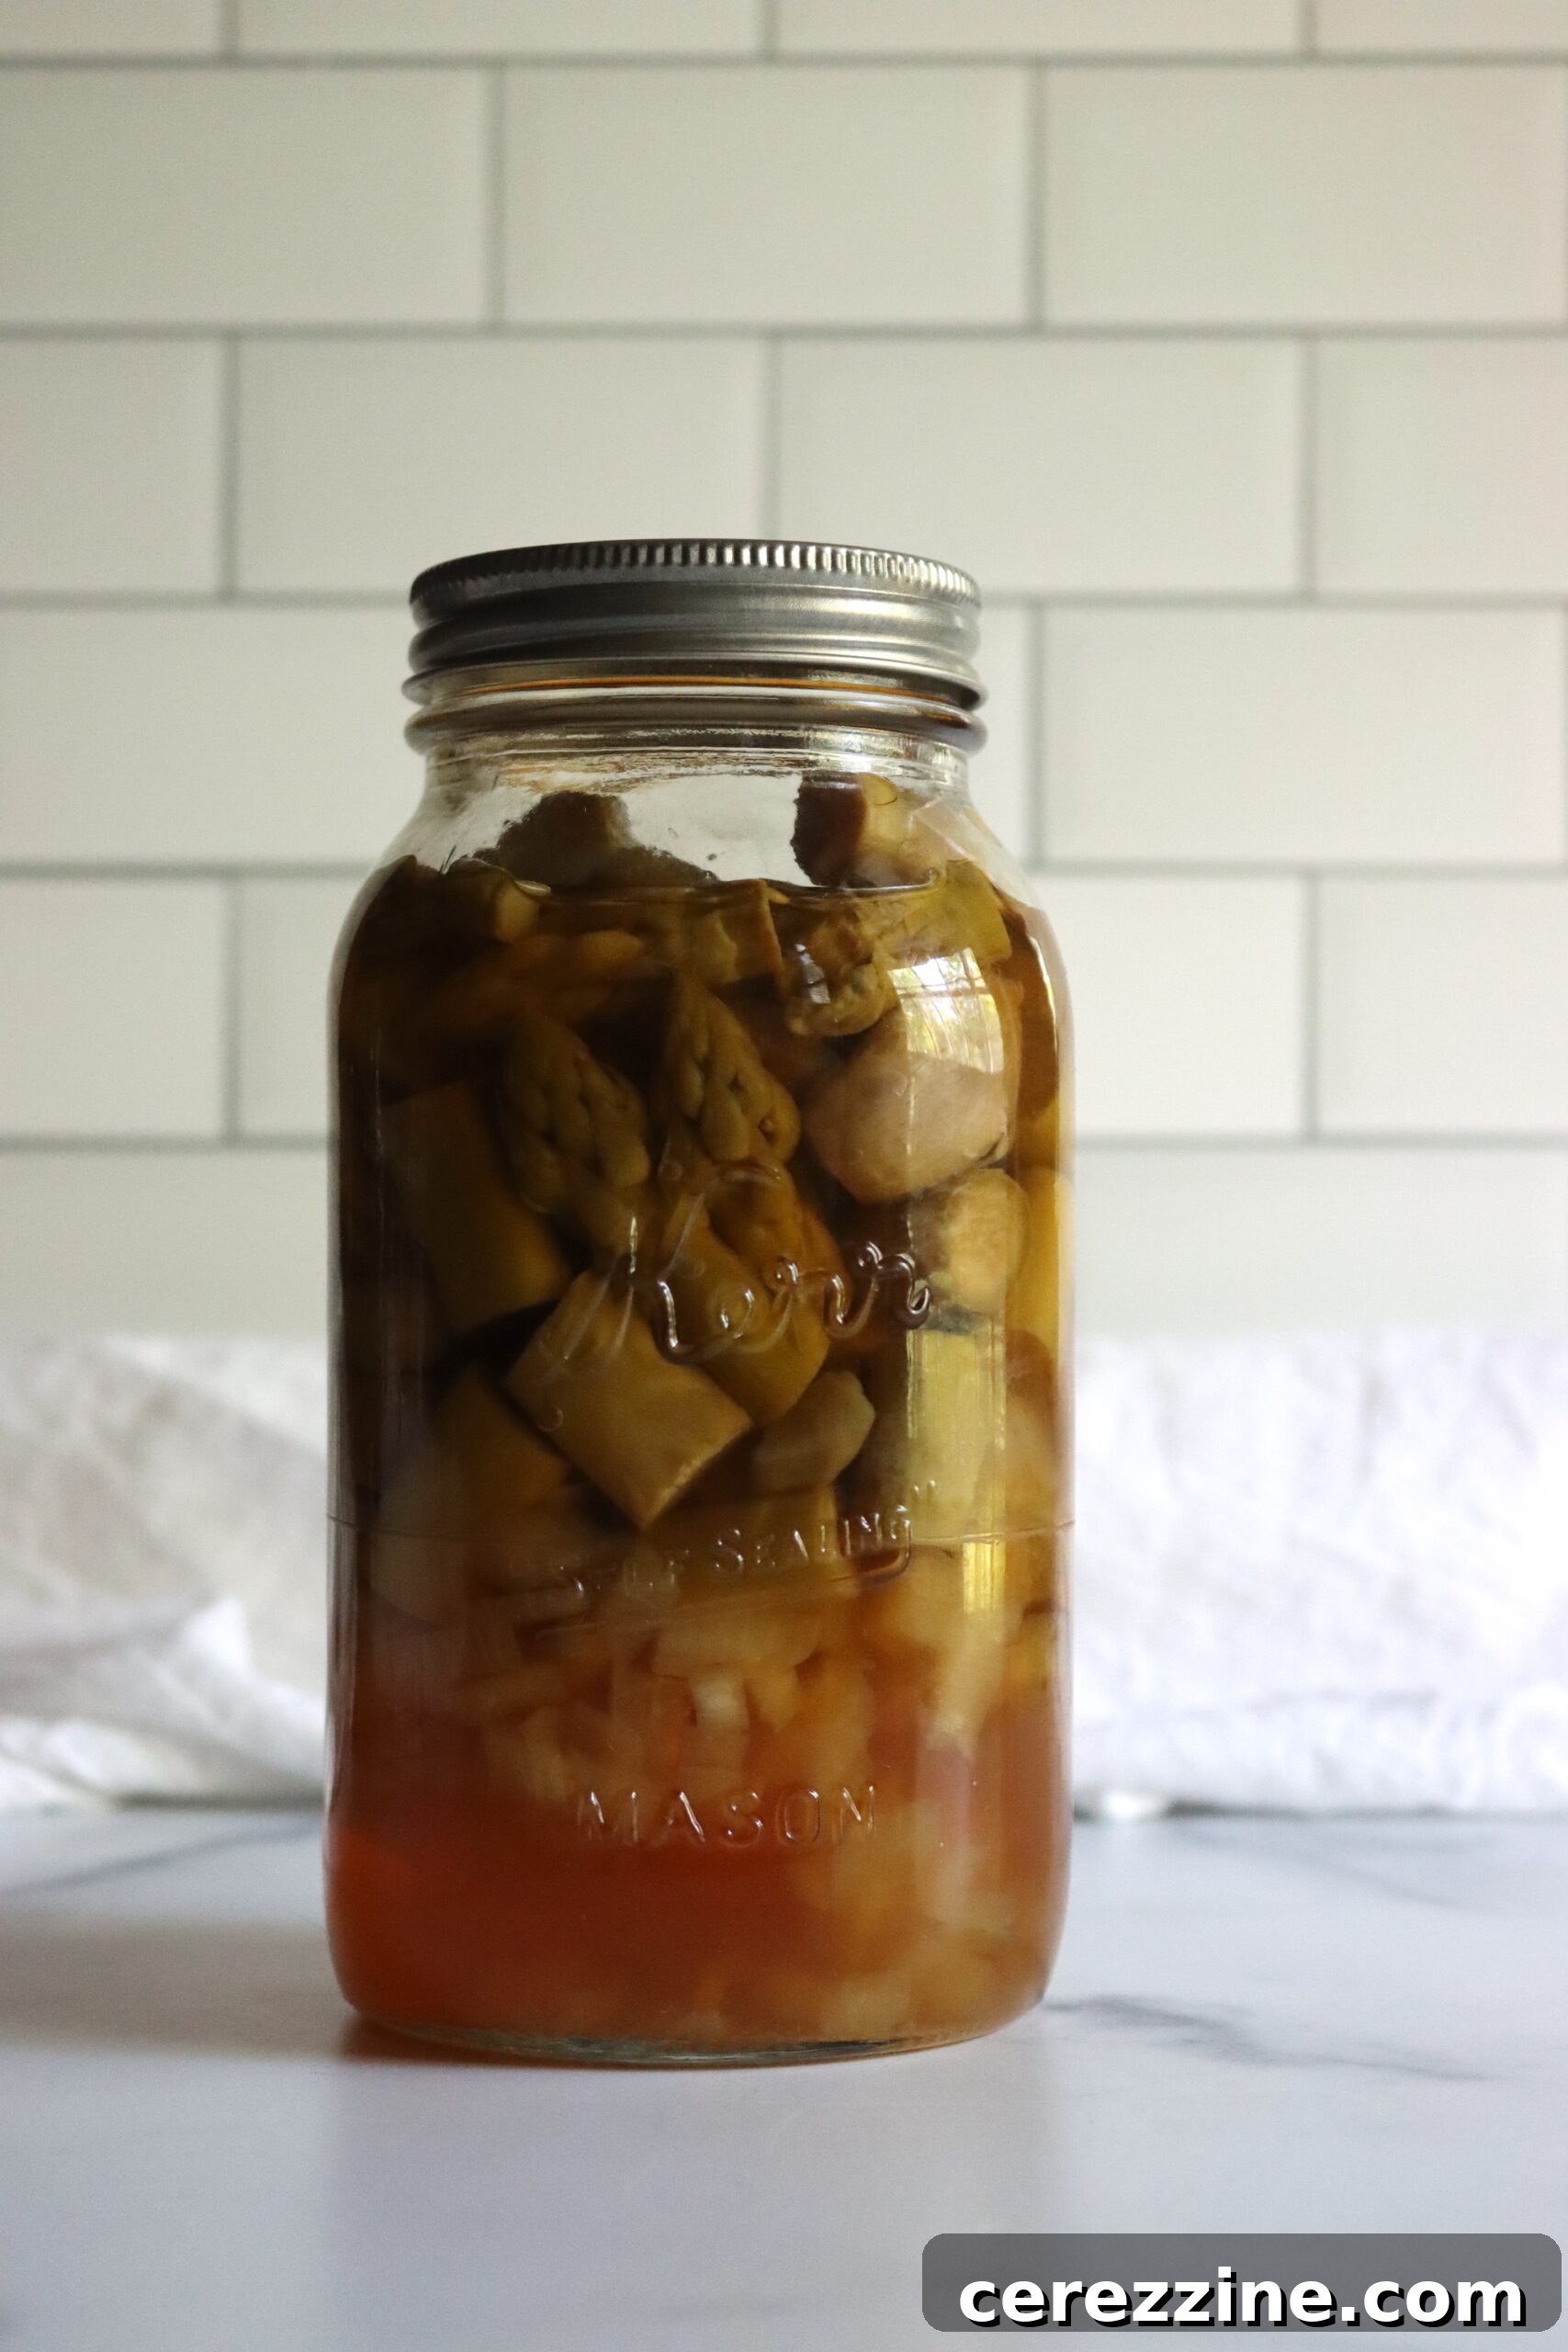
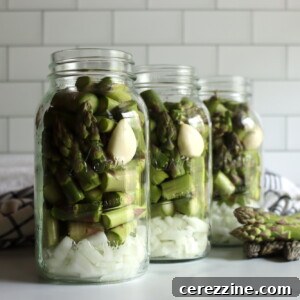
This canning recipe utilizes the hot pack method, a technique highly recommended for many vegetable canning recipes, especially soups. While I’ve included images showing raw ingredients layered in jars to illustrate proportions, it’s paramount that you prepare this soup base using the hot pack procedure.
What does hot packing entail? It means that all your ingredients—the chopped asparagus, onions, garlic, and vegetable stock—must be combined in a large stockpot, brought to a rolling boil, and then simmered for a short period before being carefully ladled into your prepared canning jars.
The hot pack method serves several critical safety and quality purposes:
- Even Heat Distribution: Pre-cooking the ingredients ensures that the vegetables are uniformly heated throughout the mixture. This prevents the formation of dense, cold spots in the jars that might not reach the required sterilization temperature during pressure canning.
- Improved Pack: Heating the vegetables causes them to soften and shrink slightly, allowing for a denser pack in the jars without overfilling. This helps to prevent “siphoning,” where liquid is forced out of the jars during processing due to overpacking or improper headspace.
- Enhanced Flavor and Texture: A brief simmer helps meld the flavors of the vegetables and broth, resulting in a more cohesive and delicious soup base. It also helps to maintain a desirable texture in the final product.
- Reduced Air Bubbles: Hot packing helps to release trapped air from the food before it’s sealed in the jar, which contributes to a more stable vacuum seal and reduces the risk of spoilage.
Always remember: for canning safety, all components of the soup base must be evenly distributed and thoroughly heated before being packed into jars and placed in the pressure canner. This meticulous approach guarantees a safe, delicious, and long-lasting preserve.
Gathering Your Ingredients for Asparagus Soup Base
Crafting a truly exceptional homemade canned asparagus soup starts with selecting the freshest, highest-quality ingredients. For this recipe, which adheres to the University of Alaska’s Hearty Soup Canning Guidelines (Publication FNH-00065), we focus on simple, wholesome components that shine when combined. The minimum batch size for safe pressure canning is typically two quarts, but you can easily scale this recipe up to fit your canner’s capacity and your harvest abundance.
For a small two-quart canner batch, you’ll need:
- 1 ½ cups chopped onion (about 200 g): Fresh, sweet onions will provide a foundational sweetness and aromatic depth to the soup.
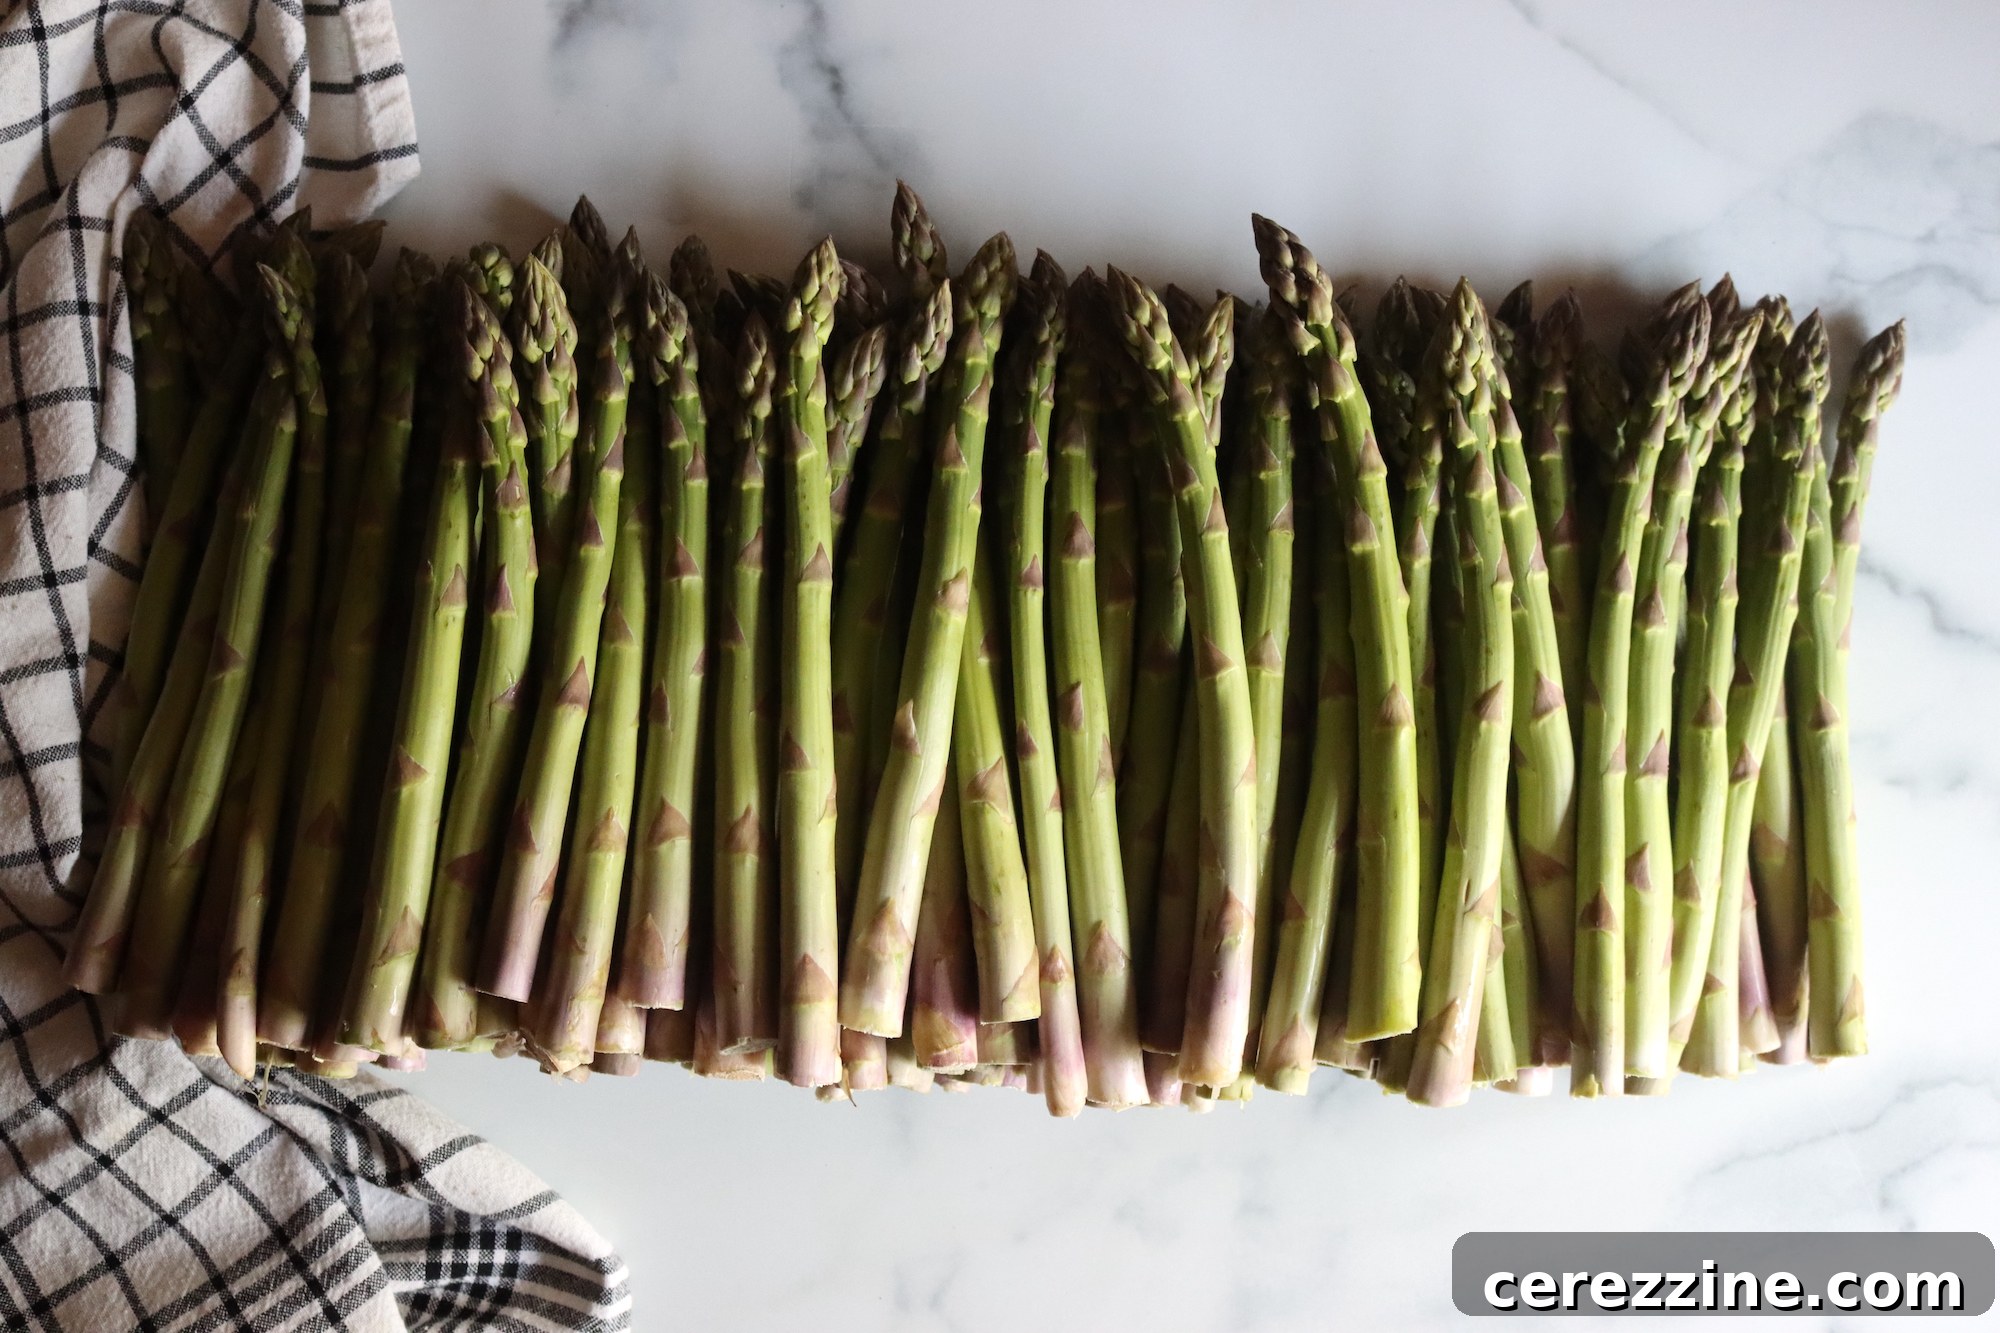
- 6 cups chopped asparagus (about 400 g): Seek out firm, bright green asparagus spears. Trimming off the tough ends is key for optimal texture.
- 2 garlic cloves, minced or whole (5 to 10 g): Garlic adds a crucial layer of savory flavor. Adjust to your preference – whole cloves will infuse a milder garlic essence, while minced will be more pronounced.
- 2 tsp salt: A vital ingredient for both flavor enhancement and its role in the canning process. Use canning or pickling salt if possible to avoid cloudiness, though regular table salt (non-iodized) is also acceptable.
- Vegetable stock to fill (about 4 cups): Choose a high-quality vegetable stock. This is a vegetarian recipe, but for those who prefer, chicken stock can be substituted for a richer, heartier flavor profile.
Quantities for Each Quart Jar (Scaling Up)
If you’re planning a larger batch, here’s a breakdown of the approximate quantities needed per quart jar. This makes scaling up your production simple and ensures consistent flavor and safe processing for each jar:
- ¾ cup chopped onion (about 100 g)
- 1 ½ cups chopped asparagus (about 200 g)
- 1 garlic clove, minced or whole
- 1 tsp salt
- Vegetable stock to fill (approximately 1 ½ to 2 cups, depending on how tightly packed your vegetables are)
Feel free to customize the proportions slightly based on your personal taste preferences. The beauty of home canning is the ability to create flavors that truly resonate with you, while always adhering to critical safety guidelines.
Step-by-Step Guide to Canning Asparagus Soup Base
Pressure canning can seem daunting at first, but by following these detailed steps, you’ll confidently preserve your homemade asparagus soup base for future enjoyment. Always prioritize safety and precision throughout the process.
1. Prepare Your Equipment and Ingredients:
Begin by ensuring your pressure canner is in excellent working order. Check the gauge for accuracy and inspect the gasket for any cracks or damage. Wash and sterilize your canning jars and lids. If you’re using the hot pack method, your canner should be simmering at around 180°F (82°C) with 2-3 inches of water, ready for the filled jars.
Next, prepare your fresh vegetables. Peel and uniformly chop your onions into bite-sized pieces. Trim the woody ends from your asparagus spears, then chop the tender parts into ½ to 1-inch pieces. If using fresh garlic, mince it finely. Consistency in chop size ensures even cooking and a pleasant texture in your finished soup.
2. Cook the Soup Base:
In a large, heavy-bottomed stockpot, combine the chopped onions, asparagus, minced garlic, and salt. Pour in enough vegetable stock to fully cover the vegetables. Bring the mixture to a vigorous boil over high heat, stirring occasionally to ensure even heating. Once boiling, reduce the heat to a gentle simmer and let it cook for approximately 5 minutes. This quick cook is crucial; it helps the vegetables soften just enough, releases air, and promotes better packing and heat penetration during the canning process, without fully cooking them to mush.
3. Pack the Jars:
Carefully ladle the hot soup base into your prepared hot canning jars. Use a slotted spoon to add the solids first, distributing them evenly among the jars. Then, pour the hot broth over the solids, making sure to leave 1 inch of headspace from the rim of the jar. Headspace is critical; too little can cause siphoning, while too much can result in an incomplete seal.
After filling, use a clean, non-metallic utensil (like a plastic spatula or a specialized bubble remover) to gently remove any trapped air bubbles from the jars. Slide the utensil along the inside of the jar, pressing gently on the food to release air. Recheck the headspace and add more broth if necessary to maintain the 1-inch mark.
Wipe the rims of the jars thoroughly with a clean, damp cloth to remove any food particles or grease. This step is essential for achieving a perfect, airtight seal. Place the clean canning lids on top of the jars, followed by the metal screw bands. Tighten the bands “fingertip tight”—just enough to secure the lid, but not so tight that air cannot escape during processing.
4. Pressure Canning Process:
Carefully place the filled and sealed jars into your pressure canner, ensuring they are not touching each other and are fully submerged in the simmering water (or sitting on a rack above simmering water, depending on your canner type). Secure the canner lid according to your model’s instructions, making sure it’s locked into place.
Turn the heat to high. Allow a steady stream of steam to escape from the vent or petcock for a full 10 minutes. This “venting” step is crucial for removing all air from the canner, ensuring that the internal temperature is solely driven by steam pressure. After 10 minutes, place the weighted gauge or close the petcock and allow the canner to come up to the recommended pressure.
Once the canner reaches the target pressure, begin timing the processing. Process pint jars for 75 minutes and quart jars for 90 minutes at 10 pounds of pressure. (Please refer to the “Altitude Adjustments” section below for pressure modifications based on your elevation.) Maintain consistent pressure throughout the entire processing time, adjusting heat as needed.
5. Cool and Store:
After the processing time is complete, turn off the heat and allow the pressure canner to cool down naturally and completely. Do not try to rush this process by opening the vent or pouring cold water over the canner, as this can lead to siphoning or jar breakage. Once the pressure gauge reads zero, and no steam escapes when the vent is opened, carefully remove the lid.
Using a jar lifter, carefully remove the hot jars from the canner and place them on a cooling rack or a thick towel, ensuring they are not touching. Allow them to cool undisturbed for 12 to 24 hours. During this time, you’ll hear the satisfying “ping” sound as the lids seal.
After the cooling period, check all seals. A properly sealed lid will be concave (curved inward) and will not flex or “pop” when pressed in the center. If any jars did not seal, they must be reprocessed immediately with a new lid (within 24 hours) or refrigerated and consumed within a few days.
Wipe down your sealed jars, label them with the contents and date, and store them in a cool, dark, dry place away from direct sunlight. Your home-canned asparagus soup base will maintain peak quality for 12 to 18 months, though it will remain safe to eat as long as the seal holds. Once opened, refrigerate any unused portion.
Crucial Altitude Adjustments for Pressure Canning Soup
When engaging in pressure canning, understanding and applying altitude adjustments is not just a recommendation—it’s a critical safety measure. Water boils at a lower temperature at higher altitudes, which means that the pressure inside your canner must be increased to achieve the same sterilization temperature found at sea level. While processing *times* generally remain constant, the *pressure* required will change based on your elevation. Always refer to your local extension office or USDA guidelines for the most accurate and up-to-date information.
Here are the standard altitude adjustments for pressure canning soups, ensuring that your asparagus soup base is processed safely and effectively, regardless of your location:
For Dial Gauge Pressure Canners:
- 0 to 2,000 feet in elevation – 11 lbs pressure
- 2,001 to 4,000 feet in elevation – 12 lbs pressure
- 4,001 to 6,000 feet in elevation – 13 lbs pressure
- 6,001 to 8,000 feet in elevation – 14 lbs pressure
For Weighted Gauge Pressure Canners:
- 0 to 1,000 feet in elevation – 10 lbs pressure
- Above 1,000 feet – 15 lbs pressure
It is vital to monitor your canner’s pressure gauge closely throughout the entire processing time and adjust the heat as needed to maintain the correct pressure for your altitude. Fluctuations in pressure can compromise the safety of your canned goods.
Transforming Your Asparagus Soup Base into a Culinary Masterpiece
The true versatility of this canned asparagus soup base comes to life at serving time. While delicious as is, it’s specifically designed to be customized, offering endless possibilities for a truly gourmet experience. Here’s how to elevate your soup from a simple base to a rich, creamy, and flavorful meal.
When you’re ready to enjoy, simply retrieve a jar from your pantry. Pour the chunky soup base into a saucepan and gently heat it on the stove, or microwave it until thoroughly warmed. The magic truly happens next:
- Puree to Perfection: For that classic smooth and velvety texture, use an immersion blender directly in the pot, or transfer the soup to a regular blender and process until creamy. Be cautious when blending hot liquids, only filling the blender half-full and covering with a towel to prevent splashes.
- Add Cream for Indulgence: Once pureed and heated, stir in a generous splash of heavy cream, half-and-half, or a dollop of crème fraîche. This instantly transforms the base into a luscious, rich cream of asparagus soup, perfect for cozy evenings or elegant dinner parties. For a dairy-free option, a swirl of full-fat coconut milk or cashew cream works wonderfully.
- Garnish for Flair: Elevate your presentation and flavor with simple garnishes. A sprinkle of freshly grated Parmesan cheese, a swirl of good quality olive oil, or a scattering of fresh herbs like chives, parsley, or dill can make all the difference. Crispy croutons, toasted almond slivers, or a spoonful of pesto also make excellent toppings.
- Customize Further: Don’t be afraid to experiment! A squeeze of lemon juice can brighten the flavors, while a pinch of nutmeg or white pepper can add subtle warmth. You can also use this soup base as a starting point for other dishes, like a base for a creamy risotto, a sauce for pasta, or even a flavorful component in a vegetable quiche.
This canned asparagus soup base truly is a culinary blank canvas, ready for you to paint your masterpiece whenever the mood strikes. Enjoy the taste of fresh asparagus, any time of year!
4
servings, Makes 2 quarts
Canning Asparagus Soup Base
Ashley Adamant
15
5
1
30
Print Recipe
Equipment
-
Pressure Canner
Ingredients
For a small two-quart canner batch (approx. 4 servings), you’ll need:
-
1 ½
cup
onion,
chopped (about 200 g) -
6
cups
asparagus,
chopped (about 400 g) -
2
cloves
garlic,
minced or whole -
2
tsp
salt -
Vegetable stock to fill,
(about 4 cups)
Instructions
-
Prepare your pressure canner and jars. For hot packing, ensure your canner is simmering at approximately 180°F.
-
Wash, peel, and chop the onions and asparagus. Mince the garlic if using fresh.
-
In a large pot, combine the chopped onions, asparagus, garlic, and salt. Pour in vegetable stock until all vegetables are covered, then bring the mixture to a full boil. Reduce heat and simmer for about 5 minutes.
-
Ladle the hot soup base solids into hot jars, leaving 1 inch of headspace. Then, top with the hot broth, maintaining the 1-inch headspace.
-
Remove any air bubbles using a non-metallic utensil. Wipe jar rims clean. Place lids and screw bands, tightening fingertip tight. Process jars in your pressure canner for 90 minutes for quarts or 75 minutes for pints, at 10 pounds of pressure (adjust pressure for altitude, see guide).
-
Allow the canner to cool naturally. Remove jars, check seals after 12-24 hours, and store in a cool, dark place.
Notes
Just a quick reminder: while the images may show ingredients portioned directly in jars for visual clarity, this recipe must be hot packed. This means you’ll combine all ingredients in a large stockpot with broth, bring it to a full boil, and then ladle the hot mixture into jars for canning. This step is crucial for safety and quality, ensuring even heat distribution and proper processing.
Quantities for Each Quart (Scaling Up)
This recipe is based on the University of Alaska’s Hearty Soup Canning Guidelines (Publication FNH-00065). The minimum batch size for pressure canning is two quarts. If you are scaling up, here’s how much you’ll need for each additional quart jar:
- ¾ cup chopped onion (about 100 g)
- 1 ½ cups chopped asparagus (about 200 g)
- 1 garlic clove, minced or whole
- 1 tsp salt
- Vegetable stock to fill (about 1 ½ to 2 cups)
Serving Suggestions
When you’re ready to enjoy your creamy asparagus soup, simply heat it on the stove or in the microwave. It can be served as is, but it’s truly meant to be pureed at serving time for a smooth texture. For a rich, creamy finish, stir in some heavy cream or a dollop of crème fraîche right before serving. You can also garnish with fresh herbs, a sprinkle of parmesan, or toasted croutons for extra flavor and elegance.
Altitude Adjustments
With pressure canning, processing times remain constant, but pressures change with elevation. Consult these guidelines for safe canning:
For dial gauge pressure canners:
- 0 to 2,000 feet in elevation – 11 lbs pressure
- 2,001 to 4,000 feet in elevation – 12 lbs pressure
- 4,001 to 6,000 feet in elevation – 13 lbs pressure
- 6,001 to 8,000 feet in elevation – 14 lbs pressure
For weighted gauge pressure canners:
- 0 to 1,000 feet in elevation – 10 lbs pressure
- Above 1,000 feet – 15 lbs pressure
Nutrition
Calories:
66
kcal
,
Carbohydrates:
14
g
,
Protein:
5
g
,
Fat:
0.3
g
,
Saturated Fat:
0.1
g
,
Polyunsaturated Fat:
0.1
g
,
Monounsaturated Fat:
0.01
g
,
Sodium:
1169
mg
,
Potassium:
500
mg
,
Fiber:
5
g
,
Sugar:
6
g
,
Vitamin A:
1521
IU
,
Vitamin C:
16
mg
,
Calcium:
65
mg
,
Iron:
4
mg
Nutrition information is automatically calculated, so should only be used as an approximation.
Like this recipe? Leave a comment below!
Your feedback helps others discover delicious canning ideas.
Explore More Soup Canning Recipes
Expanding your pantry with homemade goodness is a rewarding endeavor. Beyond this delightful asparagus soup base, there’s a world of soup canning recipes waiting to be discovered. Stock up your shelves with these hearty and flavorful options:
- Sausage, Potato, and Kale Soup
- Taco Soup
- Canned Carrot Soup
- Roasted Tomato Basil Soup
- Hearty Split Pea Soup
- Classic Chicken Soup
Delicious Vegetarian Canning Recipes for Your Pantry
For those seeking plant-centered options, home canning offers a fantastic way to preserve a wide array of vegetarian delights. From savory soups to versatile staples, these vegetarian canning recipes will enrich your pantry and simplify meal preparation:
- Vegetarian Baked Beans
- Canned Carrot Soup
- Chipotle Black Bean Soup
- Homemade Vegetable Broth