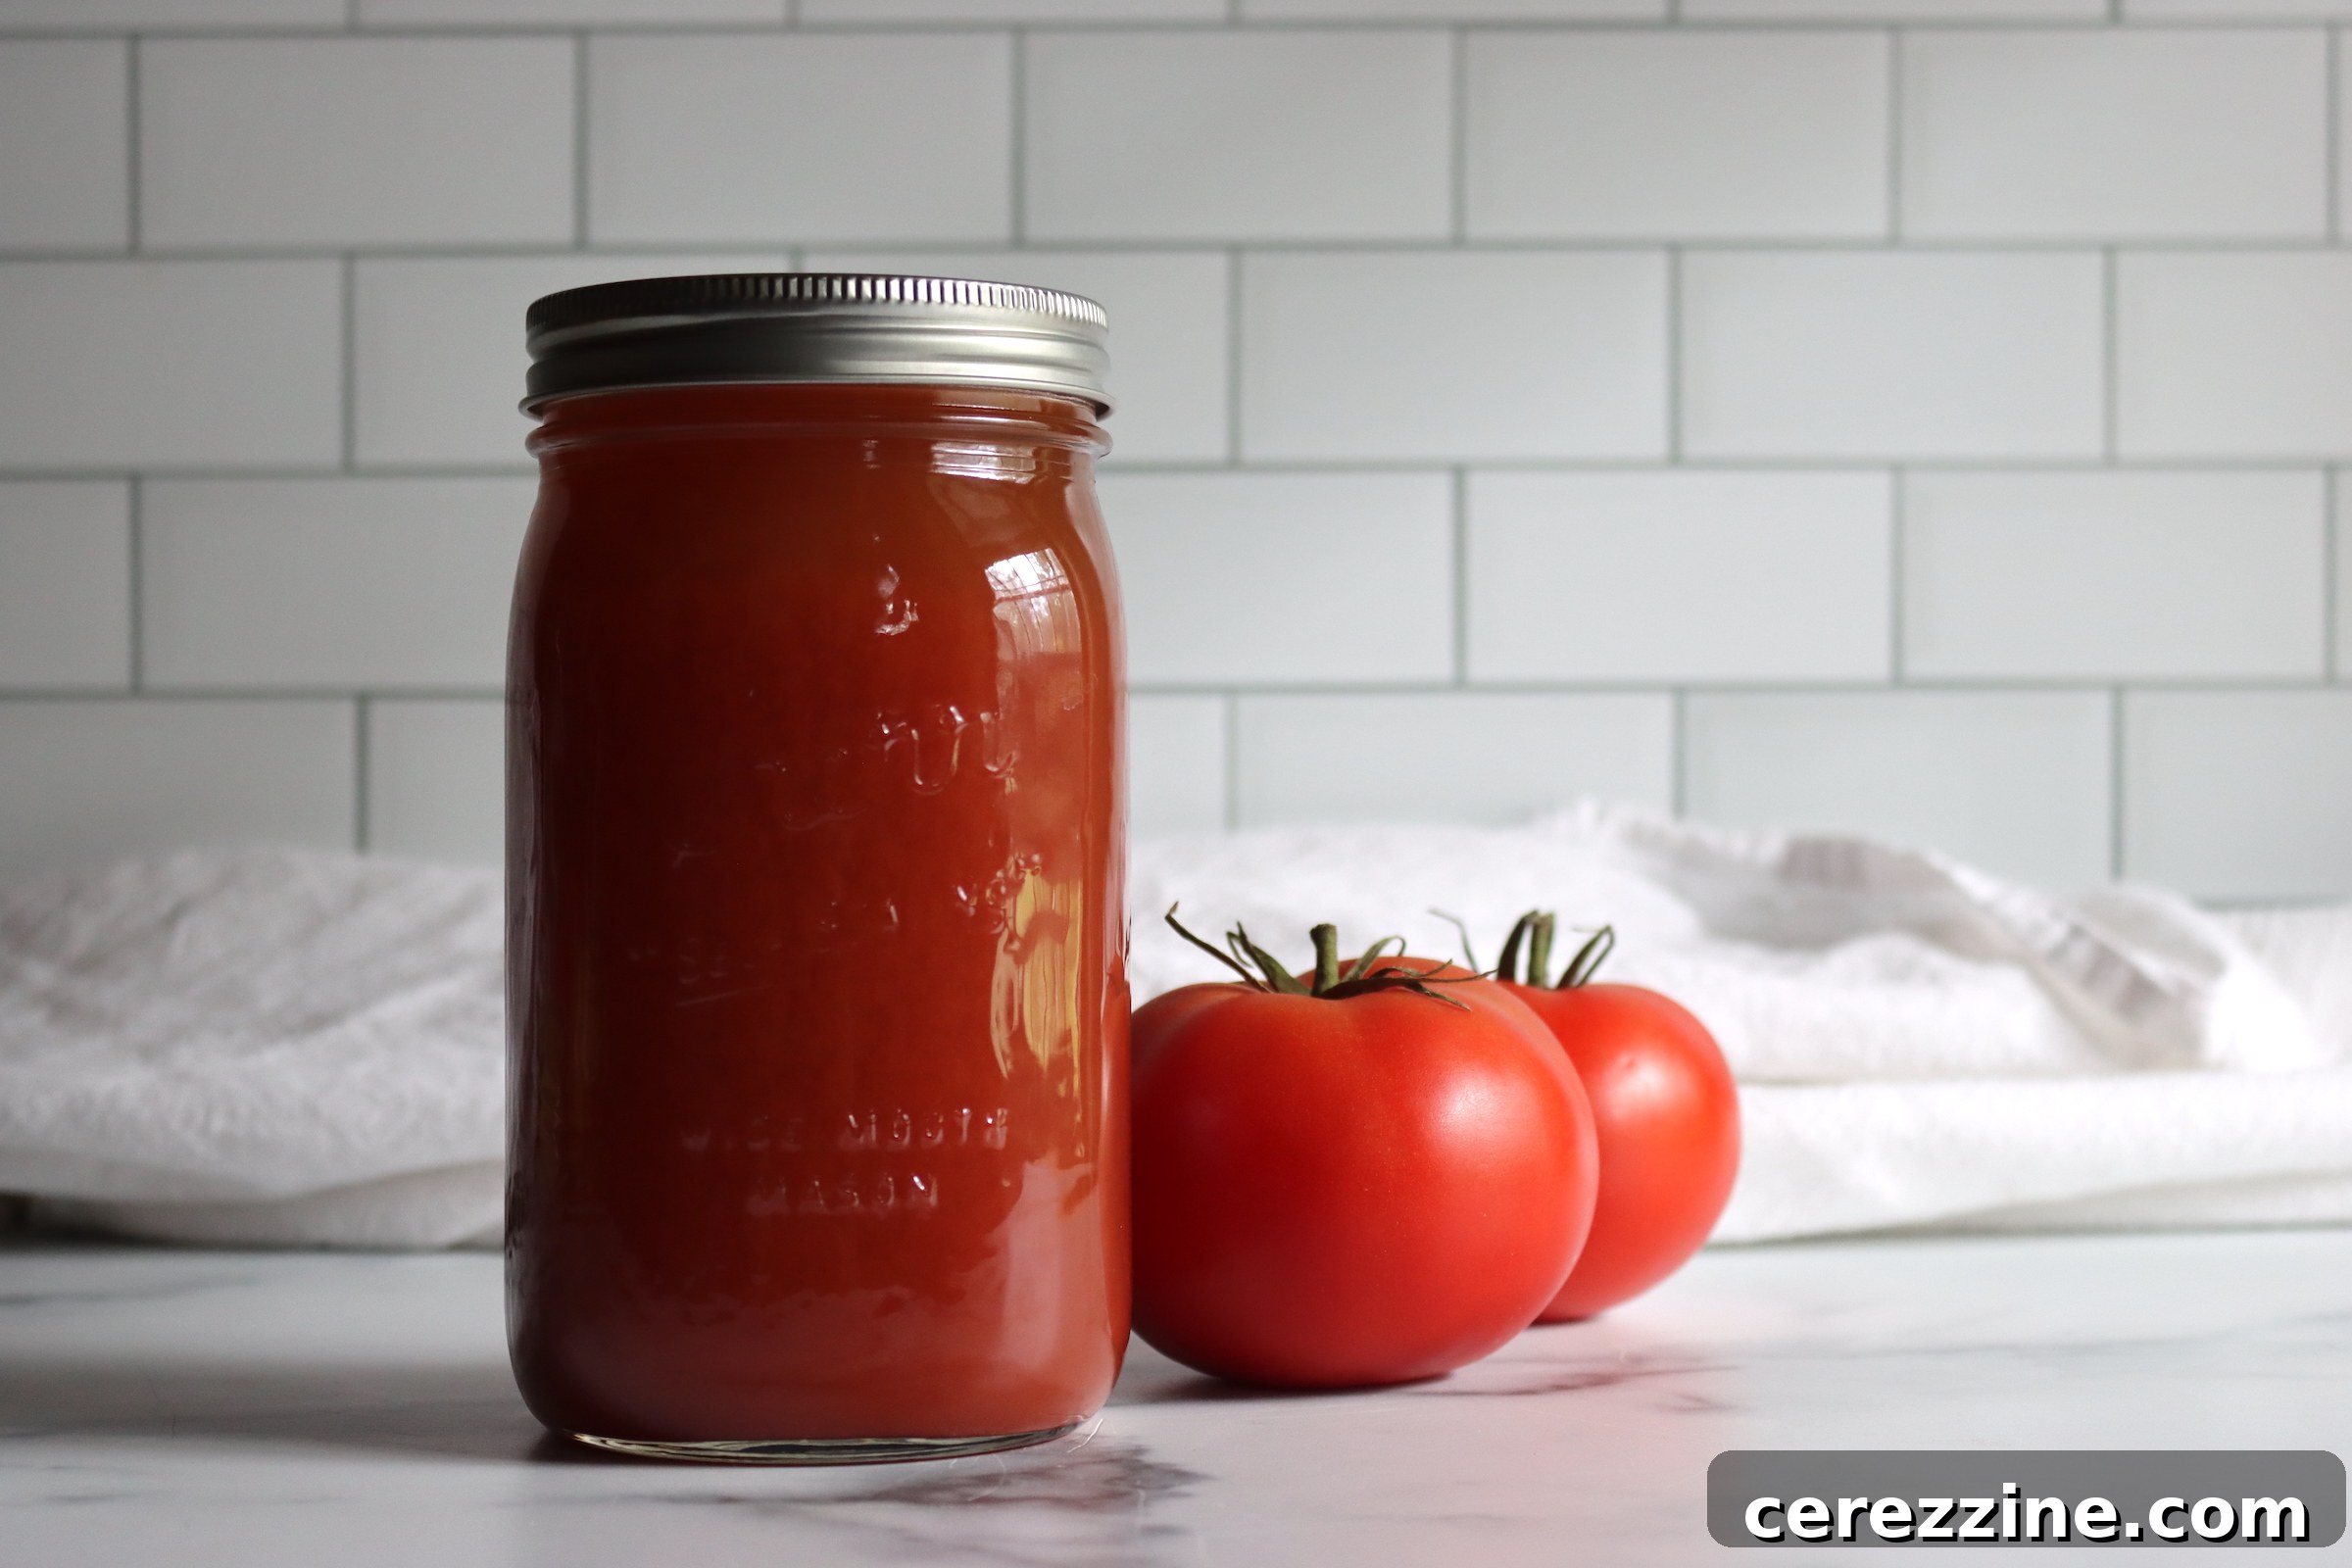
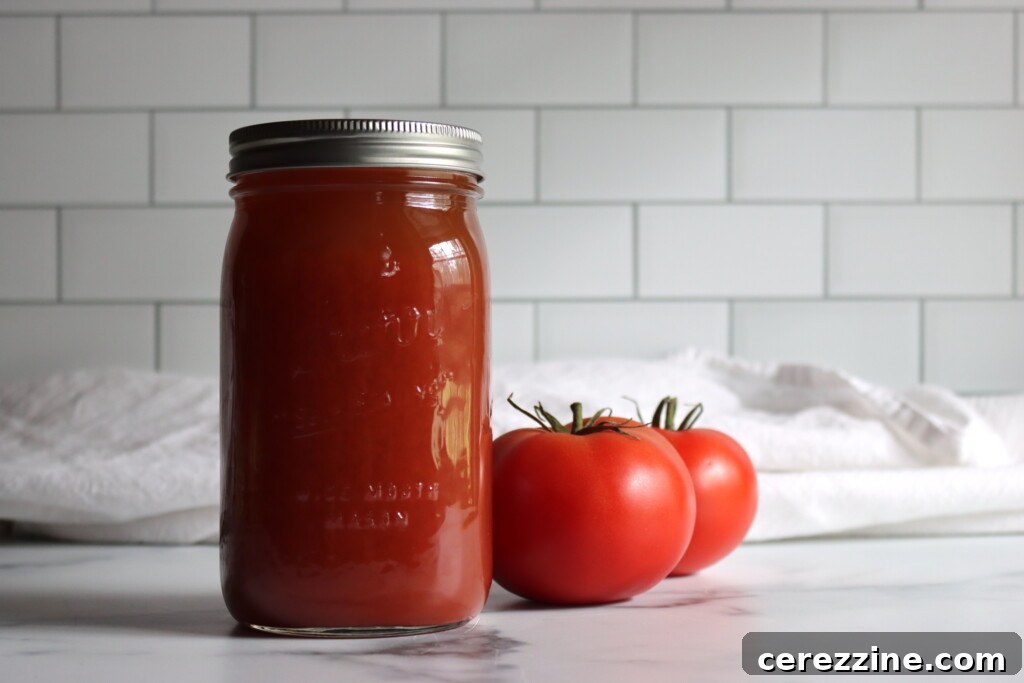
There’s nothing quite like the vibrant, fresh taste of summer tomatoes. And when your garden is overflowing or you’ve found a great deal on bulk ripe fruit, canning tomato juice is an incredibly rewarding and practical way to capture that fleeting summer flavor. This process transforms soft or overripe tomatoes into smooth, delicious, and seed-free juice, ready to be enjoyed all year long. Perfect for enriching soups, enhancing sauces, or even sipping straight as a savory drink, homemade canned tomato juice is a pantry staple that offers immense versatility. Best of all, this comprehensive guide provides a safe, tested recipe that can be preserved using either a water bath or pressure canner, offering flexibility for home preservers of all experience levels.
Unlock Summer’s Flavor: A Guide to Canning Homemade Tomato Juice
As the days grow longer and the sun warms the soil, tomatoes begin their prolific bounty. For many home gardeners and fresh produce enthusiasts, this means a joyous, yet often overwhelming, abundance of ripe, juicy tomatoes. While slicing them for sandwiches or roasting them for marinara sauce are delightful ways to enjoy the harvest, making and canning tomato juice stands out as one of the simplest and most rewarding preservation projects. It’s an efficient method to process a large quantity of tomatoes, especially those that are slightly soft or imperfect, transforming them into a liquid gold that brings the taste of summer to your table even in the dead of winter.
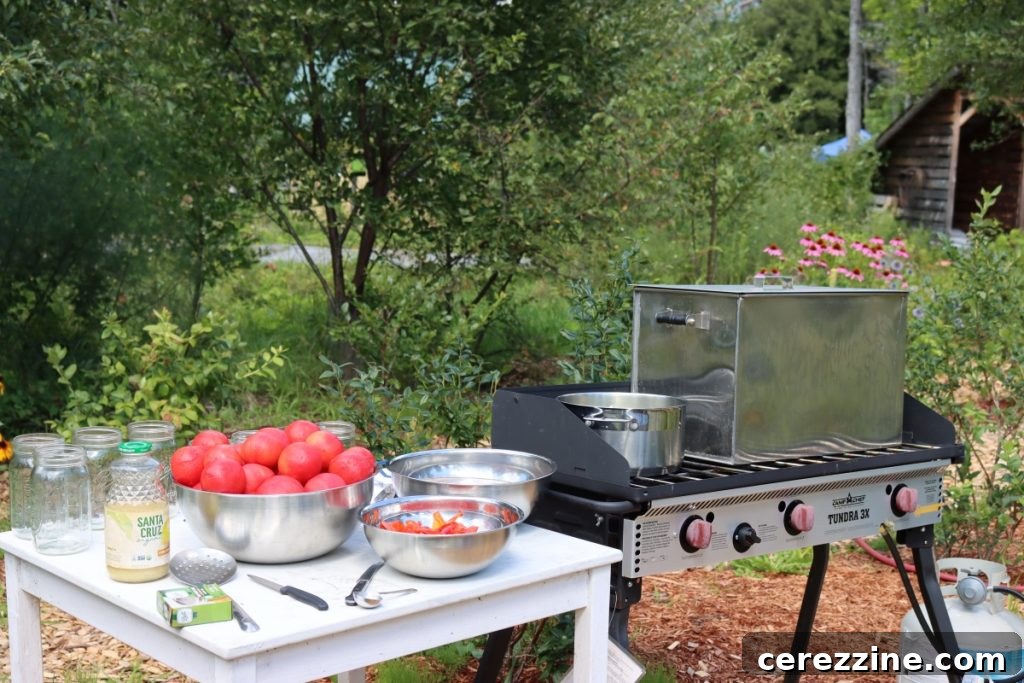
One of the unique advantages of canning tomato juice is the rare flexibility it offers: you have the option of using either a water bath canner or a pressure canner. This dual approach allows you to tailor your canning method to your available equipment and time constraints. Whether you’re preparing a massive batch in a double-decker water bath canner alongside other canning recipes in your outdoor canning kitchen, or quickly processing a smaller load with the speed of a pressure canner, the result is the same: shelf-stable, nutrient-rich tomato juice that will last throughout the cooler months. This particular method is a safe, tested recipe, adapted from the authoritative “So Easy to Preserve” guide by the University of Georgia Extension, ensuring reliable and delicious results every time.
Essential Ingredients & Yield Expectations
Before diving into the canning process, it’s helpful to understand the quantities needed. To prepare a full 7-quart canner load of tomato juice, you will require approximately 23 pounds of fresh, ripe tomatoes. If you’re aiming for a smaller batch, such as a 9-pint load, plan on using around 14 pounds of tomatoes. For those working with larger harvests, a bushel of tomatoes typically weighs about 53 pounds and can yield anywhere from 15 to 18 quarts of juice. This yield can fluctuate based on the specific tomato variety and its inherent juiciness, but on average, expect to use about 3 ¼ pounds of tomatoes per finished quart of juice.
Beyond the main ingredient, you’ll also need a few other critical items:
- Bottled Lemon Juice or Citric Acid: Essential for proper acidification to ensure safety.
- Salt: Entirely optional, added purely for enhancing flavor if desired.
- A Food Mill or Fine Mesh Sieve: Indispensable tools for efficiently removing skins and seeds, resulting in a smooth, pulp-free juice.
Step-by-Step Guide to Canning Tomato Juice
The journey to homemade canned tomato juice begins with meticulous preparation, ensuring both quality and safety in your final product. Follow these steps for a perfect batch:
- Tomato Preparation: Start by thoroughly washing your fresh tomatoes. Remove any stems and carefully trim away any bruised, blemished, or soft spots. This initial clean-up is crucial for the best flavor and preventing spoilage.
- Preventing Juice Separation (Highly Recommended): To avoid the common issue of juice and pulp separating into distinct layers in the jar, immediate heating is key. This deactivates an enzyme called pectinase that breaks down pectin, which is responsible for holding the tomato solids together.
Cut about 1 pound of tomatoes into quarters and place them directly into a large saucepan. Begin heating them to boiling while actively crushing them with a spoon or potato masher. Continue this process, gradually adding more quartered tomatoes a few pounds at a time, ensuring you crush and stir constantly to maintain a boiling temperature. Once all your tomatoes have been added and the mixture is vigorously bubbling, simmer for an additional 5 minutes.
Note: If you are not concerned about juice separation, you can skip the staggered boiling and simply quarter all your tomatoes, crush them in the pot, and simmer everything for 5 minutes. However, the visual appeal of separated juice can be unappetizing, so the immediate heating method is strongly advised for a uniform product.
- Extracting the Juice: Once the tomatoes have simmered, press the hot mixture through a food mill or a fine mesh sieve. This step effectively removes all the skins and seeds, leaving you with a smooth, rich tomato juice.
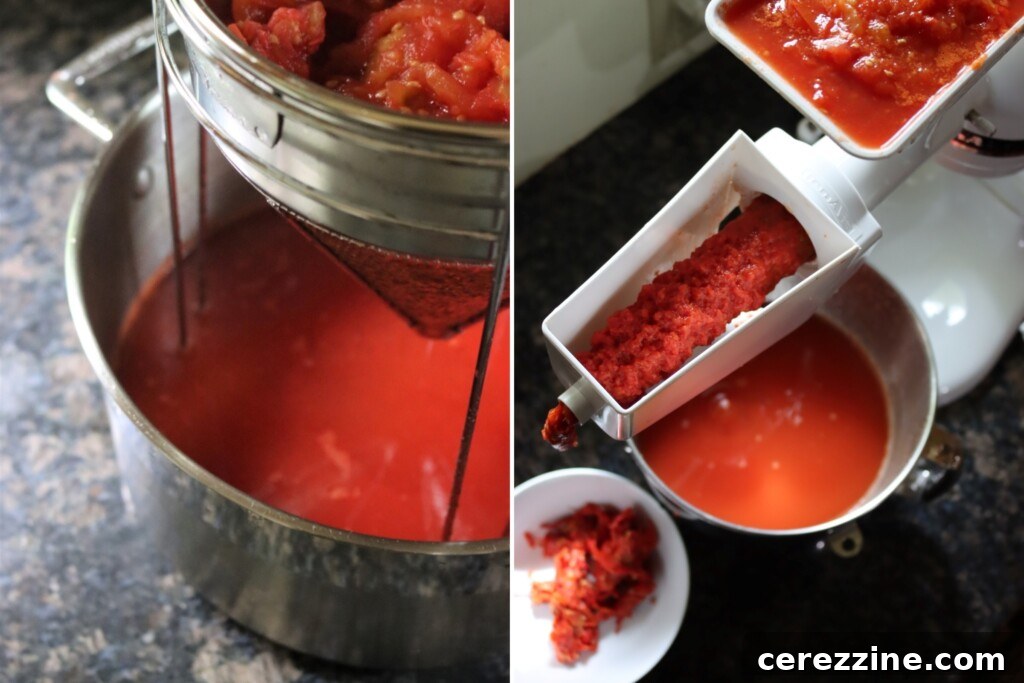
- Reheating the Juice: Return the freshly extracted tomato juice to the pot and bring it back to a full, rolling boil. Maintain this boil while you prepare your jars.
- Jar Preparation & Acidification: While your juice is heating, prepare your canning jars. Ensure they are clean and hot. Add your chosen acidifier to each jar:
- Bottled Lemon Juice: 2 tablespoons per quart or 1 tablespoon per pint.
- Citric Acid: ½ teaspoon per quart or ¼ teaspoon per pint.
You may also add up to 1 teaspoon of salt per quart for flavor, if desired.
- Filling and Sealing Jars: Carefully pour the hot tomato juice into your hot, prepared jars, leaving precisely ½ inch of headspace (the empty space between the juice and the rim of the jar). This headspace is critical for proper sealing. Wipe the rims of the jars clean with a damp cloth to ensure no food particles interfere with the seal. Apply new, clean lids and screw rings fingertip-tight.
- Processing Your Jars: Your filled and sealed jars are now ready for processing. This recipe allows for preservation using either a water bath canner or a pressure canner. It is crucial to remember that acidification with lemon juice or citric acid is absolutely required for safe canning, even when using a pressure canner, as it ensures a reliably acidic environment. Refer to the specific processing times and pressures below, adjusting for your altitude.
Water Bath Canning Times
For processing jars of hot tomato juice in a boiling water bath canner, ensure the jars are fully submerged in boiling water throughout the processing time. Adjust the duration based on your elevation:
- 0–1,000 ft: 35 minutes for pints, 40 minutes for quarts
- 1,001–3,000 ft: 40 minutes for pints, 45 minutes for quarts
- 3,001–6,000 ft: 45 minutes for pints, 50 minutes for quarts
- Above 6,000 ft: 50 minutes for pints, 55 minutes for quarts
Pressure Canning Times
If you opt for pressure canning, which offers significantly shorter processing times, process both pints or quarts for 15 minutes. Adjust the required pressure according to your canner type and local elevation:
Dial-Gauge Pressure Canner (15 minutes):
- 0–2,000 ft: 11 PSI
- 2,001–4,000 ft: 12 PSI
- 4,001–6,000 ft: 13 PSI
- 6,001–8,000 ft: 14 PSI
Weighted-Gauge Pressure Canner (15 minutes):
- 0–1,000 ft: 10 PSI
- Above 1,000 ft: 15 PSI
A crucial reminder: acidification is absolutely required regardless of the canning method chosen. Never skip the lemon juice or citric acid.
Understanding the Importance of Lemon Juice or Citric Acid in Canning
Even though tomatoes are naturally recognized for their acidity, their pH levels can actually vary quite significantly. Factors such as the specific variety of tomato (especially modern hybrids and heirlooms), its ripeness, and even the growing conditions can all influence its acidity. To guarantee that every single jar of your home-canned tomato juice is safe for consumption, particularly when using a water bath canner, it is absolutely essential to acidify each jar. This critical step involves adding a precise amount of either bottled lemon juice or citric acid.
Bottled lemon juice is the preferred choice over fresh lemons for acidification in canning. This is because bottled lemon juice has a standardized, consistent acidity (typically around 5%), which makes it a reliable and predictable acidifier. Fresh lemons, on the other hand, can have varying pH levels, making them less dependable for ensuring canning safety. For safe canning, add 2 tablespoons of bottled lemon juice per quart jar, or 1 tablespoon per pint jar.
Alternatively, if you prefer, citric acid works just as effectively and has the added benefit of not altering the flavor of your tomato juice. When using citric acid, add ½ teaspoon per quart or ¼ teaspoon per pint. The acidifier should be added directly to the empty jar before you fill it with the hot tomato juice.
This simple, non-flavor-altering step is paramount for safety. It is crucial even if you are pressure canning your tomato juice. While pressure canning effectively eliminates spores that cause botulism, acidification further ensures that your jars adhere to safe, tested guidelines and helps maintain the quality and integrity of the juice over extended storage periods. It’s a small step that provides a huge peace of mind.
The Science Behind Preventing Juice Separation: Why Cook Tomatoes Immediately?
Have you ever opened a jar of home-canned tomato juice only to find two distinct layers—a clear, watery juice at the bottom and a thick, dense pulp sitting on top? This phenomenon is known as juice separation, and while it doesn’t affect the safety or flavor of your juice, it can certainly be less appealing visually. The secret to preventing this common occurrence lies in how you initially cook your tomatoes.
Tomatoes naturally contain an enzyme called pectinase. This enzyme’s role is to break down pectin, which is the natural polysaccharide that acts as a structural glue, holding the tomato pulp together. When you chop or crush raw tomatoes and allow them to sit for any period, the pectinase enzyme immediately gets to work, initiating the breakdown process. This breakdown causes the solids and liquids within the tomato to separate, leading to the layered appearance you might observe after canning.
By contrast, when you immediately heat the tomatoes as you chop and crush them, you quickly and effectively deactivate this pectinase enzyme before it has a chance to begin breaking down the pectin. This rapid heating “locks” the pulp and juice together, ensuring that your finished product remains smooth, uniform, and beautifully consistent in texture throughout the jar. This is precisely why this tested recipe instructs you to quarter a small batch of tomatoes and bring them to a boil immediately, then gradually add the remaining tomatoes, maintaining a rolling boil throughout the process. This meticulous method is your best defense against juice separation, delivering a superior quality homemade tomato juice.
Canning Tomato Juice Recipe
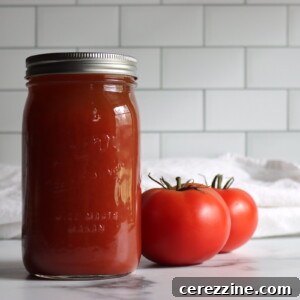
This classic tomato juice recipe is perfect for preserving your summer harvest. Use it in soups, stews, sauces—or sip it straight. Safe for both water bath and pressure canning with proper acidification.
- Prep Time: 25 minutes
- Cook Time: 5 minutes
- Canning Time: 45 minutes (approx., varies by method/altitude)
- Total Time: 1 hour 15 minutes
- Yields: 7 quarts (28 servings)
Equipment
- Water Bath Canner
- Pressure Canner (optional)
- Large saucepan or stockpot
- Food mill or fine mesh sieve
- Canning jars (pints or quarts)
- New lids and rings
- Jar lifter, funnel, headspace tool
Ingredients
- 23 lbs tomatoes, fresh, whole, as purchased (for 7 quarts)
- Bottled lemon juice (1 Tbsp per pint, 2 Tbsp per quart) OR Citric Acid (1/4 tsp per pint, 1/2 tsp per quart)
- Salt, optional (1/2 tsp per pint, 1 tsp per quart)
Instructions
- Wash tomatoes thoroughly, remove stems, and trim any bruised spots. To prevent juice separation, quarter about 1 pound of tomatoes and place them in a large saucepan. Heat to boiling while crushing. Gradually add the remaining quartered tomatoes, continuing to crush and stir to maintain a boil. Once all tomatoes are added, simmer for 5 minutes.
- Press the hot mixture through a food mill or fine mesh sieve to remove skins and seeds. Return the smooth juice to the pot and bring it back to a full boil.
- Prepare your canning jars. To each clean, hot jar, add the appropriate amount of acidifier: 2 tablespoons of bottled lemon juice or ½ teaspoon of citric acid per quart (1 tablespoon or ¼ teaspoon for pints). If desired, add up to 1 teaspoon of salt per quart.
- Pour the hot tomato juice into the prepared jars, leaving ½ inch headspace. Wipe the jar rims clean, apply new lids, and screw on rings fingertip-tight.
- Process the jars using either a water bath canner or a pressure canner, following the specific times and pressures listed in the “Notes” section below and adjusting for your altitude.
- Once processing is complete, carefully remove jars and let them cool undisturbed on a towel on your countertop for 12–24 hours. Check seals, label, and store in a cool, dark place.
Notes
- Always use bottled lemon juice (not fresh) to ensure consistent acidity for safe canning.
- You can skip the separation prevention step if layered juice doesn’t bother you visually—it’s safe either way. However, for best appearance, the immediate heating method is recommended.
- If you prefer to skip acidification, you can freeze tomato juice instead of canning it. Pour into freezer-safe containers, leaving headspace for expansion.
Water Bath Canning Times (Adjust for Elevation)
- 0–1,000 ft: 35 minutes for pints, 40 minutes for quarts
- 1,001–3,000 ft: 40 minutes for pints, 45 minutes for quarts
- 3,001–6,000 ft: 45 minutes for pints, 50 minutes for quarts
- Above 6,000 ft: 50 minutes for pints, 55 minutes for quarts
Pressure Canning Instructions (Process pints or quarts for 15 minutes, adjust pressure)
Dial-Gauge Pressure Canner:
- 0–2,000 ft: 11 PSI
- 2,001–4,000 ft: 12 PSI
- 4,001–6,000 ft: 13 PSI
- 6,001–8,000 ft: 14 PSI
Weighted-Gauge Pressure Canner:
- 0–1,000 ft: 10 PSI
- Above 1,000 ft: 15 PSI
Acidification is required regardless of canning method. Do not skip the lemon juice or citric acid.
Nutrition (per serving, approximate)
Nutrition information is automatically calculated, so should only be used as an approximation.
Like this recipe? Leave a comment below!
Frequently Asked Questions About Canning Tomato Juice
Yes, absolutely! This recipe is adaptable to any type of tomato. Juicier varieties, such as beefsteak tomatoes, will naturally yield more juice per pound. In contrast, paste tomatoes like Roma varieties tend to produce a thicker, more concentrated juice, which can be fantastic depending on your preferred consistency for soups and sauces.
Yes, for this specific tested recipe, it is essential to remove both the seeds and skins. The recipe is designed for juice that has been thoroughly processed through a food mill or sieve. Leaving these components in would not only result in a much thicker, sauce-like consistency but could also potentially affect the safe processing parameters of the juice.
Heating the tomatoes immediately is crucial to prevent juice separation in the jar. Tomatoes contain an enzyme called pectinase. If allowed to sit after cutting, this enzyme begins to break down pectin, the substance that gives tomatoes their structure. This breakdown causes the solids and liquids to separate into layers during canning. Rapidly heating the tomatoes deactivates this enzyme, ensuring your juice remains smooth and uniform.
Tomatoes can vary significantly in their natural acidity, especially with modern or heirloom varieties. Adding bottled lemon juice (2 Tbsp per quart) or citric acid (½ tsp per quart) ensures that the pH level of your canned tomato juice is consistently low enough to prevent the growth of harmful bacteria, such as those that cause botulism. This step is vital for safety, even when you are pressure canning. Bottled lemon juice is specified over fresh lemon juice due to its reliably standardized acidity.
No, not for this specific recipe. Adding low-acid ingredients such as onions, herbs, or garlic can significantly alter the overall pH of the tomato juice, making the recipe unsafe for home canning. To ensure safety, it’s best to add these seasonings and flavorings later, when you open the jar and are ready to use the juice in your cooking.
Absolutely! Freezing is an excellent alternative if you prefer to avoid the acidification step required for canning. Simply pour your finished, cooled tomato juice into freezer-safe containers, leaving adequate headspace for expansion. Frozen tomato juice can be stored for up to 6 months while retaining its quality and flavor.
No, separation in the jar is purely a cosmetic issue and does not affect the safety or flavor of your tomato juice. If you notice clear juice at the bottom and thick pulp at the top after canning, your juice is still perfectly safe to use. Just give the jar a good shake before opening, or stir the contents thoroughly before incorporating it into your recipes.
Explore More Tomato Canning Recipes
If your kitchen is still inundated with the bounty of summer tomatoes, don’t stop at juice! There are a myriad of other delicious and safe tomato canning recipes waiting to be discovered. Expanding your repertoire ensures you make the most of every ripe fruit.
For those who appreciate deep, savory flavors, consider trying Roasted Marinara Sauce. This water-bath safe recipe delivers a rich, concentrated tomato flavor that’s perfect for pasta, pizza, and more. If you’re a fan of spicy and vibrant condiments, the Tomato Salsa with Paste Tomatoes offers a tested, balanced recipe that’s ideal for preserving alongside your fresh tomato juice. And as the crisp autumn air arrives, you’ll be incredibly grateful to have jars of Roasted Tomato Basil Soup ready to heat and serve straight from your pantry, providing warmth and comfort on demand.