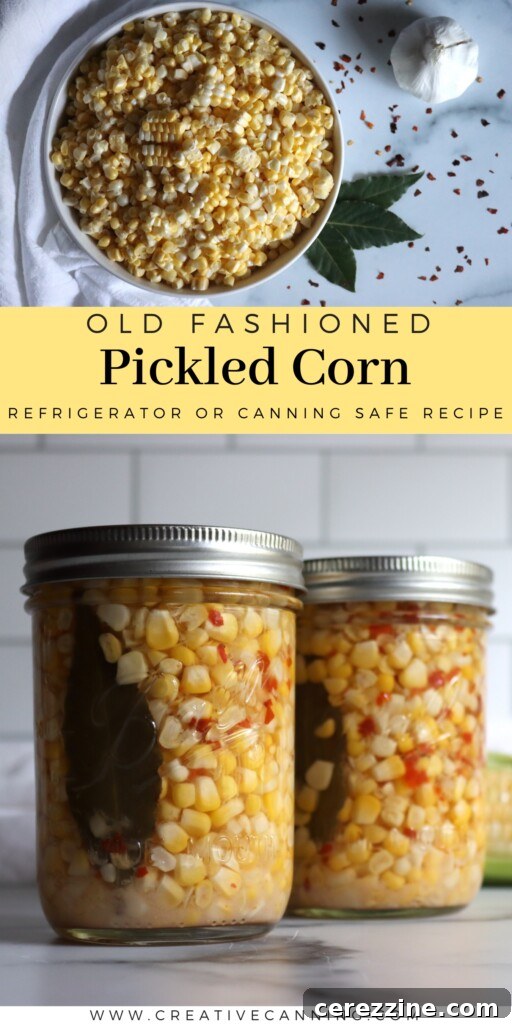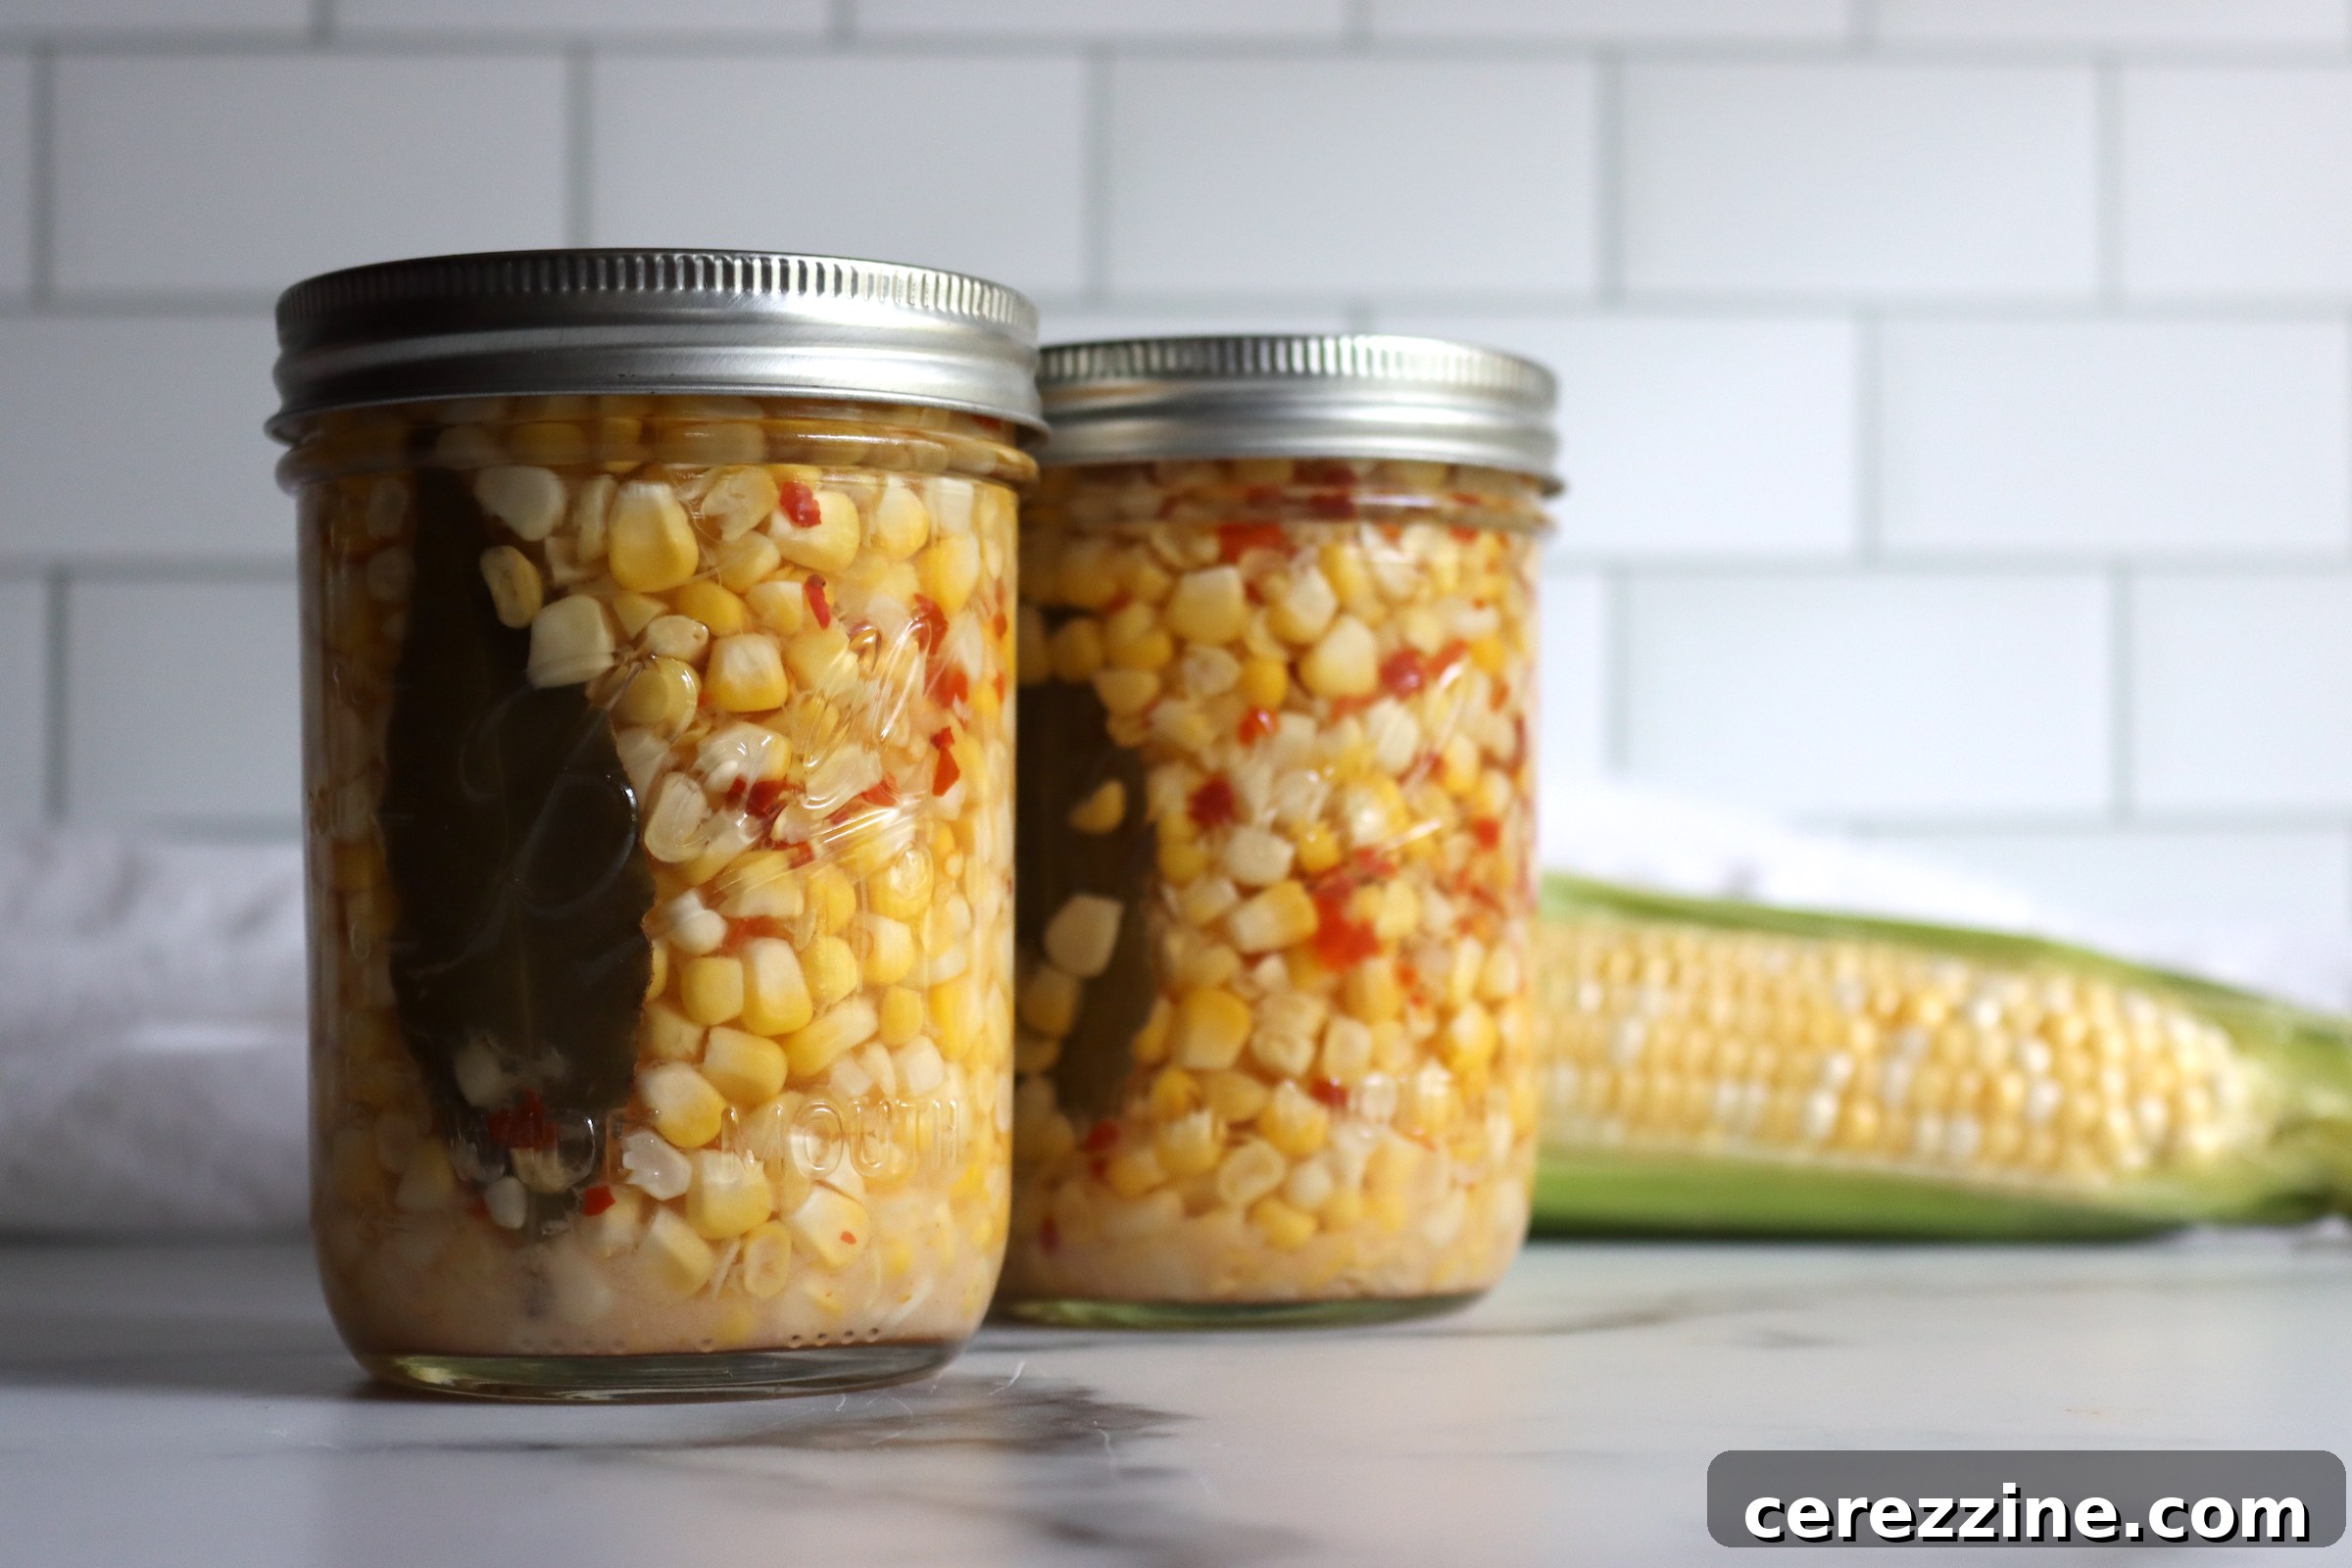
There’s nothing quite like the vibrant taste of summer, and pickled corn offers a delightful way to capture that sunshine in a jar. This sweet, tangy, and subtly spicy relish is incredibly versatile, adding a satisfying crunch and burst of flavor to an array of dishes. Imagine it piled high on a juicy hot dog, complementing a savory burger, or bringing a zesty kick to your favorite tacos and burritos. It even elevates gourmet options like grilled fish or delicate crab cakes.
Our small-batch recipe is designed for ease, yielding a single pint jar – perfect for a quick project or a trial run if you’re new to canning. But don’t let its modest size fool you; this recipe is effortlessly scalable. Whether you have a handful of garden-fresh corn or a larger harvest to preserve, you can easily multiply the ingredients to fill as many jars as your heart desires.
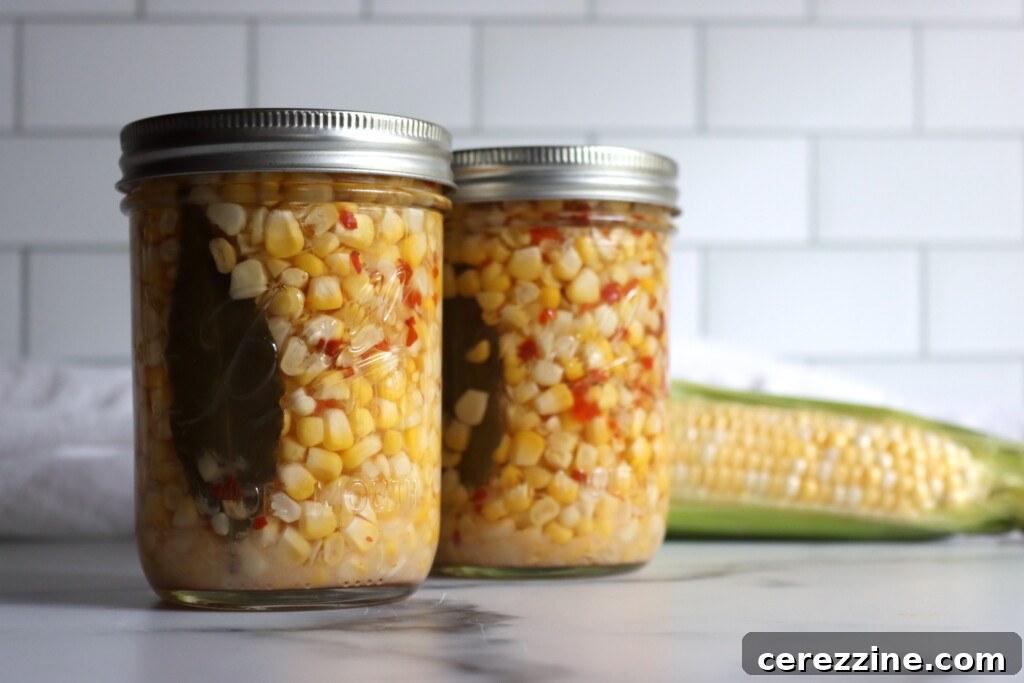
Why Preserve Corn? The Joy of Homemade Pickled Corn Relish
Picture this: it’s the dead of winter, snow is falling, and you open a jar of homemade pickled corn relish. Instantly, your kitchen is filled with the aroma of summer, and a spoonful of those crisp, golden kernels brings a bright, fresh taste to your plate. This isn’t just a condiment; it’s a little jar of sunshine, ready to liven up any meal.
Making your own corn relish is a truly rewarding experience. It’s quick, straightforward, and whether you choose to preserve it through canning or simply keep it refrigerated, it offers unparalleled versatility. The irresistible combination of naturally sweet corn, the sharp tang of vinegar, a hint of balancing sugar, and the gentle warmth from jalapeños creates a condiment so delicious, you’ll find yourself reaching for it to spoon onto practically everything.
Endless Culinary Possibilities
Beyond its charm as a stand-alone relish, pickled corn can transform your meals in countless ways:
- Classic Topping: The quintessential partner for hot dogs, burgers, and brats.
- Taco & Burrito Booster: Adds a fresh, tangy crunch that cuts through rich flavors.
- Grain Bowl & Salad Star: Stir it into your favorite grain bowls or sprinkle over salads for an unexpected pop.
- Seafood Sensation: A bright accompaniment to grilled fish, shrimp, or indulgent crab cakes.
- Sandwich & Wrap Upgrade: Layer it into deli sandwiches, chicken salad wraps, or even grilled cheese for extra texture and flavor.
- Charcuterie Board Addition: Its vibrant color and unique flavor make it a fantastic inclusion on a cheese and meat platter.
- Thoughtful Edible Gift: A beautifully jarred pint of homemade pickled corn makes a wonderful, personal present for friends and family who appreciate gourmet treats.
This recipe is perfect for those dipping their toes into the world of home canning or simply looking to make the most of fresh summer produce. Starting with one pint is a manageable project, but the joy of seeing multiple jars lined up, ready to be enjoyed, often encourages home preservers to scale up and make a larger batch.
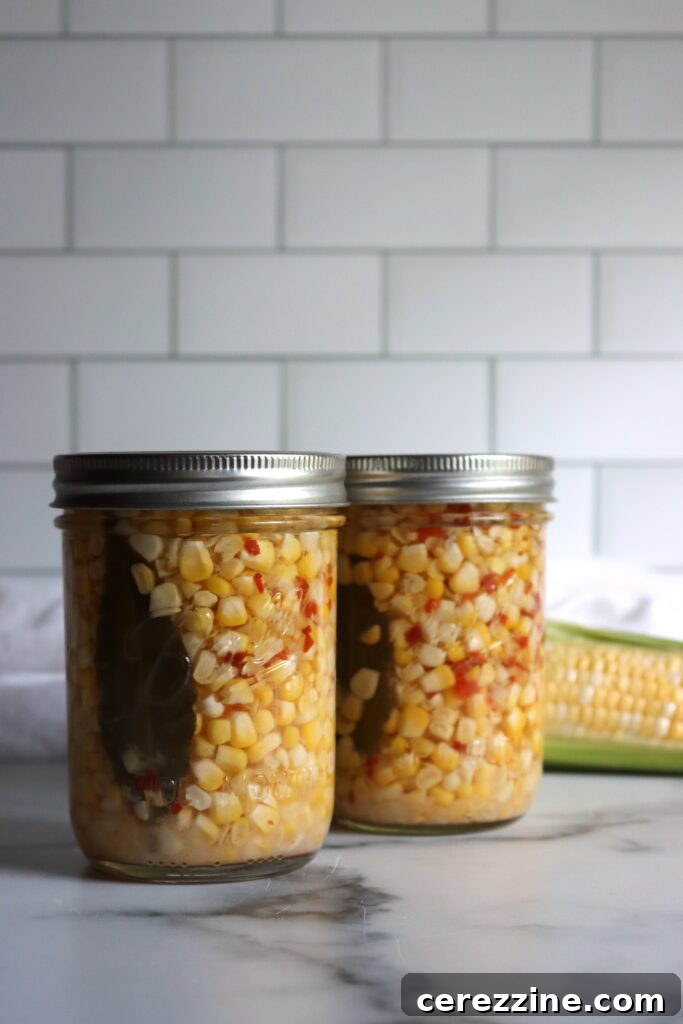
The Irresistible Allure of This Pickled Corn Recipe
This recipe for pickled corn isn’t just another canning project; it’s a culinary delight that offers several compelling reasons to make it your next kitchen adventure:
- Big Flavor, Small Commitment: You don’t need a sprawling garden harvest or endless hours in the kitchen. This recipe yields a single pint, making it an ideal, low-stress introduction to home preserving or a quick way to savor a bit of seasonal corn.
- Remarkably Versatile: From enhancing hearty grilled meats to adding a gourmet touch to wraps and salads, its sweet-tangy profile complements an astonishing variety of dishes.
- Delightfully Crisp Texture: Unlike many relishes that can be soft or mushy, this pickled corn retains its appealing crunch, providing a satisfying textural contrast in every bite.
- Effortless Preservation: With clear instructions for water bath canning, you can enjoy the fruits of your labor for months, transforming fleeting summer sweetness into a pantry staple.
- Customizable Heat Levels: Easily adjust the spice to suit your preference, from a mild hint of warmth to a fiery kick, simply by modifying the peppers and flakes.
Essential Ingredients for Your Homemade Pickled Corn Relish
Every component in this recipe plays a crucial role, not only in crafting the distinct sweet, salty, and spicy flavor profile but also in ensuring safe and effective preservation. This guide is tailored for a small batch, yielding one pint jar. If you plan to make more pickled corn, simply multiply each ingredient by the number of pints you wish to create, ensuring consistent flavor and safety across all your jars.
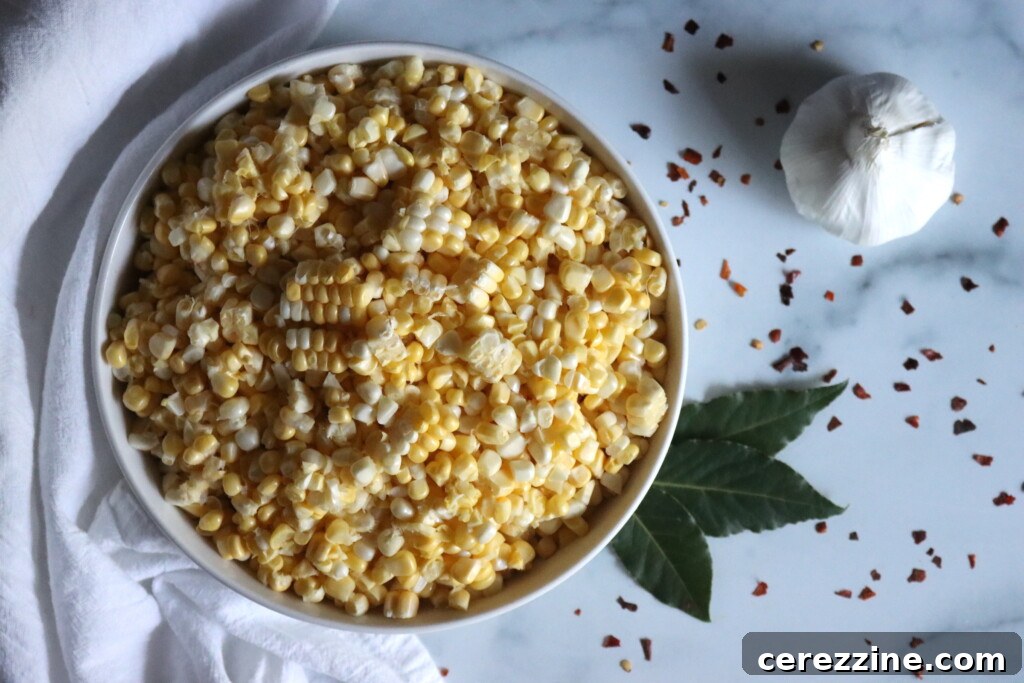
Here’s a detailed look at what you’ll need to make 1 pint of exceptional pickled corn, along with tips and substitution ideas:
- Sweet Corn: The star of our show! You can use either fresh corn cut straight off the cob during peak season, or high-quality frozen corn. Fresh corn offers unparalleled sweetness and a satisfying pop, but frozen corn is an excellent, convenient alternative that requires no thawing before use. It contributes sweetness, crunch, and that unmistakable essence of summer to your relish.
- Jalapeño Pepper: This pepper introduces a mild to moderate heat, which you can easily control. For a bolder spice, leave some or all of the seeds and membranes intact. For a milder experience, meticulously remove them. If jalapeños are too spicy, consider substituting with a milder pepper like poblano, or even a sweet bell pepper (red, yellow, or orange) for a completely heat-free version. Aim for about ¼ cup of diced peppers to allow the corn’s flavor to remain prominent.
- Bay Leaf: While optional, a single bay leaf contributes a subtle, herbaceous background note that adds depth and complexity to the pickling brine, elevating the overall flavor profile.
- Garlic Clove: A thinly sliced garlic clove infuses the relish with a warm, savory flavor and a delicate hint of additional heat. It’s highly recommended, even if optional, as it beautifully rounds out the pickle’s taste.
- Red Pepper Flakes: These flakes provide a noticeable warmth and a touch of visual appeal. For a gently spiced pickled corn, use ½ teaspoon. If you prefer a significant kick, you can increase the amount up to 2 teaspoons per pint, adjusting to your personal heat tolerance.
- White Vinegar: This is the indispensable acidic foundation of your pickling liquid. It’s critical for both flavor and, more importantly, for safe preservation. Ensure your vinegar has an acidity of at least 5%. While white vinegar provides a clean, sharp tang, you can substitute apple cider vinegar for a slightly fruitier and mellower flavor. Under no circumstances should you reduce the total quantity of vinegar specified in the recipe, as this compromises the safety of the canned product.
- Water: Used to slightly dilute the vinegar, balancing its intense tartness without sacrificing acidity crucial for preservation. While you can opt for an all-vinegar brine for an exceptionally tangy relish, it can be quite potent. Remember, you can decrease the water and add more vinegar, but never increase the amount of water, as this would dilute the acidity beyond safe levels.
- Granulated Sugar: Sugar plays a vital role in balancing the sharp tang of the vinegar and the heat from the peppers, creating a harmonious sweet-and-sour profile. You can adjust the quantity to your taste. For alternative sweeteners, honey or maple syrup can be used, introducing different nuances of flavor. Although sugar enhances the taste significantly, it is optional and not strictly required for the preservation process itself.
- Salt: Essential for enhancing the flavor of the pickled corn, salt adds that characteristic briny kick that makes pickles so enjoyable. While it contributes to flavor, it is not the primary preservative in this vinegar-based recipe. If you are on a low-sodium diet, you can reduce the salt, but be aware that the overall flavor will be impacted. Use pickling salt or kosher salt, as these are free from anti-caking agents and iodine that can cloud the brine or alter flavors. Table salt is generally not recommended. I find 1 teaspoon provides ample flavor without being overpowering, but some recipes use more.
It’s crucial to reiterate: the safety and preservation of this pickled corn depend entirely on the vinegar’s acidity. Do not alter the proportion of vinegar to water by decreasing the vinegar or increasing the water. The salt, sugar, and optional spices are for flavor customization only and do not affect the safety of the preserved product.
Feel empowered to experiment with additional dry spices to tailor the flavor to your palate. Excellent choices include a pinch of mustard seeds for a classic pickle flavor, aromatic coriander seeds, warm cumin seeds, or a dash of turmeric for a beautiful golden hue and subtle earthy notes. Whole black peppercorns or a sprig of fresh dill can also add wonderful complexity.
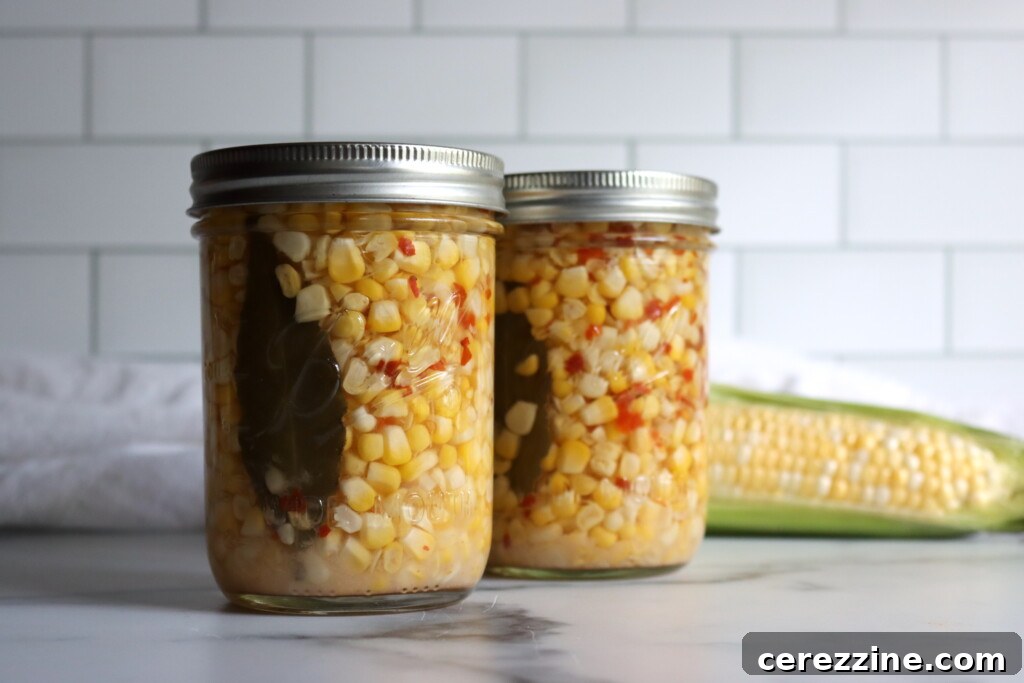
Step-by-Step Guide: How to Make Corn Relish (Small Batch)
Crafting this delicious corn relish is a straightforward process, making it perfect for both novice and experienced preservers. Follow these simple steps to bring your pickled corn to life:
Preparation:
Before you begin, ensure you have a clean, sterilized pint mason jar ready. Sterilizing jars helps prevent spoilage and ensures a safe, shelf-stable product if you plan to can it. You can sterilize jars by boiling them in water for at least 10 minutes, running them through a dishwasher’s sanitizing cycle, or heating them in an oven.
Cooking the Relish:
- Combine Ingredients: In a medium saucepan or a small stockpot, combine all your ingredients: the corn, diced jalapeño, sliced garlic, red pepper flakes, bay leaf, white vinegar, water, sugar, and salt. Stir gently to mix everything together.
- Bring to a Boil: Place the saucepan over high heat and bring the mixture to a rolling boil. This high heat ensures that all the vegetables are thoroughly heated and begins the process of infusing their flavors into the brine.
- Simmer and Infuse: Once boiling, reduce the heat to a gentle simmer. Allow the mixture to simmer for a full five minutes. During this time, the corn and peppers will soften slightly, and the flavors from all the ingredients will meld beautifully into the pickling liquid, creating a rich and aromatic brine.
Filling and Sealing the Jar:
- Fill the Jar: Carefully ladle the hot corn relish mixture into your prepared, sterilized pint mason jar. It’s important to ensure a good balance of both the corn solids and the liquid brine. Use a canning funnel if you have one to minimize mess.
- Ensure Submersion & Headspace: Crucially, make sure that all the corn and pepper pieces are completely submerged under the brine. This is vital for safe preservation. Leave exactly ½ inch of headspace at the top of the jar (the space between the surface of the brine and the rim of the jar).
- Remove Air Bubbles: To prevent air pockets that can harbor bacteria, use a non-metallic tool like a chopstick or a plastic butter knife to gently dislodge any trapped air bubbles from the sides of the jar. Slide it down between the food and the jar, pressing against the food to release bubbles.
- Clean the Rim: Carefully wipe the rim of the jar clean with a damp paper towel. Any food particles or brine residue on the rim can prevent a proper seal.
- Apply Lid and Ring: Place a new, clean two-part canning lid onto the jar. Then, screw on the canning ring just “finger-tight.” This means tightening it just until you feel resistance, allowing air to escape during processing but securing the lid.
Canning Pickled Corn for Long-Term Storage
Canning this pickled corn ensures it becomes shelf-stable, allowing you to store it in your pantry for extended periods and enjoy the taste of summer whenever you desire. The process used here is known as boiling water bath canning, which is suitable for high-acid foods like pickles.
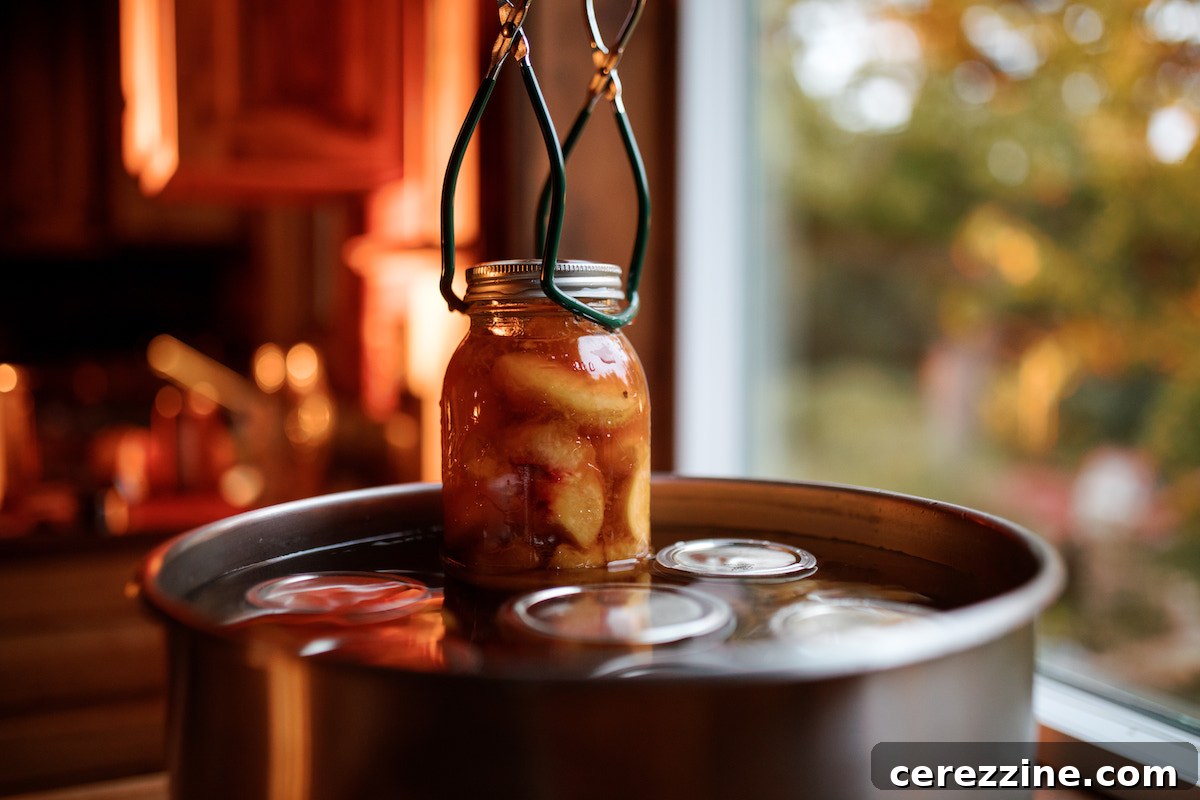
- Process in a Boiling Water Bath: Carefully place the filled and sealed jar into a boiling water bath canner. Ensure the jar is fully submerged in water by at least 1 inch. Bring the water to a rolling boil and process pint jars for 15 minutes. Remember to adjust the processing time based on your altitude (refer to the “Altitude Adjustments” section below) to ensure proper and safe preservation.
- Cool and Check Seal: Once the processing time is complete, turn off the heat and carefully remove the jar from the canner using jar lifters. Place the hot jar on a clean towel or cooling rack, ensuring there are no drafts, and allow it to cool undisturbed for 12 to 24 hours. During this cooling period, the lid should seal, indicated by a concave depression (it will curve inwards) and a “ping” sound.
- Store Properly: After the jar has fully cooled, check the seal. The lid should not flex when pressed in the center. If a lid hasn’t sealed, refrigerate the jar and consume its contents within a few weeks. Properly sealed jars can be labeled and stored in a cool, dark, and dry place, such as a pantry, where they will maintain peak quality for 12-18 months. Once a jar is opened, refrigerate any remaining pickled corn and consume it within 2-3 weeks.
Refrigerator Pickles Option: If you prefer not to undertake the canning process, this recipe works beautifully as a refrigerator pickle. Simply prepare the relish, ladle it into a clean jar, and store it directly in the refrigerator once cooled. It will keep well for several weeks and offers all the same fantastic flavors and crunch.
Critical Altitude Adjustments for Safe Canning
When canning, it’s vital to adjust processing times based on your elevation above sea level. This is because water boils at lower temperatures at higher altitudes, which means food needs more time in the boiling water bath to reach the necessary temperature for safe preservation. Failing to adjust for altitude can lead to under-processed food, posing a risk of spoilage.
To ensure your pickled corn is safely preserved and shelf-stable, please adjust your boiling water bath processing time according to the following guidelines:
- 0 to 1,000 feet (0-305 meters) above sea level: Process for 15 minutes.
- 1,001 to 3,000 feet (306-914 meters) above sea level: Increase processing time to 20 minutes.
- 3,001 to 6,000 feet (915-1,829 meters) above sea level: Increase processing time to 25 minutes.
- Above 6,000 feet (1,830 meters): For every additional 2,000 feet (approx. 610 meters) of elevation, add another 5 minutes to the processing time.
Always start your timing once the water in the canner returns to a full, rolling boil after adding the jars. These adjustments are critical for food safety, ensuring proper heat penetration and killing any potential spoilage organisms.
Rating: 5 out of 5 stars (1 vote)
Servings: 16 servings (1 pint jar)
Pickled Corn Relish
This vibrant and irresistible pickled corn relish delivers a delightful balance of sweet and tangy flavors, coupled with a satisfying crunch. Infused with a hint of warmth from jalapeño and the classic bite of vinegar, it’s the ultimate condiment. Perfectly suited as a topping for everything from classic hot dogs and street tacos to elegant grilled fish and fresh summer salads, this relish is a must-have for any pantry.
Prep Time: 10 mins
Cook Time: 5 mins
Canning Time: 15 mins
Total Time: 30 mins
Want to save or print this recipe? Use the options below!
Equipment
- Water Bath Canner
- Wide Mouth Pint Mason Jars
- Wide Mouth Canning Lids
Ingredients
Adjust servings for 1x, 2x, or 3x batches.
- 1 ¾ cup corn, fresh or frozen
- 1 medium jalapeño pepper, diced (remove seeds for less heat)
- 1 clove garlic, sliced thin
- ½ tsp red pepper flakes, or more for increased heat
- 1 medium bay leaf (optional, for added depth)
- ¾ cup white vinegar, or apple cider vinegar (minimum 5% acidity)
- ½ cup water
- ¼ cup sugar (adjust to taste, optional for preservation)
- 1 tsp salt (pickling or kosher salt recommended)
Instructions
- Combine Ingredients: Add all corn, jalapeño, garlic, red pepper flakes, bay leaf, vinegar, water, sugar, and salt to a saucepan or small stockpot. Bring the mixture to a boil over high heat.
- Simmer: Reduce the heat to a simmer and let it cook for 5 minutes, allowing all ingredients to heat through and flavors to meld into the brine.
- Fill Jar: Ladle the hot relish (solids and liquid) into a clean, sterilized pint jar, ensuring to leave ½ inch of headspace at the top. Use a chopstick or plastic knife to remove any air bubbles, making sure all solids are fully submerged in the brine.
- Seal: Wipe the jar rim clean. Apply a new, two-part canning lid and screw on the ring until it is fingertip tight.
- Process in Waterbath Canner: Process pint jars in a boiling water bath canner for 15 minutes. Remember to adjust this time for your altitude (see notes below for guidance).
- Cool & Store: After processing, carefully remove the jar and let it sit undisturbed for 12–24 hours on a clean counter or towel to cool and seal. Check the seal (lid should be concave and not flex). Label the jar and store it in a cool, dark place for up to a year. Refrigerate after opening.
Notes
- Frozen corn works great! There’s no need to thaw it before adding to the pot, saving you time and effort.
- For more heat: To intensify the spice, you can leave the seeds in the jalapeño, choose a hotter variety of pepper, or simply add extra red pepper flakes to taste.
- Scale up with ease: This recipe is easily doubled or tripled if you wish to make more jars. Just remember to scale all ingredients proportionally.
Altitude Adjustments for Canning Safety
To ensure proper processing and safety, adjust your canning time based on your elevation:
- 0 to 1,000 feet: 15 minutes
- 1,001 to 3,000 feet: 20 minutes
- 3,001 to 6,000 feet: 25 minutes
- Above 6,000 feet: Add 5 minutes for every additional 2,000 feet of elevation.
Nutrition Information (Approximate)
Serving Size: 2 Tbsp
- Calories: 32 kcal
- Carbohydrates: 7g
- Protein: 1g
- Fat: 0.3g
- Saturated Fat: 0.04g
- Polyunsaturated Fat: 0.1g
- Monounsaturated Fat: 0.1g
- Sodium: 147mg
- Potassium: 48mg
- Fiber: 0.5g
- Sugar: 4g
- Vitamin A: 90 IU
- Vitamin C: 5mg
- Calcium: 3mg
- Iron: 0.1mg
Nutrition information is automatically calculated and should only be used as an approximation. It can vary based on ingredients and preparation methods.
Enjoyed making this recipe? We’d love to hear from you! Please consider leaving a comment below to share your experience and any creative twists you added.
Explore More Delicious Corn Canning Recipes
If you’ve discovered the joy of preserving corn and are eager to explore further, there are many delightful ways to capture the essence of this versatile vegetable in a jar. Extend your canning repertoire with these fantastic corn-centric recipes:
Our Pickled Corn Salad is a wonderful alternative to this relish. It’s designed to be mild enough to serve as a standalone side dish, making it a perfect addition to potlucks, barbecues, and summer gatherings. Its refreshing flavor and appealing texture make it a crowd-pleaser.
For those who love a bit more zest, our Classic Corn Salsa is an excellent choice. This recipe allows for complete customization of heat levels, from a gentle warmth to a fiery kick, simply by adjusting the type and quantity of peppers you use. While it boasts a rich tomato base, the added corn contributes an amazing crunch and sweet burst of flavor, making it perfect for dipping, topping, or mixing into your favorite Tex-Mex dishes.
Embrace the bounty of corn and extend its season with these exciting and flavorful preservation methods!