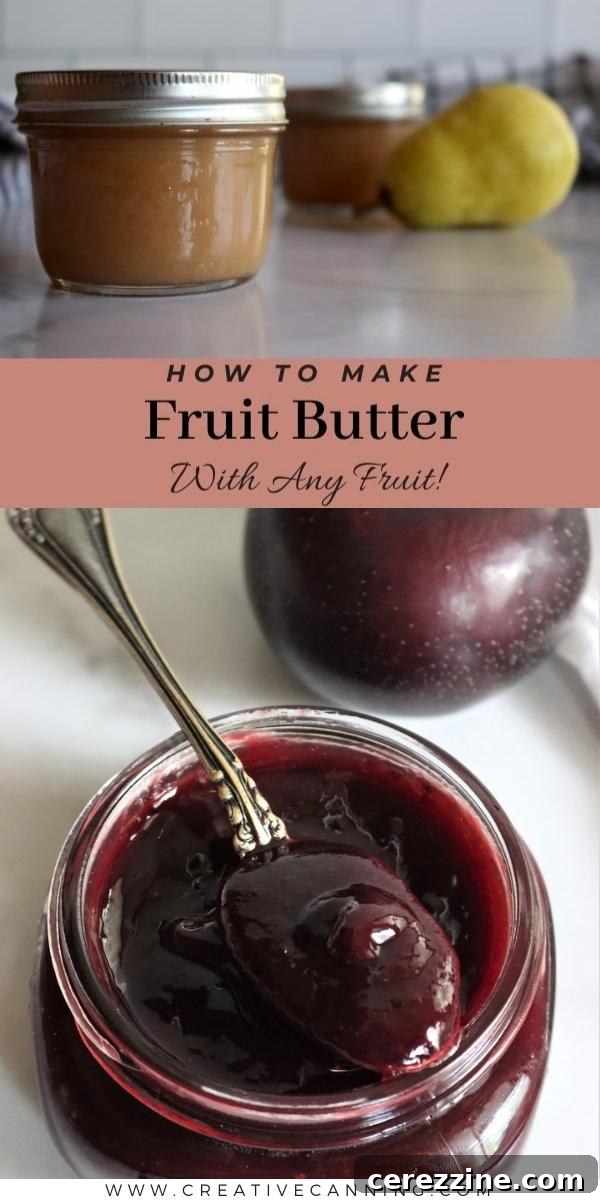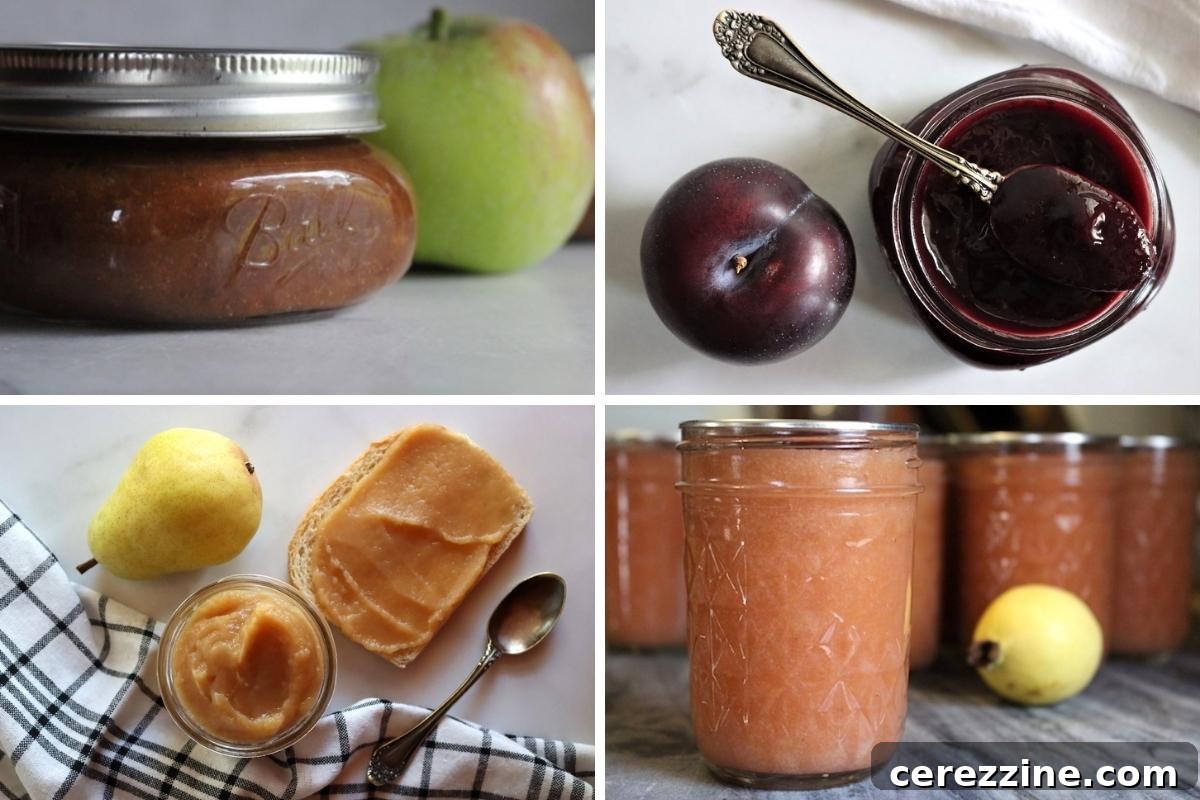
Welcome to the delightful world of fruit butters! These luscious, concentrated fruit spreads offer a simple yet incredibly rewarding way to preserve the bounty of the harvest. While apple butter stands as a beloved classic, the beauty of fruit butter lies in its versatility—it can be crafted from almost any fruit imaginable, transforming seasonal produce into a pantry staple you’ll cherish all year long.
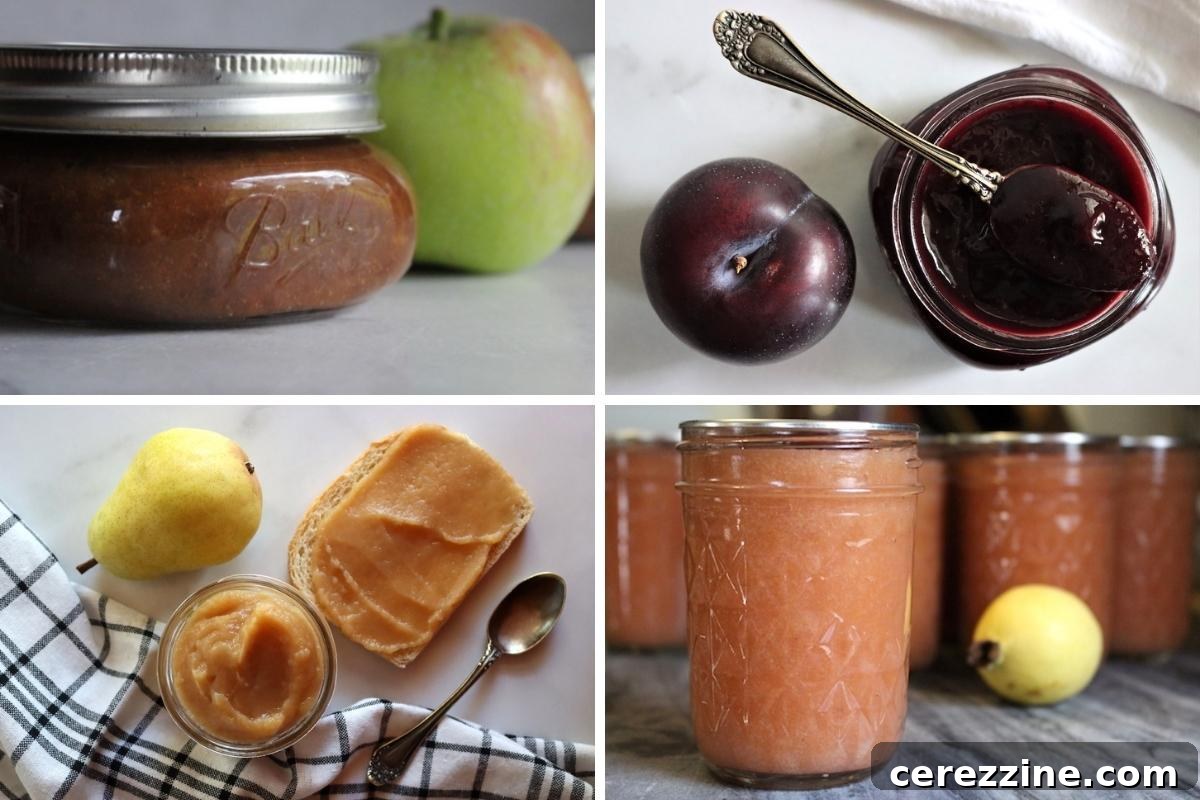
Fruit butter occupies a unique and delicious space in the culinary landscape—it’s not quite a jam, not quite a jelly, and definitely more than just a sauce. What sets it apart is its incredibly smooth, almost velvety texture, achieved through slow cooking and often a touch of pureeing. Despite the name, no actual dairy butter is involved; rather, the term “butter” refers to its spreadable, rich consistency that melts in your mouth.
The tradition of making fruit butters dates back centuries, originating in the Middle Ages as a practical method to preserve fruit. By slowly cooking fruit, its natural sugars and flavors become intensely concentrated, creating a preserve that, when properly sealed, could last for months—even before modern canning techniques were developed. This ancient art remains relevant today, offering a wholesome and flavorful alternative to store-bought spreads.
Crafting fruit butter at home is often surprisingly straightforward, requiring little more than fruit puree and a generous amount of patience. However, many recipes elevate the experience with thoughtfully chosen additions like sugar, warming spices, or even a splash of spirits to deepen the flavor profile. In this comprehensive guide, we’ll explore the entire process of making your own delicious fruit butters, suitable for almost any fruit you can get your hands on.
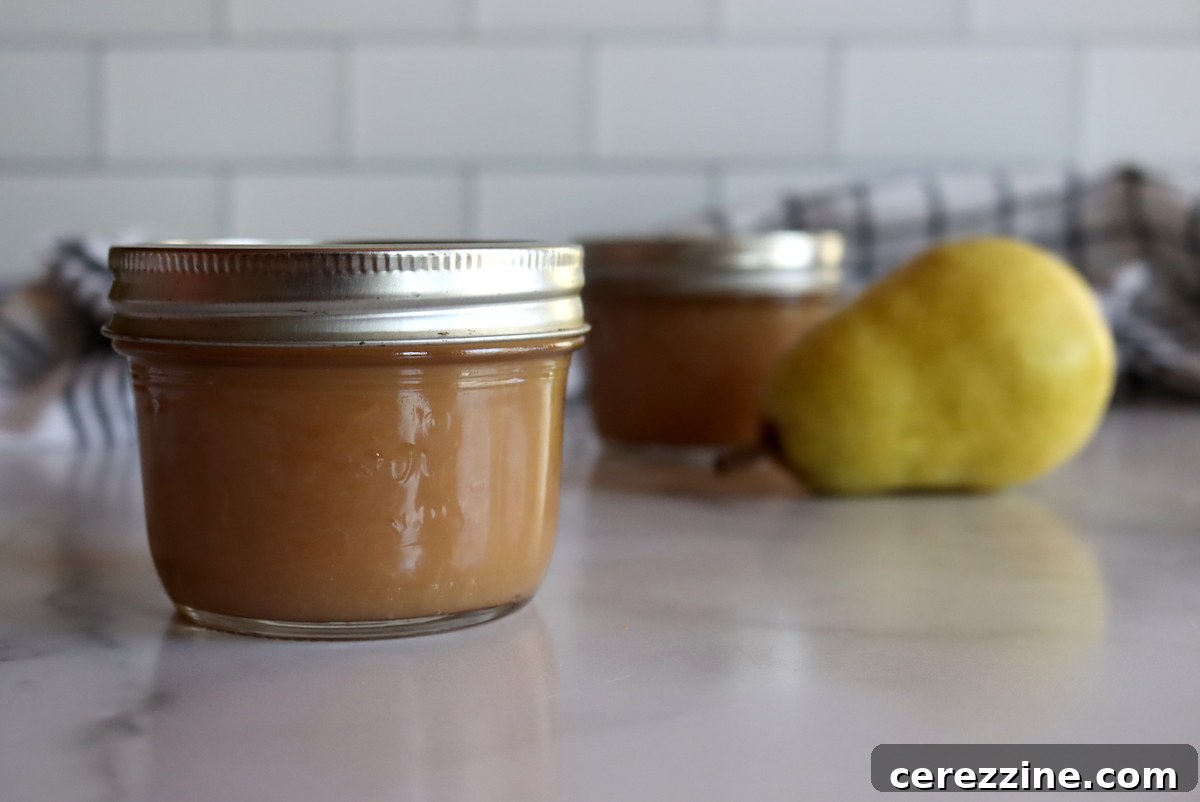
What is Fruit Butter? Unveiling this Smooth Fruit Preserve
At its core, fruit butter is a concentrated fruit spread, belonging to the same family as jams and jellies but with a distinct character. Unlike its pectin-dependent cousins, fruit butter achieves its thick, spreadable consistency through a long, slow cooking process that reduces the fruit’s natural moisture and caramelizes its sugars. This method results in a remarkably smooth, velvety texture without the need for gelling agents.
The ingredient list for homemade fruit butter is wonderfully flexible. While ripe fruit is always the star, recipes often call for additional components to enhance flavor and aid preservation. Sweeteners like granulated sugar, brown sugar, or even natural alternatives like maple syrup can be added to balance tartness and deepen the fruit’s natural sweetness. A touch of acid, typically lemon juice, is crucial not only for brightening the flavor but also for ensuring safety if you plan to can your fruit butter. Finally, warm spices such as cinnamon, nutmeg, allspice, or cloves are frequently incorporated to complement the fruit’s essence, adding layers of aromatic complexity.
The cooking process for fruit butters is characterized by low heat and extended periods, allowing the flavors to meld and intensify. Whether you opt for a stovetop method or the convenience of a slow cooker, patience is key. The longer the fruit puree cooks down, the more concentrated and robust the finished fruit butter will be, delivering an unparalleled depth of flavor that truly captures the essence of fresh fruit. The rich, buttery-smooth texture and vibrant taste make fruit butter a truly rewarding homemade preserve.
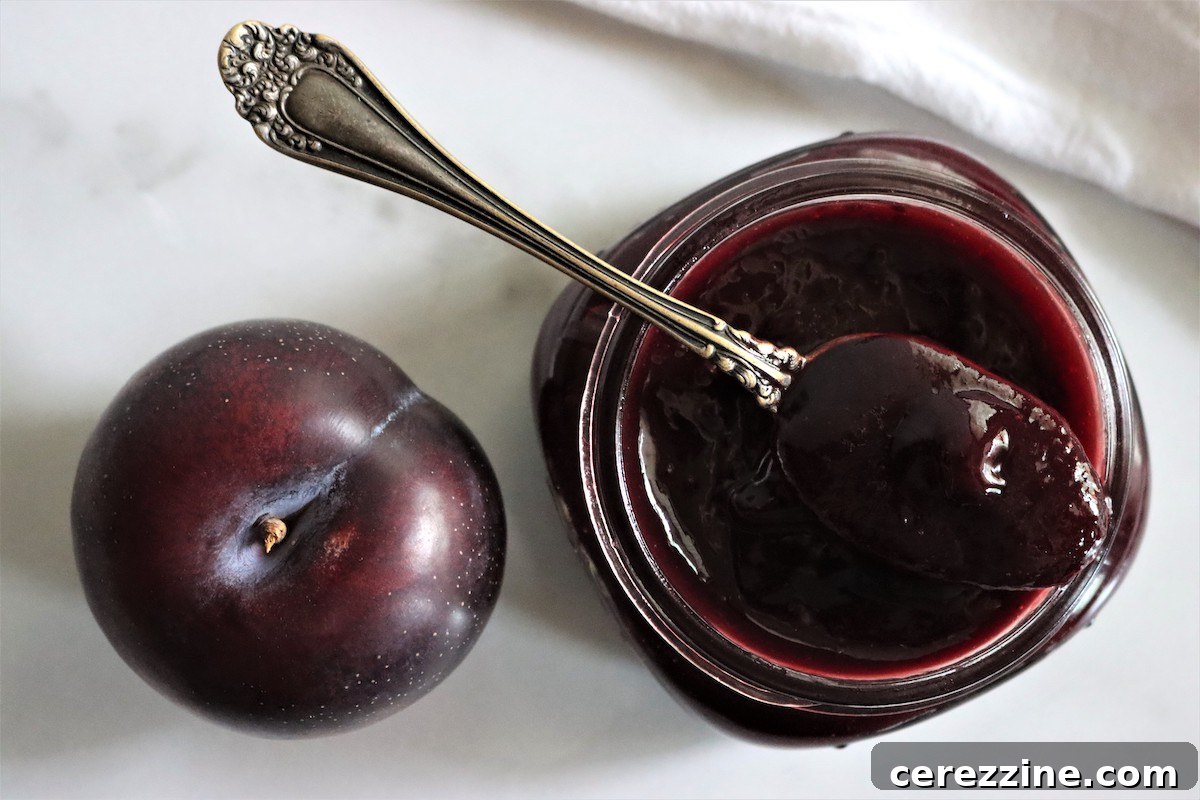
Preparing Fruit for Homemade Fruit Butter
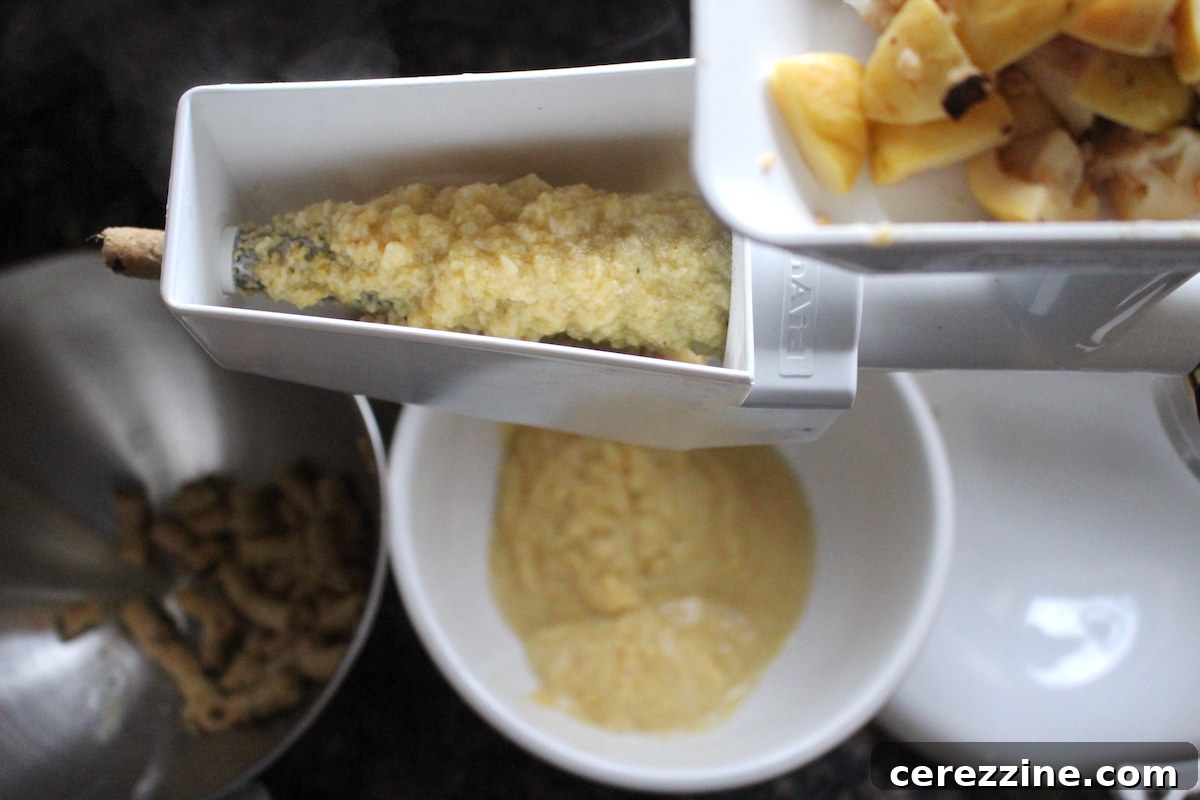
Proper fruit preparation is a crucial first step in creating exceptional fruit butter. The method you choose largely depends on your kitchen equipment and the type of fruit. For many home cooks, a food strainer, food mill, or chinois sieve can simplify the process significantly, as these tools efficiently remove peels and seeds after the fruit is cooked.
If you’re using one of these specialized tools, your initial prep is quite minimal. Begin by thoroughly washing your fruit in cold water. Then, cut it into manageable pieces—quartering is often sufficient for most fruits—and remove any large pits or stones. Small seeds, like those in berries, are generally fine at this stage. Simmer the fruit gently until it becomes very tender. Once cooked, pass the softened fruit through your food mill, strainer, or sieve. This hands-off approach will separate the smooth fruit pulp from unwanted skins and seeds, leaving you with a perfectly smooth puree ready for the next cooking stage.
Conversely, if you plan to use a blender, stick blender, or food processor to achieve a smooth consistency, you’ll need to peel and seed the fruit *before* cooking. This extra step ensures a silky-smooth final product. For stone fruits like peaches or plums with delicate skins, the boiling water method is highly effective. Simply dip each fruit into boiling water for approximately 30-60 seconds, then immediately transfer them to an ice-water bath. This rapid temperature change causes the skin to loosen, allowing you to easily slip it off with your fingers. This technique is similar to how one might prepare fruit for canning peaches or making peach jam.
For tougher-skinned fruits such as apples or pears, manual peeling with a sharp paring knife is typically the best approach. Berries, on the other hand, require gentle washing in cool water and a quick air-dry on a clean kitchen towel. If you’re working with particularly seedy berries, like raspberries, it’s advisable to press them through a fine-mesh sieve *after* they’ve been cooked and softened, ensuring a seed-free puree.
Remember, the decision to peel and seed fruit beforehand is primarily dictated by your chosen pureeing equipment. If a food mill, strainer, or sieve is part of your process, much of the tedious prep work is handled automatically post-cooking, yielding a smooth, seedless fruit puree with less effort.
Your options for pureeing fruit for butter include:
- Blender, Stick Blender, or Food Processor: These appliances deliver the smoothest, most silken fruit butter. The main consideration is that fruit must be peeled and seeded *prior* to cooking and blending.
- Food Mill: A manual yet highly effective tool, sometimes called a potato ricer. While it can be the slowest method, it yields an exceptionally fine and consistent puree. Like a strainer, the fruit only needs to be pre-cooked until tender before being passed through the mill.
- Chinois Sieve: Another excellent manual option, this cone-shaped sieve is used with a wooden pestle to push cooked fruit through its fine mesh, separating pulp from solids.
- Food Strainer: Available in both electric models (like a KitchenAid attachment) and manual hand-crank versions. These pieces of equipment require pre-cooking the fruit until soft, then straining it. The significant advantage here is that no prior peeling or seeding is necessary.
How to Make Fruit Butter: Stovetop vs. Slow Cooker Methods
Creating delicious fruit butter at home is a rewarding process, and you have a couple of primary methods to choose from: the traditional stovetop approach or the more hands-off slow cooker method. Both yield excellent results, but they offer different levels of involvement and impart slightly varied characteristics to the final product. Personally, I lean towards the slow cooker method for its sheer convenience and the deep, caramelized flavor it develops.
Making Fruit Butter on the Stove
The stovetop method is a classic for a reason, offering good control over the cooking process. Begin by preparing your chosen fruit according to its type and your preferred pureeing equipment (refer to the guidelines above for peeling, seeding, or cutting). Transfer the prepared fruit to a large, heavy-bottomed saucepan. If your recipe calls for lemon juice or another acid, add it at this initial stage. While there’s some variation in recipes regarding when to add non-fruit ingredients, I find incorporating acid early helps brighten the fruit’s flavor as it cooks.
Cook the fruit over low to medium-low heat, keeping the saucepan covered, until it becomes very soft and tender. Stir occasionally, using a large spoon or potato masher to break down the fruit as it cooks. This initial softening phase can take anywhere from 30 to 45 minutes, depending on the fruit’s ripeness and type. Once the fruit is sufficiently soft, remove it from the heat and pass it through your chosen tool—a food strainer, food mill, or chinois sieve—or blend it directly in the saucepan with a stick blender until completely smooth. If using a standard blender or food processor, carefully transfer the cooked fruit to the appliance, puree, and then return it to the saucepan.
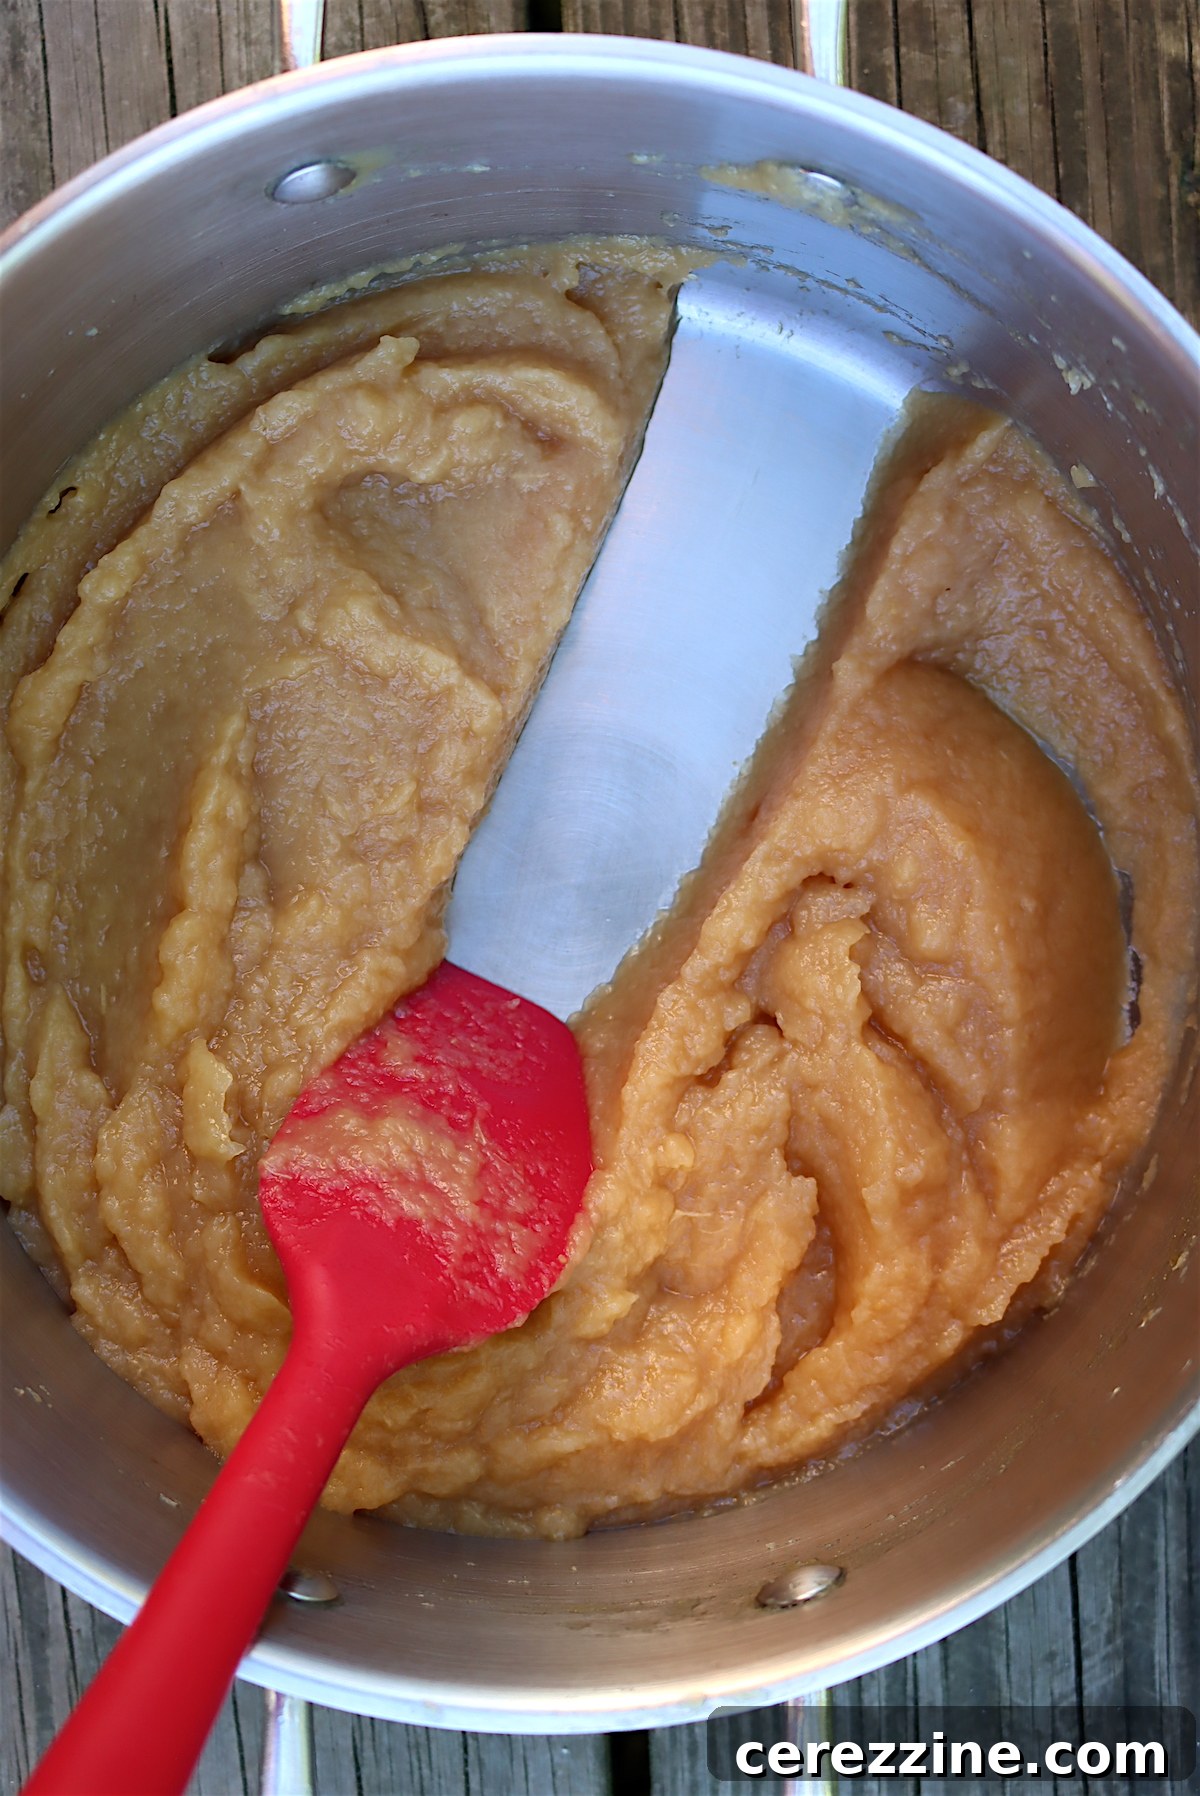
Now, pour the smooth fruit purée back into the same saucepan. This is the stage where you’ll typically add any sweeteners (sugar, honey, maple syrup), additional liquids, and desired seasonings. Cook the puréed fruit over very low heat. This reduction phase is where the fruit butter truly forms, thickening as moisture evaporates and flavors concentrate. You’ll need to stir more and more frequently as it thickens to prevent scorching, especially towards the end. The cooking time can vary significantly, often taking an hour or more. You’ll know the fruit butter is done when you can drag a spatula across the bottom of the saucepan, and the fruit butter holds its shape, revealing the bottom of the pan for a few seconds before slowly filling back in. This “trace test” is a reliable indicator of doneness. Remember that batch sizes and fruit moisture content can influence cooking times, so rely on visual cues and testing rather than strict timing.
Once your fruit butter reaches the perfect consistency, remove the saucepan from the heat. Carefully transfer the hot fruit butter into clean half-pint or pint jars, leaving a 1/4-inch headspace at the top of each jar. Proceed with your chosen preservation method.
Making Slow Cooker Fruit Butter: The Effortless Choice
For those seeking a less intensive approach, the slow cooker method is an absolute game-changer. It provides a consistently low and gentle heat, allowing the fruit butter to cook down gradually over many hours, resulting in a deeper, more caramelized flavor with minimal supervision. I often start a batch in the morning and have beautifully rich fruit butter ready for canning by evening.
The instructions are beautifully simple: prepare your fruit as described in the preparation section. Add the prepared fruit to your slow cooker along with any initial liquid (typically a cup of water, but always check your specific recipe for precise amounts), sugar, and spices. Some prefer to add sugar and spices later, which is also perfectly acceptable.
Begin by cooking the fruit on high heat for 2 to 3 hours, or until it is very soft. Give it a quick stir every hour or so to ensure even cooking. Once tender, remove the fruit from the slow cooker and process it using your preferred method (food mill, strainer, or blender) until smooth. Return the puréed fruit to the slow cooker.
Continue cooking the puréed fruit on high for another 4-5 hours. After this period, partially remove the lid, leaving a gap for steam to escape. This allows excess moisture to evaporate more quickly, aiding in the thickening process. Continue cooking for an additional 2 to 3 hours, or until the fruit butter reaches the desired consistency. During this final stage, you’ll need to stir more frequently—every 20 minutes initially, and then even more often as it thickens—to prevent scorching at the bottom of the cooker. The goal is the same “trace test” as the stovetop method. Once done, transfer to jars and proceed with canning or refrigeration.
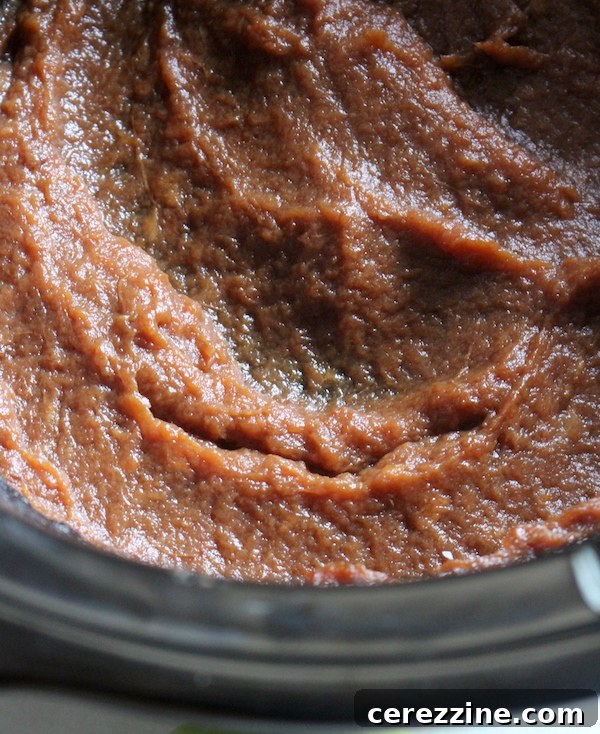
Other Versatile Fruit Butter Methods
Beyond the stovetop and slow cooker, creative cooks have adapted other kitchen tools for making fruit butter, especially useful during warmer months or when counter space is limited. An Instant Pot or pressure cooker offers a significantly faster cooking time for the initial fruit softening phase, ideal for speeding up the process. Alternatively, using a roasting pan in a low oven provides a hands-off, even-heating environment that works similarly to a slow cooker for the reduction phase, without occupying precious stovetop burners.
When is Fruit Butter Done? Testing for Perfect Consistency
Determining when your homemade fruit butter has reached its ideal consistency is crucial for both flavor and shelf-stability. Thankfully, there are several reliable tests you can perform to ensure it’s perfectly done—thick, spreadable, and intensely flavored.
In my experience, the simplest and most common method is the “trace test,” performed directly on the stovetop. While the fruit butter is still hot and simmering, drag a spoon or spatula across the bottom of the saucepan. If the butter is done, it will stay parted, revealing the bottom of the pan for a moment or two before slowly filling back in. This distinct “trace” indicates that enough moisture has evaporated, and the butter has thickened sufficiently. If the butter quickly flows back together, it needs more cooking time.
Another effective test involves removing a spoonful of hot fruit butter from the saucepan. Let it cool for a minute or two, then observe its shape. If the butter remains mounded in the spoon without spreading or sagging, it’s likely done. If it levels out or runs off the spoon, continue cooking and retest.
For an even more definitive assessment, some home cooks use the “cold plate test.” Place a small dollop of the hot fruit butter onto a chilled plate (pop a plate in the freezer for a few minutes beforehand). Let it sit for a minute, then gently push it with your finger. If the butter wrinkles and no liquid separates from its edges, it has reached the desired consistency. If there’s a watery ring around the dollop, it requires further reduction.
Using a combination of these tests, especially the trace test and the cold plate test, will help you confidently determine when your fruit butter is perfectly cooked, ensuring a rich, spreadable, and satisfying preserve every time.
Enhancing Fruit Butter: Beyond Just Fruit
While fruit butter can technically be made with just fruit, incorporating a few additional ingredients can elevate its flavor, improve its texture, and crucially, ensure it’s safe for long-term storage through canning. These additions aren’t just for taste; they play vital roles in the chemistry of preservation.
Sugar: Sweetness and Structure
Despite its rich, sweet taste, fruit butter typically contains less sugar than jams or jellies, allowing the natural fruit flavor to shine. Sugar serves multiple purposes: it enhances sweetness, helps in the caramelization process during long cooking, and contributes to the overall texture and preservation. From the wide array of sweeteners available, white granulated sugar and brown sugar are the most common choices in traditional fruit butter recipes. However, other options like maple sugar, agave syrup, honey, or even fruit juice concentrates can be used to impart different flavor nuances.
To determine the right amount of sugar, many recipes recommend a ratio of 1/2 to 1 cup of sugar per 2 cups of fruit purée. This range allows for flexibility based on the natural sweetness of your fruit and your personal preference. It’s always best to taste the purée as you go and adjust the sugar level accordingly. Remember that the final product will be much more concentrated than the initial purée, so a slightly tart base can lead to a perfectly balanced butter.
Acidity: The Flavor Brightener and Preserver
Adding an acidic ingredient to fruit butter serves two critical functions: flavor enhancement and safe preservation for canning.
Firstly, from a culinary perspective, acid acts as a “brightener” for the fruit’s natural sweetness, preventing the butter from tasting cloyingly sweet or flat. It creates a more balanced and vibrant flavor profile. Common acidic additions include fresh lemon juice, lime juice, or orange juice, as well as apple cider vinegar or citric acid.
Secondly, and most importantly for those planning to can their fruit butter, acidity is a non-negotiable component for food safety. Many fruits are not naturally acidic enough on their own to be safely canned in a boiling water bath (which requires a pH of 4.6 or lower). The addition of an acid helps to lower the overall pH of the fruit butter, creating an environment inhospitable to harmful bacteria. Always adhere to tested recipes that specify the correct amount of acid for safe canning.
Seasonings: Aromatic Depth and Complexity
Seasonings are where you can truly personalize your fruit butter, adding layers of aromatic depth that complement the fruit’s inherent sweetness. Warm spices are a natural fit, with cinnamon, nutmeg, allspice, cloves, and ginger being popular choices. These spices not only enhance the classic autumn and winter fruit butters but can also add unexpected warmth to summer fruits. Beyond spices, a splash of vanilla extract or vanilla bean paste can introduce a comforting, rich aroma. A touch of bourbon or brandy can add sophistication, while a surprising hint of balsamic vinegar can deepen fruity notes and provide a subtle tang.
For those interested in more adventurous flavors, floral notes can be incorporated. Lavender, rose, or elderflower can impart a delicate elegance. To use dried edible flowers, infuse them in hot water or a portion of the liquid called for in your recipe, strain, and then add the infused liquid to the fruit puree at the beginning of the cooking process. Be conservative with floral ingredients, as their flavors can quickly become overpowering. Always ensure any edible flowers used are free from chemical sprays.
Preserving Fruit Butters: Canning and Storage Guidelines
Preserving homemade fruit butters extends their enjoyment far beyond the harvest season. Water bath canning is a popular and effective method for long-term storage, but it comes with crucial safety considerations regarding the fruit’s natural acidity. Generally, most fruit butters are suitable for water bath canning if the fruit itself is naturally acidic enough (a pH of 4.6 or lower) or if sufficient acid is added to the recipe. It is vital to double-check the pH requirements for your chosen fruit before beginning any canning recipe.
It’s important to note that fruit acidity can vary not only by type but also by variety and stage of maturity. For instance, while common yellow peaches are typically acidic enough for canning on their own, white peaches are generally less acidic and require added lemon juice or another acid to be safely water bath canned as white peach butter.
The following fruits are generally *not* acidic enough to be canned as fruit butters without the careful addition of extra acidity, following a tested recipe:
- White peaches (yellow peaches are usually fine)
- Asian pears (other pear varieties are typically fine)
- Persimmons
- Mangos
- Cantaloupe, watermelon, and other melons (these are also generally not ideal for fruit butter due to their high water content and texture)
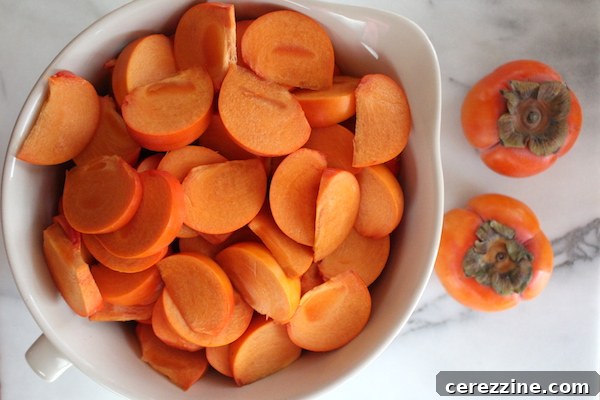
This does not mean you cannot make delicious fruit butter from these less acidic fruits! You simply must either follow a scientifically tested canning recipe that includes the necessary amount of added acid, or plan to store them as refrigerator or freezer preserves. Refrigerator fruit butters will typically keep for 3 to 4 weeks, offering a wonderful short-term option.
Furthermore, there is a small, but important, group of fruit butters that are definitively *not safe* for home canning, regardless of how much acidity is added. Their inherent properties, combined with the thick consistency of fruit butter, prevent safe processing in a boiling water bath. One of the most common examples is pumpkin butter.
Pumpkin, along with other winter squashes, is a very low-acid food. When combined with the dense texture characteristic of fruit butter, it creates an environment where botulism spores could potentially thrive if canned in a water bath. Therefore, despite its immense popularity during autumn, there are currently no pumpkin butter recipes approved for safe home canning. The same applies to other specific fruits:
The following butters must always be made as refrigerator or freezer preserves and are NOT approved for canning:
- Banana butter
- Papaya butter
- Pumpkin butter
For these fruits, embrace the joy of fresh, homemade spreads and store them appropriately in the refrigerator or freezer for delicious, worry-free enjoyment.
Canning Fruit Butters for Long-Term Storage
Once you’ve confirmed that your chosen fruit is suitable for canning and you’ve followed a tested recipe, including any necessary added acidity for borderline fruits, the actual process of water bath canning fruit butter is quite straightforward. This method provides a safe and reliable way to store your homemade preserves for many months, ensuring you can enjoy the taste of summer long after the season ends.
Because fruit butter often yields a smaller volume compared to jams or jellies, I frequently opt for half-pint jars, which are perfect for gifting or enjoying smaller portions. However, standard pint jars or even quart jars can be used, provided you adjust processing times accordingly. Before you begin, ensure your jars are clean and warm. Carefully pour or ladle the still-hot fruit butter into the prepared jars, leaving a precise 1/4-inch headspace at the top. A canning funnel is an invaluable tool for this step, preventing spills and keeping jar rims clean. After filling, wipe the jar rims thoroughly with a damp cloth to remove any residue, which could interfere with the seal. Place two-piece canning lids on the jars, tightening the bands only until fingertip-tight—don’t overtighten.
Load the filled, lidded jars into a hot water bath canner, ensuring they are fully submerged in water by at least one inch. Bring the water to a rolling boil. Once boiling, begin your processing time: For half-pint or pint jars, process for 10 minutes. If you are using quart jars, increase the processing time to 15 minutes. For those canning at higher altitudes (above 6,000 feet), adjustments are necessary: process half-pint and pint jars for 15 minutes, and quart jars for 20 minutes.
When the processing time is complete, turn off the heat and allow the jars to remain in the hot canner for an additional 5 minutes. This crucial step helps equalize the pressure and reduces the chance of siphoning. After 5 minutes, carefully remove the hot jars using a jar lifter, placing them on a clean kitchen towel or cooling rack. Leave at least 1 inch of space between each jar to allow for proper air circulation.
Allow the jars to cool undisturbed at room temperature for 12 to 24 hours. During this time, you should hear the satisfying “ping!” as the lids seal. Once completely cool, check the seal of each jar by pressing lightly on the center of the lid—it should not flex. If a lid does not seal, refrigerate that jar of fruit butter and consume it within a couple of weeks. For properly sealed jars, remove the rings (they are not needed for storage and can harbor moisture, leading to rust), wipe the jars clean, label them with the contents and date, and store them in a cool, dark, dry place away from direct light. Your perfectly canned fruit butters will remain delicious for up to 18 months.
Exploring Diverse Types of Homemade Fruit Butter
The world of fruit butters is incredibly diverse, offering a rich tapestry of flavors limited only by your imagination and the availability of seasonal produce. From traditional orchard fruits to more exotic varieties, almost any fruit can be transformed into a delectable butter. As highlighted earlier, the primary consideration when selecting your fruit is its acidity, particularly if you intend to preserve it through canning. With the exceptions of banana butter and pumpkin butter, which are generally not recommended for water bath canning, the following fruit butters are excellent candidates for long-term preservation.
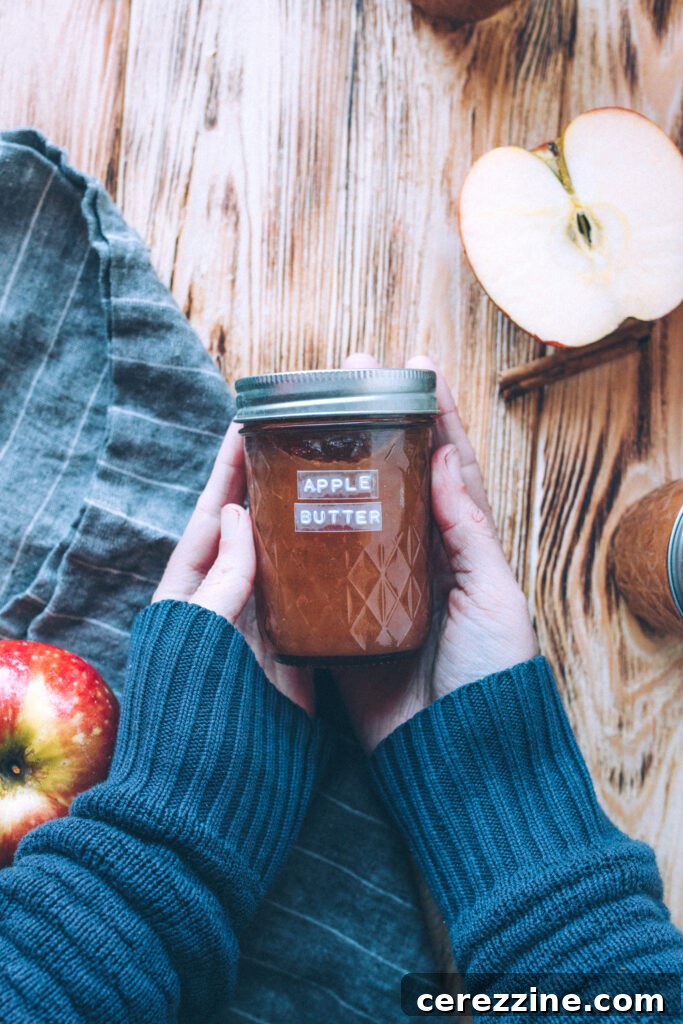
Apple Butter: The Quintessential Fall Favorite
Apple butter is arguably the most recognized and widely available fruit butter, especially across North America. Often found alongside jams and jellies in supermarkets, or sold in generous pints at farmers markets during late autumn, it’s a comforting staple. Its rich, spiced flavor makes it a perfect embodiment of fall.
The choice of apples significantly impacts the final taste and texture of your apple butter. For a balance of sweetness and tartness, consider using a blend of varieties such as Fuji, Granny Smith, Honeycrisp, Golden Delicious, or McIntosh. These offer a spectrum of flavors that combine beautifully. The amount of added sugar in apple butter recipes can vary greatly; some recipes use no added sugar, relying solely on the fruit’s natural sweetness, while others suggest up to a cup of brown or white sugar per batch. Experimentation and frequent tasting are key to finding your preferred sweetness level.
I find the slow cooker method particularly appealing for apple butter due to its hands-off nature, allowing the apples to slowly caramelize and deepen in flavor with minimal stirring. However, successful apple butter can also be made on the stovetop, though it typically requires more frequent stirring to prevent scorching as the apples cook down and thicken.
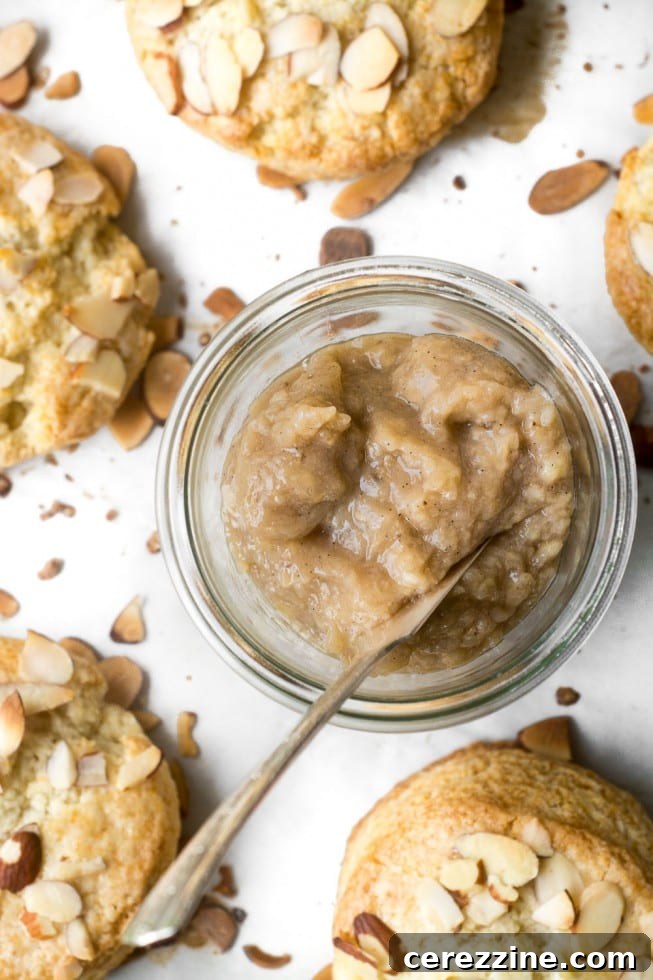
Banana Butter: A Sweet and Decadent Treat
Banana butter is a truly indulgent and wonderfully sweet spread. The magic happens during the cooking process, where the natural sugars in the bananas caramelize, imparting a heavenly depth of flavor to the finished butter. Unlike many other fruit butters, banana butter comes together quite rapidly. The fruit is typically pureed and then cooked for a brief 5 minutes before being transferred to small jars.
Recipes like this Banana Butter Recipe, which incorporates bourbon and vanilla bean paste, yield a banana butter that is perfectly at home spread generously on a classic PB&J sandwich, slathered over a stack of fluffy pancakes or waffles, or (my personal favorite) topping a light and airy Dutch Baby pancake. Other creative uses for banana butter include swirling it into homemade banana bread batter, blending it as the base for a creamy banana milkshake, or incorporating it into delightful banana ice cream sandwiches.
It is crucial to remember that bananas are a low-acid fruit, which means banana butter is NOT approved for canning using standard water bath methods. For safe storage, spoon the finished banana butter into small jars and store it in the refrigerator for up to 2 weeks. To enjoy it for longer, consider freezing banana butter: spoon it into an ice cube tray, and once solid, transfer the frozen banana cubes to a resealable bag for convenient freezer storage.
Blueberry Butter: A Burst of Berry Goodness
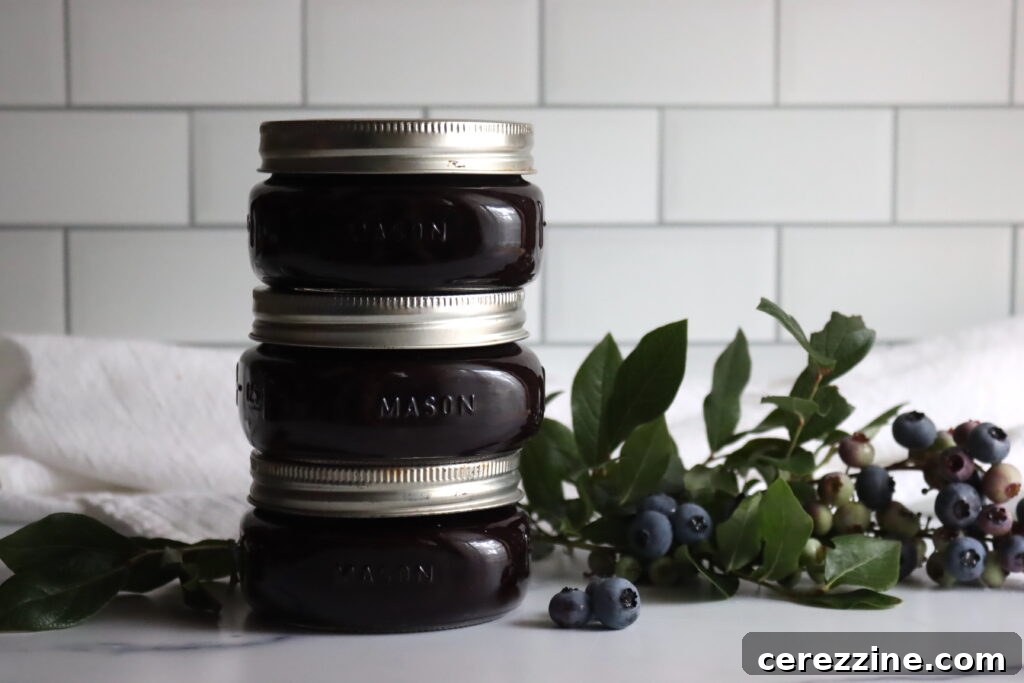
Homemade blueberry butter offers a delightful way to utilize an abundance of blueberries, and it’s particularly efficient if you’ve already made blueberry syrup and have leftover pulp. The secret to its vibrant flavor lies in a low and slow cooking process combined with the judicious addition of lemon juice and zest, which wonderfully accentuates the blueberries’ natural sweetness and tartness.
Blueberry butter is an exquisite topping for a variety of breakfast delights, from classic pancakes and waffles to crepes. For a truly special experience, I highly recommend pairing it with cornmeal pancakes. The slightly rustic texture and flavor of cornmeal provide a fantastic contrast to the smooth, rich blueberry butter.
Beyond breakfast, the versatility of blueberry butter is impressive. Consider stirring a spoonful or two into quickbread batters for a burst of fruity flavor, using it as a decadent topping for ice cream sundaes, or swirling it into Greek yogurt with granola for a wholesome and flavorful snack. It pairs beautifully with a long list of baked goods and desserts, limited only by your imagination!
Blueberry butter also finds a sophisticated place in savory cuisine, serving as an excellent accompaniment to dishes such as roasted duck breast or pork. Furthermore, it shines when paired with cheeses: its bright acidity and sweetness complement fresh unripened cheeses like chèvre and ricotta, and it’s equally superb with buttery, ripened cheeses, particularly a rich double-cream brie.
Cherry Butter: A Ruby-Hued Delicacy
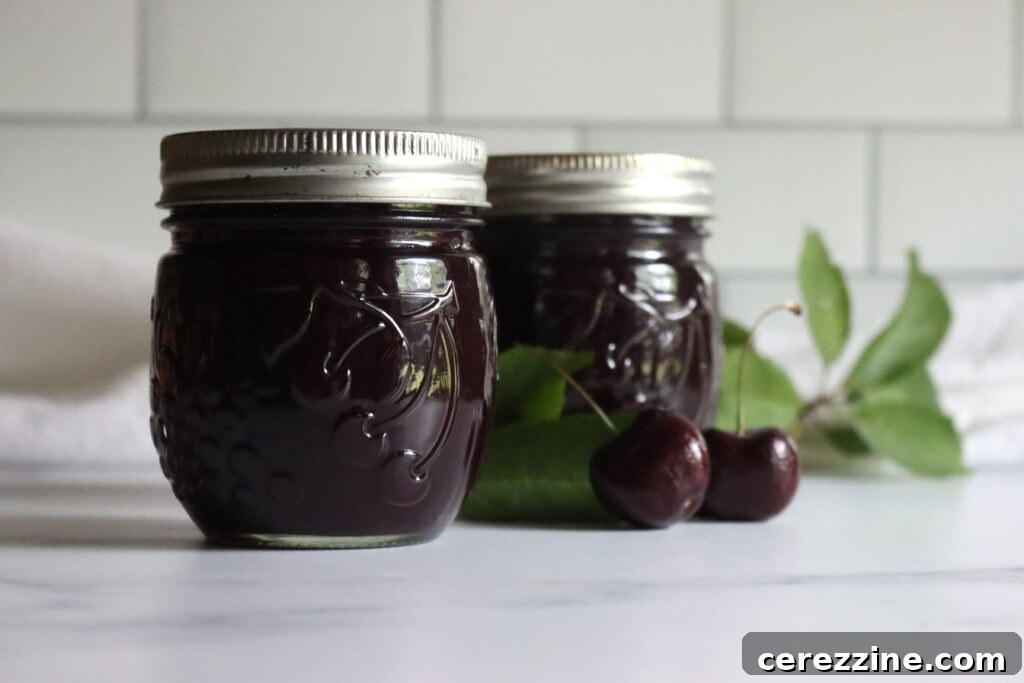
When cherry season arrives, especially here in Vermont, it’s a bustling time dedicated to preserving the abundant harvest. My efforts typically include canning cherry pie filling and crafting batches of tangy sour cherry jam, not to mention freezing countless pitted cherries for year-round enjoyment. However, if you’re seeking even more creative ways to utilize a substantial yield of cherries, homemade cherry butter is an absolute must-try—it’s both incredibly delicious and surprisingly versatile.
With its stunning ruby hue and concentrated flavor, cherry butter is simply wonderful spread on warm whole-grain bread with a slab of real butter. It also makes an elegant addition to a charcuterie board, offering a sweet and tart counterpoint to savory meats and cheeses, or served alongside grilled venison for a gourmet touch.
One of my absolute favorite applications for cherry butter is as a filling for homemade pastries, such as Pop Tart-like treats or crescent rolls. You’ll be amazed at how incredible breakfast pastries taste when they are generously stuffed with this real, intensely flavored cherry goodness. The vibrant fruit essence elevates simple baked goods to something truly extraordinary.
Cranberry Butter: Tart and Tangy Spreads
Cranberry butter presents itself in two delightful forms, each offering a distinct flavor experience. The first, and arguably more popular, method involves making cranberry apple butter. This rendition typically combines apples with a roughly equivalent volume of cranberries, creating a harmonious blend where the apples mellow the cranberries’ intense tartness, resulting in a balanced and wonderfully spiced spread. This version is fantastic for enjoying on its own, perhaps with a generous scoop of vanilla ice cream, especially when still warm.
The second type of cranberry butter is crafted using cranberries only. This pure cranberry butter is distinctly tart and incredibly intense, meaning a little goes a long way. Its robust flavor profile makes it less of a standalone spread and more of a potent condiment. I particularly enjoy adding a spoonful of pure cranberry butter to my morning oatmeal for a zesty kick or spreading it thinly inside a grilled cheese sandwich, especially with hearty cheeses like gouda or Jarlsberg. It also adds an unexpected brightness to a turkey sandwich, cutting through the richness of the meat and cheese.
Guava Butter: An Exotic and Fragrant Delight
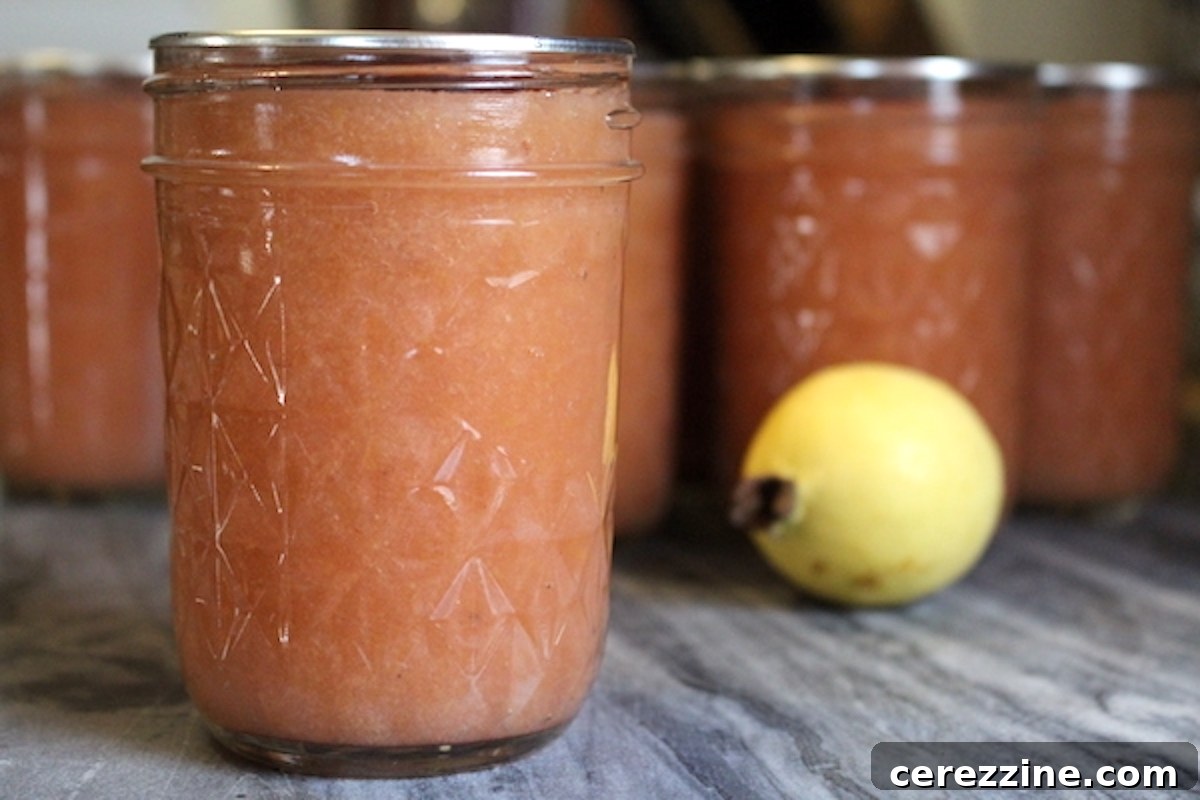
Living on the East Coast, opportunities to encounter large quantities of fresh guava are rare, but on one memorable occasion, I found them available in bulk and seized the chance to make homemade guava butter. If you’ve never tasted fresh guava, you’re in for a true culinary treat; its flavor profile often evokes notes of strawberry and pear, creating a uniquely fragrant and sweet experience.
When making guava butter, specialized equipment is virtually essential. Guava fruits are packed with small, inedible seeds that are exceedingly difficult to remove by hand. For this reason, I highly recommend using a chinois strainer or a food mill. I personally found my KitchenAid food strainer attachment to be incredibly efficient for separating the luscious pulp from the stubborn seeds, making the process much more enjoyable.
Guava butter pairs beautifully with traditional accompaniments such as warm bread, freshly baked scones, or flaky biscuits. Beyond these classics, imagine its exotic sweetness filling a vanilla layer cake—it would undoubtedly be an extraordinary dessert. Its unique flavor also makes it a delightful addition to tropical-inspired glazes for poultry or pork, or even swirled into creamy desserts like panna cotta or cheesecake.
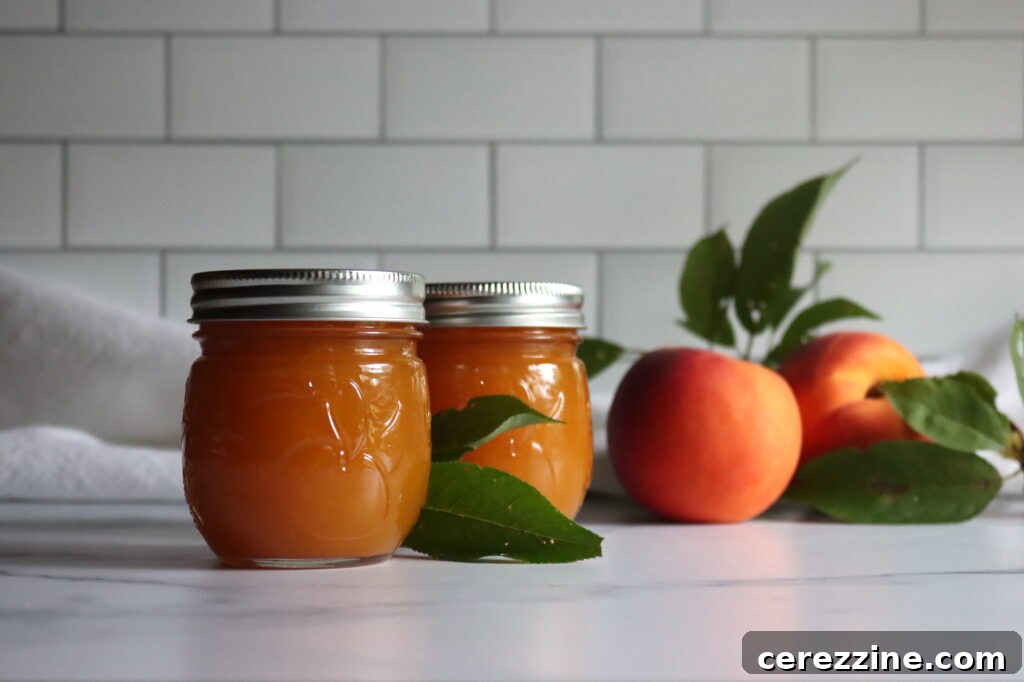
Peach Butter and Apricot Butter: Sunshine in a Jar
Fruit butters made from succulent stone fruits, such as vibrant peach butter, delicate apricot butter, or fragrant nectarine butter, are truly like capturing summer sunshine in a jar. There’s nothing quite like spreading a thick layer of these aromatic butters on a piece of warm toast in the dead of winter, instantly transporting you back to a blissful late-August day, regardless of the chilly temperatures outside. They are pure comfort and nostalgia.
When selecting your stone fruit, freestone peaches and nectarines are generally the easiest to work with due to their pits readily separating from the flesh. However, if you possess the time and patience, I believe that clingstone fruit varieties, while requiring a bit more effort in pitting, often offer a superior depth of flavor that is well worth the extra work.
Stone fruit butters are a dream topping for hot-from-the-oven muffins, fluffy pancakes, or a stack of golden waffles. But their savory applications are equally enticing and delicious. These fruit butters make an incredible base for glazes, perfect for basting a holiday ham or enhancing roasted duck. I’ve also successfully incorporated them into unique salad dressings, where their sweetness and subtle tang beautifully complement bitter greens, adding an unexpected gourmet twist to a simple salad.
Pear Butter: The Sophisticated Cousin
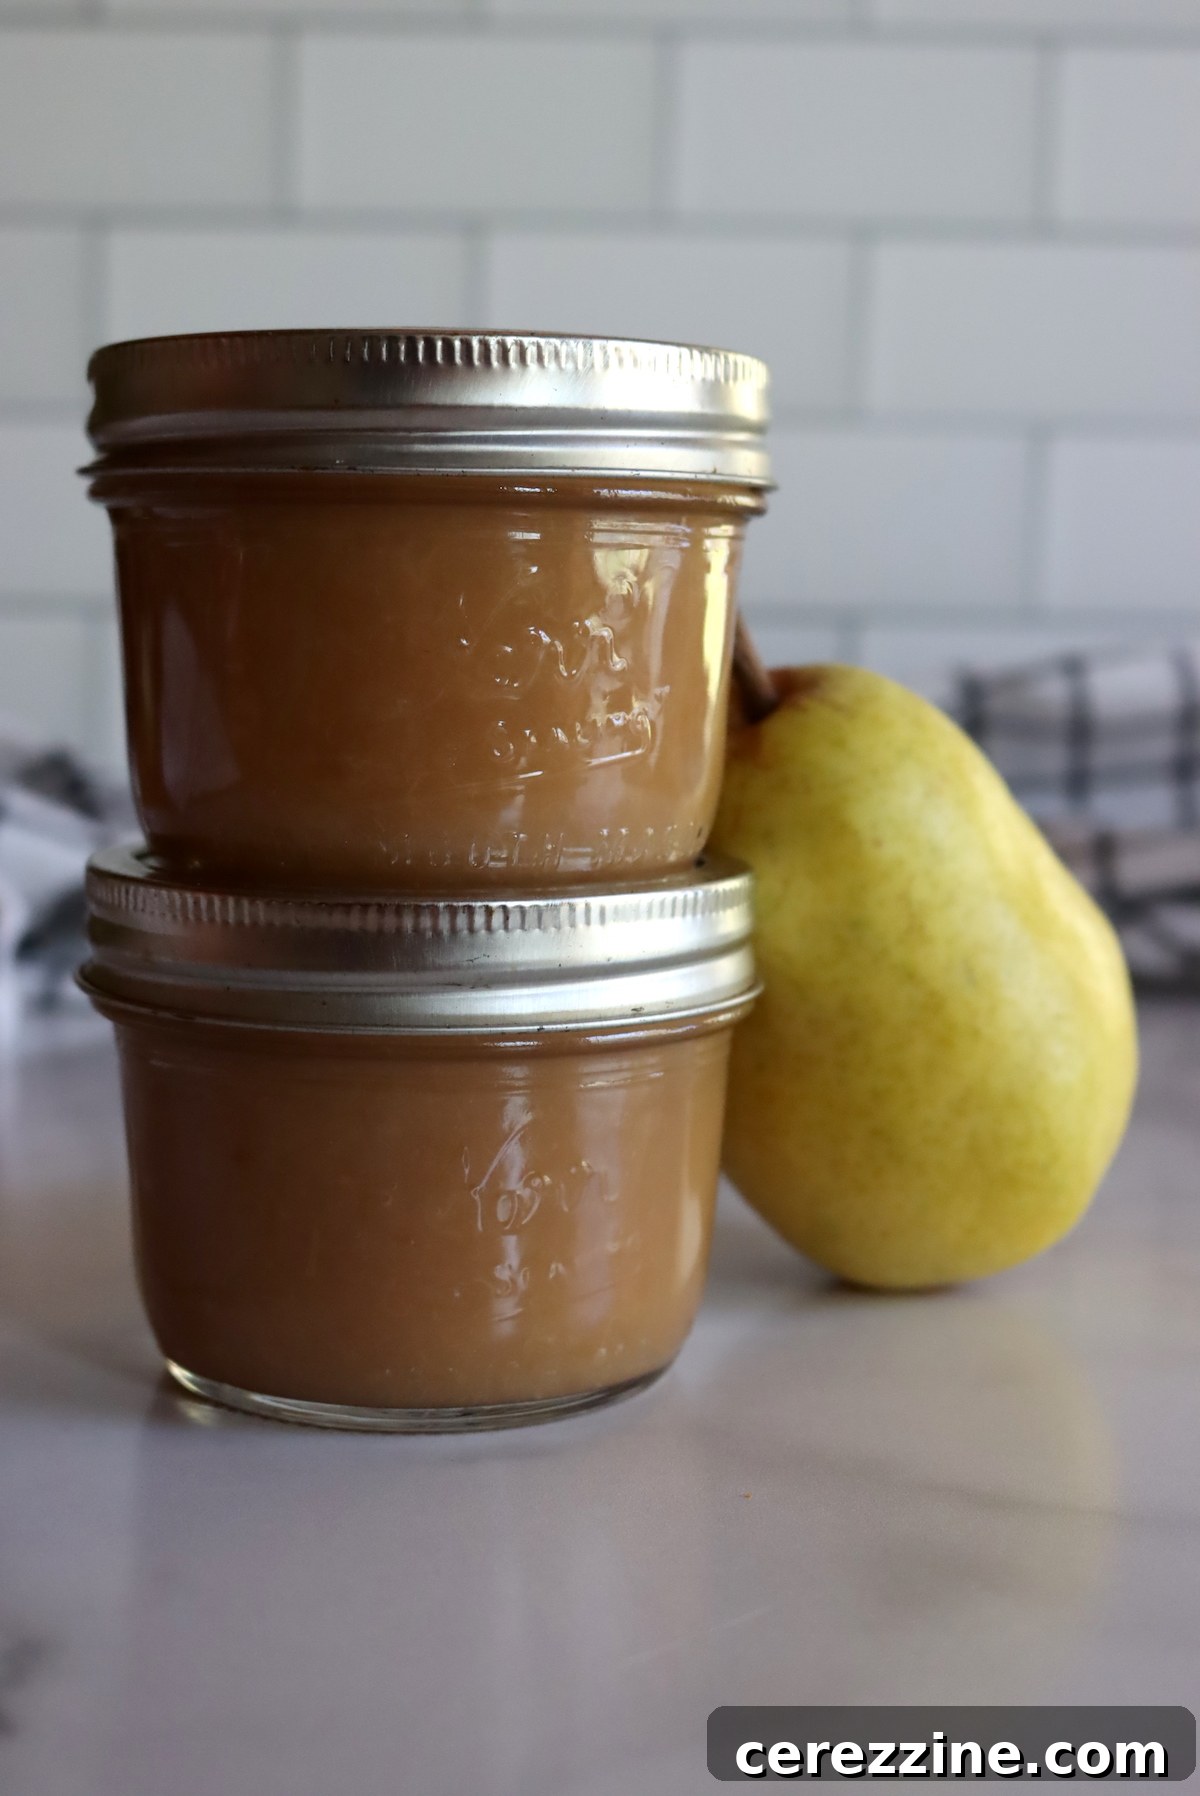
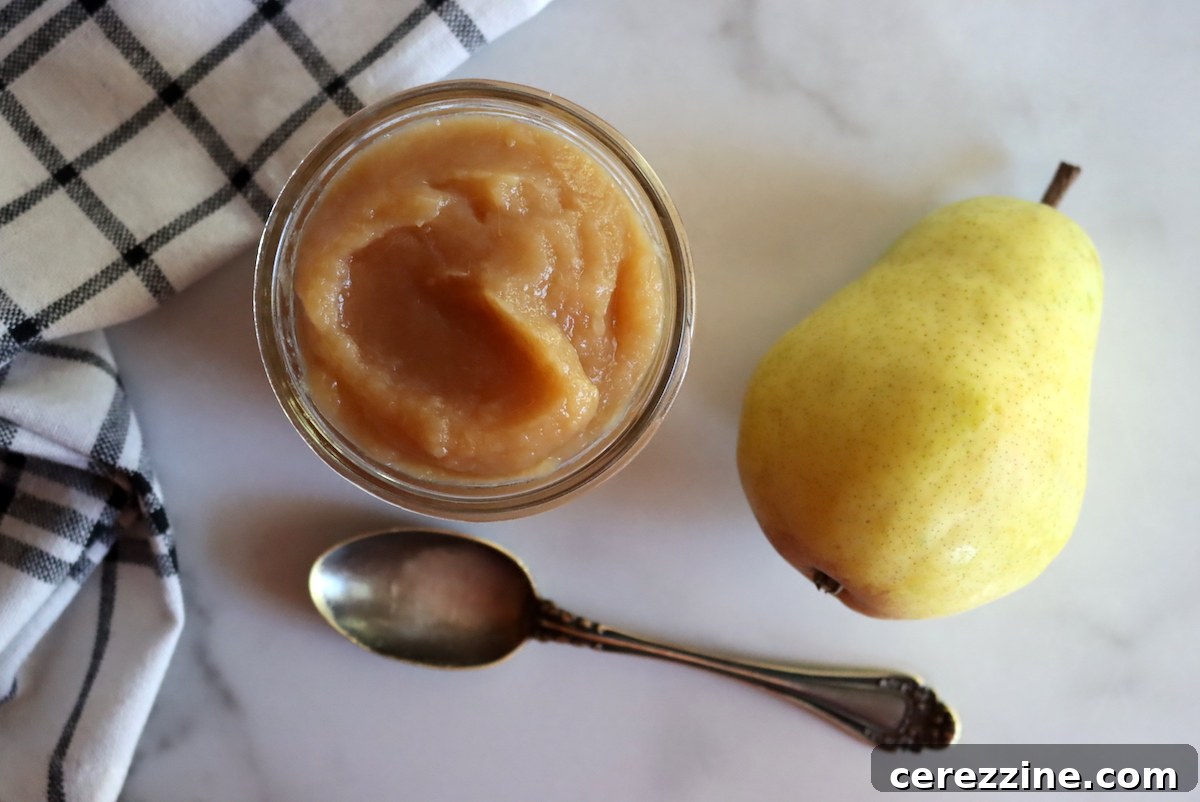
Pear butter stands as the sophisticated cousin to the more rustic apple butter. It offers a very similar flavor profile but often with a more nuanced and delicate character when prepared correctly. A word of caution: if you intend to can your finished pear butter, avoid using Asian pears, as they are typically less acidic and can pose a safety risk for water bath canning. Fortunately, I find other pear varieties to be far more flavorful and better suited for butter-making anyway.
Pears can sometimes have a slightly gritty texture, so to achieve the signature smoothness of fruit butter, I always make sure to purée my pear butter as thoroughly and finely as possible. A food mill or a powerful blender will be your best friend in this endeavor, ensuring a silky consistency.
Pear butter is a natural and delightful topping for a bowl of creamy yogurt with crunchy granola, providing a healthy yet indulgent start to your day. It also makes a fantastic addition to any nut butter sandwich, adding a sweet and earthy counterpoint to peanut or almond butter. Because its sweetness is generally less intense than that of apple butter, pear butter can be artfully swirled into quickbreads or coffee cakes without pushing the dessert into an overly sweet category, allowing other flavors to shine through.
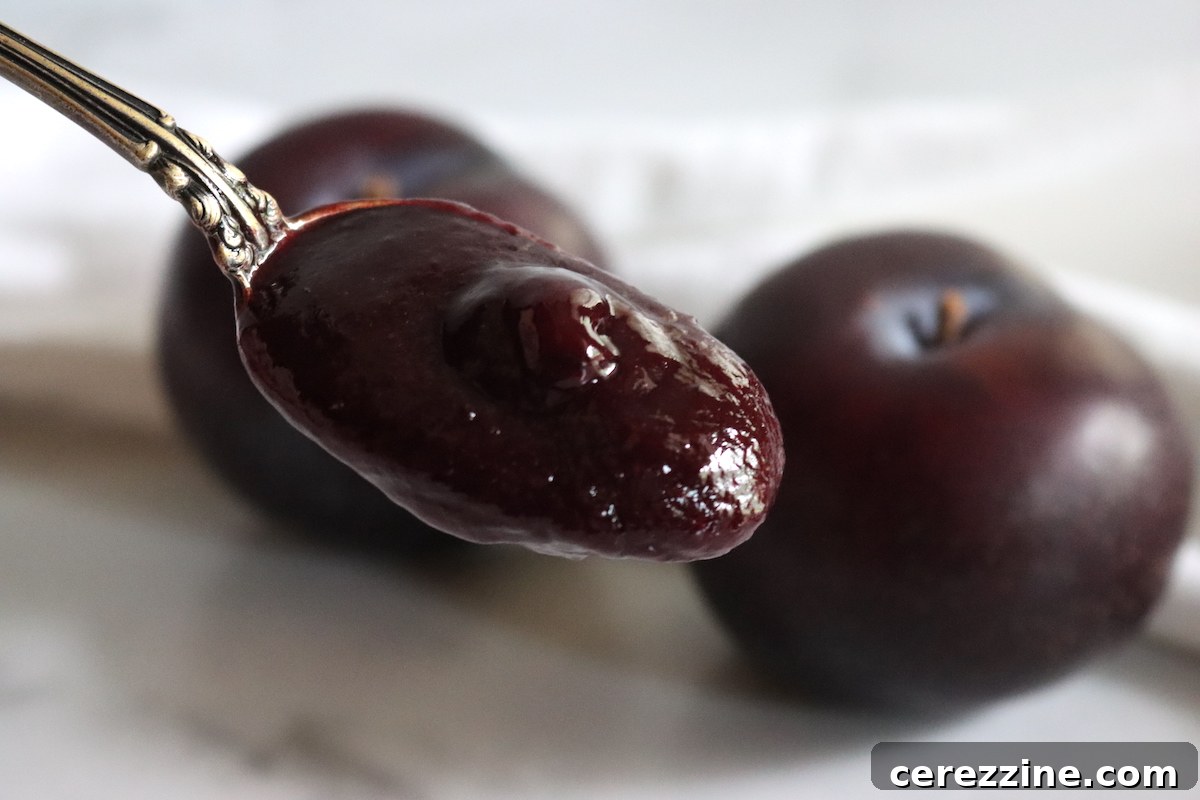
Plum Butter: A European Tradition
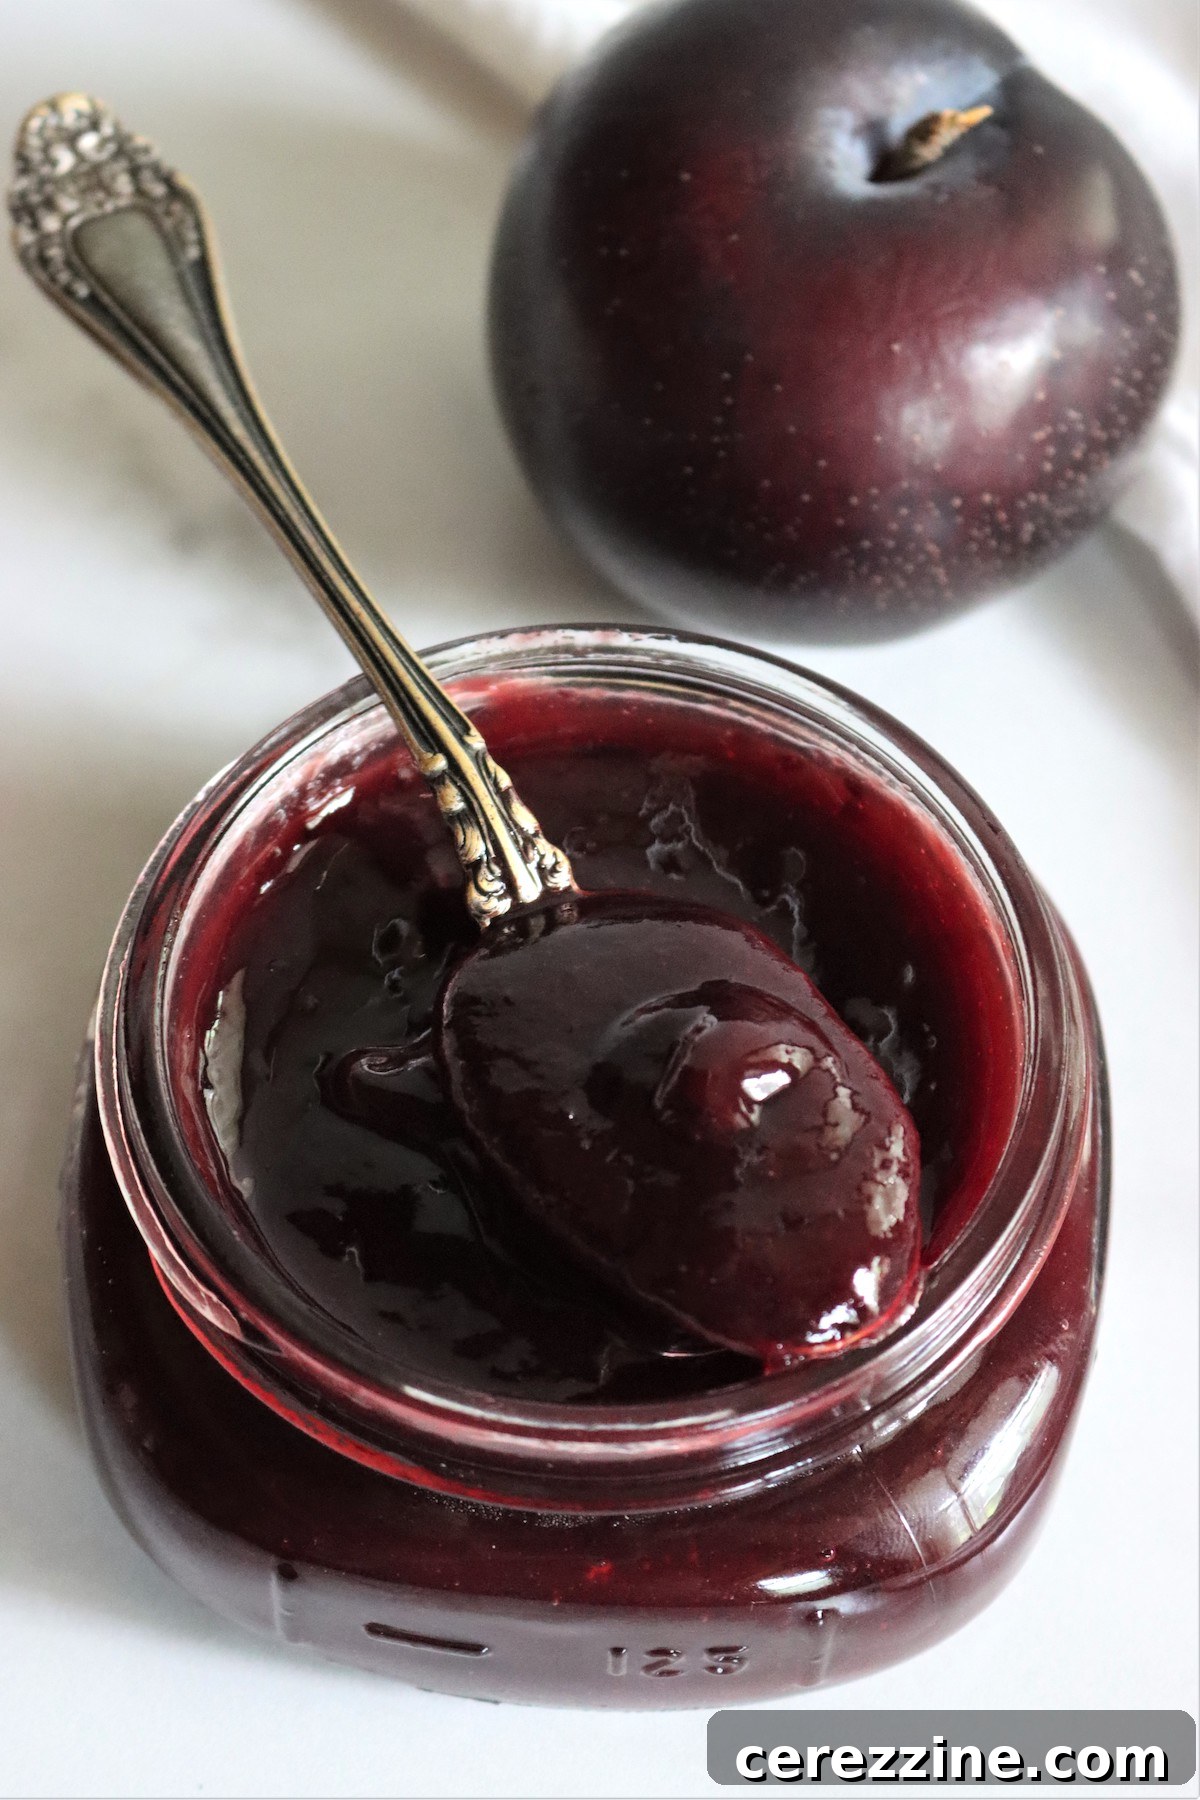
For many in the US, plum butter might not be as familiar a preserve as its apple counterpart. However, in central Europe, particularly Germany, you are likely fortunate to regularly enjoy Pflaumenmus, which translates directly to plum jam, though its consistency is more akin to a rich fruit butter. This delicious spread is deeply ingrained in culinary traditions there.
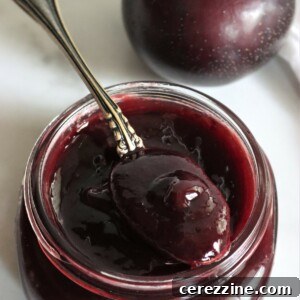
Plum butter is most commonly made with Italian plums (also known as prune plums), which make a grand appearance at farmers markets in late August and throughout September. When Italian plums are in season, they truly are everywhere, offering a bountiful opportunity for preservation. Their firm flesh and distinct tart-sweet flavor are perfect for slow-cooking into a concentrated butter.
In Germany, Pflaumenmus is utilized much like any other jam or jelly, slathered on bread or pastries. It’s also a popular filling for various desserts, cakes, and sweet baked goods. Beyond sweet applications, plum butter lends a big, complex flavor to savory dishes. It excels as an ingredient in marinades and homemade barbecue sauces, especially when brushed generously on ribs or grilled steak before and after cooking. Its tangy sweetness provides a wonderful counterpoint to rich meats, creating a glaze that is both flavorful and appealingly sticky.
Pumpkin Butter: An Autumnal Indulgence
Despite its undeniable popularity during the autumn months, it’s crucial to remember that pumpkin butter cannot be safely canned using traditional home water bath canning methods. Pumpkin, like other winter squashes, is a low-acid food, and when combined with the thick density of fruit butter, it creates an unsuitable environment for safe processing. However, this fact shouldn’t deter you from enjoying this beloved seasonal spread! You can absolutely make a delicious fridge-safe version, as most recipes will last anywhere from a week to two, providing ample time to savor its rich flavors.
The best way to enjoy pumpkin butter, aside from spooning it directly from the jar, is to froth it up with coffee and milk to create your very own cozy homemade pumpkin spice latte. It’s also fantastic swirled into oatmeal, spread on toast, or used as a filling for muffins and quick breads, bringing the quintessential tastes of fall right into your kitchen.
Strawberry Butter: Pure Berry Perfection
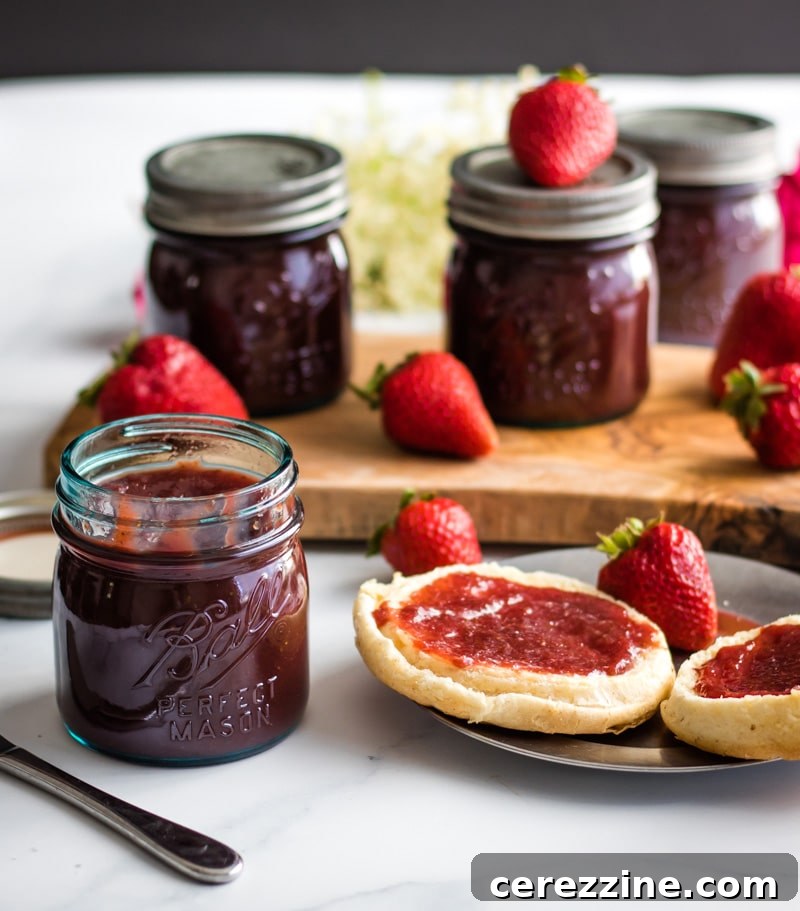
Strawberry butter is truly a heavenly creation—a concentrated burst of pure berry flavor that evokes the essence of a strawberry fruit leather, but in a wonderfully spreadable form! It’s an ideal way to utilize an abundance of fresh strawberries during early summer, transforming them into a vibrant and aromatic preserve that tastes like sunshine.
Recipes like this strawberry honey butter further elevate the natural sweetness of the berries with the addition of honey and a hint of vanilla. Trust me when I say that once you’ve made this, you’ll never want to top your ice cream with anything else. The complex sweetness and intense strawberry flavor are utterly irresistible.
Preparing strawberries for fruit butter requires minimal effort. The berries simply need to be washed thoroughly and then hulled (remove the green leafy top). If you don’t have a dedicated strawberry huller, a metal straw or a small paring knife works perfectly. Once prepped, the berries are typically blended in a food processor or with a stick blender until smooth, then cooked over low heat until reduced to that perfect buttery consistency. The simplicity of preparation, combined with the spectacular flavor, makes strawberry butter a cherished homemade preserve.
Creative Ways to Enjoy Homemade Fruit Butter
The versatility of fruit butter extends far beyond a simple spread on toast. While the specific culinary applications might vary slightly depending on the fruit used, most fruit butters can be interchanged in recipes, offering a delightful twist to both sweet and savory dishes. For instance, fruit butter can often be substituted for oil or applesauce in certain baking recipes, contributing a wonderfully moist crumb and a subtle fruity flavor to muffins, cakes, or quick breads.
Explore these exciting and delicious ways to incorporate your homemade fruit butter into your everyday cooking and baking:
- Fruit Leathers: Transform leftover fruit butter into healthy, chewy fruit leathers. Simply spread a thin layer onto parchment paper and dehydrate until firm.
- Baked Goods: Swirl into batters for muffins, pancakes, waffles, or a comforting apple butter bread. Use as a filling for thumbprint cookies, tarts, or homemade pastries.
- Classic Spreads: The most straightforward use! Spread generously on hot toast, English muffins, bagels, or a stack of fluffy pancakes or waffles for a luxurious breakfast.
- Savory Enhancements: Incorporate into marinades or homemade BBQ sauces. Its sweet and tangy notes pair exceptionally well with grilled meats like pork, chicken, or ribs, adding a complex glaze.
- Sandwich Spreads: Elevate a simple sandwich by spreading it with fruit butter. It’s fantastic with nut butter, turkey, or even roast beef, adding moisture and a surprising flavor dimension.
- Dessert Toppings: Spoon over vanilla ice cream, yogurt, or stir into whipped cream for a fruity topping.
- Cocktails & Beverages: A small amount can add fruit flavor and sweetness to warm drinks like tea or even certain cocktails.
42 servings, 6 pints
Fruit Butter: A Versatile Homemade Preserve
45 mins
8 hrs
15 mins
9 hrs
Rate
Equipment
-
Water Bath Canner
Ingredients
- 6 lbs fruit, prepared according to fruit type and kitchen equipment being used
- 1/4 cup lemon juice
- 3/4 cup liquid*
- 1-2 cups sweetener**
- Seasoning***, to taste
Instructions
-
Bring the prepared fruit and lemon juice to a low simmer in a large, covered saucepan. Cook until the fruit is very soft. Remove from the heat.
-
Run the cooked fruit through a sieve or food mill, or blend with a blender/stick blender/food processor until smooth.
-
Return the puréed fruit to the saucepan, adding the liquid, sweetener, and seasoning of your choice.
-
Cook the fruit butter over medium-low heat until it stays spread apart with a spatula (anywhere from 30 minutes onward).
-
Decant the fruit butter into jars, leaving 1/4-inch headspace. Wipe the jars down and seal with two-piece canning lids until fingertip tight.
-
Process the jars in a water canner for 10 minutes.**** When the timer goes off, turn the canner off and let the jars sit in the very hot water for 5 minutes before carefully removing with a jar lifter.
-
Move the jars to a clean towel and let the fruit butter come to room temperature. Check the seal of each jar and remove the rings; unsealed jars should be moved to the fridge.
-
Store sealed jars of fruit butter in a cool, dry place for up to 18 months.
Notes
**Choose from: white sugar, brown sugar, honey, maple syrup, agave nectar
***Choose from: ground allspice, ground cinnamon, ground ginger, star anise, vanilla extract, balsamic vinegar, or citrus zest.
****Canning times: For half-pints and pints at elevations lower than 6,000 feet, process for 10 minutes (for quarts process for 15 minutes). For higher elevations (greater than 6,000 feet), process half-pints and pints for 15 minutes, quarts should be processed for 20 minutes.
If using a slow cooker: Cook the fruit and lemon juice in the slow cooker over high heat for 2-3 hours, stirring every hour. Run the cooked fruit through a food mill or sieve, or blend with a blender or food processor until smooth. Return the puréed fruit to the slow cooker and cook on high for 4-5 hours, before partially removing the lid and cooking for another 2-3 hours until finished. Stir often as the fruit thickens to prevent scorching. When the fruit butter is done, decant to prepared jars and process in a water bath canner.
Nutrition
Nutrition information is automatically calculated, so should only be used as an approximation.
Like this? Leave a comment below!
More Ways to Preserve Fruit
If you’re looking to expand your home preservation repertoire beyond fruit butters, consider these other fantastic methods for capturing the peak flavors of fresh fruit:
- How to Make Jam: A Beginner’s Guide
- Canning Blueberries: Simple Steps for Berry Preservation
- Preserving Apples: Methods for Year-Round Enjoyment
- Delicious Ways to Preserve Blackberries
- Creative Ways to Preserve Strawberries
Inspiring Fruit Canning Recipes
Planning to preserve more than just fruit butter this season? Here are some additional, tested fruit canning recipes to fill your pantry:
- Classic Blackberry Jam (No Pectin Needed!)
- Homemade Grape Jam from Scratch
- Canning Peach Pie Filling: Ready for Baking
- Canning Strawberries: A Sweet Preservation Method