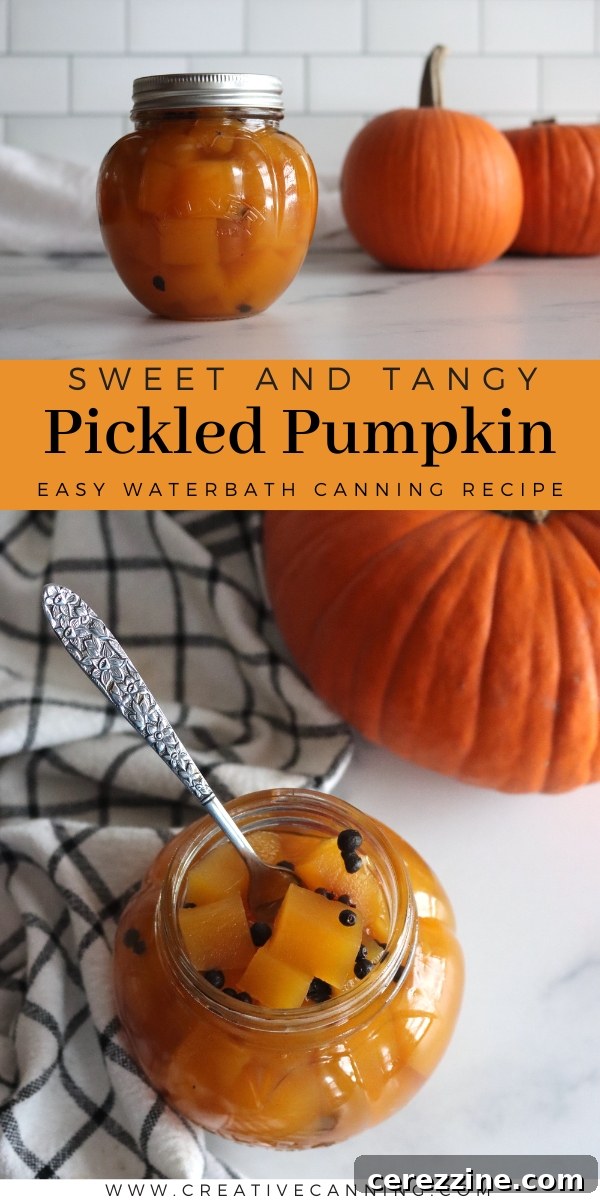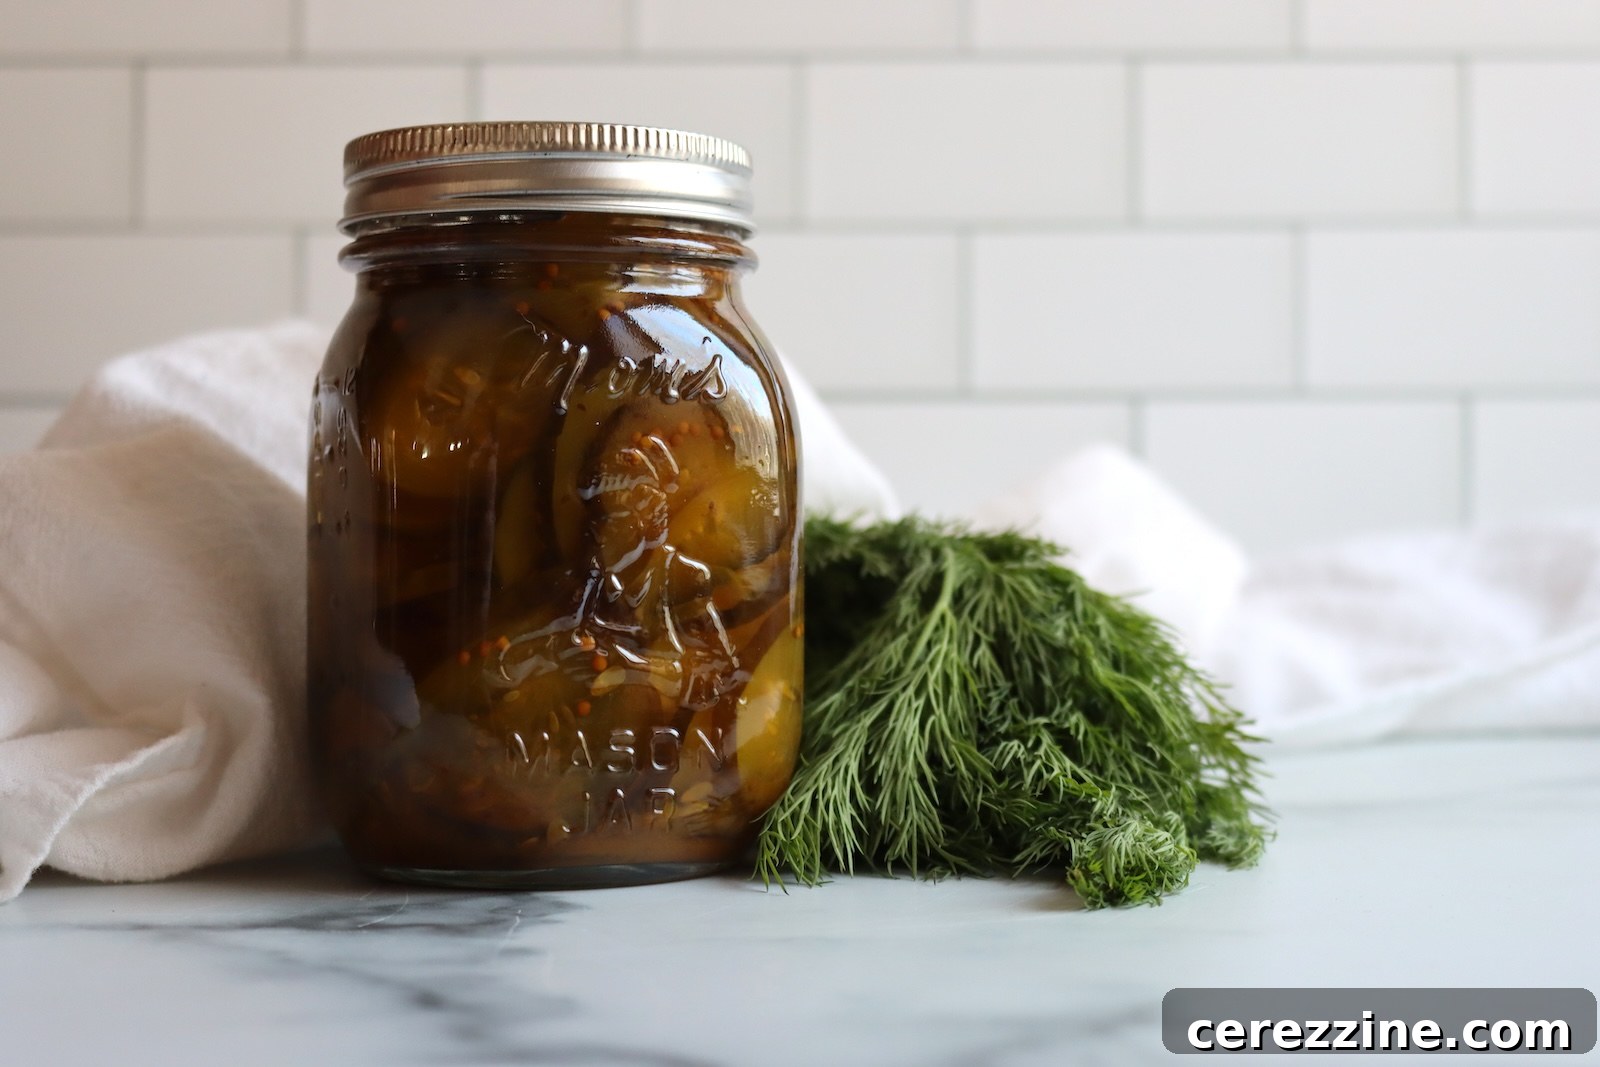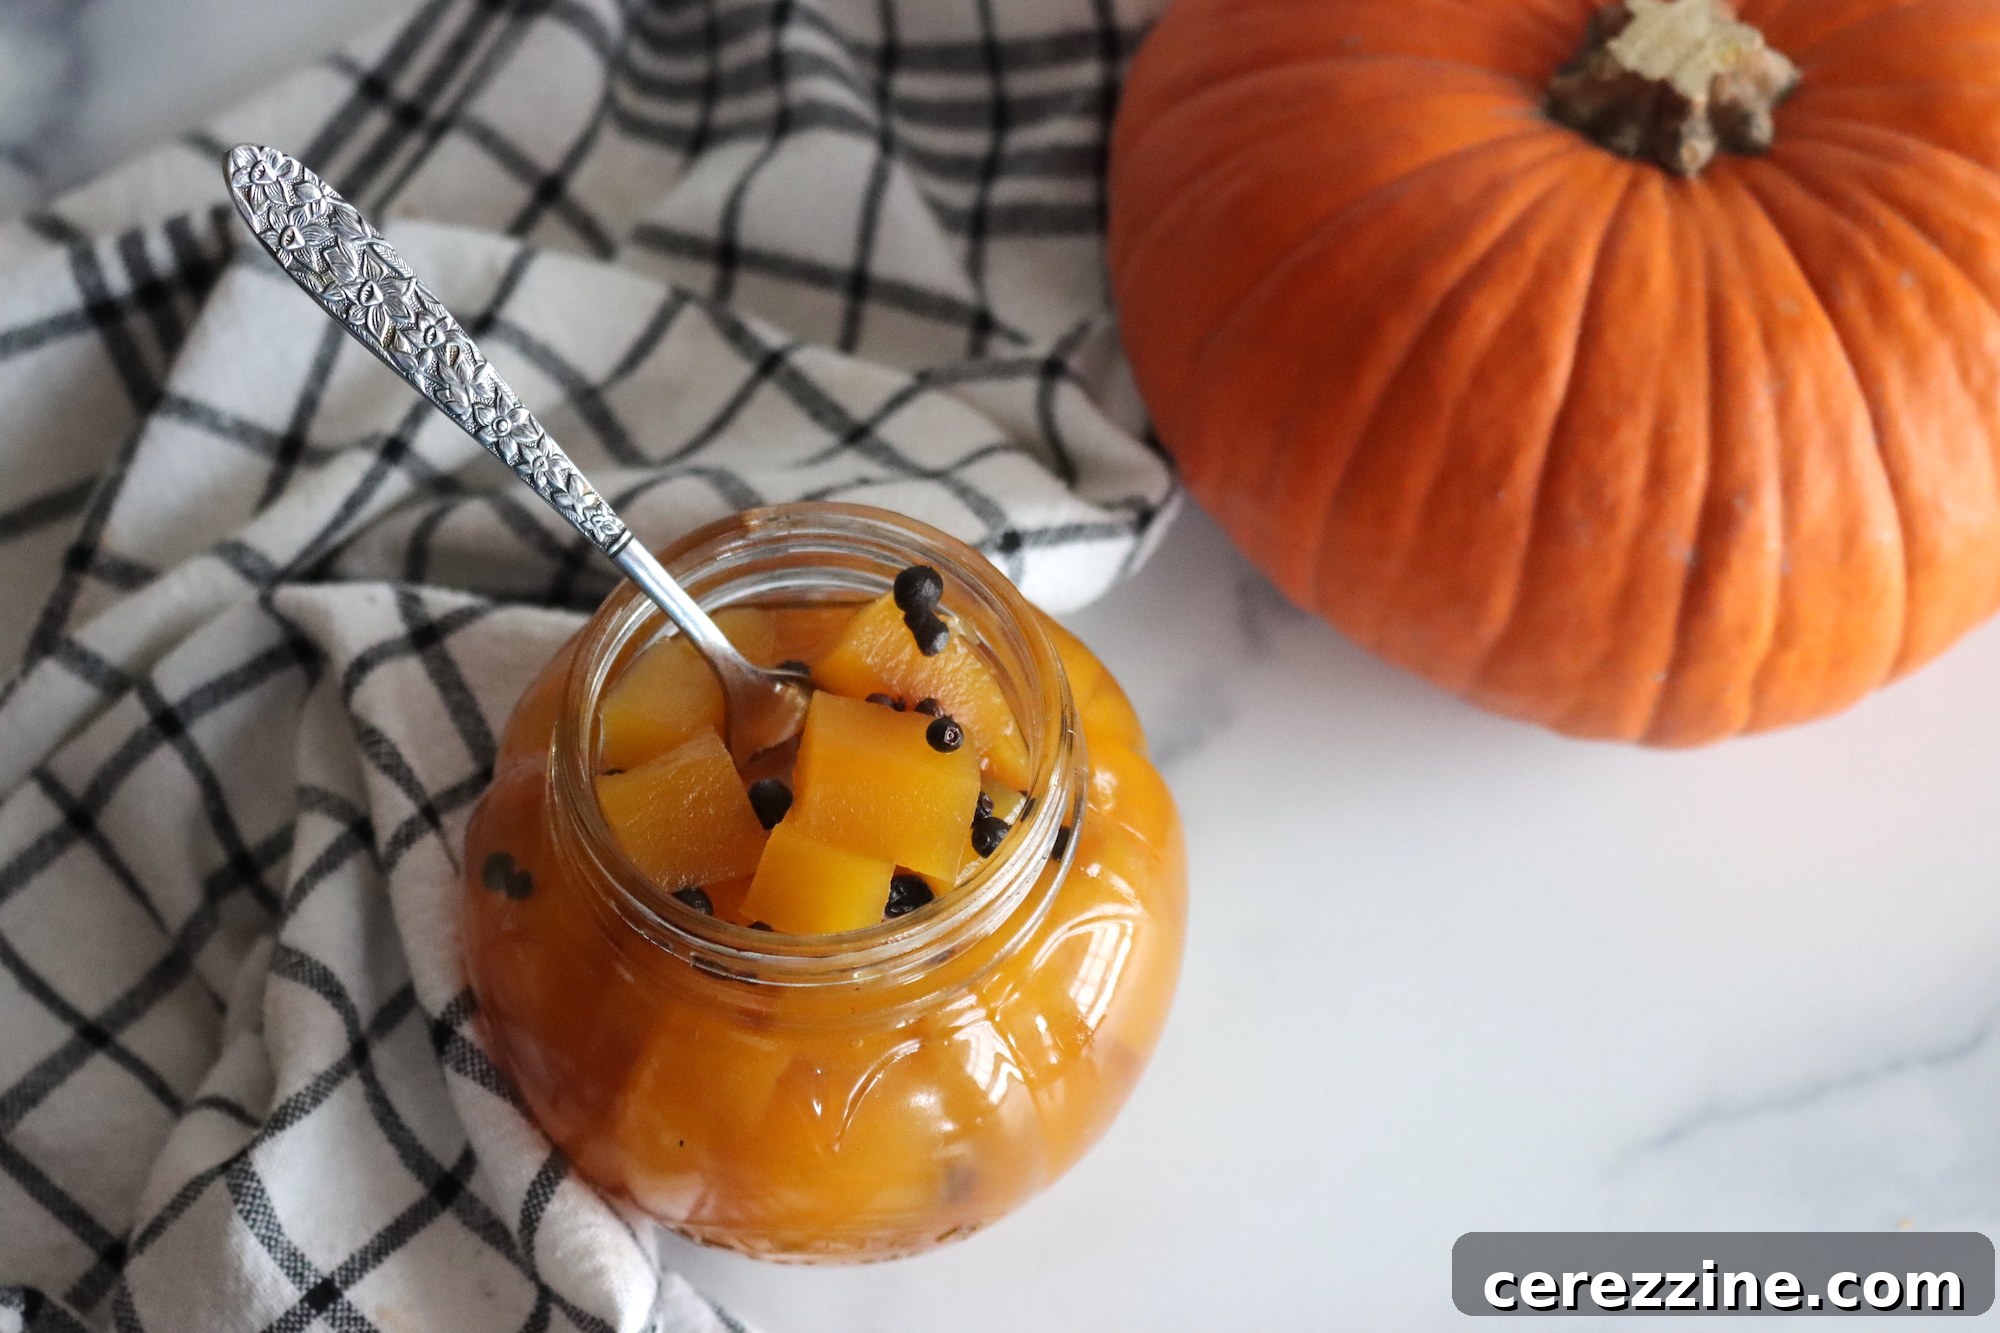
Unlock a delightful surprise for your palate with homemade **pickled pumpkin**! This sweet and tangy treat offers a unique culinary experience, perfect for elevating both sweet and savory dishes. With an easy water bath canning method, this recipe ensures your pumpkin is safely preserved thanks to the vinegar, yet remains wonderfully sweet and flavorful from the sugar. Prepare to impress your family and guests with this unexpected hit at your next holiday gathering or special meal.
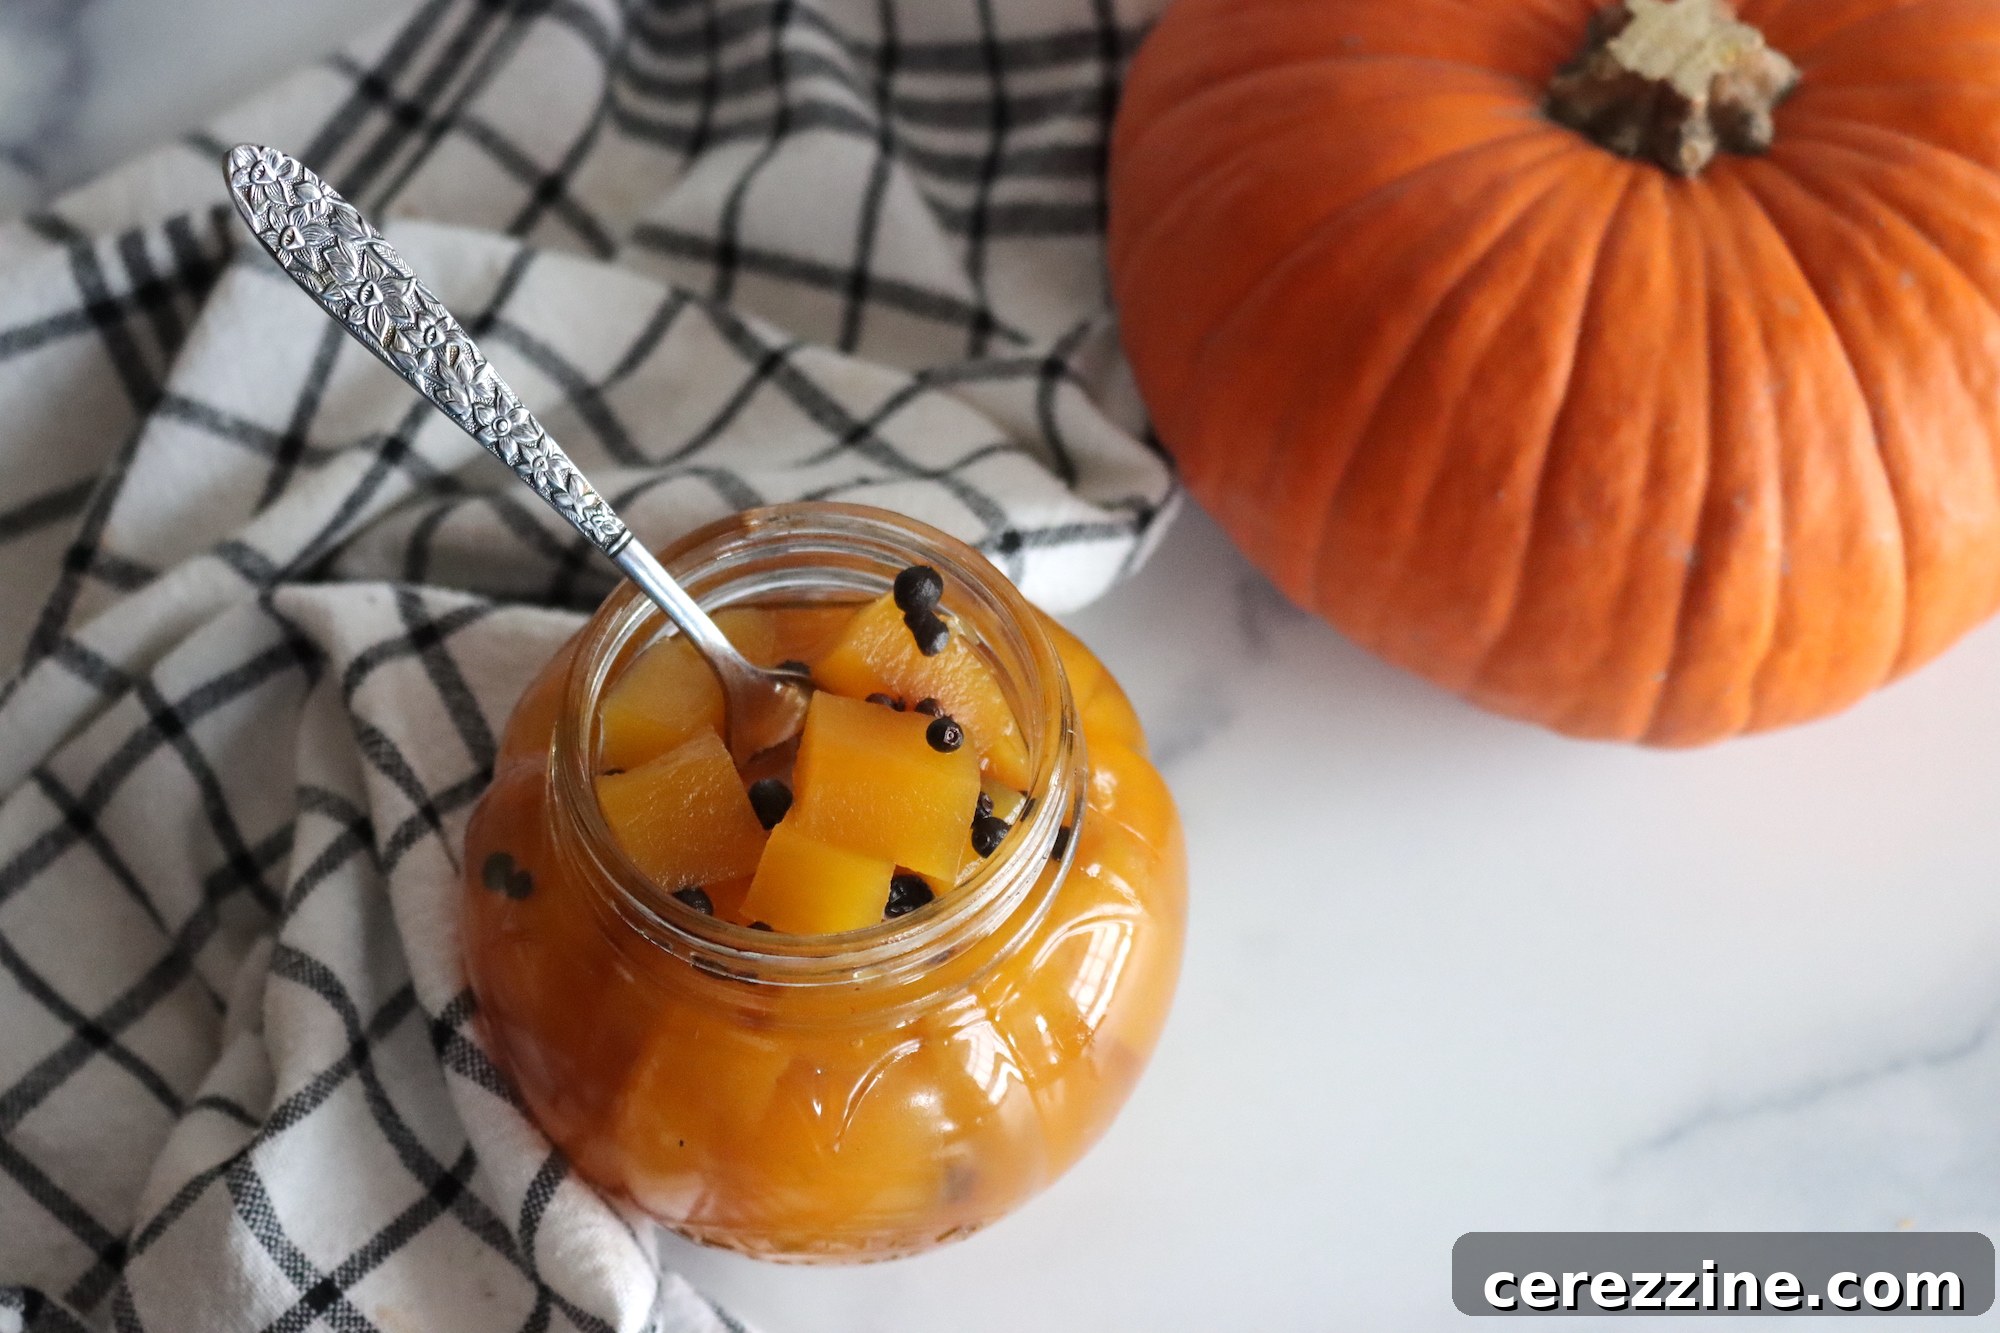
Unlocking the Versatility of Pickled Sugar Pumpkin
Are you searching for an innovative way to enjoy pumpkin beyond pies and lattes? Look no further than pickled pumpkin. This surprisingly delicious delicacy offers a fantastic balance of sweetness and a pleasant, pickling tang that will undoubtedly awaken your taste buds. Its distinctive flavor profile makes it an incredibly versatile ingredient in your kitchen.
Imagine these vibrant, tender pumpkin cubes gracing a sophisticated cheese board, offering a delightful counterpoint to rich cheeses and crusty bread. They also shine as an unexpected element in fresh salads, especially when paired with peppery arugula and creamy goat cheese, creating a symphony of textures and flavors. But the versatility doesn’t stop there; thanks to its inherent sweetness, pickled pumpkin can even venture into the realm of desserts. Picture a scoop of vanilla ice cream topped with these sweet-sour morsels – a contrast that truly excites the senses and leaves a memorable impression.
Why Embrace Pickled Pumpkin in Your Pantry?
Beyond its incredible flavor, pickled pumpkin offers several compelling benefits that make it a pantry staple. Firstly, it’s an excellent way to **preserve pumpkin**, extending the enjoyment of this seasonal squash far beyond autumn. For avid canners and home cooks, it provides a safe and delicious method to stock your shelves with a unique ingredient that’s always ready to use. Secondly, it helps reduce food waste by transforming excess harvest into a gourmet condiment. Lastly, homemade pickled pumpkin makes for charming and thoughtful **holiday gifts**, showcasing your culinary skills and providing a truly unique present.
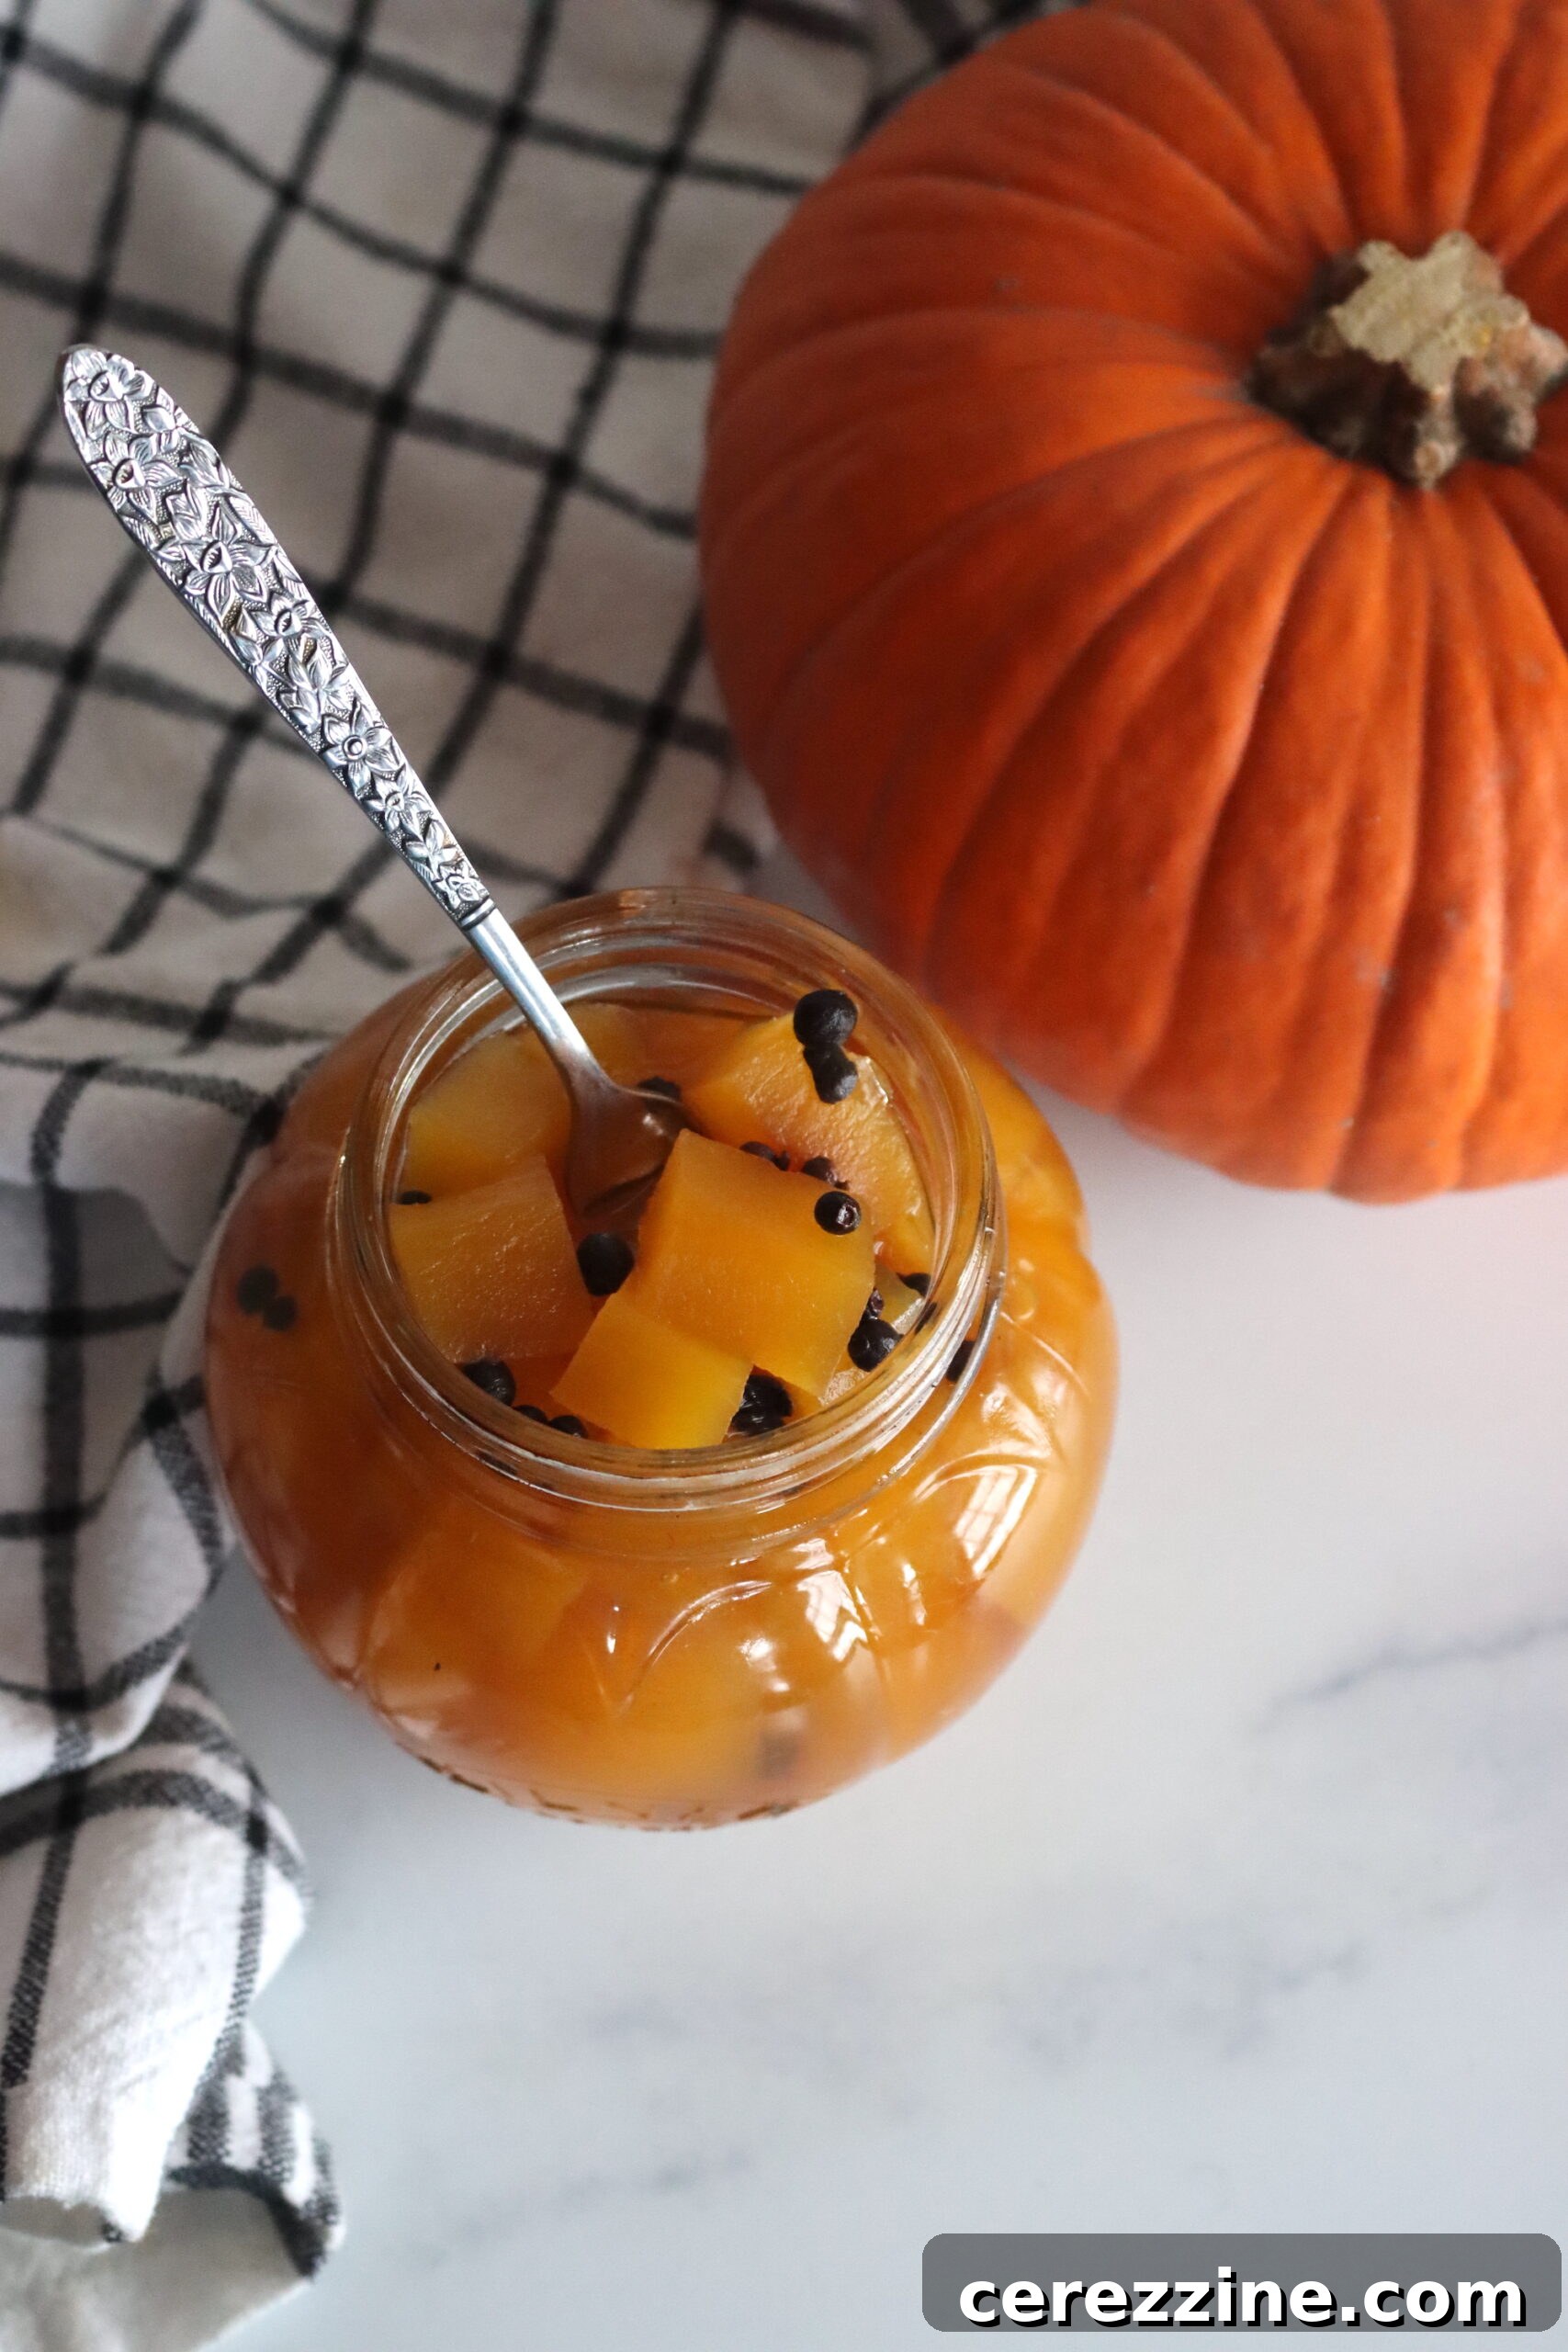
Essential Ingredients for Your Pickled Sugar Pumpkin Adventure
This tried-and-true recipe, adapted from “Preserving By the Pint: Quick Seasonal Canning Recipes for Small Spaces” by Marissa McClellan, is designed for a small batch, perfectly utilizing one modest sugar pumpkin. To create approximately 1 pint of these delectable pickled pumpkins, gather the following high-quality ingredients:
- 1 small sugar pumpkin (approximately 1.5 pounds / 680 g, as purchased)
- 2 cups (480 ml) cider vinegar
- 1.5 cups (360 ml) filtered water
- 1 cup (200 g) granulated sugar
- 10 black peppercorns
- 8 whole cloves
- 5 allspice berries
- 1 cinnamon stick, crushed
- 1 bay leaf
When working with a 1 1/2 pound pumpkin, you can expect to yield about 12 ounces (or roughly 3 cups) of raw pumpkin cubes. Keep in mind that the pumpkin will shrink slightly as it simmers in the flavorful syrup. The final yield typically results in about a pint of pickled pumpkin. Your exact yield may vary slightly depending on your pumpkin’s specific size and density, but the key is to ensure the pumpkin pieces remain fully submerged in the pickling brine within your canning jars. If you find yourself short on liquid for any reason, simply top off with a bit more vinegar.
Choosing the Best Pumpkin and Customizing Your Spices
For this recipe, **sugar pumpkins** (also known as pie pumpkins) are the ideal choice. They have a denser, sweeter flesh compared to larger carving pumpkins, which tend to be stringier and less flavorful. Look for a small, firm pumpkin with an intact stem and no soft spots.
The specified blend of spices – black peppercorns, cloves, allspice berries, cinnamon stick, and bay leaf – creates a wonderfully balanced flavor profile that complements holiday meats, salads, and desserts beautifully. However, the beauty of homemade pickling lies in its adaptability. Feel free to customize the seasonings to suit your personal preferences. For a spicier kick, consider adding a pinch of red pepper flakes, making them an excellent accompaniment to curries or as a zesty chutney. If you prefer a more aromatic blend, a touch of star anise or a few cardamom pods could be an exciting addition. Experimentation is encouraged!
A crucial note on ingredients: both the sugar and vinegar play vital roles beyond just flavor. The **sugar** is essential for firming up the pumpkin’s texture during the cooking process, preventing it from turning mushy. Without sufficient sugar, the pumpkin would fall apart, and more importantly, it would not be safe for canning. Similarly, the **vinegar** provides the necessary acidity for safe water bath canning. Therefore, it is imperative not to reduce the quantities of either the sugar or the vinegar in this recipe.
Equally important is the cooking process itself. The pumpkin is gently simmered in the sugar and vinegar syrup until tender. This prolonged simmering allows the sugar and vinegar to thoroughly infuse into the center of each pumpkin cube. While it might seem counterintuitive that extended cooking wouldn’t cause the pumpkin to disintegrate, it actually achieves the opposite, firming up the pumpkin’s structure. Do not skip this critical simmering step, as it’s fundamental to both the texture and safety of your pickled pumpkin.
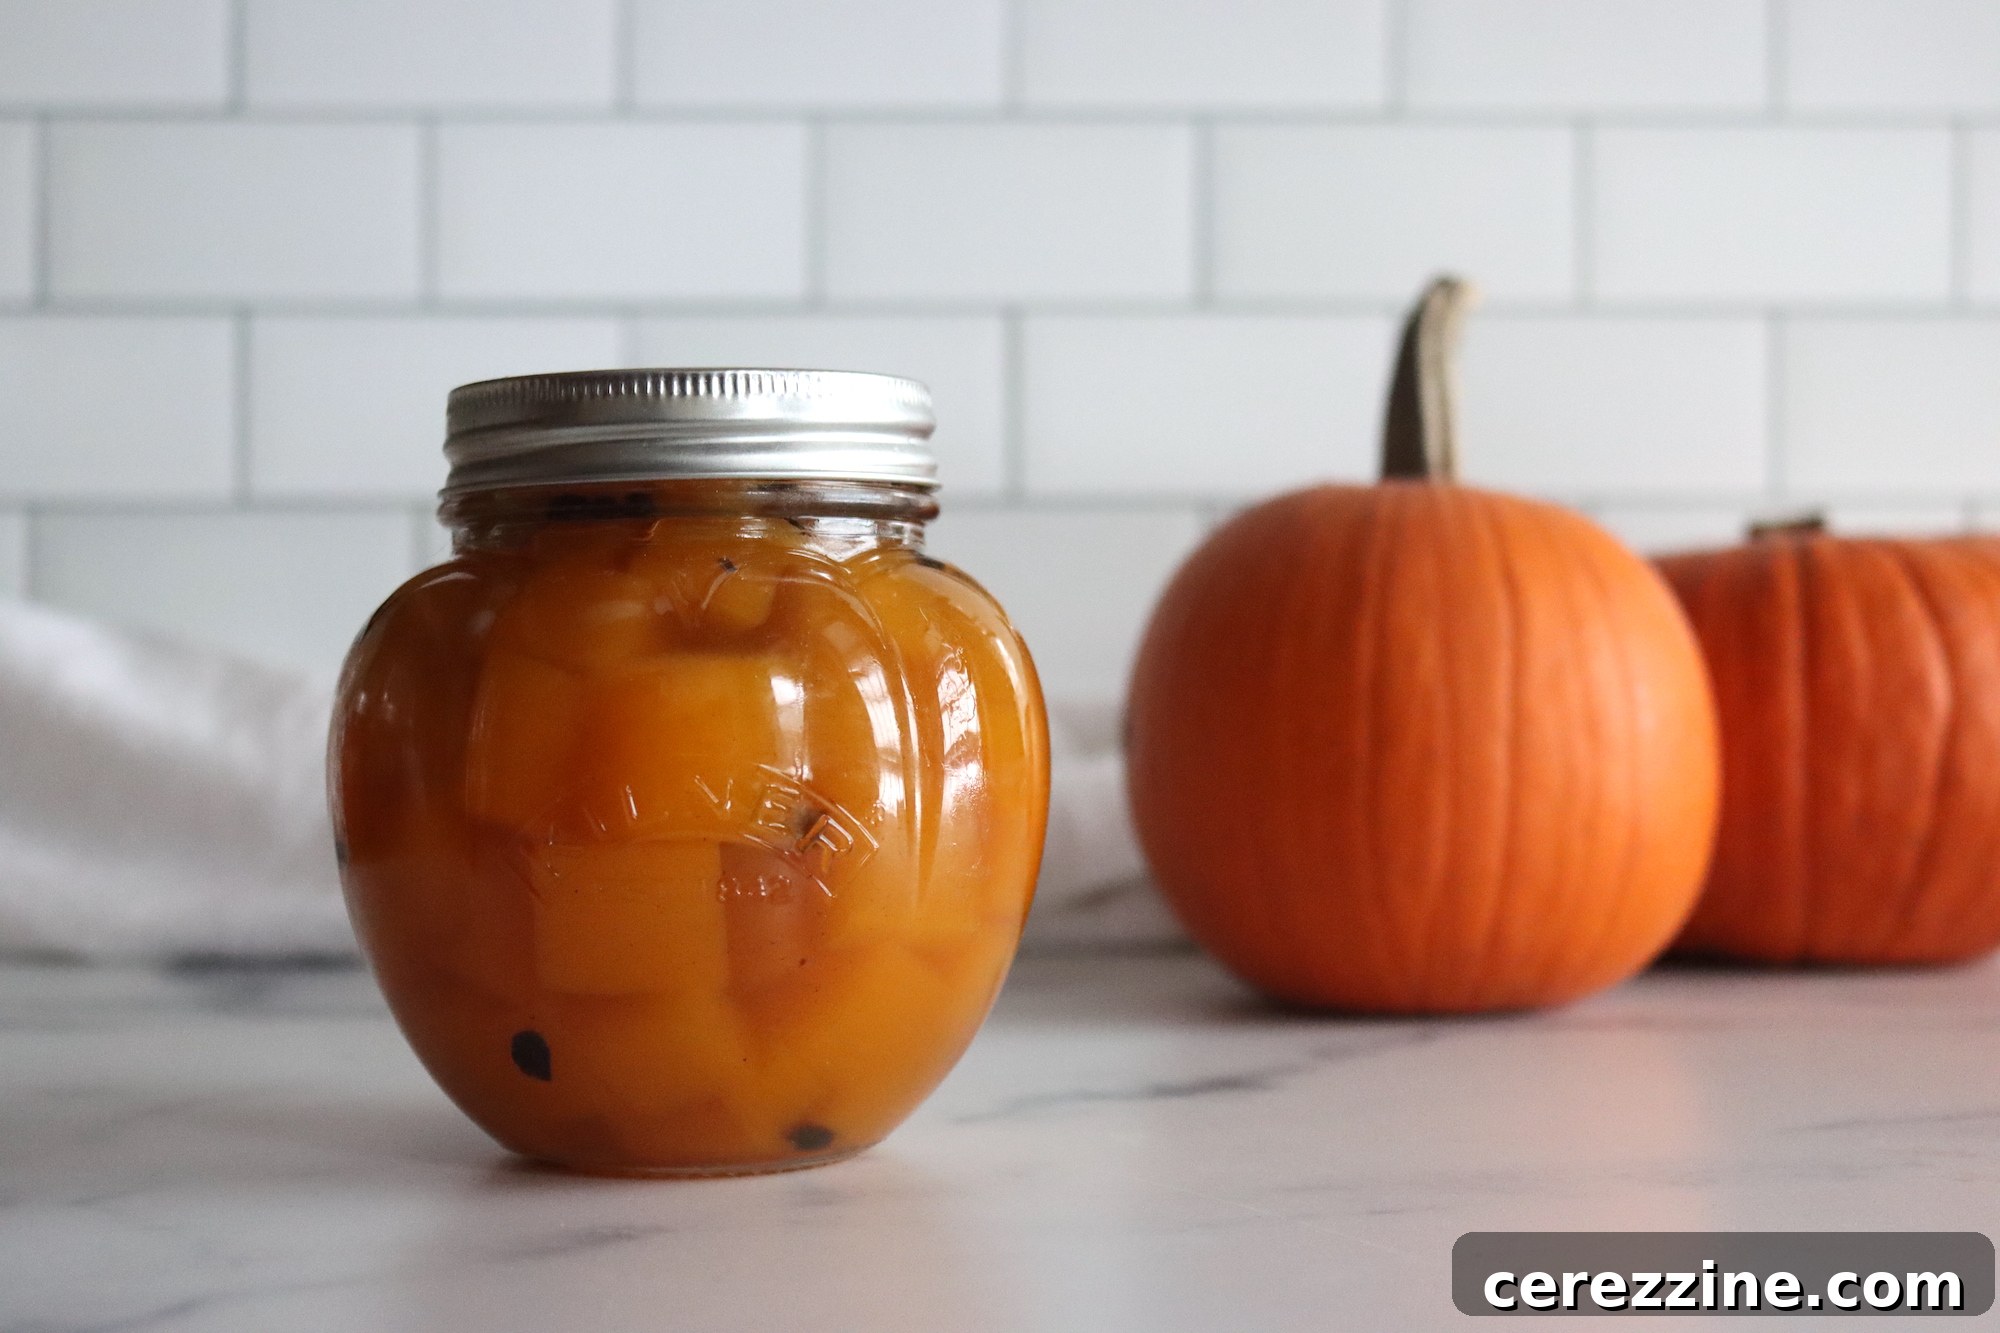
Step-by-Step Guide to Crafting Perfect Pickled Pumpkin
Making pickled pumpkin is a rewarding process that yields a truly special condiment. Follow these detailed steps to ensure delicious and safely preserved jars.
Preparing Your Canning Equipment and Pumpkin
- Begin by preparing your canning equipment. Set up a small boiling water bath canner and preheat it according to safe canning procedures for hot pack canning. Sterilize two half-pint jars thoroughly. While the jars are sterilizing, place the canning lids in a small saucepan, cover them with water, and bring them to a gentle simmer (do not boil) to soften the sealing compound.
- Next, prepare your sugar pumpkin. Carefully peel the tough outer skin using a sturdy vegetable peeler or a sharp knife. Slice the pumpkin in half, scoop out all the seeds and fibrous strings from the cavity. Then, cut the pumpkin flesh into uniform ½-inch (approximately 1.5 cm) dice. Uniformity is key here for even cooking and a visually appealing final product.
Crafting the Aromatic Brine
- In a medium-sized pot, combine the cider vinegar, filtered water, and granulated sugar. Place the pot over medium heat, stirring occasionally until the sugar has completely dissolved. Ensure the liquid is clear and no sugar granules remain at the bottom of the pot.
- For the spices, you have a couple of options. To easily remove them later, place the black peppercorns, whole cloves, allspice berries, crushed cinnamon stick, and bay leaf into a muslin spice bag or tie them securely in a piece of cheesecloth. Alternatively, you can simply toss the whole spices directly into the pot with the brine – just be prepared to fish them out before jarring, or leave them in for an even more intense flavor experience.
Simmering to Perfection
- Add the prepared pumpkin chunks and the spice bag (if using) to the hot syrup mixture. Bring the entire mixture to a rolling boil over medium-high heat. Once boiling, reduce the heat to low, cover the pot, and let it simmer very gently for 30 to 40 minutes. The pumpkin is ready when it becomes translucent and can be easily pierced with a fork but still retains its shape and a slight firmness. This crucial simmering step allows the pumpkin to absorb the sweet and tangy flavors of the brine and helps to firm up its texture, preventing it from becoming mushy during canning.
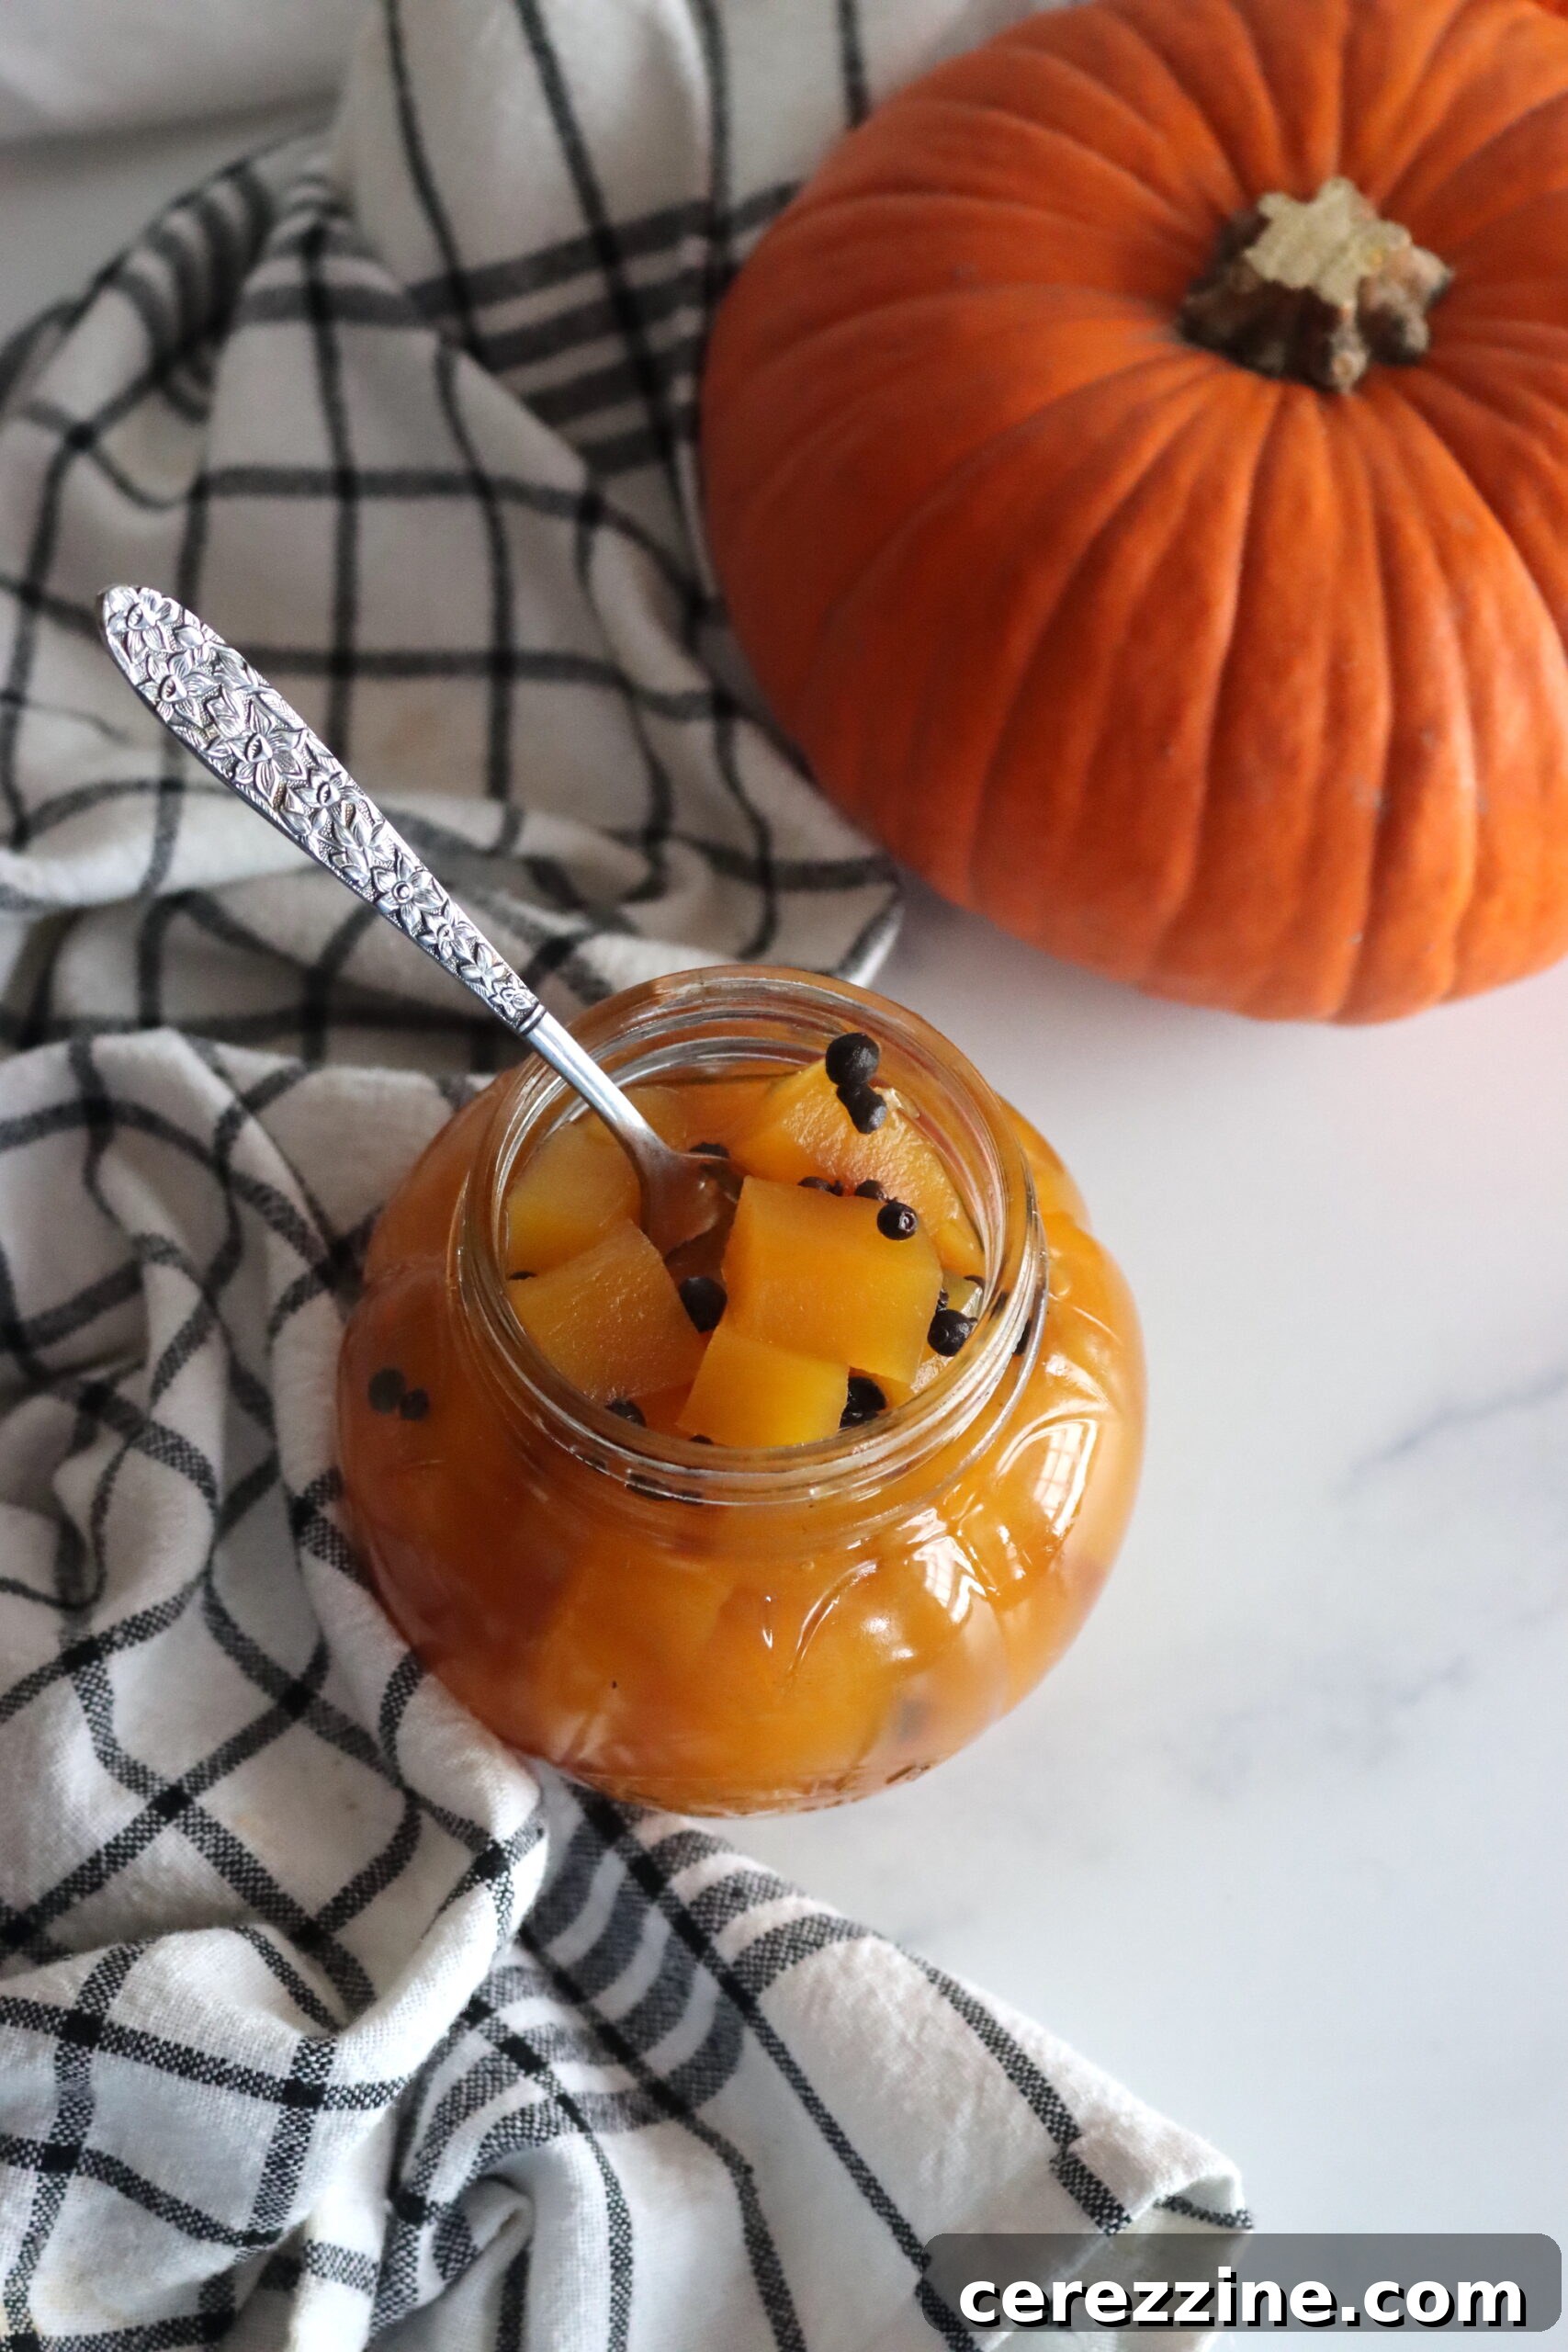
Canning Your Delicious Pickled Pumpkin
Once the pumpkin has reached the desired tenderness, it’s time to either prepare them for refrigeration or proceed with canning for shelf stability. While you can certainly make these as refrigerator pickles, keeping them in the fridge for a few weeks, many prefer to can them. Canning allows you to store them on your pantry shelf for longer and makes them perfect for sharing as homemade gifts.
- Carefully ladle the hot pumpkin pieces into your prepared, hot jars, ensuring even distribution. Cover the pumpkin with the hot pickling brine, leaving precisely ½ inch (about 1.2 cm) of headspace from the top of the jar to the surface of the liquid. Use a non-metallic tool to remove any trapped air bubbles by gently running it around the inside of the jar.
- Wipe the rims of the jars thoroughly with a clean, damp cloth to ensure there are no food particles or brine residue that could interfere with a proper seal. Center the warm lids on top of the jars and then screw on the bands until fingertip tight.
- Carefully place the filled jars onto the rack in your preheated boiling water bath canner, ensuring they are fully submerged in water by at least an inch. Process the jars in the boiling water bath for 20 minutes to secure a proper seal. Remember to adjust your processing time for altitude if necessary (see the altitude adjustments below).
- Once the processing time is complete, turn off the heat and remove the canner lid. Allow the jars to rest in the hot water for 5 minutes before carefully removing them. Place the hot jars on a clean kitchen towel or a wire rack, ensuring they are not touching each other, and allow them to cool undisturbed for 12 to 24 hours. You should hear the satisfying “ping” of the lids sealing as they cool. Once completely cool, check all seals by pressing on the center of the lid – it should not flex. Remove the bands, wipe the jars clean, label them, and store them in a cool, dark place. For the absolute best flavor development, allow the pickles to cure for at least two weeks before opening and enjoying. This curing period allows the flavors to meld and deepen beautifully.
Important Safety Considerations for Canning Pumpkin
It’s common knowledge in the canning community that plain pumpkin, or pureed pumpkin, without significant added acidity, requires a pressure canner for safe preservation due to its low acid content. If you are canning plain pumpkin without pickling it, you absolutely must use a pressure canner to prevent the risk of botulism. However, **pickled pumpkin is fundamentally different**. The high acidity provided by the vinegar brine changes the pH level, making this specific preparation safe for water bath canning when the pumpkin is cut into chunks.
As emphasized previously, the thorough simmering of the pumpkin in the vinegar and sugar syrup before jarring is a critical step. This ensures that the vinegar fully infuses into the pumpkin pieces, making them acidic throughout. Skipping this step, or altering the prescribed ratios of sugar and vinegar, would compromise the safety of the recipe and should never be done. Always follow tested canning recipes precisely to ensure the safety of your home-canned goods.
Altitude Adjustments for Water Bath Canning
The boiling point of water decreases at higher altitudes, which means food requires a longer processing time to achieve the same level of sterilization as at sea level. If you live at an elevated geographical location, it’s crucial to adjust your canning times accordingly for pickled pumpkin:
- For 0 to 1,000 Feet in Elevation – Process pint and half-pint jars for 20 minutes.
- For 1,001 to 6,000 Feet in Elevation – Process pint and half-pint jars for 25 minutes.
- Above 6,001 Feet in Elevation – Process pint and half-pint jars for 30 minutes.
Pickled Sugar Pumpkin
By Ashley Adamant
Pickled pumpkin is a sweet and tangy treat that’ll surprise you. It’s an easy water bath canning recipe for a pumpkin that’s safe due to the added vinegar but still sweet and delicious thanks to the sugar. It comes out perfect for sweet or savory recipes, and it’s sure to be a hit at your holiday meal.
Servings: 8 Servings (Makes about 1 pint)
Prep time: 15 minutes
Cook time: 40 minutes
Canning time: 20 minutes
Total time: 1 hour 15 minutes
Ingredients
- 1 small sugar pumpkin (about 1.5 pounds / 680 g)
- 2 cups (480 ml) cider vinegar
- 1.5 cups (360 ml) filtered water
- 1 cup (200 g) granulated sugar
- 10 black peppercorns
- 8 whole cloves
- 5 allspice berries
- 1 cinnamon stick, crushed
- 1 bay leaf
Instructions
- Prepare a water bath canner by preheating it for hot pack canning, along with jars, lids, and rings.
- Peel the pumpkin, remove seeds and strings, and cut into ½-inch (1.5 cm) dice.
- In a medium pot, combine cider vinegar, filtered water, and granulated sugar. Heat until sugar dissolves.
- Place black peppercorns, cloves, allspice berries, crushed cinnamon stick, and bay leaf in a muslin spice bag or cheesecloth. (Or just toss them into the pot.)
- Add pumpkin chunks and spice bag to the syrup. Bring to a boil, then cover and reduce the heat to a very gentle simmer for 30 to 40 minutes until fork-tender.
- Ladle the pumpkin into prepared jars, leaving ½ inch (1.2 cm) headspace. Cover with brine.
- Wipe the rims, apply lids, and process in the boiling water bath for 20 minutes, adjusting for altitude (see notes).
- Let the jars cool, then allow the pickles to cure for at least 2 weeks before enjoying.
Notes
Altitude Adjustments
Water boils at a lower temperature at higher altitudes, so jars need to be processed a bit longer as you go up in elevation. Here are the altitude adjustments for canning Pickled Pumpkin:
- For 0 to 1,000 Feet in Elevation – Process pint and half pint jars for 20 minutes.
- For 1,001 to 6,000 Feet in Elevation – Process pint and half pint jars for 25 minutes.
- Above 6,001 Feet in Elevation – Process pint and half pint jars for 30 minutes.
Nutrition (Approximate)
- Calories: 155 kcal
- Carbohydrates: 37 g
- Protein: 2 g
- Fat: 0.3 g
- Saturated Fat: 0.1 g
- Polyunsaturated Fat: 0.03 g
- Monounsaturated Fat: 0.03 g
- Sodium: 8 mg
- Potassium: 628 mg
- Fiber: 1 g
- Sugar: 30 g
- Vitamin A: 14476 IU
- Vitamin C: 15 mg
- Calcium: 48 mg
- Iron: 2 mg
Nutrition information is automatically calculated, so should only be used as an approximation.
More Canning Inspirations for Your Pantry
If you’ve enjoyed the process of preserving and tasting this delightful pickled pumpkin, you’ll be thrilled to discover more ways to capture the essence of autumn in a jar. Here are some fantastic recipes for preserving pumpkin and other seasonal delights, ensuring your pantry is stocked with homemade goodness year-round:
Delightful Pumpkin Canning Recipes
- Canning Plain Pumpkin
- Butternut Squash and White Bean Soup
- Butternut Squash Soup Base
- Thai Butternut Squash Soup
Embrace the Flavors of Autumn with These Canning Recipes
Keep your canner running throughout the fall season with these delicious and satisfying recipes:
- Cranberry Apple Jam
- Pear Jam
- Canning Sweet Potatoes
- Sweet Cider Apple Butter
- Pear Butter
- Caramelized Onion Jam