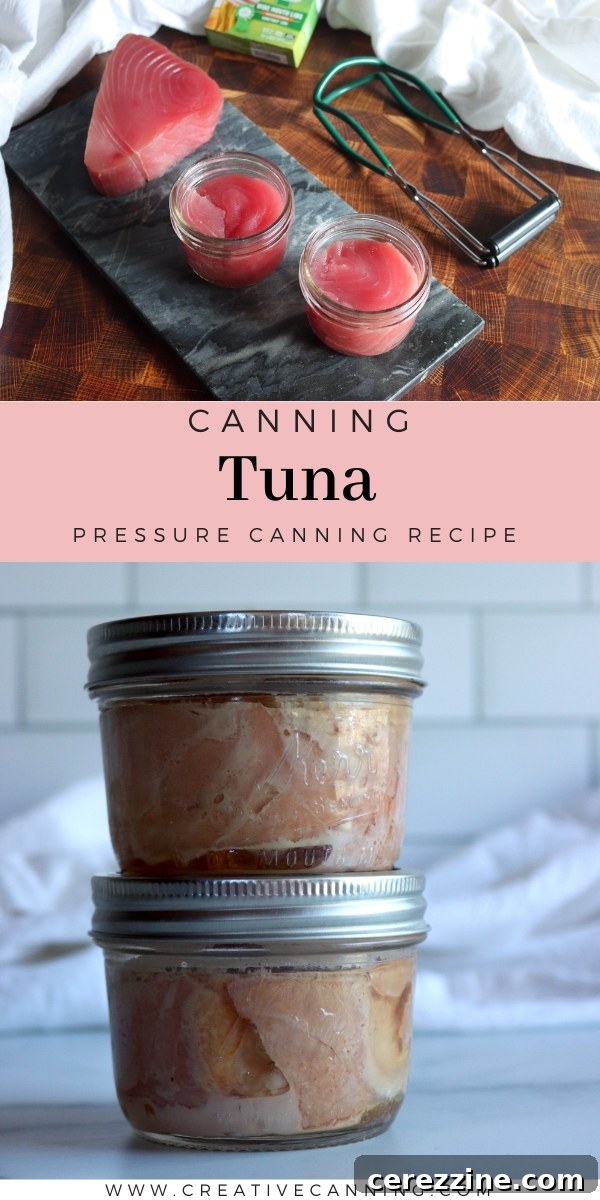
Home canning tuna in a pressure canner is an incredibly rewarding and essential skill for preserving your catch. Whether you’re a passionate angler bringing in a fresh haul or a discerning home cook who prioritizes knowing exactly what goes into your family’s food, this comprehensive guide will walk you through the simple yet critical steps to preserve high-quality, delicious tuna right on your pantry shelf. Say goodbye to additives and preservatives, and embrace the pure, unadulterated flavor of homemade canned tuna.
Imagine the convenience and satisfaction of reaching for a jar of premium tuna, caught and preserved by your own hands, instead of a store-bought can. Many of us cherish an afternoon tuna sandwich or a quick tuna pasta, but have you considered the superior taste and health benefits of freshly caught fish meticulously preserved at home? The journey from the ocean to your pantry is not only achievable but also incredibly fulfilling, ensuring a supply of high-quality protein free from industrial processing.
Canning tuna at home offers a multitude of advantages. Beyond the obvious control over quality and flavor, it allows you to avoid the potentially harmful preservatives and artificial additives often found in commercially processed options. This method empowers you to savor the natural richness of tuna, enhancing your culinary creations and supporting a healthier lifestyle. It’s a valuable skill for any home cook, healthy eater, or food enthusiast keen on sustainable living and self-sufficiency.
This ultimate guide is designed to demystify the tuna canning process. We will cover every detail, from selecting the freshest ingredients and meticulous preparation techniques to the crucial steps of the pressure canning process and safe storage. Prepare to transform your fresh tuna into a pantry staple that will delight your taste buds and provide nutritious meals for months to come.
Essential Ingredients for Perfect Canned Tuna
When it comes to home canning, simplicity often yields the best results. This trusted recipe for canning tuna is backed by the Pacific Northwest Extension Service (publication PNW194), a reliable source for safe food preservation guidelines. You’ll be surprised how few ingredients are truly necessary to create exceptional canned tuna.
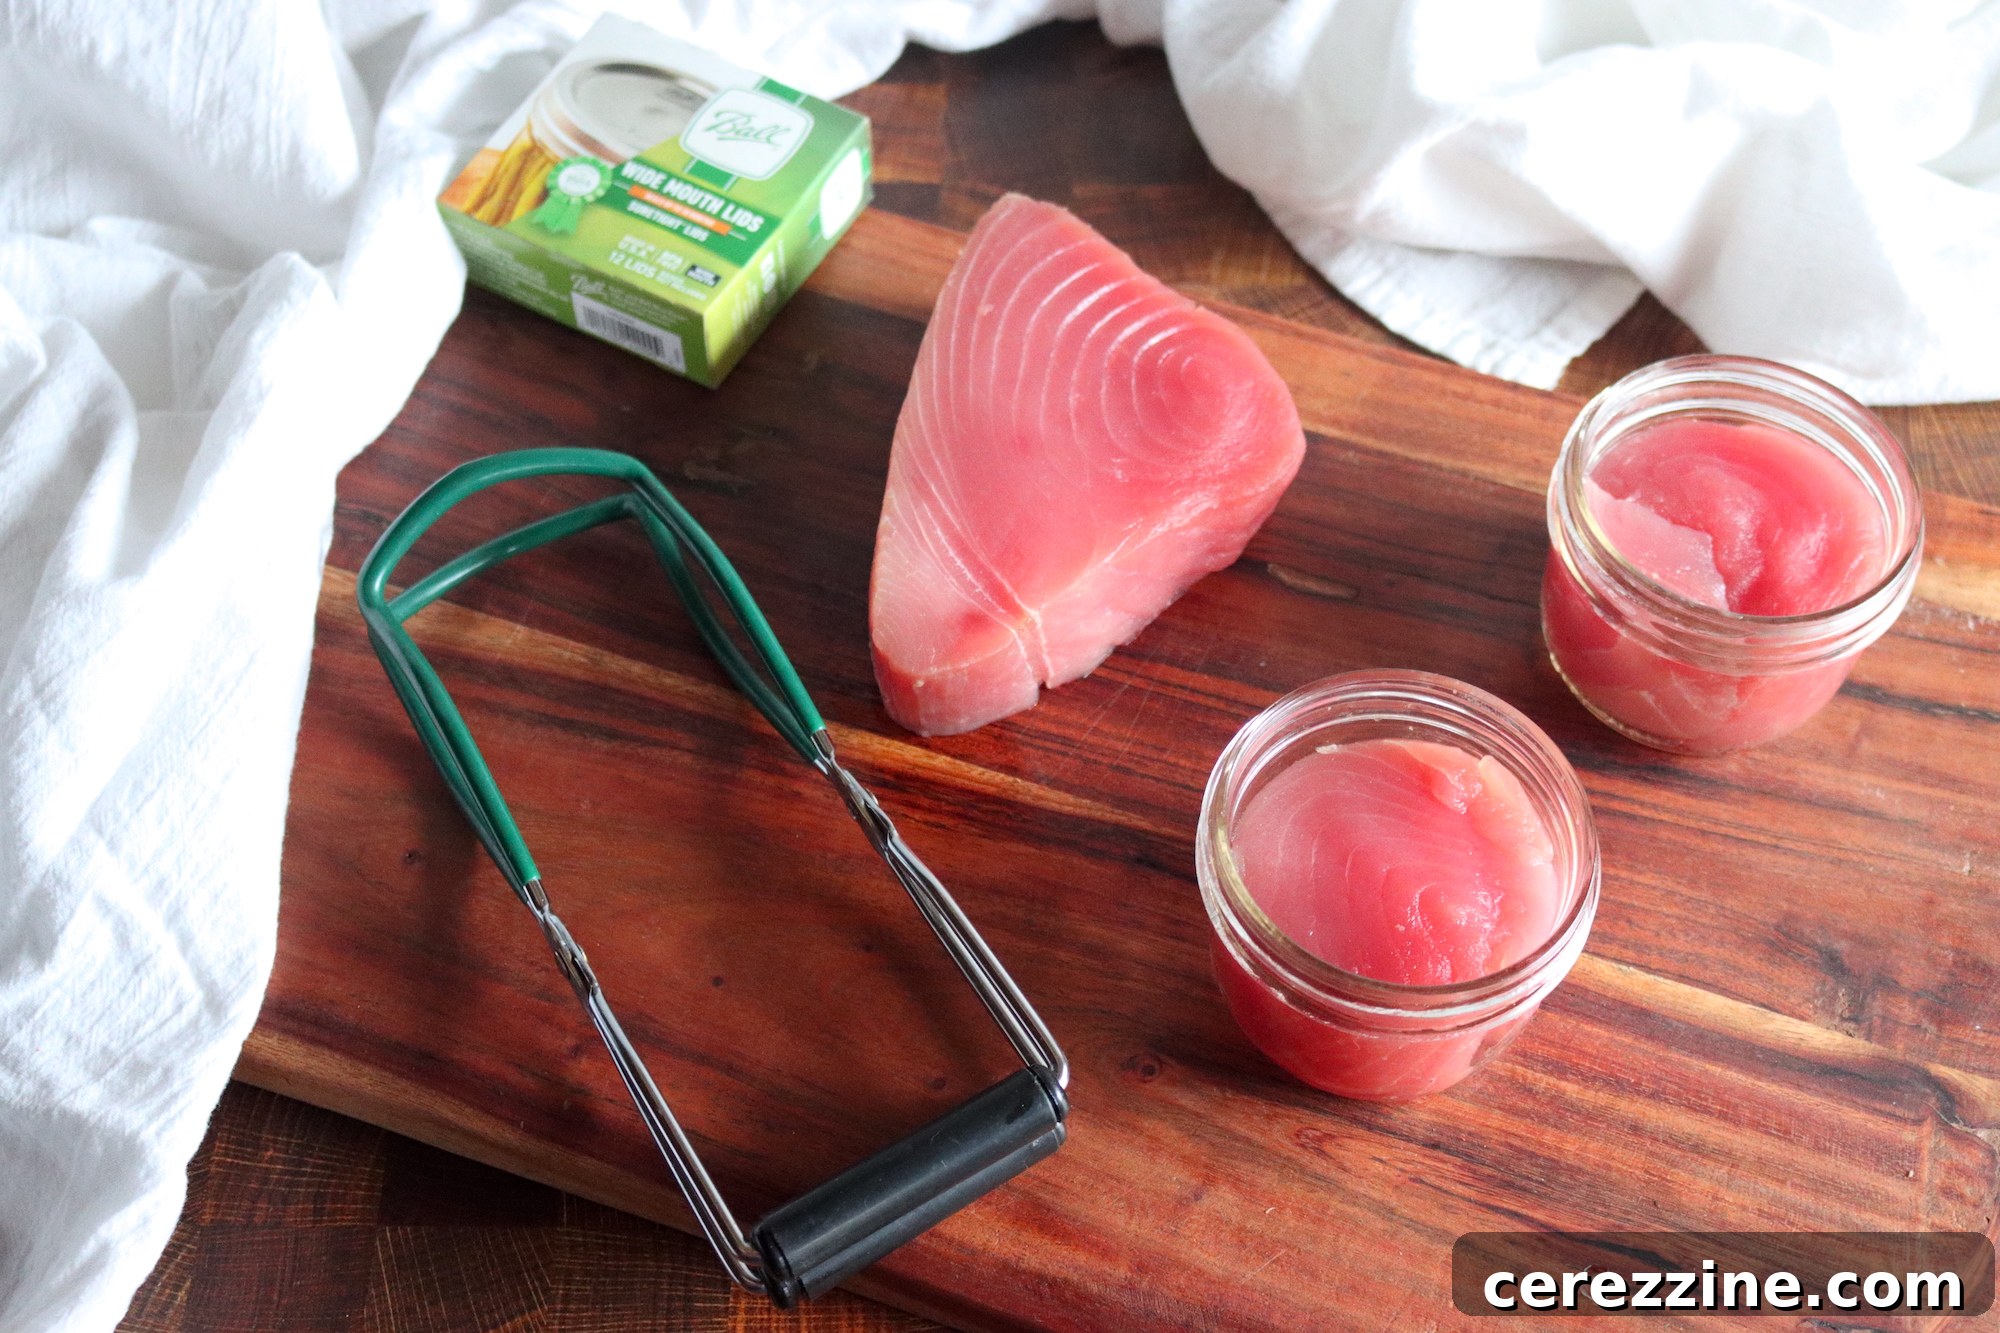
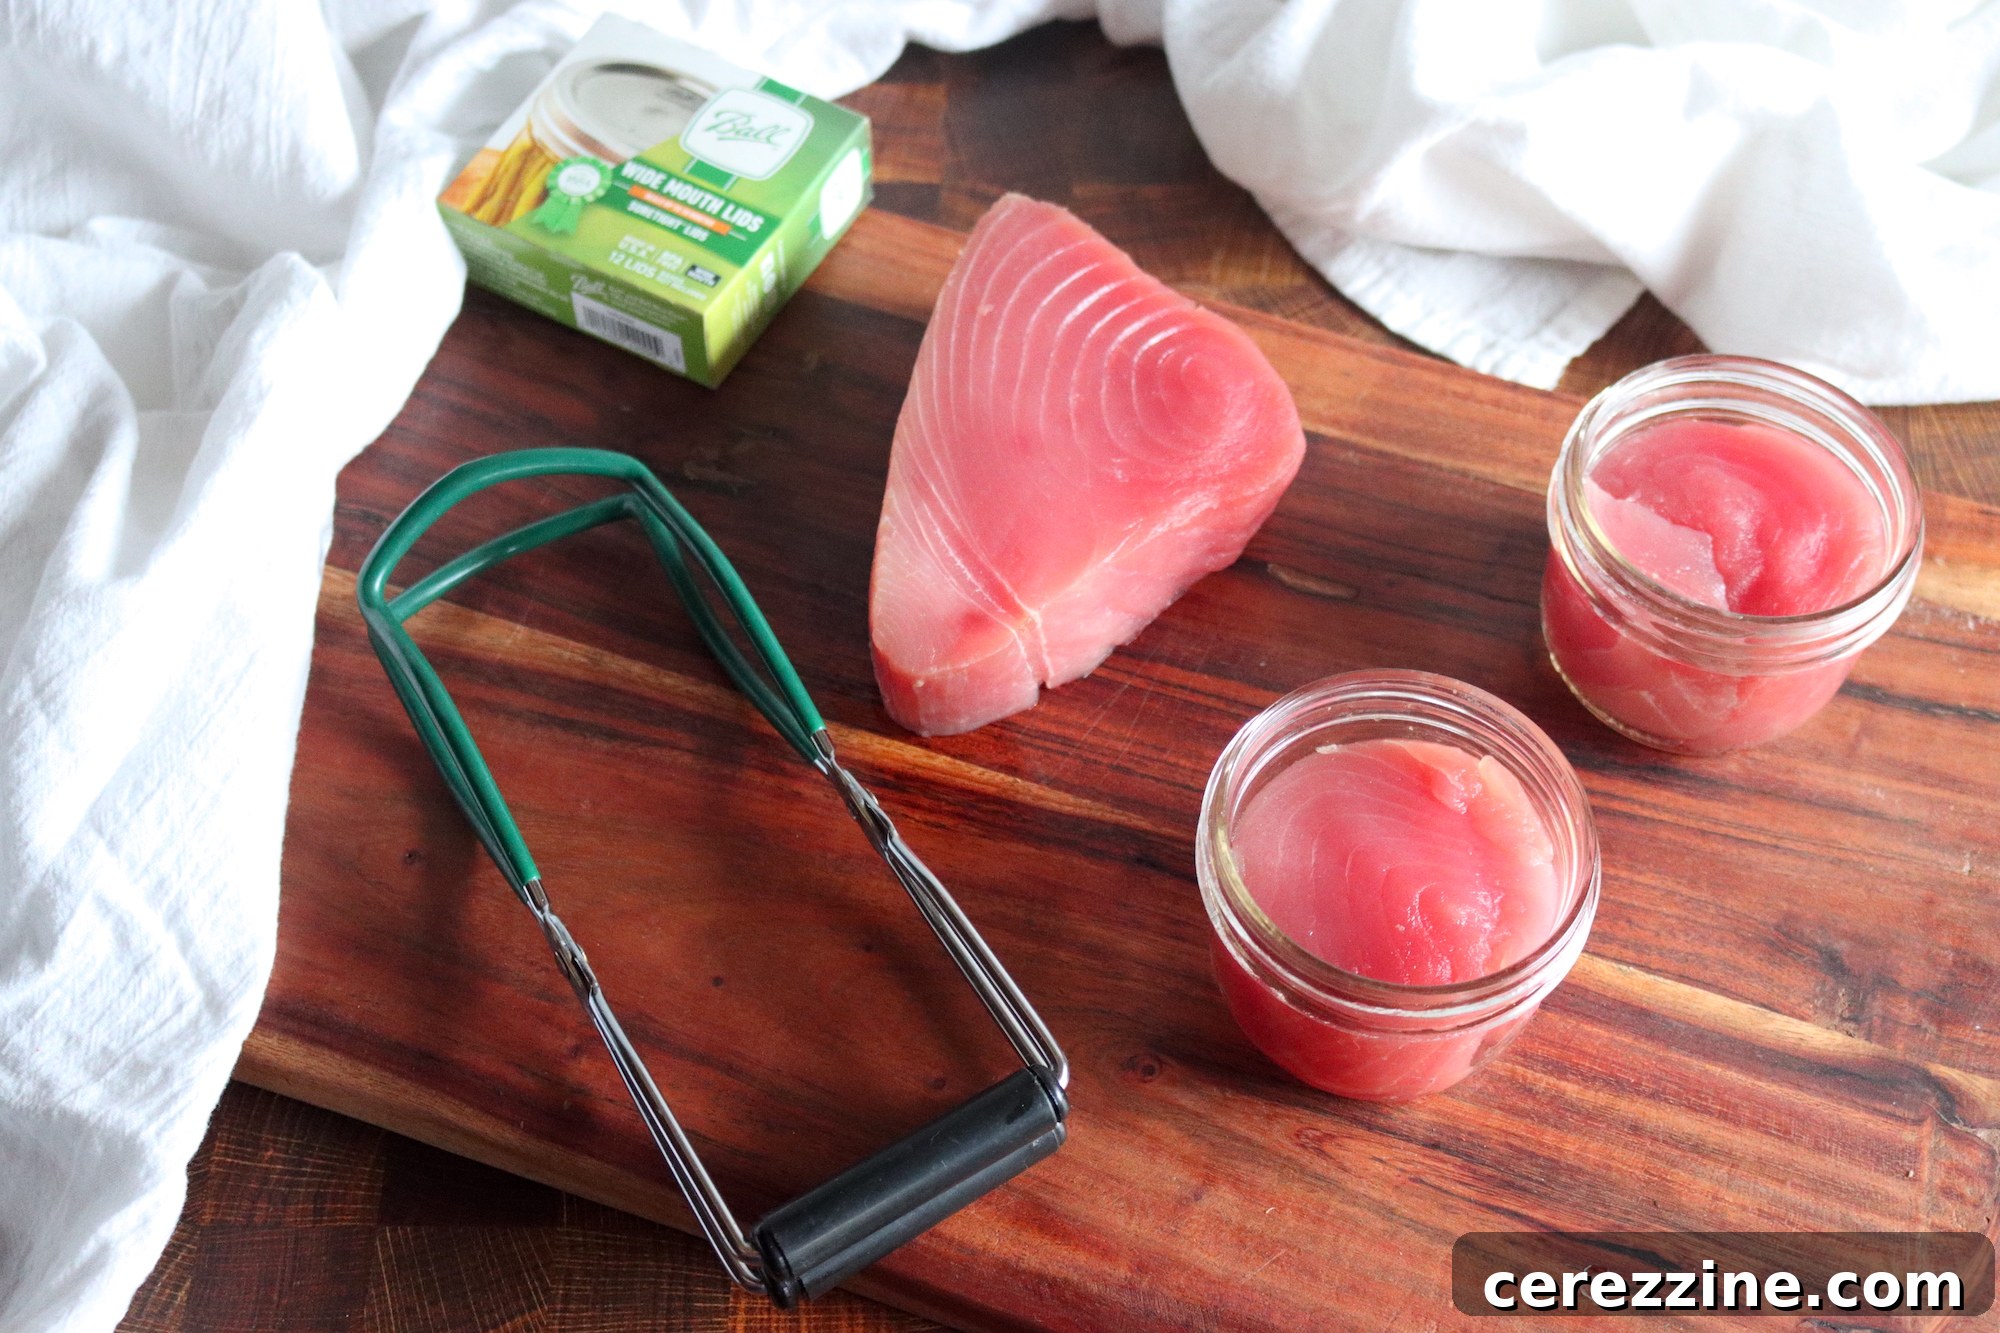
- Fresh Tuna: The star of our recipe. Ideally, this should be freshly caught tuna, kept on ice to maintain its peak freshness. Common varieties suitable for canning include Albacore, Yellowfin, and Skipjack. The quality of your raw fish directly impacts the final product, so choose the best you can find.
- Canning Salt (Optional): Pure canning or pickling salt is recommended as it’s free of anti-caking agents and iodine that can discolor or cloud your canned goods. While salt is optional for food safety, it enhances flavor significantly.
These two ingredients form the foundation of our high-quality canned tuna. The quantities required will depend on how much tuna you plan to preserve. As a general rule, anticipate needing approximately 1 pound of tuna fillets for each pint jar, or about 1/2 pound for every half-pint jar. My family typically uses half-pint jars for convenience, but pint or even quarter-pint jars are also suitable options.
It’s important to distinguish between canning methods. There is a “pre-cooked tuna” recipe that involves baking or steaming the tuna before packing it into jars. While this method exists, it generally results in a product of lower quality. The cooking process can extract much of the natural flavor and beneficial oils from the fish. This approach is usually reserved for fish with stronger flavors or inferior quality, where the goal is to mask certain characteristics. In such cases, a neutral oil (like vegetable, soy, or cottonseed oil) is often added to each jar to compensate for lost moisture and richness.
My preferred method, and the one we will focus on primarily, is the **raw pack**. This technique aims to preserve the tuna’s natural oils and robust flavor, yielding the absolute best quality home-canned tuna. For completeness, I will also briefly cover the hot pack (pre-cooked) process, but I strongly recommend the raw pack for superior results.
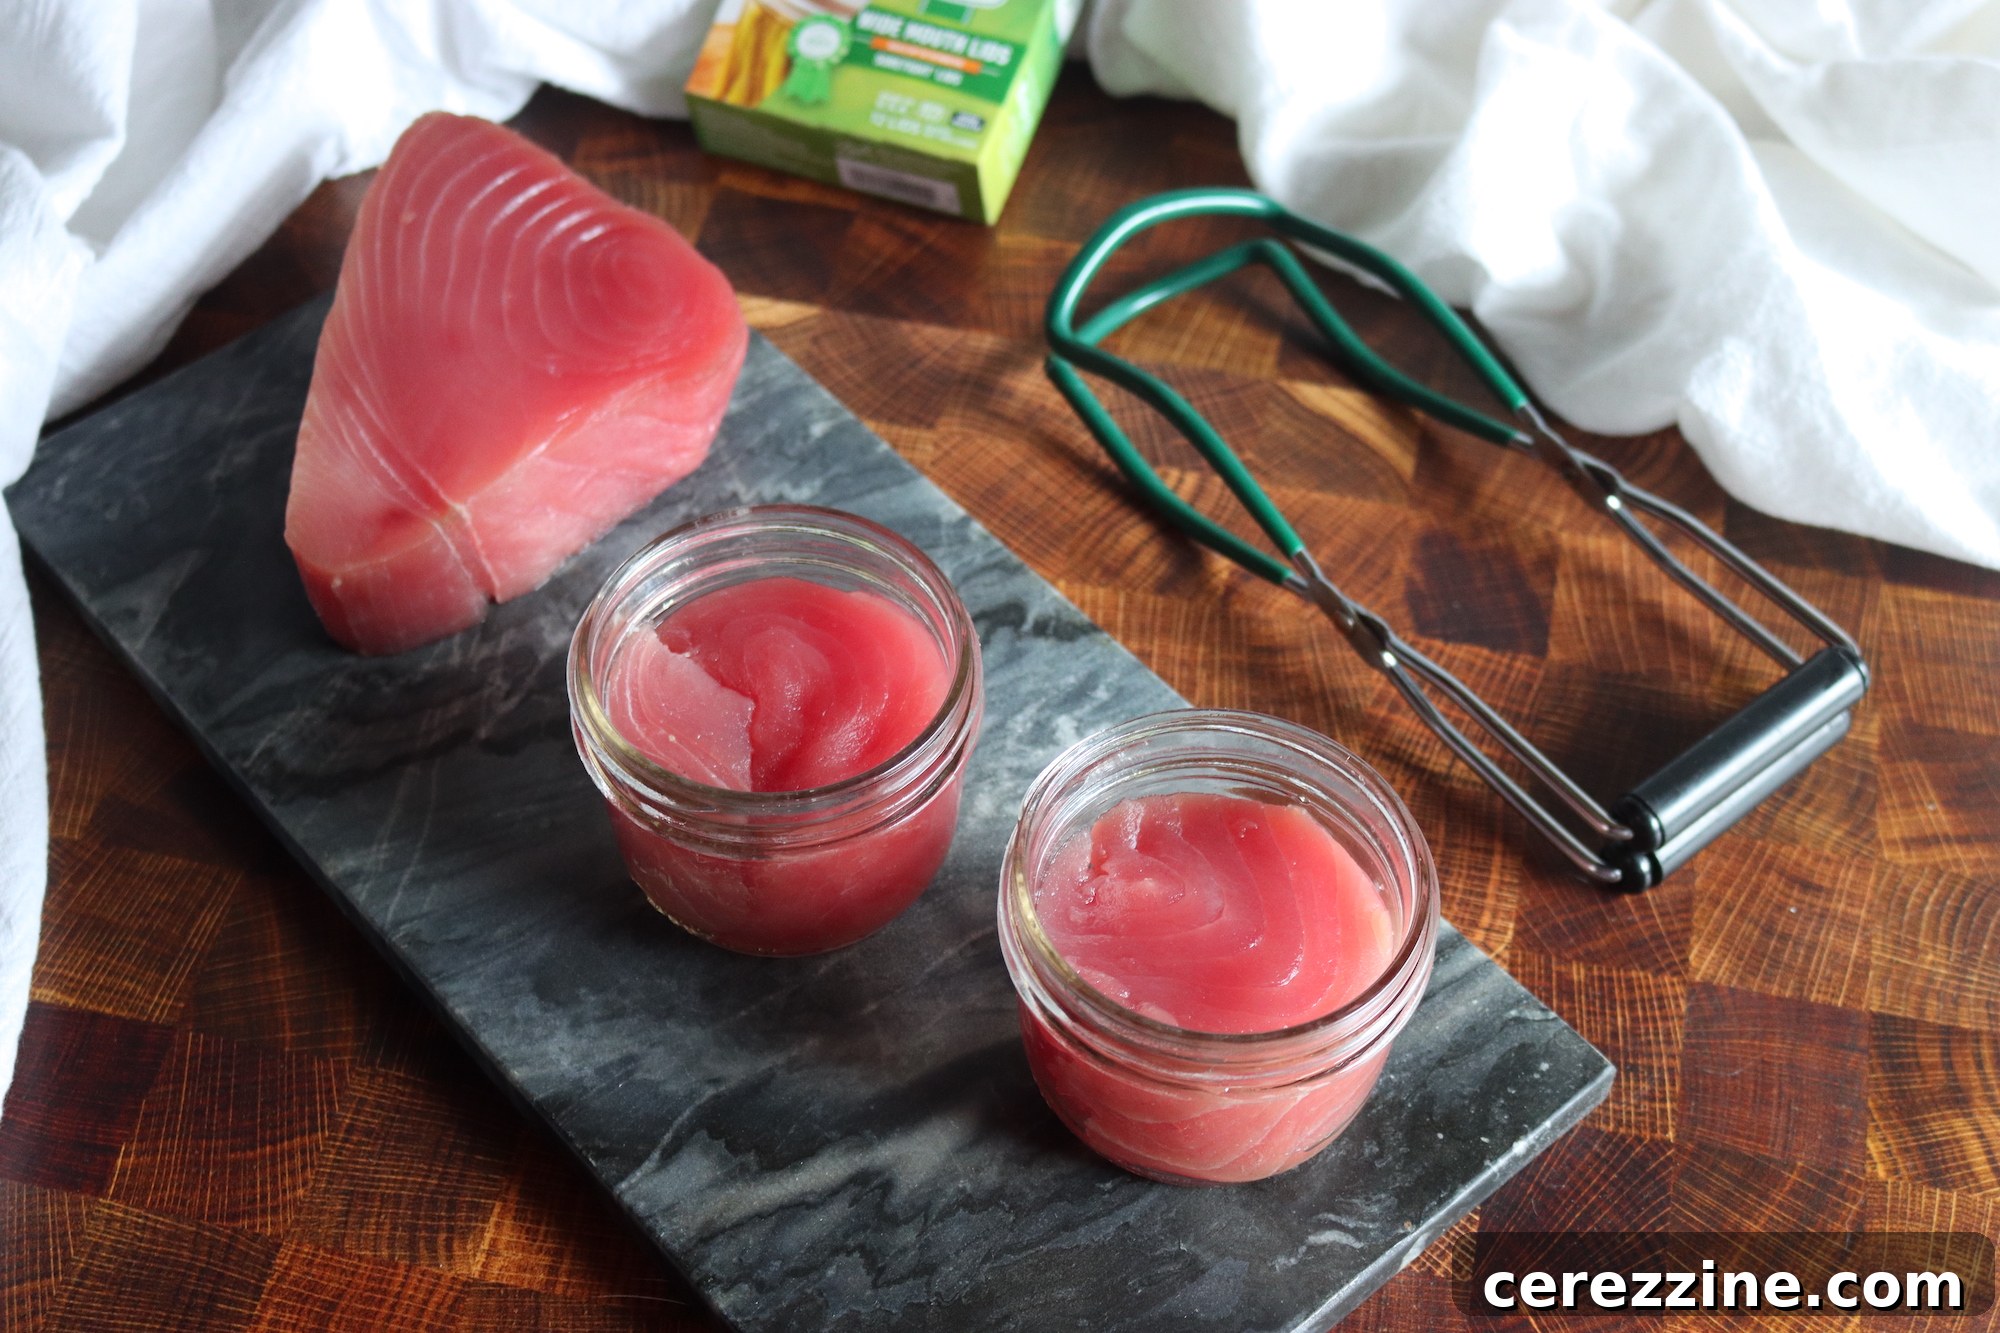
Preparing Tuna for Home Canning: Raw vs. Precooked Methods
The journey to perfectly canned tuna begins with meticulous preparation. You have two primary methods for preparing tuna before canning: precooking (hot pack) or raw packing. Each has distinct benefits and drawbacks, and your choice will largely depend on the quality of your tuna and your desired final product.
Regardless of the method you choose, an initial step common to both is partially freezing the fish. Placing your tuna fillets in the freezer for about 30 to 60 minutes firms them up, making the filleting process significantly easier and safer. Once partially frozen, you can proceed with skinning and cutting. For raw pack, you can skin the fish either before or after filleting, and the removal of viscera is often done by your fishmonger or prior to acquiring fillets.
After partial freezing, carefully remove the skin using a sharp knife. Then, gently scrape the surface of the fillets to remove any discolored flesh or remaining blood vessels, as these can impart off-flavors. Next, cut the fish into quarters, separating the meat from the bones. Take extra care to pull off and cut out all bones and fin bases. Crucially, scrape and cut away all dark flesh. This darker meat, often found along the lateral line, tends to have a much stronger, sometimes “fishier” flavor and can negatively impact the delicate taste of your canned tuna. Don’t discard it entirely, though; it can be excellent for making pet food or fish stock!
The Precooking (Hot Pack) Method for Canning Tuna
Precooking tuna before canning, often referred to as the hot pack method, serves a specific purpose: to remove some of the stronger-flavored oils found in tuna. This can be a suitable option for lower grades of tuna or darker sections of meat that inherently possess more robust flavors. However, it’s generally not recommended if you have high-grade, fresh tuna, as it sacrifices some of the fish’s natural richness and flavor for the sake of milder taste.
The precooking method involves several extra steps. Much of the natural oils are lost during this process, and you’ll typically replace them with vegetable oil or water in the jar to maintain moisture. While I personally lean towards the raw pack for superior quality, many people prefer the milder flavor profile achieved through precooking.
Steps for Precooking Tuna:
- Clean and Prepare: If starting with whole fish, remove the viscera thoroughly and wash the fish well under cold running water. Ensure all blood has drained from the cavity.
- Cook the Tuna: Place the cleaned tuna on a rack or metal tray within a baking pan. Cook in an oven preheated to 225-250°F (107-121°C) for two to four hours, with the exact time depending on the size and thickness of the fish. Alternatively, you can bake it at a higher temperature of 350°F (175°C) for approximately an hour. Steaming is another option, requiring about two to four hours. For food safety, always verify that the internal temperature of the tuna reaches 165-175°F (74-79°C).
- Chill for Firmness: After cooking, refrigerate the tuna overnight. This crucial step allows the meat to firm up, making it easier to handle and pack into jars without flaking or falling apart.
The Raw Pack Method for Canning Tuna (Recommended for Quality)
Opting for the raw pack method when canning tuna offers significant advantages, particularly if you have access to high-quality, fresh fish. This method not only saves preparation time but also excels at preserving the fish’s natural oils, delicate texture, and exquisite flavor. The result is a truly gourmet home-canned tuna that far surpasses most commercial varieties.
Once your tuna fillets are skinned, deboned, and trimmed of dark flesh (as described in the general preparation section), the raw pack method is straightforward. Simply cut the trimmed tuna quarters in half crosswise into lengths that will fit comfortably inside your chosen canning jars, leaving adequate headspace. The goal is to create solid, manageable pieces that will pack well and maintain their integrity during processing.
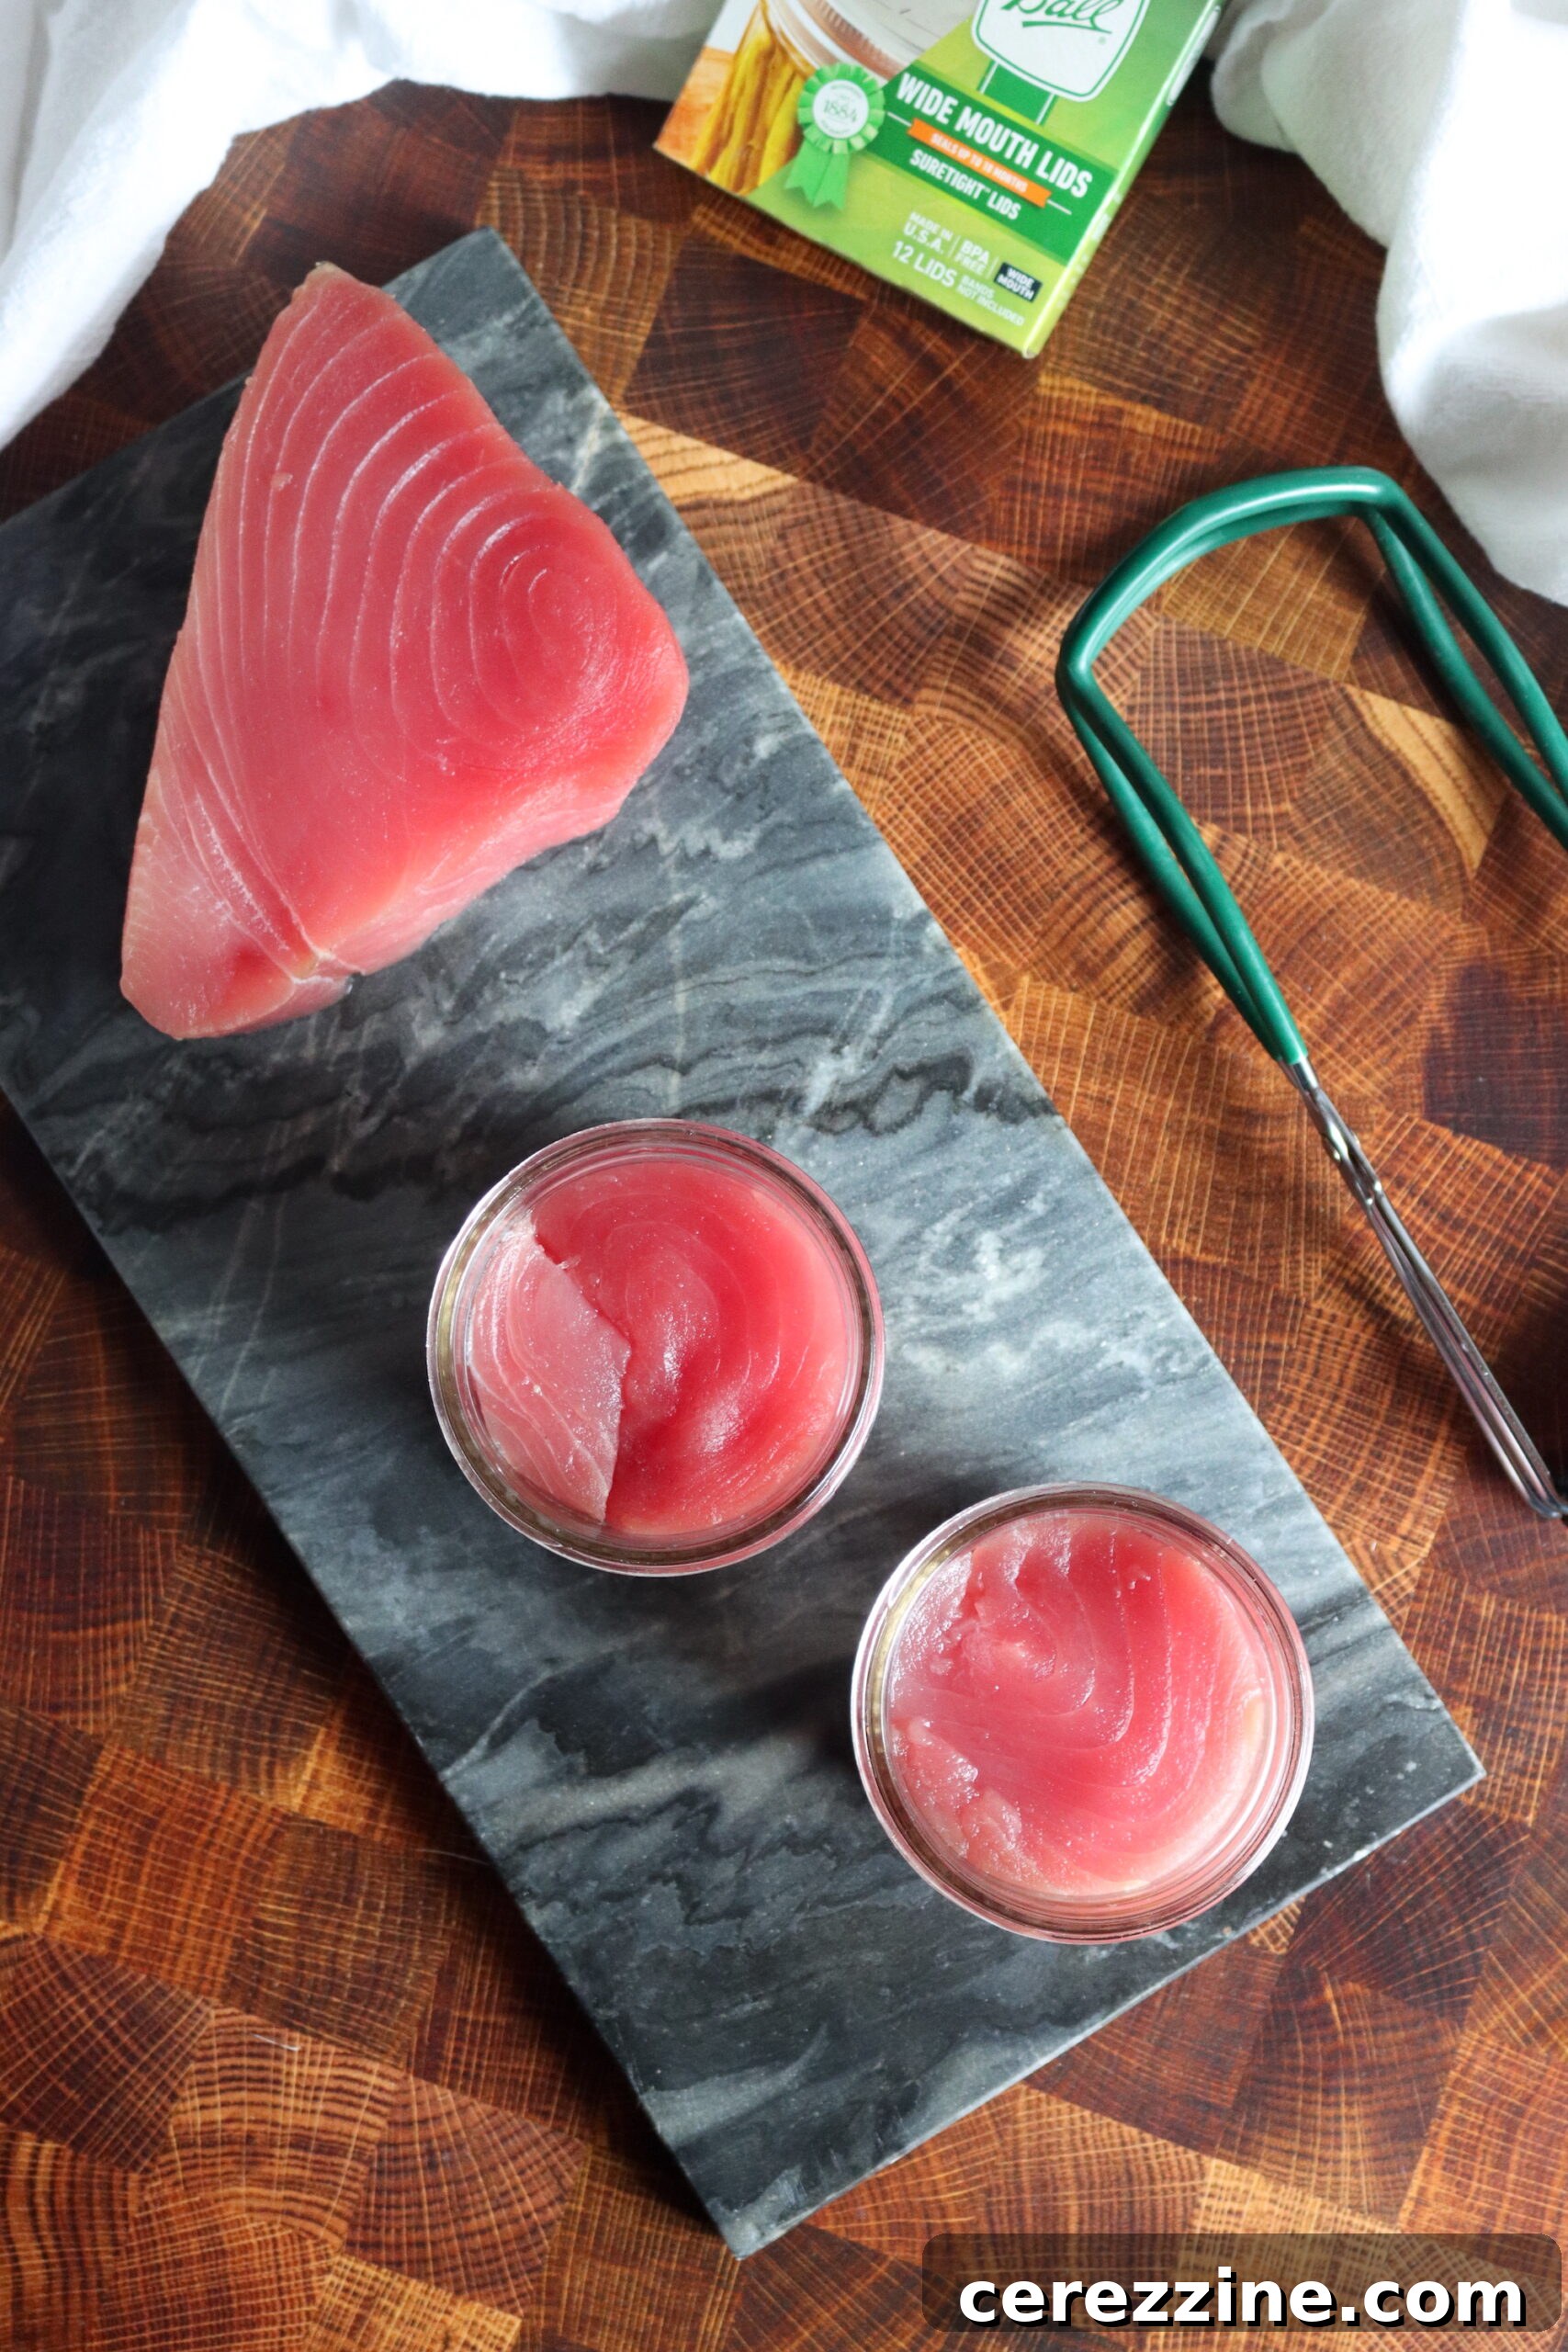
The Pressure Canning Process: Safely Preserving Tuna at Home
With your tuna expertly prepped, it’s time to embark on the crucial canning process. This stage requires precision and adherence to safety guidelines, as low-acid foods like tuna must be processed in a pressure canner to prevent the growth of harmful bacteria. Remember, roughly one pound of prepared tuna fillets is needed to fill a single pint jar, or half a pound for a half-pint jar. Proper packing and headspace are key.
Packing Precooked Tuna (Hot Pack)
If you’ve opted for the precooked method, your tuna is already cooked and firmed. Now, carefully pack the cooled, precooked tuna pieces into your clean canning jars, ensuring you leave a consistent 1-inch headspace from the rim. This headspace is vital for proper sealing and to allow for expansion during processing.
- For half-pint jars: Add ½ teaspoon of canning salt (optional) and 1 to 3 tablespoons of neutral oil (such as vegetable, soy, or cottonseed oil). Alternatively, you can use water instead of oil if preferred.
- For pint jars: Add 1 teaspoon of canning salt (optional) and 2 to 6 tablespoons of neutral oil (or water).
The oil or water helps maintain moisture and flavor in the absence of the natural oils lost during precooking. After packing, use a clean, damp cloth to wipe the jar rims thoroughly. This ensures a clean surface for the lid to seal effectively. Center new, pre-warmed lids on the jars and apply bands fingertip tight.
Packing Raw Tuna (Raw Pack – Recommended)
For the superior quality raw pack method, the process is even simpler. Firmly pack the raw tuna chunks into your clean jars. It’s okay to press down gently to create a solid pack, but avoid crushing the fish. Maintain a precise 1-inch headspace from the rim of the jar. Unlike the precooked method, you do NOT add oil or water to raw-packed tuna. The tuna will release its own natural liquids and oils during processing, creating a delicious, self-packed product. Adding salt is optional; if you choose to include it, use ½ teaspoon per half-pint jar or 1 teaspoon per pint jar. Once packed, wipe the jar rims, apply new, warm lids, and screw on the bands fingertip tight.
Pressure Canning: The Essential Steps
Pressure canning is the only safe method for preserving tuna due to its low acidity. Here’s how to proceed:
- Prepare Your Canner: Place the rack at the bottom of your pressure canner. Add the recommended amount of warm water (typically 2-3 inches, or as specified by your canner’s manufacturer). Pre-warm the water to about 140°F (60°C) before adding jars to minimize thermal shock.
- Load Jars: Carefully place the packed jars onto the canner rack using a jar lifter, ensuring they do not touch each other.
- Vent the Canner: Securely fasten the canner lid. Turn the heat to high. Allow steam to escape steadily from the vent for 10 minutes to ensure all air is purged from the canner. This is critical for achieving the correct internal temperature.
- Reach Pressure: After venting, place the weighted gauge (if using a weighted gauge canner) or close the petcock and allow the dial gauge to rise to the recommended pressure.
- Process: Once the target pressure is reached and maintained, begin your processing time. Process both half-pint and pint jars for a duration of 100 minutes. It is vital to keep the pressure constant throughout this period. If the pressure drops below the recommended level, even for a moment, you must restart the processing time from scratch after the pressure is re-established.
- Depressurize Naturally: Once the 100-minute processing time is complete, turn off the heat source. Allow the pressure canner to depressurize naturally until the gauge reads zero. Do NOT attempt to open the canner or remove the weighted gauge prematurely, as this can cause liquid to siphon from jars and compromise seals. This natural cooling process can take anywhere from 30 to 60 minutes or more.
- Remove and Cool: Once depressurized, carefully remove the canner lid, tilting it away from your face to avoid escaping steam. Using a jar lifter, gently remove the hot jars and place them on a towel-lined counter or wire rack, ensuring they are not touching each other. Allow them to cool completely, undisturbed, for 12 to 24 hours.
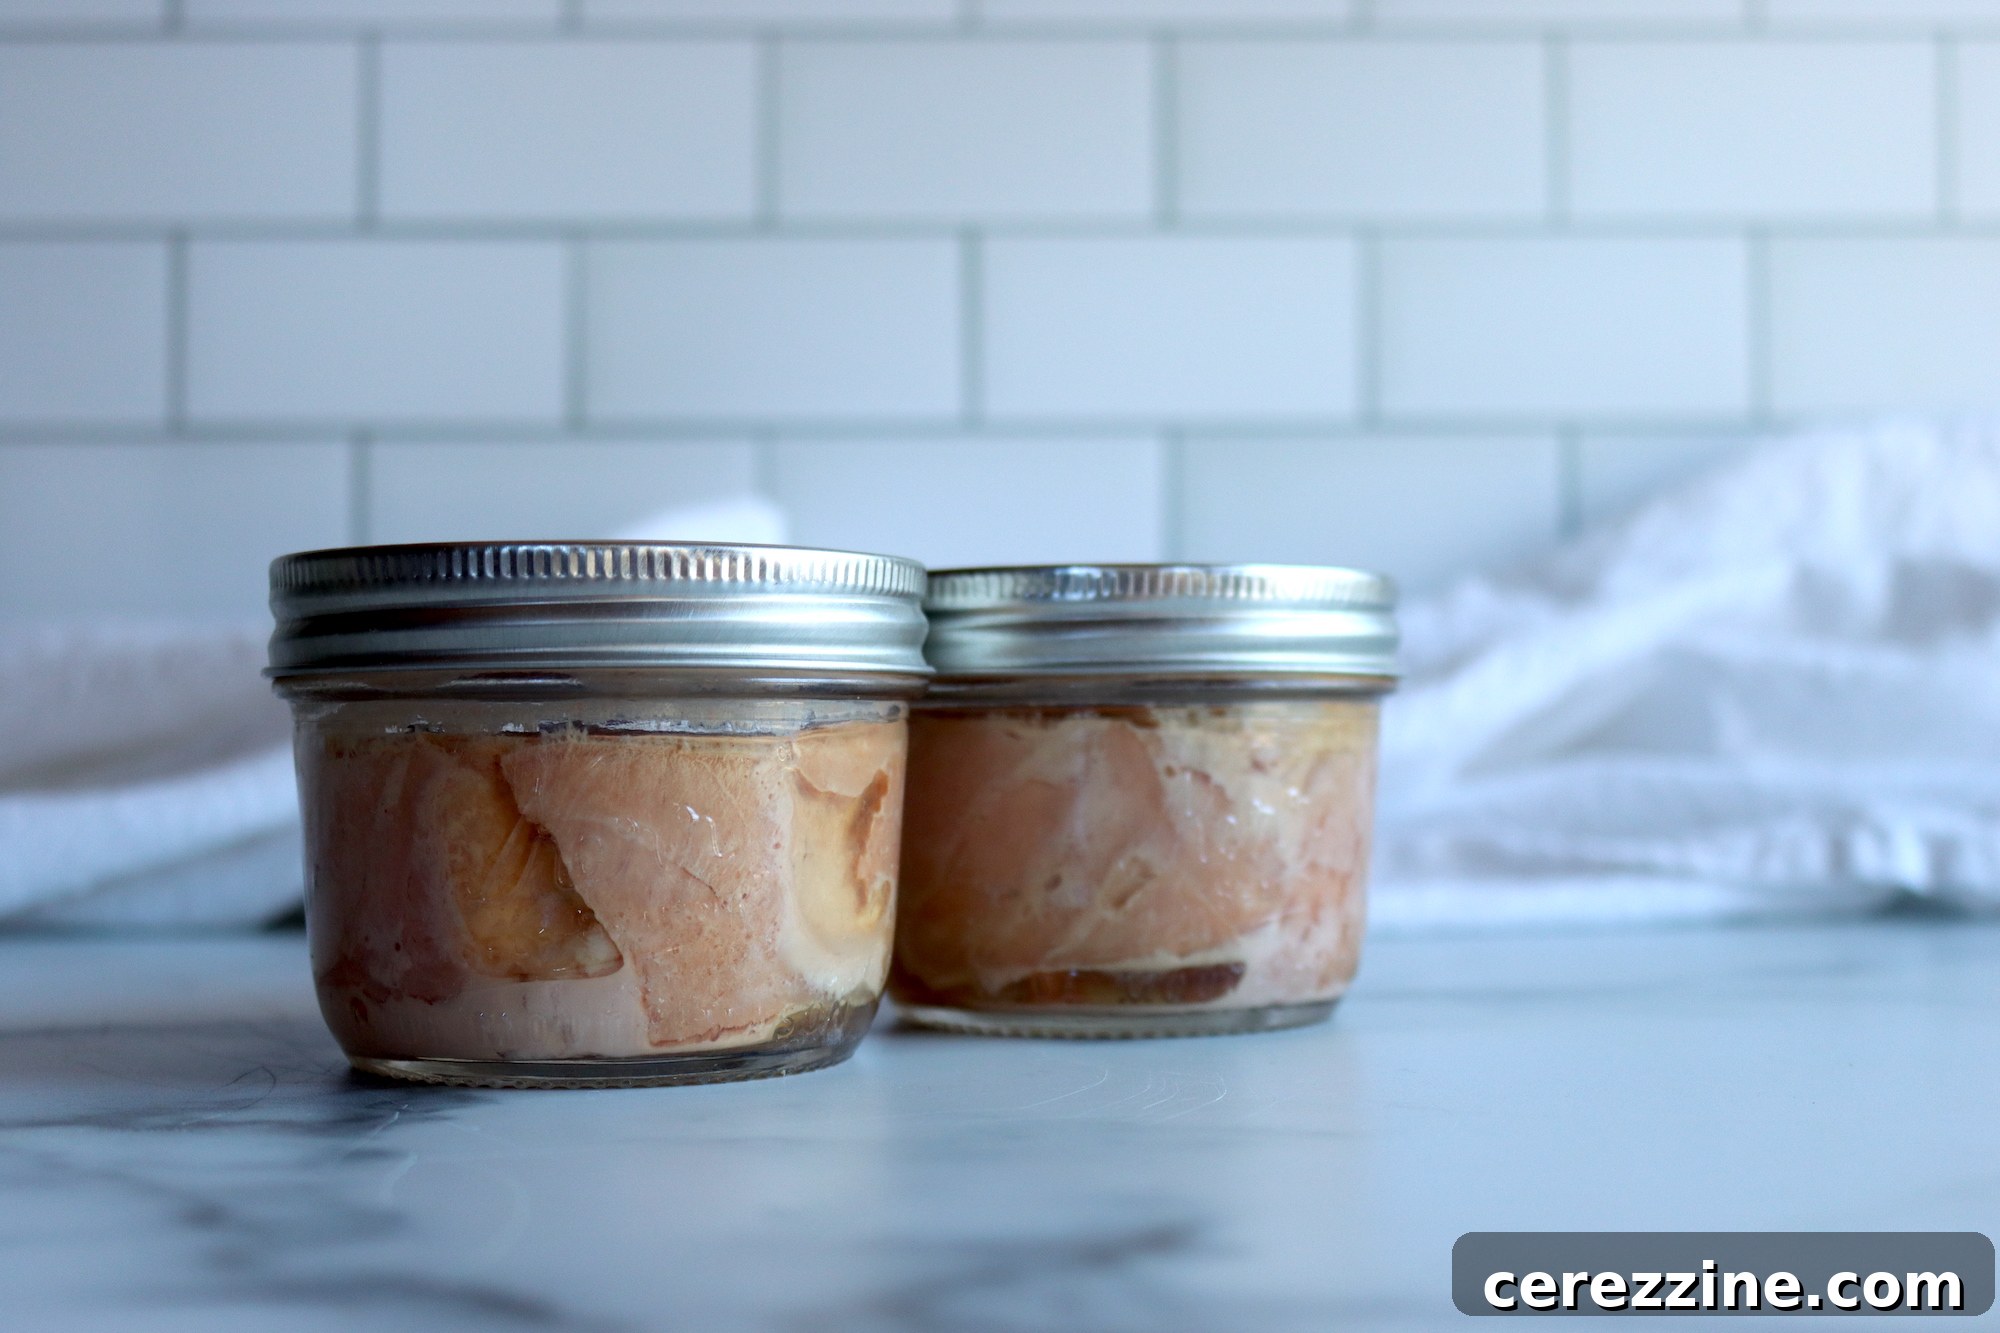
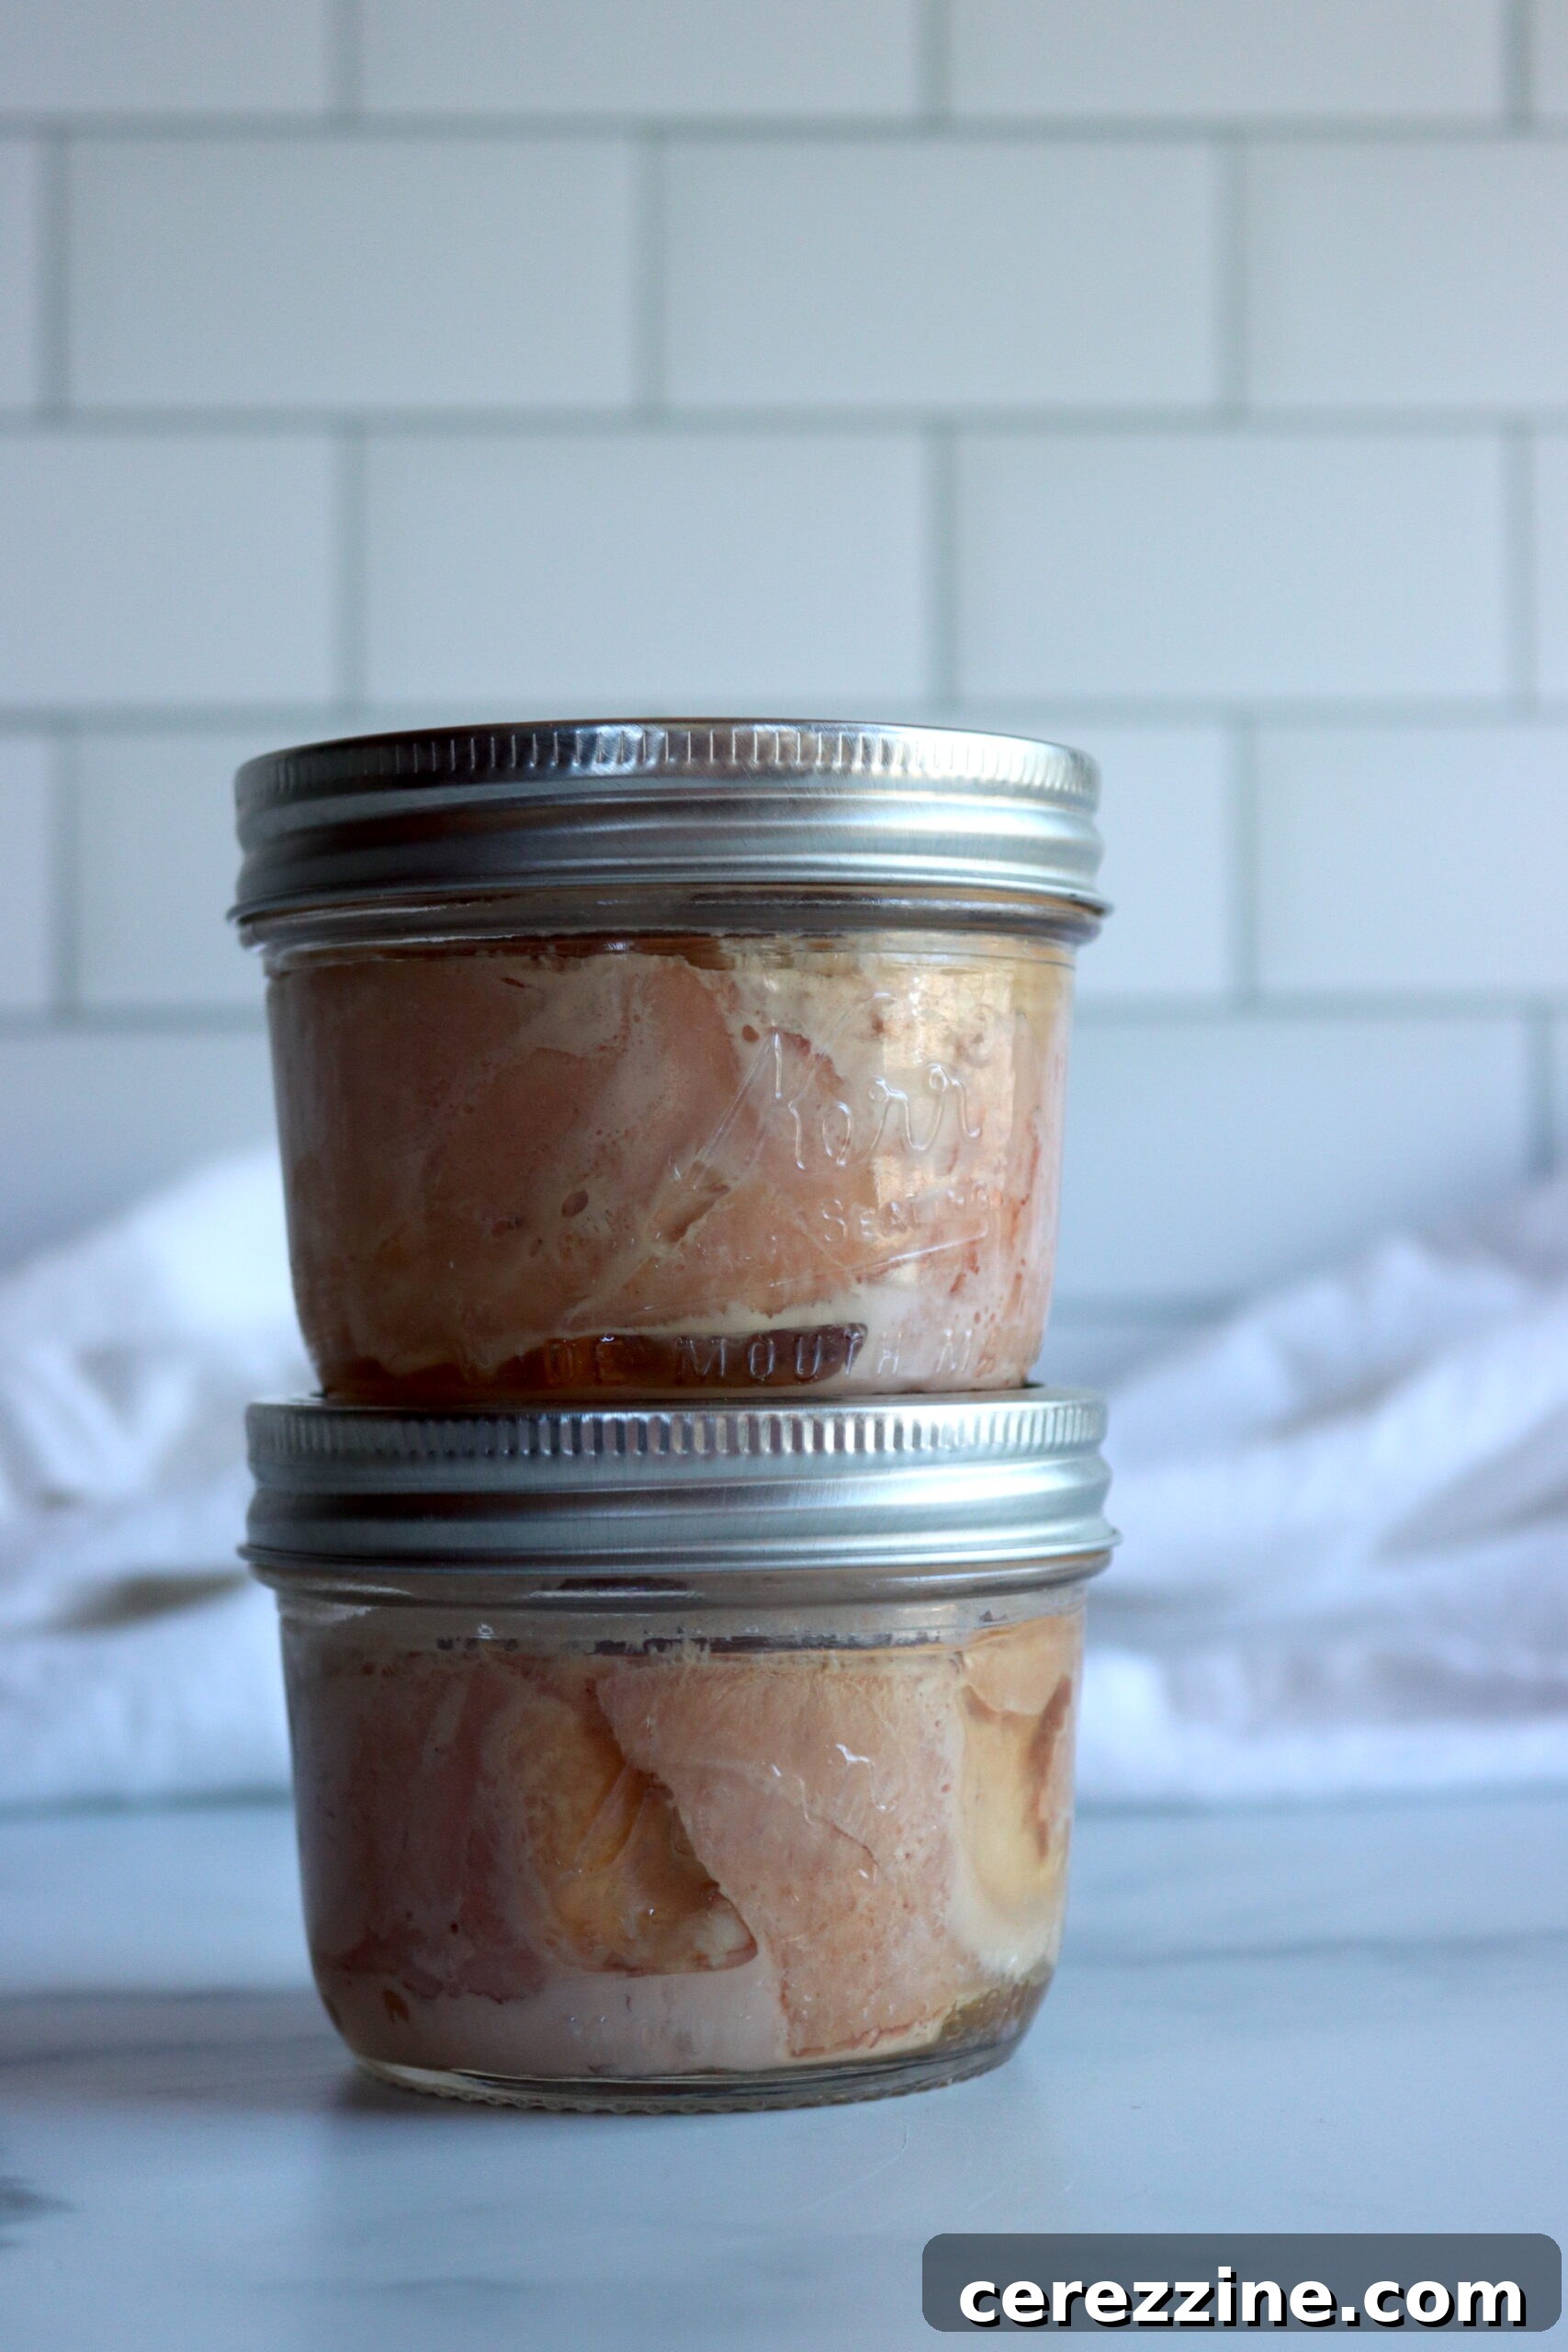
- Check Seals and Store: After cooling, check all jar seals. The lids should be concave and should not flex when pressed. If a jar hasn’t sealed, you can reprocess it within 24 hours with a new lid (after reheating the contents) or store it in the refrigerator for immediate consumption. Wipe jars clean, label them with the date and contents, and store in a cool, dark, dry place. Properly canned tuna can last for at least a year.
Critical Altitude Adjustments for Canning Tuna
For safe pressure canning, altitude plays a crucial role. While the processing times remain constant regardless of elevation, the required pressure must be adjusted to compensate for lower atmospheric pressure at higher altitudes. Failing to make these adjustments can result in under-processed food and potential safety risks.
For Dial Gauge Pressure Canners:
- 0 to 2,000 feet in elevation – 11 lbs pressure
- 2,001 to 4,000 feet in elevation – 12 lbs pressure
- 4,001 to 6,000 feet in elevation – 13 lbs pressure
- 6,001 to 8,000 feet in elevation – 14 lbs pressure
For Weighted Gauge Pressure Canners:
- 0 to 1,000 feet in elevation – 10 lbs pressure
- Above 1,000 feet – 15 lbs pressure
Creative Ways to Serve Your Homemade Canned Tuna
Once you’ve successfully canned your own tuna, you’ll discover its incredible versatility. It can be used anywhere you’d typically reach for conventionally canned tuna, but with the added benefit of superior flavor and quality. The possibilities are endless, from quick snacks to elaborate meals. Here are some ideas to inspire your culinary adventures:
- Classic Tuna Salad: The ultimate go-to. Mix your home-canned tuna with mayonnaise, finely chopped celery, red onion, and a hint of dill for a timeless favorite.
- Gourmet Tuna Sandwich: Elevate your sandwich game. Spread a generous amount of tuna salad on artisanal whole-grain bread, layer with crisp lettuce, ripe tomato slices, and perhaps some avocado.
- Quick Tuna Pasta: Create a delicious and hearty meal by tossing flaked canned tuna with hot cooked pasta, a generous drizzle of olive oil, minced garlic, cherry tomatoes, capers, and fresh parsley. A squeeze of lemon juice adds brightness.
- Tuna Melts: A comforting classic. Combine tuna with a little mayo, finely diced pickles or relish, and cheese, then grill or bake on bread until golden and gooey.
- Tuna Patties/Croquettes: Mix tuna with mashed potatoes or breadcrumbs, an egg, and seasonings. Form into patties and pan-fry until golden brown for a quick dinner or appetizer.
- Mediterranean Tuna Bowl: Flake tuna over a bed of quinoa or mixed greens, add cucumber, olives, feta cheese, and a lemon-herb vinaigrette for a refreshing and healthy meal.
- Tuna Casserole: A family favorite. Combine tuna with egg noodles, a creamy sauce (perhaps homemade mushroom or cheese sauce), and top with crushed crackers or breadcrumbs before baking.
Homemade Canned Tuna Recipe
This comprehensive guide, based on tested methods from the Pacific Northwest Extension Service (publication PNW194), provides everything you need to successfully can tuna at home, ensuring exceptional quality and flavor.
- Author: Ashley Adamant
- Prep Time: 20 minutes
- Cook Time: 1 hour 40 minutes
- Total Time: 2 hours (plus depressurization and cooling)
- Yield: Varies (approximately 1 pound of tuna fillets per pint jar, or 1/2 pound per half-pint)
Equipment You’ll Need:
- Pressure Canner
- Canning jars (Pint, Half-Pint, or Quarter-Pint)
- New Lids and Bands
- Jar Lifter
- Canning Funnel
- Headspace Tool (for accurate 1-inch headspace)
- Sharp Knife for filleting
- Large Pot for pre-heating water
Ingredients:
- Fresh Tuna Fillets (preferably albacore, yellowfin, or skipjack), kept on ice if possible
- Canning Salt (optional, 1 tsp per pint / 1/2 tsp per half-pint)
- Neutral Oil (vegetable, soy, cottonseed) or water (ONLY for precooked pack, optional)
Instructions:
- Prepare Jars: Ensure your canning jars, lids, and bands are thoroughly cleaned and ready. Jars should be pre-warmed to prevent thermal shock, and new lids should be simmering in hot water as per manufacturer’s instructions.
- Prepare Tuna: Partially freeze tuna fillets for 30-60 minutes to make filleting easier and cleaner. Once slightly firmed, carefully skin and cut the tuna into chunks or strips suitable for your chosen jar size. Methodically remove all dark meat, bones, and any discolored flesh.
- Pack Jars (Raw Pack – Recommended): Firmly pack the raw, prepared tuna chunks into your clean, pre-warmed jars. Leave a precise 1-inch headspace from the rim of the jar. If desired, add 1 teaspoon of canning salt per pint jar or 1/2 teaspoon per half-pint. For raw pack, do NOT add oil or water, as the tuna will release its own natural liquids during processing.
- Pack Jars (Precooked Pack – Alternative): If using the precooked method (refer to the “Precooking Tuna for Canning” section above for cooking steps), pack the cooled, firm tuna into jars, leaving 1-inch headspace. Add 1 teaspoon salt and 2-6 tablespoons neutral oil (or water) for pint jars, or 1/2 teaspoon salt and 1-3 tablespoons neutral oil (or water) for half-pint jars.
- Seal Jars: After packing, carefully wipe the jar rims clean with a damp cloth to remove any food particles. Center a new, warm lid on each jar and apply the screw band fingertip tight (just until resistance is met, no overtightening).
- Load Canner: Place the rack at the bottom of your pressure canner and add the recommended amount of warm water (typically 2-3 inches, or as per your specific canner’s instructions). Carefully place the packed jars onto the rack using a jar lifter, ensuring they do not touch each other or the canner walls.
- Process – Venting: Securely fasten the pressure canner lid. Turn the heat to high. Allow the canner to heat up until a steady stream of steam vents from the petcock or vent pipe. Let it vent for a full 10 minutes to ensure all air inside the canner is purged, which is crucial for achieving accurate processing temperatures.
- Process – Pressure & Time: After venting, place the weighted gauge over the vent (for weighted gauge canners) or close the petcock (for dial gauge canners) and allow the pressure to build to the required level. Once the target pressure is reached, maintain it consistently for the entire processing time. Process both half-pint and pint jars for 100 minutes. If pressure drops below the recommended level at any point, bring it back up and restart the processing time from zero.
- Altitude Adjustments: Adjust pressure according to your local altitude:
- For Dial Gauge Pressure Canners:
- 0 to 2,000 feet in elevation – 11 lbs pressure
- 2,001 to 4,000 feet in elevation – 12 lbs pressure
- 4,001 to 6,000 feet in elevation – 13 lbs pressure
- 6,001 to 8,000 feet in elevation – 14 lbs pressure
- For Weighted Gauge Pressure Canners:
- 0 to 1,000 feet in elevation – 10 lbs pressure
- Above 1,000 feet – 15 lbs pressure
- For Dial Gauge Pressure Canners:
- Depressurize and Cool: Once the processing time is complete, turn off the heat and allow the canner to depressurize naturally until the pressure gauge reads zero. This can take 30-60 minutes or more, and must not be rushed. Carefully remove the lid, tilting it away from your face to avoid steam burns.
- Final Steps & Storage: Using a jar lifter, carefully remove the hot jars from the canner and place them on a clean towel-lined surface or wire rack, ensuring they are not touching. Allow them to cool completely, undisturbed, for 12-24 hours. After cooling, check seals by pressing the center of each lid – it should be concave and not flex. Remove the screw bands for storage. Wipe jars clean, label with contents and date, and store in a cool, dark, dry place.
Nutrition Information (Approximate per serving):
- Calories: 69 kcal
- Carbohydrates: 0.1g
- Protein: 15g
- Fat: 1g
- Saturated Fat: 0.2g
- Polyunsaturated Fat: 0.2g
- Monounsaturated Fat: 0.1g
- Cholesterol: 28mg
- Sodium: 169mg
- Potassium: 136mg
- Vitamin A: 44 IU
- Calcium: 14mg
- Iron: 1mg
Nutrition information is automatically calculated and should only be used as an approximation. Actual values may vary based on ingredients and preparation methods.
Enjoyed this guide? We’d love to hear from you! Leave a comment below and share your home canning journey with us!
Expand Your Pantry: More Fish Canning Recipes
While home-canned tuna is an indispensable pantry staple, the world of tinned fish extends far beyond! Exploring other fish canning recipes can open up a treasure trove of delicious and nutritious options for your family. Mastering these techniques not only builds your food preservation skills but also enhances your culinary repertoire.
Venture beyond tuna and try out other fish canning recipes from our curated list. You’ll learn the safe and effective processes for preserving a variety of seafood, including the delicate flavors of Canning Crab and the versatility of Canning Shrimp. For heartier, ready-to-eat meals, discover how to home can full recipes like a comforting Nordic Salmon Soup or a robust Fish Chowder Base, perfect for busy weeknights or emergency provisions. Each recipe offers a unique way to enjoy the bounty of the sea, ensuring a well-stocked pantry filled with homemade goodness.