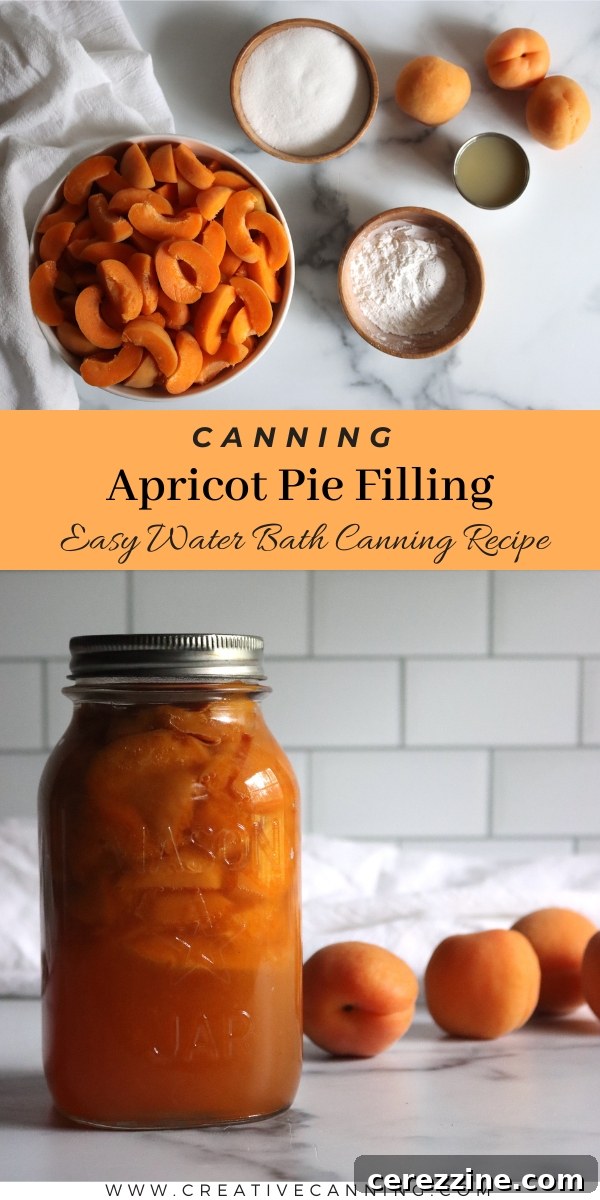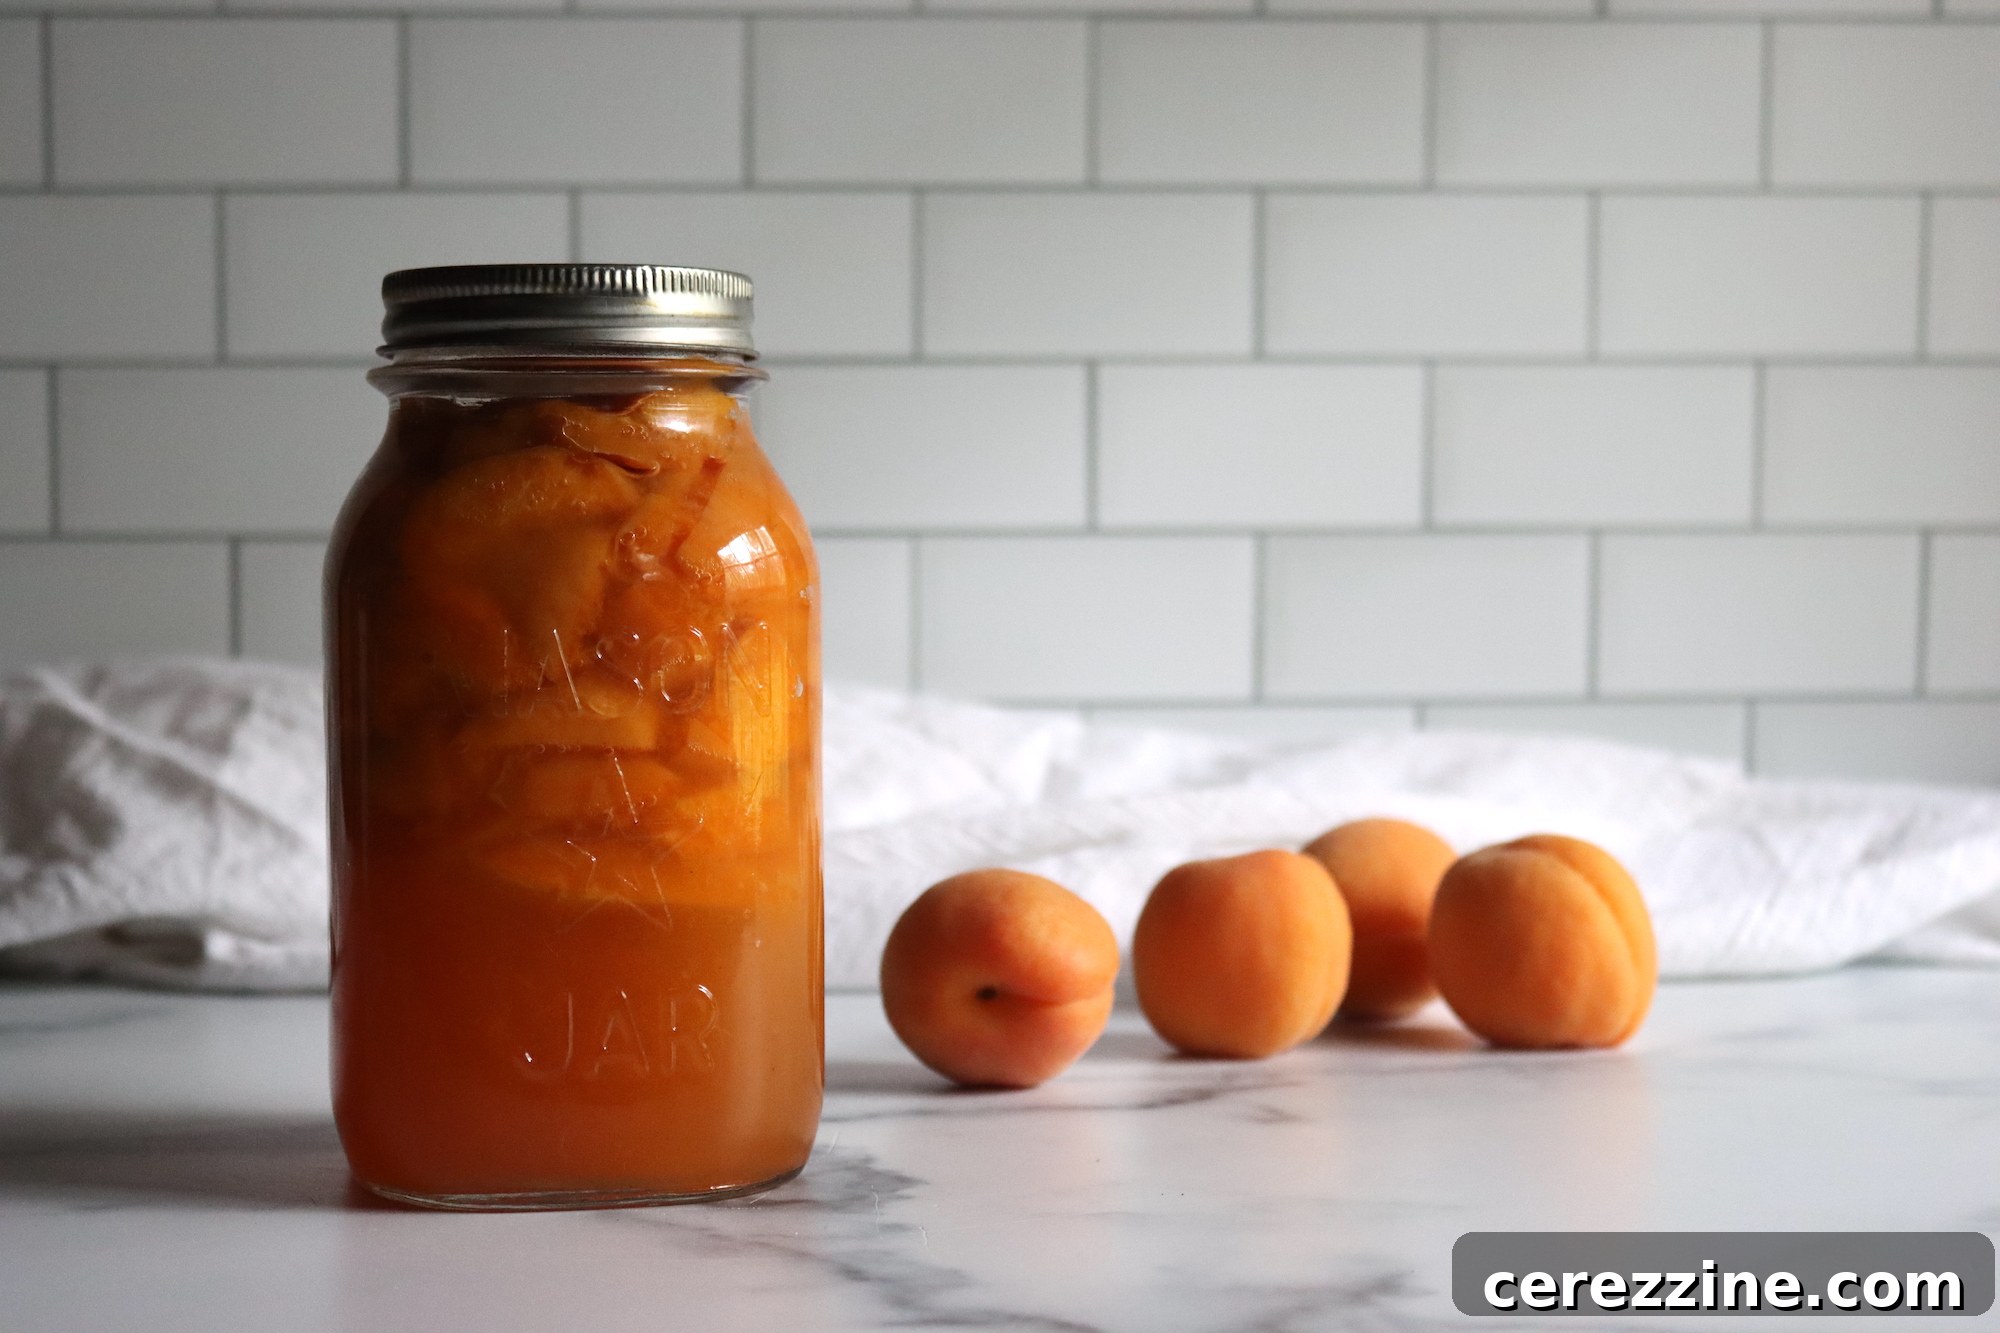
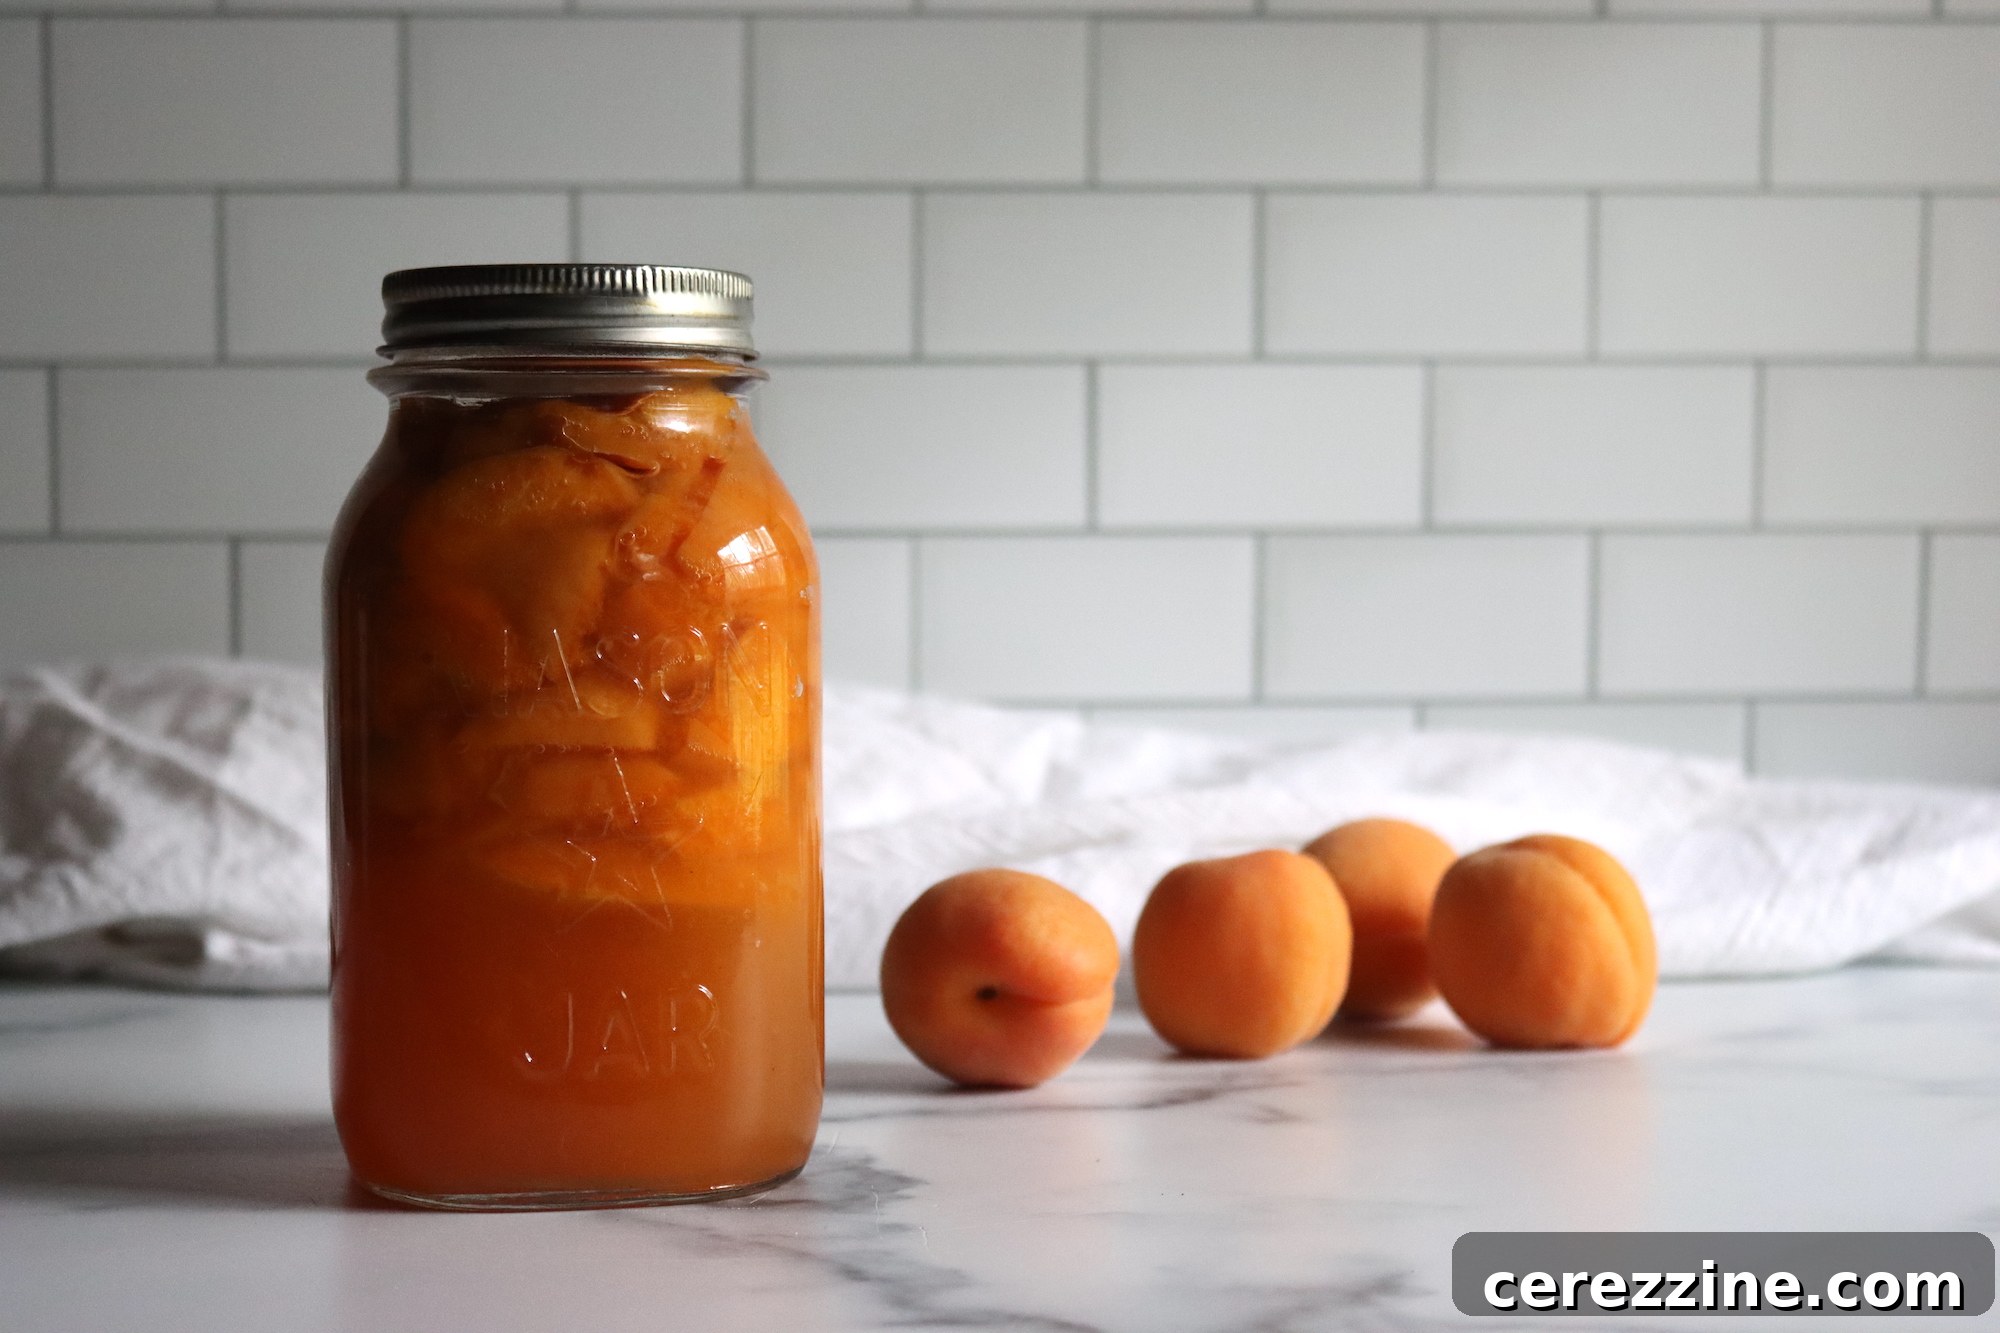
Apricot season is a fleeting joy, but with the art of home canning, you can capture that sweet, tangy flavor to savor all year long. This detailed guide will show you how to create perfect apricot pie filling, ideal not only for delicious homemade pies but also for topping ice cream, enhancing coffee cakes, mixing into yogurt, and much more! Imagine the satisfaction of opening a jar of summer sunshine on a cold winter day.
The Joy of Home-Canned Apricot Pie Filling
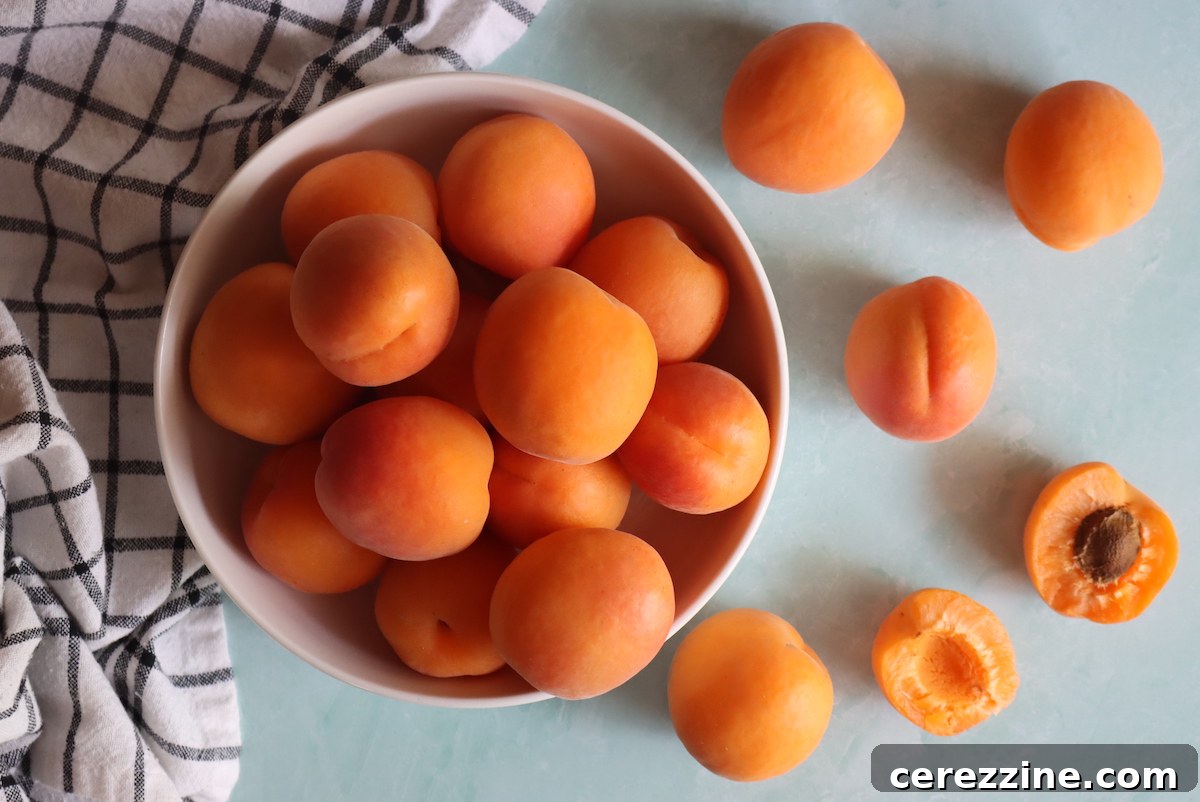
Apricots are truly one of nature’s most delightful yet ephemeral gifts. Their vibrant color and unique sweet-tart taste make them a favorite, but their season is notoriously short, often lasting only a few precious weeks. For those with a backyard apricot tree or access to a bountiful farmers’ market, this brief window can lead to an overwhelming harvest that’s difficult to enjoy before the fruit spoils. Fresh apricots typically last only 4 to 5 days in the refrigerator and ripen quickly at room temperature, making preservation a timely challenge.
This is where home canning comes in as an invaluable skill. Transforming a perishable crop into a stable, ready-to-use ingredient ensures that not a single precious apricot goes to waste. Our simple recipe for home-canned apricot pie filling means you’ll have a versatile and delicious fruit filling ready to go right out of the jar. It’s a wonderful way to extend the taste of summer, providing convenience, delicious flavor, and the wholesome goodness of homemade food whenever you desire. Plus, by canning it yourself, you control all the ingredients, ensuring a product free from unwanted additives and tailored to your exact preferences.
Essential Ingredients for Your Apricot Pie Filling
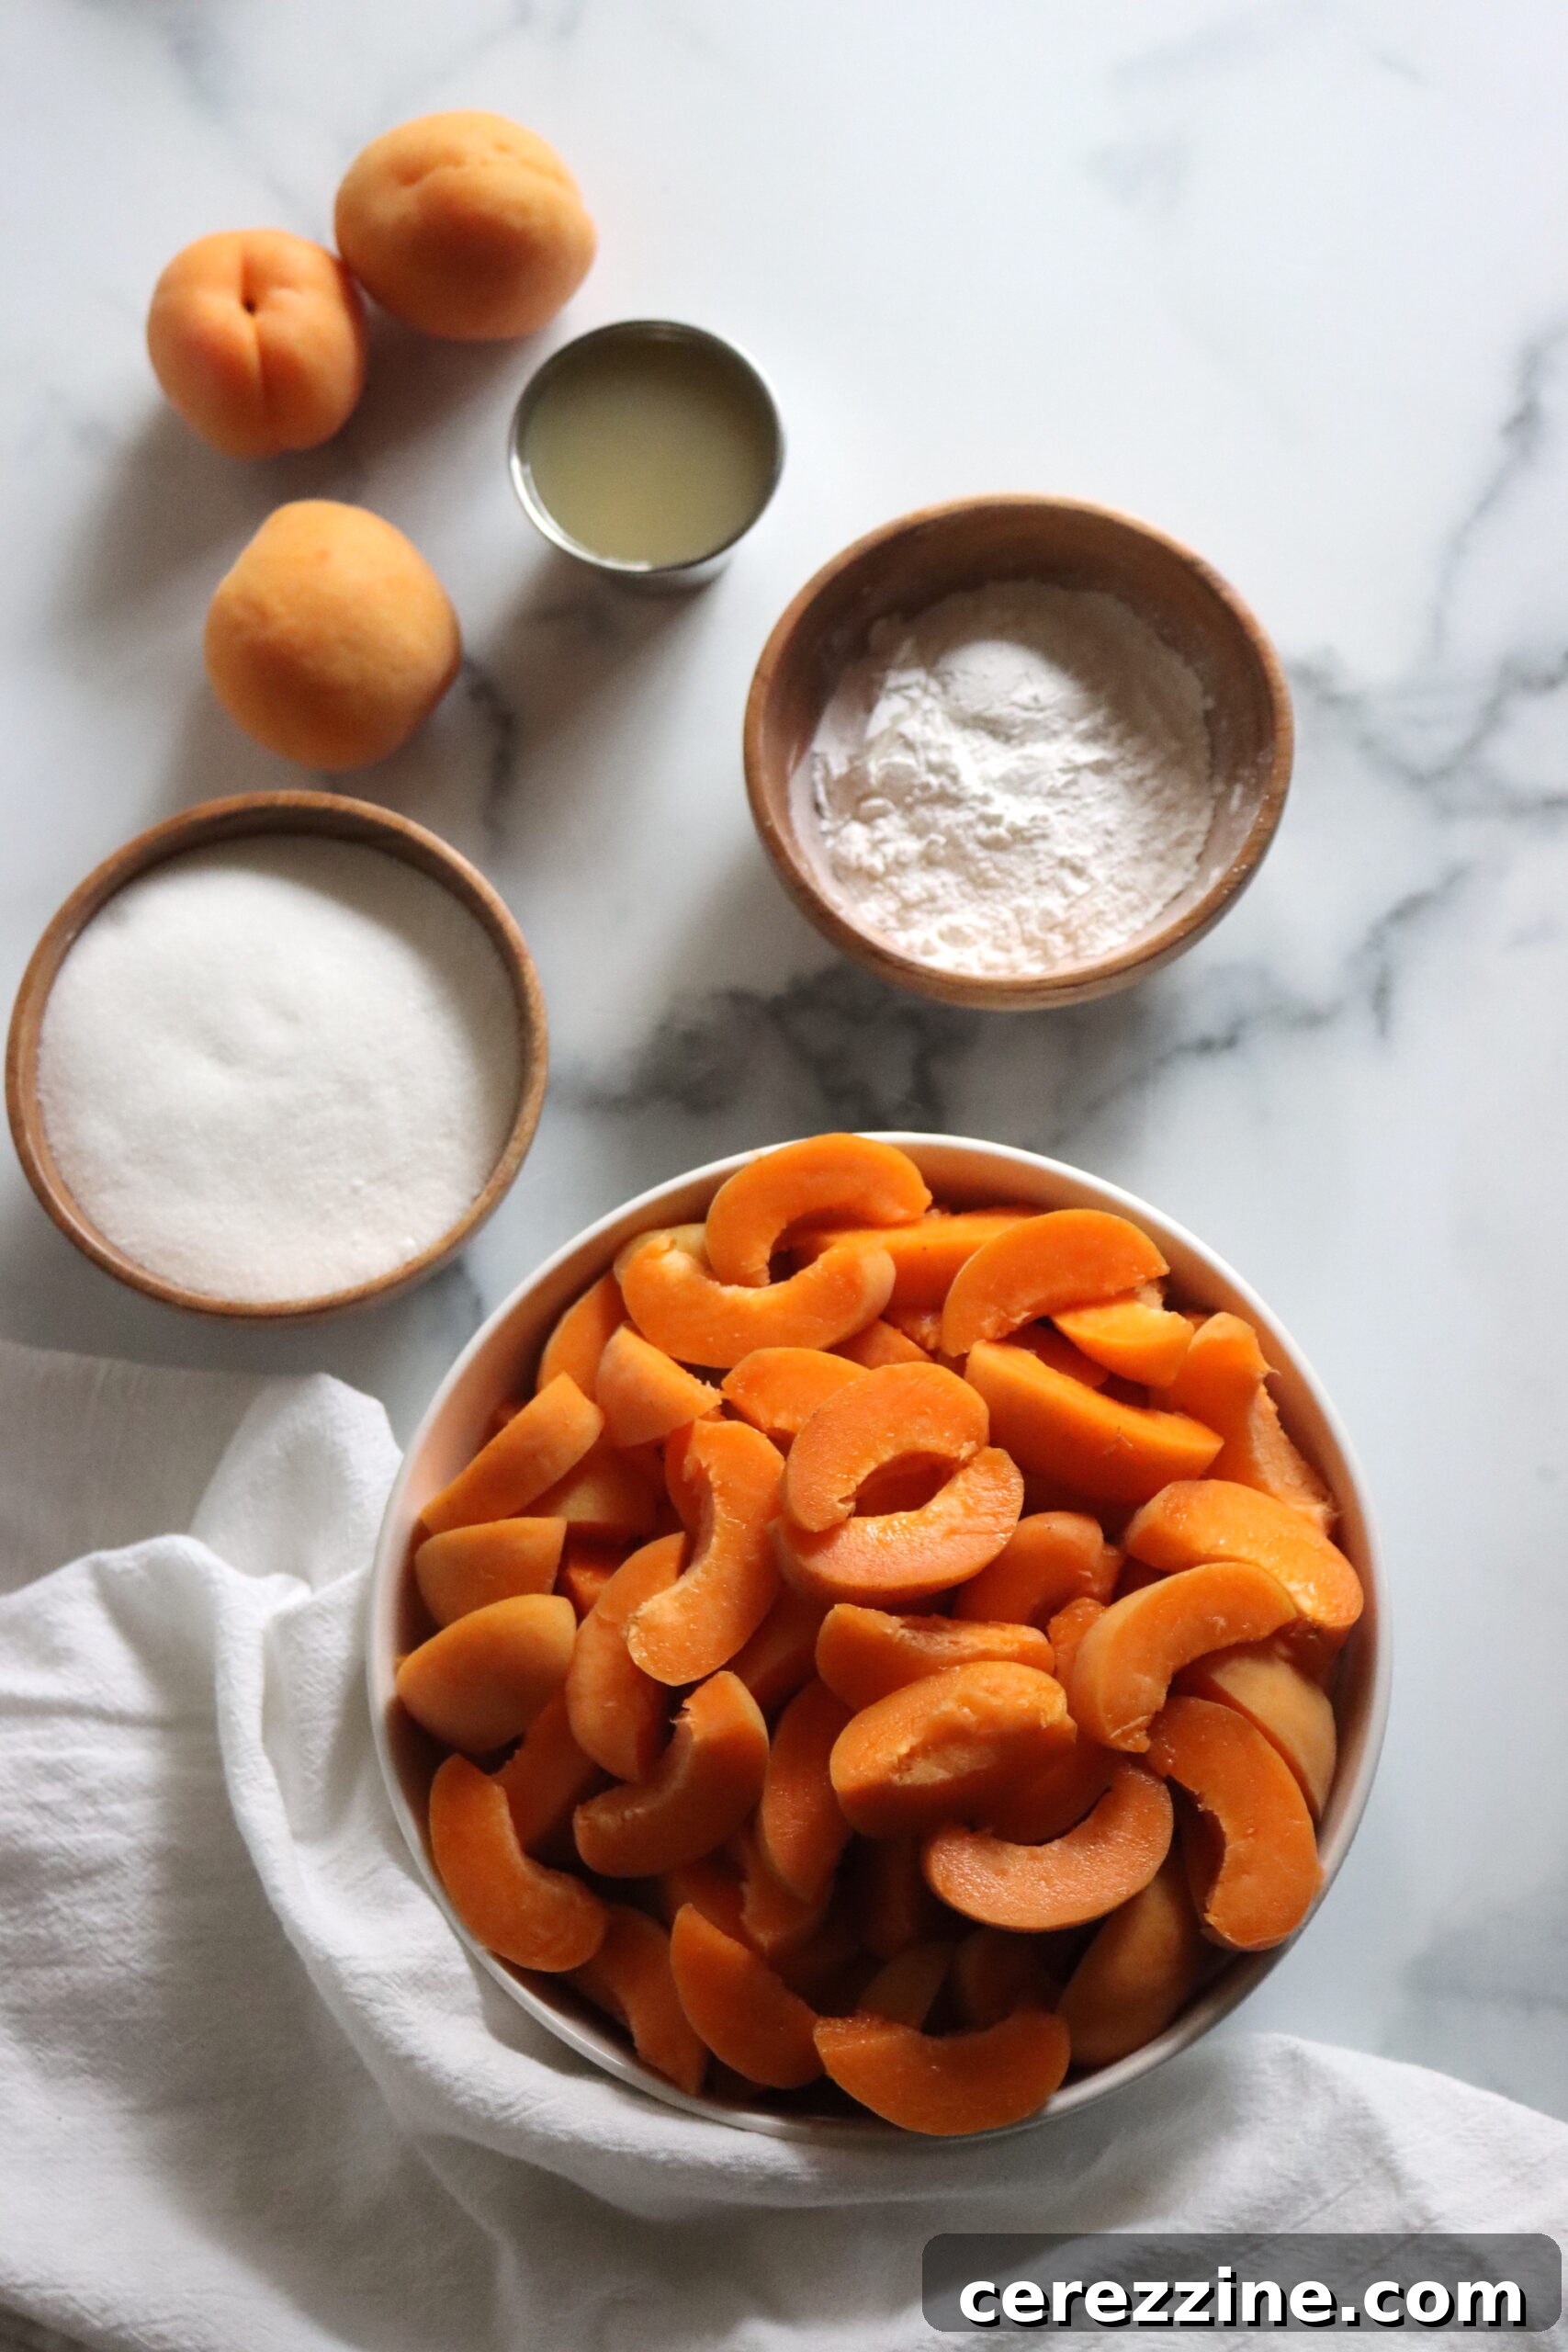
Crafting the perfect apricot pie filling begins with selecting the finest fruit and utilizing canning-safe ingredients. For the best results, choose apricots that are firm, possess a sweet fragrance, and are fully ripe. Avoid any fruit that is overly soft, bruised, or discolored. While optional, a touch of carefully selected spices and extracts can elevate the flavor profile, allowing for delightful customization.
Ingredients for a Single Quart Batch:
- 3 ½ cups of cleaned, pitted, and uniformly sliced apricots
- 1 cup granulated sugar
- ¼ cup plus 1 tablespoon Clear Jel (ensure it’s the regular canning type, not instant)
- ¾ cup cold water (or fresh apricot juice for enhanced flavor)
- ¼ cup bottled lemon juice (critical for safety)
- ⅛ teaspoon of complementary spices, such as cinnamon (optional, consider nutmeg or ginger)
- ⅛ teaspoon almond extract (optional, enhances apricot flavor beautifully)
Ingredients for a Full 7-Quart Canning Batch:
- 6 quarts of cleaned, pitted, and uniformly sliced apricots
- 7 cups granulated sugar
- 2 cups plus 3 tablespoons Clear Jel (regular canning type)
- 5 ¼ cups cold water (or fresh apricot juice)
- 1 ¾ cups bottled lemon juice (essential for canning safety)
- 1 teaspoon of complementary spices, such as cinnamon (optional)
- 1 teaspoon almond extract (optional)
Important Ingredient Considerations for Safe Canning:
- Clear Jel: This specialized food starch is the cornerstone of safe and stable canned pie fillings. It’s designed to withstand the high temperatures of canning without breaking down, ensuring a consistent texture. Always use the *regular* type of Clear Jel; instant varieties are not suitable as they will not provide the necessary thickening and stability for safe preservation. For reference, one pound of Clear Jel equals approximately 3 cups.
- Bottled Lemon Juice: The acidity of your pie filling is crucial for safe water bath canning. Bottled lemon juice has a standardized acidity level, which is reliable for tested canning recipes. Fresh lemons, however, can vary significantly in their pH, making them unsafe to use as a substitute where precise acidity is required for safety.
Customizing Your Recipe While Ensuring Canning Safety
One of the beauties of home canning is the ability to personalize flavors. With this apricot pie filling recipe, you have the freedom to adjust the sugar content to suit your taste preferences, whether you like it sweeter or slightly more tart. The optional spices and extracts also offer room for creativity; feel free to substitute cinnamon with a pinch of ground ginger, nutmeg, or even a blend of all three. Almond extract beautifully complements apricots, but vanilla extract can also be used for a different aromatic note.
However, certain elements of this recipe are non-negotiable and are absolutely vital for canning safety. It is critically important that you do not substitute Clear Jel with any other starch, such as regular flour, cornstarch, or tapioca starch. These common thickeners behave differently under the heat of canning; they can clump, creating dense pockets within the jar that prevent adequate heat penetration. This uneven heating can allow harmful bacteria to survive, leading to spoilage and potential foodborne illness. Clear Jel is specifically formulated to maintain its thickening properties and ensure uniform heat distribution, making it the only approved and safe starch for this application.
Similarly, you must not decrease the amount of bottled lemon juice stated in the recipe. The lemon juice is a key component for ensuring the filling’s acidity is at a safe level for water bath canning. While reducing it poses a safety risk, you may increase the lemon juice if you prefer a more pronounced tartness in your pie filling. If you desire a slightly looser consistency for your filling, you can decrease the amount of Clear Jel to ¼ cup per quart, but do not go below this measurement to ensure the filling sets properly.
Step-by-Step Guide: How to Safely Can Apricot Pie Filling
Canning apricot pie filling is a rewarding process that, when followed correctly, yields jars of delicious, shelf-stable goodness. Attention to detail at each step is key to both safety and quality.
1. Prepare Your Canning Setup
Begin by ensuring your canning equipment is clean and ready. Wash your canning jars thoroughly with hot, soapy water, then rinse them well. Keep them hot (either by placing them in your water bath canner as it heats, running them through a dishwasher cycle, or keeping them in a warm oven) to prevent thermal shock when adding the hot filling. Place new canning lids in a small saucepan with water and bring to a simmer (do not boil) to soften the sealing compound. Ensure your water bath canner is filled with enough water to cover the jars by at least 1 inch and is simmering, ready for processing.
2. Prepare the Apricots
The decision to peel apricots is a personal preference. Unlike peaches, apricot skins tend to soften considerably during canning and often integrate seamlessly into the final filling. If you opt for a smoother texture without skins, the quickest peeling method involves flash-cooking: bring a large pot of water to a rolling boil, submerge the apricots for 30 to 60 seconds, then immediately transfer them to a bowl of cold, icy water for about 20 seconds. This sudden temperature change helps the skins loosen and peel off easily. Once peeled (or if not peeling), remove the pits and cut the apricots into uniform ½-inch thick slices.
Next, blanch the sliced apricots. Bring a few quarts of water to a boil. Add the apricot slices to the boiling water and cook for precisely 60 seconds after the water returns to a boil. This brief blanching step helps to set the fruit, preventing it from floating excessively in the jars during processing. Remove the blanched apricots with a slotted spoon, drain them well, and place them in a covered bowl or pot to keep them warm while you prepare the filling mixture. Keeping them warm prevents the filling from cooling too rapidly when combined.
3. Prepare the Pie Filling Mixture
In a large, heavy-bottomed pot, combine your cold water (or apricot juice), granulated sugar, Clear Jel, and any chosen optional spices or extracts. This is a critical step: you must whisk or stir this mixture thoroughly until the Clear Jel is completely dissolved. Take your time to ensure there are absolutely no lumps or undissolved pockets, as these can lead to an uneven texture and compromise safety during canning.
4. Cook the Filling to Perfection
Once the Clear Jel is fully dissolved and the mixture is smooth, place the pot over medium-high heat. Stir continuously as the mixture begins to heat and thicken. Constant stirring is essential to prevent scorching on the bottom of the pot and to ensure the Clear Jel thickens evenly. Continue stirring until the mixture comes to a full, rolling boil. At this point, add the precisely measured bottled lemon juice and continue to boil for one full minute, stirring vigorously the entire time to maintain its thick, consistent texture.
5. Combine Fruit and Fill Jars
After the one-minute boil, immediately remove the pot from the heat. Gently fold in the warm, drained apricot slices. Work quickly but carefully to incorporate the fruit without breaking it down too much. Using a canning funnel, ladle the hot apricot pie filling into your prepared hot canning jars. It’s crucial to leave precisely 1 inch of headspace at the top of each jar. Since the filling is thick, use a non-metallic utensil (such as a plastic de-bubbler or a chopstick) to carefully remove any trapped air bubbles by sliding it down the sides of the jars. This ensures a proper seal and adequate processing.
Wipe the rims of each jar thoroughly with a clean, damp cloth to remove any food residue that could interfere with the seal. Center a warmed 2-part canning lid on each jar, then apply the screw band and tighten it to fingertip-tight. This means tightening until you feel resistance, then giving it a slight quarter-turn more. Avoid overtightening, as this can prevent a proper seal.
6. Process in a Water Bath Canner
Carefully place the filled and lidded jars into the simmering water bath canner, ensuring they are not touching each other. Make sure the water level covers the tops of the jars by at least 1 inch. Bring the water in the canner to a full, rolling boil. Once boiling vigorously, begin your processing time. Process pint or quart jars for 30 minutes. It is vital to adjust this processing time if you live at a higher altitude; refer to the altitude adjustment chart provided below.
7. Cool, Check Seals, and Store
Once the processing time is complete, turn off the heat and allow the jars to remain in the hot canner for an additional 10 minutes. This resting period helps to equalize the temperature, significantly reducing the risk of siphoning (liquid loss from the jars) and promoting a stronger, more reliable seal. After 10 minutes, carefully remove the jars from the canner using a jar lifter and place them upright on a towel-covered surface, ensuring they are spaced apart to allow air circulation. Let them cool undisturbed for 12 to 24 hours.
During this cooling period, you should hear the characteristic “ping” sound as the lids seal. After 12-24 hours, check the seals by pressing on the center of each lid. A sealed lid will be concave and will not flex when pressed. Remove the screw bands (as they can rust and make reopening difficult), wipe down the jars, label them with the contents and date, and store them in a cool, dark, dry place. Any jars that did not seal properly should be refrigerated immediately and used promptly within a few weeks.
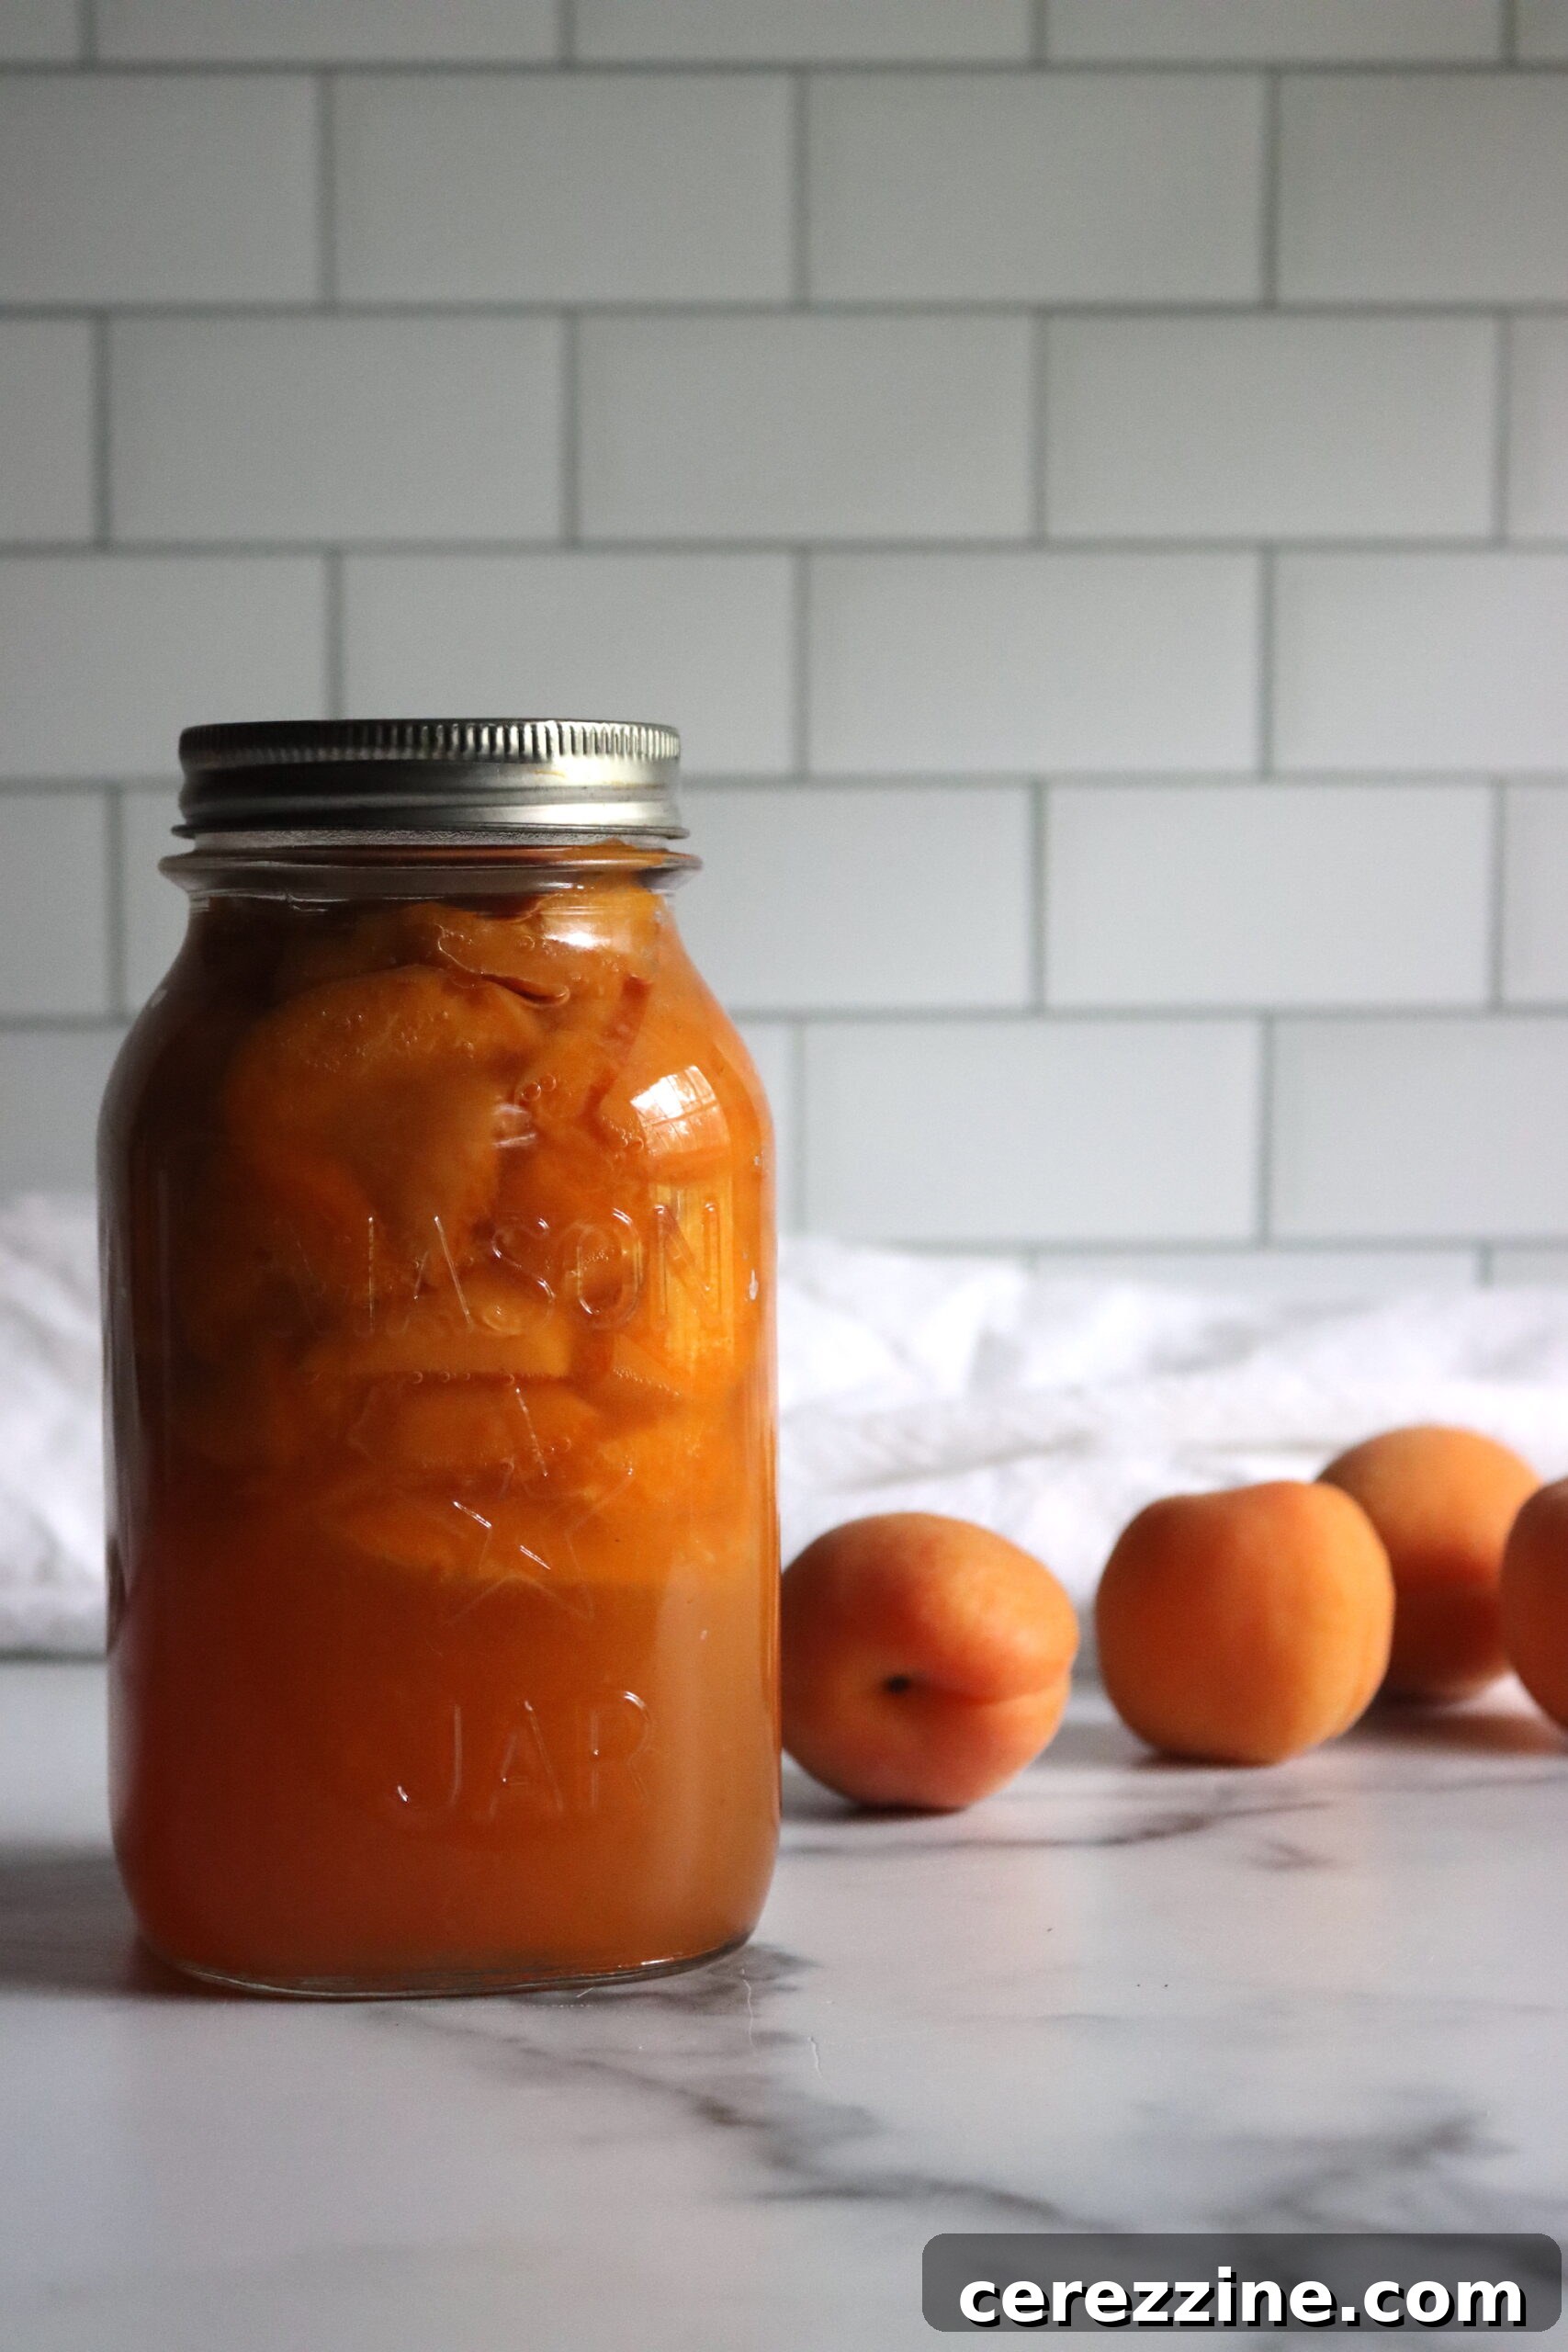
Properly canned and sealed jars of apricot pie filling will maintain their peak quality for one year. Always refrigerate the contents after opening.
Altitude Adjustments for Water Bath Canning
When performing water bath canning, it is crucial to adjust processing times according to your elevation above sea level. This is because water boils at a lower temperature at higher altitudes, meaning it takes longer for the food inside the jars to reach the necessary sterilization temperature. Always refer to the following chart to determine the correct processing time for your specific location:
- 0 to 1,000 Feet in Elevation: Process for 30 minutes
- 1,001 to 3,000 Feet in Elevation: Process for 35 minutes
- 3,001 to 6,000 Feet in Elevation: Process for 40 minutes
- Above 6,000 Feet in Elevation: Process for 45 minutes
Enhancing Flavor: Using Apricot Juice Versus Water
While cold water serves as a perfectly functional liquid for this apricot pie filling recipe, substituting some or all of it with apricot juice can significantly deepen and enrich the fruit’s natural flavor. This is an excellent way to intensify the apricot essence in your filling, creating an even more robust and delicious product.
If you are working with frozen apricots, collecting the juice as they thaw is a convenient and effortless way to obtain apricot juice. Simply place a bowl beneath the colander where the fruit is thawing. Another method involves saving the liquid left over from blanching or boiling your apricots, but it is essential to chill this liquid thoroughly until it is completely cold before incorporating it into the Clear Jel mixture to prevent any clumping.
For fresh apricots, you can extract juice using a countertop juicer. Alternatively, a more traditional method, similar to making jelly, involves cooking down apricots and their peels with a small amount of water. Once softened, mash the fruit and scraps with a wooden spoon or potato masher, then strain the mixture through a jelly bag or several layers of cheesecloth to yield a clear, flavorful juice. This preparation, naturally, should be completed ahead of time.
For an optimal balance of intensified flavor and proper consistency, consider substituting at least half of the specified cold water with apricot juice. This strikes a wonderful balance, enhancing the fruit’s natural taste without making the filling overly concentrated.
Creative Ways to Enjoy Your Versatile Apricot Pie Filling
Your homemade apricot pie filling is an incredibly versatile creation that extends far beyond the confines of a traditional pie. While it’s absolutely divine in classic apricot pies, warming cobblers, and rustic baked fruit crumbles, its potential is much broader. Here are some delightful ideas to inspire you to incorporate this golden goodness into various dishes:
- Elevate Your Breakfast: Spoon a generous amount of warm apricot filling over fluffy pancakes, crispy waffles, creamy oatmeal, or golden French toast for a gourmet start to your day. Swirl it into plain yogurt or cottage cheese for a quick, healthy, and flavorful snack.
- Decadent Desserts: Use it as a luscious topping for vanilla ice cream, rich gelato, or refreshing sorbet, instantly transforming them into a personal stone fruit sundae. It also makes an exquisite filling for layered cakes and cupcakes, adding moisture and a burst of fruit flavor. Consider it as a sophisticated topping for cheesecakes, panna cotta, or chilled cream pies.
- Baking Delights: Incorporate the filling directly into your baking. Swirl it into a simple coffee cake batter before baking, perhaps topped with a sprinkle of sliced almonds and a delicate sugared drizzle. It’s also fantastic in muffins, hand pies, turnovers, or as a vibrant layer in bar cookies.
- No-Churn Ice Cream: For an easy summer treat, blend your apricot pie filling with sweetened condensed milk and heavy cream to create a delightful, no-churn apricot ice cream.
- Savory Pairings: Don’t underestimate its potential in savory dishes! A dollop of apricot pie filling can serve as a sweet and tangy counterpoint to roasted pork, glazed chicken, or duck, adding a layer of sophisticated flavor.
1 Quart or 7 Quarts (see notes for scaling)
Canning Apricot Pie Filling Recipe
10 mins
20 mins
10 mins (resting after processing)
40 mins
Equipment
-
Water Bath Canner
-
Canning Jars (Quart or Pint)
-
New Canning Lids and Screw Bands
-
Large Pot (for blanching apricots)
-
Slotted Spoon
-
Large Heavy-Bottomed Pot (for filling)
-
Whisk
-
Ladle
-
Jar Lifter
-
Canning Funnel (optional, but highly recommended)
-
Non-metallic De-bubbler Tool
Ingredients
For a Single Quart:
- 3 ½ cups apricots, cleaned, pitted, and sliced
- 1 cup granulated sugar
- ¼ cup + 1 Tbsp. Clear Jel (regular type, for canning)
- ¾ cup cold water, or apricot juice
- ¼ cup bottled lemon juice
- ⅛ tsp spices, such as cinnamon (optional)
- ⅛ tsp almond extract (optional)
For a 7 Quart Canner Batch:
- 6 quarts apricots, cleaned, pitted, and sliced
- 7 cups sugar
- 2 cups plus 3 tablespoons Clear Jel (regular type, for canning)
- 5 ¼ cups cold water, or apricot juice
- 1 ¾ cups bottled lemon juice
- 1 tsp spices, such as cinnamon (optional)
- 1 tsp almond extract (optional)
Instructions
- Prepare Equipment: Set up your water bath canner, ensuring jars are clean and hot, and lids are warmed.
- Prepare Apricots: (Optional) Peel apricots by flash-cooking: submerge in boiling water for 30-60 seconds, then ice water for 20 seconds. Remove pits.
- Slice Apricots: Cut peeled (or unpeeled) apricots into uniform ½-inch thick slices.
- Blanch Apricots: Bring a few quarts of water to a boil. Blanch sliced apricots for one minute after water returns to a boil. Drain and keep warm in a covered bowl.
- Mix Filling Base: In a large pot, combine cold water (or juice), sugar, Clear Jel, and optional spices/extract. Whisk thoroughly until Clear Jel is completely dissolved with no clumps.
- Cook Filling: Place pot over medium-high heat. Stir continuously as the mixture thickens. Once bubbling, add bottled lemon juice and boil for one full minute, stirring constantly.
- Combine & Fill Jars: Remove from heat and gently fold in the warm, drained apricots. Immediately ladle the hot filling into prepared hot canning jars, leaving 1-inch headspace. Remove air bubbles with a non-metallic tool.
- Seal Jars: Wipe jar rims clean. Center a warmed lid and apply screw band to fingertip-tight.
- Process: Place jars in a water bath canner. Process for 30 minutes, adjusting time for your altitude (see notes).
- Cool & Check Seals: After processing, turn off heat and let jars rest in the canner for 10 minutes. Remove to a towel-covered surface and cool undisturbed for 12-24 hours. Check seals.
- Store: Refrigerate any unsealed jars promptly. Properly sealed jars can be stored in a cool, dark place for up to one year.
Notes
The ingredient measurements are provided for both a single quart and a full 7-quart canning batch. For quantities in between, multiply the single quart recipe to yield your desired number of quarts.
These are the recommended altitude adjustments for processing pint and quart jars of apricot pie filling:
- 0 to 1,000 Feet in Elevation: 30 minutes
- 1,001 to 3,000 Feet in Elevation: 35 minutes
- 3,001 to 6,000 Feet in Elevation: 40 minutes
- Above 6,000 Feet in Elevation: 45 minutes
Approximate Nutrition Information (Per Serving)
Calories: 118 kcal, Carbohydrates: 31g, Protein: 0.1g, Fat: 0.1g, Sodium: 56mg, Potassium: 53mg, Fiber: 1g, Sugar: 16g, Vitamin A: 28IU, Vitamin C: 2mg, Calcium: 5mg, Iron: 0.3mg
Nutrition information is automatically calculated and should only be used as an approximation.
Love this recipe? Share your thoughts in the comments below!
Beyond Pie Filling: More Creative Ways to Preserve Apricots
Apricots are wonderfully versatile, and if you find yourself with an abundance even after making several batches of pie filling, there are many other delightful ways to preserve these succulent stone fruits. Each method offers a unique way to enjoy their sweet-tart flavor throughout the year, ensuring that no part of your precious harvest goes to waste.
- Apricot Jam: A timeless classic, homemade apricot jam is a fantastic way to capture their concentrated essence. Its vibrant color and intense flavor make it perfect for spreading on toast, muffins, or as a flavorful ingredient in cookies and other baked goods.
- Fruit Butter: For a richer, thicker spread with a velvety texture, consider making apricot fruit butter. This involves slow-cooking the fruit until it becomes a smooth, dense puree, often enhanced with warming spices. It’s wonderful on biscuits, as a condiment for cheese boards, or as a glaze for savory dishes.
- Fruit Vinegar: Infuse vinegar with apricots to create a fragrant apricot fruit vinegar. This gourmet condiment adds a unique sweet-tart note to salad dressings, marinades, or for deglazing pans, bringing a subtle apricot flavor to your cooking.
- Fruit Wine: For the adventurous home preserver, apricots can be fermented into a unique and delicious apricot fruit wine. This process yields a distinctive alcoholic beverage that beautifully captures the fruit’s character in liquid form.
- Canning Sliced Apricots: If you prefer whole fruit for versatility in other recipes, simply slicing and canning apricots in a light syrup or their own juice is a traditional and highly effective method. These can then be used in any recipe calling for fresh apricots, or simply enjoyed as a refreshing snack straight from the jar.
- Freezing Apricots: For the easiest and quickest preservation method, freezing apricots is an excellent option. Simply wash, pit, slice, and arrange them in a single layer on a baking sheet to freeze individually before transferring them to freezer-safe bags or containers. Frozen apricots can be thawed and used later in the year for smoothies, desserts, or to make pie filling when you have more time.
No matter which method you choose, preserving apricots ensures that the delightful taste of summer isn’t confined to a short season. The flexibility to start with either fresh or frozen apricots means that home-canned pie filling, and other preserved apricot products, can be made accessible year-round.
Explore More Delicious Home-Canned Pie Filling Recipes
If you’ve enjoyed the rewarding experience of canning apricot pie filling, you’ll be thrilled to expand your pantry with other seasonal fruit fillings. Home-canned pie fillings are perfect for having quick, homemade dessert bases readily available throughout the entire year, simplifying your baking and allowing you to enjoy fresh fruit flavors any time. Here are some other fantastic pie filling recipes to inspire your next canning project:
- Canning Apple Pie Filling
- Canning Blackberry Pie Filling
- Canning Peach Pie Filling
- Canning Cherry Pie Filling
Discover a World of Fruit Canning Recipes
The world of fruit canning is incredibly vast and immensely rewarding. Once you master the fundamental techniques, you’ll find yourself eager to stock your pantry with a diverse array of seasonal delights. Beyond pie fillings, the skill of canning whole or sliced fruits in syrup or juice is a foundational practice that unlocks endless possibilities for delicious homemade treats and versatile ingredients. Dive into these other fantastic fruit canning recipes to expand your preserving expertise:
- Canning Peaches
- Canning Blackberries
- Canning Plums
- Canning Blueberries
- Canning Cherries