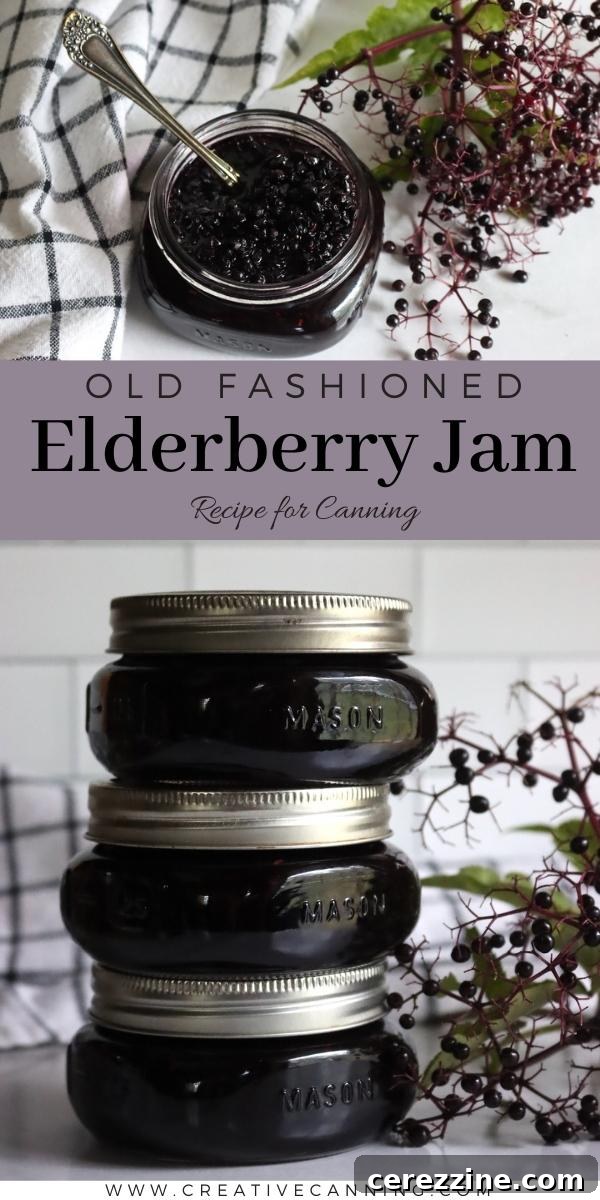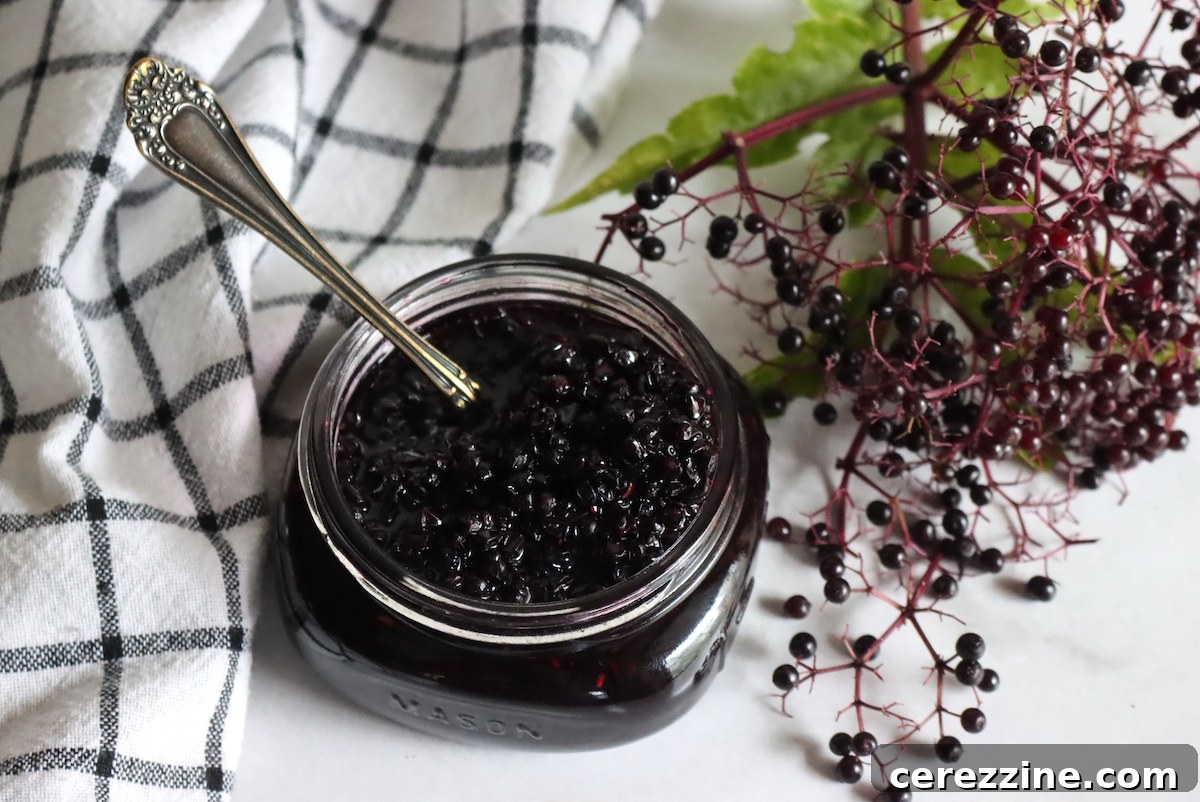
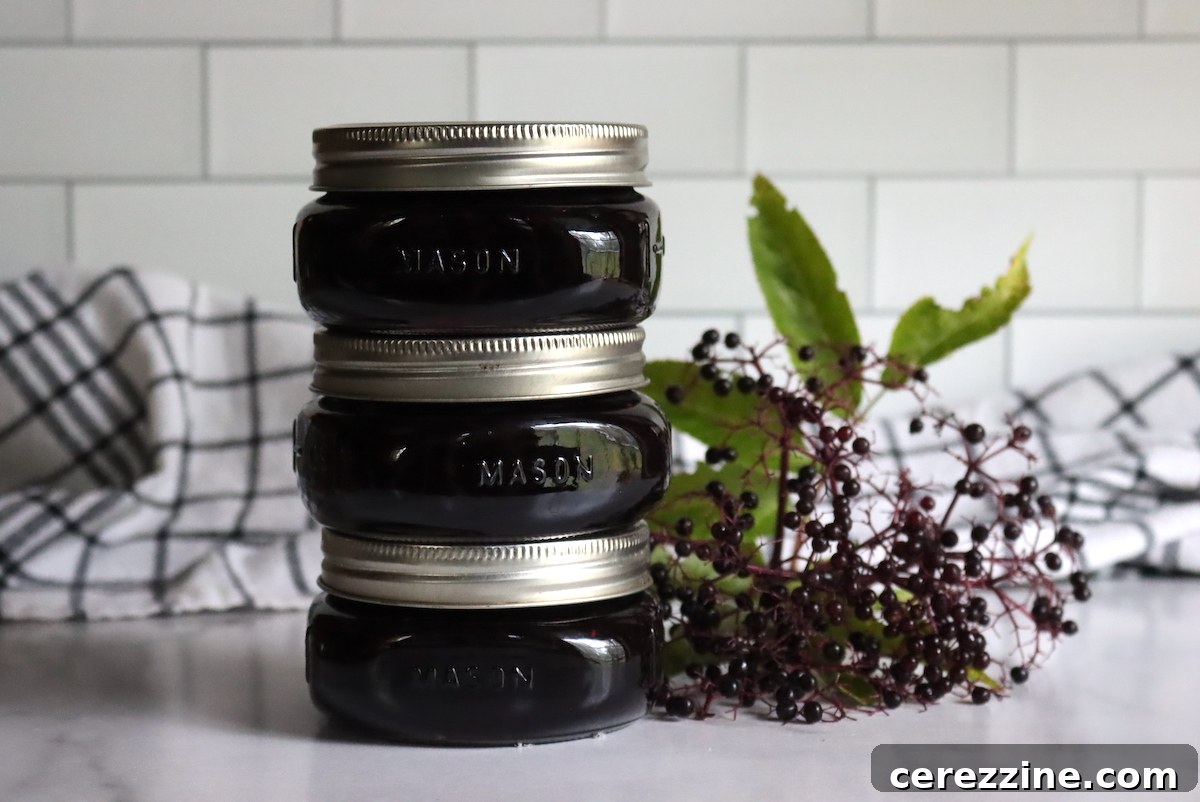
Old-fashioned elderberry jam is a delightful way to capture the vibrant flavor of elderberries, coming together with just a few simple ingredients and no added pectin. This traditional recipe yields a jam with an intensely fruity taste and a luscious, soft set – perfect for spreading on toast, scones, or enjoying with a dollop of yogurt.
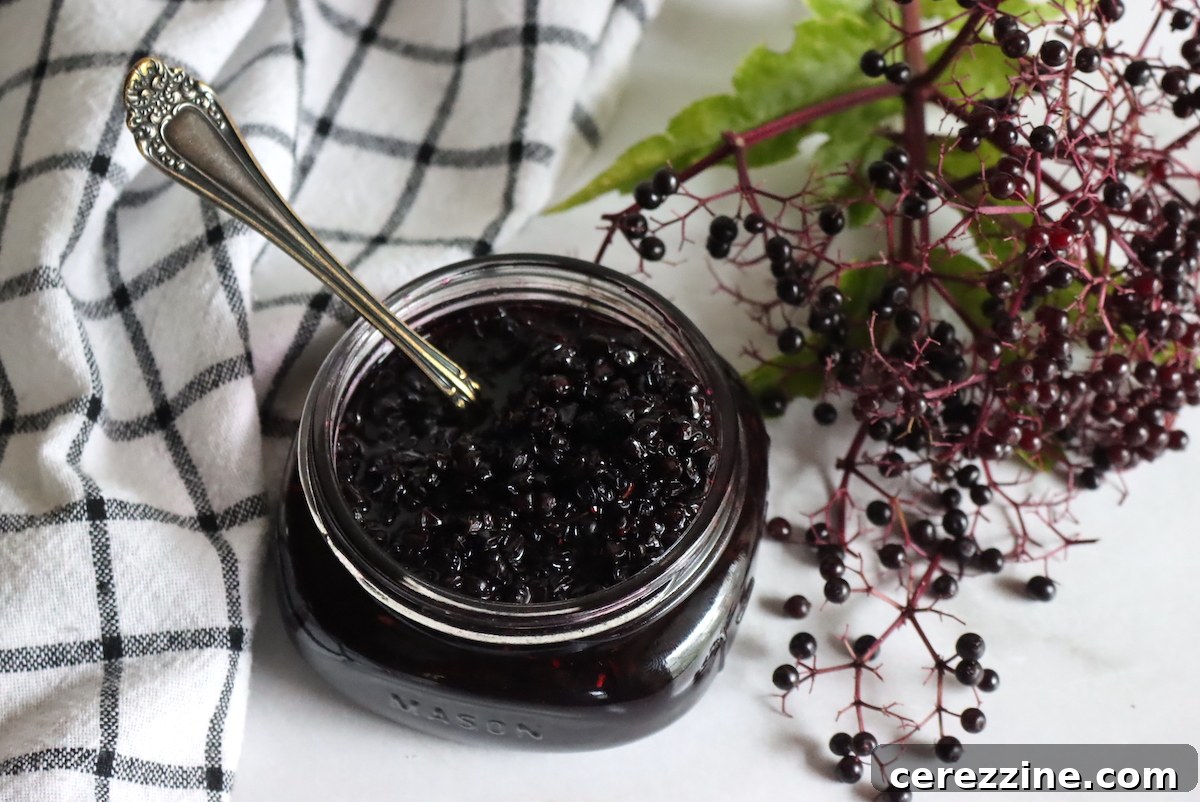
Last year, our elderberry harvest was exceptionally abundant. After making batches of elderberry wine and elderberry jelly, I found myself with even more berries and a desire to explore new preservation methods. While we often dehydrate elderberries for tea and prepare fresh elderberry syrup during flu season, it’s important to note that there are currently no safe, tested canning recipes for elderberry syrup. This means syrup should always be stored in the refrigerator or freezer.
Fortunately, tested canning recipes do exist for elderberry jam and jelly, offering some of the most delicious and shelf-stable ways to enjoy these unique fruits year-round.
Understanding Elderberry Canning Safety: Key Considerations
When it comes to home canning, safety is paramount. Elderberries, by themselves, are not acidic enough to be safely canned using standard water bath methods. The preservation process for elderberry jam and jelly relies primarily on a specific ratio of sugar, rather than the natural acidity of the fruit or added lemon juice (though lemon juice is often included for flavor and a slight pectin boost, it’s not the primary safety measure for elderberries).
Currently, only a limited number of elderberry canning recipes have been rigorously tested for safety by university extensions and reputable food preservation experts. These tested recipes are specifically for jam and jelly. Our elderberry jam recipe follows an old-fashioned style, meaning it doesn’t use commercial pectin. This results in a looser set compared to pectin-thickened jams, but it also delivers a more intense, pure elderberry flavor that many traditionalists adore.
For safe home canning, precise measurements are critical. The University of Wisconsin provides essential guidelines for safely canning elderberry jam. They emphasize weighing ingredients for accuracy, as volume measurements (cups) can vary significantly by density and how ingredients are packed. According to their recommendations:
“For Jam, the weight ratio of elderberry pulp to sugar must be no more than: weight of fruit/ weight of sugar = 47/55 = 0.85. For every 16 ounces (1 pound) of fruit pulp for Jam, your recipe must include at least 18.9 ounces, by weight, of sugar. It is not acceptable to use dry measure cups or assume that a 1-cup measure of fruit or sugar weighs 8-ounces, it will not. You must weigh ingredients.”
This strict fruit-to-sugar ratio is crucial for inhibiting microbial growth and ensuring a shelf-stable product. Deviating from these tested ratios, particularly by reducing the sugar content, can compromise the safety of your home-canned elderberry jam.
Essential Ingredients for Your Elderberry Jam
While weighing your fruit and sugar is the most accurate approach for canning safety, understanding the general ratios can help you plan your batch. For practical purposes, and erring on the side of caution with sugar content:
- A cup of white sugar weighs approximately 7.1 ounces. Therefore, 1 pound (16 ounces) of sugar is roughly 2 1/4 cups.
- Since the University of Wisconsin guidelines recommend at least 18.9 ounces of sugar per pound of fruit, you would need approximately 2 3/4 cups of sugar for every pound of de-stemmed elderberries.
For reference, a quart of elderberries with stems typically yields about 1 pound of fruit. If you’re measuring de-stemmed elderberries, about 8 cups will be approximately 2 1/2 pounds.
To make roughly 6 to 7 half-pint (8 oz) jars of elderberry jam, you will need the following:
- 8 cups de-stemmed elderberries (approximately 2 1/2 lbs by weight)
- 7 cups white sugar (approximately 3 lbs by weight)
- 1/2 cup lemon juice (optional, but highly recommended for flavor)
We’ve intentionally rounded the sugar quantity slightly upwards in this recipe to ensure a comfortable margin of safety, accounting for slight variations in measurement. The lemon juice, while optional from a safety perspective (as the sugar is the primary preservative), plays a vital role in balancing the jam’s sweetness with a pleasant tartness. It also contains natural pectin, which contributes to a slightly better set.
Looking through older canning resources, you might encounter recipes that differ. For example, the Ball Complete Book of Home Preserving (pg. 23) offers an “old-fashioned elderberry jam” recipe that uses:
- 8 Cups stemmed elderberries (2 1/2 lbs fruit)
- 1/4 cup white vinegar
- 6 cups sugar
While this recipe incorporates white vinegar for acidity, it falls slightly below the sugar minimums recommended by modern university extension testing. Though the added acidity from vinegar could theoretically contribute to safety, it hasn’t been specifically tested in conjunction with reduced sugar. Furthermore, white vinegar can impart a harsh flavor to jam. We recommend using lemon juice instead; it provides a much more appealing tartness and enhances the overall flavor profile. Sticking to 7 cups of sugar, as per our recommended recipe, provides reassurance that you are following a safely tested formula.
Step-by-Step Guide: Crafting Delicious Elderberry Jam
Making elderberry jam begins with meticulous preparation of the fruit. This is a crucial step that directly impacts the quality and safety of your finished product.
1. De-stemming the Elderberries
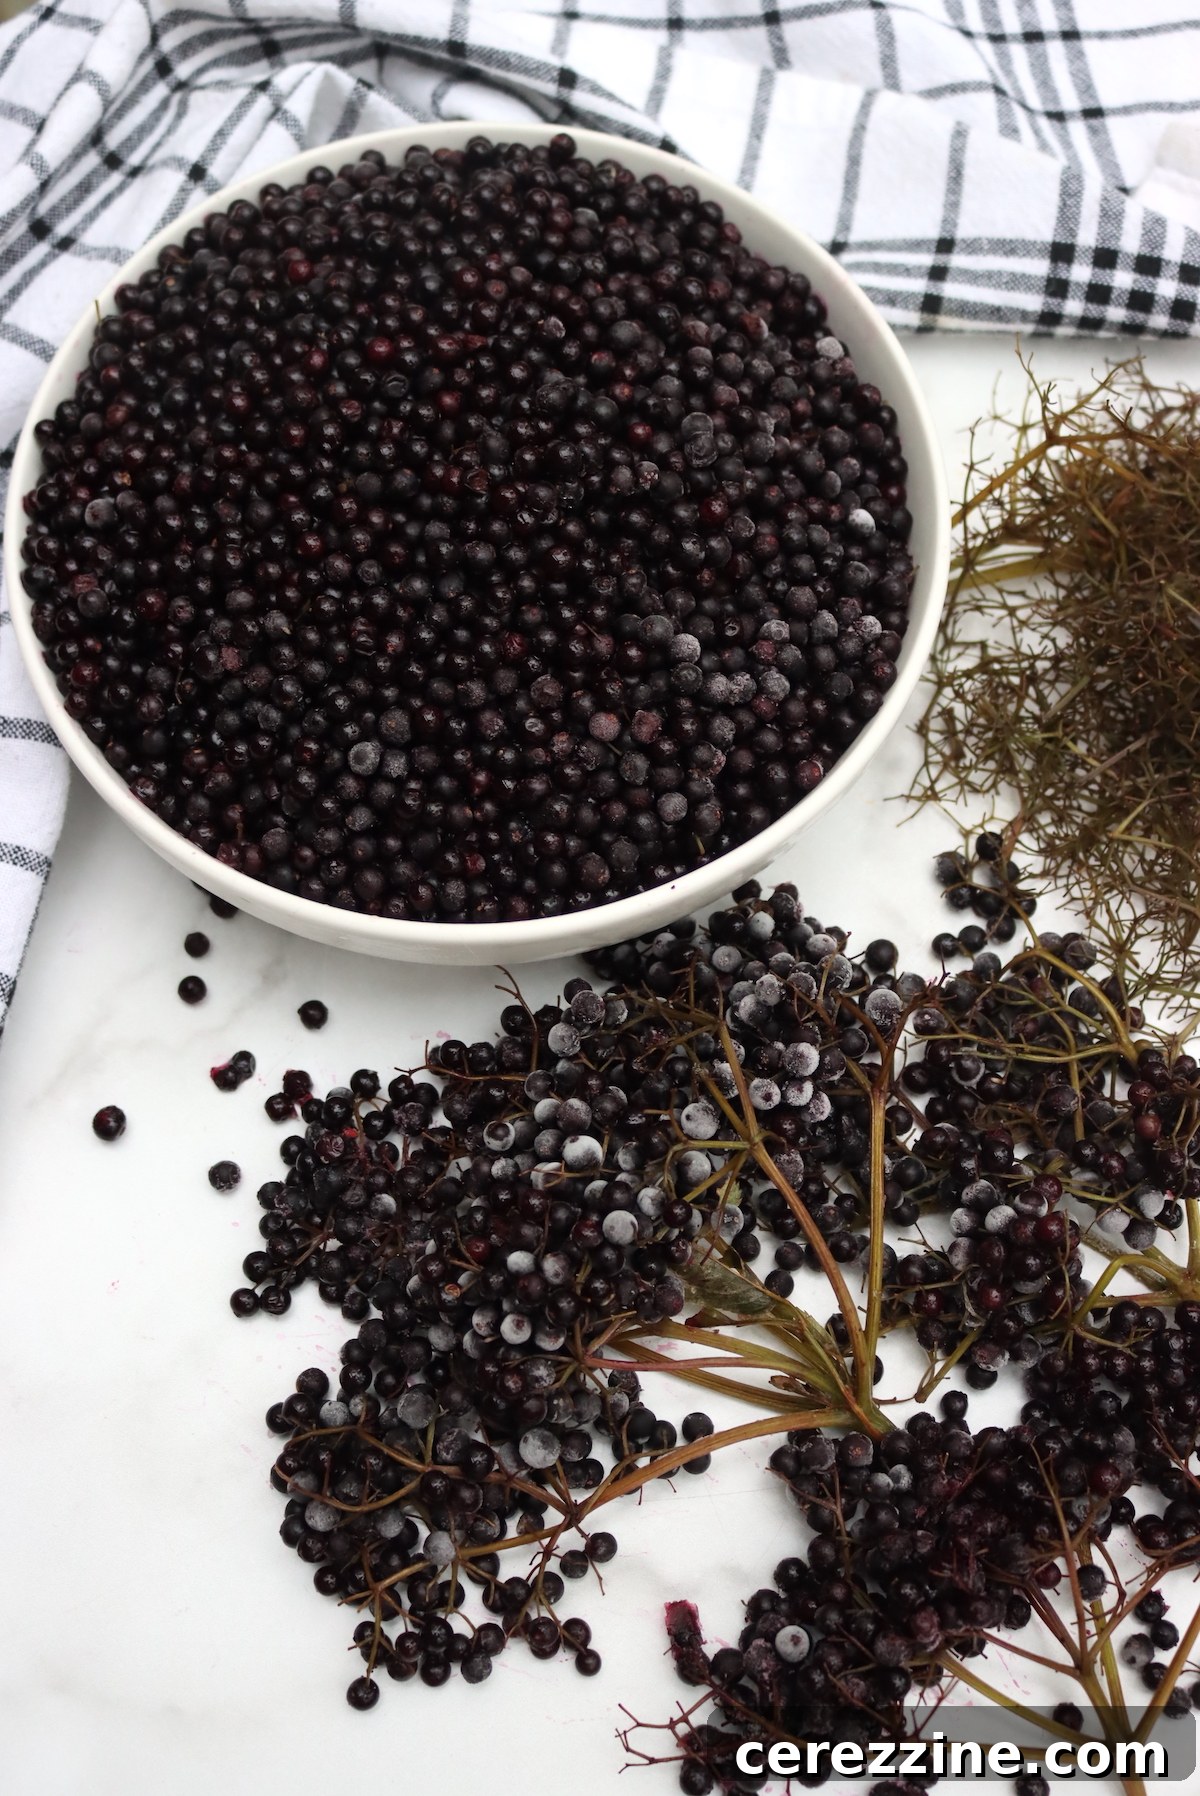
Thorough de-stemming is essential. Every last bit of stem and leaf material must be removed. While de-stemming is important for jelly to prevent bitterness, it’s even more critical for jam, as there’s no straining step. Any stem pieces left behind will end up in your finished jam, affecting both taste and texture.
To make the de-stemming process significantly easier, consider freezing your elderberries first. Hard-frozen berries tend to pop right off their stems with minimal effort, saving you considerable time and frustration.
2. Preparing for Canning (if preserving)
If you plan to water bath can your elderberry jam for long-term storage, it’s best to prepare your canning equipment before you even start cooking. This includes sterilizing your jars, warming your lids, and filling your water bath canner. The jam cooking process is relatively quick (30-40 minutes), and you’ll want your canning setup ready to go as soon as the jam reaches its set point.
3. Cooking the Jam
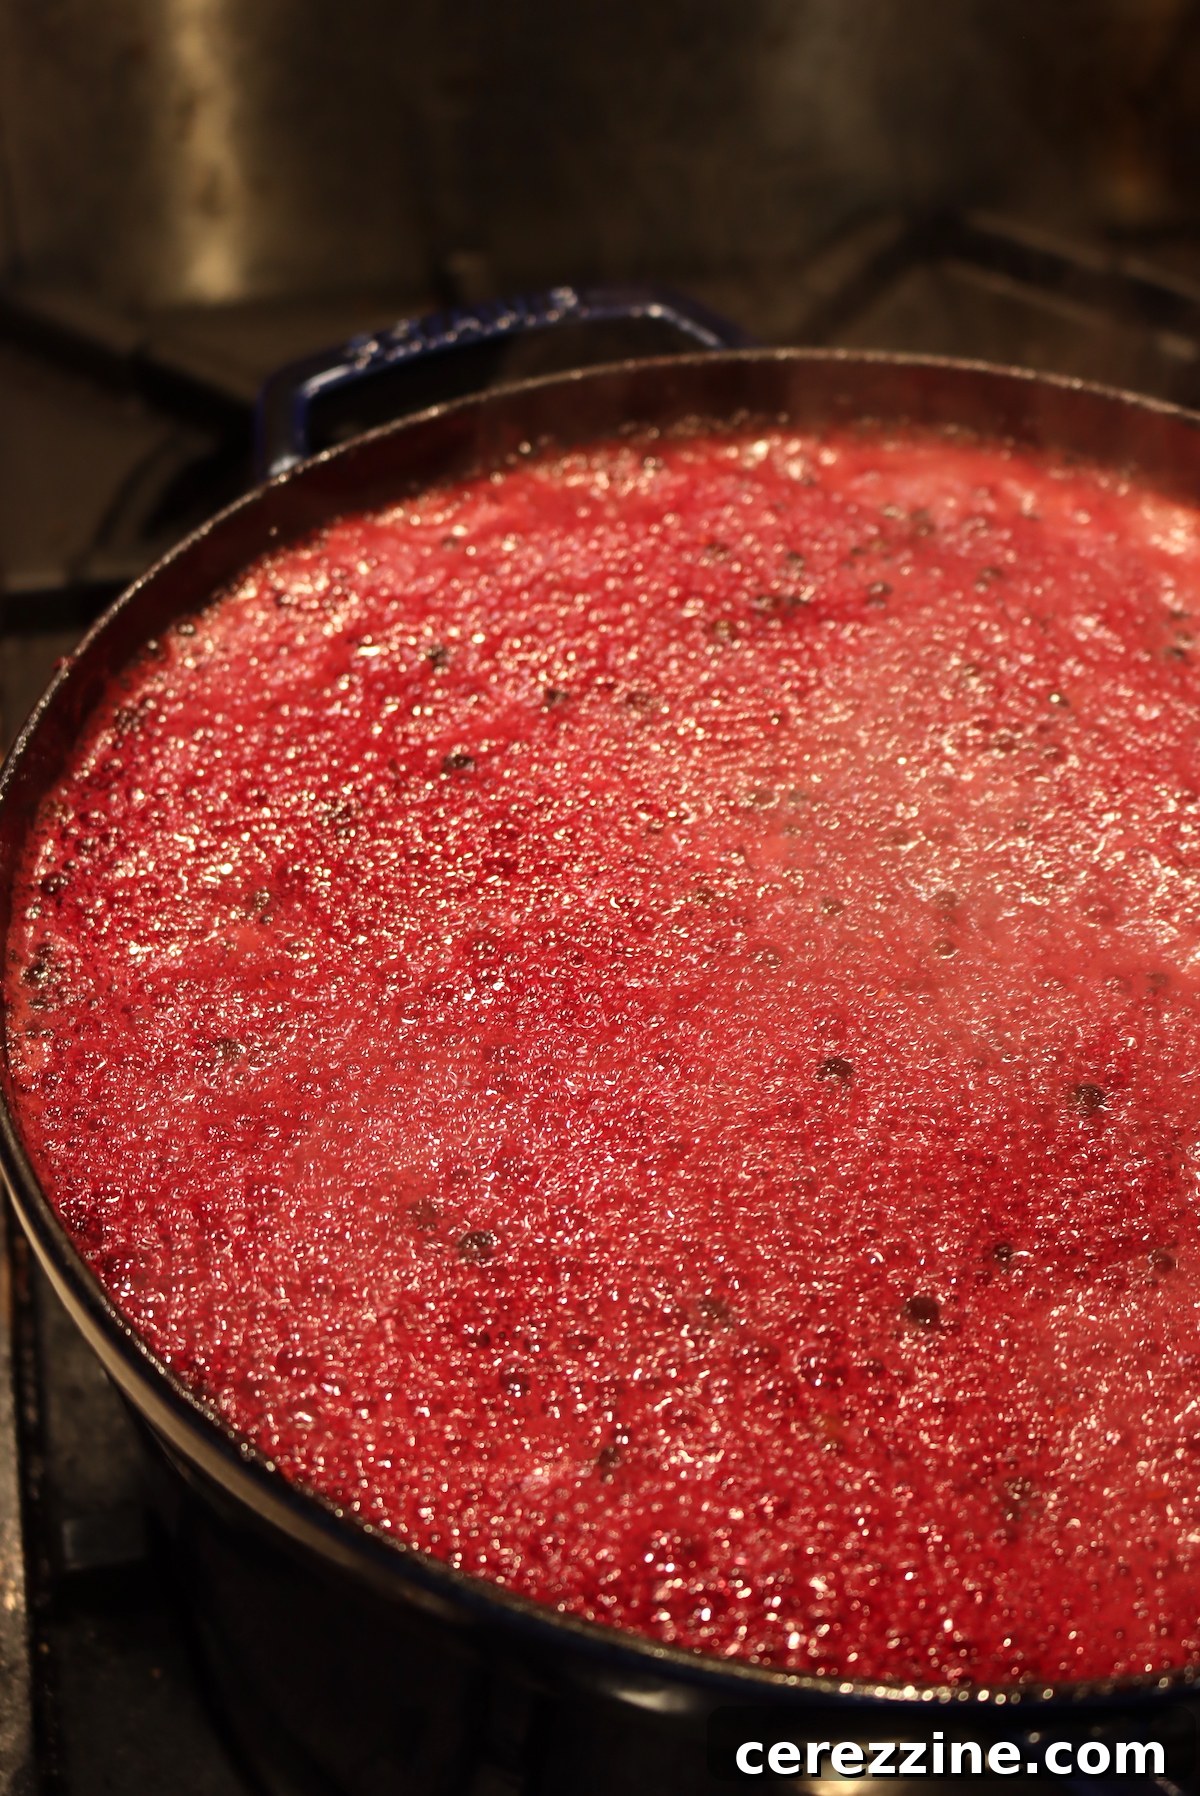
Combine all de-stemmed elderberries, sugar, and lemon juice (if using) in a deep, heavy-bottomed pot. Choose a pot that is at least twice as tall as your initial volume of ingredients, as the jam will foam up significantly during boiling. Filling the pot more than 1/3 to 1/2 way full at the start can lead to messy overflows.
Bring the mixture to a rapid, rolling boil over high heat. Continue to boil the jam hard, stirring frequently to prevent scorching, until it reaches its set point. For elderberry jam, which is naturally low in pectin, you’ll need to cook it to a slightly higher temperature than many other fruit jams. Aim for a temperature between 224°F and 225°F (approximately 107°C) when measured with a candy thermometer.
For the “jam nerds” out there, this temperature corresponds more closely to the “thread stage” on a candy thermometer, rather than the classic “gel stage.” Regardless of terminology, hitting this specific temperature ensures adequate thickening from the sugar and proper preservation.
4. Filling the Jars
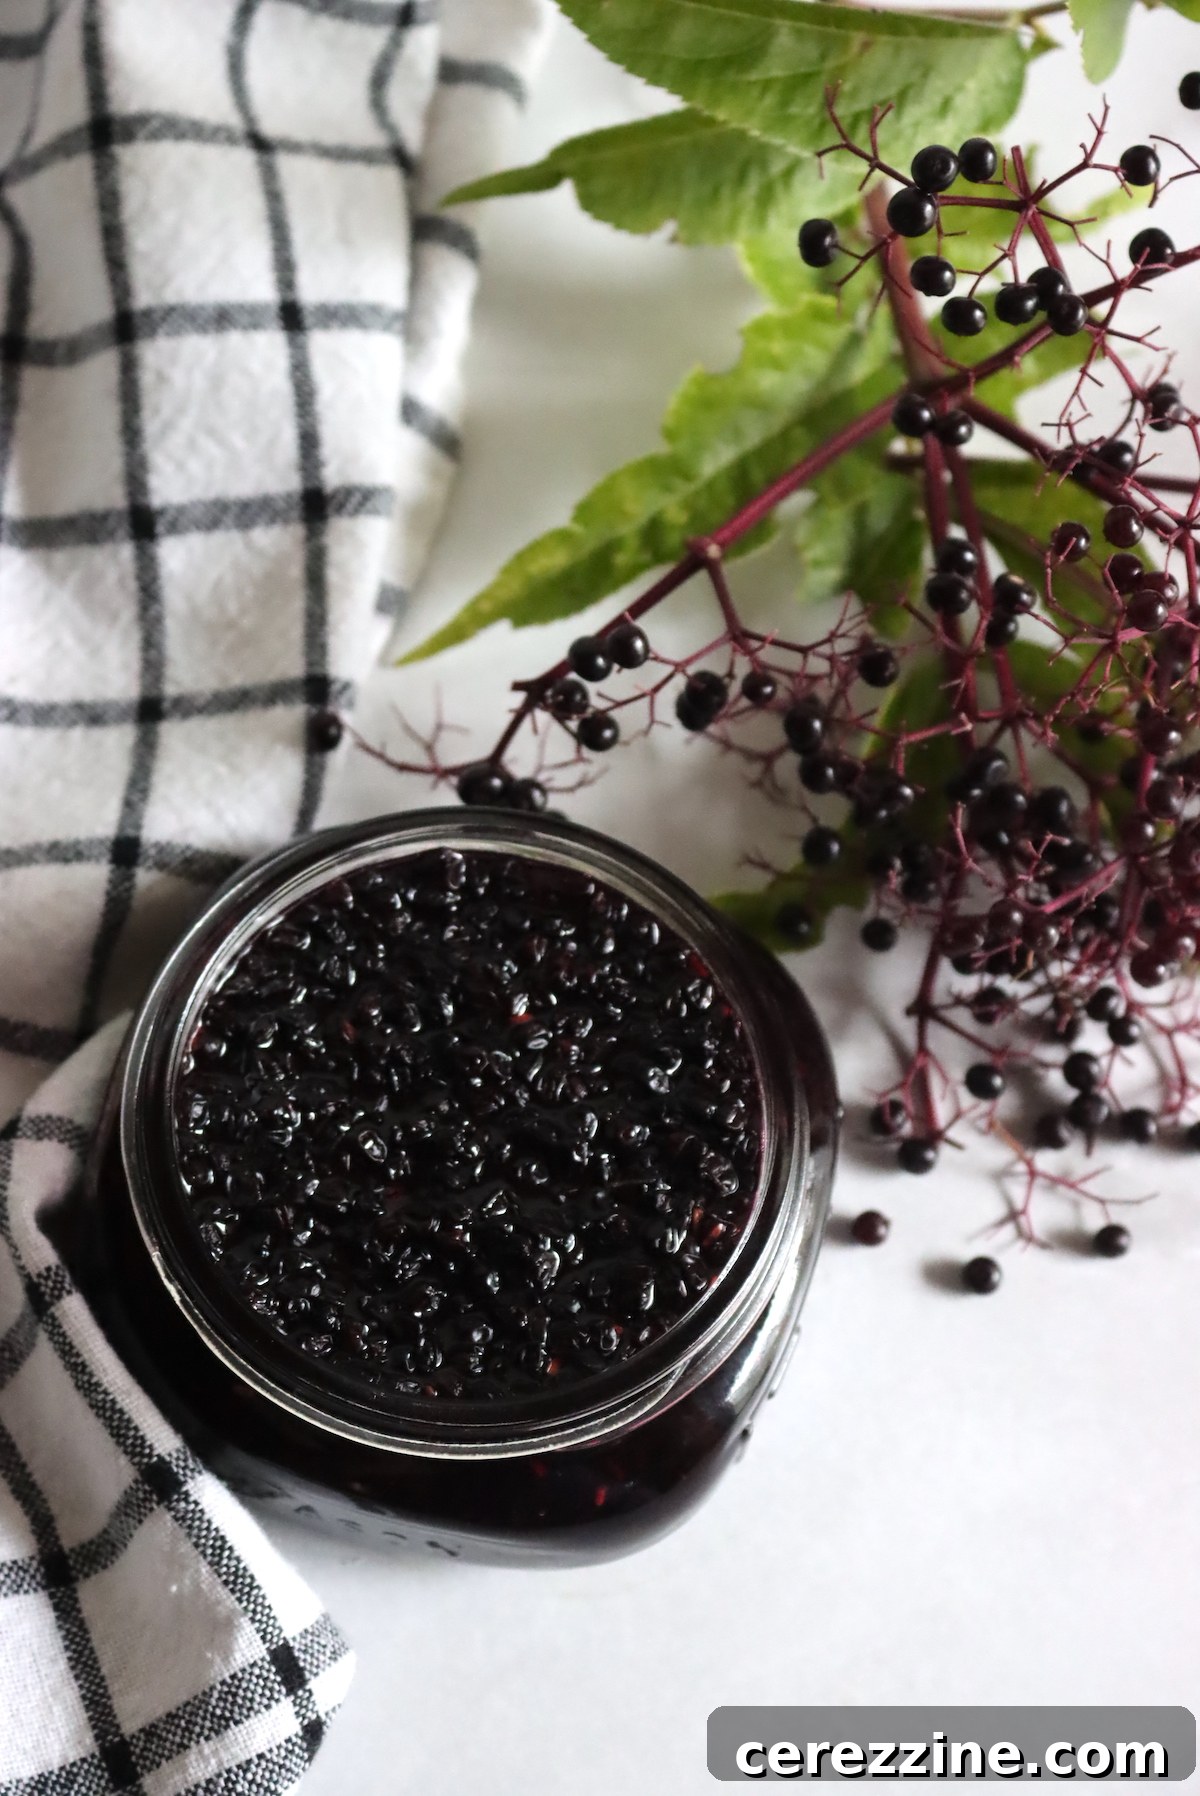
Once the elderberry jam reaches the target temperature, immediately remove it from the heat. Carefully ladle the hot jam into your prepared canning jars, leaving 1/4 inch of headspace at the top. As you fill, try to distribute the whole elderberries evenly among the jars. Berries tend to float to the top of the jam pot, so if you’re not careful, your first jars might be packed with fruit, and the last jars might be mostly syrup.
Wipe the rims of the jars clean with a damp cloth to ensure a proper seal. Center the warm lids on the jars and apply the bands, tightening them “finger-tight” – just enough to feel resistance, but not overly tight.
Water Bath Canning Elderberry Jam for Shelf Stability
This elderberry jam recipe can certainly be made as a refrigerator or freezer jam. It will keep well in the refrigerator for a few weeks, or in the freezer for several months (ensure you use freezer-safe, straight-sided jars). However, for long-term pantry storage and convenience, water bath canning is the preferred method.
Water Bath Processing Steps:
- Prepare Canner: Before starting your jam, ensure your water bath canner is filled with water, your jars are clean and warm, and lids and rings are ready.
- Process Jars: Carefully place the filled and lidded jars into the boiling water bath canner, ensuring they are fully submerged by at least 1 inch of water. Bring the water back to a rolling boil. Process pint jars for 10 minutes. If you are canning at an elevation above 6,000 feet, increase the processing time to 15 minutes to account for lower boiling points.
- Cool Down: Once the processing time is complete, turn off the heat and remove the canner lid. Allow the jars to stand in the hot water for an additional 5 minutes. This crucial step helps prevent siphoning (loss of liquid from the jars) and promotes a strong seal.
- Final Cooling: Carefully remove the jars from the canner and place them on a clean towel on your countertop, ensuring they are not touching each other. Let them cool undisturbed for 12 to 24 hours. You’ll hear characteristic “pinging” sounds as the lids seal.
- Check Seals and Store: After the cooling period, check the seals on all jars. The center of the lid should be concave and should not flex when pressed. Any jars that haven’t sealed properly should be stored in the refrigerator and consumed within a few weeks. Properly canned and sealed jars of elderberry jam will maintain peak quality on the pantry shelf for 12-18 months, and remain safe to eat indefinitely as long as the seal is intact. Always refrigerate jars after opening.
Making Elderberry Jam with Dried Elderberries
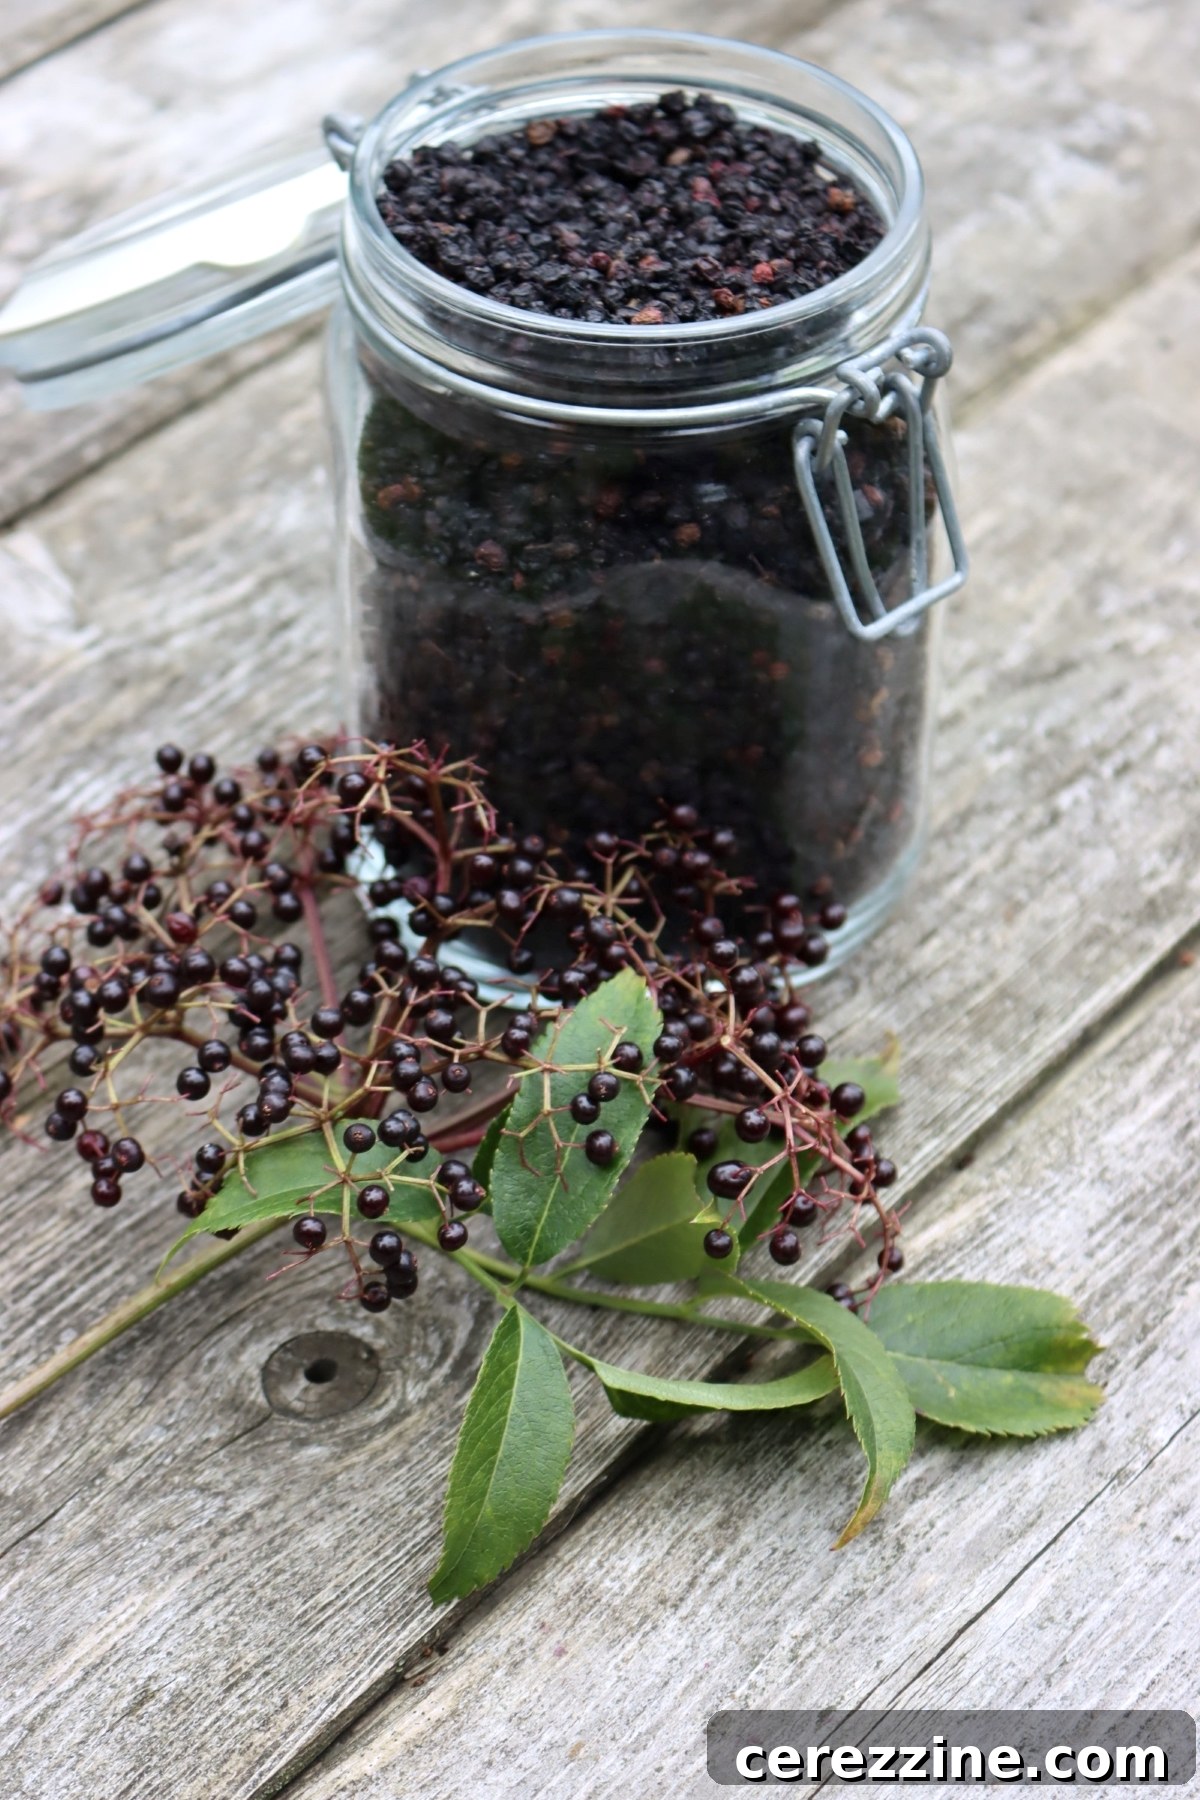
Yes, you can absolutely make elderberry jam using dried elderberries! The key is to rehydrate them thoroughly before you begin the jam-making process. Dried elderberries are concentrated in flavor and need to absorb liquid to return to a texture suitable for jam.
To rehydrate: Place the dried elderberries in a bowl and pour just enough boiling water over them to cover completely. Let them soak for 12 to 24 hours, or until they are plump and soft. They will absorb a significant amount of water. You might need to add a bit more water if they soak up all the initial liquid before becoming fully rehydrated.
As a general guideline, dried elderberries tend to double in volume upon rehydration. So, to yield 8 cups of rehydrated elderberries (the amount needed for this recipe), you would start with approximately 4 cups of dried elderberries. Once rehydrated, simply proceed with the jam recipe as you would with fresh fruit.
Explore More Elderberry Canning Recipes
Elderberry Jelly: A Classic Preservation
Fragrant Elderflower Jelly Recipe
More Ways to Preserve Elderberries
Looking for even more creative ways to preserve this fantastic summer fruit? Elderberries are incredibly versatile!
- Elderberry Jelly
- Elderberry Syrup (store refrigerated or frozen)
- Elderberry Wine
48 servings, Makes 6 to 7 half pint (8 oz) jars
Old Fashioned Elderberry Jam
Equipment
-
Water Bath Canner
Ingredients
- 8 cups elderberries, de-stemmed, 2 1/2 lbs
- 7 cups white sugar, 3 lbs
- 1/2 cup lemon juice
Instructions
-
Start by de-stemming the elderberries, removing all bits of stem and leaf material, even small pieces. It helps to freeze the elderberries first as they stem easier when frozen.
-
If canning, prepare a water bath canner, jars, lids and rings before you start cooking the jam.
-
Place the de-stemmed fruit, sugar and lemon juice in a deep sized jam pot. Be sure that it doesn’t come up past half way full before you start cooking, as the jam will foam up and you need that extra space.
-
Turn the heat to high, and cook the mixture until it reaches 224 degrees F (107 C), or thread stage on a candy thermometer. This will take about 30 minutes of boiling, as the elderberries release their juices. Stir frequently to prevent scorching.
-
When the mixture reaches its set point, remove the pot from the heat and ladle into prepared jam jars, leaving 1/4 inch headspace. Cap with 2 part canning lids to finger tight.
-
If canning, process the jars in a water bath canner for 10 minutes (or 15 minutes if above 6,000 feet in elevation). Once the processing time is complete, turn off the heat and allow the jars to sit for another 5 minutes before removing them to cool completely on a towel on the counter.
-
After 12-24 hours, check seals and store any unsealed jars in the refrigerator for use within the next few weeks.
-
Properly canned and sealed jars of elderberry jam will maintain peak quality on the pantry shelf for 12-18 months, but be safe to eat so long as they’re sealed. Refrigerate after opening.
Notes
You cannot, however, reduce the sugar.
The recipe as written above uses 2.5 pounds of fruit to 3 pounds of sugar, which is slightly more than the tested recipe requires to error on the side of caution. The actual minimum amounts of sugar according to the University Extension are as follows:
“For Jam, the weight ratio of elderberry pulp to sugar must be no more than: weight of fruit/ weight of sugar = 47/55 = 0.85. For every 16 ounces (1 pound) of fruit pulp for Jam, your recipe must include at least 18.9 ounces, by weight, of sugar. It is not acceptable to use dry measure cups or assume that a 1-cup measure of fruit or sugar weighs 8-ounces, it will not. You must weigh ingredients.”
They also explicitly state that you cannot use other sugars (honey, maple, brown sugar, etc) and that it must be white cane sugar to get the correct ratio. If canning, do not attempt to make this as a low sugar recipe, or to make it as a honey sweetened recipe. Sugar substitutes such as splenda will not work either. It must be white cane sugar in the quantity specified in the recipe.
Nutrition
Calories: 130kcal, Carbohydrates: 34g, Protein: 0.2g, Fat: 0.2g, Saturated Fat: 0.01g, Polyunsaturated Fat: 0.1g, Monounsaturated Fat: 0.02g, Sodium: 2mg, Potassium: 71mg, Fiber: 2g, Sugar: 29g, Vitamin A: 145IU, Vitamin C: 10mg, Calcium: 10mg, Iron: 0.4mg
Nutrition information is automatically calculated, so should only be used as an approximation.
More Old-Fashioned Jam Recipes (No Pectin)
If you cherish the traditional art of jam making, creating luscious spreads with just fruit, sugar, and a touch of love, these no-pectin recipes are for you:
- Raspberry Jam
- Cranberry Apple Jam
- Nectarine Jam
- Apricot Jam
- Persimmon Jam
Discover Homemade Jelly Recipes
Prefer a smoother, seedless spread? Dive into the world of homemade jellies for a different texture experience:
- Gooseberry Jelly
- Black Raspberry Jelly (Seedless)
- Quince Jelly
- Raspberry Jelly
- Rose Petal Jelly