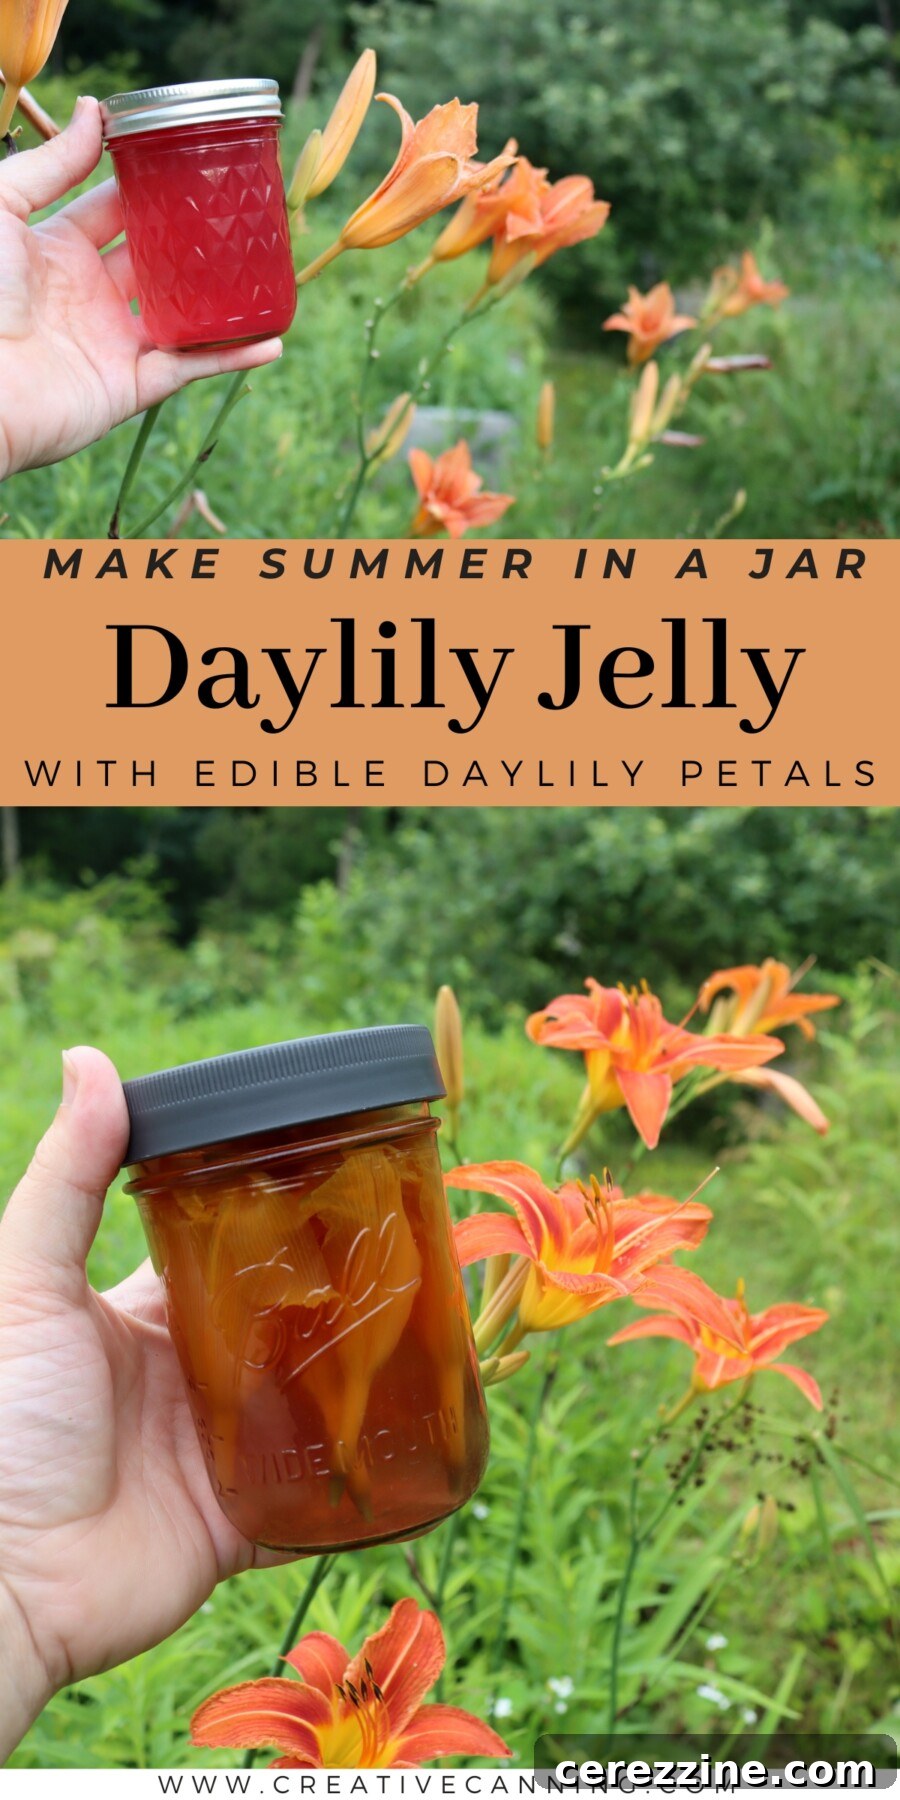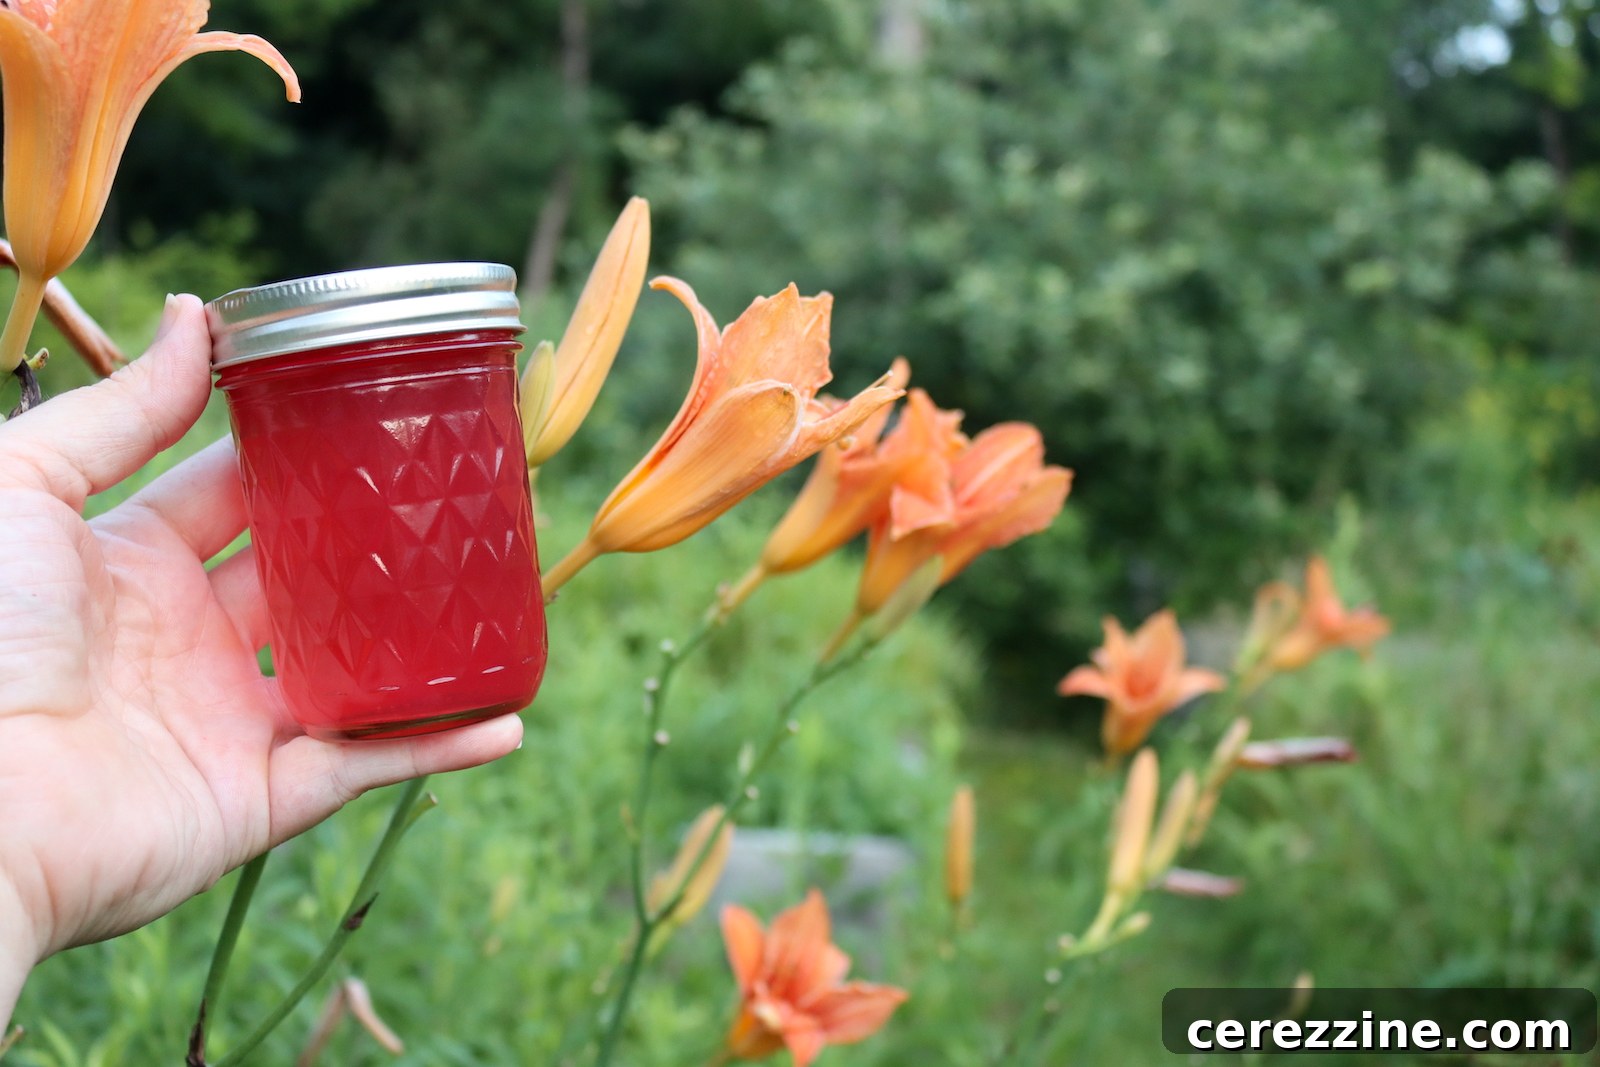
Daylily jelly offers a delightful opportunity to preserve the ephemeral beauty and delicate, sweet-floral essence of summer daylilies, allowing you to savor a taste of the season throughout the year. These vibrant orange blooms, a common sight in gardens and along roadsides each summer, are entirely edible. Transforming them into a shelf-stable jelly is a rewarding kitchen project perfect for sharing with friends and family, bringing a unique homemade touch to any pantry.
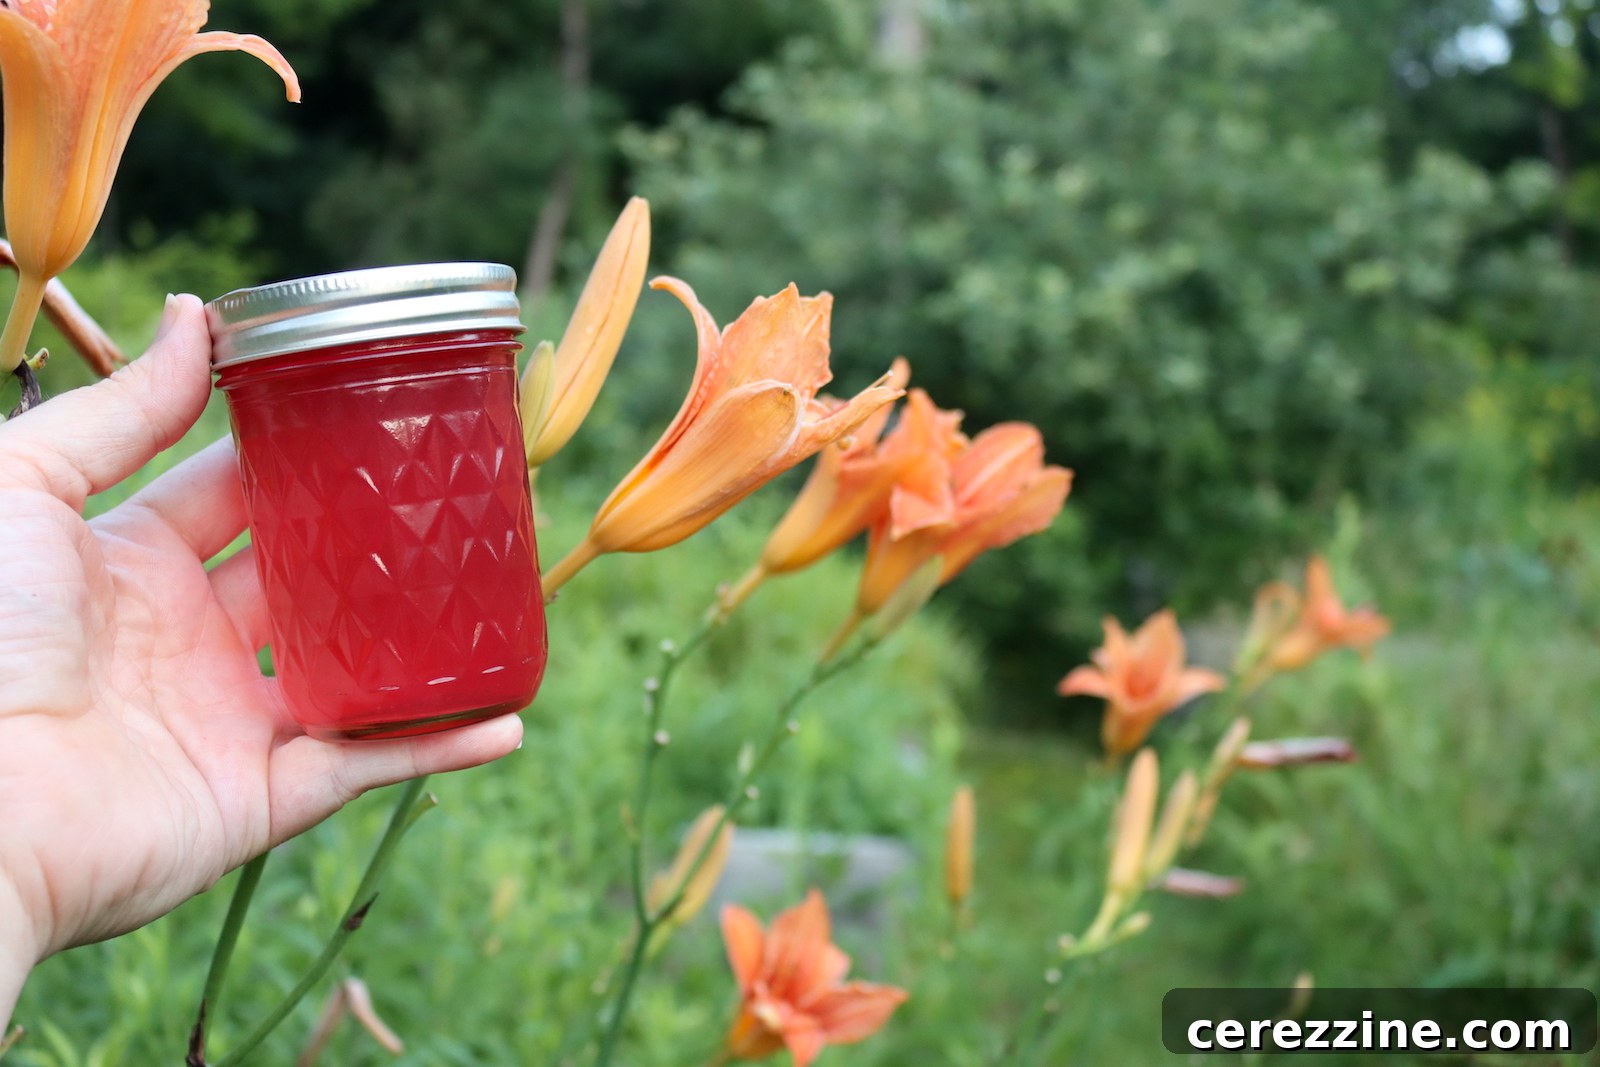
This recipe has been meticulously reviewed for safety and accuracy by a Master Food Preserver, certified through the esteemed University of Cornell Cooperative Extension.
It’s a delightful surprise to many that daylilies are edible flowers, a versatile plant where every part, from root to blossom, can be consumed. While experienced foragers often seek out the tubers for their subtle, potato-like flavor, the blossoms provide an accessible and easy starting point for most home cooks and enthusiasts. Daylily flowers can be enjoyed fresh, adding a splash of color and unique flavor to salads, or creatively stuffed and fried like delicate squash blossoms. In Asian cuisines, particularly Chinese cooking, dried daylily petals, known as “golden needles,” have been a staple for centuries, enriching dishes such as moo shu pork and hot-and-sour soup with their distinct taste and texture.
Crafting daylily jelly mirrors the straightforward process of other flower jelly recipes, including charming varieties like borage jelly and clover jelly. Each of these floral preserves shares a common thread of sweet, delicate, and subtly herbaceous notes. The methodology is elegantly simple: you first create a flavorful floral infusion, essentially a daylily tea, and then thicken it to a jelly consistency with pectin. The addition of lemon juice is multi-functional; it brightens the overall flavor profile, adding a zesty counterpoint to the sweetness, and crucially, ensures the jelly is safe for canning by achieving the necessary acidity level for proper preservation.
Notes from My Kitchen

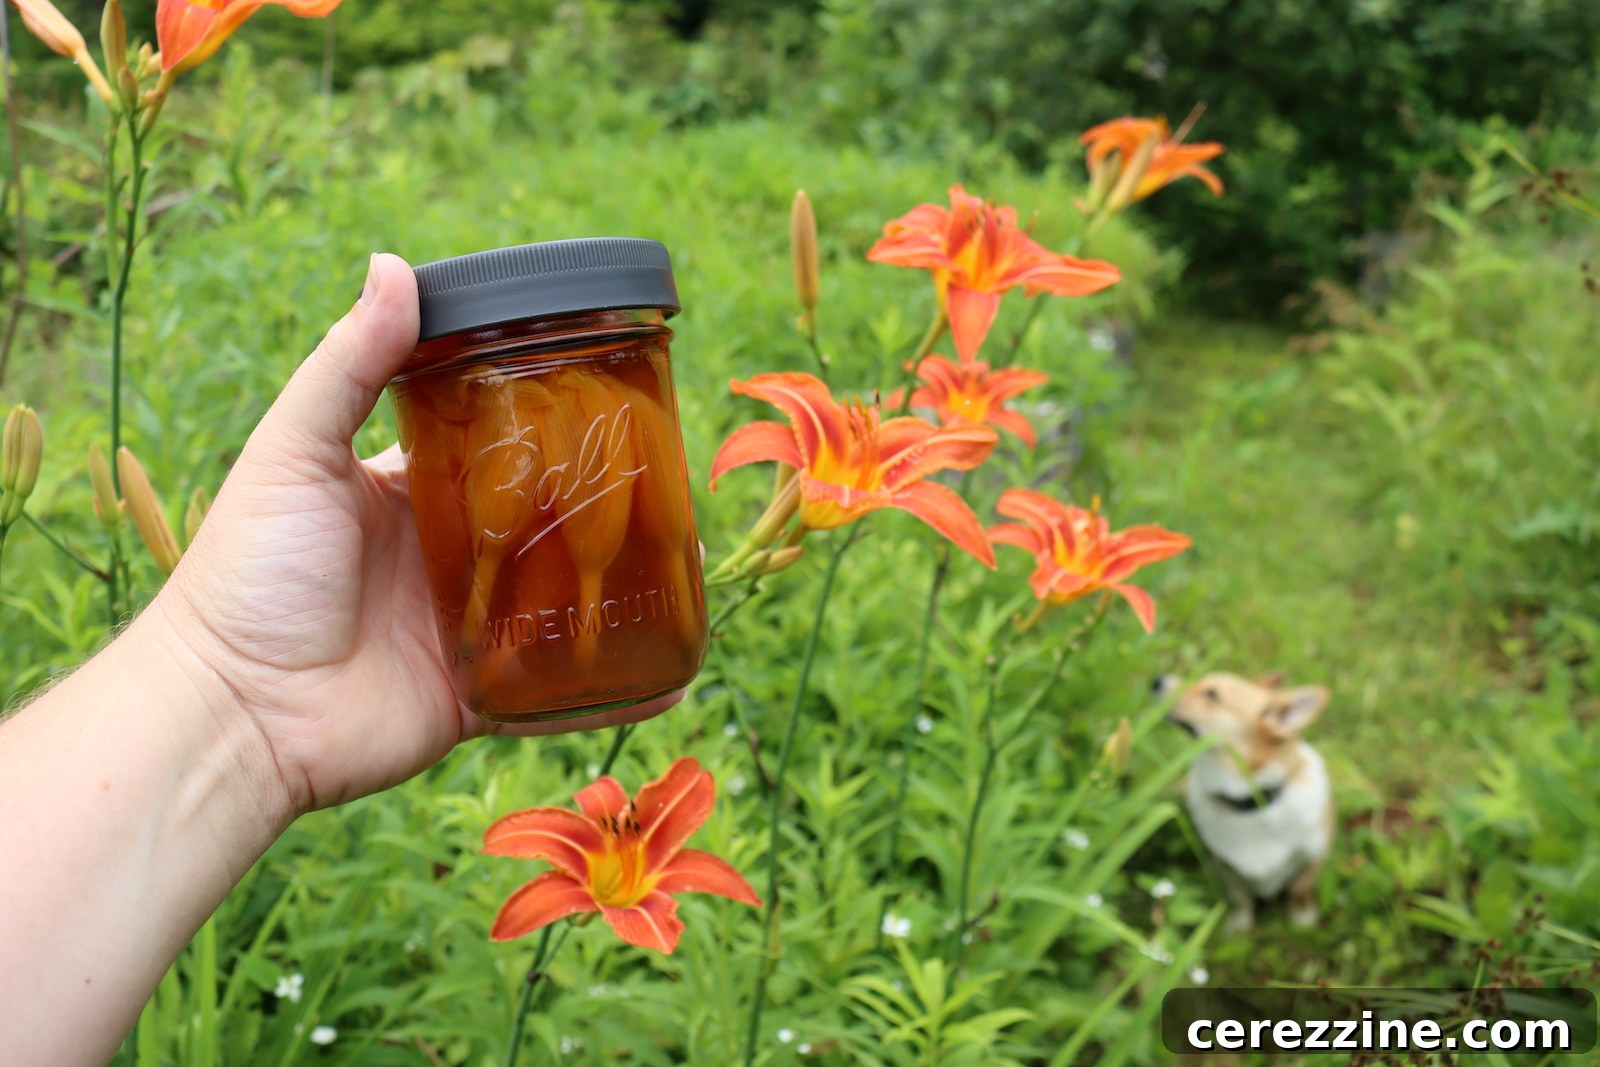
The first time I ventured into making daylily jelly, I was genuinely captivated by its distinct character, especially when contrasted with the more intensely fragrant floral jellies such as lilac jelly or rose jelly. The flavor profile of daylily jelly is remarkably subtle and nuanced. It carries intriguing vegetal undertones, reminiscent of fresh green peas and crisp cucumber, which lend it an almost refreshing quality. This delicate balance makes it an ideal choice for those who might find some floral jellies to be overly perfumy. It’s a truly unique taste experience, bringing a whisper of summer’s garden to your palate.
A single batch of this recipe yields approximately 4 to 5 half-pint jars. This quantity is wonderfully practical, allowing you to keep a generous supply for your own enjoyment while also providing a few jars to lovingly share as gifts. There’s a certain magic in transforming vibrant flowers into a spreadable delight for toast, a magic my children certainly appreciate, making morning breakfast an enchanting experience.
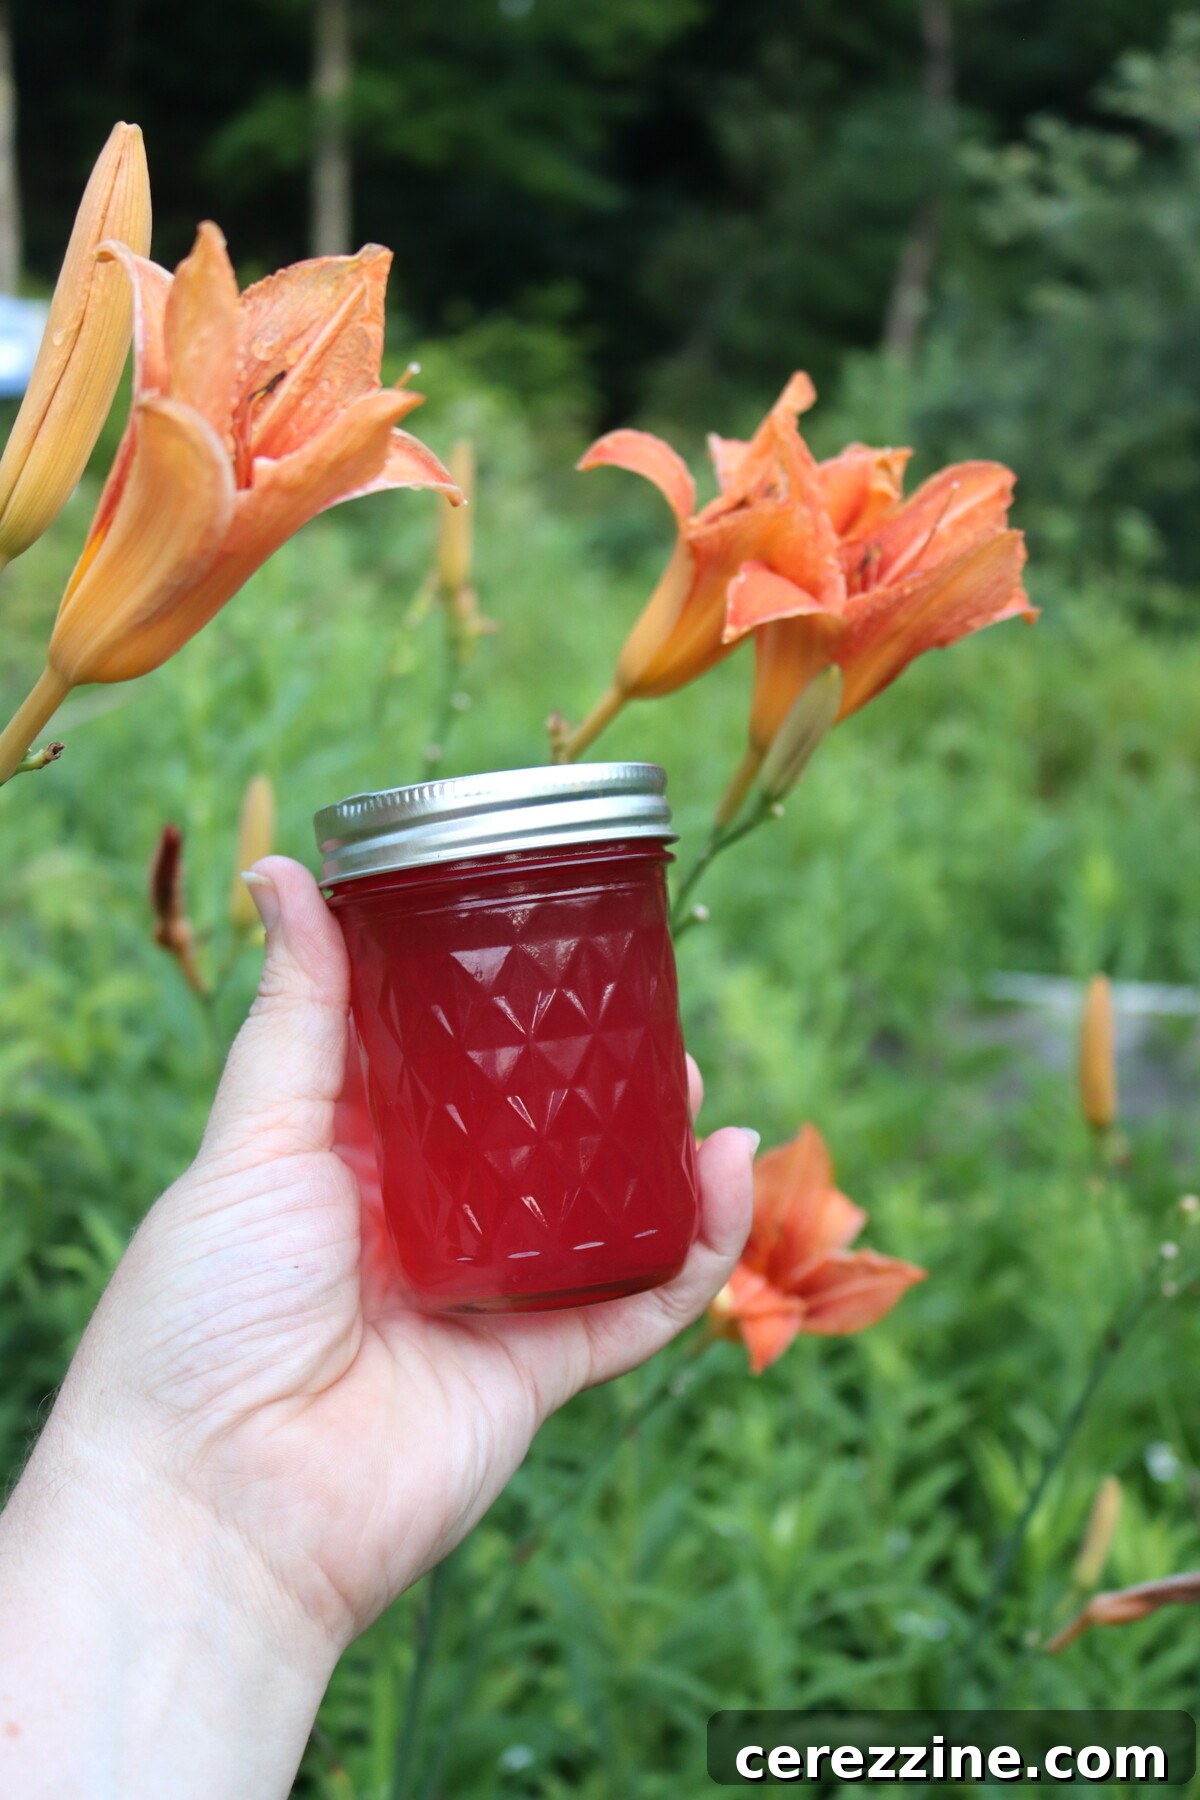
Daylily Jelly: Recipe at a Glance
- Recipe Name: Daylily Jelly
- Recipe Type: Floral Jelly Recipe
- Preservation Method: Water Bath Canning (optional)
- Preparation & Cook Time: Approximately 30 Minutes
- Canning Processing Time: 10 Minutes
- Yield: 4 to 5 half-pint (8 oz) jars
- Recommended Jar Sizes: Quarter Pint (4 oz), Half Pint (8 oz), or Pint (16 oz)
- Headspace: 1/4 inch (6 mm)
- Key Ingredients: Fresh daylily flowers, pure water, zesty lemon juice, granulated sugar, and pectin.
- Difficulty Level: Easy! The process essentially involves brewing a simple flower tea and setting it with pectin.
- Similar Recipes: The preparation method closely resembles that of other delightful summer floral jellies, including Chamomile Jelly, Elderflower Jelly, Bee Balm Jelly, Nasturtium Jelly, and Dandelion Jelly.
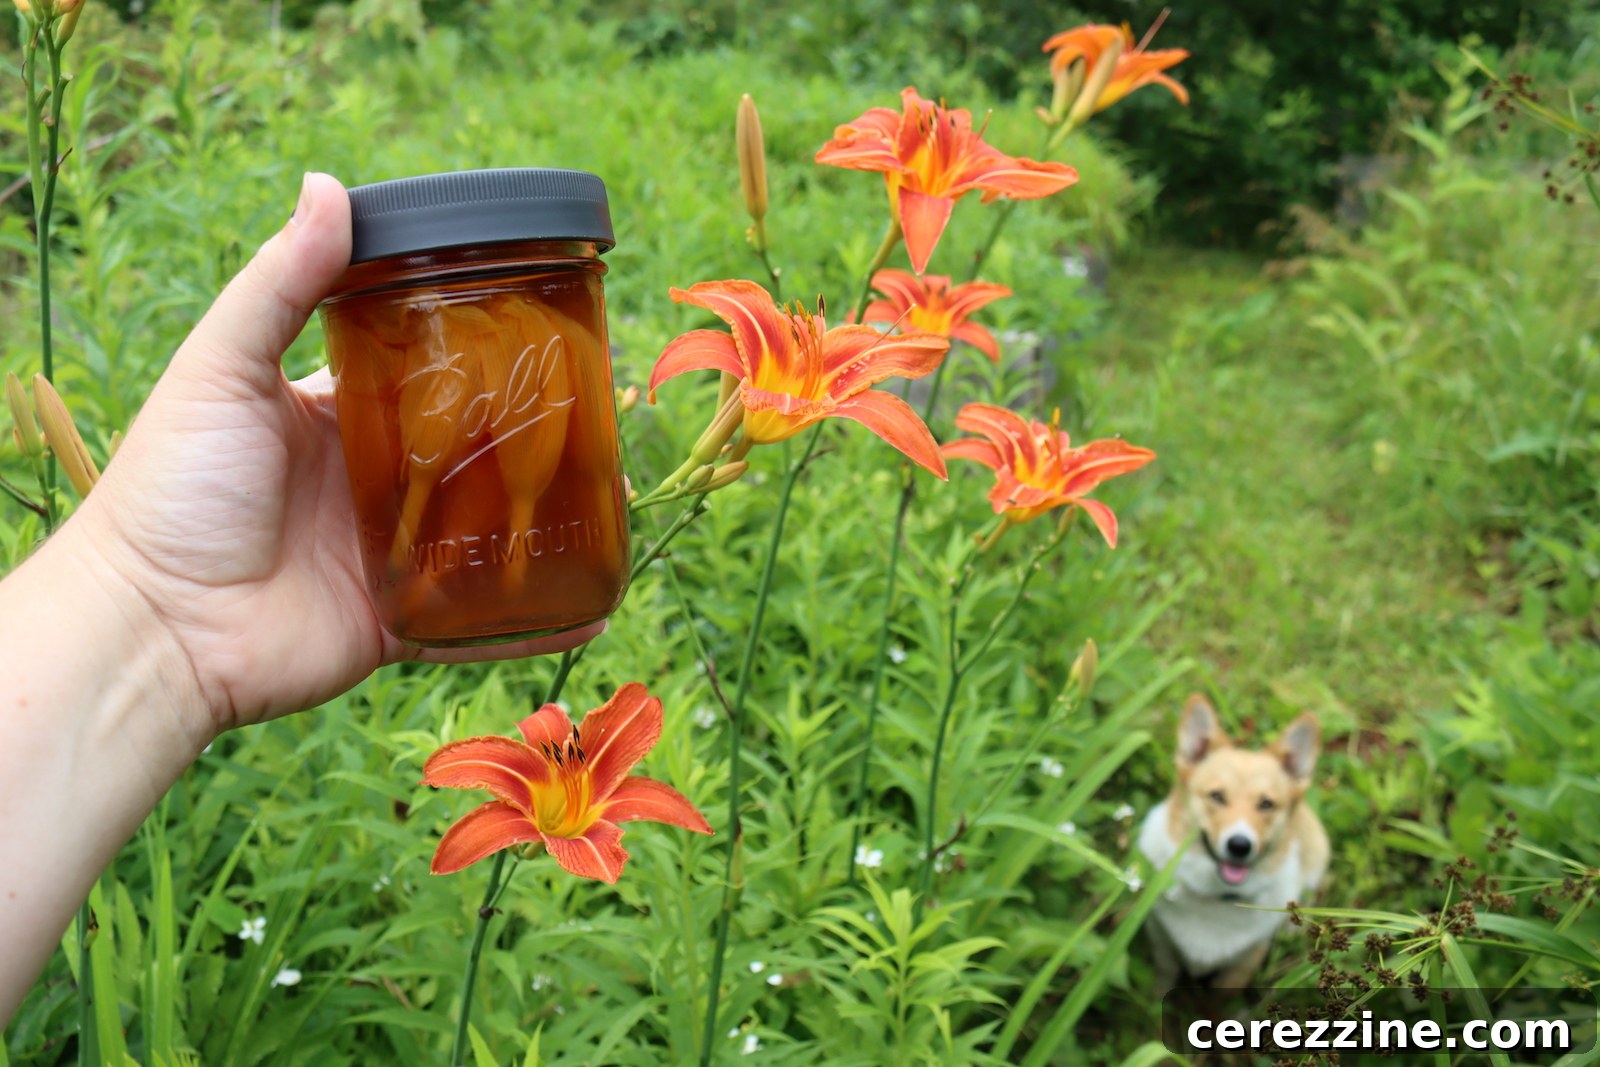
What Does Daylily Jelly Taste Like? A Culinary Exploration
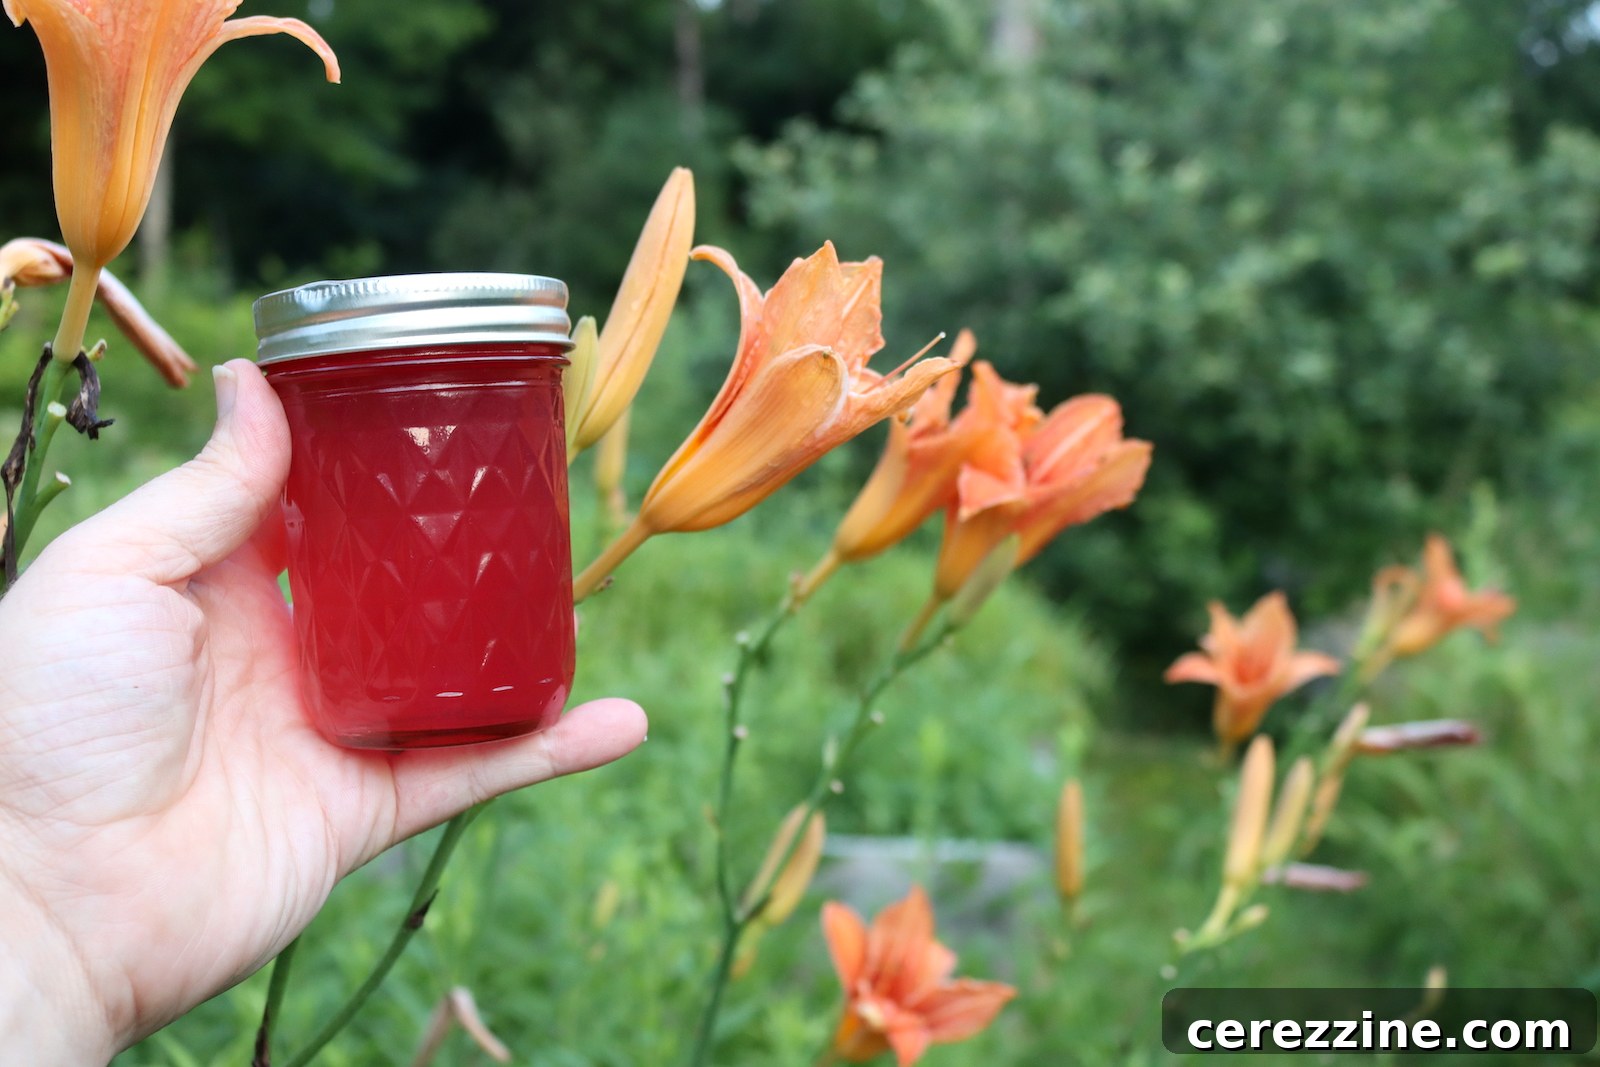
Daylily jelly presents a truly unique and sophisticated flavor profile that is both sweet and delicate, layered with nuanced herbal undertones. Upon tasting, you’ll immediately notice refreshing notes reminiscent of fresh, sweet green peas and crisp cucumber. This vegetal freshness is beautifully complemented by a gentle, lingering floral sweetness that makes each spoonful a delightful experience. It shares a similar aromatic character with other subtle floral preserves such as borage jelly or clover jelly, making it an exquisite spread for classic accompaniments like toast, warm biscuits, or freshly baked scones. Beyond its captivating taste, the finished jelly boasts a beautiful golden-orange hue, a vibrant visual reminder of summer sunshine, ready to brighten your pantry shelf and your breakfast table.
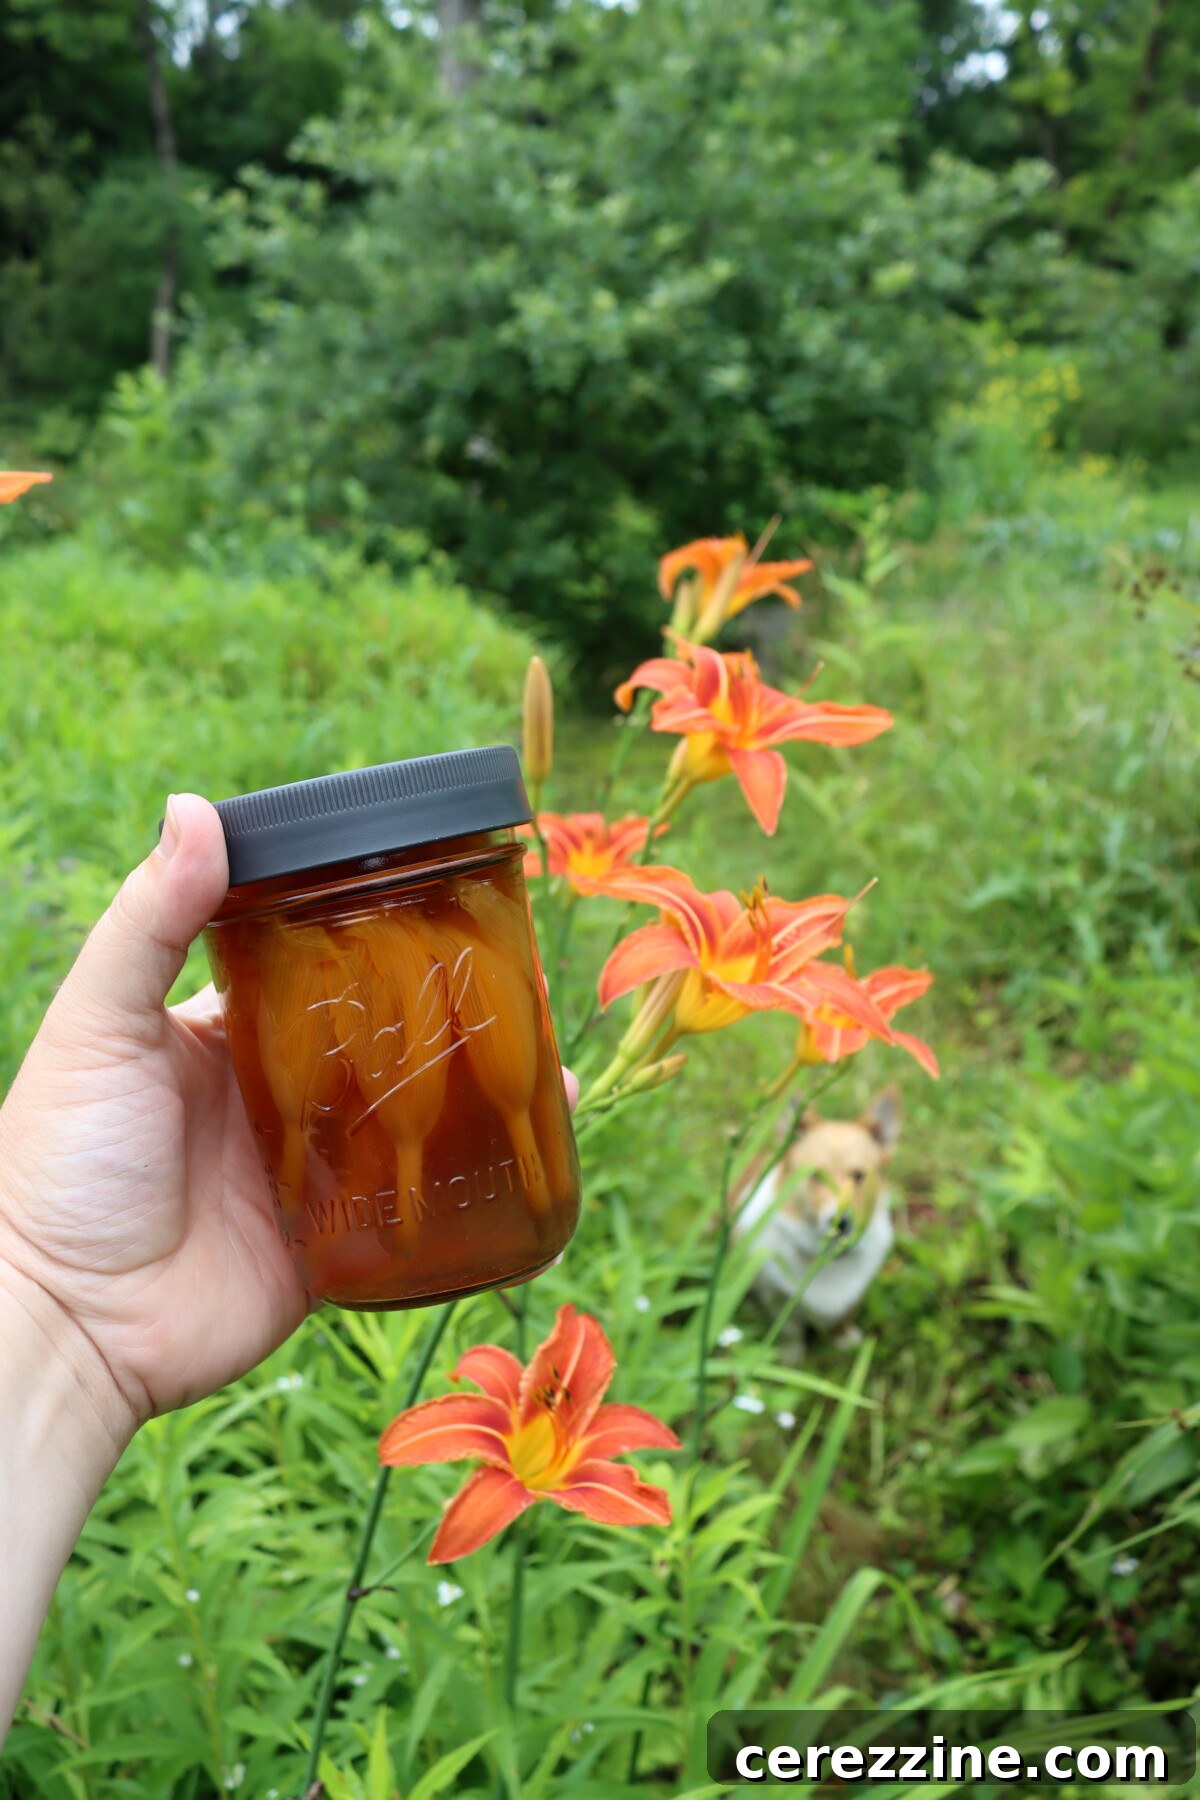
Identifying and Harvesting Daylilies Safely
Crucial Safety Information: It is paramount to understand that daylilies (scientific name: Hemerocallis fulva) are fundamentally distinct from true lilies (belonging to the Lilium genus). True lilies, such as the widely recognized Easter lilies or florist lilies, are characterized by their spiky leaves that grow directly along the entire length of the flower stalk, and they originate from bulbs. It is important to note that certain species of true lilies are known to be toxic. In contrast, daylilies are easily identified by their long, strap-like leaves that emerge exclusively from the base of the plant, producing leafless flower stalks. They grow from fibrous tubers rather than bulbs. For your safety, if you harbor any doubt or are not absolutely certain of your identification, it is imperative to refrain from harvesting and consuming any plant material.
Foraging for the common orange daylily, Hemerocallis fulva, is generally considered the safest and most reliable choice. While there are thousands of cultivated daylily varieties, and many may also be edible, adhering to traditional foraging wisdom by selecting the familiar orange “ditch lily” that has widely naturalized across North America is recommended. These resilient plants can often be found thriving in diverse environments, including along sunny roadsides, in untended abandoned lots, around historical farmsteads, and as decorative elements in gardens.
True to their name, each individual daylily blossom unfurls for only a single day. To capture their peak flavor and freshness for jelly making, it is best to harvest the flowers in the morning hours. This timing allows the morning dew to fully dry, yet precedes the wilting effects of the intense afternoon heat. Select only fresh, fully opened flowers that appear vibrant, healthy, and free from blemishes or insect damage.
It is worth noting that a small percentage of individuals may experience mild digestive sensitivity to daylilies, particularly when consumed raw. As with introducing any new food into your diet, it is always wise to begin by trying a small quantity first. Observe your body’s response over a day before proceeding to harvest a larger batch for your daylily jelly project or other culinary endeavors.
Essential Ingredients for Perfect Daylily Jelly
The creation of daylily jelly follows a standard, reliable formula common to many flower jellies. It involves steeping fresh, edible flowers to create an aromatic tea, which is then transformed into a preserve with the addition of sugar, pectin, and a critical touch of lemon juice for both flavor balance and essential preservation.
- Daylily Flowers: The cornerstone of this recipe. Ensure you use only flowers from plants you have unequivocally identified as Hemerocallis fulva. Harvest these beautiful blossoms from clean environments, meticulously free from any exposure to herbicides or pesticides. When preparing, gently pull the vibrant petals away from the green base of the flower (the sepals). This step is important because the green parts can sometimes impart an undesirable bitter note to the delicate flavor of the finished jelly.
- Water: The medium for extracting the daylily’s essence. For the purest flavor and to prevent any off-notes, especially if your tap water has a noticeable chlorine taste, opt for clean filtered water. This preserves the delicate floral nuances.
- Lemon Juice: A multifunctional and indispensable ingredient. Lemon juice performs several vital roles:
- It masterfully balances the sweetness of the sugar, preventing the jelly from being cloyingly sweet and instead highlighting the subtle floral notes of the daylilies.
- Its acidity is crucial for activating the pectin, ensuring the jelly sets correctly and achieves that desired firm, yet spreadable, consistency.
- Most importantly for preservation, it lowers the pH of the mixture, making it sufficiently acidic to be safely canned using the water bath method. For consistent acidity, especially when canning, bottled lemon juice is recommended. Fresh lemon juice can also be used if preferred, though its acidity can vary slightly.
- Sugar: This recipe utilizes a classic 1:1 ratio of sugar to liquid. This precise balance is what gives you a traditional, old-fashioned jelly that is wonderfully sweet and consistently sets beautifully every single time, yielding that perfect texture.
- Pectin: The gelling agent that brings it all together. For optimal and dependable results, this recipe calls for regular powdered pectin, such as Sure Jell. This type of pectin is widely available and known for its consistent performance in jelly making.
Should you prefer a less sweet preserve, you have options. You can use Sure Jell low sugar pectin, which allows you to significantly reduce the amount of added sugar to as little as 1 to 2 cups, without compromising the set. If you choose to work with Pomona’s Universal Pectin, be aware that its instructions are different; it is a two-part pectin system requiring calcium water. In this case, you will also need to increase the lemon juice to 1/2 cup for proper setting and flavor. When using Pomona’s, refer to the mint jelly instructions provided within its packaging, and if it’s your first time, I highly recommend reading up on how to effectively use Pomona’s pectin for the best outcome.
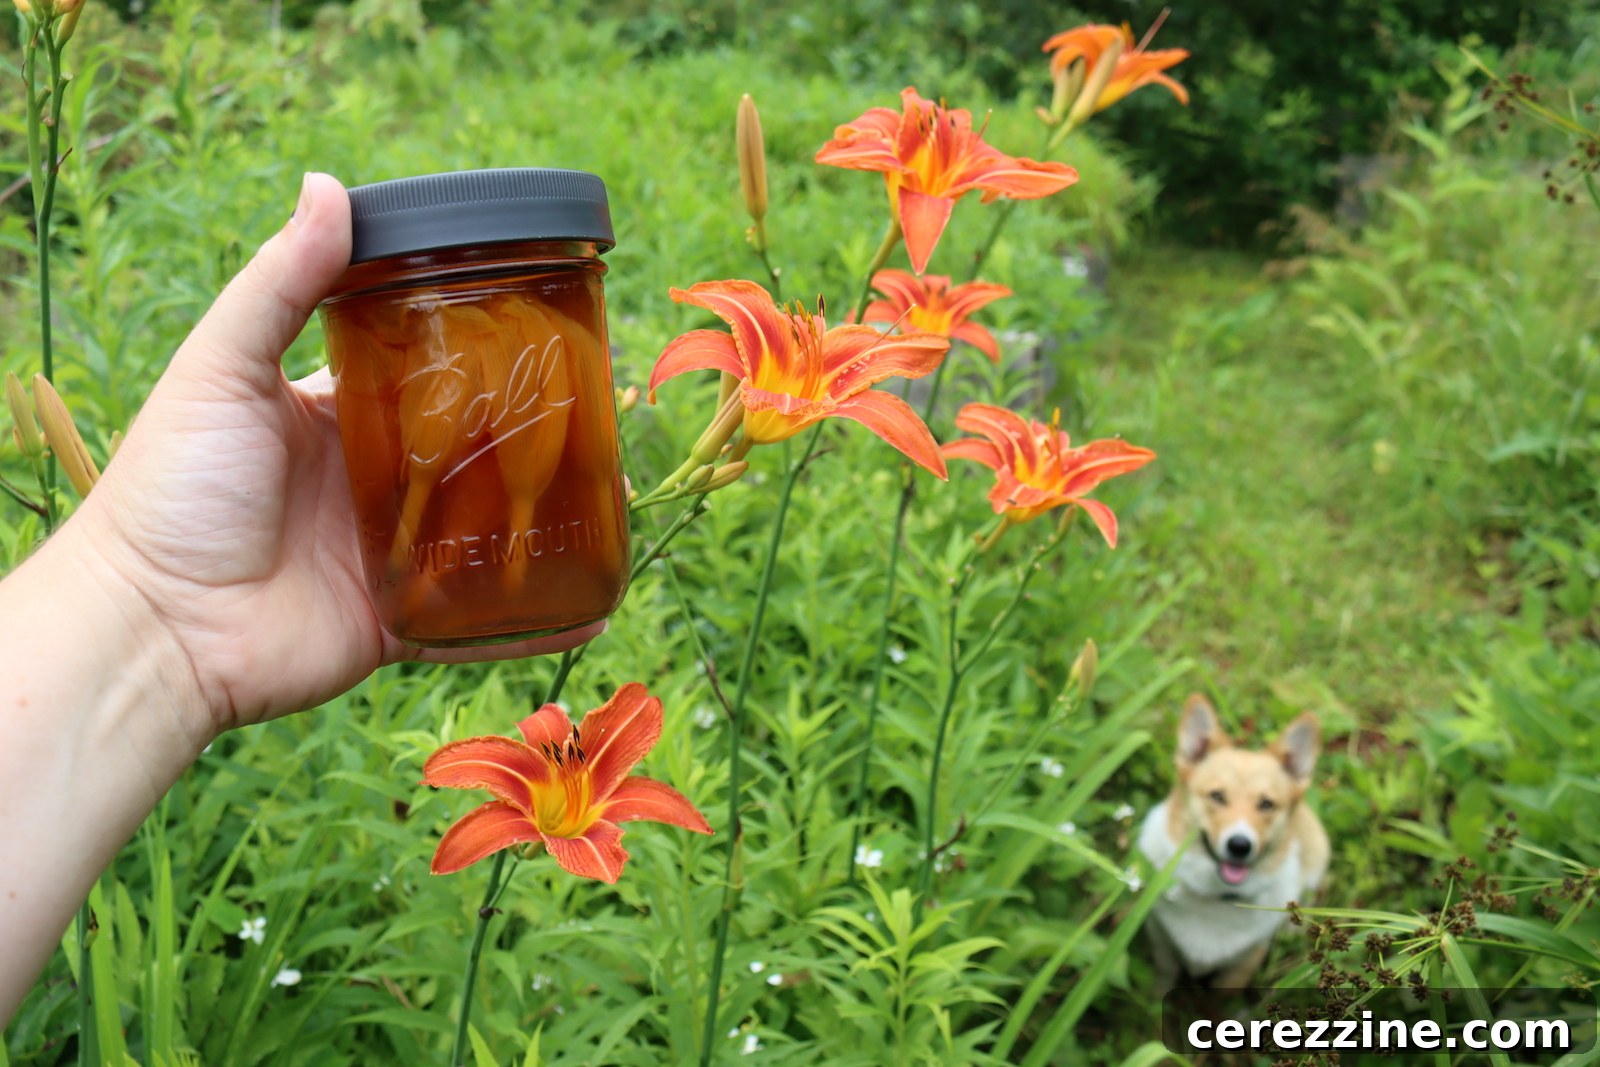
Step-by-Step Guide: How to Make Daylily Jelly
This recipe is remarkably simple, transforming fresh daylily flowers into a delightful preserve with ease. The core process involves crafting a fragrant floral tea and then using pectin to achieve the perfect jelly consistency. Remember, the lemon juice is absolutely essential for both taste and safe preservation, so do not omit it.
Step 1: Prepare the Daylily Flowers
Begin by carefully harvesting and preparing 4 cups of fresh daylily petals. The most delicate part is separating the petals from the green sepals located at the base of each flower, as these green parts can introduce bitterness. Once separated, give the petals a gentle rinse under cool water to remove any lingering insects or fine debris. For convenient measuring and as a heatproof vessel for the next stage, I often collect the freshly picked petals directly into a quart-sized mason jar.
Step 2: Make the Daylily Tea Infusion
Once your petals are ready, pour exactly 4 cups of boiling water over them in your heatproof container. Allow the daylily petals to steep for approximately 15 to 20 minutes. During this infusion period, you’ll observe the water gradually transforming, taking on a beautiful golden hue as it absorbs the subtle flavors and natural pigments from the flowers. After steeping, carefully strain the infused daylily tea through a fine mesh sieve or a layer of cheesecloth directly into a clean saucepan or a dedicated jam pot. Gently press or squeeze the spent petals to extract every last drop of the precious, flavorful liquid.
Step 3: Introduce Lemon Juice and Pectin
To your strained daylily tea, add 2 tablespoons of lemon juice. This step is critical: the lemon juice not only brightens the overall flavor profile by balancing the sweetness but also plays a vital role in helping the pectin activate and ensuring the jelly is safe for canning by adjusting its pH. Do not skip this ingredient, even if you do not plan to water bath can the jelly. Bring the entire mixture to a vigorous boil over medium-high heat. Once boiling rapidly, stir in one box of powdered pectin until it is completely dissolved. Allow the mixture to continue boiling for precisely 1 full minute with the pectin incorporated, ensuring it fully activates.
Step 4: Incorporate the Sugar and Achieve Final Boil
After the pectin has boiled for 1 minute, it’s time to add the sugar. Carefully pour in 4 cups of granulated sugar. It is crucial to NOT add the sugar before or at the same time as the pectin, as this can prevent the jelly from setting properly. Stir continuously until all the sugar is completely dissolved into the hot liquid. Once dissolved, bring the mixture back to a full, rolling boil that cannot be stirred down, and maintain this intense boil for exactly 1 minute. Immediately remove the pot from the heat source and swiftly ladle the hot jelly into your meticulously prepared canning jars, ensuring you leave a precise 1/4 inch of headspace at the top of each jar.
Preserving Your Creation: Canning Daylily Jelly
Canning your daylily jelly is an excellent optional step that allows you to savor this seasonal delicacy throughout the year or create thoughtful gifts. If you choose not to can, simply allow the filled jars to cool completely at room temperature, then store them in the refrigerator for up to a few weeks, or in the freezer for a longer period of up to 6 months.
For safe water bath canning, ensure your water bath canner, glass jars, and lids are thoroughly prepared before you even begin making the jelly. After carefully ladling the hot jelly into the clean, sterile jars, remember to leave a consistent 1/4 inch of headspace. Wipe the rims of each jar scrupulously clean with a damp cloth to ensure a proper seal. Place the two-part canning lids onto the jars and tighten the bands until they are “fingertip tight” – snug but not overly forceful.
Process the jars in a boiling water bath canner for a duration of 10 minutes. Once the processing time is complete, carefully remove the jars from the canner and allow them to cool undisturbed on a towel for a full 24 hours. After cooling, check all seals. Any jars that have not sealed properly should be refrigerated for immediate consumption. Properly canned and sealed jars of daylily jelly will maintain their quality on your pantry shelf for an impressive period of 12 to 18 months. Always remember to refrigerate the jelly after opening a jar.
Altitude Adjustments for Water Bath Canning
For effective and safe water bath canning, it is crucial to adjust processing times according to your elevation above sea level:
- For elevations from 0 to 6,000 feet: Process for 10 minutes.
- For elevations above 6,000 feet: Increase processing time to 15 minutes.
Creative Ways to Enjoy Daylily Jelly
This exquisite and delicately flavored floral jelly is wonderfully versatile. It shines brightly when spread generously on warm, freshly baked biscuits or fluffy scones, especially delightful when paired with a pat of rich butter. Start your day with a touch of summer by spreading it on toast or English muffins for a memorable breakfast. Daylily jelly also forms a beautiful partnership with soft, creamy cheeses like tangy goat cheese or smooth cream cheese, making it an elegant and charming addition to any sophisticated cheese board or charcuterie spread. Furthermore, a jar of homemade daylily jelly serves as a thoughtful and truly unique gift, particularly for friends and loved ones who appreciate the art of edible flowers, the charm of foraged foods, or simply the joy of homemade preserves.
Beyond Jelly: More Ways to Incorporate Daylilies into Your Cuisine
Daylilies are abundant summer flowers that offer a wealth of culinary possibilities beyond just jelly. Explore these additional delightful ways to enjoy their unique flavor and texture:
- Raw in Salads: The fresh petals can be simply tossed into green salads, adding a vibrant pop of color, a subtle crunch, and a delicate, sweet undertone that elevates the entire dish.
- Stuffed and Fried: Similar to squash blossoms, daylily flowers can be gently filled with soft cheeses (like ricotta or goat cheese), battered, and then lightly fried until golden and crisp. This creates an elegant appetizer.
- Dried for Asian Cooking: As mentioned, dried daylily petals are celebrated in Chinese cuisine as “golden needles.” They are rehydrated and used to add unique flavor, aroma, and a slightly chewy texture to various soups and stir-fries.
- Fresh Eating: For a simple, sweet summer treat, just pinch off the stem end of a fresh daylily blossom and gently suck out the naturally sweet nectar. It’s a delightful taste of nature’s candy.
Daylily Jelly FAQs
The common orange daylily (Hemerocallis fulva) is the most widely recognized and documented edible variety, and thus the safest choice for consumption. While many of the thousands of cultivated daylily varieties may also be edible, it is always best to stick to the traditional “ditch lily” if you are foraging. Crucially, do not confuse daylilies with true lilies (Lilium species), some of which are toxic and can be harmful if ingested. Always confirm your identification with certainty.
For achieving the most vibrant flavor and appealing color in daylily jelly, fresh flowers are undeniably superior. While dried flowers could theoretically be used, you would need to conduct experiments with varying quantities and steeping times, and the resulting flavor profile may not be as bright or as pronounced as with fresh blossoms.
Jelly failing to set is a common frustration, and there are several typical culprits. The most frequent reasons include adding the sugar at the same time as the pectin (pectin should be added first and boiled for 1 minute before sugar is introduced), boiling the finished jelly for an excessively long period (more than 5 minutes), or attempting to double the batch size (which often throws off the pectin-to-sugar-to-acid ratio). For more in-depth solutions and troubleshooting advice, consult a comprehensive jelly troubleshooting guide.
No, the lemon juice is an absolutely essential ingredient and should not be omitted. It plays a critical role in balancing the overall flavor, preventing the jelly from being overly sweet. More importantly, its acidity is necessary for the pectin to activate and set correctly, and it lowers the pH of the mixture to ensure the jelly is safe for water bath canning. Even if you are making a refrigerator preserve and not canning, the lemon juice significantly enhances the flavor and brightness of the daylily jelly.
More Flower Jelly Recipes
How to Make Flower Jelly (with 20+ Recipes!)
Redbud Jelly & Syrup
Rose Petal Jelly
If you tried this Daylily Jelly recipe, or any other recipe on Creative Canning, leave a ⭐ star rating and let me know what you think in the 📝 comments below!
And make sure you stay in touch with me by following on social media!
- Substack
40
servings (Makes 4 to 5 half-pint jars)
Daylily Jelly
15
5
10
30
Equipment
-
Water Bath Canner
-
Half Pint Mason Jars (or other preferred sizes)
-
Canning lids and bands
-
Jar lifter
-
Canning Funnel
-
Fine Mesh Strainer or Cheesecloth
Ingredients
-
4
cups
daylily flower petals -
4
cups
water -
2
tbsp
lemon juice -
4
cups
sugar -
1
box
powdered pectin,
1.75 oz (Regular Sure Jell) or 6 Tbsp bulk pectin
Instructions
-
Harvest daylily flowers and carefully pull the petals away from the green sepals at the base of each flower. Rinse gently under cool water to remove any insects or debris. Aim to gather about 4 cups of petals.
-
Place the prepared petals into a heatproof container, such as a quart-sized mason jar. Pour 4 cups of boiling water directly over the petals. Allow the daylily tea to steep undisturbed for 15 to 20 minutes to extract maximum flavor and color.
-
Strain the infused daylily tea into a clean saucepan or a dedicated jam pot, using either a fine mesh strainer or a layer of cheesecloth. Gently press and squeeze the petals to ensure all flavorful liquid is extracted. Discard the spent petals.
-
Add the 2 tablespoons of lemon juice to the daylily tea in the saucepan. Bring the mixture to a full boil over medium-high heat. Once boiling, thoroughly stir in the powdered pectin until it is completely dissolved. Continue to boil the mixture vigorously for 1 full minute.
-
After the 1 minute of boiling with pectin, add all 4 cups of sugar. Stir constantly until the sugar is fully dissolved. (Remember: do not add the sugar at the same time as the pectin, as this can prevent the jelly from setting.) Once the sugar is dissolved, bring the mixture back to a rapid, rolling boil that cannot be stirred down, and boil for exactly 1 minute.
-
Immediately remove the pot from the heat. Ladle the hot jelly quickly and carefully into your prepared, clean jelly jars, ensuring you leave precisely 1/4 inch of headspace in each jar.
-
If canning: Proceed to process the filled jars in a boiling water bath canner for 10 minutes (or 15 minutes if you are at an altitude above 6,000 feet). Otherwise: Allow the jars to cool completely at room temperature before storing them in the refrigerator for up to a few weeks, or in the freezer for up to 6 months.
Notes
New Food Caution: Some individuals may experience mild digestive sensitivity to daylilies. As with the introduction of any new food into your diet, it is always prudent to try a small amount first and observe your body’s reaction before consuming larger quantities.
Low Sugar Variation
For those who prefer a less sweet jelly, you can effectively use Sure Jell low sugar pectin instead of the regular pectin specified in this recipe. When utilizing low sugar pectin, you have the flexibility to reduce the amount of added sugar to as little as 1 to 2 cups. If you opt for Pomona’s Universal Pectin, please follow the specific instructions provided within its box for making mint jelly, and also increase the lemon juice amount to 1/2 cup for proper setting.
Altitude Adjustments for Canning
- For elevations from 0 to 6,000 feet: Process for 10 minutes.
- For elevations above 6,000 feet: Increase processing time to 15 minutes.
Nutrition
Calories:
81
kcal
,
Carbohydrates:
21
g
,
Protein:
0.01
g
,
Fat:
0.1
g
,
Saturated Fat:
0.001
g
,
Polyunsaturated Fat:
0.002
g
,
Sodium:
5
mg
,
Potassium:
6
mg
,
Fiber:
0.1
g
,
Sugar:
20
g
,
Vitamin A:
70
IU
,
Vitamin C:
0.3
mg
,
Calcium:
3
mg
,
Iron:
0.1
mg
Nutrition information is automatically calculated, so should only be used as an approximation.
More Delightful Jelly Recipes
Wild Grape Jelly
Watermelon Jelly
Black Raspberry Jelly (Seedless)
Find the perfect recipe
Searching for something else? Enter keywords to easily find the perfect recipe!