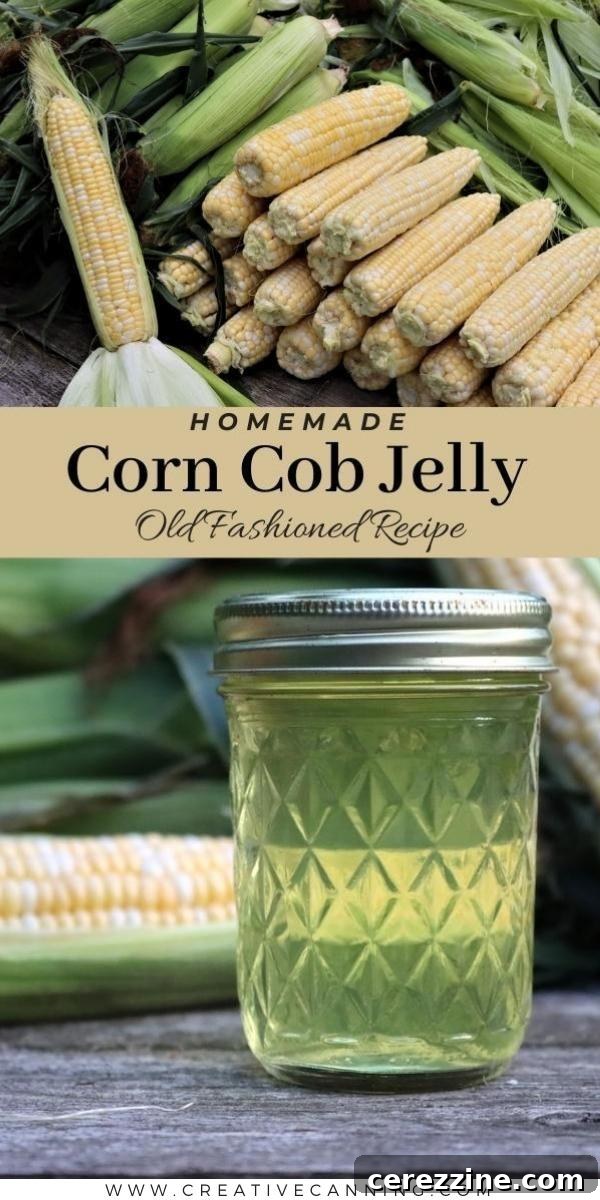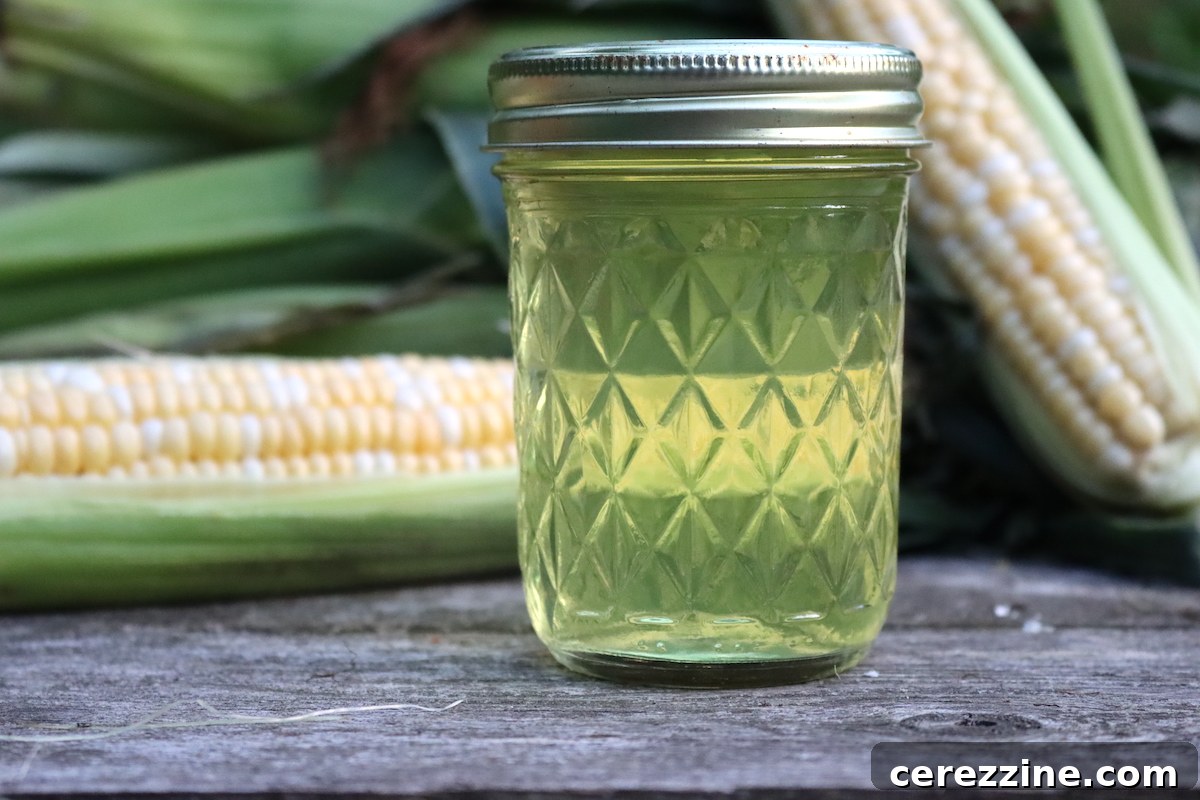
Homemade Corn Cob Jelly: A Sweet & Sustainable Delight
Are you looking for an ingenious way to utilize every part of your fresh corn harvest? Look no further than corn cob jelly! This unique and surprisingly delicious spread transforms humble corn cobs, often destined for the compost bin, into a vibrant, sweet jelly with an incredible, subtle corn flavor. It’s not just a recipe; it’s a testament to mindful cooking and a delightful step towards a zero-waste kitchen, perfect for adding a touch of summer sunshine to your pantry.
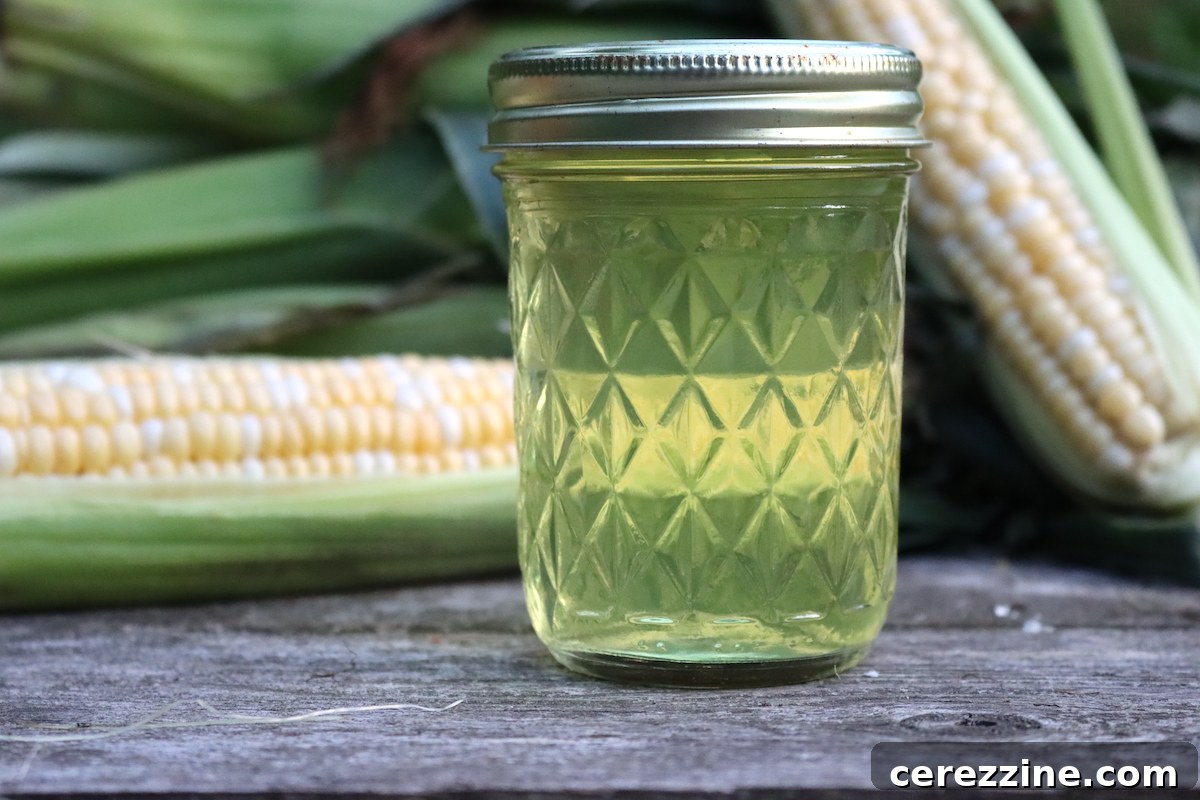
Why Make Corn Cob Jelly? Embracing the Art of Frugal Living
For those of us who cherish the idea of using edible odds and ends, turning corn cobs into a gourmet jelly is a deeply satisfying endeavor. It’s part of a broader philosophy of embracing frugal living and minimizing food waste. Beyond simply enjoying fresh corn on the cob, there are numerous ways to preserve this summer staple. Many homesteaders and home cooks regularly engage in pressure canning plain corn, making corn relish, or crafting corn salsa for canning. All of these methods, while excellent for preserving kernels, leave behind a bounty of flavorful cobs.
Instead of discarding these valuable remnants, we can extract their inherent sweetness and a delicate, almost honey-like corn essence to create a truly distinctive jelly. This recipe stands out as my personal favorite for maximizing the utility of those often-overlooked corn cobs. By simply simmering fresh cobs, we create a flavorful “corn juice” that forms the base of a light, perfectly sweet jelly. Imagine spreading this golden delight on warm, fresh cornbread, perhaps with a generous smear of butter – it’s pure culinary bliss. This guide will walk you through the entire process, offering instructions for both immediate enjoyment and long-term preservation through canning, freezing, or refrigeration.
Getting Started: Preparing Your Corn Cobs for Jelly
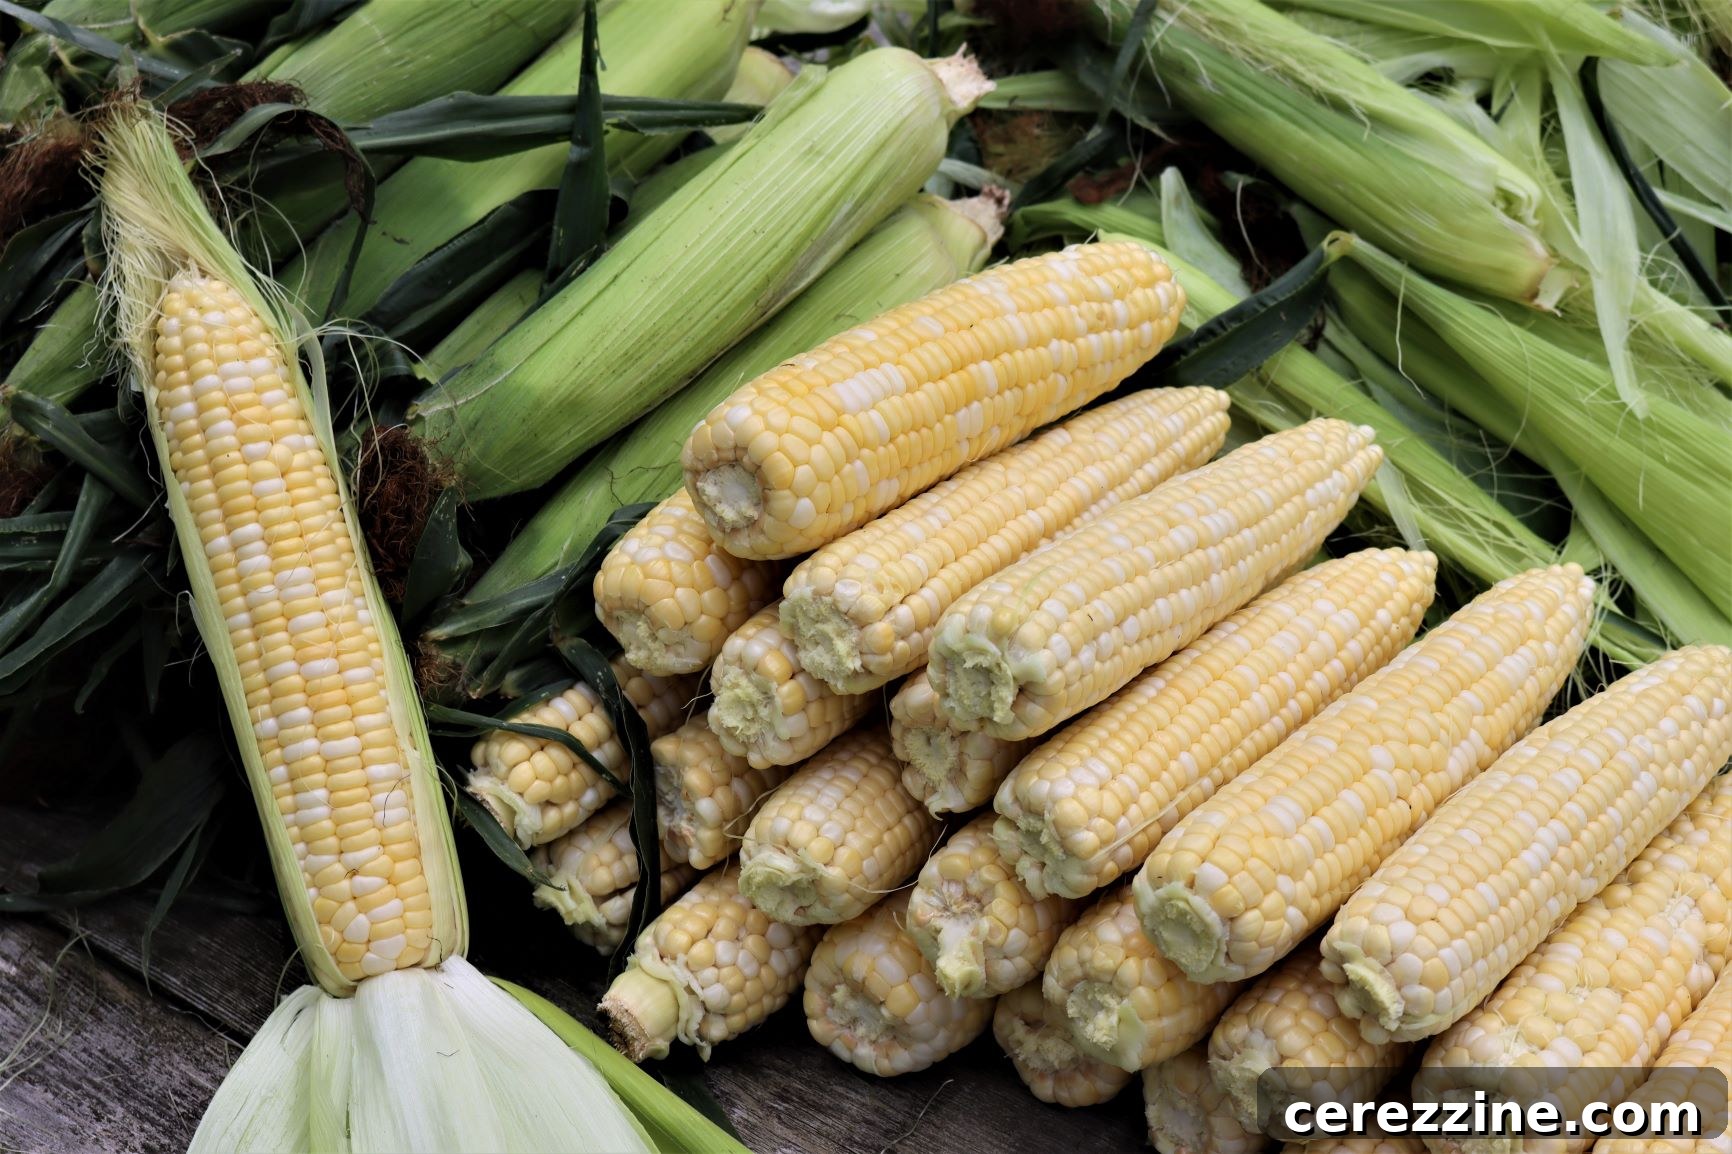
The journey to exquisite corn cob jelly begins with properly preparing your corn cobs. While removing corn kernels from the cob can be a somewhat messy affair, a few simple techniques can make the process smoother and more efficient. For this particular recipe, we’ll be using approximately 12 medium-sized corn cobs to yield the rich “corn juice” that forms the jelly’s foundation. It’s crucial to select fresh, sweet corn for the best flavor outcome.
Effective Kernel Removal Techniques
- Husking and Silking: Begin by peeling back the corn husks, but don’t remove them completely. They can serve as a convenient handle as you work with your knife. To tackle the stubborn silk, place the cobs under cool running water and gently scrub with a clean toothbrush or a kitchen brush. Remember to be gentle, as excessive pressure can bruise the delicate kernels and affect their vibrant color.
- Blanching for Freshness (Optional but Recommended): If you’re not planning to use the corn kernels immediately after removing them, blanching is a highly recommended step. Boil the corn (still attached to the husk) in a large pot for precisely 3 minutes, then immediately plunge them into an ice bath to halt the cooking process. Blanching is vital because it stops the enzymatic action that converts the corn’s natural sugars into starch, thereby preserving their sweetness and bright yellow hue.
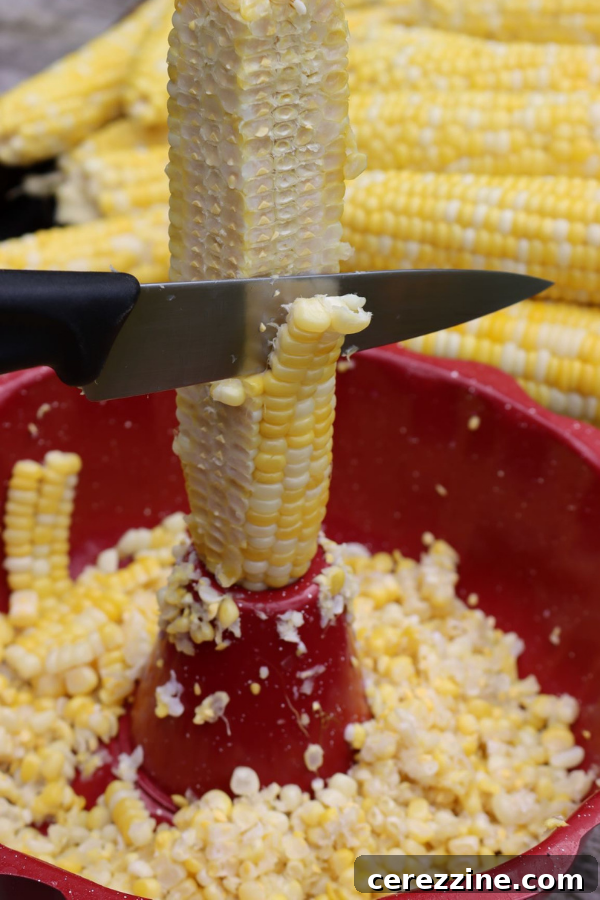
- The Bundt Pan Method: Regardless of what you plan to do with the kernels, our primary focus here is the cobs. One of the easiest and cleanest ways to remove the kernels is by using a bundt pan and a sharp knife. Simply place the corn cob upright in the center hole of the bundt pan. As you slice downward, the kernels will fall neatly into the pan, minimizing mess. For added safety and stability, place the bundt pan on a damp towel to prevent slippage, and consider gripping the corn cob with a towel to keep it steady while cutting. The true essence of this corn cob jelly comes from the cob itself, so strive to separate as much of the kernel as possible, scraping lightly to capture any remaining “milk” from the cob.
Once your cobs are stripped clean, you’re ready for the next crucial step: making the flavorful corn juice.
Crafting the Golden Elixir: How to Make Corn Cob Juice
The heart of your corn cob jelly lies in the rich, sweet stock extracted from the cobs. This process is simple yet essential for developing that unmistakable corn flavor. Gather your dozen de-kerned corn cobs, and let’s begin:
Extracting the Flavorful Stock
- Preparation: Start by cutting your corn cobs into roughly 4-inch lengths. This helps them fit more easily into your pot and maximizes the surface area for flavor extraction.
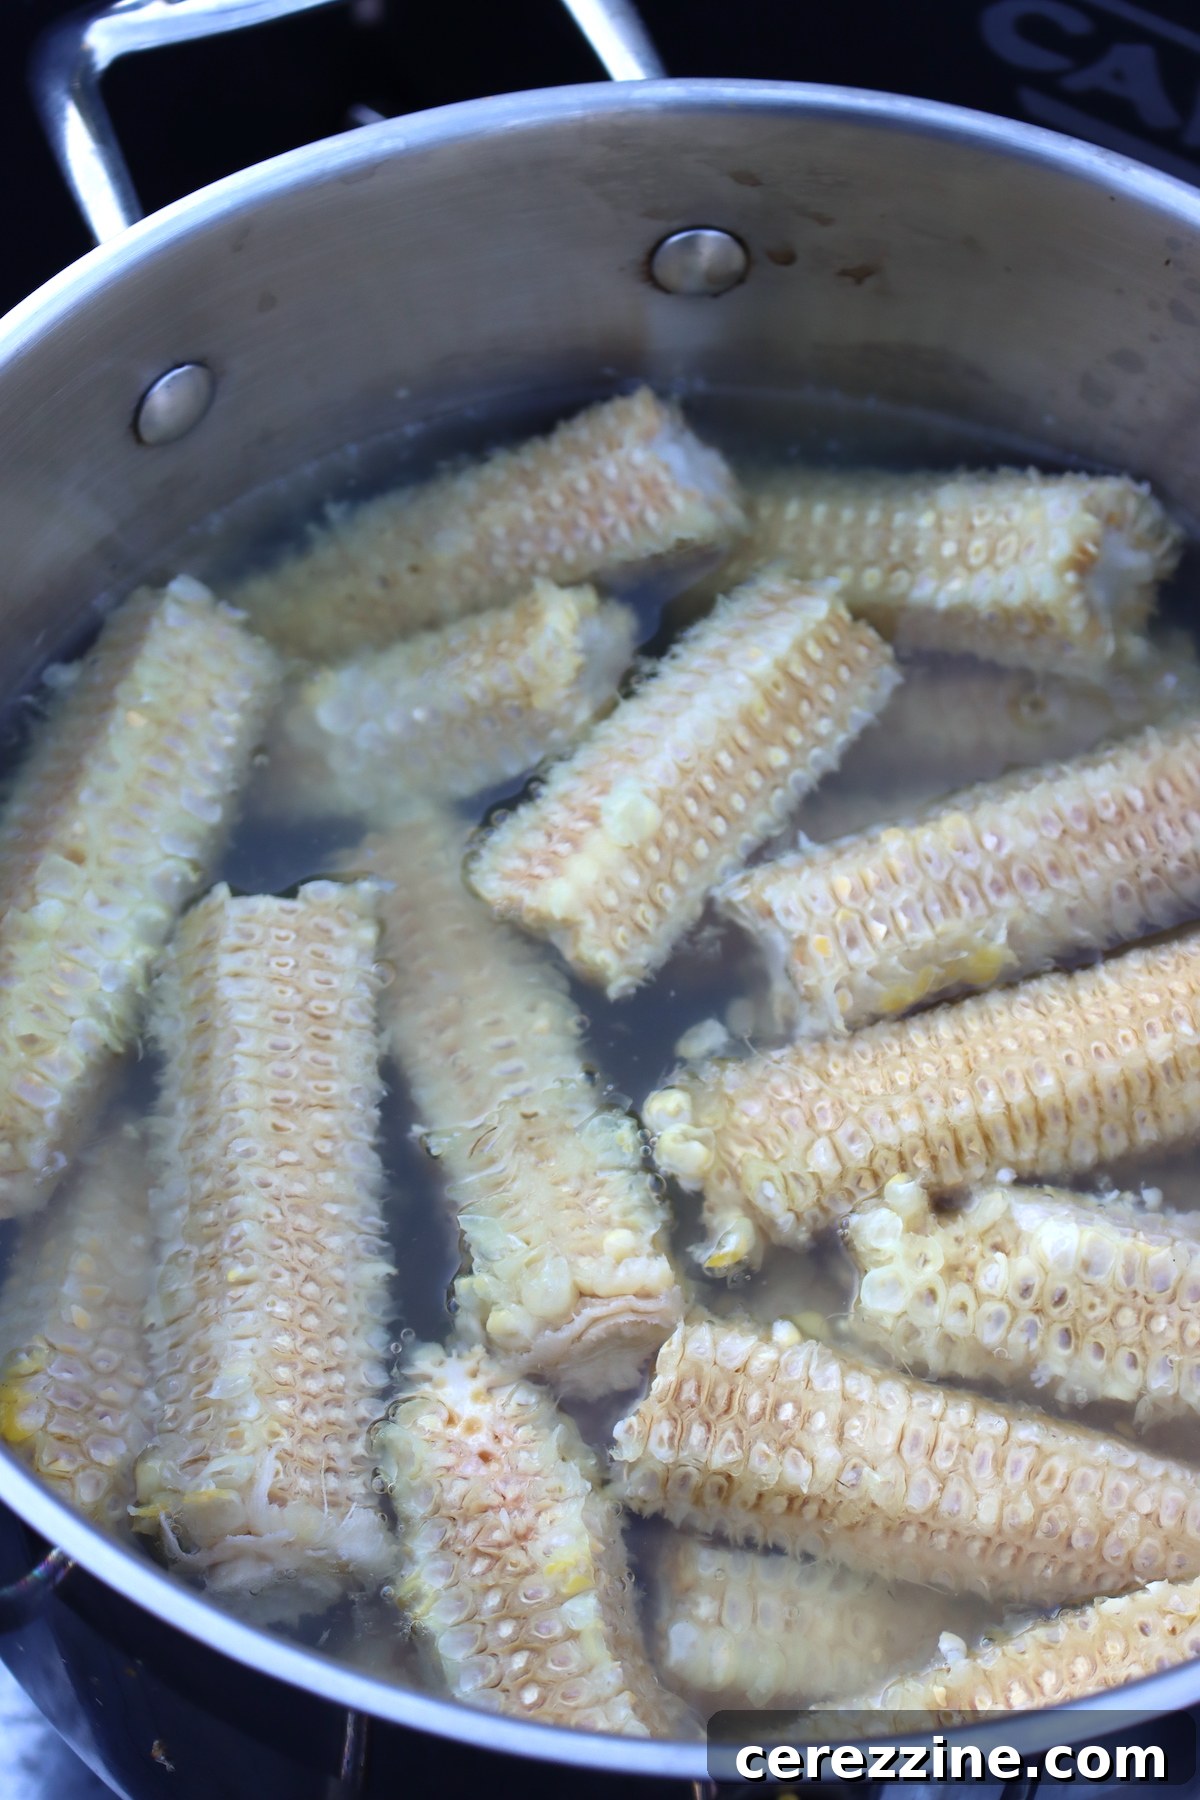
- Simmering: Place the cut cobs in a large stock pot. Add approximately 2 quarts of water, or enough to completely cover the cobs by at least an inch. Bring the water to a rolling boil over high heat, then reduce the heat to a gentle simmer. Allow the corn cobs to simmer for a good 35 to 40 minutes. During this time, the water will transform into a fragrant, sweet, and lightly golden stock, imbued with the summery essence of corn.
- Straining for Clarity: Once the simmering is complete and your corn juice is ready, it’s time to strain it. Line a fine-mesh sieve (or a colander) with a double layer of cheesecloth. Place the sieve over a large bowl or another pot. Carefully pour the contents of the stock pot through the prepared sieve. The key here is patience: allow the liquid to drip through naturally. Resist the urge to press down on the corn cobs or squeeze the cheesecloth to force out more liquid. While it might seem like you’re losing some precious juice, pressing can release starches and cloudiness, which can hinder the jelly from setting properly and detract from its beautiful clarity.
The resulting liquid is your pure corn cob juice – a sweet, fragrant foundation ready to be transformed into shimmering jelly. You should aim for about 3-4 cups of strained juice from your 12 cobs.
Making the Jelly: The Magical Transformation
With your fragrant corn cob juice prepared, it’s time for the exciting step of transforming it into delightful jelly. This recipe is designed to yield approximately 4 (1/2-pint) jars of corn cob jelly. You have several options for storage: refrigerate for up to a month, freeze for up to six months, or process in a water bath canner for extended shelf stability.
Essential Steps for Perfect Jelly
- Combine Juice and Pectin: Pour 3 cups of your carefully prepared corn cob juice into a large, heavy-bottomed saucepan. Add one packet of powdered pectin (typically 1.75 ounces or 6 tablespoons). Stir thoroughly to dissolve the pectin, ensuring no lumps remain.
- Boil Pectin First: Bring the juice and pectin mixture to a vigorous, rolling boil over high heat, stirring constantly. It is absolutely crucial to allow the pectin and corn juice to boil for a full 1 minute BEFORE adding the sugar. This step is vital for activating the pectin and is one of the most common reasons jelly fails to set if skipped or rushed. I often use a timer to ensure this minute is observed precisely.
- Incorporate Sugar: After the pectin has boiled for a full minute, stir in 3 cups of granulated sugar. Continue stirring until the sugar is completely dissolved.
- Return to Boil and Finish: Bring the entire mixture (juice, pectin, and sugar) back to a rolling boil. Maintain this boil for exactly 1 minute, stirring continuously to ensure even distribution and dissolution of the sugar. Once the minute is up, remove the saucepan from the heat.
- Skim the Foam: Quickly skim off any foam or bubbles that may have risen to the surface using a spoon. This ensures a beautifully clear and appealing finished jelly.
- Jarring the Jelly: Carefully ladle the hot liquid into 4 pre-sterilized 1/2-pint jars, leaving precisely 1/4-inch headspace from the rim. This headspace is critical for proper sealing if you plan to can the jelly.
Pectin Considerations and Sweetness Levels
For this recipe, I highly recommend using a reputable brand of pectin like Sure Jell. This type of pectin often includes citric acid, which not only brightens the flavor of your jelly but also helps to adjust the pH level, creating the ideal acidic environment for the pectin to gel effectively. If you opt for another brand or type of pectin, such as Pomona’s Universal Pectin, always check its citric acid content. You might need to add an extra tablespoon or two of lemon juice to ensure proper gelling and safe acidity for canning.
If you prefer a less sweet jelly, you can use a low-sugar pectin specifically designed for reduced-sugar recipes. Be aware that regular pectin requires a specific sugar-to-liquid ratio (typically 1:1, as used here with 3 cups of juice to 3 cups of sugar) to activate and set correctly. Reducing the sugar when using regular pectin will likely result in a runny jelly and a smaller yield.
Storage Options for Your Homemade Jelly
After jarring, you have choices for how to store your delicious corn cob jelly:
- Refrigerator: Jars can be stored in the refrigerator for up to 1 month.
- Freezer: For longer storage, freeze the jelly for up to 6 months. If freezing, use straight-sided jars to prevent breakage as the contents expand.
- Canning: For truly long-term, shelf-stable storage without occupying precious fridge or freezer space, proceed to the water bath canning process.
Canning Corn Cob Jelly for Extended Preservation
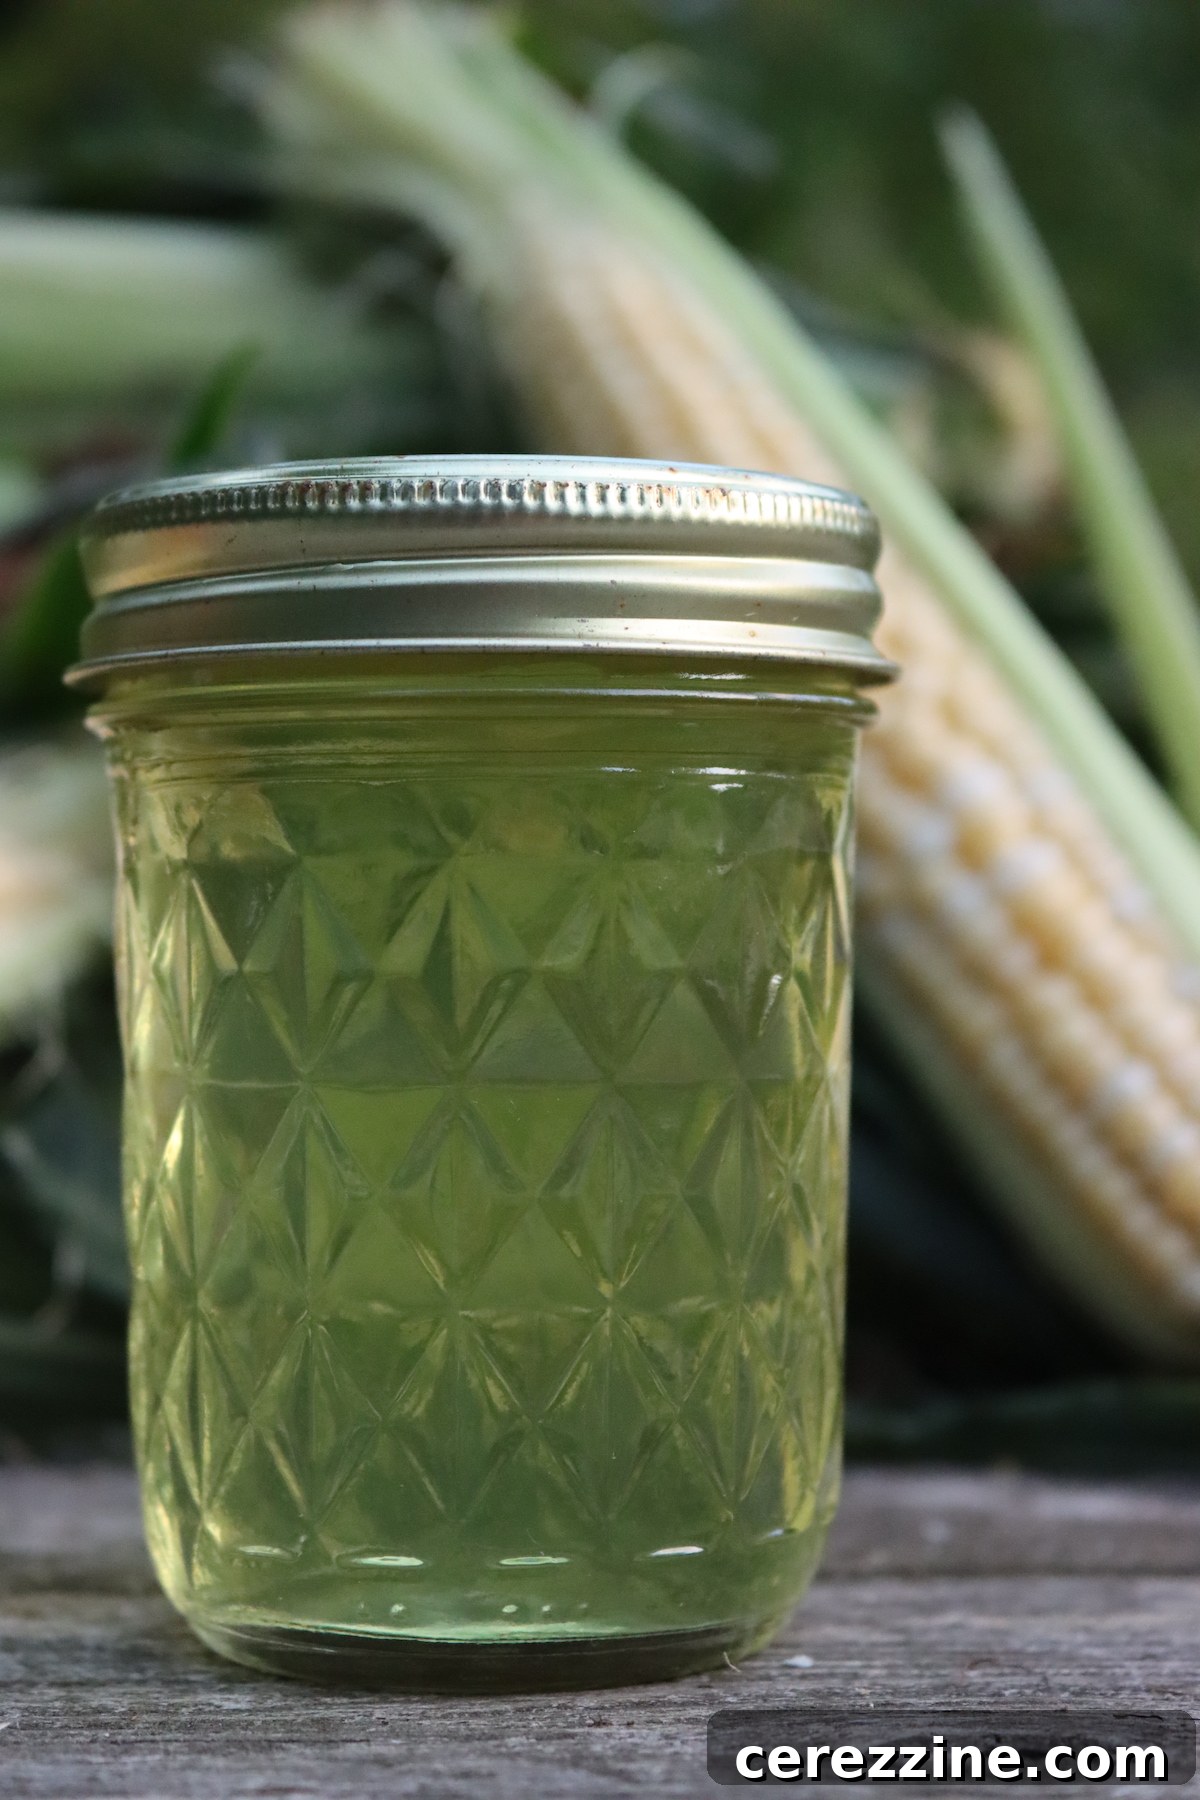
Water bath canning is a fantastic method for preserving your corn cob jelly, allowing you to enjoy the taste of summer months after it’s made. The process for corn cob jelly is relatively quick, requiring only 5 minutes of processing time in a hot water bath canner, with adjustments needed for higher altitudes.
Step-by-Step Canning Process
- Prepare Jars: Ensure your jars are clean and warm. While current canning guidelines suggest jars don’t need to be sterilized if processed for 10 minutes or more, for shorter processing times like this recipe, it’s good practice to ensure they are hot from washing or a brief warm-up in the canner.
- Apply Lids: Place new two-piece canning lids onto each 1/2-pint jar. Secure the bands until they are “fingertip-tight” – meaning snug, but not overly tightened. This allows air to escape during processing, creating a proper vacuum seal.
- Clean Rims: Using a clean, damp cloth or paper towel, wipe down the rims of each jar to remove any jelly residue. Even a tiny speck can prevent a proper seal.
- Load Canner: Carefully load the prepared jars into a preheated hot water bath canner, ensuring they are fully submerged in water by at least 1-2 inches.
- Process Jars: Bring the water in the canner to a rolling boil. Once boiling vigorously, begin your processing time. Process for 5 minutes.
- Altitude Adjustments: If you live at a higher altitude, you’ll need to increase your processing time to ensure food safety:
- 1,001-6,000 feet: Process for 10 minutes.
- Above 6,001 feet: Process for 15 minutes.
- Cool Down: After the processing time is complete, turn off the heat and carefully remove the canner lid. Let the jars sit in the canner for 5 minutes to allow the temperature to equalize before removing them.
- Remove and Cool Jars: Using a jar lifter, carefully remove the hot jars from the canner and place them on a clean, folded towel or wooden surface, leaving about 1 inch of space between each jar. Avoid placing hot jars directly on a cold countertop, which can cause thermal shock and breakage.
- Check Seals: Allow the jars to cool completely for 12-24 hours without disturbing them. You should hear popping sounds as the lids seal. After cooling, inspect each lid. A properly sealed lid will be concave (curved inward) and will not flex when pressed in the center. Any jars with improperly sealed lids should be stored in the refrigerator and consumed within 1 month.
- Store Properly: Remove the bands from successfully sealed jars (this prevents rust and allows for easier checking of seals in the future). Wipe down the jars and label them with the contents and date. Store your sealed corn cob jelly in a cool, dry, dark place, away from direct light, for up to 18 months.

Beyond Jelly: Other Creative Uses for Corn Cobs
Corn cobs are remarkably versatile, extending their utility far beyond just jelly. Embracing the ethos of zero-waste cooking means exploring all the potential uses for these humble kitchen discards. Here are a few innovative ways you can put those leftover corn cobs to good use:
- Corn Cob Wine: For the adventurous fermenter, corn cobs can be transformed into a surprisingly delightful wine. Explore recipes from resources like The Foxfire Book of Winemaking for guidance on this unique libation.
- Corn Cob Vinegar: Create your own homemade vinegar with a distinct, subtle corn flavor. Books like Homebrewed Vinegar offer excellent instructions for this fascinating kitchen project.
- Flavorful Corn Cob Stock: Simmering corn cobs in water yields a flavorful stock that can be used as a base for soups, stews, or risottos. It’s a fantastic way to add depth to any dish and a wonderful ingredient when added to poaching liquids for chicken or fish. You can find simple recipes for corn cob stock from resources like Local Kitchen.
- Grilling & Smoking: Dried corn cobs can be excellent for adding a sweet, smoky flavor to grilled or smoked meats. Simply soak them in water for a bit before adding them to your coals or smoker box.
- Animal Feed or Compost: Once all flavor has been extracted, the softened corn cobs still have value as a fibrous addition to your compost pile, enriching your garden soil, or as a treat for chickens in your coop.
Corn Cob Jelly Recipe
48 servings, Makes 4 (1/2-pint) jars
Corn Cob Jelly
Try this unique and delicious corn cob jelly recipe — a great way to use up fresh corn cobs!
Ingredients
To Make Corn Cob Juice
- 12 fresh corn cobs, medium-sized
- 2 Quart water
To Make Jelly
- 3 cups corn cob juice
- 1 box Sure Jell, 1.75 ounces or 6 tbsp, regular or low sugar, see notes
- 3 cups sugar
Instructions
-
To make corn cob juice, cut the corn cobs into 4-inch pieces and place them in a medium-sized saucepan. Cover with water and bring to a boil. Reduce the heat and simmer the corn cobs for 35 to 40 minutes.
-
Carefully strain the liquid through a fine-mesh sieve that has been lined with two layers of cheesecloth. Without pressing or squeezing the corn cobs, allow the juice to drip naturally — this will help ensure a clear stock.
-
To make corn cob jelly, add 3 cups of corn cob juice to a saucepan. Stir in the pectin and bring the mixture to a boil. Let the pectin and corn cob juice boil for 1 full minute.
-
Stir in the sugar and bring the liquid back to a boil. Boil for 5 minutes. Remove the saucepan from the heat and skim off any foam that might have risen to the surface.
Pour or ladle the corn cob liquid into 4 (1/2-pint) jars, leaving 1/4-inch headspace. Apply lids and store in the refrigerator for up to 1 month or in the freezer for 6 months. Or, proceed to canning instructions:
-
To can corn cob jelly: Load jars into a prepared hot water bath canner and process for 5 minutes (adjust according to altitude**). Remove jars from canner, and allow jars to come to room temperature. Check seals, storing any improperly sealed jars in the fridge. Sealed jars should be stored in a cool, dark place for up to 18 months.
Notes
*This recipe was tested using regular Sure-Jell. If using other types of pectin, I’d suggest adding 1 to 2 Tablespoons of lemon juice to the recipe to ensure the acidity is safe for canning. Sure Jell includes citric acid in the powdered pectin, but other types of pectin may not acidify the mixture while they activate.
**Altitude Adjustments for Canning:
- 1,001-6,000 feet: process for 10 minutes.
- Above 6,001 feet: process for 15 minutes.
Nutrition
Calories: 48kcal, Carbohydrates: 12g, Fat: 0.04g, Sodium: 2mg, Potassium: 0.3mg, Sugar: 12g, Calcium: 1mg, Iron: 0.01mg
Nutrition information is automatically calculated, so should only be used as an approximation.
Expand Your Pantry: More Homemade Jelly & Canning Recipes
If you’ve enjoyed the process of making corn cob jelly and are eager to fill your pantry with more homemade preserves, here are some additional recipes to inspire your canning adventures. Creating your own jellies and jams is a rewarding way to capture the flavors of the season and enjoy them year-round.
More Homemade Jelly Delights:
- Red Currant Jelly
- Raspberry Jelly
- Blueberry Jelly
- Strawberry Jelly
- Blackberry Jelly
Summer Canning Essentials:
Beyond sweet preserves, summer offers an abundance of produce perfect for canning savory staples. Stock your shelves with these essential canning recipes:
- Canning Tomatoes
- Canning Peaches
- Canning Blackberries
- Canning Carrots