
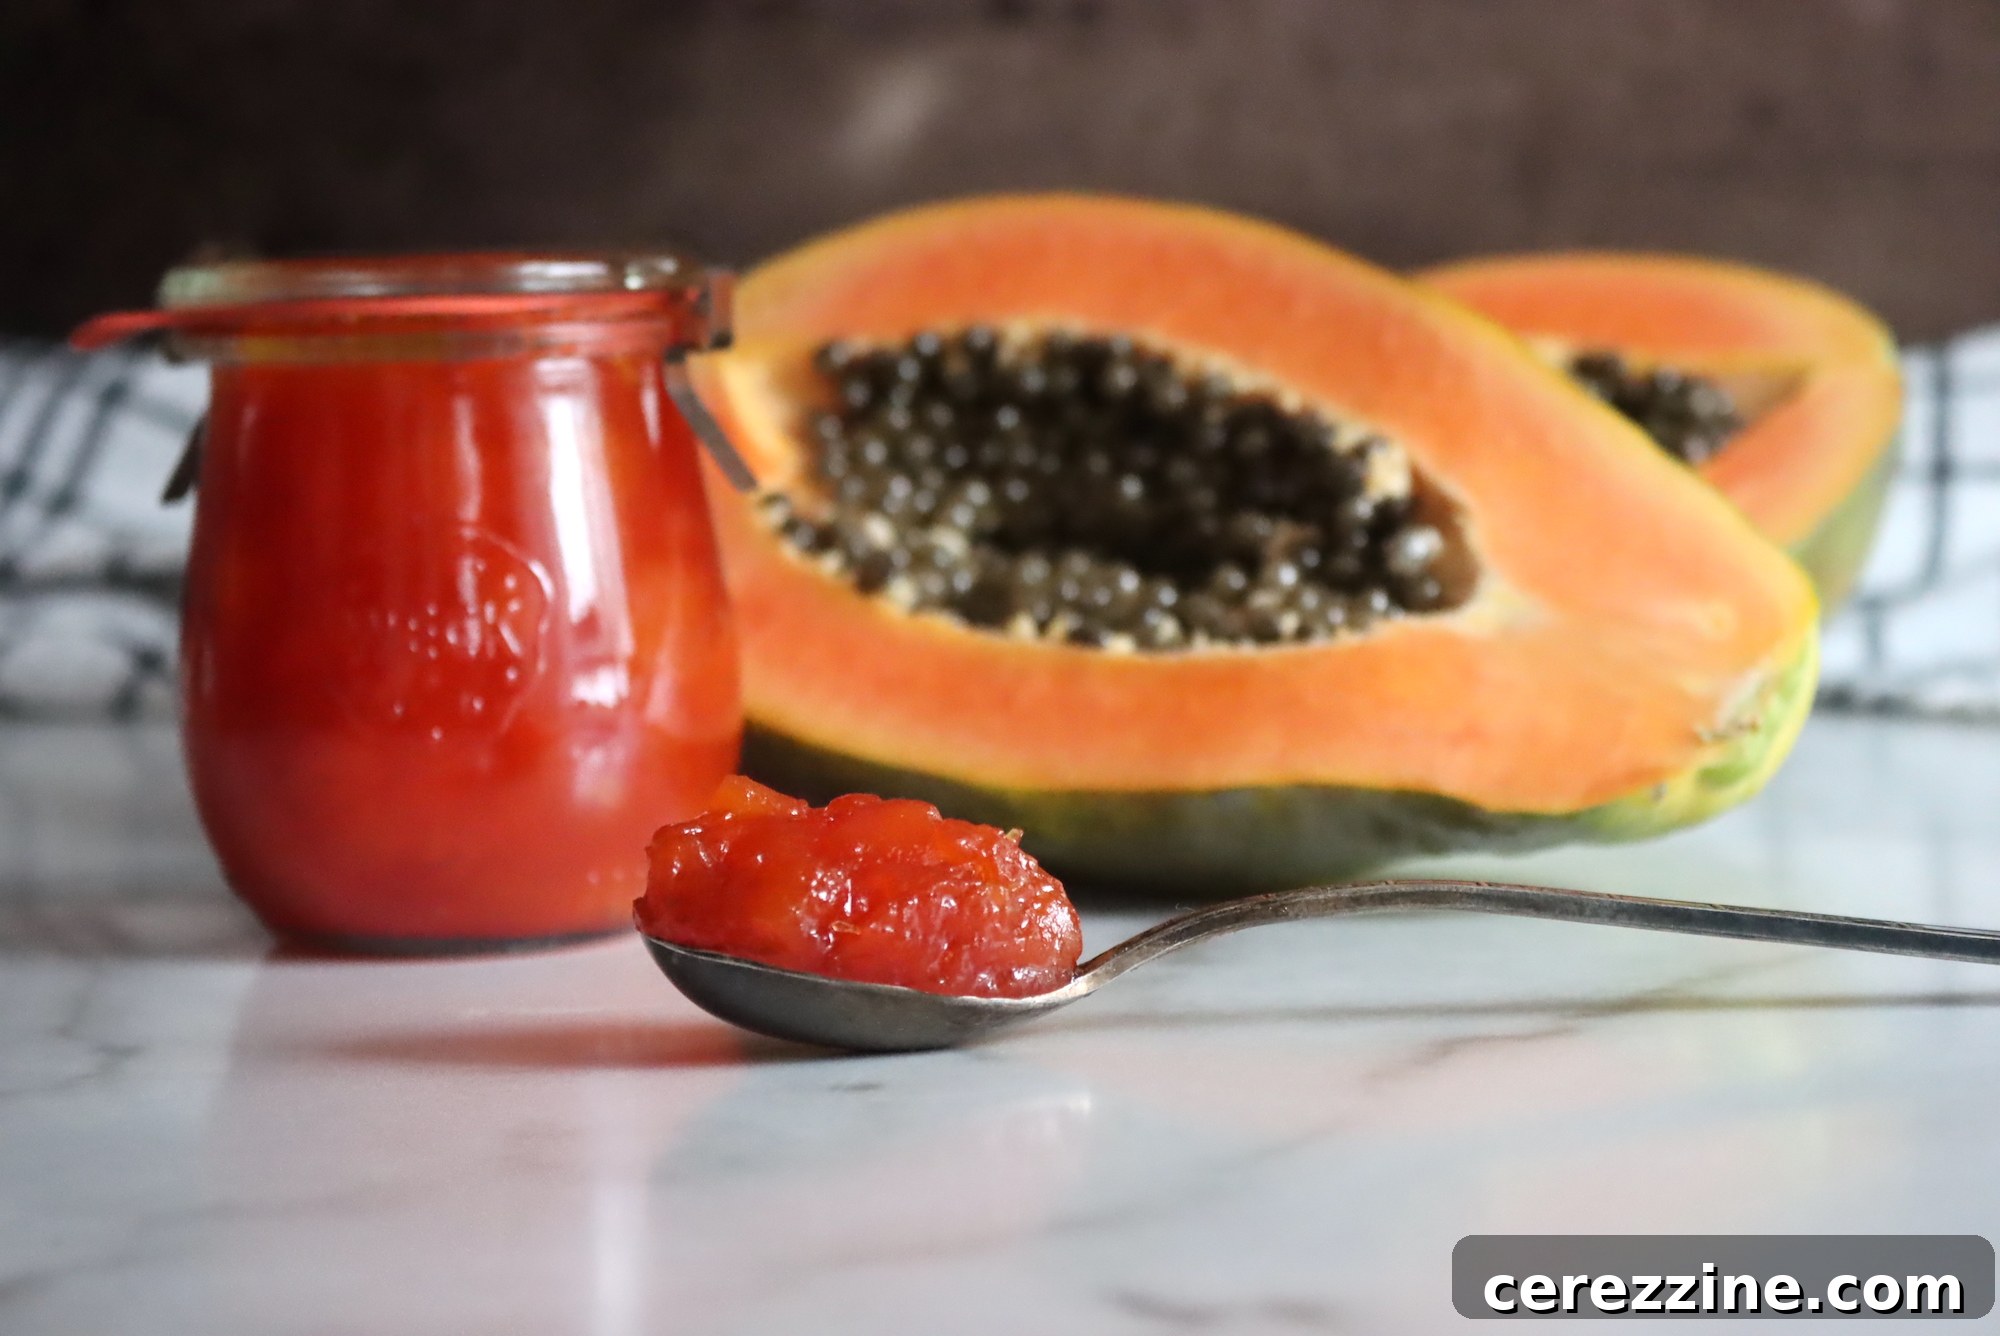
Embrace the Tropics: Your Guide to Crafting Delicious Papaya Jam
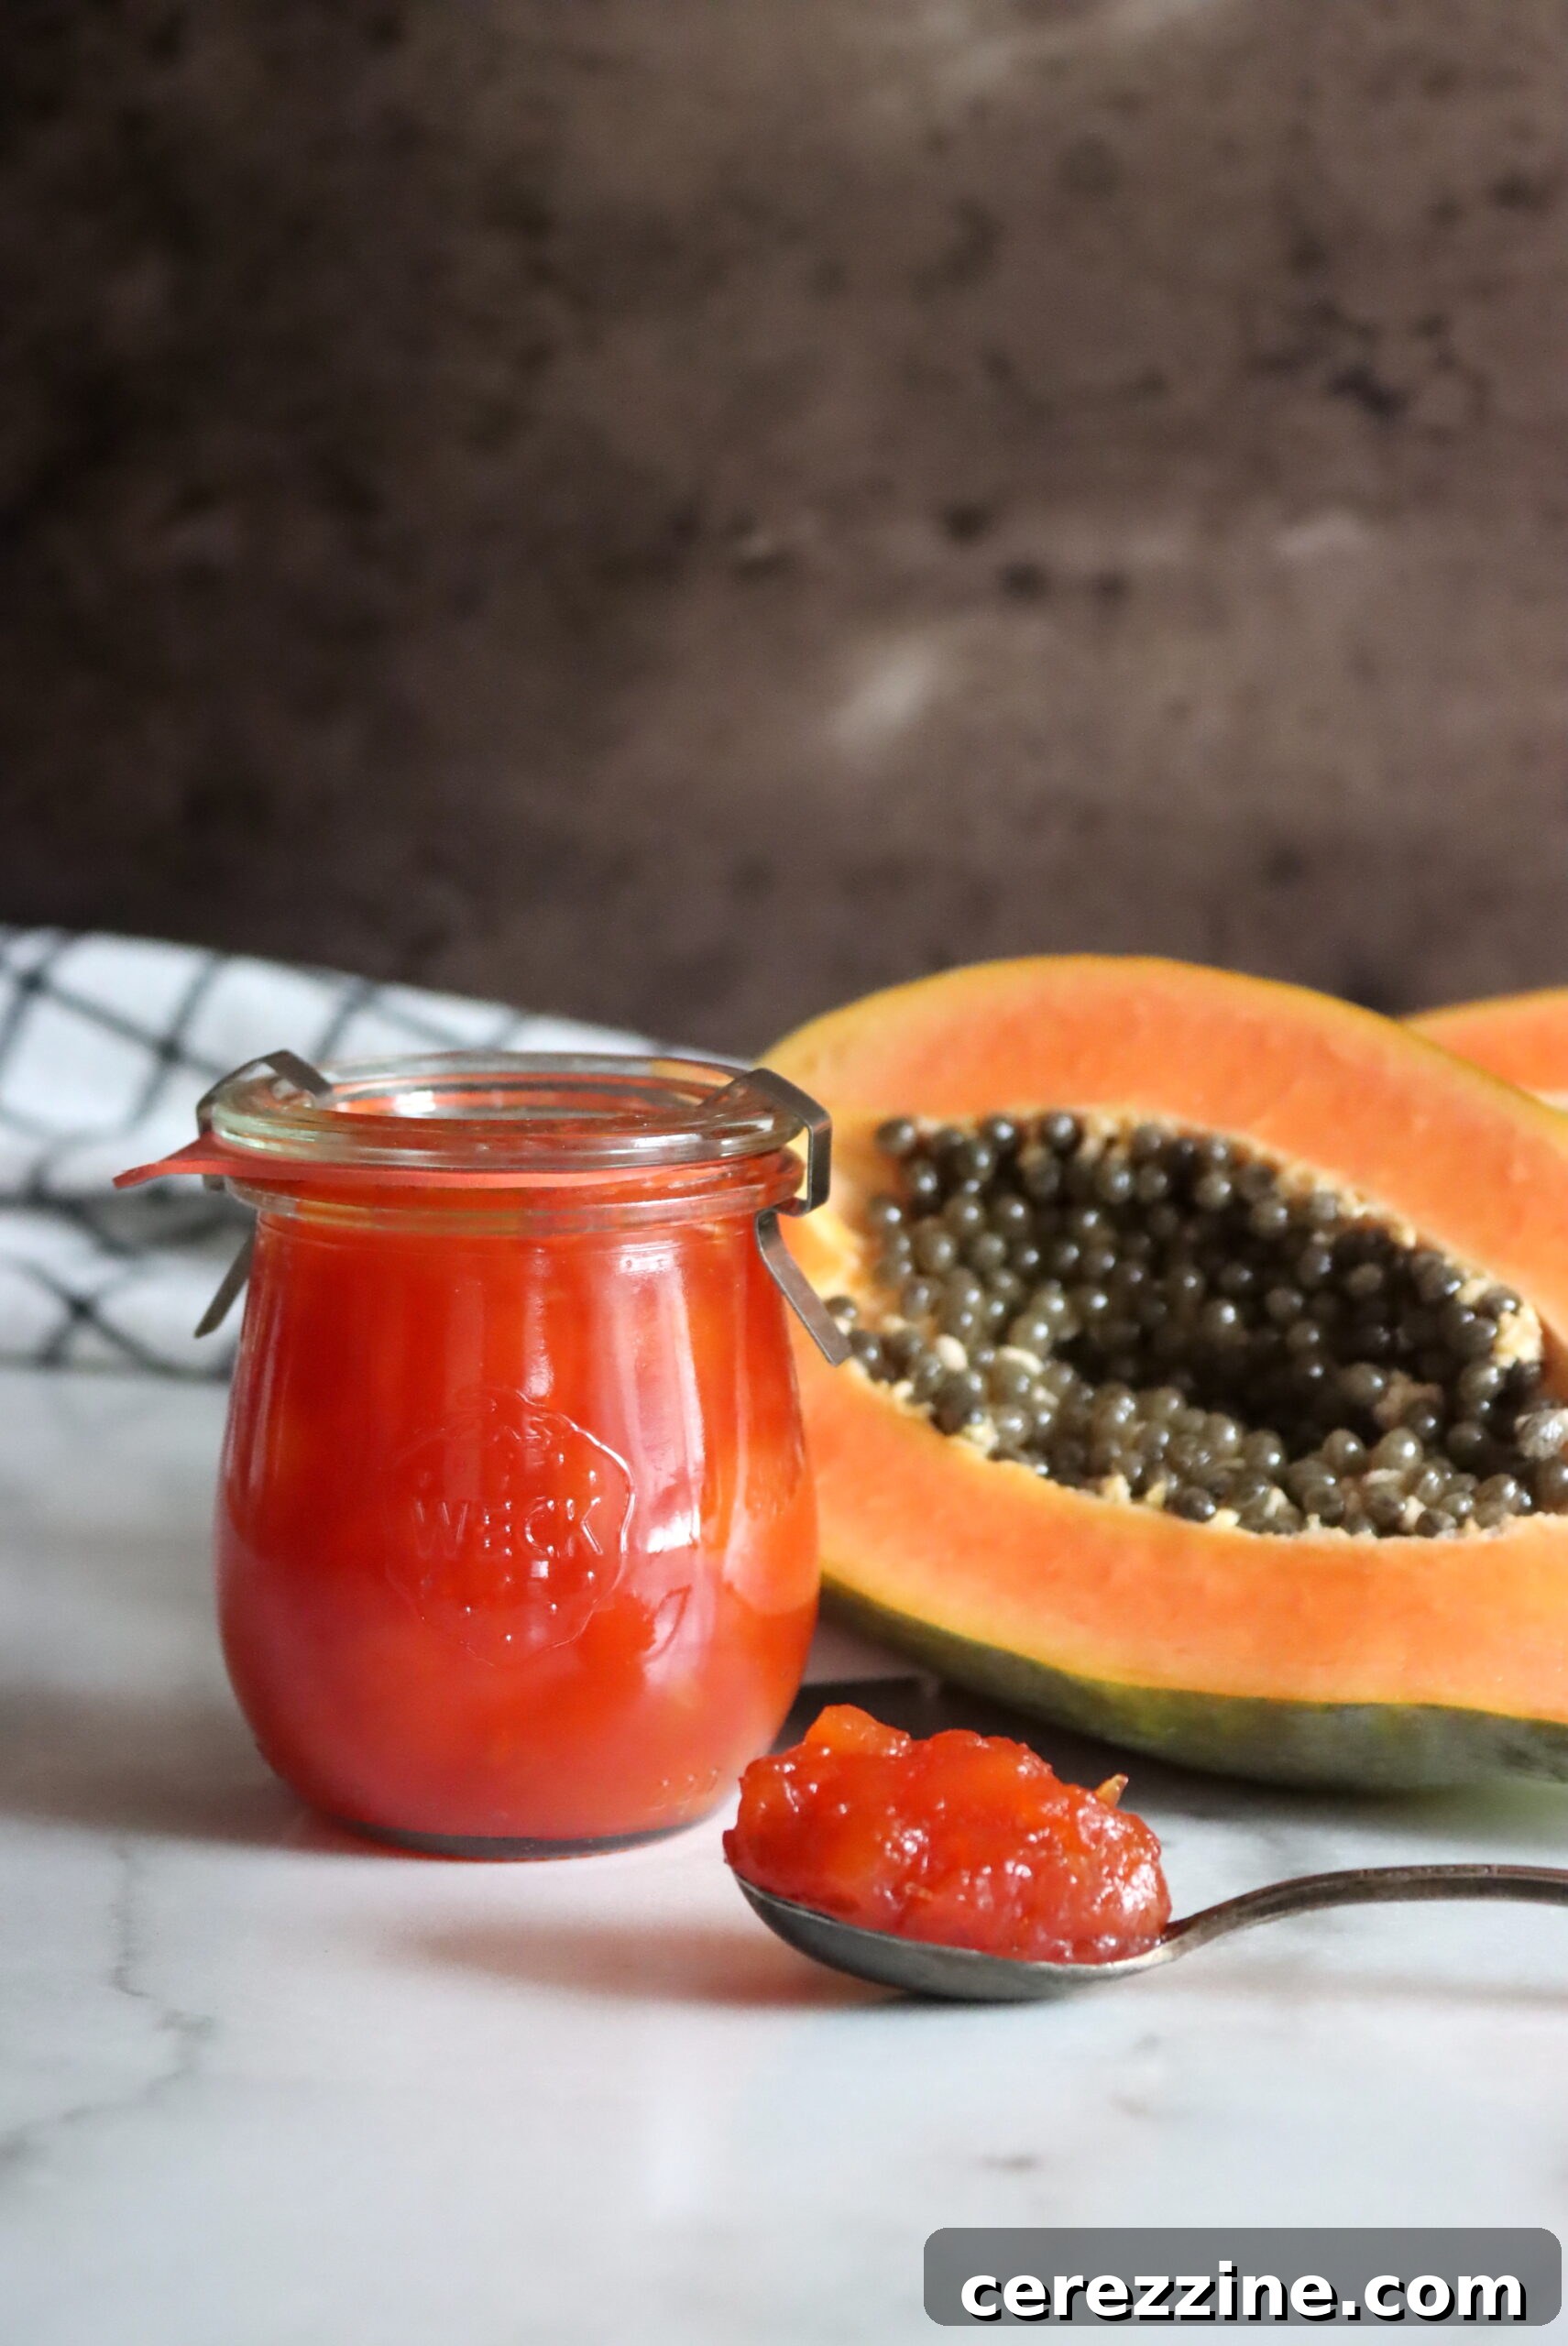
Imagine a spoonful of sunshine, a burst of exotic sweetness that transports you straight to a sun-drenched beach, no matter the season. That’s the magic of homemade papaya jam. This vibrant preserve captures the unique, luscious flavor of ripe papayas, offering a delightful escape from the everyday.
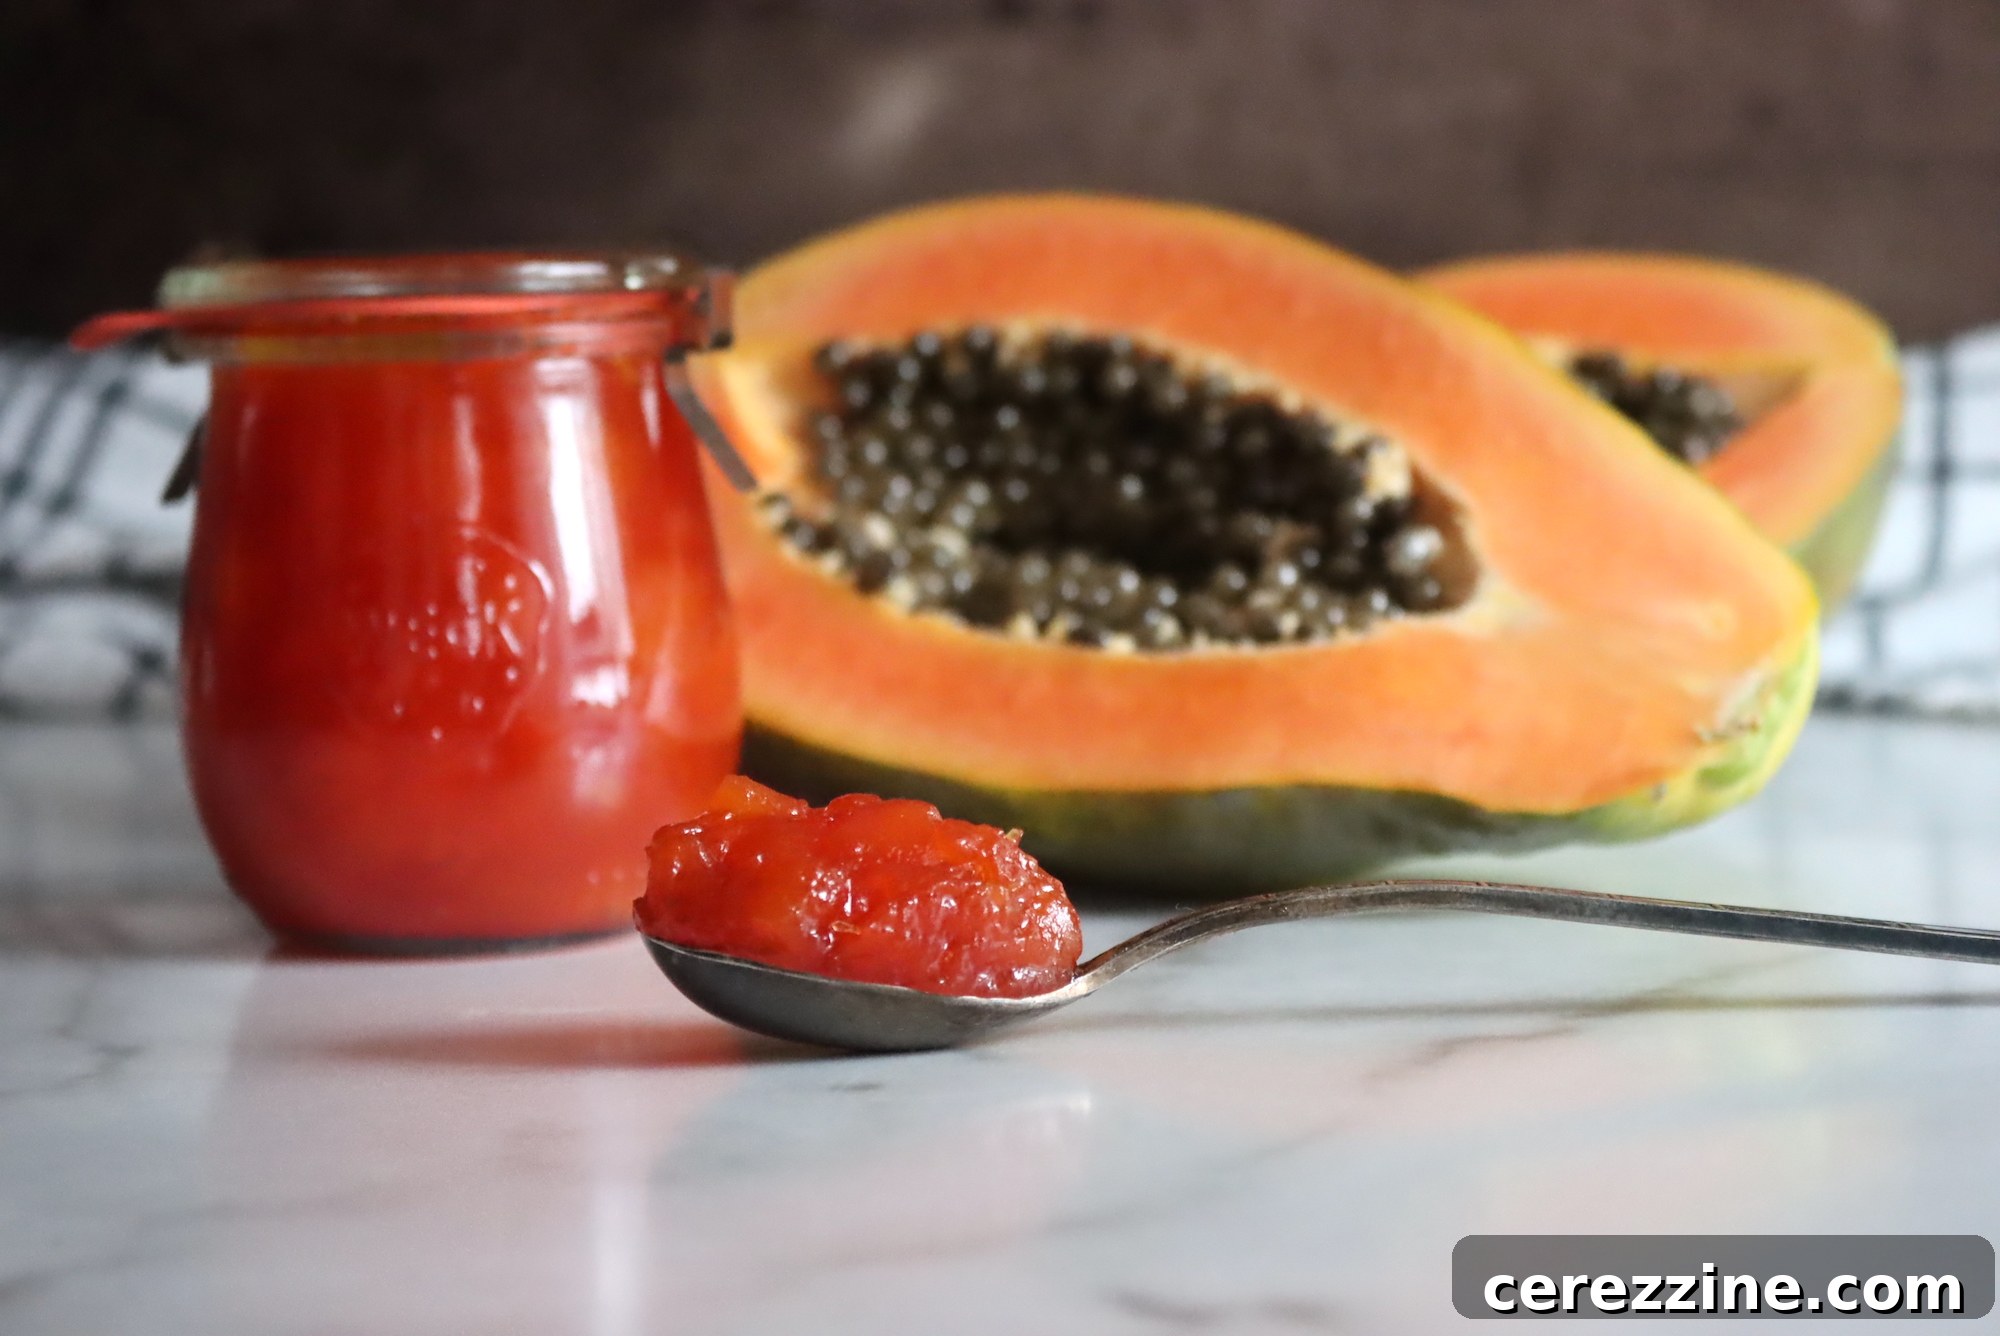
My own journey into the world of papaya jam began during a memorable spring break in Puerto Rico. While many of my college peers were exploring the nightlife, I found myself drawn to local markets, fascinated by the array of fresh fruits and unique preserves. It was there I discovered the irresistible charm of papaya jam, cementing my lifelong love affair with homemade fruit spreads.
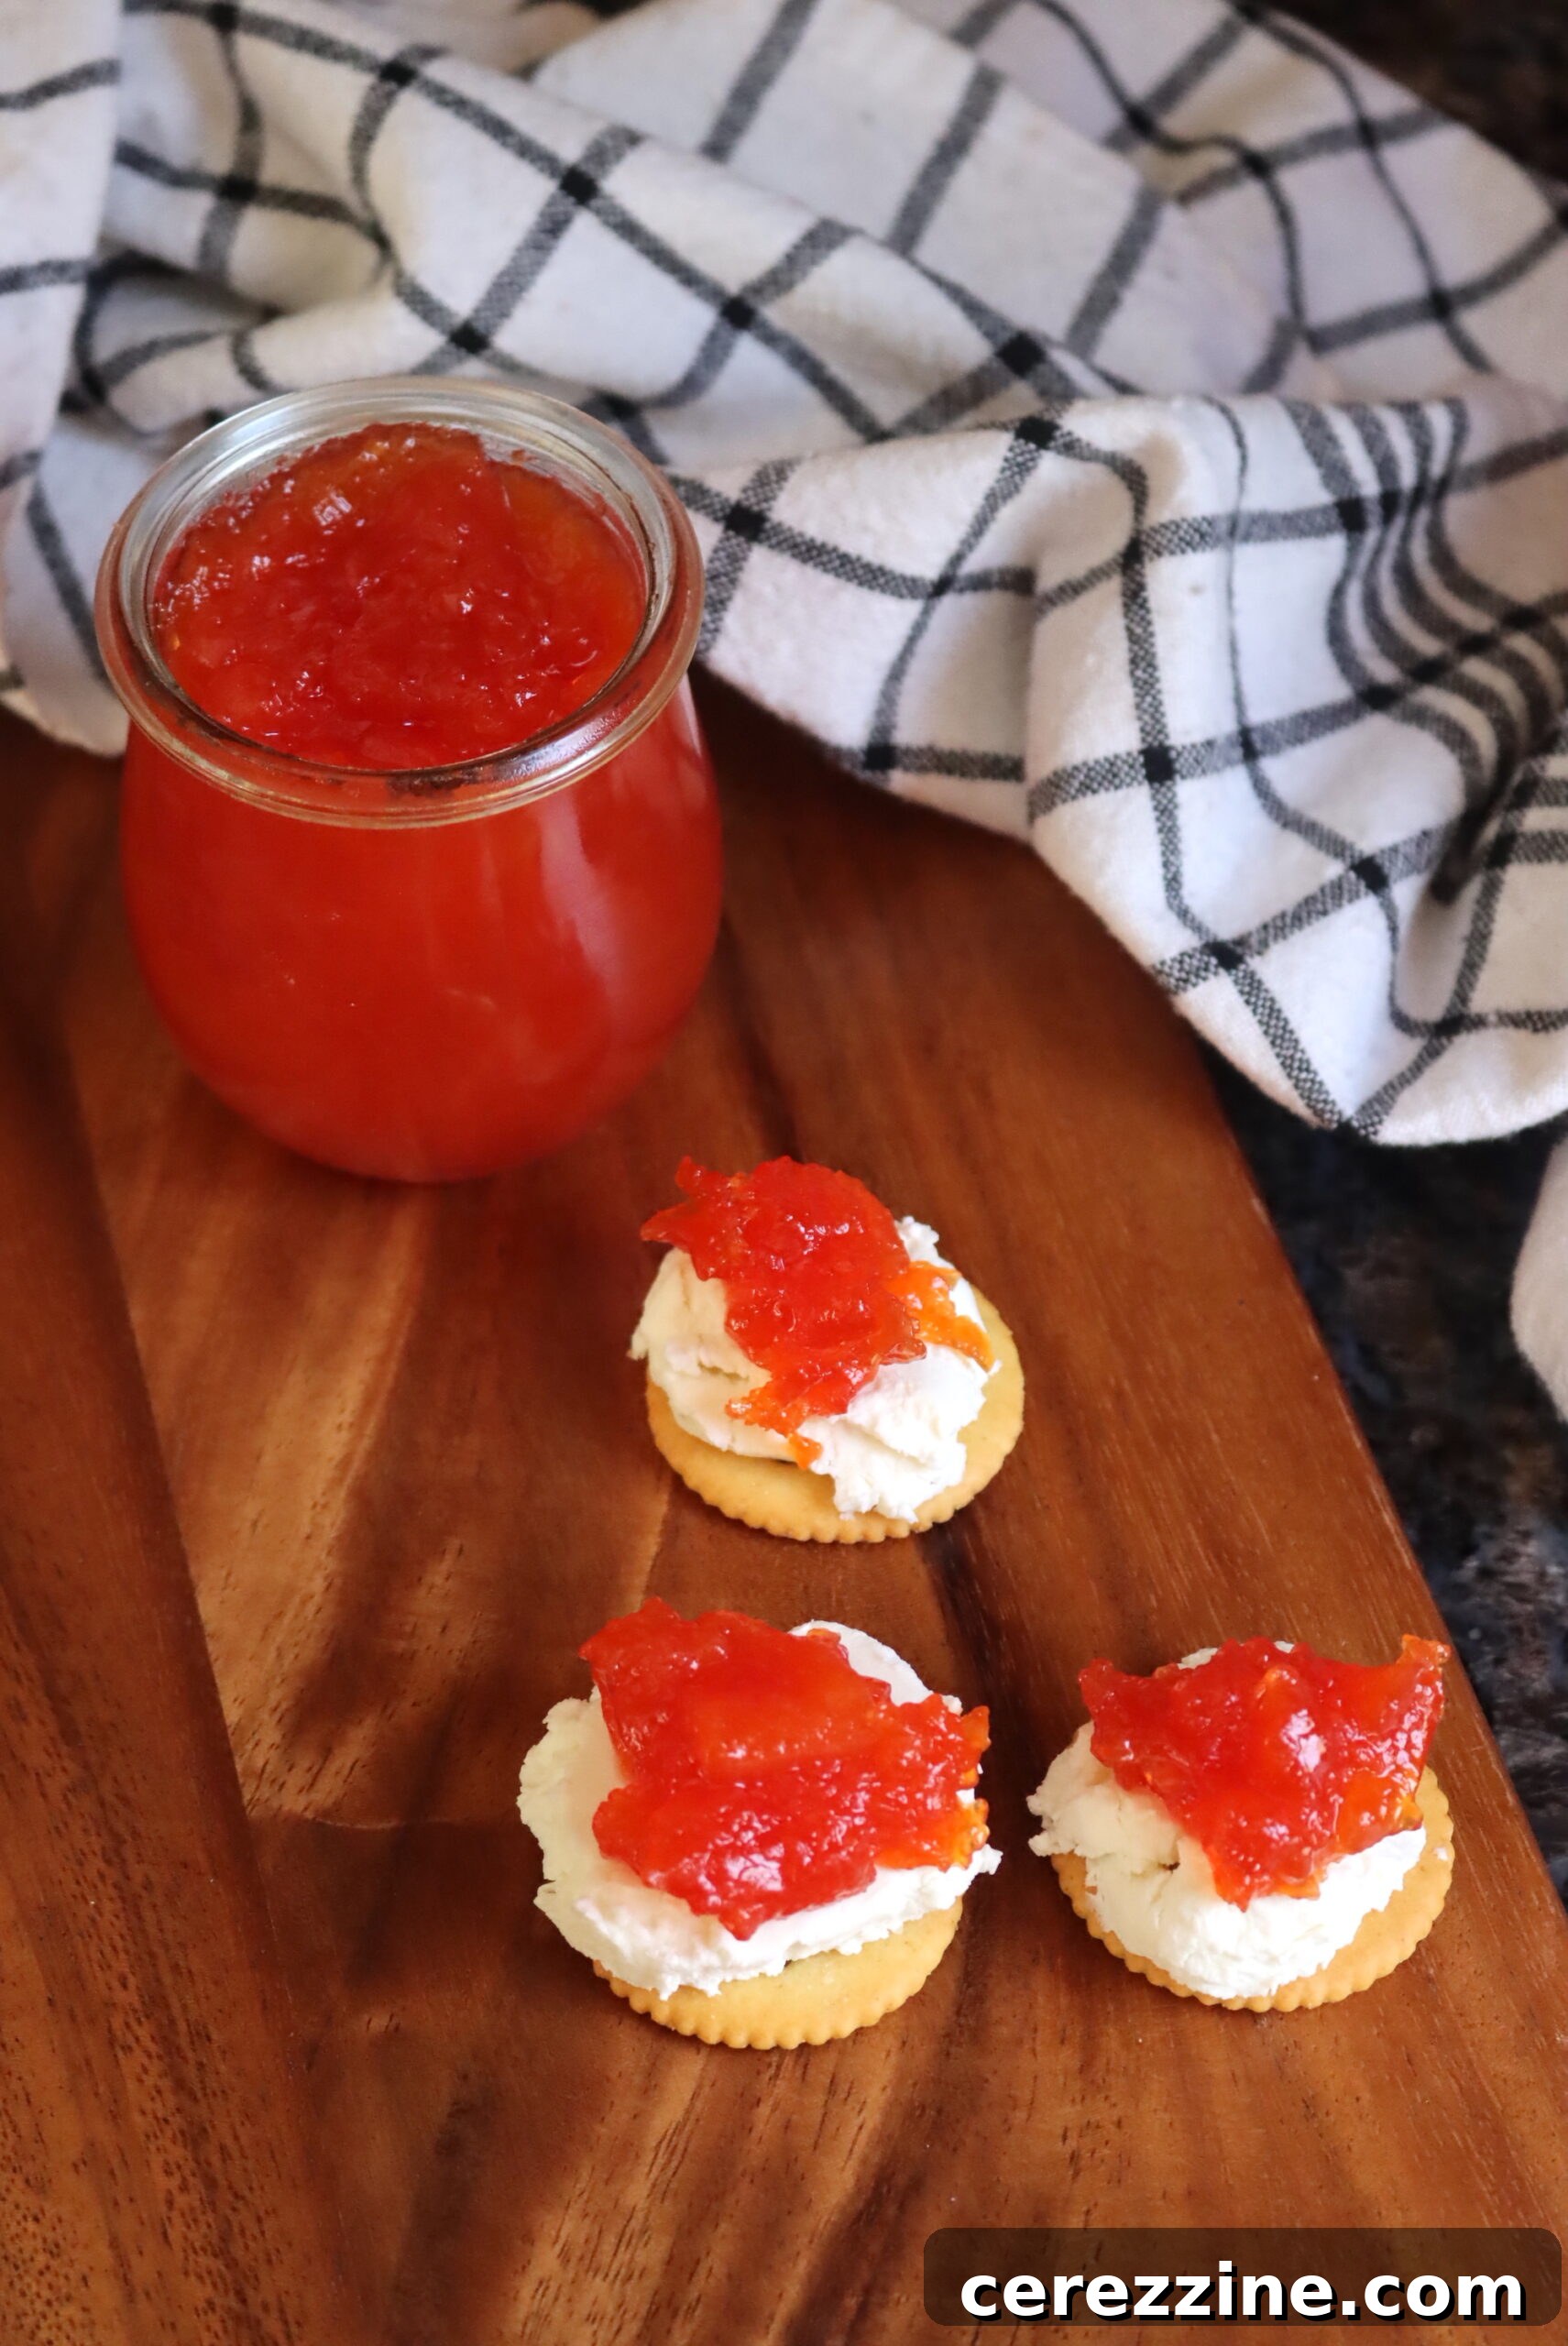
More than just a sweet spread for toast, this versatile tropical jam harmonizes beautifully with both sweet and savory dishes. Its bright, fragrant profile makes it a standout ingredient, whether you’re starting your day or elevating a gourmet platter. Traditionally, it’s often paired with a dollop of tangy, soft goat cheese on crackers – a combination that perfectly balances its tropical sweetness with a creamy, savory counterpoint, creating an unexpected culinary delight.

Essential Ingredients for Homemade Papaya Jam
Creating your own batch of delicious papaya jam at home allows you to savor the fresh, tropical flavors anytime you desire. This recipe is a wonderful adaptation from The Joy of Jams, Jellies and Other Sweet Preserves by Linda Ziedrich, and it requires only a few simple components to bring this exotic spread to life.
For a yield of approximately five half-pint (8 oz) jelly jars, gather these key ingredients:
- 2 pounds of ripe papayas
- 3 cups of granulated sugar
- ½ cup of bottled lemon juice
Choosing the Perfect Papaya: The secret to exceptional papaya jam lies in selecting papayas at their peak ripeness. Look for fruits that display a bright yellow or orange hue and feel slightly soft when gently squeezed. Avoid any papayas with dark brown spots or an overly mushy texture, as these indicate overripeness, which can affect the jam’s flavor and texture. Green papayas are unripe and will ripen beautifully on your countertop within a few days; refrigeration will slow this process. Freshly ripened papayas guarantee the most vibrant flavor and best consistency for your jam, ensuring a truly delightful tropical preserve.
The Importance of Lemon Juice: Lemon juice serves multiple critical functions in this papaya jam recipe. Firstly, it provides the necessary acidity to activate the natural pectin in the fruit, which is essential for achieving a proper gel set. Papayas themselves are relatively low in pectin, making the addition of an acidic ingredient crucial for the jam to thicken correctly. Secondly, its bright, zesty notes beautifully enhance and balance the tropical sweetness of the papaya, preventing the jam from tasting overly sugary and adding a refreshing tang. When canning, it’s highly recommended to use bottled lemon juice over fresh-squeezed to ensure consistent acidity levels, which is crucial for food safety during the preservation process. This consistency helps maintain the pH necessary for safe water bath canning.
Step-by-Step Guide: How to Make Papaya Jam
Follow these straightforward steps to transform fresh papayas into a luscious, homemade jam that you’ll adore. Precision and careful attention to each stage will ensure a perfectly set and flavorful preserve.
Preparation:
- Begin by thoroughly washing the ripe papayas under cool, clean running water. Gently scrub the skin with your hands to remove any dirt or residue.
- Carefully peel the papaya using a vegetable peeler or a sharp paring knife. Discard the peelings.
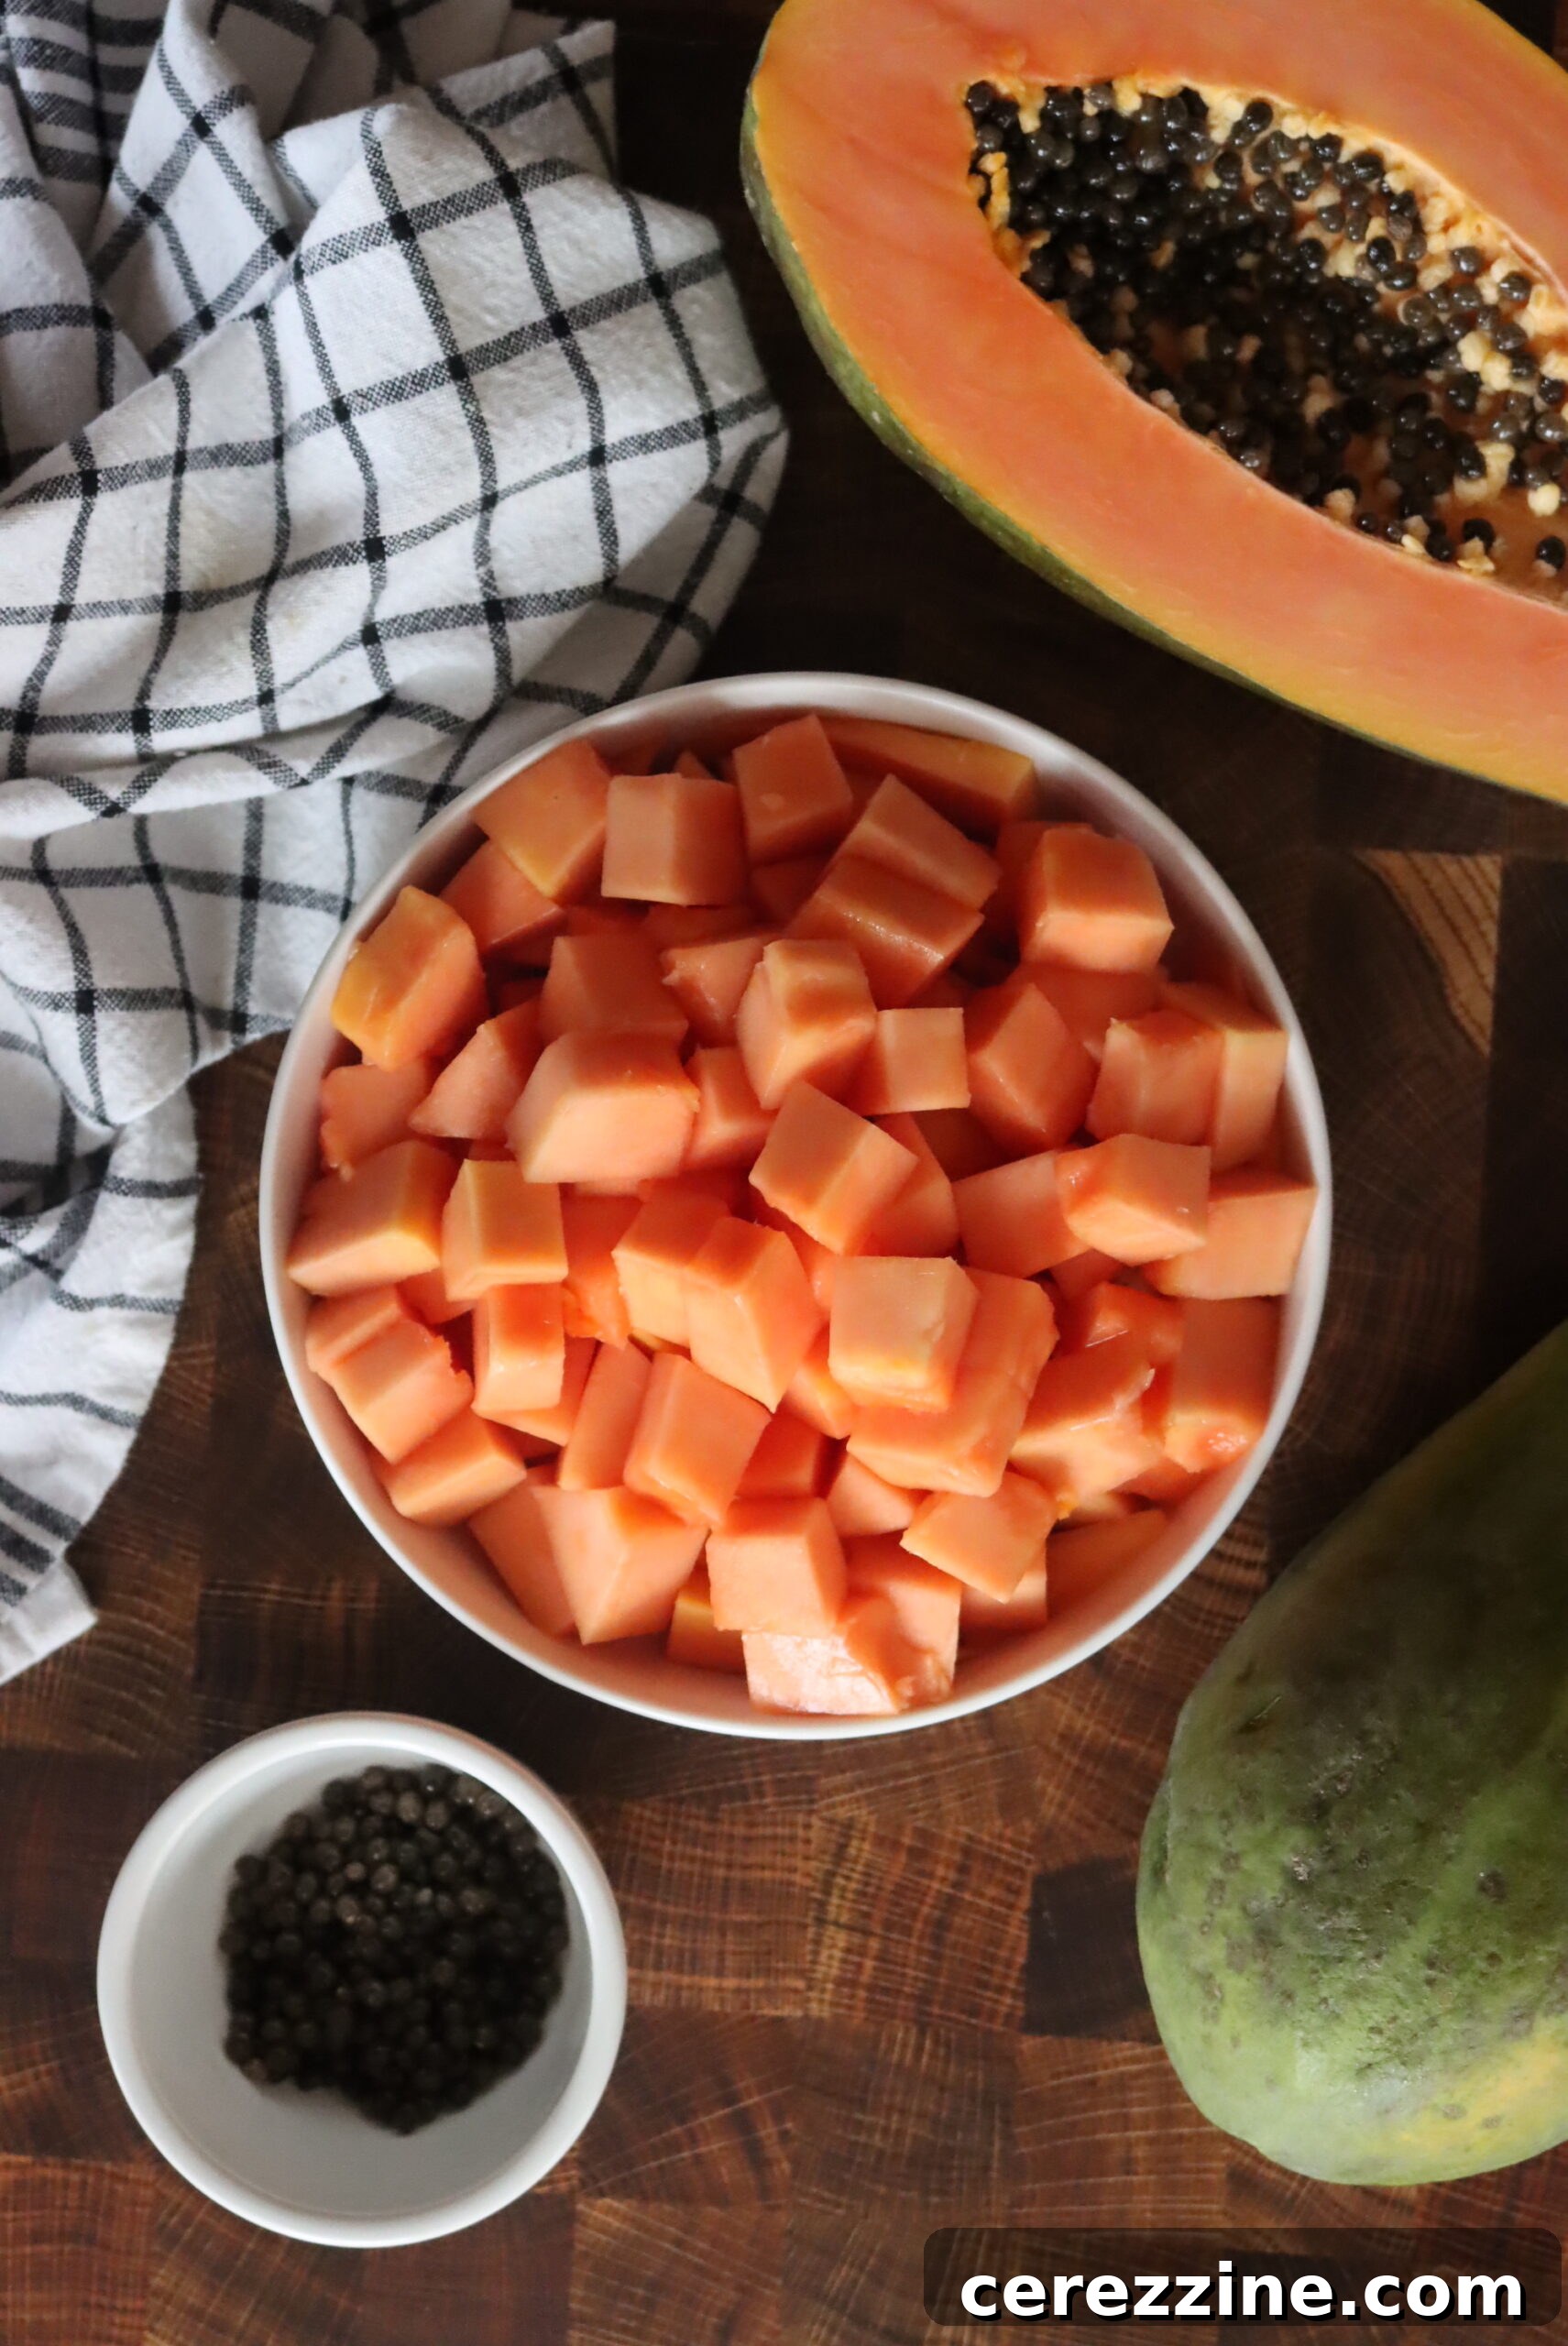
- Slice each papaya in half lengthwise. Using a sturdy spoon or a paring knife, scoop out the black seeds from the center cavity. While papaya seeds are edible and can be used in other culinary applications, they are not typically included in jam recipes due to their peppery flavor and texture. You can choose to clean and set them aside for later use or discard them.
- Cut the peeled and deseeded papaya halves into small, uniform chunks. Aim for pieces that are roughly ½ to 1 inch in size to ensure even cooking and mashing. Place these papaya chunks into a medium-sized saucepan or a dedicated jam pot. Using a heavy-bottomed pot helps prevent scorching.
Cooking the Papaya:
- Place the saucepan containing the papaya chunks on your stovetop over medium-high heat. Cook, stirring frequently, until the fruit begins to release its natural juices. This initial cooking helps to soften the papaya and create a liquid base. Be sure to stir regularly to prevent any scorching at the bottom of the pan, as this can affect the jam’s flavor.
- Once the juices have been released and the papaya is visibly softening, reduce the heat to a gentle simmer. Cover the pan and allow the papaya to simmer for approximately 15 minutes, or until the chunks are very tender and easily pierced with a fork. Stir occasionally to ensure even cooking and prevent sticking.
- Remove the pan from the heat. Using a potato masher, thoroughly mash the tender papaya chunks into a pulp. You can achieve your desired consistency here – from a slightly chunky jam with small fruit pieces to a smoother spread by mashing more vigorously.
Developing the Jam:
- To the mashed papaya pulp in the pan, add the 3 cups of granulated sugar and the ½ cup of bottled lemon juice. Stir vigorously to ensure all ingredients are well combined and the sugar begins to dissolve. This is where the magic of jam-making truly begins, as the sugar and acid work together with the fruit’s natural pectin.
- Prepare for the crucial “gel test” by placing 3 or 4 small ceramic plates or saucers in your freezer. These chilled plates will be essential for accurately determining when your jam has reached its setting point.
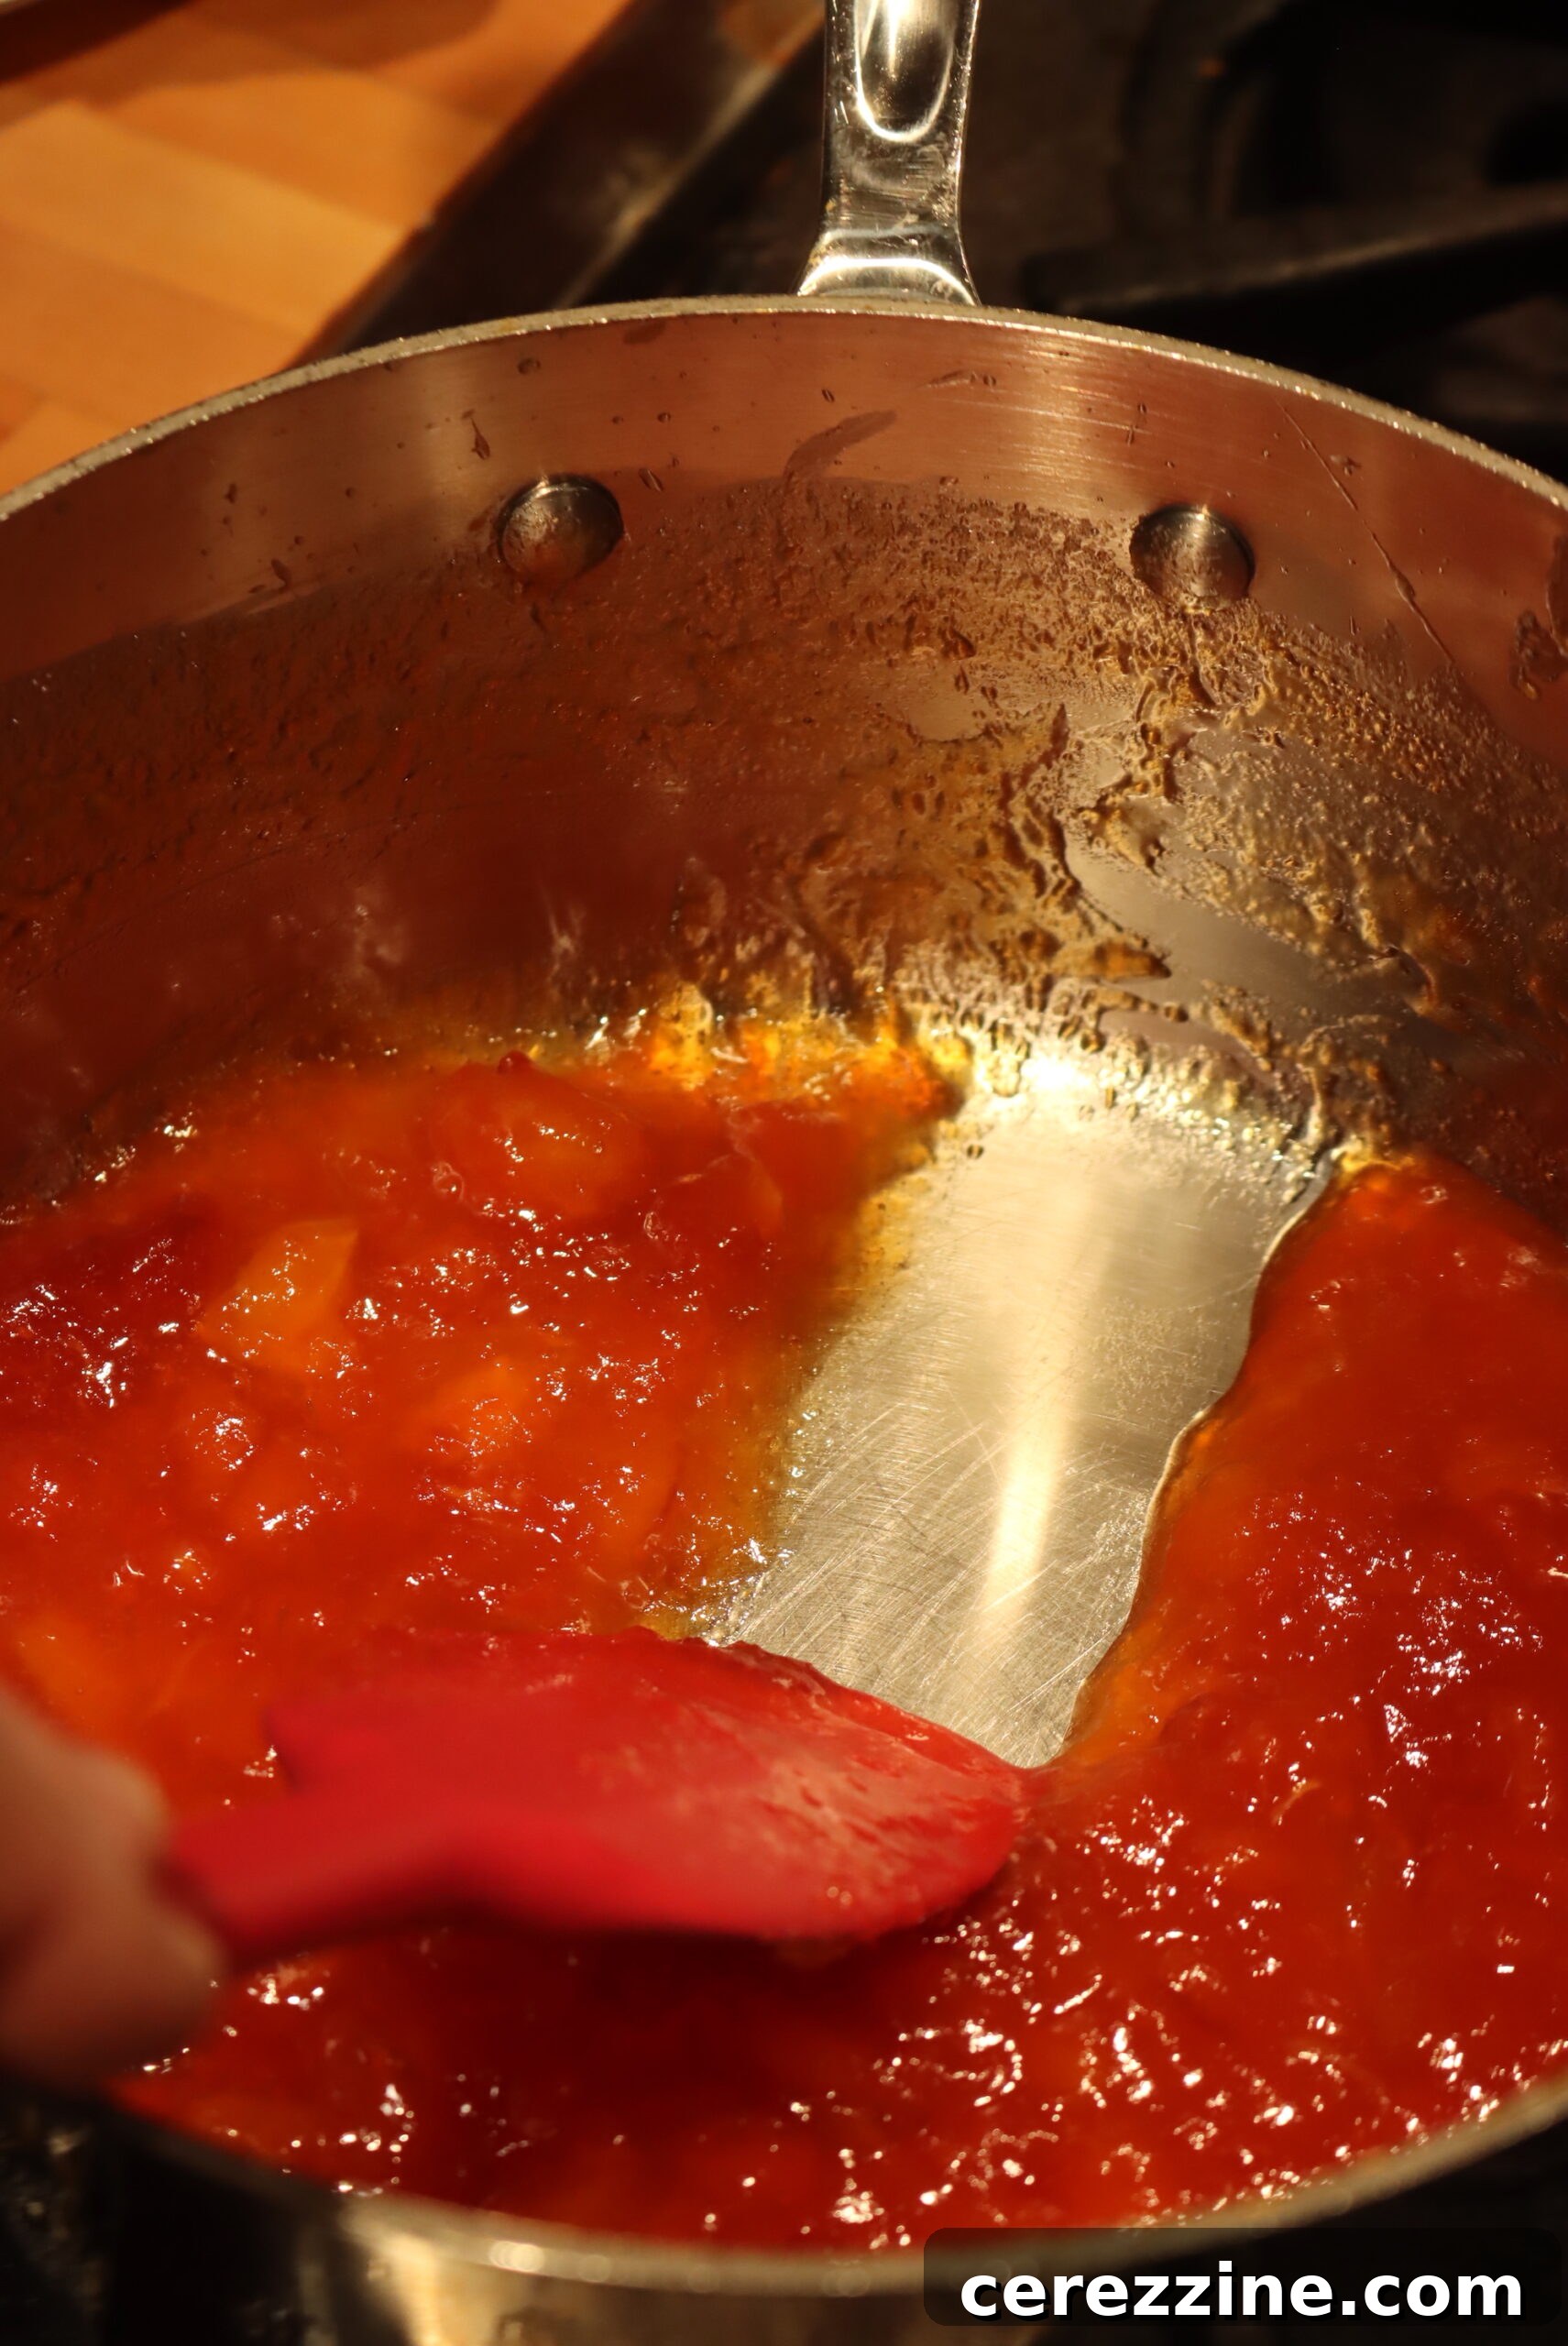
- Return the pan to the stovetop over medium heat. Bring the mixture to a slow, rolling boil, stirring frequently to prevent sticking and ensure even cooking. Continue to cook for approximately 15 minutes, or until the jam begins to visibly thicken and coats the back of a spoon.
Testing for Gel Set:
- Retrieve one of your chilled plates from the freezer. Carefully drop about a tablespoon of the hot papaya jam onto the cold plate. Immediately return the plate to the freezer for one minute. The cold temperature will rapidly cool the jam, allowing you to assess its set.
- After one minute, remove the plate from the freezer. With your fingertip, gently push or “nudge” the dollop of jam. If the jam has reached its gel stage, it will appear to have formed a “skin” on top that wrinkles when nudged. It should also hold its mounded shape on the plate rather than spreading out or appearing runny. This wrinkling is a clear indicator of a good set.
- If the jam is still too runny or your finger slides easily through it without wrinkling, return the pan to the heat and continue cooking for several more minutes. Repeat the gel test with a fresh cold plate until you achieve the desired mounded, wrinkly consistency. Do not overcook, as this can result in a stiff, overly firm jam.
- Once the jam has passed the gel test, remove the pan from the heat. If any foam has formed on the surface during cooking, carefully skim it off with a spoon for a clearer, more appealing jam with a smoother texture.
Storing Your Papaya Jam (Without Canning)
If you prefer not to undertake the water bath canning process, you can still enjoy your delicious homemade papaya jam with these simpler, shorter-term storage methods. These are perfect for immediate consumption or gifts.
Refrigeration: Allow the hot jam to cool on your countertop until it reaches room temperature. Cooling slowly helps prevent condensation. Then, transfer the jam into clean, airtight containers, label them with the date, and store in the refrigerator. When stored in this manner, fresh papaya jam will maintain its quality and freshness for approximately 3 weeks. Always use a clean spoon each time you retrieve jam to prevent spoilage.
Freezing: For longer storage without canning, freezing is an excellent option. Transfer the cooled jam into freezer-safe containers, leaving about ½ inch of headspace at the top to account for expansion as the jam freezes. Label with the date and freeze. Properly frozen papaya jam can be enjoyed for up to 6 months. To use, simply thaw the jam in the refrigerator overnight before serving. The texture may soften slightly after thawing, but the flavor will remain vibrant.
Exciting Papaya Jam Variations to Explore
While classic papaya jam is a treat on its own, there are many delightful ways to customize its flavor profile to suit your palate or culinary creativity. Experiment with these variations to discover your new favorite tropical preserve:
- Lime Instead of Lemon: For a slightly different citrus note, substitute fresh or bottled lime juice for lemon juice in the same quantity. Lime offers a distinctive zesty brightness and a subtle floral aroma that beautifully complements the tropical essence of papaya. It is equally effective for canning purposes due to its consistent acidity, making it a safe and flavorful alternative.
- Warm Spice Infusion: Introduce aromatic depth and a comforting warmth by cooking the papaya with a whole cinnamon stick, a few thin slices of fresh ginger, or half a vanilla bean. These additions impart subtle yet sophisticated layers of flavor without overpowering the natural sweetness of the papaya. Remember to remove whole spices before jarring the jam.
- Rich & Complex Spices: For a bolder, more complex jam, consider adding other warm spices such as a pinch of freshly grated nutmeg, a couple of whole cloves, or a dash of allspice. These spices can mellow the jam’s inherent sweetness and introduce a rich, comforting warmth that pairs wonderfully with the fruit. Start with small amounts and adjust to taste.
- Tropical Fruit Medley: Enhance the tropical experience by combining papaya with other complementary fruits. A small amount of mango, pineapple, or passion fruit can be added during the cooking process to create a multi-layered flavor profile. Ensure the total fruit weight remains consistent with the recipe for proper sugar and pectin balance.
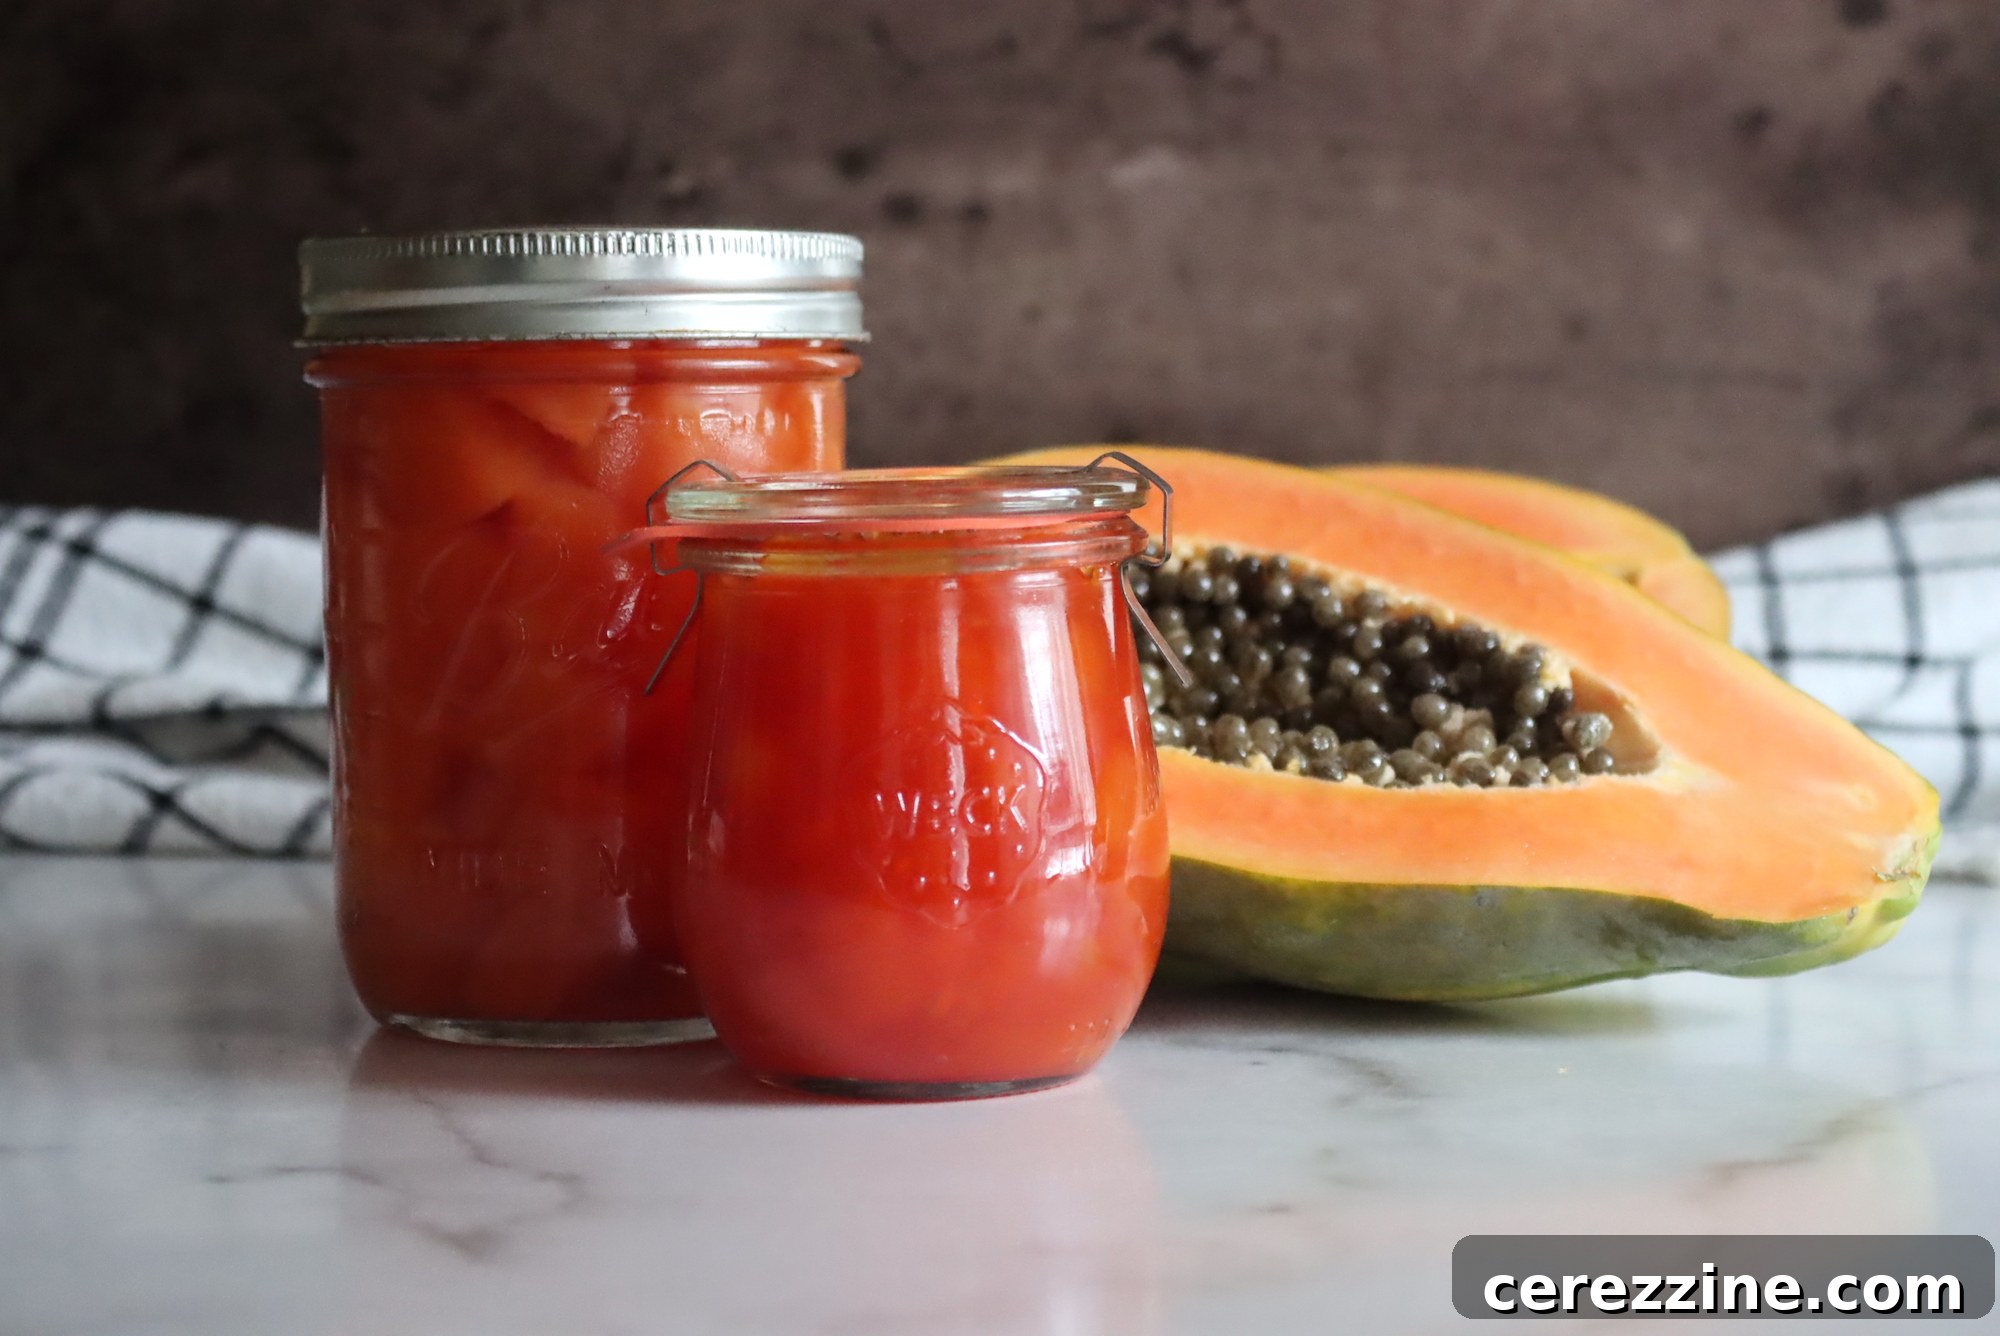
- Chunkier Preserves: If you enjoy a more textured spread with discernible fruit pieces, you can also opt to can plain papaya in a light syrup. This method results in a chunkier papaya preserve that’s perfect for desserts, topping ice cream, or as a standalone treat, offering a different textural experience than traditional jam.
Mastering Water Bath Canning for Papaya Jam
For long-term, shelf-stable storage of your homemade papaya jam, water bath canning is the recommended and safest method. This process creates a vacuum seal that preserves the jam without refrigeration, allowing you to enjoy tropical flavors year-round. Before you begin cooking your jam, it’s crucial to prepare your canning equipment and understand the basics of this preservation technique. If you’re new to water bath canning, I highly recommend consulting a comprehensive beginner’s guide to ensure safety and success.
Canning Steps:
- Jar Preparation: Ensure your canning jars, new lids, and screw bands are thoroughly clean and sanitized. Heat your empty jars by keeping them immersed in hot (but not boiling) water in your canner, or by running them through a dishwasher cycle on a sanitize setting. Keep new flat canning lids and screw bands warm in a separate saucepan with simmering (not boiling) water; this softens the sealing compound for a better seal.
- Filling Jars: Once your jam is thoroughly heated and ready (after successfully passing the gel test), carefully ladle the hot jam into the hot, prepared jars. It is critical to leave precisely ¼ inch of headspace (the empty space between the top of the jam and the rim of the jar) at the top of each jar. Too little headspace can lead to siphoning (jam boiling out), while too much can prevent a proper seal. A canning funnel with headspace measurements can be incredibly helpful for accuracy and to minimize mess.
- Cleaning Rims & Sealing: After filling, meticulously wipe the rims of the filled jars with a clean, damp cloth or paper towel to remove any jam residue, sugar, or pulp. This step is vital for ensuring a proper vacuum seal. Center a warm, new flat canning lid on each jar, then apply the screw band. Tighten the canning bands only until “finger-tight” – meaning firm but not overly tight, allowing air to escape during processing and forming a strong seal as the jar cools.
- Handling Partially Filled Jars: If you have a jar that is only partially filled (with significantly more than ¼ inch headspace), do not attempt to process it in your hot water canner. The partial fill can lead to sealing failures and potential safety issues. Instead, allow the jam in that jar to cool and firm up on its own, then store it in the refrigerator for immediate use (within 3 weeks), or freeze it.
- Processing in the Canner: Carefully load the filled jars into your preheated water bath canner using a jar lifter, ensuring they are fully submerged in water by at least an inch. The water should be simmering before adding jars. Cover the canner and bring the water to a full, rolling boil. Once the water is vigorously boiling, start your timer. Process the jars for 10 minutes. If you are canning at elevations above 6,000 feet, you will need to adjust the processing time to 15 minutes to account for lower boiling points, as water boils at a lower temperature at higher altitudes, requiring longer processing for safety.
- Cool Down: After the processing time is complete, turn off the heat and carefully remove the cover from the canner. Allow the jars to sit undisturbed in the hot water for an additional 5 minutes before removing them. This helps prevent “siphoning” (loss of liquid from the jars due to sudden temperature changes) and promotes a stronger, more reliable seal.
- Final Cooling & Sealing Check: Using a jar lifter, carefully remove the hot jars from the canner and place them upright on a towel-lined countertop or a wire rack. Ensure there is adequate space between jars (at least one inch) for air circulation to facilitate even cooling. Do not disturb, touch, or tighten the bands further as they cool. Listen for the satisfying “ping” sound as the lids seal. After 12-24 hours, check the seals by pressing down on the center of each lid; it should not flex or move. Any jars that have not sealed (the lid can be pressed down) should be refrigerated and used promptly within 3 weeks.
Long-Term Storage:
Store your properly sealed and canned papaya jam in a cool, dark, dry place, such as a pantry, basement, or cupboard away from direct sunlight and heat sources. Under optimal conditions, it will maintain its peak quality on the shelf for approximately 18 months, or even longer, as long as the seal remains intact. Always label your jars with the contents and date of canning. Once a jar has been opened, always refrigerate it and consume it within a few weeks, just like any other opened preserve.
Delightful Ways to Enjoy Your Homemade Papaya Jam
The bright, sweet, and tropical flavor of homemade papaya jam makes it an incredibly versatile spread and ingredient. Here are numerous delightful ways to incorporate this preserve into your meals and snacks, adding an exotic touch to any dish:
- Classic Breakfast & Brunch: Spread generously on warm biscuits, flaky croissants, toasted English muffins, bagels, or any of your favorite homemade breads. It’s a fantastic way to elevate your morning routine, offering a refreshing change from traditional berry jams.
- Dessert Enhancer: Use papaya jam as a luscious filling for thumbprint cookies, sandwich cookies, or between layers of a light sponge cake for an exotic and undeniably delicious dessert that will impress everyone. It also works beautifully as a vibrant topping for cheesecakes, panna cotta, pavlova, or swirled into vanilla ice cream for a quick and easy tropical treat.
- Savory Pairings: Embrace its versatility by pairing it with savory elements. In many Latin American countries, papaya jam is traditionally served on crackers or toast alongside tangy, soft goat cheese. The creamy, slightly tart goat cheese creates a perfect harmony with the bright sweetness of the papaya jam. It also complements sharp cheddar, creamy brie, or even a robust blue cheese beautifully on a gourmet cheese board, adding a unique fruity dimension.
- Glazes & Marinades: Whisk a spoonful into homemade salad dressings for a fruity vinaigrette, or use it as a flavorful glaze for roasted chicken, pork tenderloin, or even grilled fish. Its natural sweetness helps create a beautiful caramelization and a hint of tropical zest that enhances savory proteins.
- Yogurt & Oatmeal Topping: Stir a dollop into plain yogurt, Greek yogurt, or your morning oatmeal for an instant flavor boost and a healthy dose of tropical fruit goodness. It’s also delicious layered in parfaits with granola and fresh fruit.
- Beverage Sweetener: A small amount of papaya jam can be stirred into iced tea, lemonade, or even sparkling water for a refreshing, naturally sweetened drink with a tropical twist.
Papaya Jam Recipe
By: Ashley Adamant
Papaya Jam is a delicious way to preserve the taste of the tropics in a jar.
Recipe Details
- Servings: 40 servings, Makes five 8 oz jars
- Prep time: 10 mins
- Cook time: 30 mins
- Additional time: 10 mins
- Total time: 50 mins
Equipment
- Water Bath Canner
- Medium saucepan or jam pot
- Potato masher
- Jar lifter
- Canning funnel (optional, but recommended)
Ingredients
- 2 lbs ripe papaya
- 3 cups granulated sugar
- ½ cup bottled lemon juice
Instructions
- Wash the papaya under cool water. Peel the papaya and discard the peelings.
- Cut the papaya in half lengthwise, and use a knife or sturdy spoon to remove the seeds. Cut the papaya into small, uniform pieces (½ to 1 inch).
- Place the papaya pieces in a medium saucepan or jam pot.
- Heat the papaya pieces over medium-high heat, stirring frequently, until the juices have been released and the fruit starts to soften.
- Reduce the heat to a gentle simmer and cover, stirring occasionally. Simmer the papaya for 15 minutes or until the pieces are very tender.
- Remove the pot from heat, and use a potato masher to mash the papaya to your desired consistency.
- Add 3 cups of granulated sugar and ½ cup of bottled lemon juice to the papaya pulp. Stir well to combine.
- Prepare for the gel test by placing 3-4 small ceramic plates in the freezer.
- Return the saucepan to the stove and cook over medium heat, bringing the mixture to a slow, rolling boil. Stir frequently to prevent sticking, and cook for approximately 15 minutes, or until the jam begins to thicken.
- Use the cold plate method to test for the gel stage: Drop about a tablespoon of hot jam onto a chilled plate from the freezer. Return to freezer for 1 minute. Remove and gently nudge the jam with your fingertip. If it wrinkles and holds its shape, it’s ready. If runny, continue cooking and re-test.
- Once the jam has reached the gel stage, remove the pot from heat and skim off any foam if necessary.
- Ladle or pour the hot jam into clean, prepared jars or containers, leaving ¼” headspace at the top of the container. Wipe the rims of the jars or containers with a clean, damp cloth to ensure a good seal. Affix the lids (new flat lids and screw bands).
- For Refrigeration/Freezing (No Canning): If you do not plan on canning your jam, leave the containers on the counter to cool until they have reached room temperature. Label and store the jam in the refrigerator for up to 3 weeks or in freezer-safe containers in the freezer for up to 6 months.
- For Water Bath Canning: For shelf-stable jam, ensure 2-part canning lids are affixed finger-tight to the jars after cleaning the rims. Load jars into a preheated water bath canner.
- Process the jam in a prepared hot water bath canner for 10 minutes once the water has returned to a full rolling boil. Increase processing time to 15 minutes if you are above 6,000 feet in elevation.
- After processing, turn off the heat and carefully remove the cover from the canner. Allow the jars to sit undisturbed in the hot water for 5 minutes.
- Using a jar lifter, carefully remove the jars from the canner and place them on a towel-lined countertop, leaving space between them for air circulation. Allow them to cool undisturbed for at least 12-24 hours.
- After cooling, check the seals by pressing on the center of each lid. If it doesn’t flex, the jar is sealed. Refrigerate any unsealed jars to use within 3 weeks. Store sealed jars in a cool, dark pantry for up to 18 months for peak quality.
Nutrition Information (per serving)
Nutrition information is automatically calculated and should only be used as an approximation.
- Calories: 68 kcal
- Carbohydrates: 18 g
- Protein: 0.1 g
- Fat: 0.1 g
- Saturated Fat: 0.02 g
- Polyunsaturated Fat: 0.01 g
- Monounsaturated Fat: 0.02 g
- Sodium: 2 mg
- Potassium: 45 mg
- Fiber: 0.4 g
- Sugar: 17 g
- Vitamin A: 216 IU
- Vitamin C: 15 mg
- Calcium: 5 mg
- Iron: 0.1 mg
Explore More Tropical Jam Recipes
If the exotic allure of papaya jam has captured your culinary imagination, why not venture further into the world of tropical preserves? Expand your pantry with these equally delightful recipes, bringing even more sunshine to your kitchen:
- Mango Jam: A sweet and tangy delight that perfectly captures the lush essence of mango season, ideal for spreading or as a dessert component.
- Pineapple Jam: Bursting with vibrant, sweet-tart flavor, this jam is perfect for toast, pastries, or even as a base for marinades.

Making homemade jams like this Papaya Jam is a rewarding experience that fills your kitchen with incredible aromas and your pantry with delicious treasures. We hope you enjoy crafting this tropical treat as much as we do. Feel free to leave a comment below with your thoughts, tips, or any creative ways you love to enjoy your homemade papaya jam!