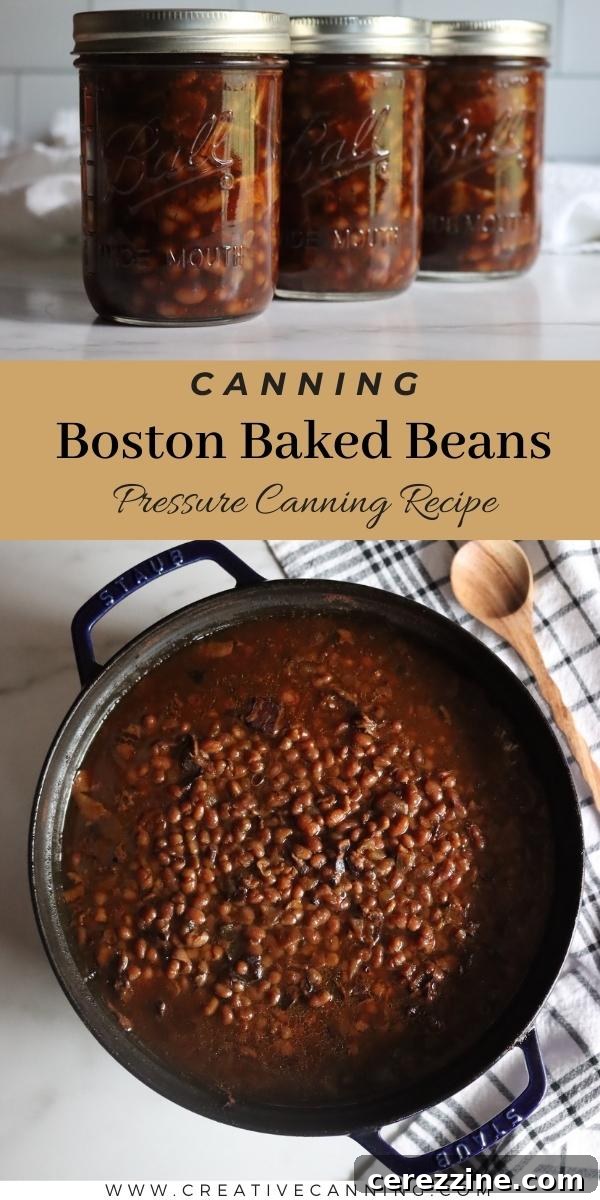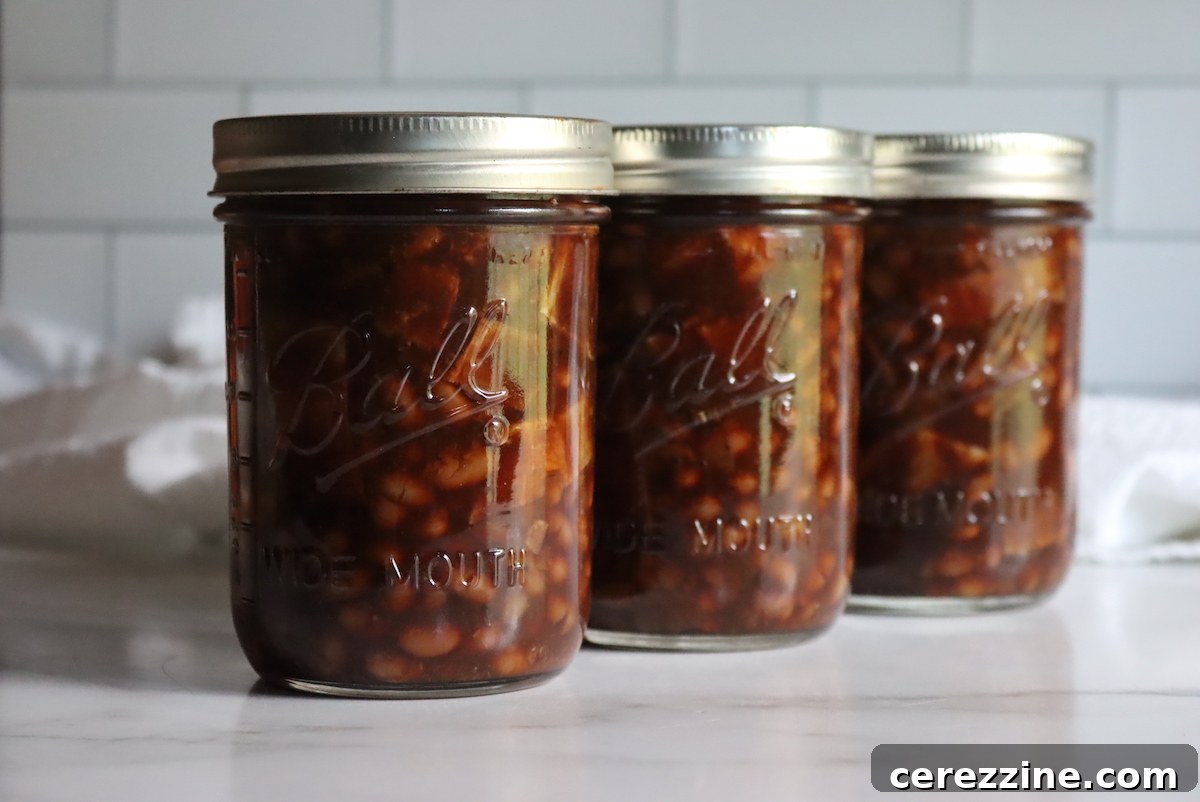
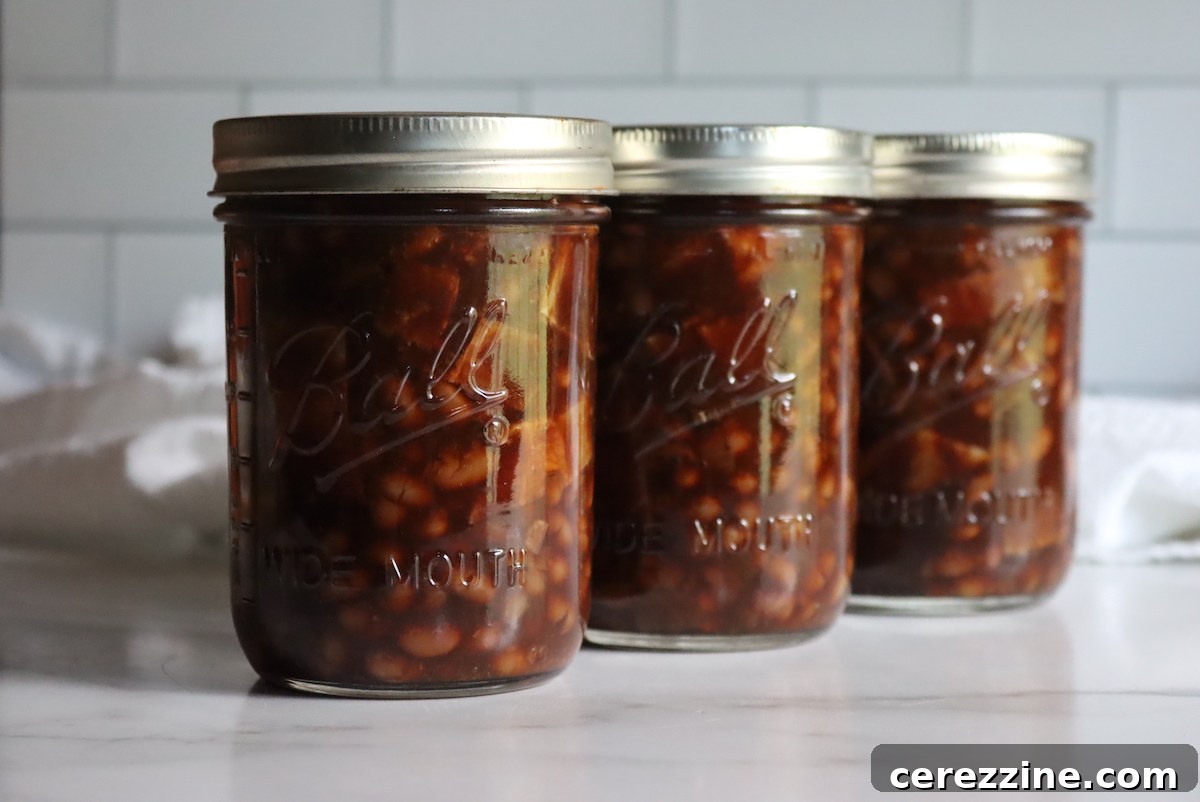
There’s nothing quite like the comforting taste of homemade baked beans, simmered to perfection with a rich, sweet, and savory sauce. Imagine having this culinary delight readily available, any time you crave it, directly from your pantry shelf. This dream becomes a reality when you learn the art of canning baked beans at home. This comprehensive guide will walk you through canning traditional Boston baked beans, featuring their signature molasses and brown sugar-based sauce, ensuring that exceptional flavor is locked into every jar.
The Irresistible Allure of Homemade Canned Baked Beans
Homemade Boston baked beans transcend anything you can find on a grocery store shelf. Their depth of flavor develops through a long, slow cooking process, a luxury often unavailable for a busy weeknight meal. Furthermore, slow-cooking beans for four or more hours means heating your kitchen, which is perfectly cozy in winter but far from ideal during the summer barbecue season when baked beans truly shine alongside grilled ribs and creamy potato salad.
Canning homemade baked beans offers the perfect solution. It allows you to savor the incredible taste of authentic baked beans at a moment’s notice, without the last-minute rush or heat. You can dedicate a cooler winter day to the cooking and canning process, then enjoy the fruits of your labor when warmer weather arrives. Picture grabbing a jar of your perfectly preserved, flavorful beans for a spontaneous backyard cookout or a last-minute potluck. It’s convenience without compromise.
The beauty of canning is that preparing a large batch of baked beans requires no more effort than a small one. By preserving the excess, you create a convenient, easy-to-use, and shelf-stable pantry staple that’s ready whenever hunger strikes. It’s a smart way to stock your pantry, reduce food waste, and always have a wholesome, delicious side dish on hand.
Essential Equipment: Pressure Canning is a Must
It’s crucial to understand that baked beans, being a low-acid food, require a pressure canner for safe processing. They absolutely cannot be processed in a water bath canner or an electric pressure cooker (like an Instant Pot) for long-term, shelf-stable storage. A reliable pressure canner is an indispensable tool for this recipe.
For those new to pressure canning, it’s highly recommended to familiarize yourself with the process before you begin. Resources like a beginner’s guide to pressure canning can provide essential information. Additionally, ensure you have all the necessary home canning supplies on hand, including jars, lids, rings, a jar lifter, and a canning funnel.
This recipe is scaled for smaller home canners, yielding about 6 pints or 3 quarts per batch, making it manageable for most users. However, it can easily be scaled up to fill larger canner capacities if you wish to process more at once. Just be prepared to use a significantly large pot for cooking the beans and a spacious Dutch oven (or several smaller ones) for baking them before canning.
Gathering Your Ingredients for Classic Boston Baked Beans
While numerous regional variations of baked beans exist, Boston baked beans remain the most popular and iconic. Despite their rich, complex flavor, the ingredient list is surprisingly straightforward, embodying the beauty of simple, quality components. This recipe aims for a balanced taste, distinct from the often overly sweet store-bought varieties.
This tried-and-true baked bean canning recipe is adapted from the trusted Ball Blue Book Guide to Preserving, a staple for any home canner. Here’s what you’ll need for a single batch, yielding approximately 6 pints:
- 1 quart dried navy beans (approximately 4 cups, or about 2 lbs)
- 1/2 lb salt pork or uncured bacon, cut into 1/2-inch pieces
- 3 large onions, diced
- 2/3 cup brown sugar
- 2/3 cup molasses (dark, robust molasses is recommended for authentic flavor)
- 2 tsp dry mustard powder
- 2 tsp salt (canning or pickling salt is preferred to avoid cloudiness)
- 4 cups water (or unsalted stock/broth for added depth)
Through extensive testing and experimentation, it’s been concluded that this recipe’s proportions are truly perfect. While the temptation to alter ingredients like spices, salt, sugar, or onion levels is common for many cooks, the balance achieved here is ideal for canning. Any additions or subtractions were found to diminish, rather than enhance, the overall finished product. Stick to the recipe for the best results, and if you desire extra seasoning, consider adding it upon serving, not before canning.
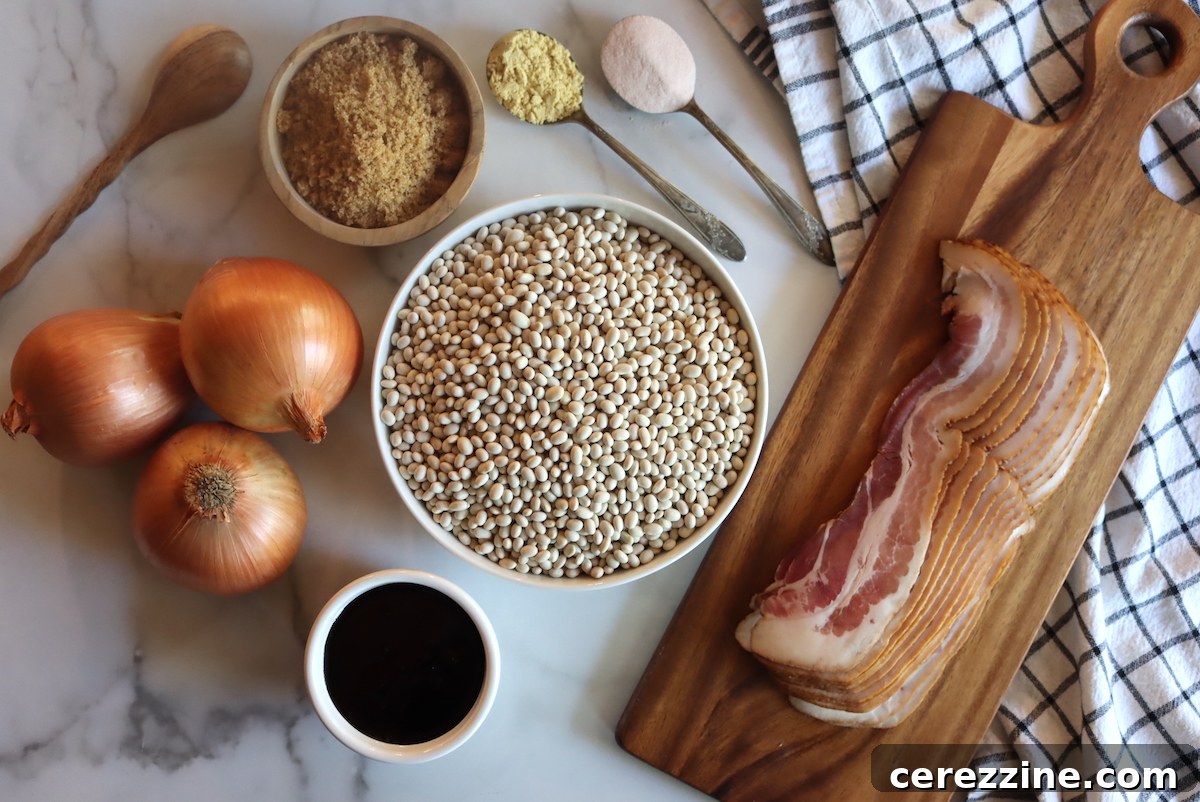
A note on spices: While adding reasonable amounts of dry spices is generally safe for pressure canning, avoid creating a thick “spice paste” as the mixture should remain soupy. For this recipe, the subtle kick of dry mustard is key. If dry mustard powder isn’t available, a plain prepared yellow mustard, such as French’s yellow mustard, can be used as a substitute – just ensure it’s a finely ground, basic yellow mustard, not a whole-grain or spiced variety.
Regarding the onions, “large onion” can be subjective. For clarity, when preparing the recipe, I found that three large onions, once peeled and diced, typically yielded about 2 to 2 1/2 cups (300 to 350 grams) each. This amounts to roughly 1 kg (2.2 pounds) of prepared onions, or approximately 6 to 7 1/2 cups of diced onion from about 2 1/2 to 3 pounds of onions as purchased.
Vegetarian Baked Beans: A Flavorful Alternative
Adapting this classic recipe for a vegetarian diet is straightforward. Simply omit the salt pork or bacon. While this naturally results in a less rich flavor profile due to the absence of meat, the beans remain incredibly satisfying. You’ll also need to adjust the salt content, increasing it from 2 tsp to 3 tsp per batch, to compensate for the salt typically contributed by the bacon.
For enhanced flavor in the vegetarian version, consider replacing the water with a good quality unsalted vegetable stock. Additionally, a small amount of liquid smoke (about 1/2 to 1 teaspoon per batch) can impart a delightful smoky depth, mimicking some of the flavors lost by removing the pork product. This thoughtful substitution ensures a robust and delicious vegetarian baked bean experience that’s perfect for canning.
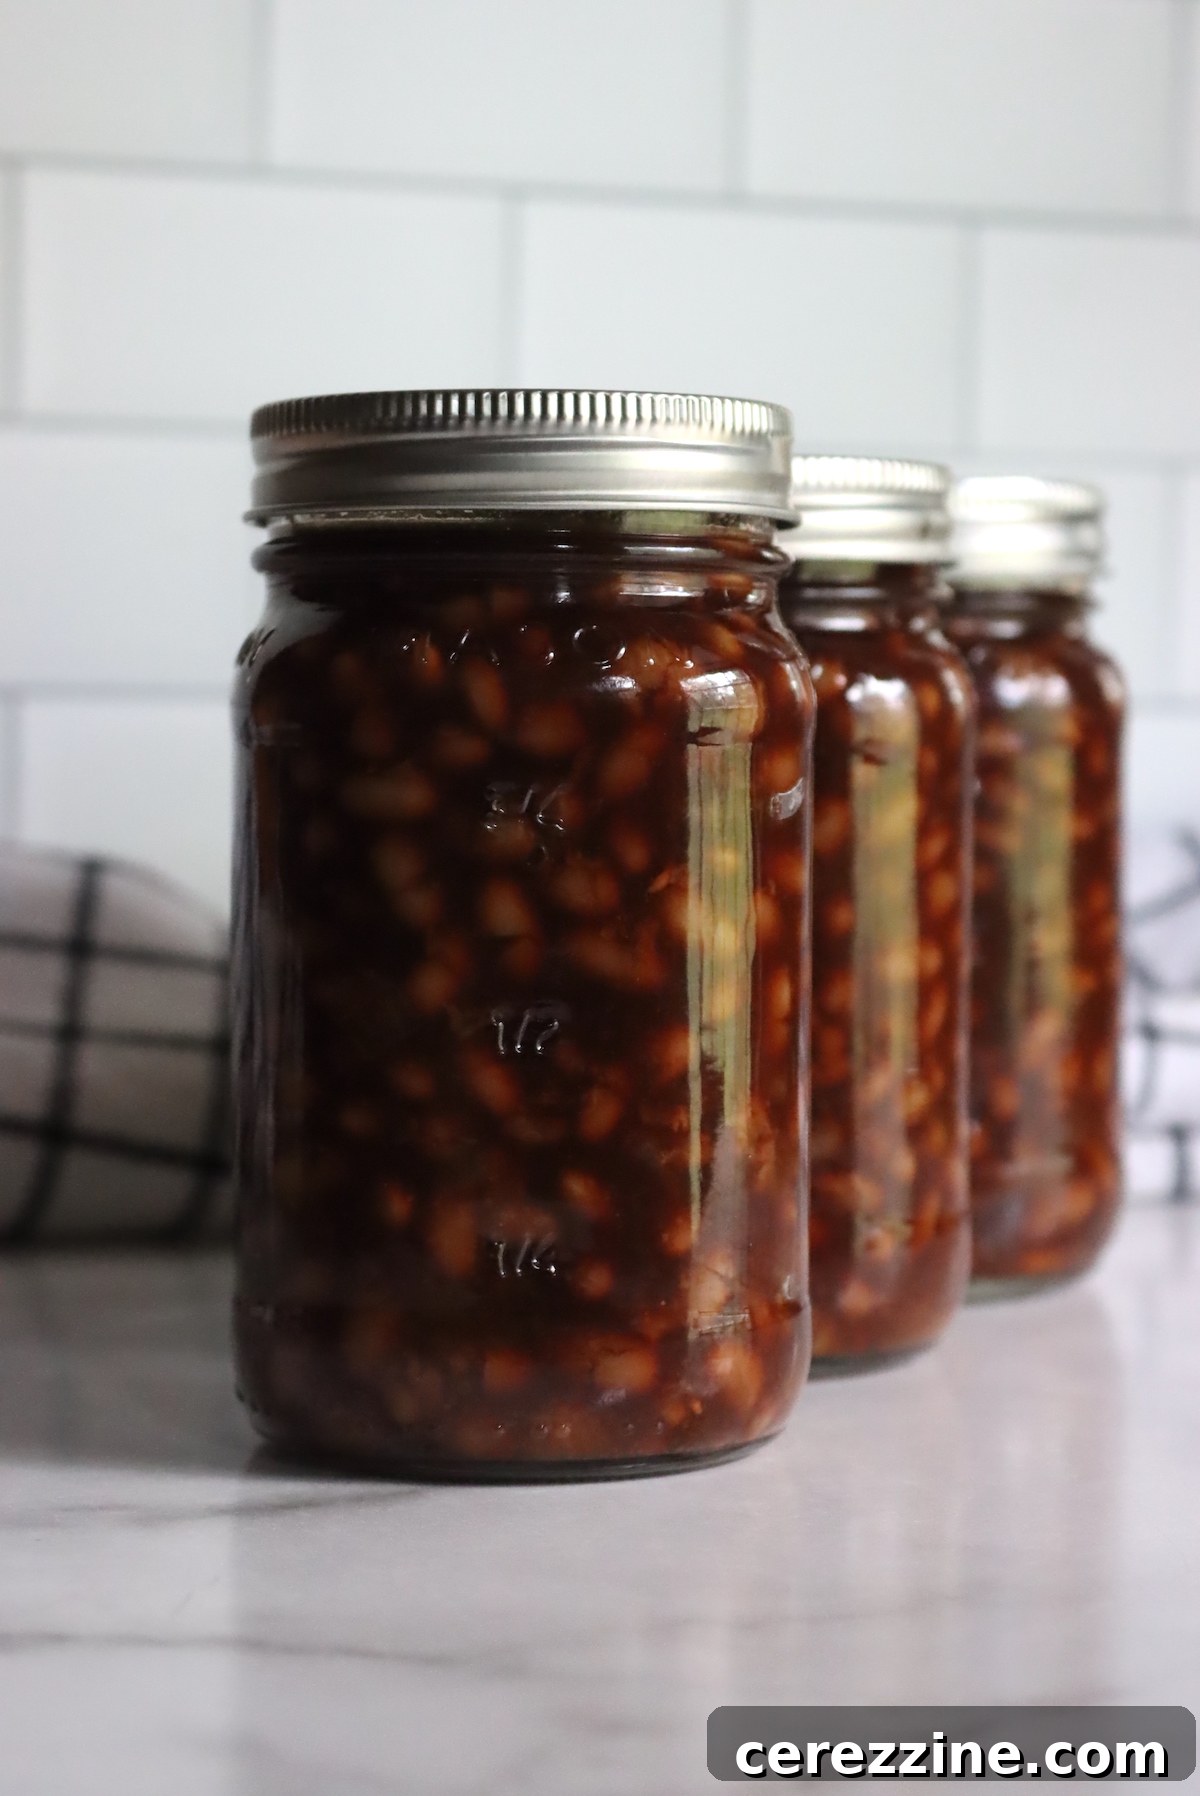
Crafting Your Canned Boston Baked Beans: A Step-by-Step Guide
When canning most beans, they are often only partially cooked before processing in the pressure canner, allowing them to absorb water and reach their final size. While some baked bean canning recipes follow a similar approach, briefly par-boiling beans and then adding a sauce before pressure canning, this method often falls short in flavor development. The true magic of baked beans lies in the long, slow simmer within their flavorful sauce, which transforms both their taste and texture.
You might assume that extended cooking would lead to mushy beans, but the sugar and salt in this recipe actually help the beans firm up. In traditional baked bean preparation, beans are cooked to their desired tenderness *before* the sauce is added, because once the sauce goes in, they won’t get much softer. This characteristic is particularly important here: the added sugar ensures the beans can slow cook all day without becoming overly soft, allowing the rich flavors to penetrate deeply.
This Boston baked bean canning recipe calls for fully preparing the beans as you would for serving at the table, then loading them into jars for pressure canning. This method, while requiring a bit more time upfront, mostly involves hands-off cooking as the beans slowly transform in the oven. The result is unparalleled flavor and texture.
Preparation Steps:
- Soak the Beans: Begin by soaking the dried navy beans overnight in a generous amount of cool water. This rehydrates them and helps reduce cooking time.
- (Alternatively, use the “quick soak” method: Place beans in a pot with plenty of water, bring to a boil, cook for 2 minutes, then turn off the heat and let them soak for one hour. Drain and proceed as with overnight soaked beans.)
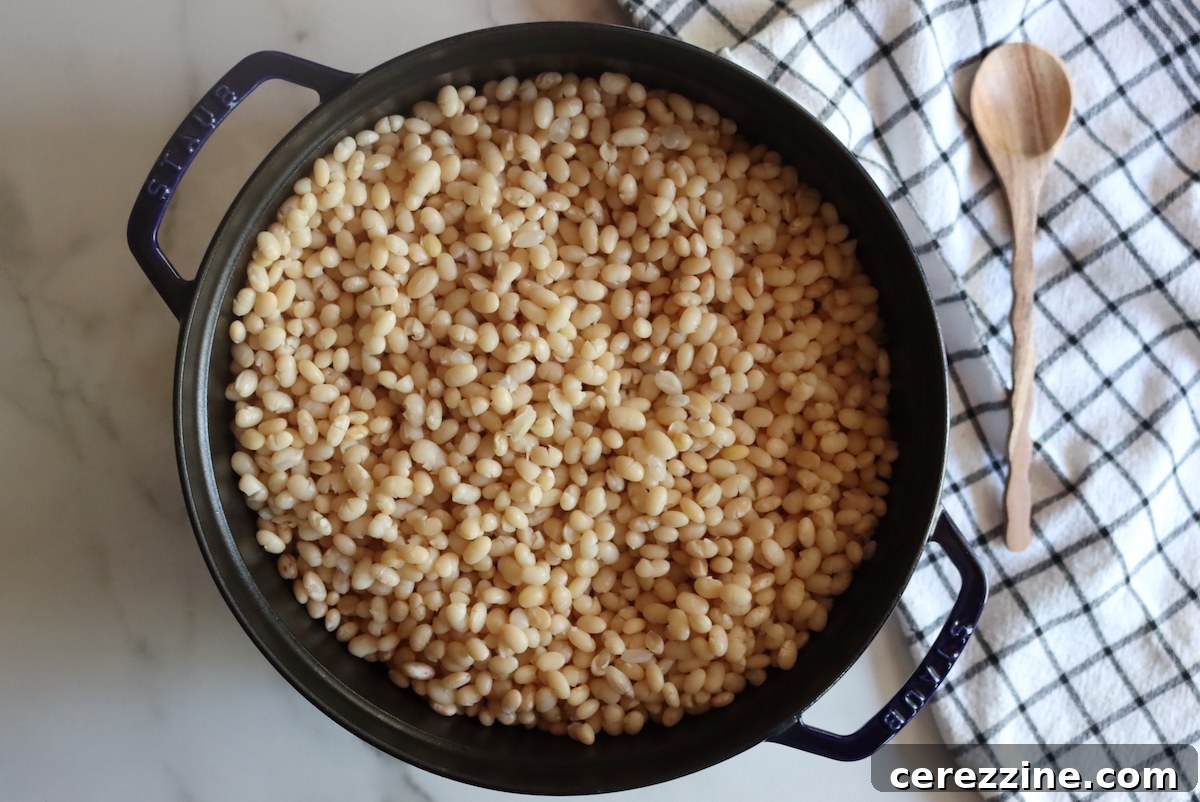
- Pre-Cook the Beans: After soaking, drain the beans and place them in a pot with fresh water. Bring to a boil on the stove, then reduce the heat to a simmer. Cook until the beans begin to split. The exact cooking time can vary based on the age and type of beans, but it typically takes around 45 minutes. They should be tender enough to eat, with some skins just starting to crack, but not falling apart. Once cooked, turn off the heat and drain the beans completely.
- Prepare the Sauce: In a separate bowl, mix all the remaining ingredients: diced onions, salt pork (or bacon), brown sugar, molasses, dry mustard powder, salt, and water (or stock). Stir everything until it’s well combined and the sugar has fully dissolved. The mixture should be soupy, containing chunks of bacon and onion.
- Optional browning: While you can pre-cook and brown the salt pork/bacon and onions, extensive testing showed minimal improvement to the final flavor from browning the pork, and surprisingly, browning the onions actually detracted from their texture and taste in the final dish. For best results, simply add them to the sauce mixture as is.
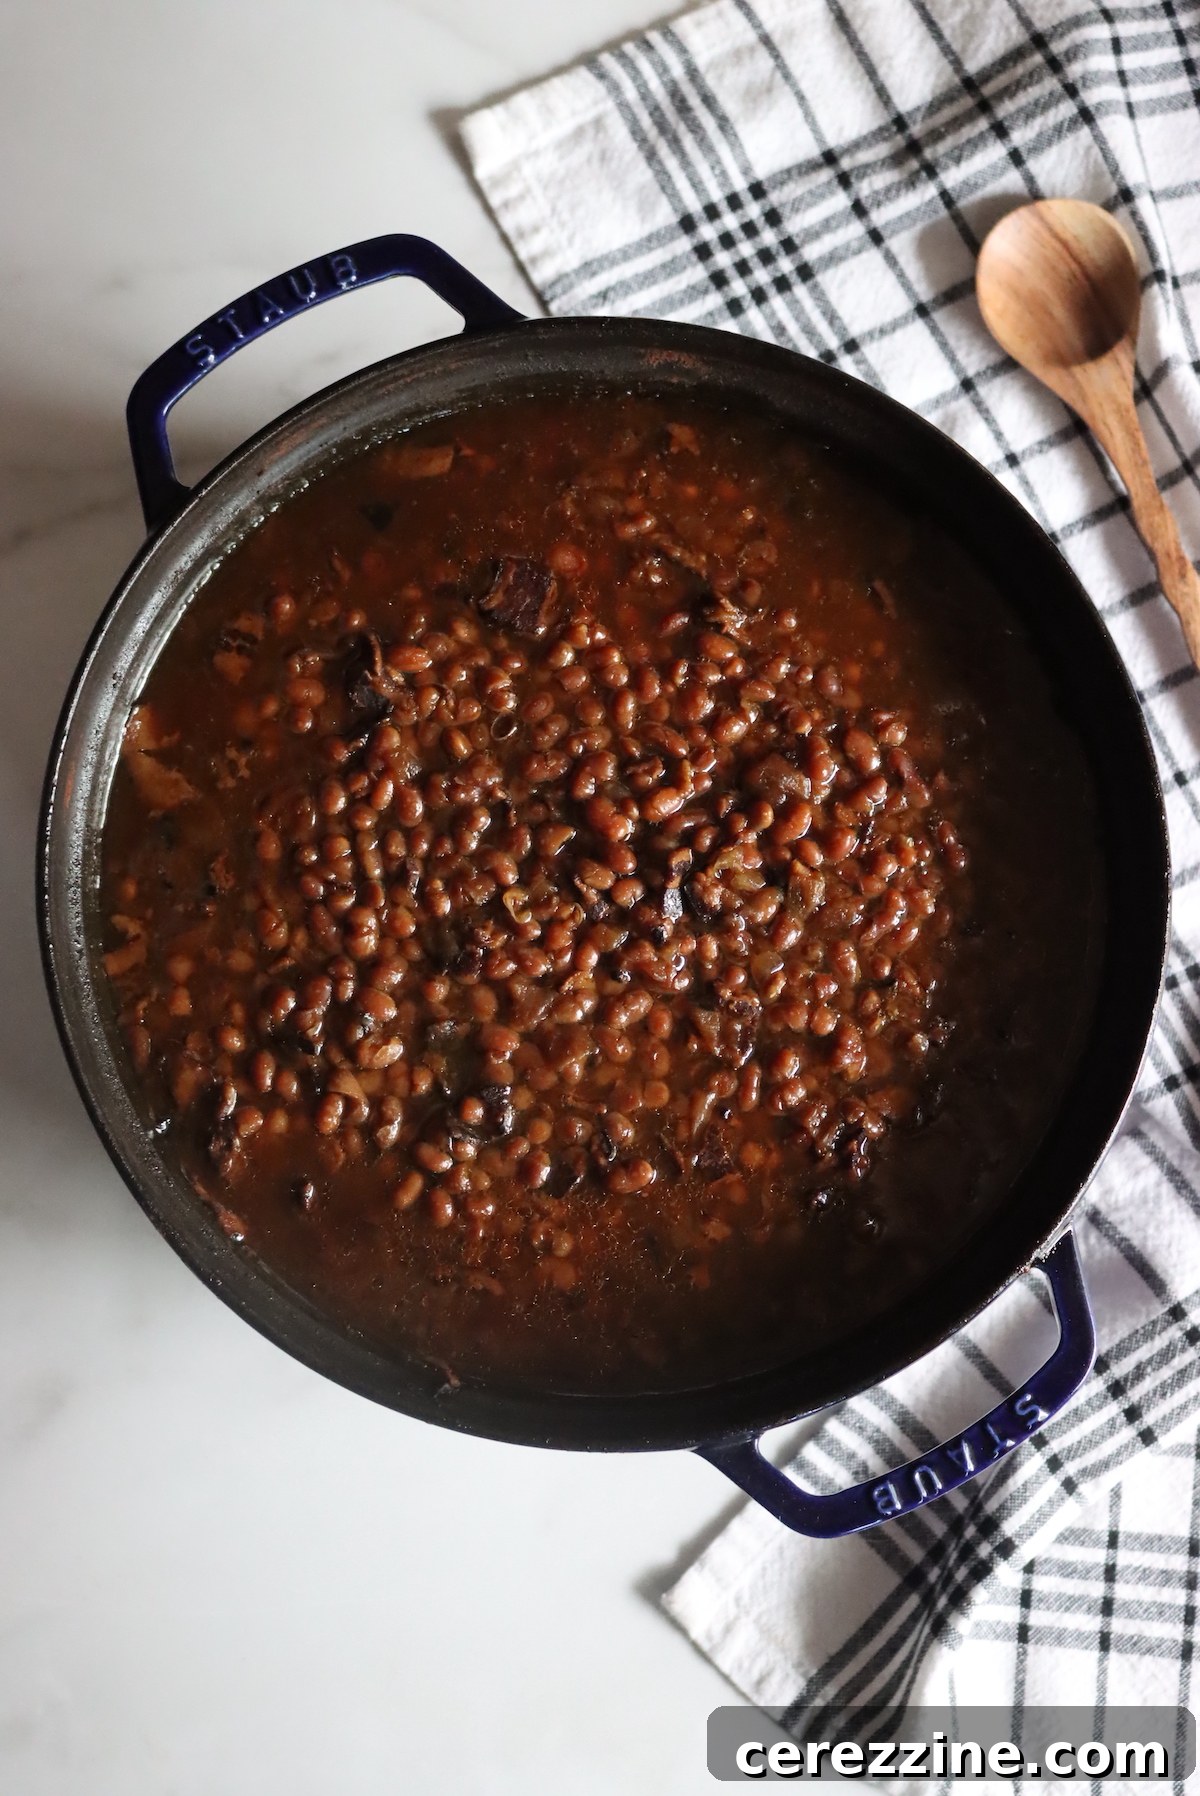
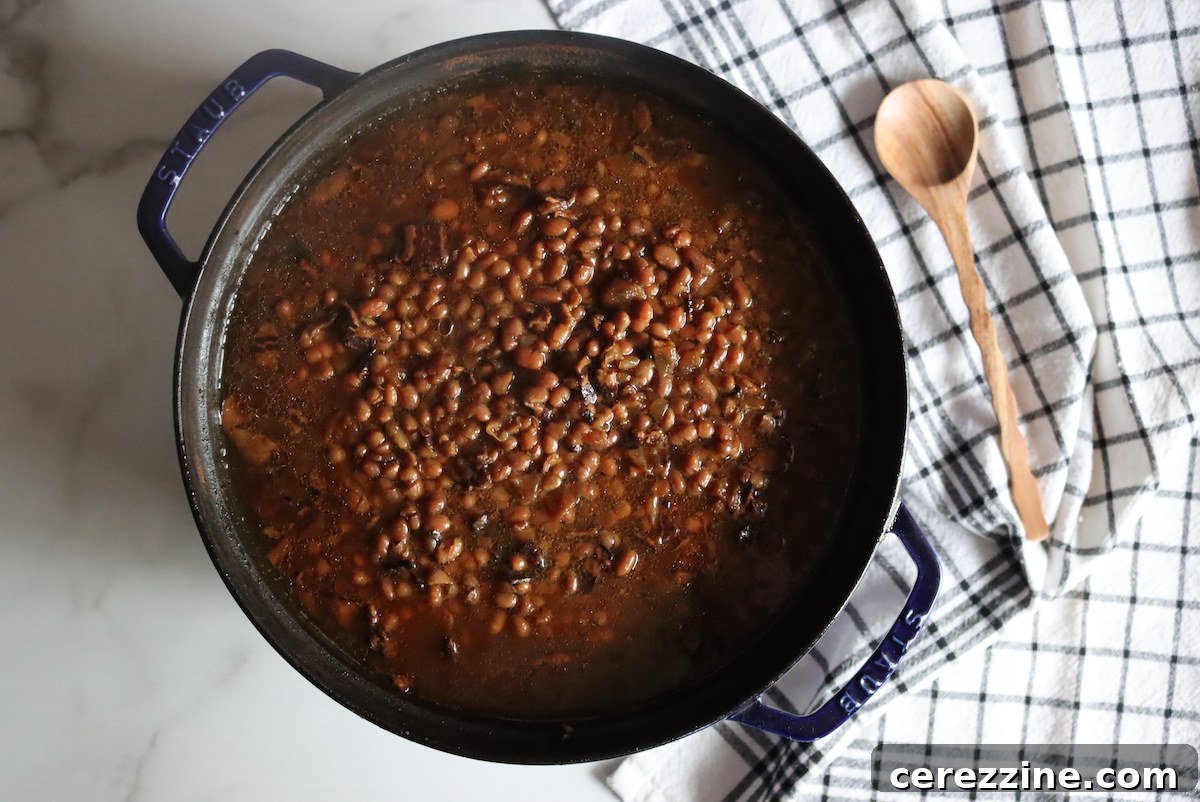
- Combine and Bake: Pour the prepared sauce over the drained, pre-cooked beans and stir thoroughly to ensure all the beans are evenly coated. Transfer this mixture to a sturdy Dutch oven (a 7-quart enameled Dutch oven is ideal for a double batch, while a 4-quart or larger is suitable for a single batch to allow ample headspace).
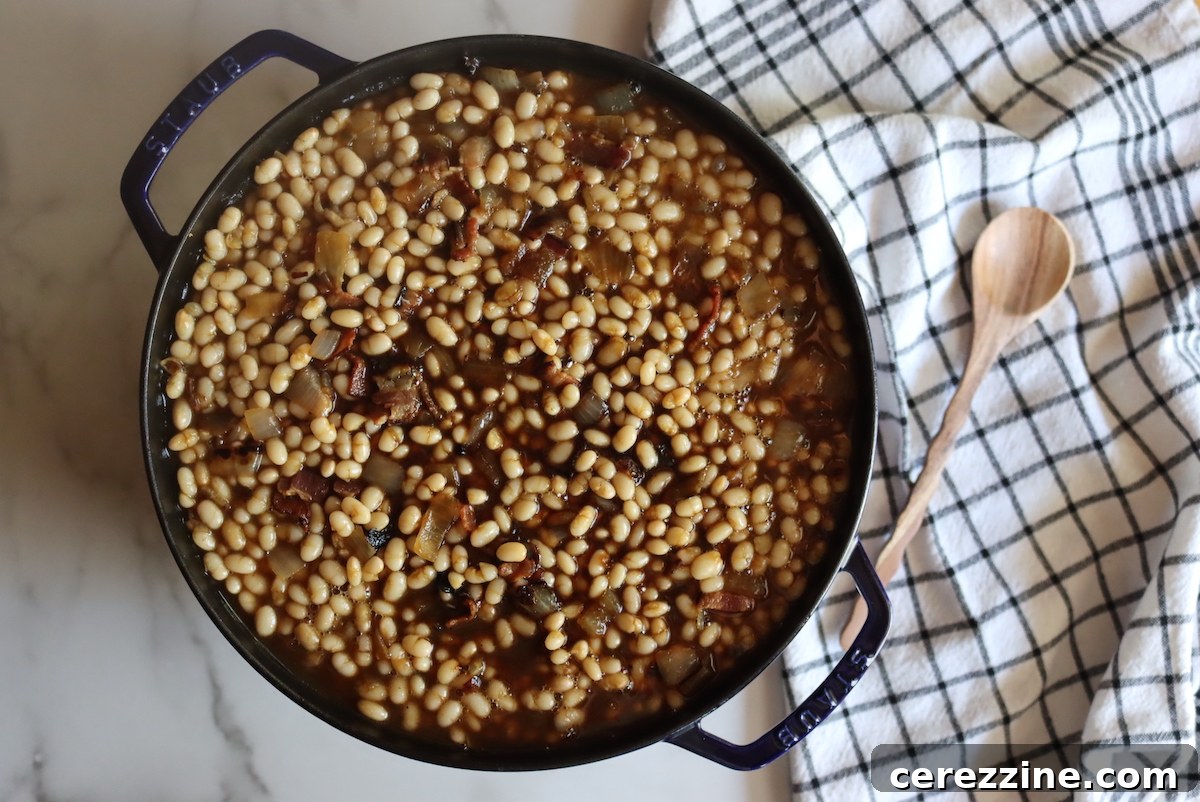
Ensure your baking vessel has a very tight-fitting lid. Most Dutch ovens come with excellent seals, but if yours doesn’t, you can tightly cover the pot with heavy-duty foil. The goal is to minimize liquid evaporation, as the beans will be slow caramelizing. If the mixture runs dry, it can burn quickly. During the 4-hour baking process, you may need to add additional liquid (around a quart is typical, but more if your lid isn’t perfectly sealed) to keep the beans submerged and the mixture soupy. While baking in the oven ensures even heat distribution, you can also slow cook the beans on a very low burner on the stovetop (watch carefully to prevent scorching) or in a crockpot.
Bake the beans at approximately 300°F (150°C) for about 4 hours, or until they achieve a rich, deep brown color and the flavors have beautifully melded together. At this point, the beans are fully cooked and ready to eat! You can even serve some for dinner immediately, as their flavor and texture will not change further after this stage.
Pressure Canning Your Homemade Boston Baked Beans
Once your baked beans are fully cooked and brimming with flavor, it’s time to safely preserve them through pressure canning. This step ensures they remain delicious and shelf-stable for months to come.
- Prepare Your Pressure Canner: Follow your manufacturer’s instructions for preparing your specific model of pressure canner. Generally, this involves placing the bottom rack inside and adding a few inches of water. Preheat the canner on the stove to a gentle simmer, around 180°F (82°C).
- Prepare Jars and Liquid: Bring a separate kettle of water to a boil on the stove. This will be used to top off jars if you find yourself short on liquid from the bean pot. Prepare 6 pint jars (or 3 quart jars) per batch of beans.
- Fill the Jars: Using a slotted spoon, evenly divide the hot baked beans among the prepared jars, leaving a precise 1-inch headspace. This headspace is critical for proper sealing and processing.
- Add Canning Sauce: Ladle the rich canning sauce from the bean pot over the beans in each jar, still maintaining that 1-inch headspace. The beans should be fully submerged under the liquid line. If needed, supplement with boiling water from your kettle to reach the appropriate liquid level while preserving the 1-inch headspace.
- Seal the Jars: Carefully wipe the rims of each jar with a clean, damp cloth to remove any food residue, which could prevent a proper seal. Apply new canning lids and secure them with canning rings, tightening only to “finger-tight.”
- Load the Canner: Gently place the filled and sealed jars into your preheated pressure canner.
- Vent the Canner: Place the lid on the canner, but do not seal it yet. Allow a steady stream of steam to vent for 10 full minutes. This crucial step removes air from the canner, ensuring accurate pressure readings. After venting, seal the canner according to your model’s instructions and bring it up to the required pressure. (Refer to the “Canning Pressures for Baked Beans” section below for altitude adjustments.)
- Process the Jars: Once the canner reaches the correct pressure, process pint jars for 80 minutes and quart jars for 95 minutes. These times are recommended for the thicker sauce in this recipe, ensuring thorough heat penetration. Rest assured, the initial long, slow bake firms the beans, so they will emerge perfectly textured and delicious even after this extended processing time.
- Cool Down: After the processing time is complete, turn off the heat and allow the pressure canner to cool down naturally and completely. Do not try to rush this process by opening the vent or cooling with water, as this can cause siphoning (loss of liquid from jars) or jar breakage.
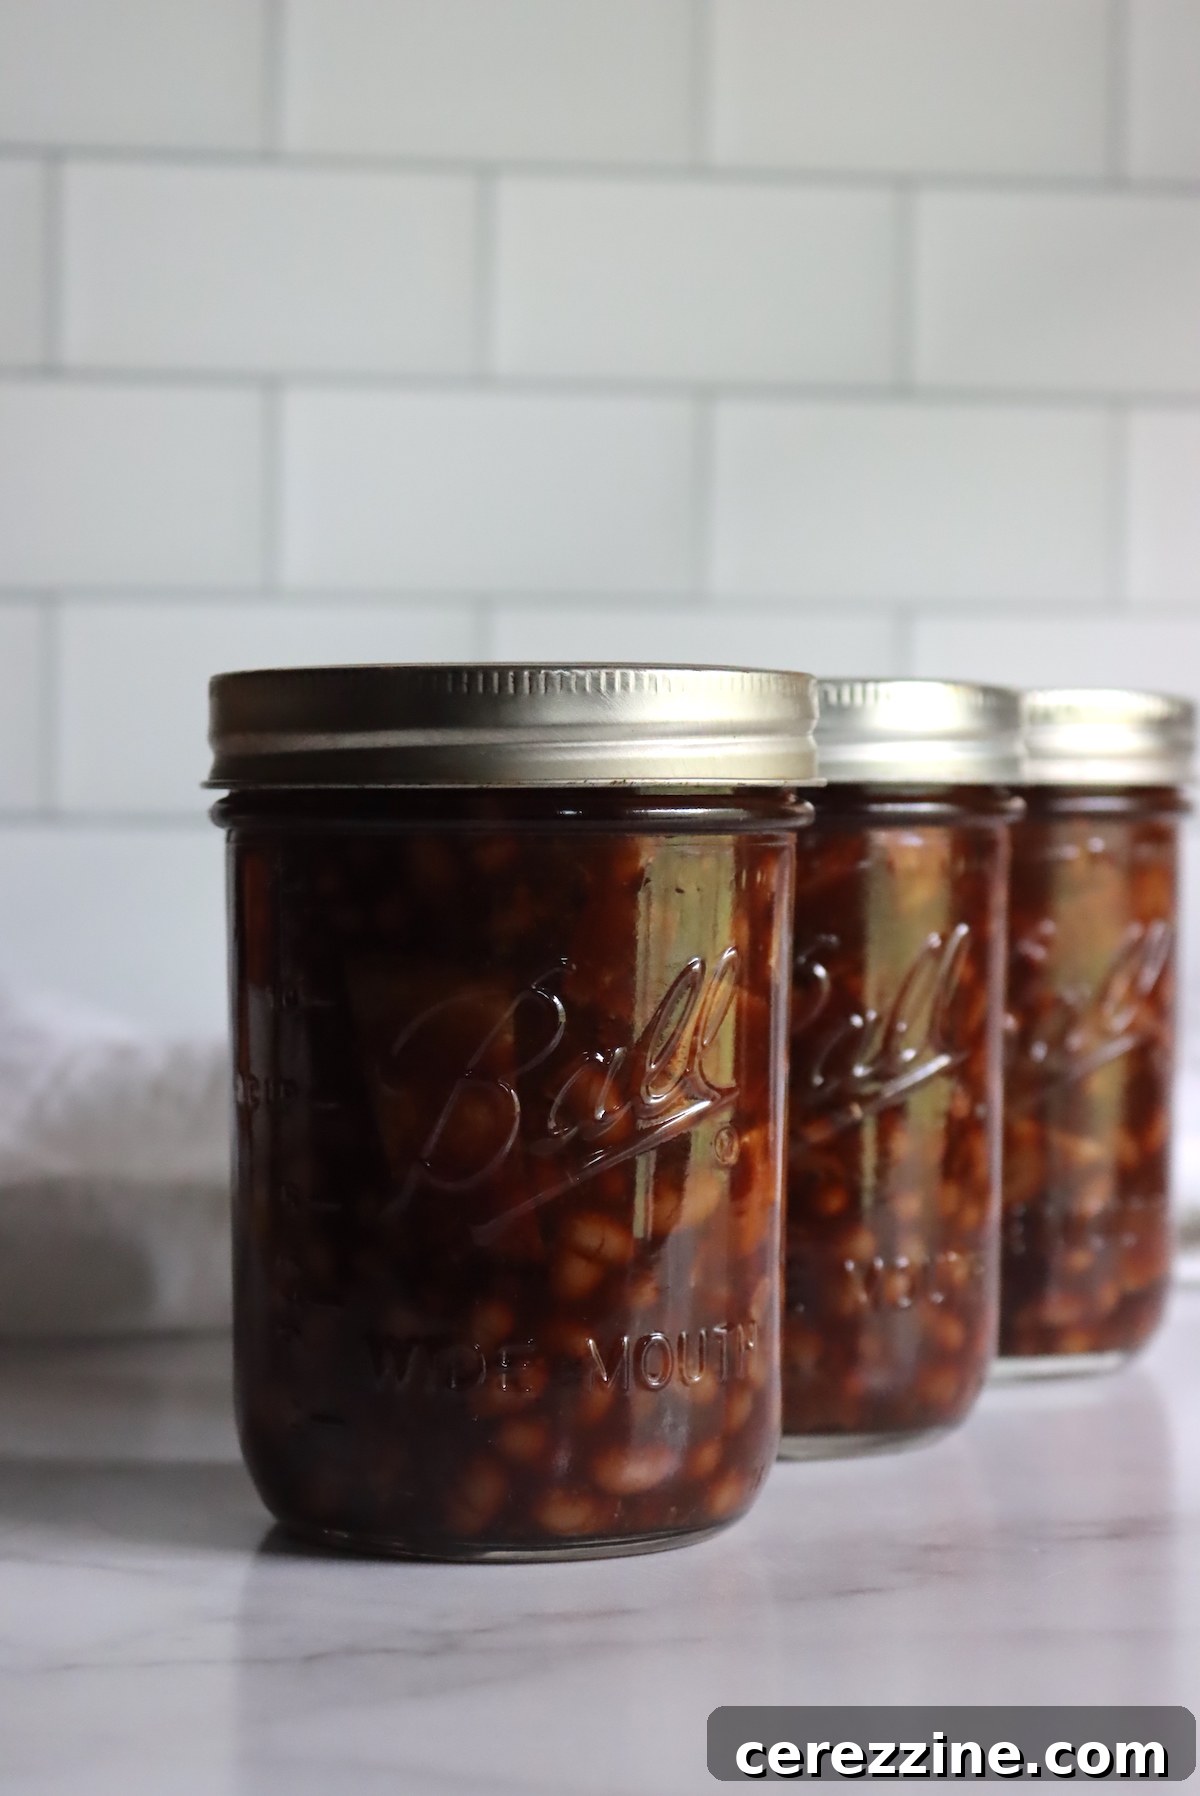
- Unload and Store: Once the canner has depressurized and cooled, carefully unload the jars. Check each jar for a proper seal (the lid should be concave and not flex when pressed). Any unsealed jars should be refrigerated immediately and consumed within 1 to 2 weeks. Properly canned and sealed jars will maintain their quality on your pantry shelf for 12 to 18 months.
Serving and Storage:
Once opened, refrigerate any leftover canned baked beans. To serve, simply heat the beans through – no additional baking is needed, as they are already fully cooked and flavored to perfection.
Canning Boston Baked Beans Recipe
Canning Boston Baked Beans
Canning baked beans is a simple way to enjoy homemade baked beans right off the pantry shelf (without heating up the kitchen).
Yields: 12 Servings (6 pints or 3 quarts)
Prep time: 1 hour
Cook time: 4 hours
Canning time: 1 hour 20 minutes (pints) / 1 hour 35 minutes (quarts)
Total time: Approximately 6 hours 20 minutes
Equipment
- Pressure Canner (e.g., All American Model 930)
- Canning Funnel
- Jar Lifter
- Large pot for soaking and pre-cooking beans
- 4-quart (or larger) Dutch oven with a tight-fitting lid
- Pint or quart canning jars, lids, and rings
Ingredients
- 1 Quart dried navy beans (4 cups, or about 2 lbs)
- 1/2 lb salt pork or uncured bacon, cut into 1/2 inch pieces
- 3 large onions, diced (approx. 6-7.5 cups diced, 2.5-3 lbs as purchased)
- 2/3 cup brown sugar
- 2/3 cup molasses
- 2 tsp dry mustard powder
- 2 tsp salt (canning or pickling salt)
- 4 cups water (or unsalted stock/broth)
Instructions
Making Baked Beans for Canning
- Soak the beans overnight in plenty of cool water. (Alternatively, use the “quick soak” method: bring beans to a boil with plenty of water, cook for 2 minutes, then turn off heat and quick soak for an hour. Drain.)
- Place the soaked beans in a pot of fresh water and bring to a boil. Reduce heat to a simmer and cook until the beans start to split (around 45 minutes). They should be tender but not falling apart.
- Once cooked, turn off the heat and drain the beans completely.
- Prepare the sauce by mixing all other ingredients (diced onions, salt pork/bacon, brown sugar, molasses, dry mustard, salt, water/stock) together. Stir until well mixed and sugar is dissolved. The mixture should be soupy.
- Pour the sauce over the drained beans and stir to completely coat all beans.
- Place the beans in a 4-quart (or larger) Dutch oven with a tight-fitting lid. Bake at 300°F (150°C) for about 4 hours. Add water as necessary (usually 4 to 6 cups throughout the cooking process) to keep the mixture soupy and the beans just covered by liquid.
Canning Baked Beans
- Prepare your pressure canner: place bottom rack, add a few inches of water, and preheat to a simmer (around 180°F/82°C).
- Bring a kettle of water to a boil for topping off jars if needed.
- Prepare 6 pint jars (or 3 quart jars) per batch. Divide the fully baked beans evenly among the jars using a slotted spoon, leaving 1-inch headspace.
- Top the jars with the canning sauce from the bean pot, maintaining 1-inch headspace. If liquid is low, add boiling water from the kettle until beans are submerged, still maintaining 1-inch headspace.
- Wipe jar rims clean, apply canning lids, and secure with rings to finger-tight.
- Load the jars into the pressure canner.
- Place the canner lid, but do not seal. Allow steam to vent steadily for 10 minutes. Then seal the canner and bring to the correct pressure. (See notes for altitude adjustments.)
- Once at pressure, process pint jars for 80 minutes and quart jars for 95 minutes.
- After processing, turn off heat and allow the canner to cool completely and naturally before unloading jars.
- Check jar seals. Store unsealed jars in the refrigerator for immediate use (1-2 weeks). Properly sealed jars can be stored on the pantry shelf for 12-18 months.
- Refrigerate after opening.
Notes
Canning Pressures for Baked Beans (Altitude Adjustments)
The total canning time remains constant regardless of altitude when pressure canning, but the pressure level must be adjusted for higher elevations and specific canner types.
Ensure you know if you are using a dial gauge canner (e.g., Presto type) or a weighted gauge canner (e.g., All American type).
Dial Gauge Canners:
- 0 to 2,000 feet in elevation: use 11 pounds of pressure
- 2,001 to 4,000 feet in elevation: use 12 pounds of pressure
- 4,001 to 6,000 feet in elevation: use 13 pounds of pressure
- 6,001 to 8,000 feet in elevation: use 14 pounds of pressure
Weighted Gauge Canners:
- 0 to 1,000 feet in elevation: use 10 pounds of pressure
- Above 1,000 feet in elevation: use 15 pounds of pressure
Vegetarian Baked Beans Variation
To prepare a vegetarian version, simply omit the bacon or salt pork. Increase the salt to 3 tsp per batch. Replace the water in the sauce with unsalted vegetable broth for richer flavor. For a smoky taste, consider adding 1/2 to 1 tsp of liquid smoke to each batch.
Explore More Bean Canning Recipes
Baked beans are just the beginning! The world of bean canning offers a plethora of delicious possibilities for your pantry.
Canning Black Bean Soup (Cuban Style)
Chipotle Black Bean Soup
Canning White Bean and Kale Soup
Canning Vegetarian Baked Beans
More Pressure Canning Recipes to Expand Your Skills
Looking to further your pressure canning journey? Here are more reliable recipes to help you fill your pantry with homemade goodness:
- Canning Beef Stew
- Canning Chicken
- Canning Corn
- Canning Plain Beets
- Canning Asparagus