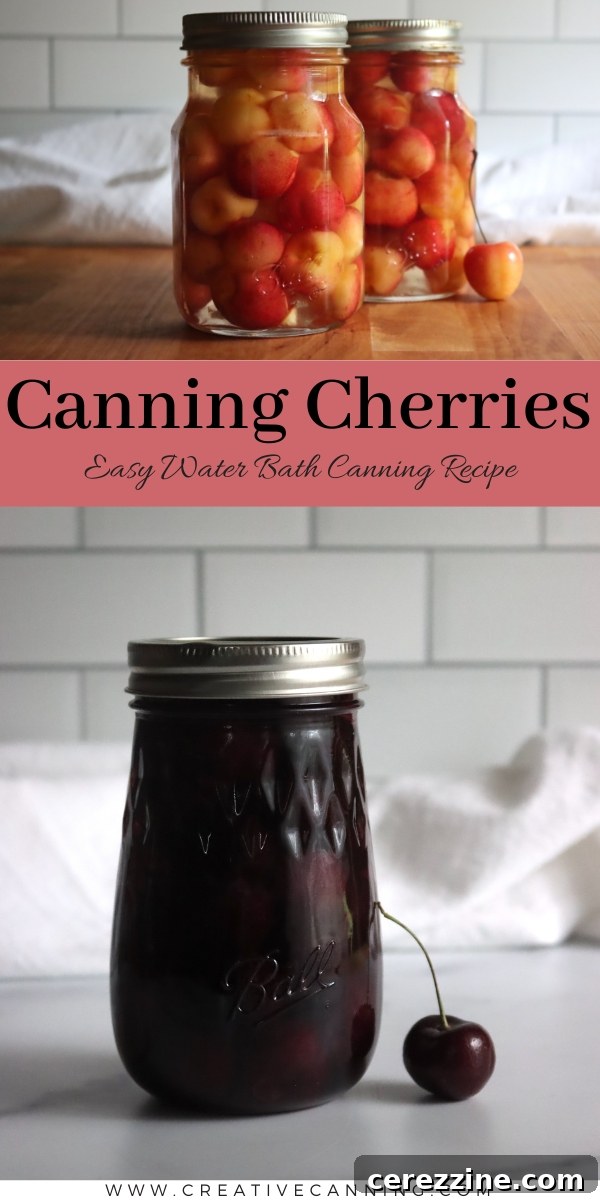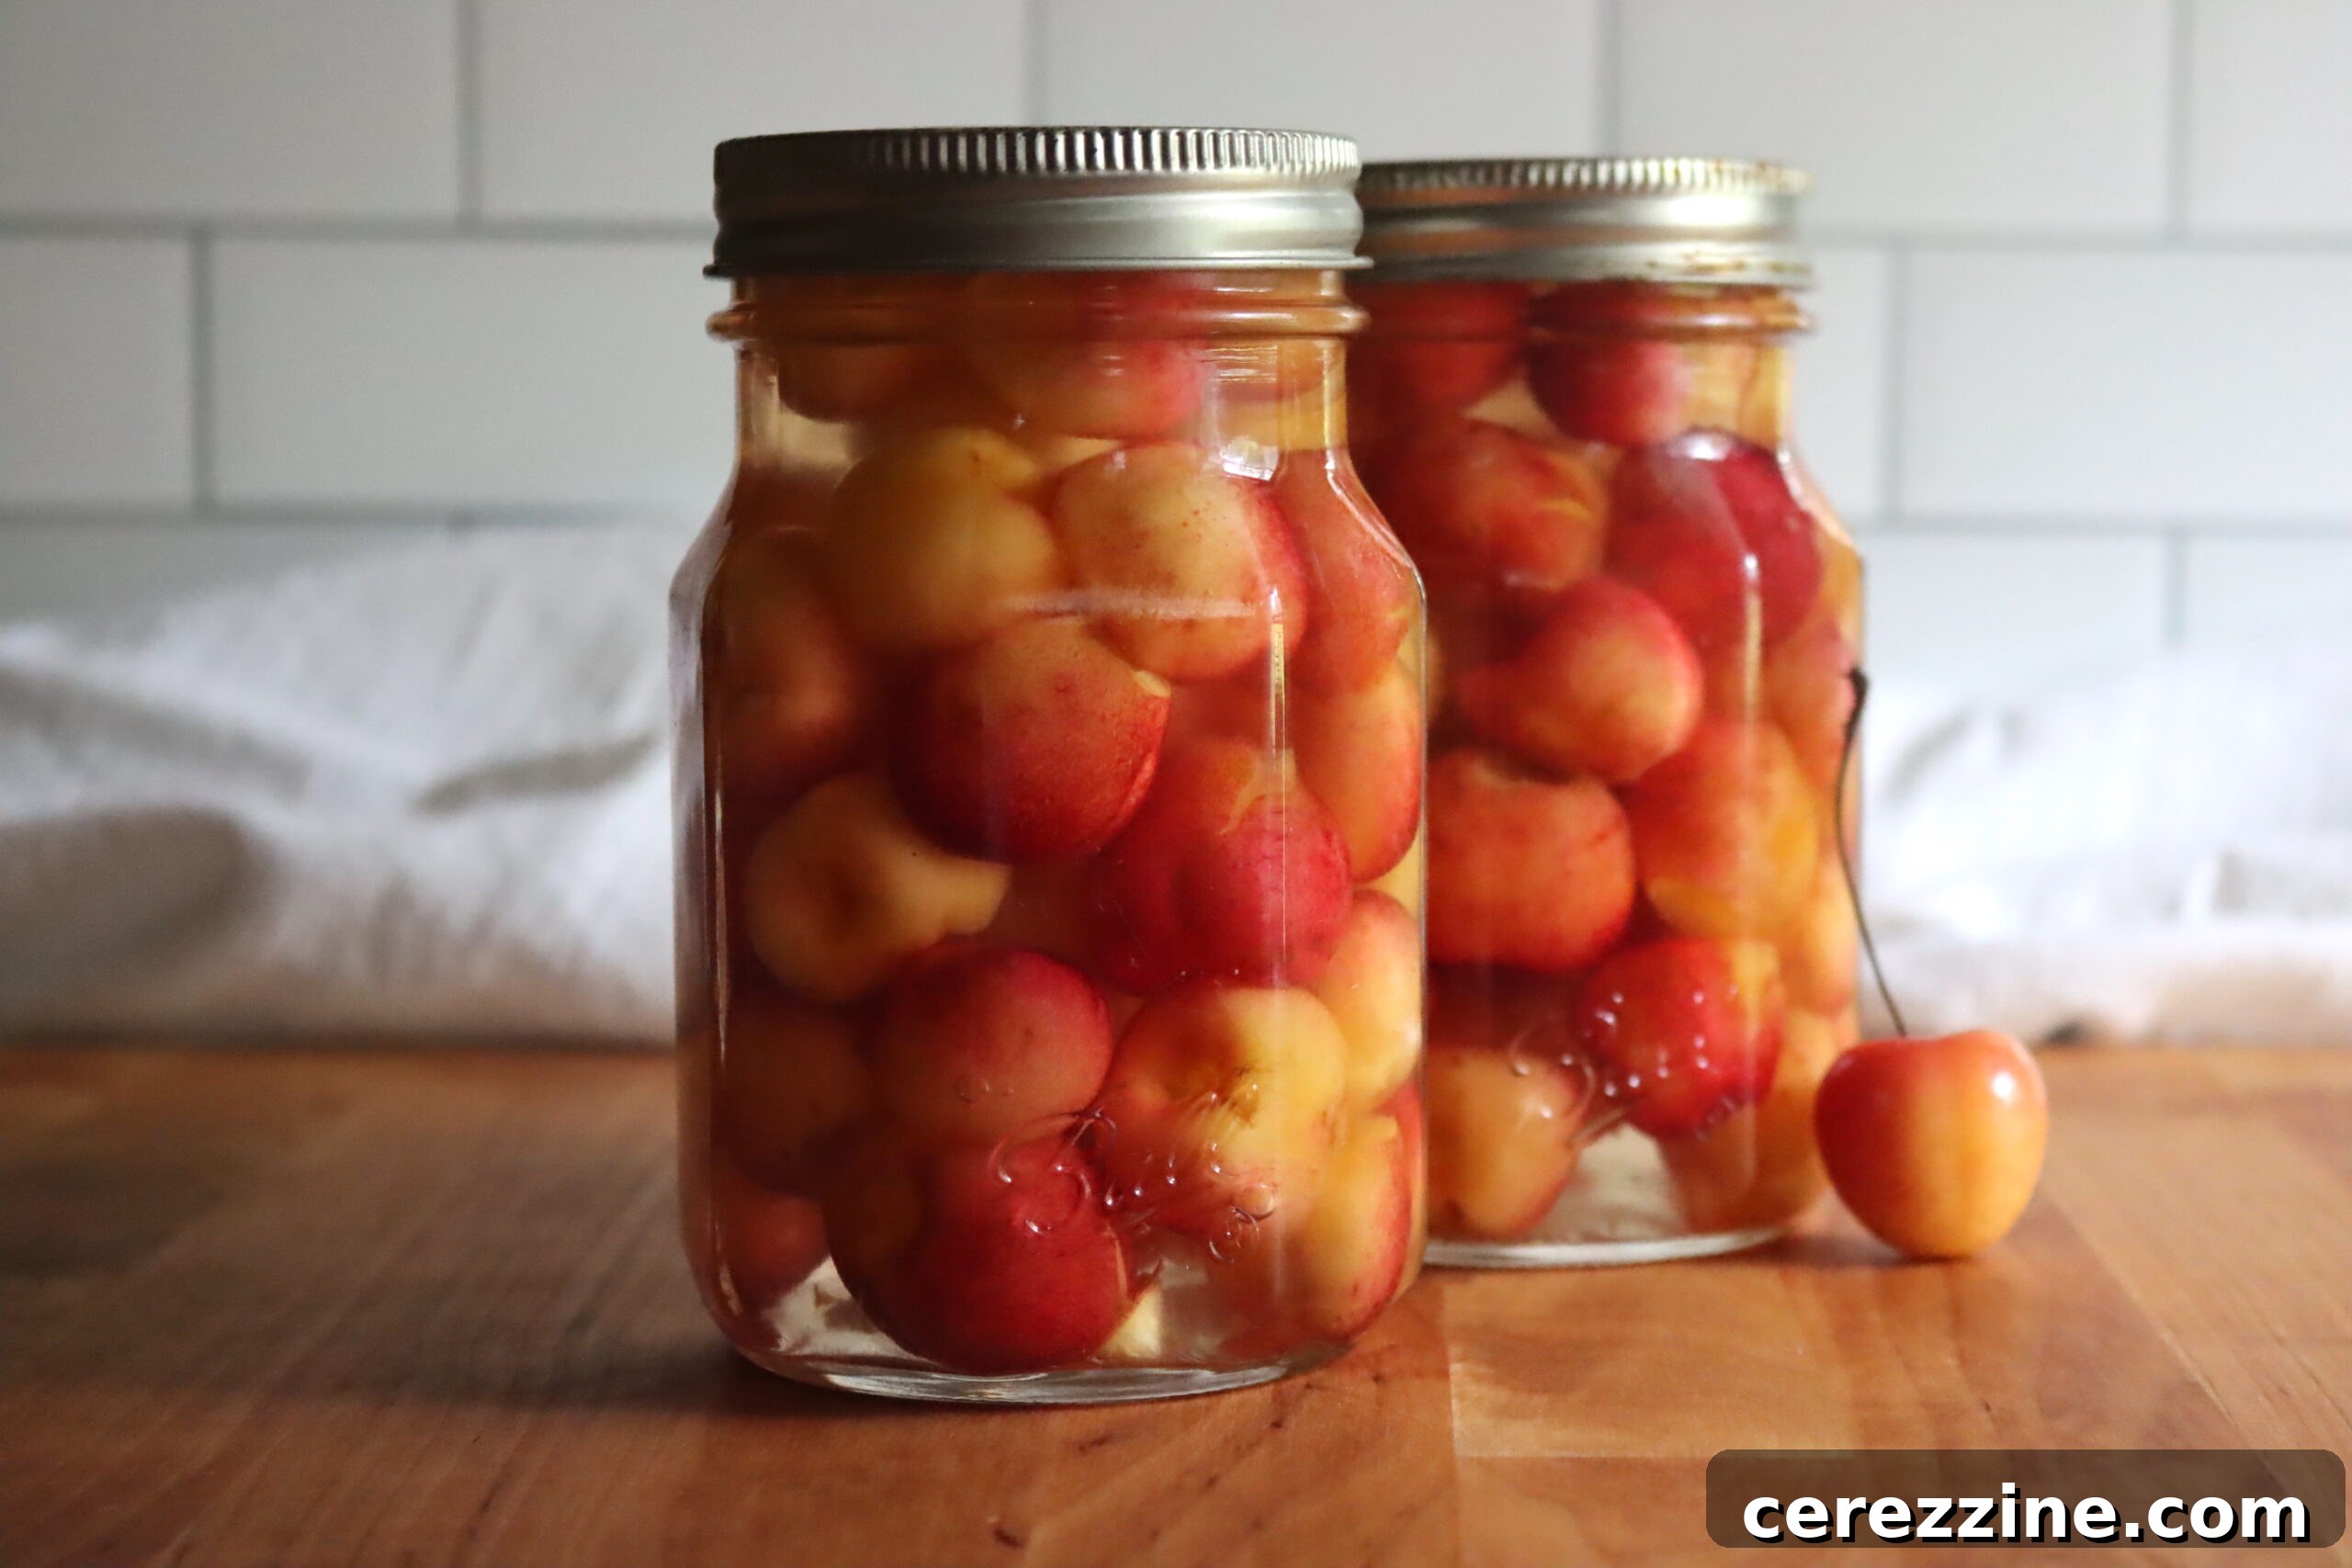
Preserving the taste of summer’s bounty is a truly rewarding experience, and canning cherries stands out as one of the most delightful ways to capture these sweet, vibrant jewels. Imagine enjoying the bright, tangy sweetness of perfectly preserved cherries long after the season has passed – they’re not just a fantastic addition to all your winter baking, but also incredibly tasty straight out of the jar!
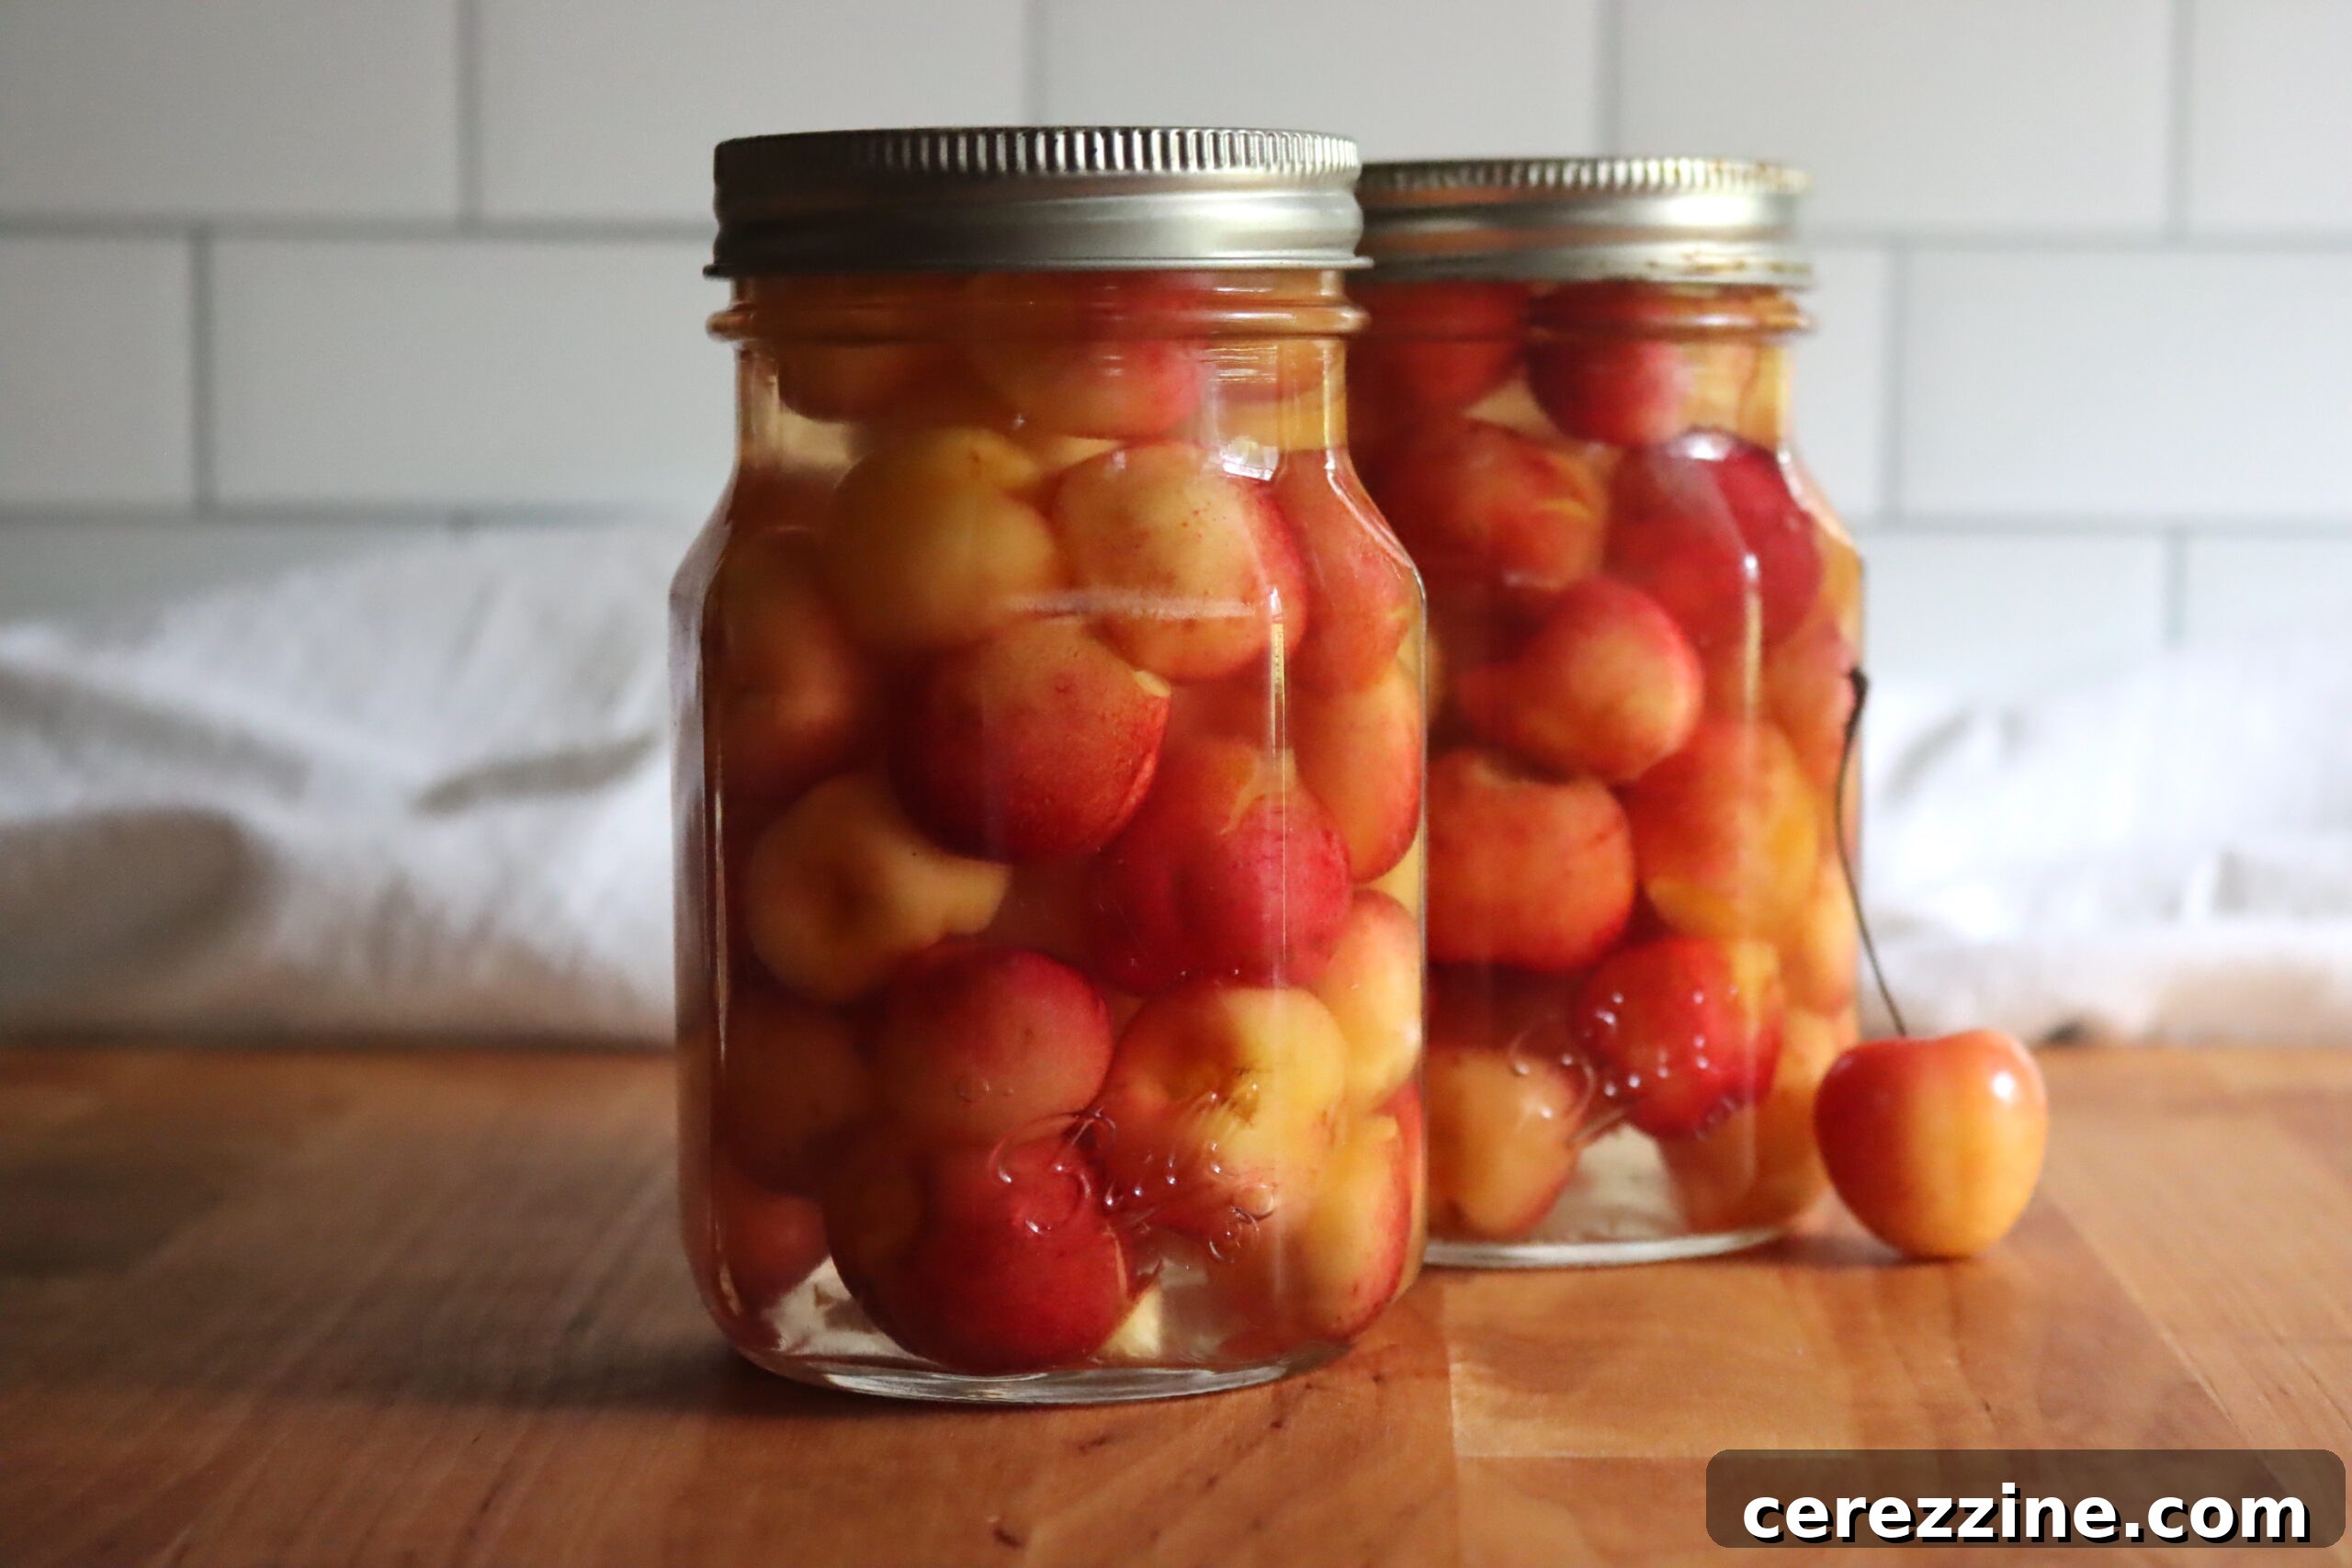
If you’re fortunate enough to have a bountiful cherry harvest or have stumbled upon an irresistible deal on these delightful red gems, then canning cherries is an exceptional method to lock in their tangy sweetness and enjoy them throughout the entire year. This guide will walk you through everything you need to know to successfully preserve cherries at home, ensuring you have a taste of summer whenever you desire.
Many home preservers wonder if canning cherries is a complicated process. The truth is, it’s far simpler than you might expect, offering a wonderful solution for those with limited freezer space who want to make the most of their hard-earned cherry harvest or their fantastic farmer’s market finds. Not only does canning save space, but it also creates a shelf-stable product that’s ready to use at a moment’s notice.
This comprehensive guide to canning cherries in water, juice, or syrup is versatile enough for any variety of cherry. Whether you prefer the classic sweetness of Bing cherries, the distinct tartness of Northern sour cherries like Montmorency, or the beautiful blushing hues of Pacific Northwest Rainier cherries, this method will ensure a delicious and safe result. We’ll cover everything from selecting the best fruit to the final sealing process, empowering you to become a cherry-canning expert.
Essential Ingredients for Canning Cherries
The beauty of home canning often lies in its simplicity, and cherries are no exception. You’ll be pleased to know that the ingredients for canning cherries are incredibly straightforward, focusing primarily on the fruit itself and the liquid you choose for preservation. To prepare a full canner batch, typically yielding seven quarts or nine pints, you will need the following:
- Fresh Cherries: The star of our show! Prioritize firm, ripe, and unblemished fruit for the best results.
- Liquid Base: Your choice of water, clear apple juice, white grape juice, or a prepared sugar syrup. This liquid protects the fruit and helps preserve its flavor and texture.
The quantity of cherries required depends on your chosen jar size and packing method. For a standard canner load of nine pints, you’ll generally need about 10 to 12 pounds of fresh cherries. If you opt for seven quart-sized jars, plan for approximately 17 to 18 pounds of fruit. I personally find pint jars to be ideal for our family’s consumption, making them a convenient size for various recipes. However, you can also use smaller half-pint jars, which process for the same duration as pints, or the larger quart jars, which require a slightly longer processing time.
It is crucial to note a vital canning safety guideline: cherries, like most fruits, cannot be safely canned in half-gallon jars or any container larger than a quart. Adhering to tested jar sizes ensures proper heat penetration and safe preservation.
Choosing Your Syrup or Liquid for Canning Cherries
While it’s perfectly acceptable to can cherries in plain water or fruit juice (such as apple or white grape juice), many home canners prefer to use a sugar syrup. This isn’t just about adding sweetness; syrup plays a significant role in helping to maintain the cherries’ natural flavor, color, and firm texture. Cherries canned solely in water can sometimes taste “washed out” as their natural sugars and some flavor leach into the surrounding liquid.
My personal preference is an extra-light syrup. The goal isn’t to make the cherries sweeter than they naturally are, but rather to preserve their inherent sweetness and prevent them from becoming bland. An extra-light syrup closely matches the sweetness level of the cherries themselves, ensuring they are beautifully preserved rather than candied.
However, the beauty of home canning is customization! You can choose any syrup strength that suits your taste, ranging from very light to a heavy syrup, which will yield a product more akin to the intensely sweet Maraschino cherries.
Here are the sugar proportions for various canning syrup recipes, suitable for a canner load of approximately nine pints:
- Extra-light syrup: 3/4 cups sugar dissolved in 6 1/2 cups water. This is ideal for those who want to maintain the fruit’s natural flavor with minimal added sweetness.
- Light syrup: 1 1/2 cups sugar dissolved in 5 3/4 cups water. A popular choice that adds a subtle sweetness.
- Medium syrup: 2 1/4 cups sugar dissolved in 5 1/4 cups water. For a noticeable but not overpowering sweetness.
- Heavy syrup: 3 1/4 cups sugar dissolved in 5 cups water. Perfect for a dessert-like cherry or for those who prefer a significantly sweeter product.
When packing your jars, you’ll need approximately 1/2 cup of syrup per pint jar. This amount can vary slightly depending on how densely you pack the cherries. For quart jars, which hold roughly twice the volume, you’ll need about 1 cup of syrup and, naturally, twice as many cherries per jar.
Step-by-Step Guide to Canning Cherries
Before embarking on the canning process, careful preparation is key to ensuring delicious and safe results. This section will guide you through selecting your cherries, preparing them, and the crucial steps for successful canning.
1. Selecting and Preparing Your Cherries
The journey to perfectly canned cherries begins with selecting the right fruit. The most common varieties favored for canning include Bing (sweet), Rainier (sweet), and Montmorency (tart). When choosing, look for cherries that are firm, juicy, and plump, with shiny, unblemished skins. Their ideal color will vary by type:
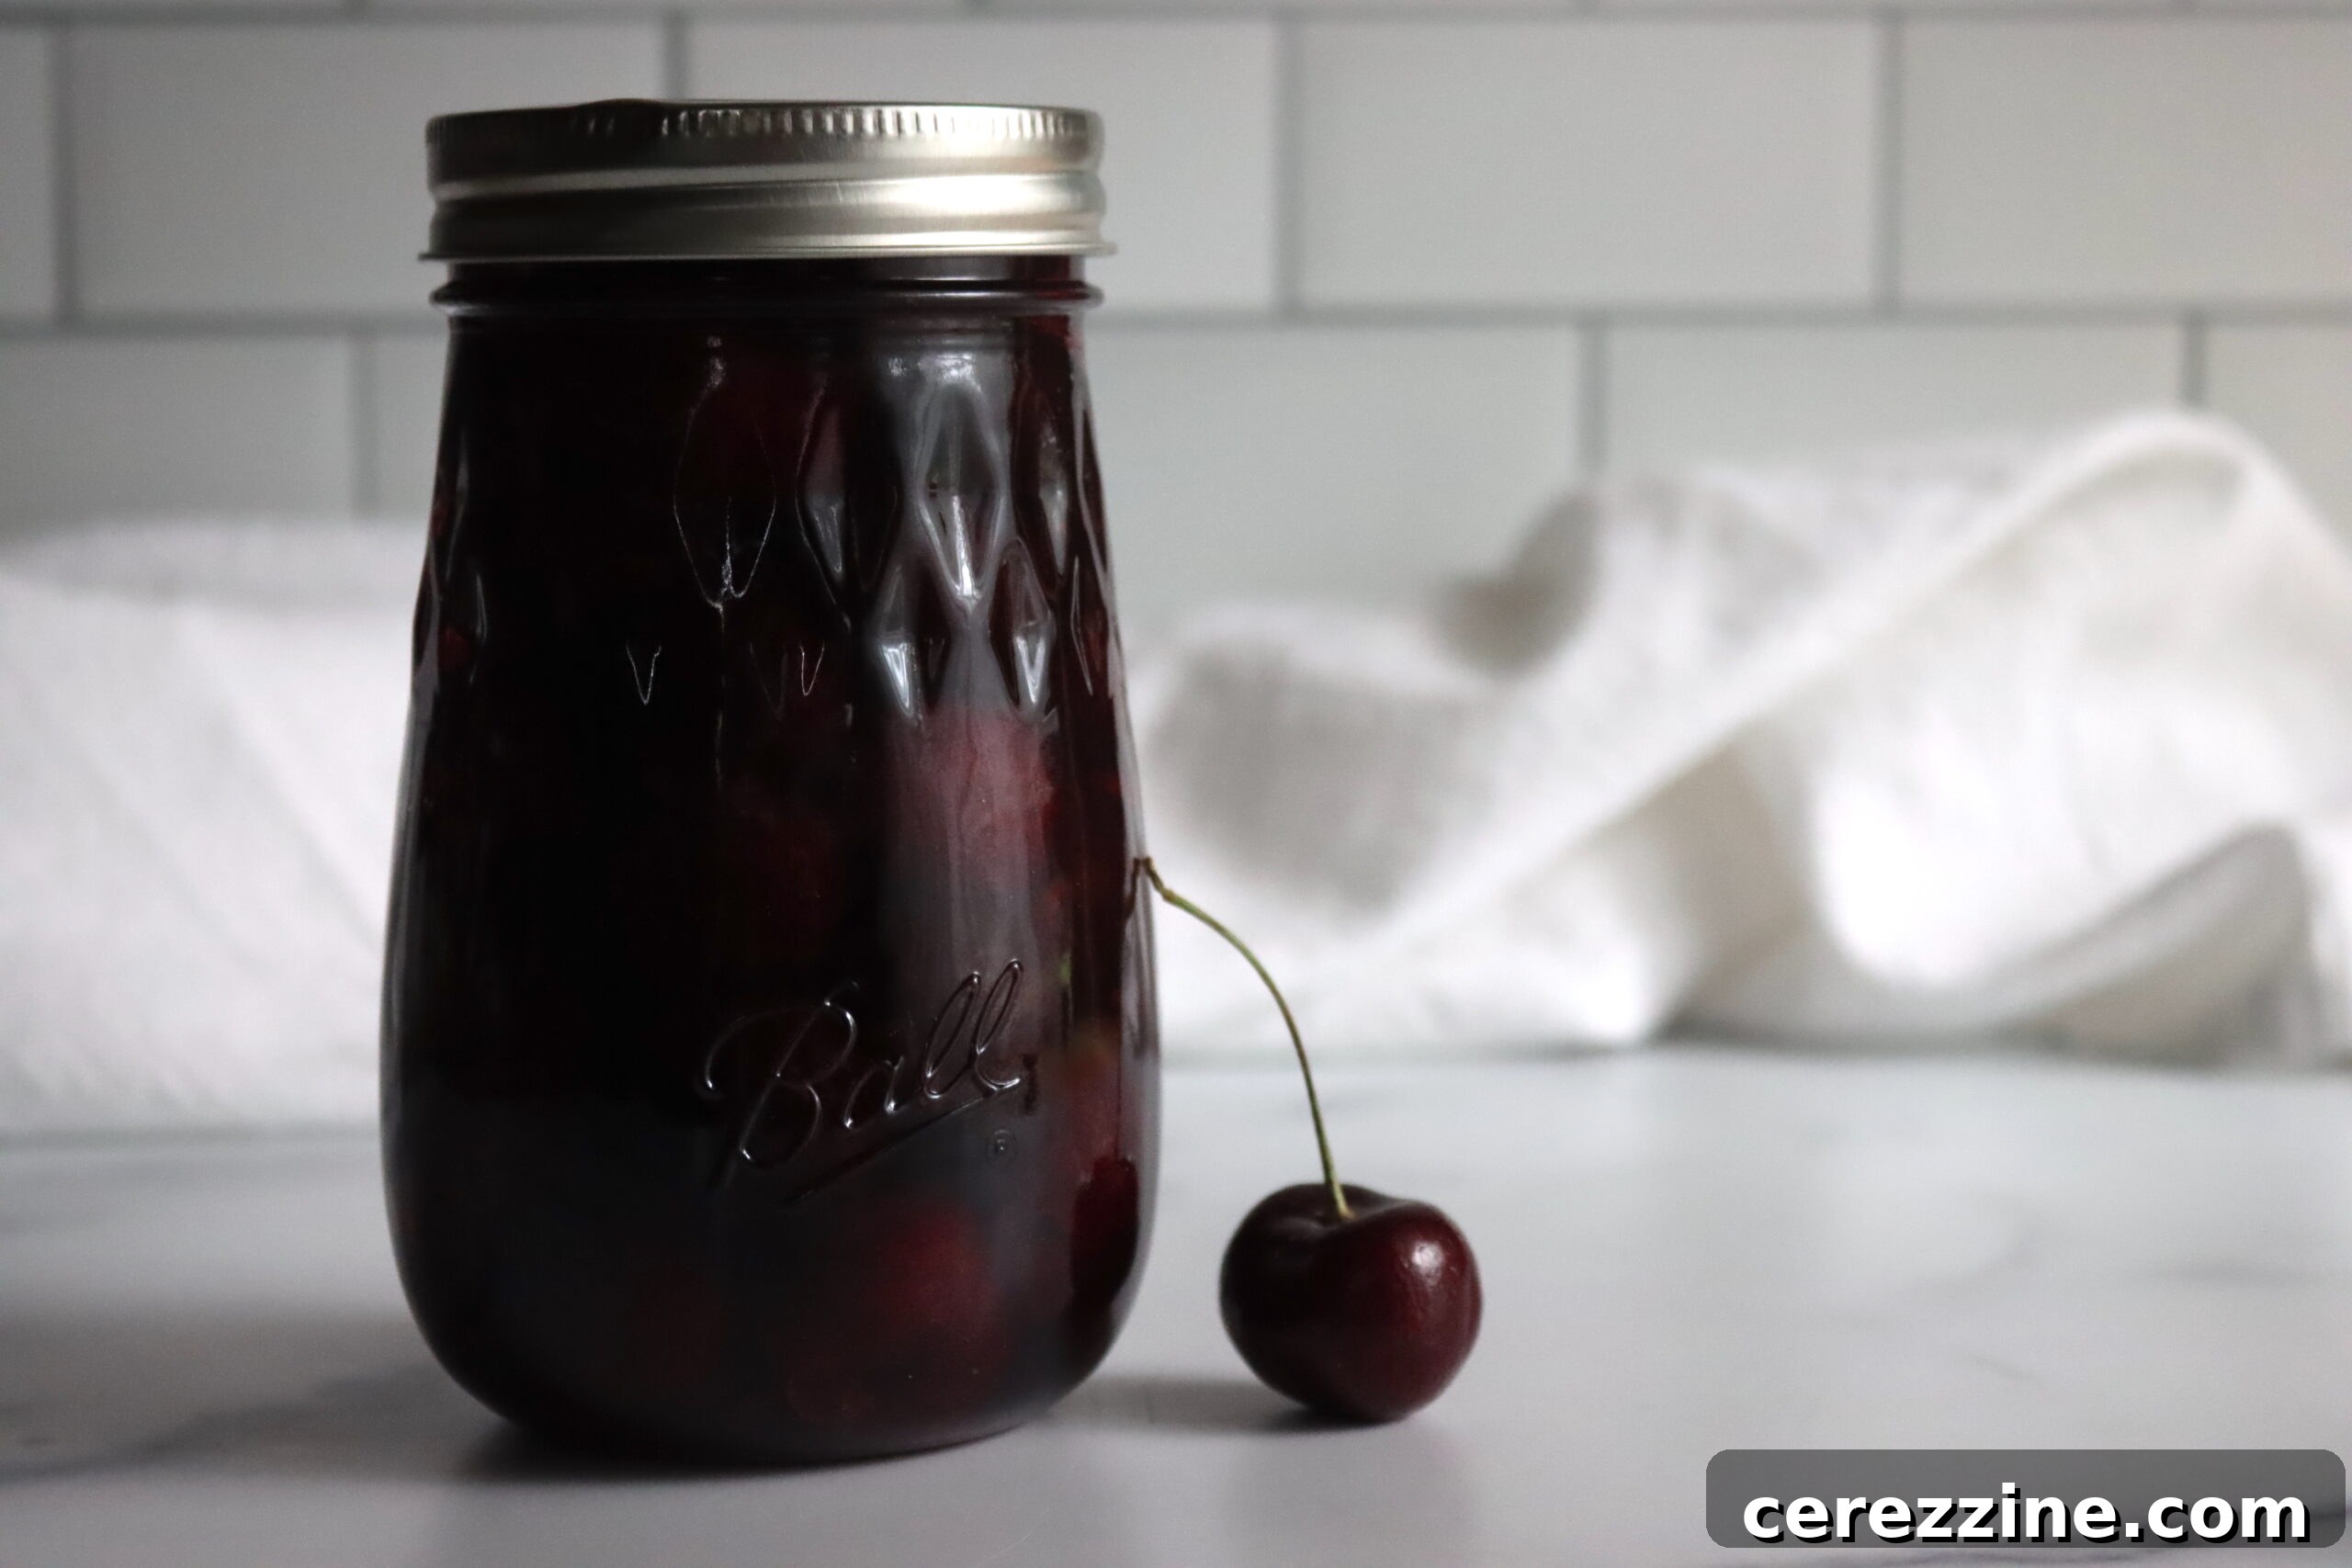
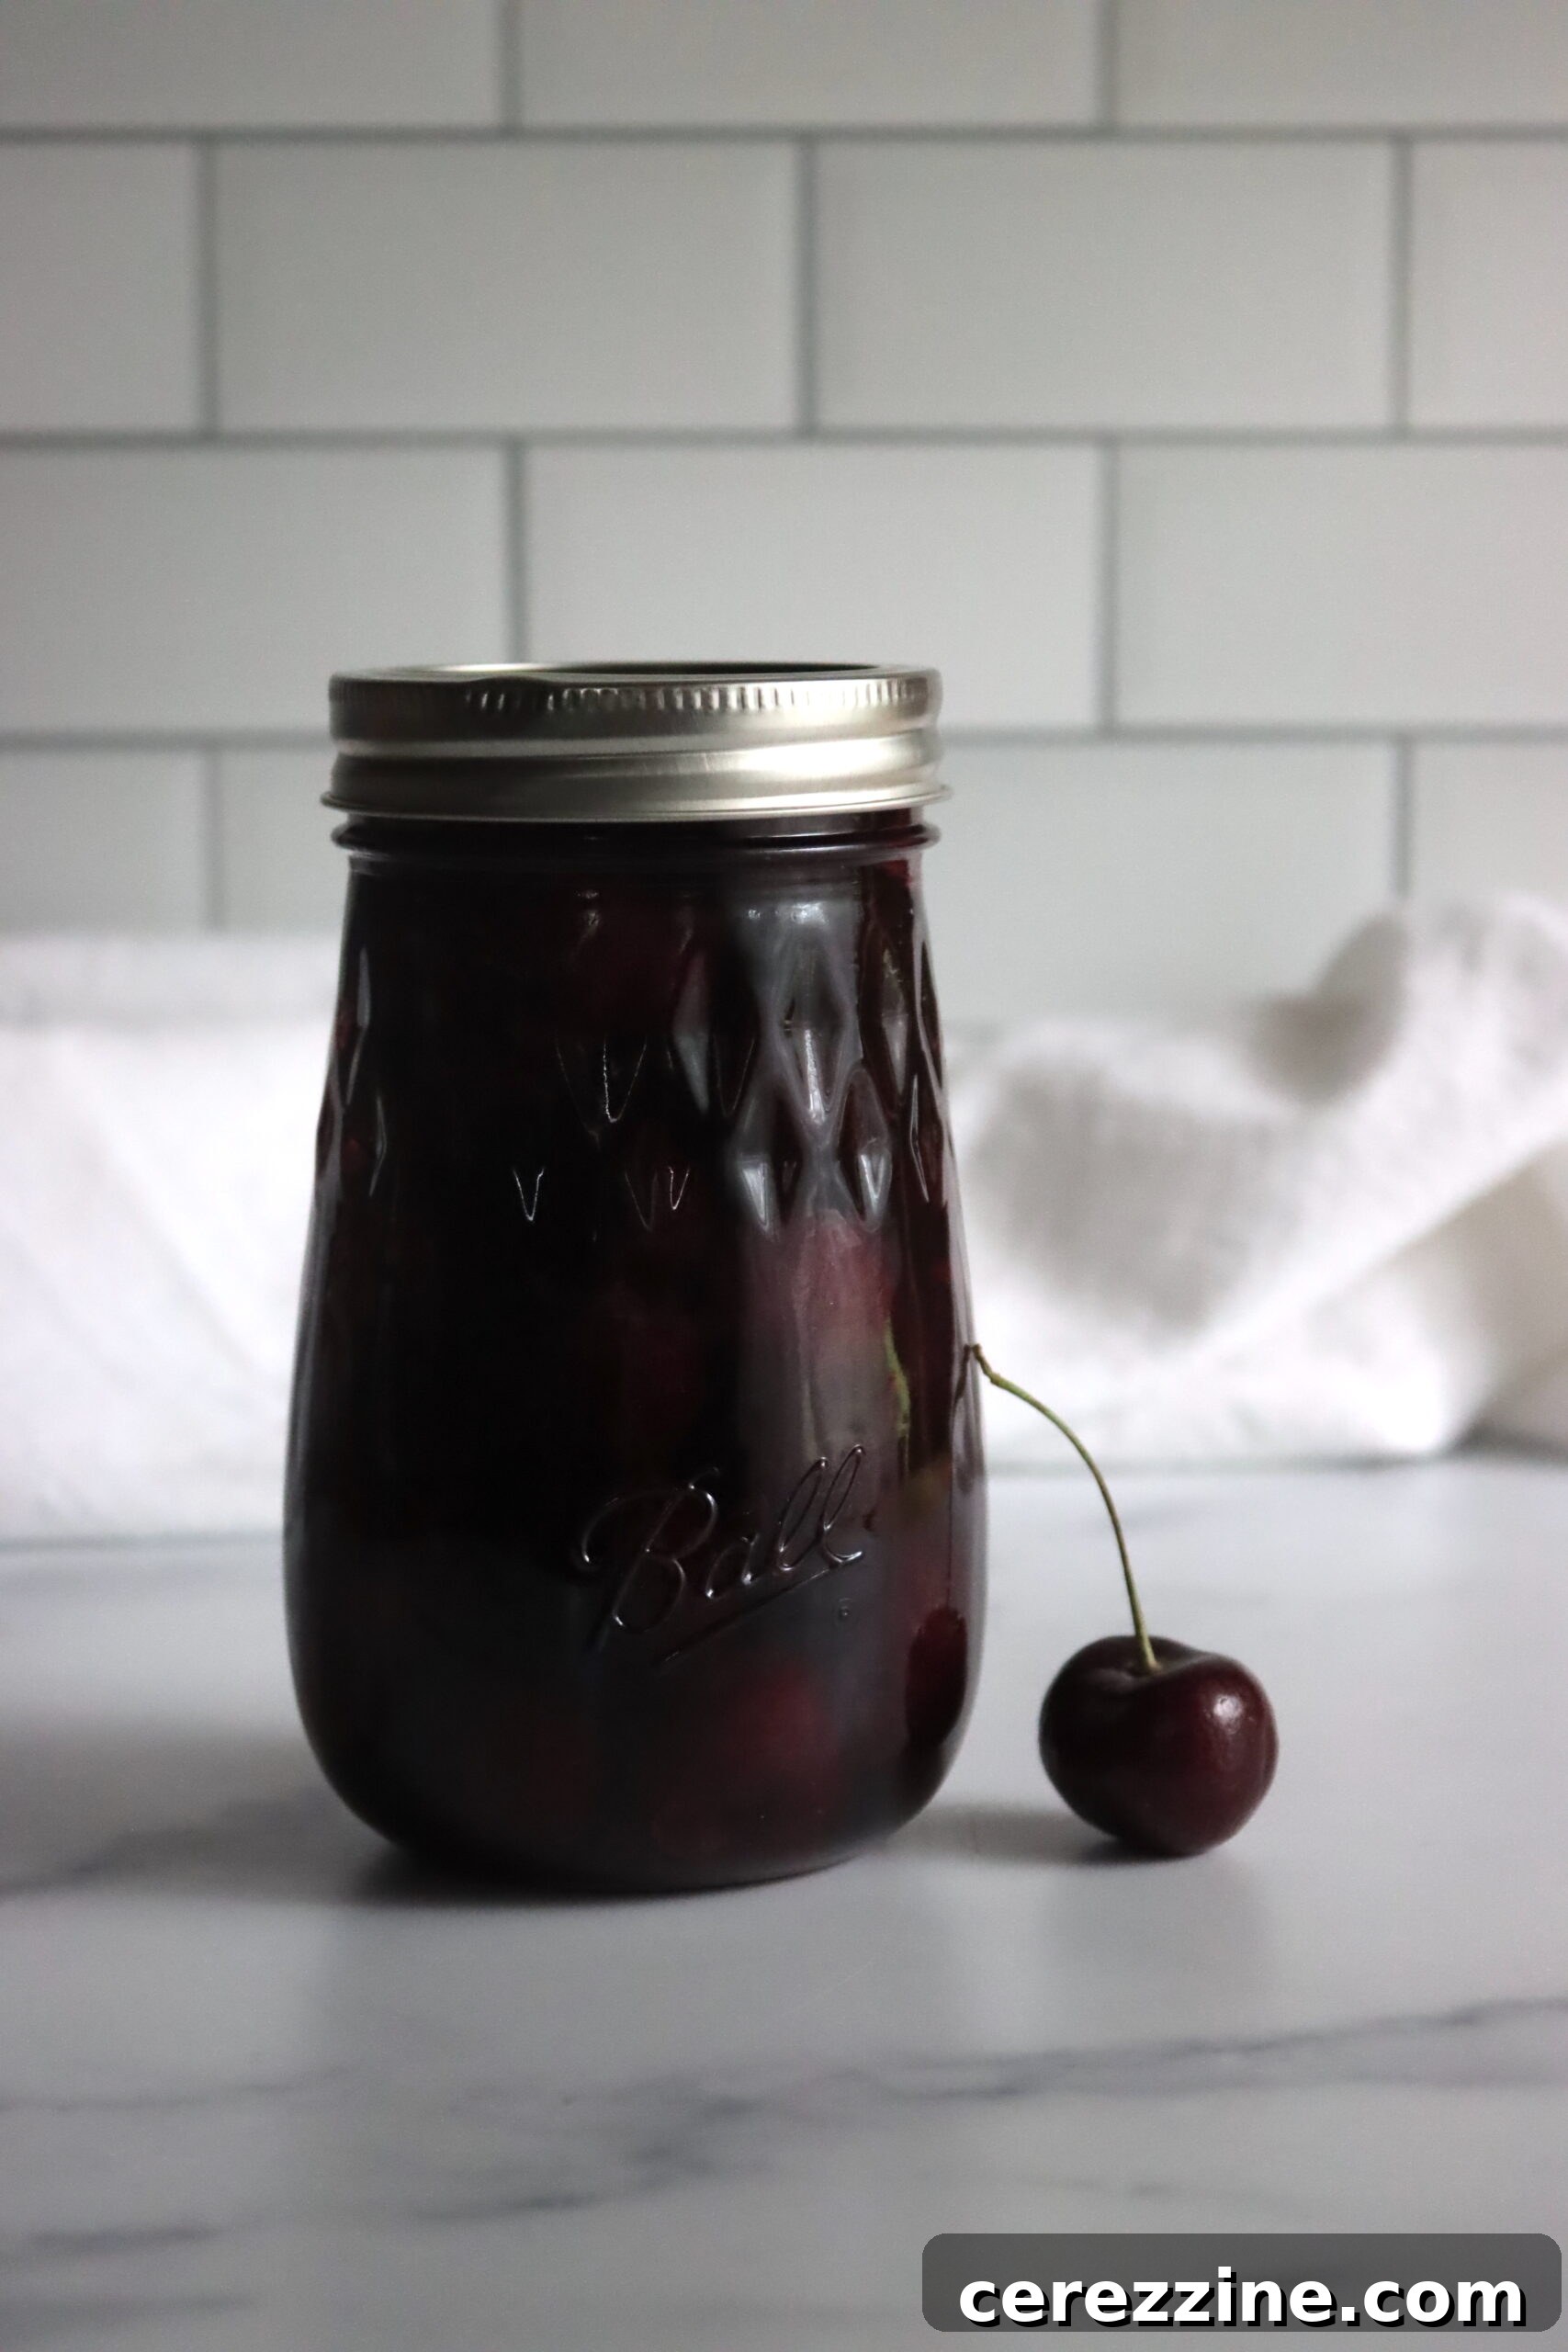
- Bing Cherries: Should exhibit a deep, dark maroon shade, indicating peak ripeness and sweetness.
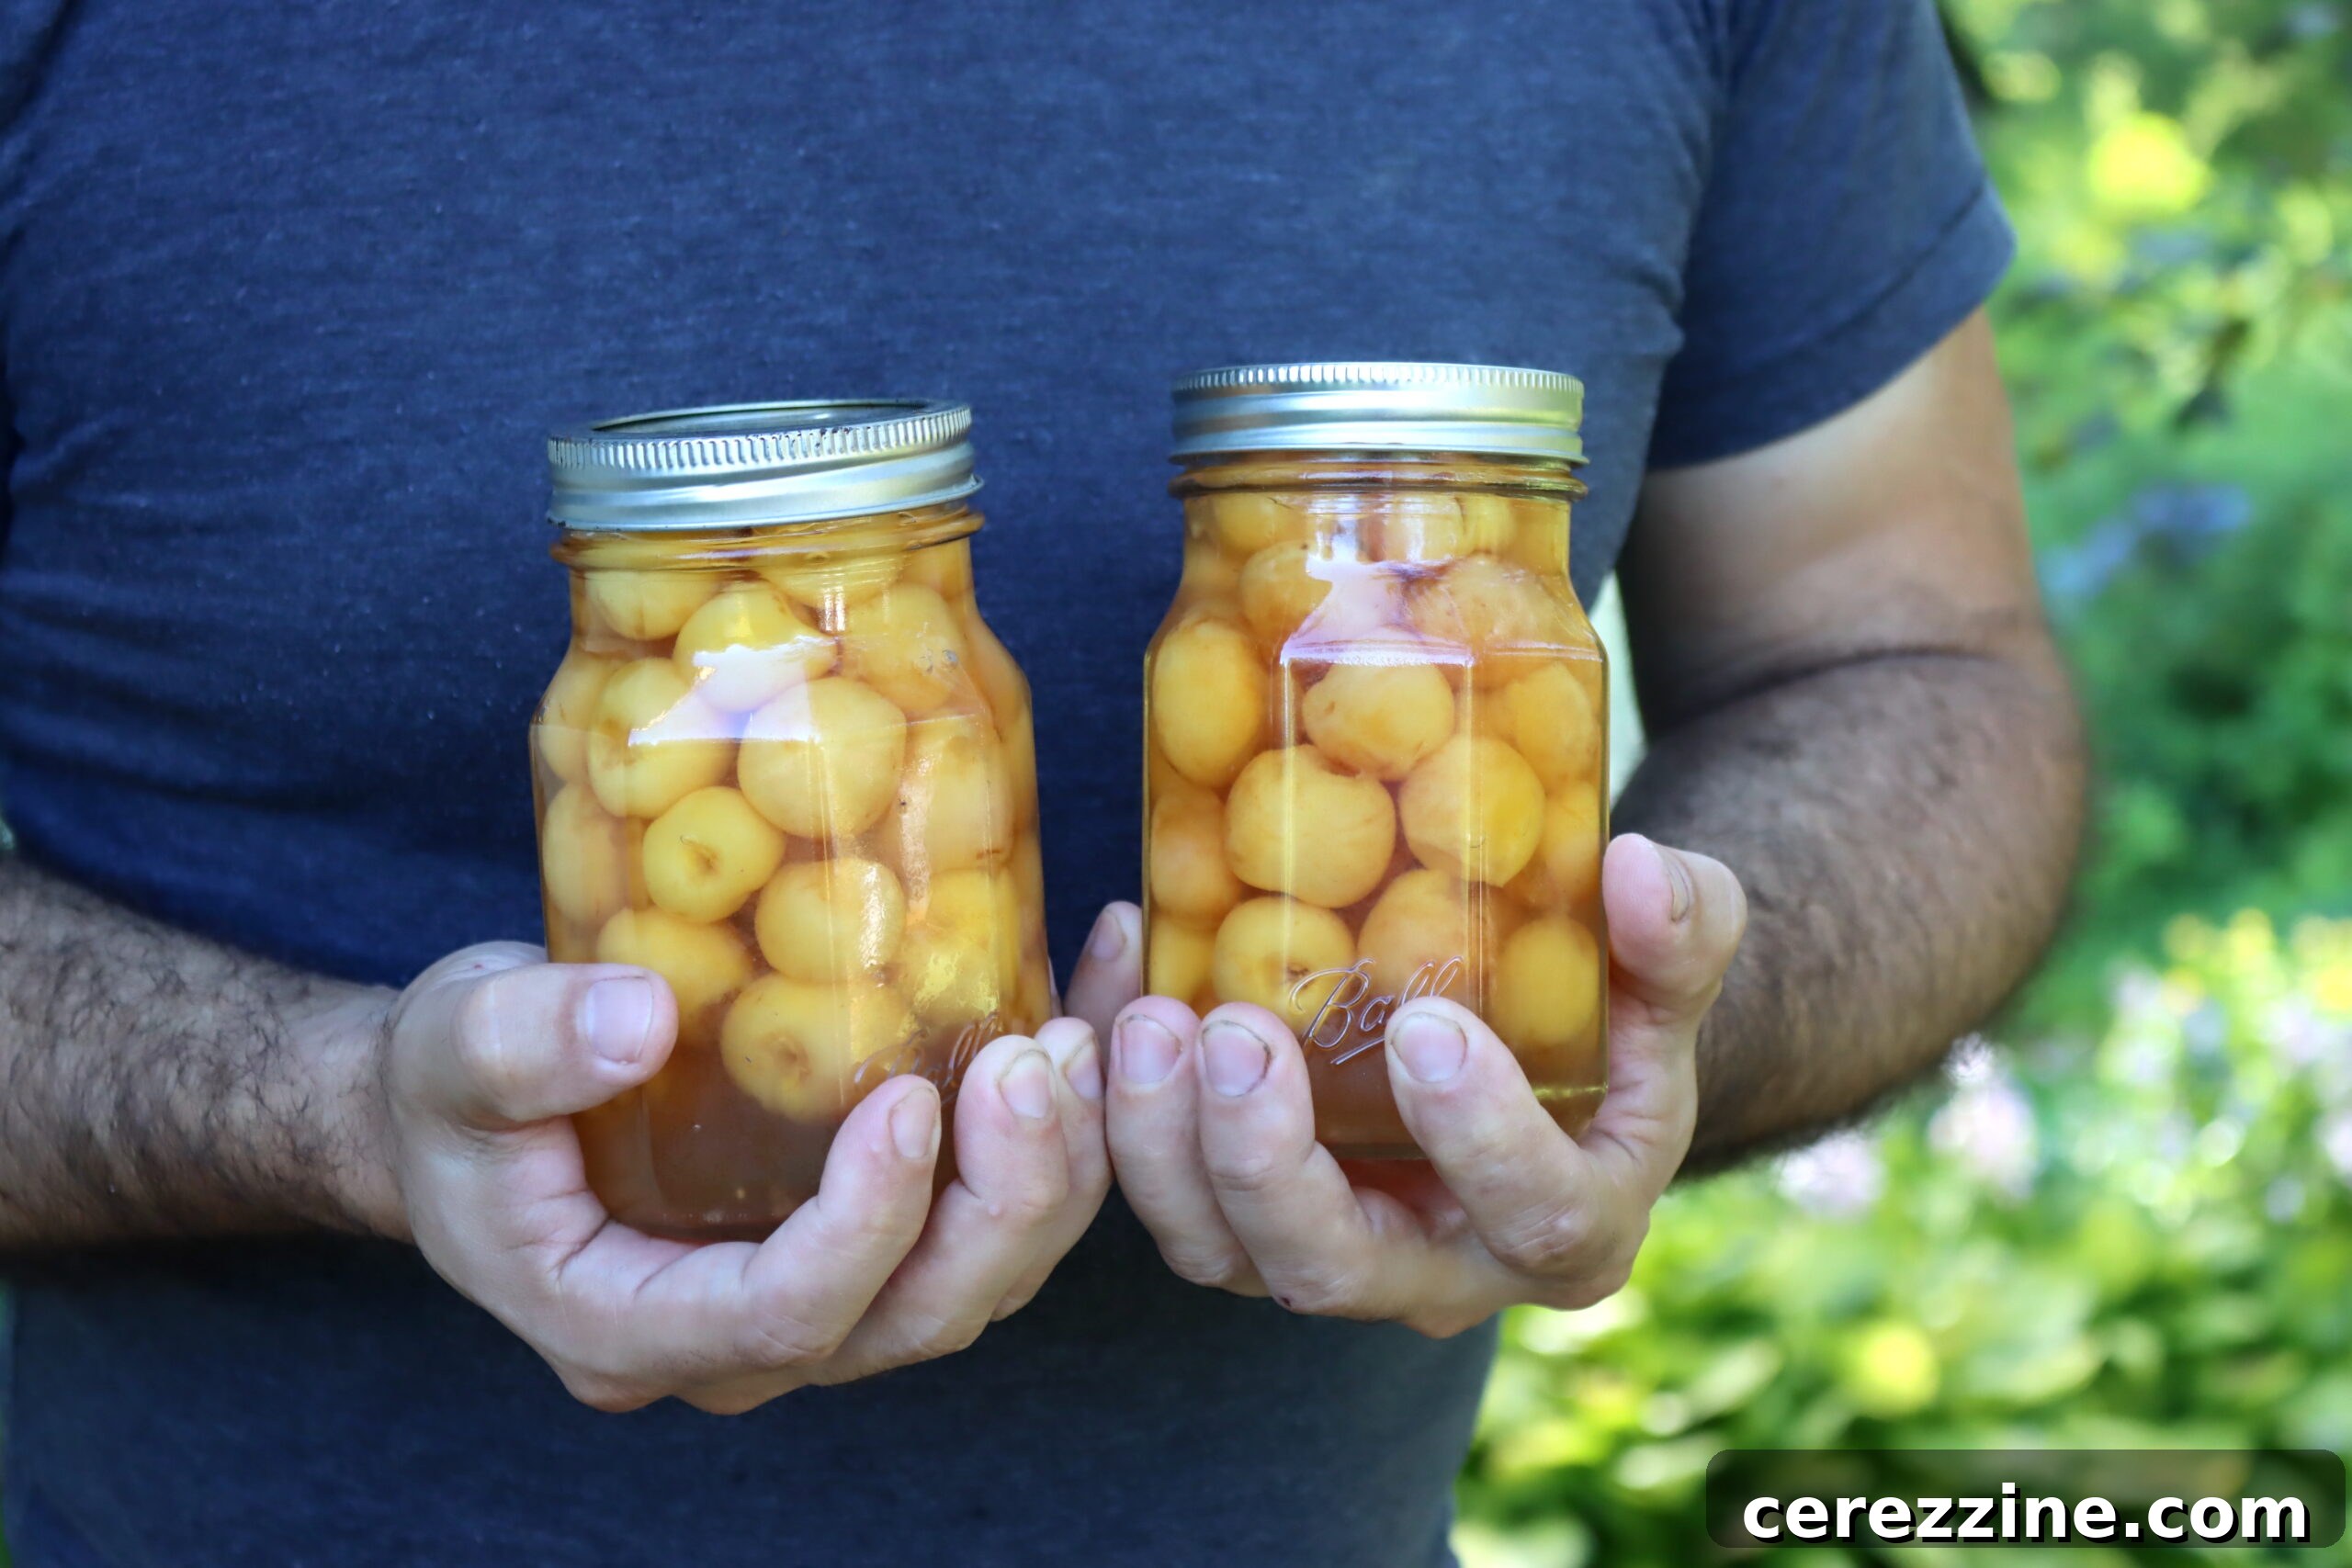
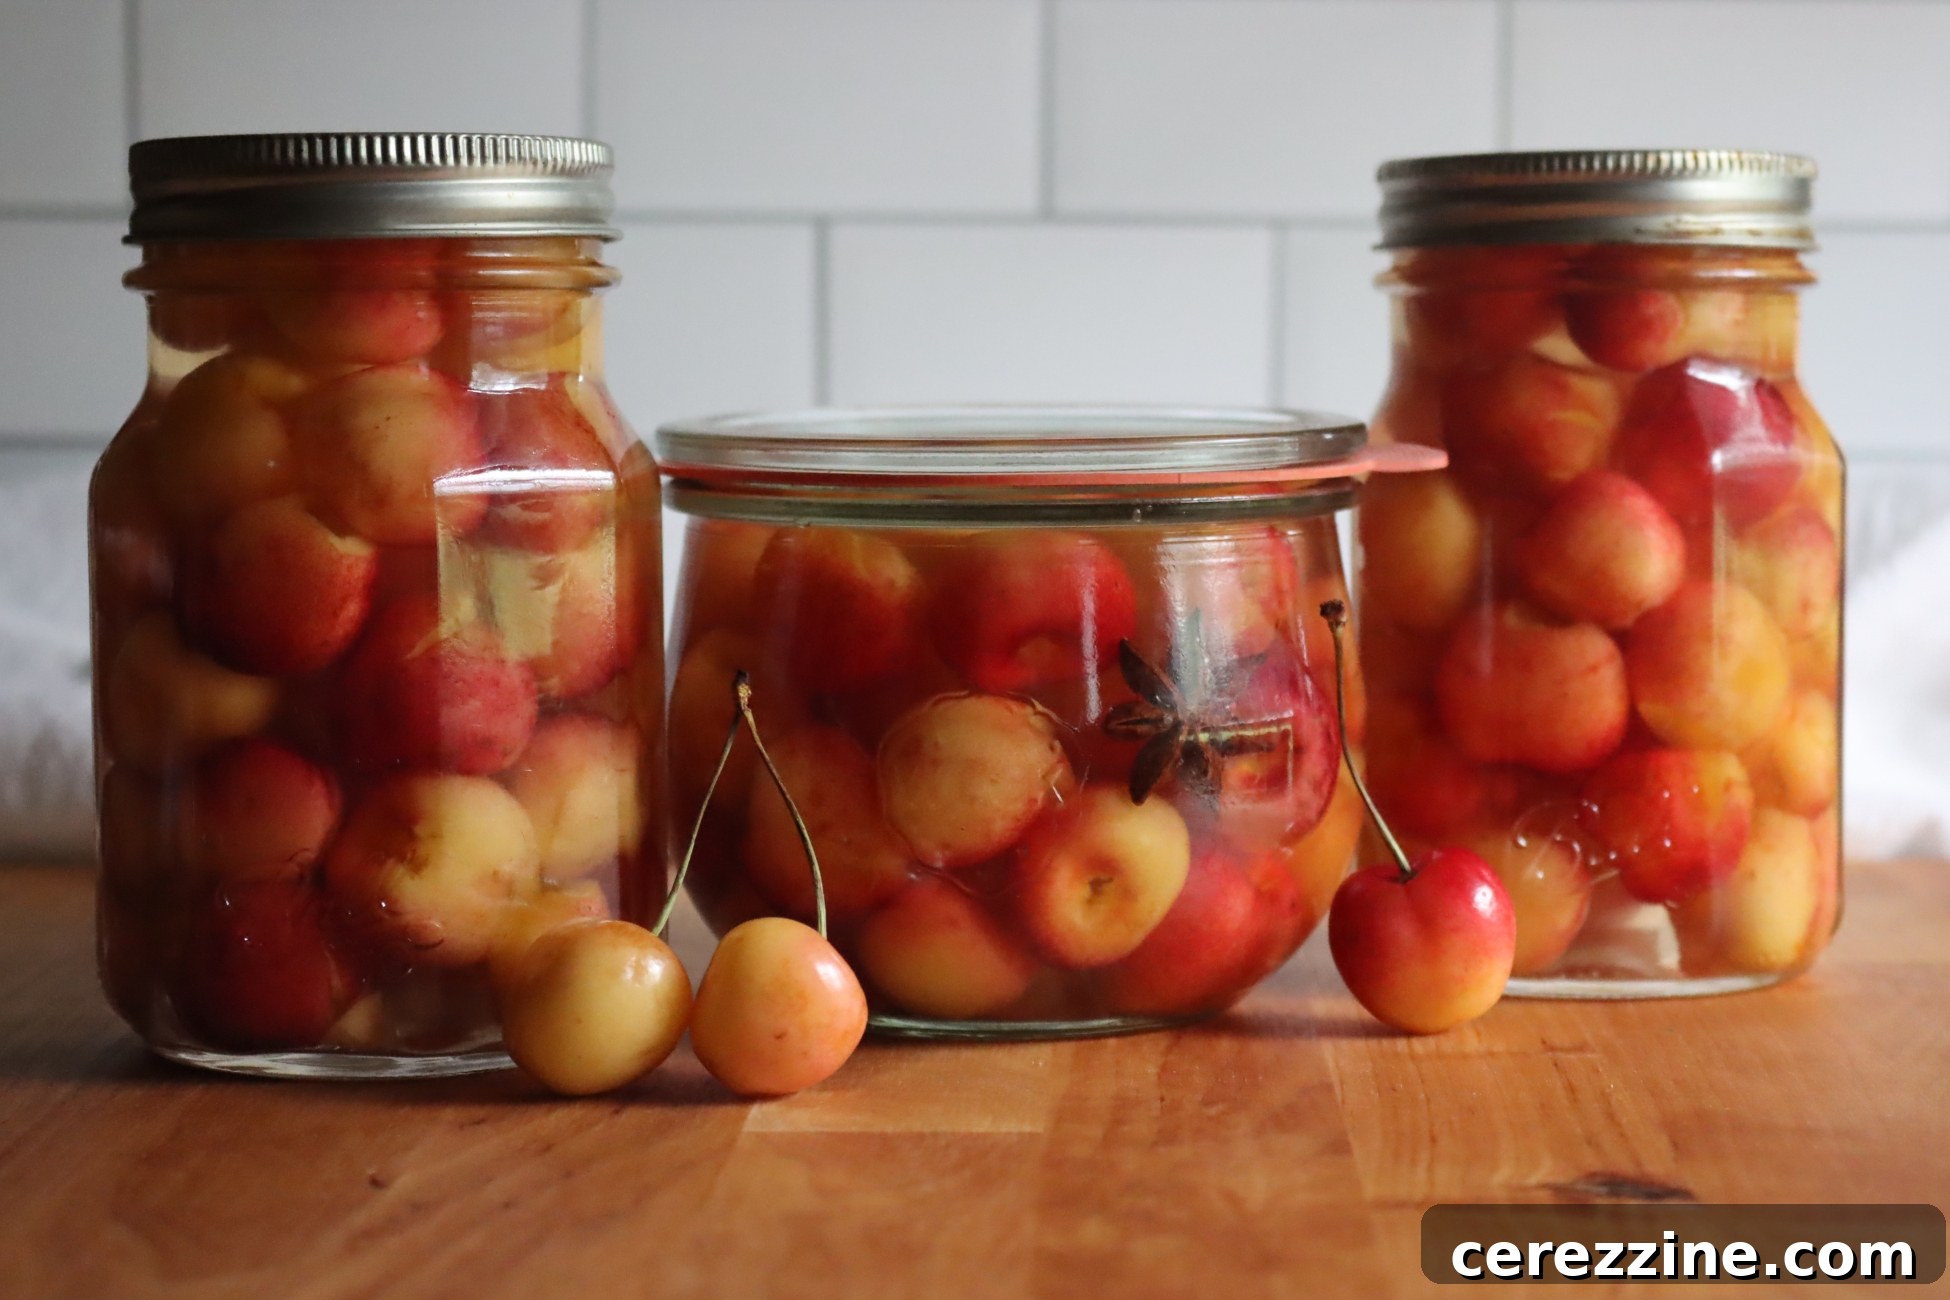
- Rainier Cherries: Look for a light, almost golden hue with a reddish blush. Be aware that Rainiers, while beautiful fresh, will typically fade to a pale yellow once canned, losing their distinctive fresh appearance.
- Montmorency Cherries: These tart cherries are bright red and are a superb choice for those who prefer a tangier fruit. They are also known for retaining their firm texture exceptionally well after cooking, making them excellent for preserving and baking.
Always taste one or two cherries before you begin the canning process to confirm they are sweet and full of flavor. Starting with cherries that are as ripe and flavorful as possible is paramount. Avoid overripe fruit, as it tends to become mushy when canned. Conversely, underripe fruit will soften during processing but may not develop the desired sweetness or robust flavor.
Once you’ve selected your cherries, wash them thoroughly under cool running water.
Next, you’ll decide whether to pit the cherries or leave them whole. Both methods are acceptable, but pitting offers convenience for later use. If you choose to remove the pits, a specialized cherry pitter will make the job quick and easy. Alternatively, the “chopstick method” is a popular home remedy: simply push a clean chopstick (or a sturdy straw) through the stem end of the cherry to pop out the pit. If you’re pitting cherries, place them immediately into a bowl of water mixed with a bit of ascorbic acid (lemon juice works well) to prevent discoloration. If you decide to can the cherries whole, use a clean needle to prick the skins on opposite sides of each fruit; this small step helps prevent the skins from splitting during processing.
2. Preparing Your Canning Liquid and Jars
Refer back to the “Choosing Your Syrup or Liquid” section to prepare your desired canning liquid. Whether you opt for water, fruit juice, or a sugar syrup, bring it to a boil, then reduce it to a simmer to keep it hot and ready.
Meanwhile, prepare your canning jars. Ensure they are clean and free from chips or cracks. While modern canning recommendations often state that sterilizing jars isn’t necessary if the processing time is 10 minutes or longer, it’s good practice to wash them thoroughly and keep them hot. You can do this by running them through a dishwasher cycle or submerging them in simmering water.
3. Packing the Jars: Hot Pack vs. Raw Pack
You have two main methods for packing cherries into jars:
- Hot Pack Method: This is generally preferred for fruits like cherries because it helps expel air from the fruit tissue, leading to less floating fruit in the jars and better retention of color and flavor. To hot pack, blanch your prepared cherries in your simmering liquid for about 5 minutes. Then, use a slotted spoon to carefully transfer the hot cherries into your hot jars, packing them firmly but without crushing.
- Raw Pack Method: This method is quicker as it skips the blanching step. Simply pack the raw, prepared cherries into your hot jars, packing them as tightly as possible without bruising.
Once the jars are filled with fruit, pour the hot canning liquid over the cherries, ensuring all fruit is covered. Maintain a consistent 1/2-inch headspace from the rim of the jar. This headspace is crucial for proper sealing and preventing siphoning during processing.
4. Sealing and Processing Your Jars
After filling and ensuring proper headspace, carefully wipe the rims of each jar with a clean, damp cloth to remove any food residue that could interfere with the seal. Place the clean canning lids on top of the jars, followed by the screw bands. Tighten the bands “fingertip tight” – meaning just tight enough that you can still slightly turn the band with your fingertips. Overtightening can prevent air from escaping, leading to seal failures.
Now, it’s time to process your jars using either a water bath canner or a pressure canner. The method you choose depends on personal preference and available equipment.
- Water Bath Canning: This method is suitable for high-acid foods like cherries. Carefully lower the filled jars onto the rack in your water bath canner, ensuring they are fully submerged in water by at least 1-2 inches. Bring the water to a rolling boil and maintain the recommended processing time.
- For hot-packed quarts: Process for 20 minutes.
- For raw-packed quarts: Process for 25 minutes.
- For pint and half-pint jars, the processing times are slightly shorter; refer to the canning times table below.
Remember to adjust processing times for altitude (see table below).
- Pressure Canning: While not strictly necessary for cherries due to their acidity, pressure canning cherries offers a generally faster processing time.
- For both hot-packed and raw-packed quarts: Process for 10 minutes.
- If using a dial-gauge pressure canner: Process at 6 lbs pressure.
- If using a weighted-gauge pressure canner: Process at 5 lbs pressure.
Always follow your canner’s specific instructions for venting and depressurizing.
Once the processing time is complete, turn off the heat. For a water bath canner, remove the jars immediately. For a pressure canner, allow it to cool naturally and fully depressurize before opening the lid. Carefully remove the hot jars from the canner using a jar lifter and place them on a clean towel or cooling rack, ensuring there’s space between each jar for air circulation. Let them rest undisturbed at room temperature for 12 to 24 hours.
5. Checking Seals and Storage
After the cooling period, check the seals on all your jars. A properly sealed jar will have a lid that is concave (curved inward) and does not flex when pressed. If a lid yields, the jar has not sealed. Unsealed jars should be refrigerated and consumed within a few days or reprocessed immediately with a new lid (within 24 hours).
Once confirmed sealed, remove the screw bands, wipe down the jars, label them with the contents and date, and store them in a cool, dark, dry place for up to one year. Enjoy your homemade canned cherries all year long!
Detailed Canning Times for Cherries
Accurate processing times are vital for safe home canning. The tables below summarize the canning times for cherries, based on whether you choose the raw pack or hot pack method, and the size of your jars. Remember to adjust these times based on your altitude above sea level.

When pressure canning cherries, the processing times remain constant regardless of altitude, but the required pressure changes to compensate for the lower boiling point of water at higher elevations. The following times are for dial-gauge pressure canners, such as Presto canners:

For weighted-gauge pressure canners (like the All American Brand), you typically have fewer pressure options (e.g., 5, 10, or 15 pounds). These canners are often considered more convenient as they self-regulate pressure once achieved. Here are the timetables for canning cherries in a weighted-gauge pressure canner:
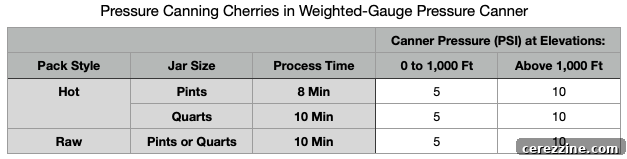
Always ensure you consult up-to-date canning guidelines from reputable sources like the USDA for the most accurate and safe processing recommendations for your specific altitude.
Creative Ways to Enjoy Canned Cherries
Once you’ve mastered the art of preserving cherries, a world of culinary possibilities opens up. Canned cherries, with their bright, sweet-tart flavor and beautiful color, are a versatile ingredient that can elevate both sweet and savory dishes. Since they are already cooked and preserved in syrup, they are typically ready to eat straight from the jar.
Here are some inspiring ideas for serving your homemade canned cherries:
- Dessert Toppings: Spoon them generously over classic desserts like vanilla bean ice cream sundaes, creamy cheesecakes, or layered yogurt parfaits for an instant fruity burst. They also make a fantastic topping for puddings or even a simple scoop of whipped cream.
- Baked Goods: Incorporate canned cherries into your favorite baked goods. They’re perfect for pies, cobblers, crisps, muffins, tarts, and cakes, adding a luscious fruity element and moist texture. You can even thicken the syrup slightly to create a quick cherry pie filling.
- Savory Pairings: Don’t limit cherries to just sweet dishes! Their sweet-tart profile creates a delightful contrast with savory meats. Try pairing them with roasted pork tenderloin, grilled duck breast, or chicken dishes for a gourmet touch. A cherry reduction sauce can be particularly exquisite.
- Breakfast & Brunch: Kickstart your day on a sweet and vibrant note by adding canned cherries to your breakfast spread. They are excellent on waffles, pancakes, French toast, oatmeal, or even stirred into a bowl of cottage cheese.
- Beverages: Muddle them into cocktails or mocktails for a refreshing twist, or blend them into smoothies for added flavor and nutrients.
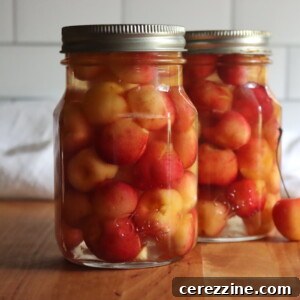
Canning Cherries – Simple Recipe
Canning cherries is a beloved tradition for preserving these sweet summertime jewels. They’re incredibly versatile, perfect for winter baking, or simply enjoyed right out of the jar!
Ingredients
- Fresh cherries (10-12 lbs for 9 pints; 17-18 lbs for 7 quarts)
- Water, clear apple juice, white grape juice, or sugar syrup (see “Syrup for Canning Cherries” section for ratios)
- Ascorbic acid or lemon juice (optional, for pitted cherries)
Instructions
- Select Cherries: Choose firm, juicy, unblemished cherries (Bing, Rainier, Montmorency). Ensure they are ripe and sweet. Avoid overripe or underripe fruit.
- Prepare Cherries: Wash cherries thoroughly. Decide whether to pit or leave whole. If pitting, use a pitter or chopstick method. Place pitted cherries in water with a splash of lemon juice to prevent discoloration. If canning whole, prick skins with a clean needle to prevent splitting.
- Prepare Liquid: Prepare your chosen syrup, water, or juice (e.g., for extra-light syrup: 3/4 cup sugar to 6 1/2 cups water). Bring the liquid to a boil, then reduce to a simmer.
- Pack Jars (Hot Pack): For hot pack, blanch cherries in the simmering liquid for about 5 minutes. Transfer hot cherries to hot, clean canning jars, packing firmly but gently.
- Pack Jars (Raw Pack): For raw pack, simply pack raw cherries tightly into hot, clean canning jars.
- Fill Jars: Pour the hot liquid over the cherries, ensuring they are fully covered. Leave 1/2-inch headspace.
- Seal Jars: Wipe jar rims clean. Place new, clean lids and screw bands, tightening fingertip-tight.
- Process Jars: Load jars into a water bath canner or pressure canner according to the method chosen.
- Water Bath: Hot-packed quarts for 20 mins, raw-packed quarts for 25 mins (adjust for altitude).
- Pressure Canner: 10 mins at 6 lbs pressure (dial-gauge) or 5 lbs pressure (weighted-gauge) for quarts (adjust pressure for altitude if using dial-gauge). Refer to the full article for detailed tables and altitude adjustments.
- Cool & Store: After processing, remove jars from canner. Allow to cool undisturbed for 12-24 hours. Check seals. Remove bands, label, and store in a cool, dark place for up to 1 year.
Notes
- A canner load of 9 pints requires 10-12 pounds of cherries. For 7 quarts, you’ll need 17-18 pounds.
- Cherries cannot be safely canned in half-gallon jars or any jar larger than a quart.
- Using syrup helps maintain the cherries’ natural sweetness, color, and texture, preventing a “washed out” taste often found in water-packed cherries.
- Adjust syrup sweetness to your preference: Extra-light, Light, Medium, or Heavy.
- Each pint requires roughly 1/2 cup of syrup; quarts need about 1 cup.
More Summer Fruit Canning Recipes
If you’re inspired to preserve more of summer’s bounty, explore these other fantastic fruit canning recipes to stock your pantry with delicious homemade preserves:
- Canning Peaches
- Canning Plums
- Canning Blueberries
- Canning Blackberries
- Canning Raspberries