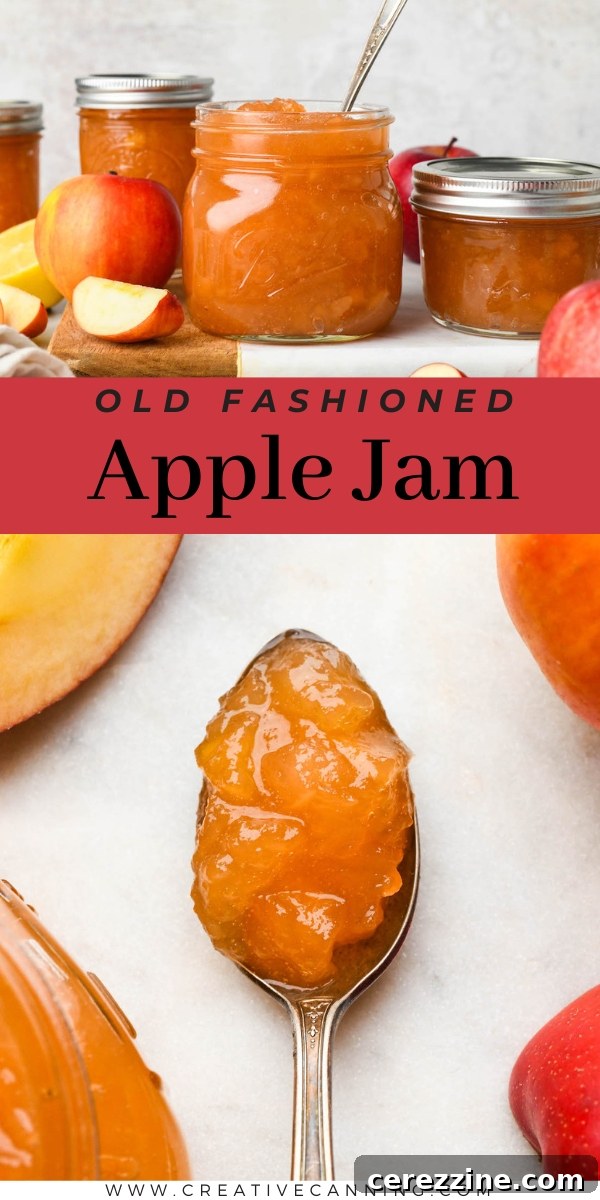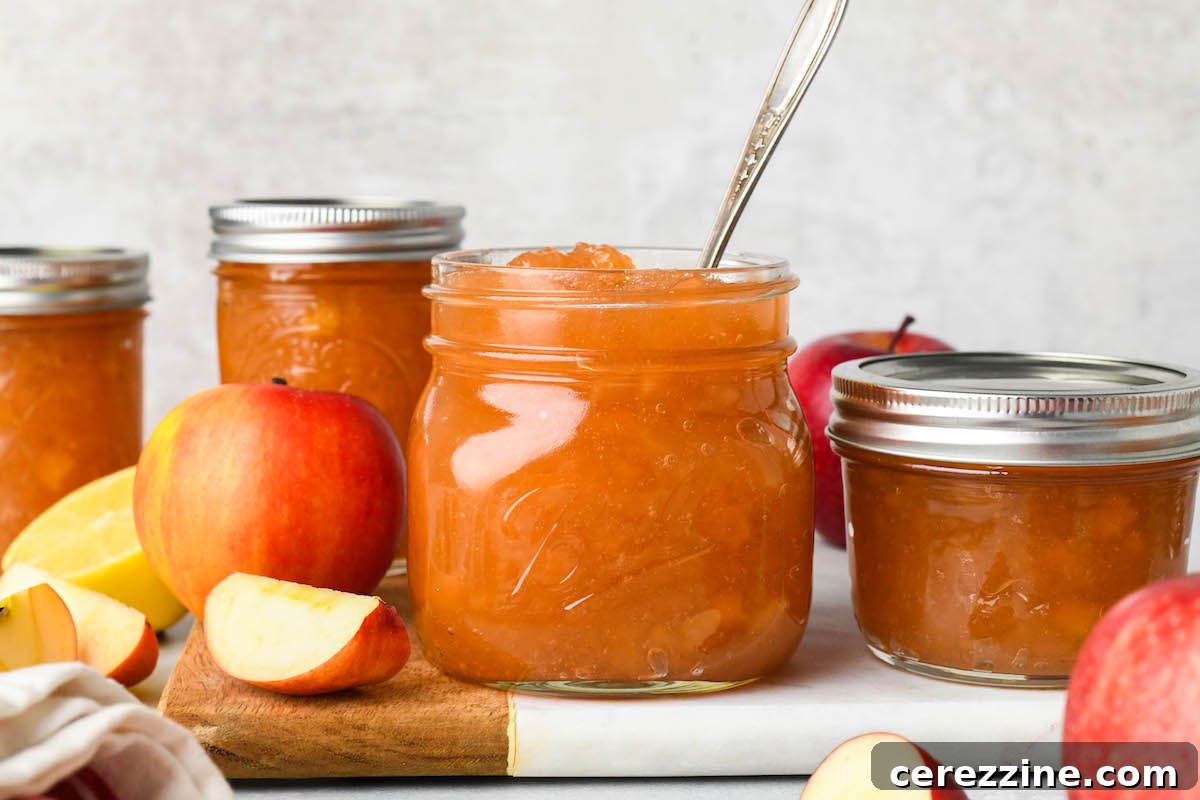
Step into a world of delightful tradition with homemade **apple jam**, a truly enchanting preserve that captures the essence of autumn in every spoonful. Surprisingly simple to create, this old-fashioned favorite requires just three core ingredients, harnessing the natural goodness of apples to craft a sweet, pleasantly tart spread. Imagine savoring the cozy flavors of fall all year long; this comprehensive guide will teach you everything you need to know about making and preserving this incredible jam, ensuring your pantry is stocked with homemade deliciousness.
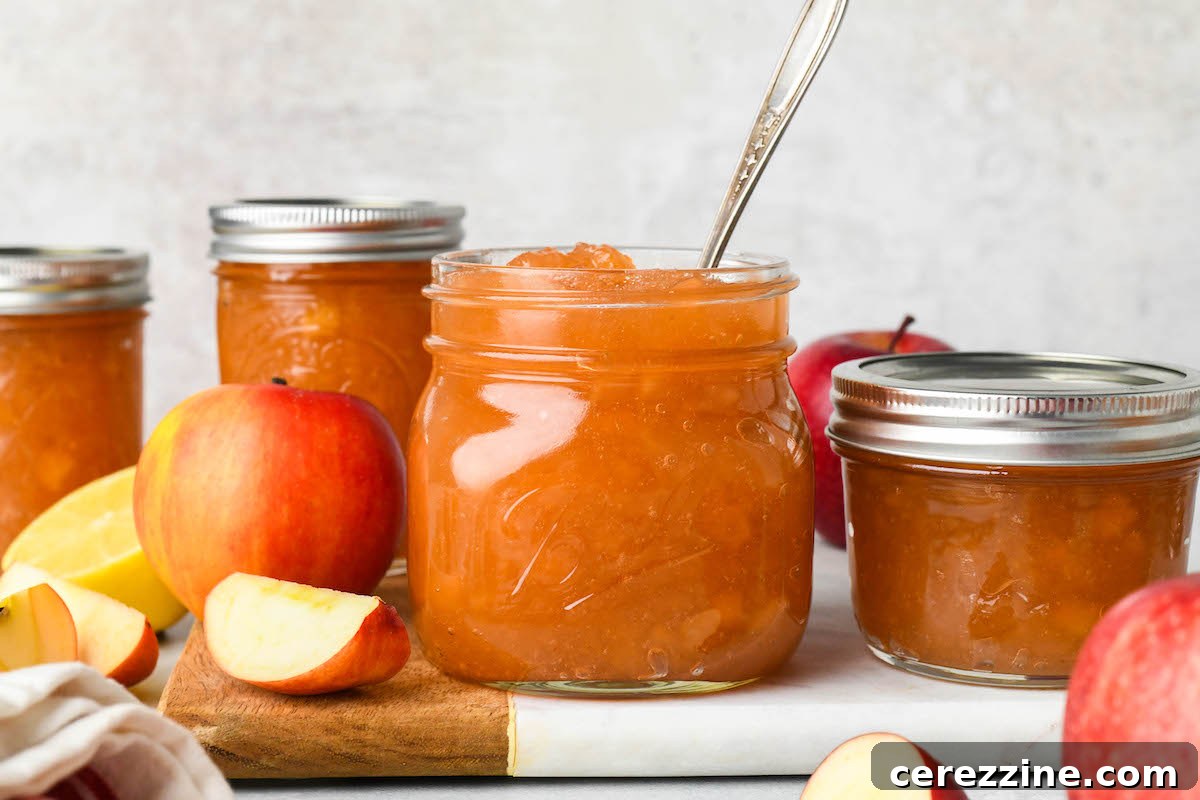
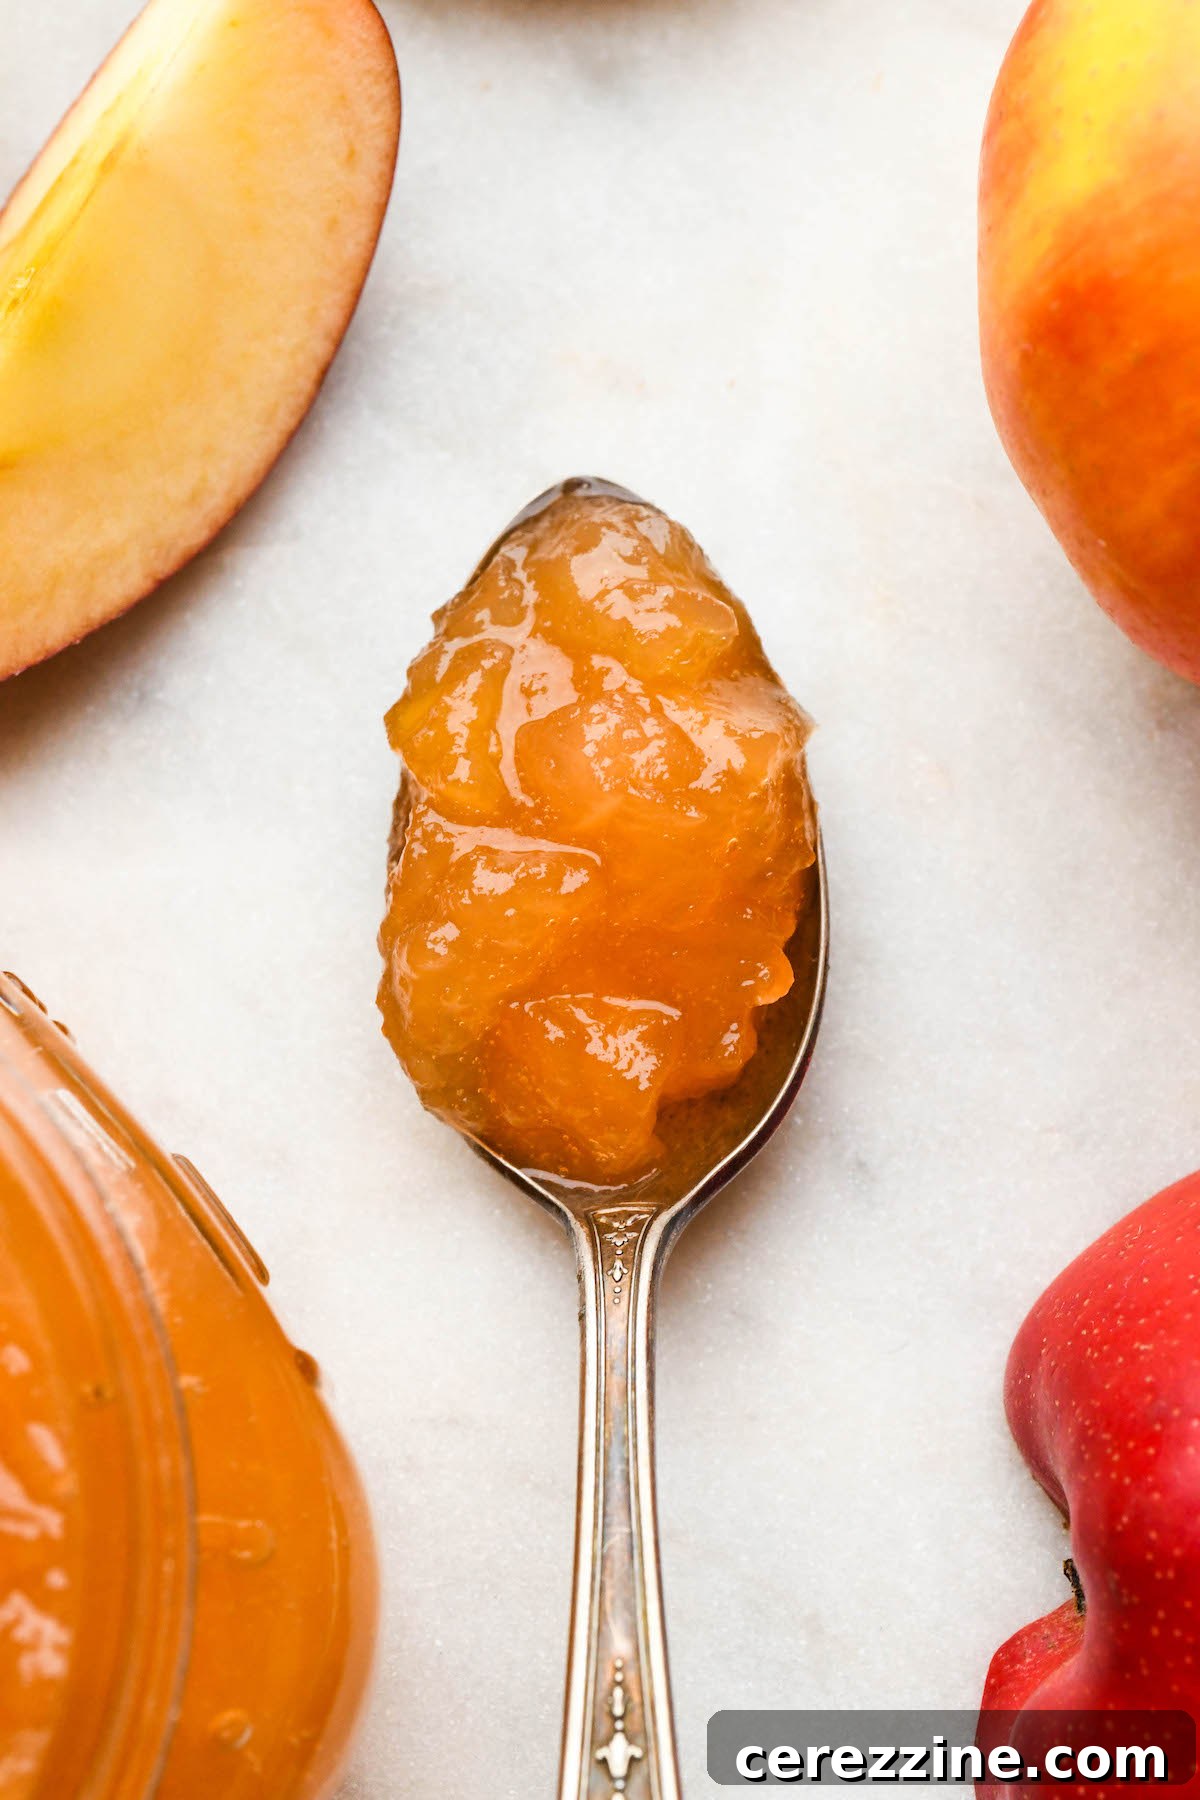
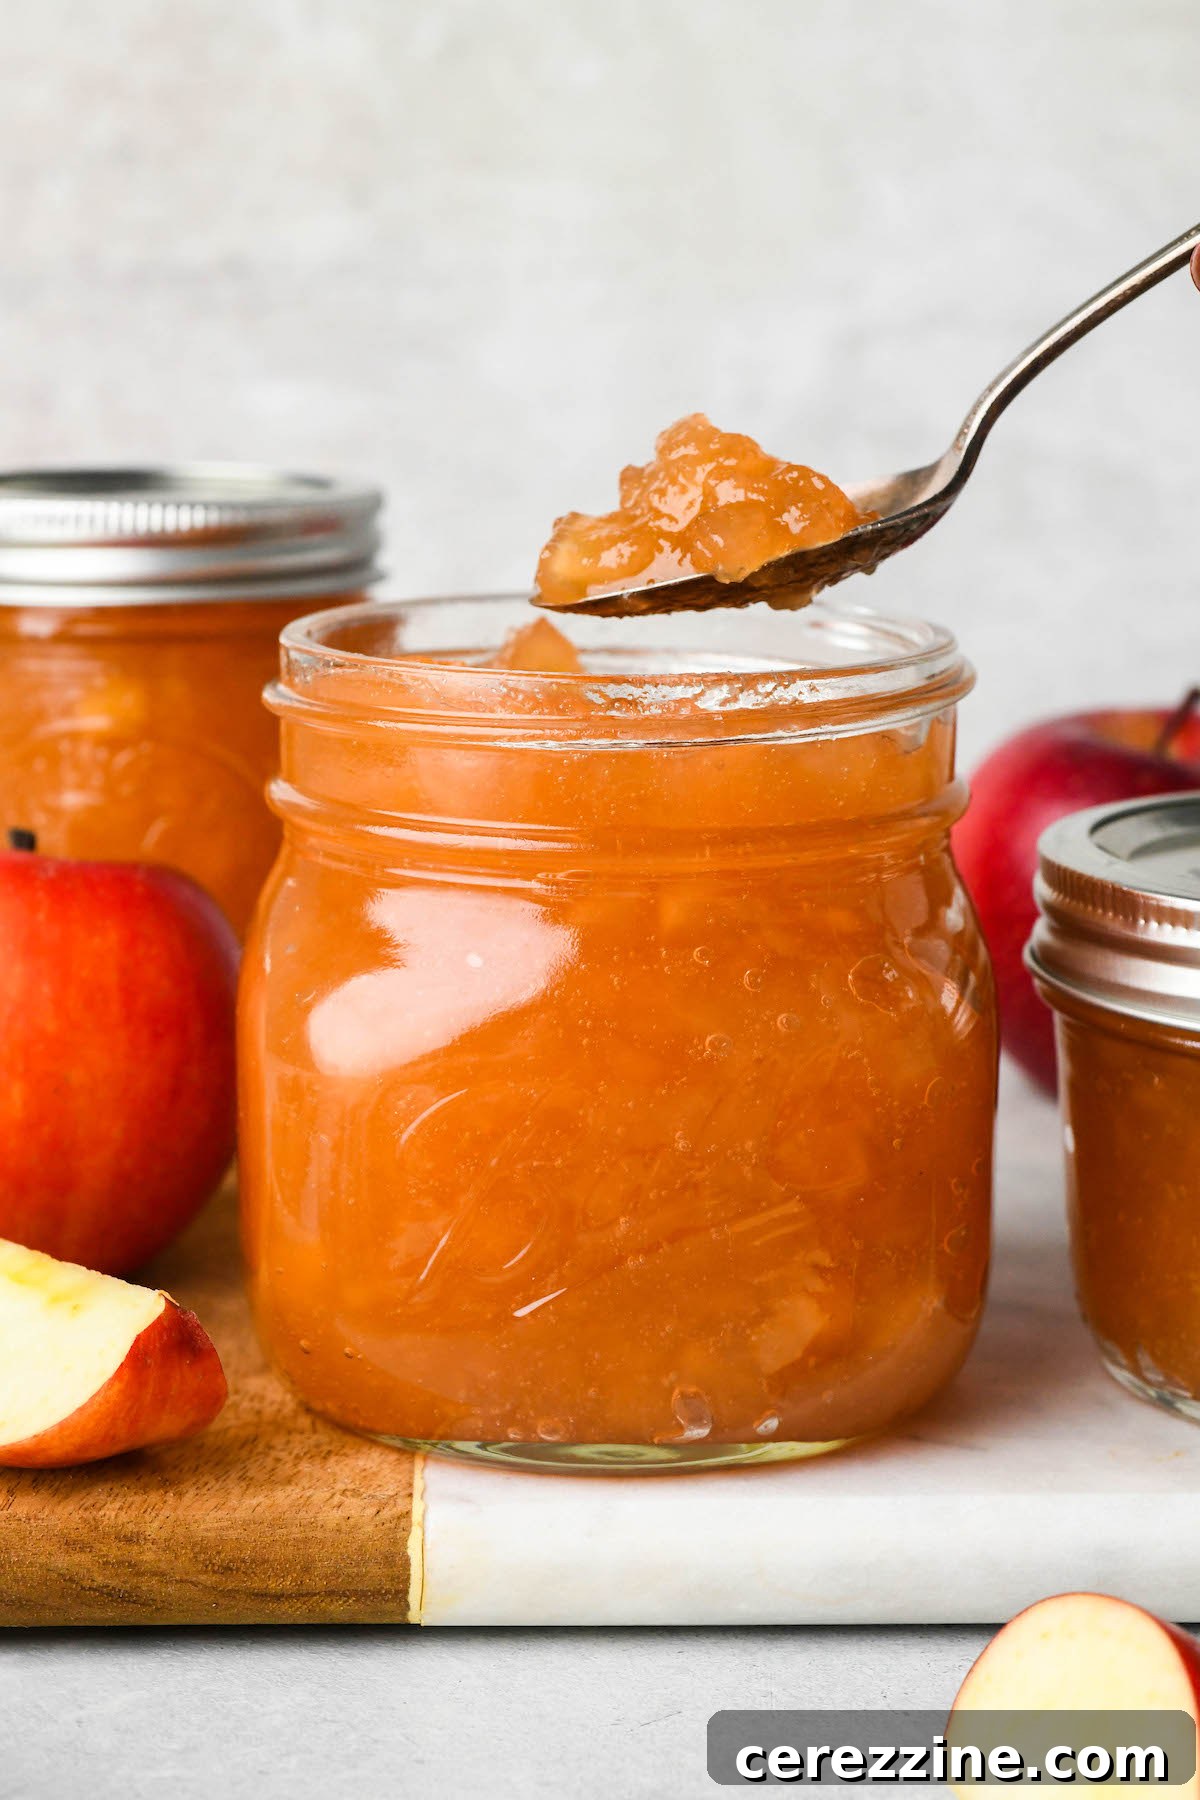
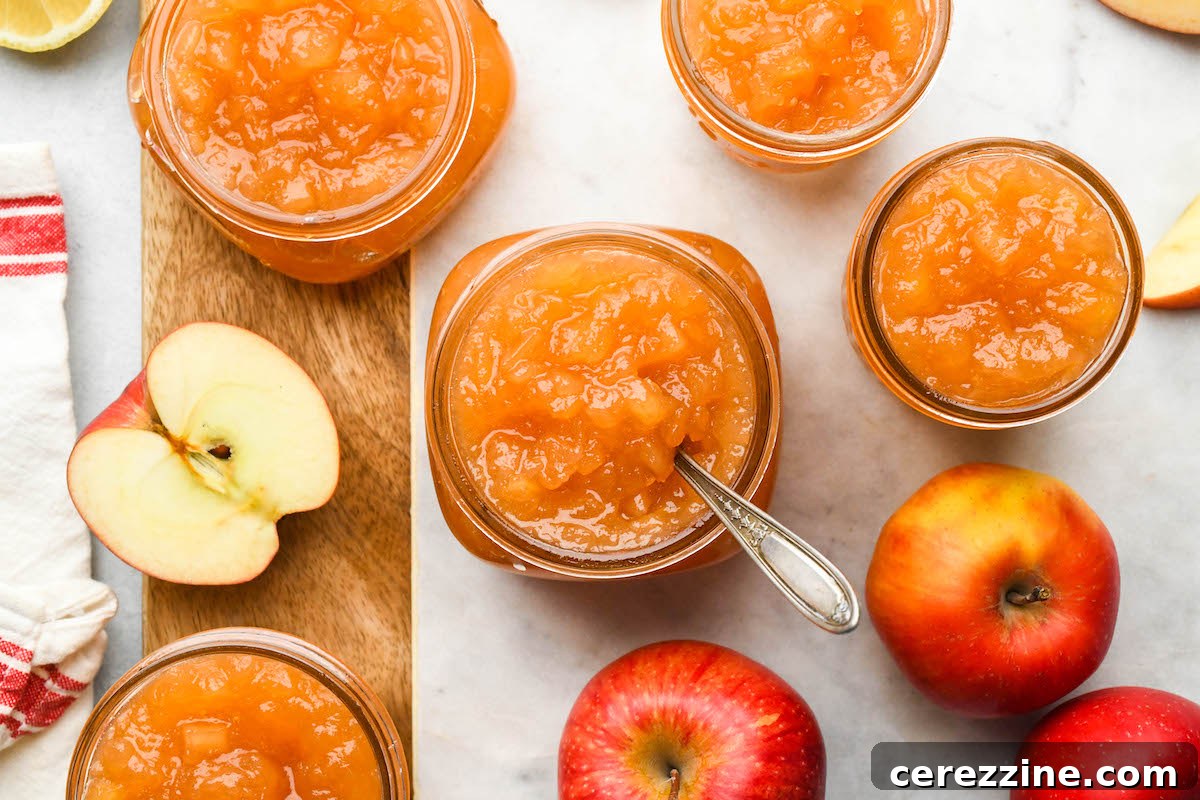
For too long, **apple jam** has been overshadowed by its more celebrated relatives like apple jellies, butters, and sauces. It’s a culinary injustice, really! While these other preserves are undoubtedly delicious, apple jam offers a unique charm that deserves its moment in the spotlight. Unlike the uniform smoothness of jelly or sauce, homemade apple jam provides a wonderful texture, thanks to the carefully diced apple pieces suspended within its glistening base. This isn’t just an “apple-flavored” spread; it’s a true taste of real, wholesome apple goodness, offering a satisfying bite that brings the fruit to life.
You might find it challenging to locate this charmingly old-fashioned condiment on modern grocery store shelves, but that’s part of its allure. The good news is that crafting **homemade apple jam** is far easier than you might anticipate. With minimal ingredients and standard kitchen equipment, you can create a preserve that far surpasses any store-bought alternative. This process isn’t just about making jam; it’s about connecting with a timeless culinary art, creating something truly special with your own hands. Whether your goal is to stock your pantry with jars of autumnal delight for personal enjoyment or to create heartfelt, edible gifts for friends and family, this detailed guide provides all the essential information for prepping, cooking, and successfully preserving this beloved classic.
Essential Ingredients for Perfect Homemade Apple Jam
One of the most appealing aspects of this **apple jam recipe** is its simplicity, relying on just three readily available ingredients. Thanks to the natural pectin content found in apples, there’s no need for any store-bought pectin, making this a pure, natural preserve. To embark on your apple jam canning journey, gather the following:
- **Apples:** The star of the show! We’ll dive into variety selection below.
- **Granulated Sugar:** Not just for sweetness, sugar plays a crucial role in preservation and gelling.
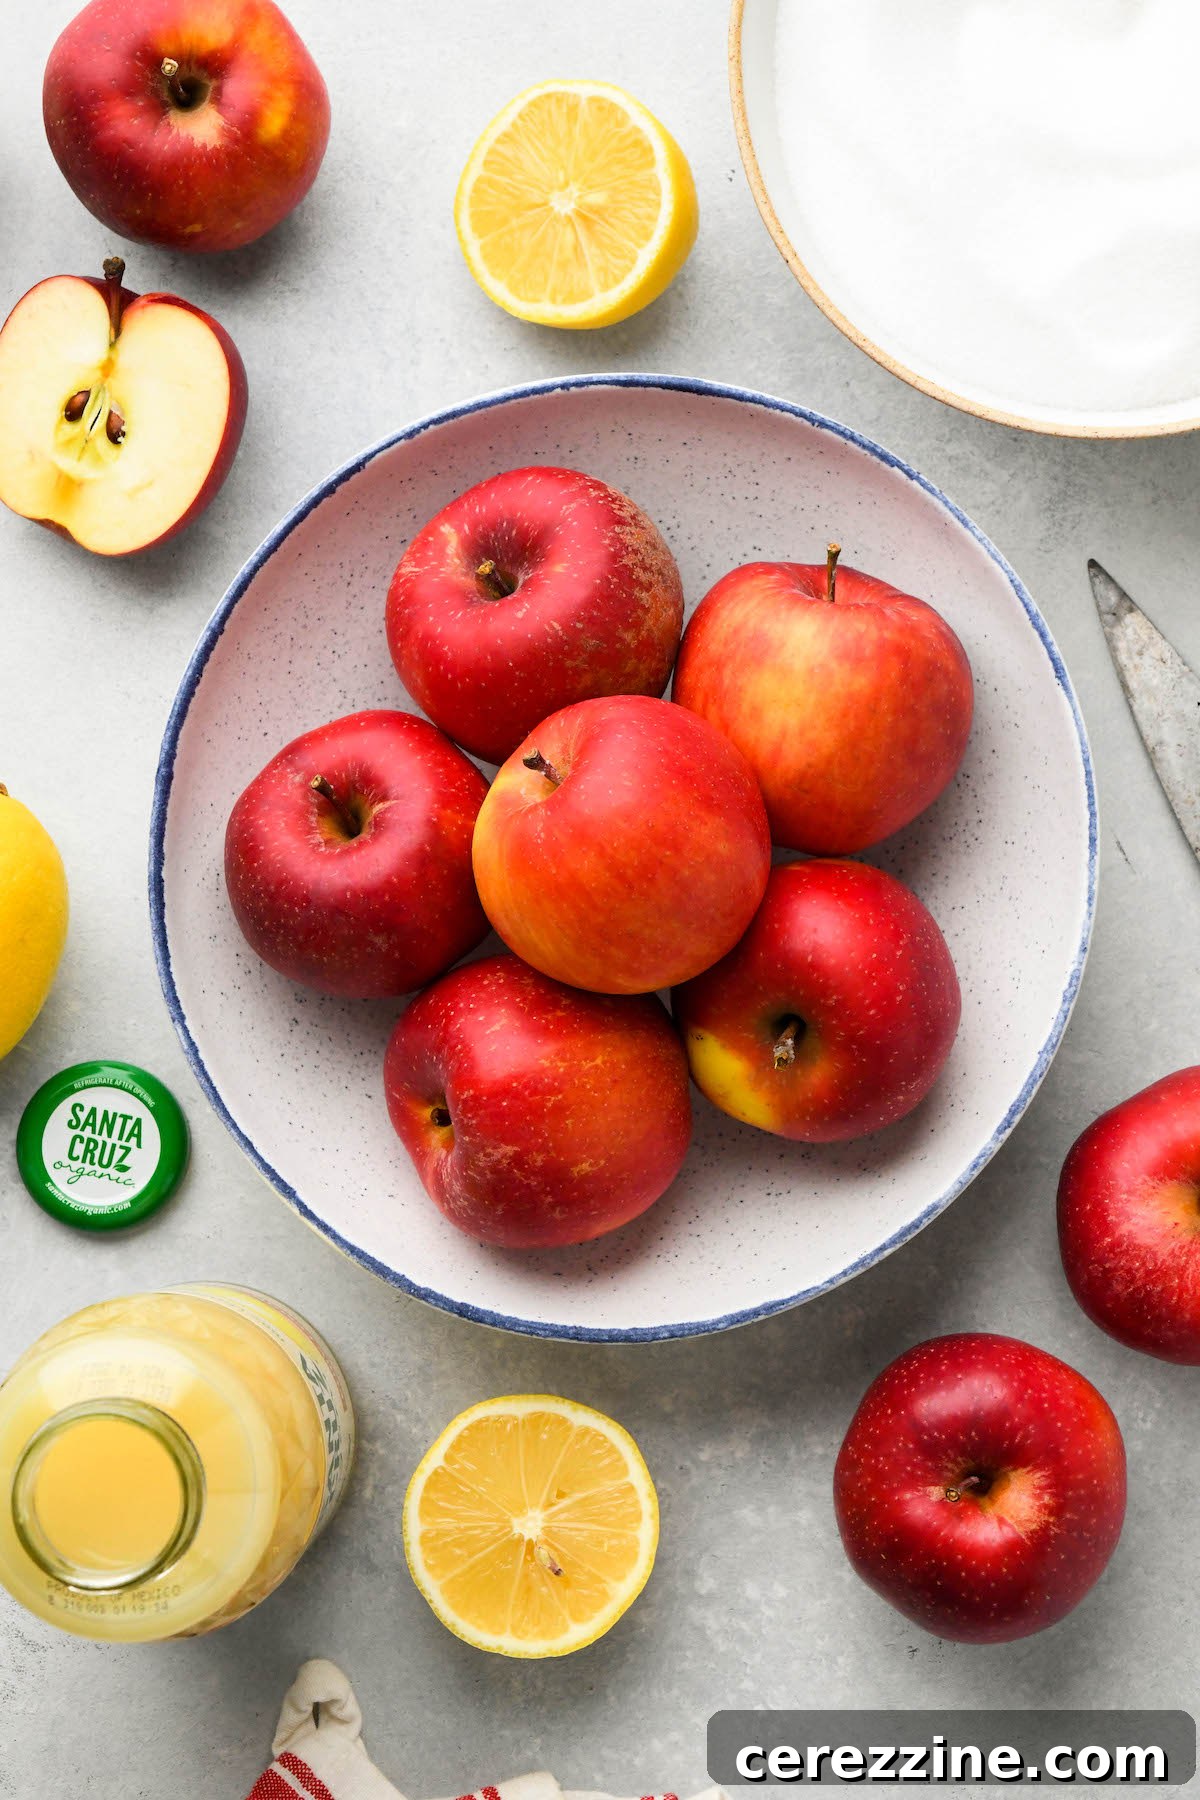
- **Bottled Lemon Juice:** Essential for flavor balance, acidity, and ensuring safe canning practices. While fresh is always lovely for flavor, bottled lemon juice provides consistent acidity, which is vital for safe preserving. I often recommend high-quality organic options like Santa Cruz organic lemon juice for the best results.
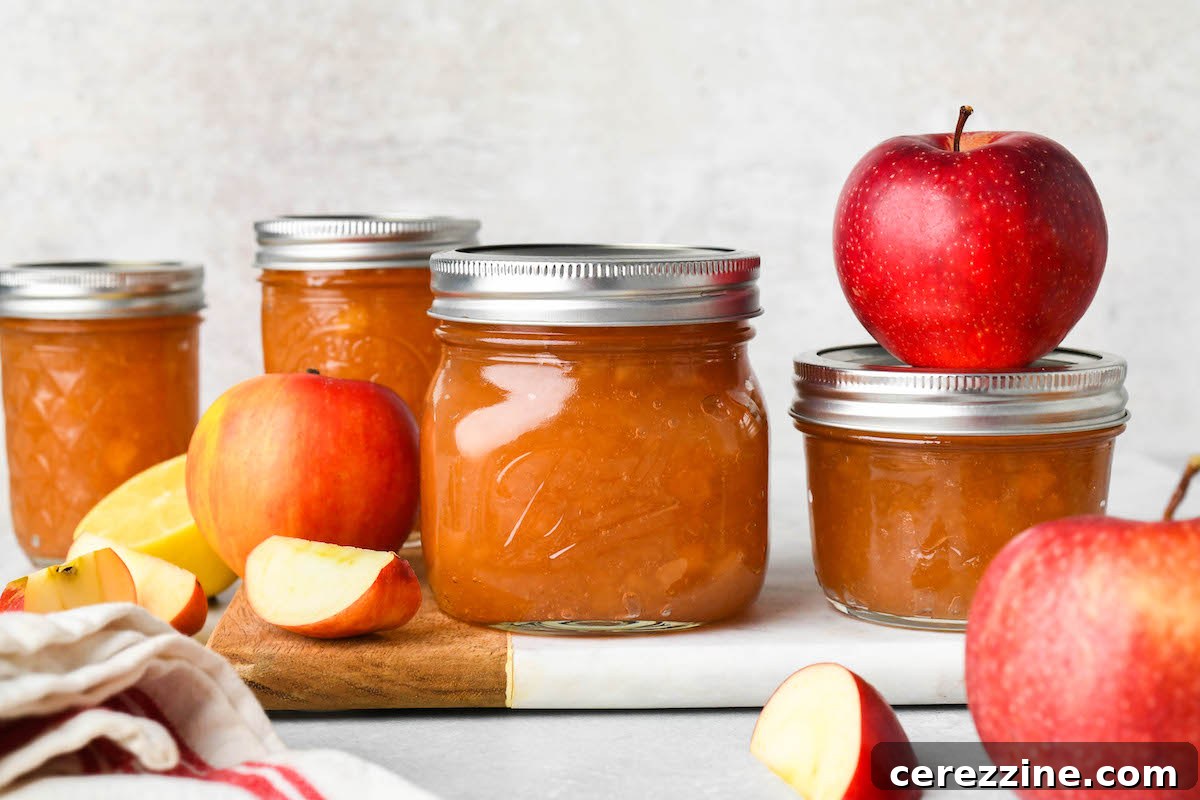
When selecting the perfect apples for your **homemade apple jam**, the key is to choose firm-fleshed varieties that offer a delightful balance of tartness and sweetness. Think of the apples you’d reach for when making a perfect apple pie. Excellent choices include Empire, Granny Smith (for a tarter jam), Honeycrisp (for sweetness and crisp texture), or a beautiful blend of several pie-suitable apples. The apples featured in the accompanying photos, for instance, are Cosmic Crisp – a fantastic Honeycrisp-esque variety known for its sweet, crisp bite and impressive resistance to browning, which helps maintain visual appeal throughout the cooking process.
Conversely, some apple varieties are best avoided for this particular jam recipe. Softer apples, such as Golden Delicious or Jonagold, tend to break down too much during the cooking process. While they might still create a delicious apple spread, it will likely resemble applesauce more than the desired textured **apple jam**. If this happens, don’t despair – it’s still a wonderful result, just perhaps not the chunky jam you were aiming for. The goal is to retain distinct pieces of apple within the thick, glossy preserve, providing that satisfying texture that sets apple jam apart.
Mastering the Art of Making Apple Jam: Step-by-Step Guide
The ultimate goal when creating this exquisite **apple jam** is to achieve a luscious, thick preserve base beautifully studded with tender, yet distinct, pieces of diced apple. To perfectly achieve this balance of smooth and chunky texture, we employ a crucial technique known as maceration. This involves soaking the prepared diced apples in a mixture of lemon juice and granulated sugar, ideally overnight. This simple, yet effective, process draws excess liquid from the apple pieces, firming them up significantly. The result? Apples that hold their shape remarkably well during the cooking process, preventing them from dissolving into a purely smooth sauce and ensuring that delightful textural element is preserved in your finished jam.
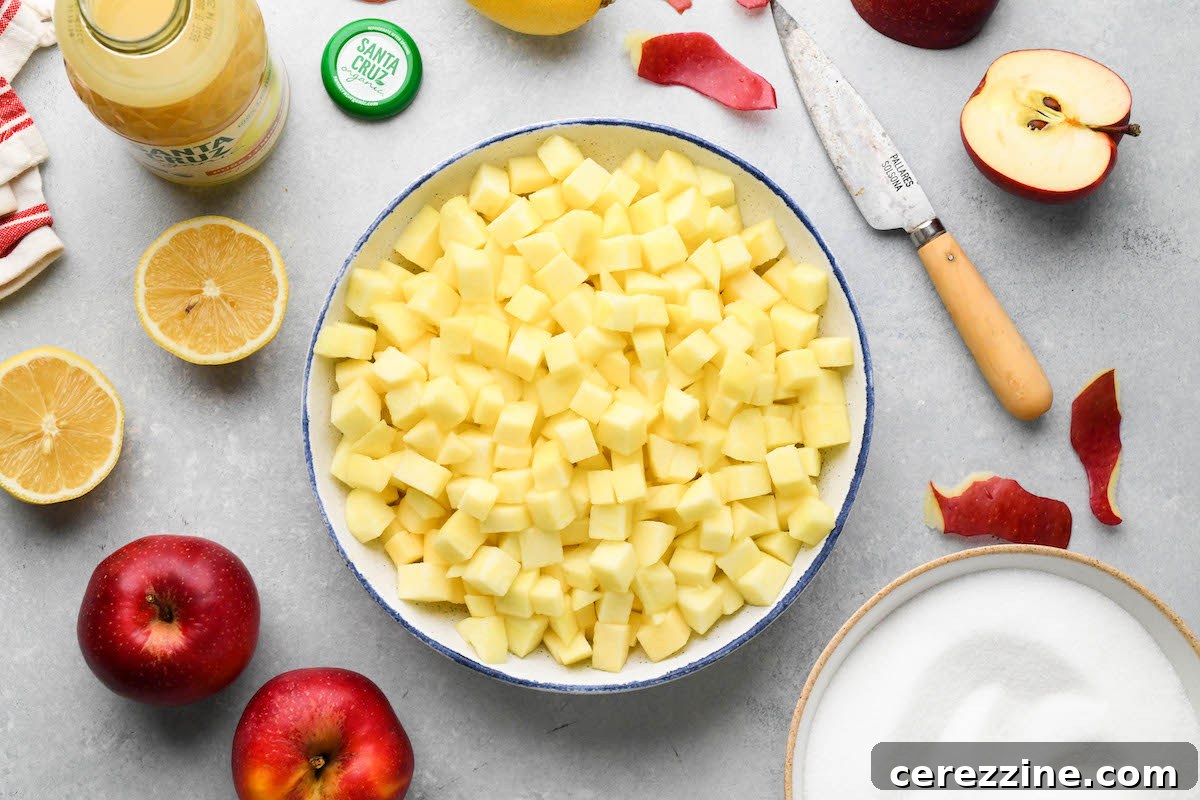
To begin this delightful **homemade apple jam recipe**, you’ll first need to prepare your apples. This involves peeling them, carefully removing the cores, and then cutting the fruit into uniform 1/4 to 1/2-inch dice. Precision here is beneficial; aim for consistent sizing to ensure even cooking. Remember, these apple pieces are not intended to cook down extensively and lose all form, so avoid dicing them too small. Starting with approximately 6 pounds of whole, unpeeled apples typically yields about 4 pounds of prepared, diced apple pieces, which is roughly equivalent to 16 cups. The magic ratio for this recipe is 1 cup of sugar for every pound of prepared apples, or roughly 1 cup of sugar for every 4 cups of diced apples. If you prefer working with weights, this translates to about 2 pounds of sugar for 4 pounds of prepared apples. Once cooked to perfection, this recipe should produce enough glorious jam to generously fill 4 to 5 half-pint jars.
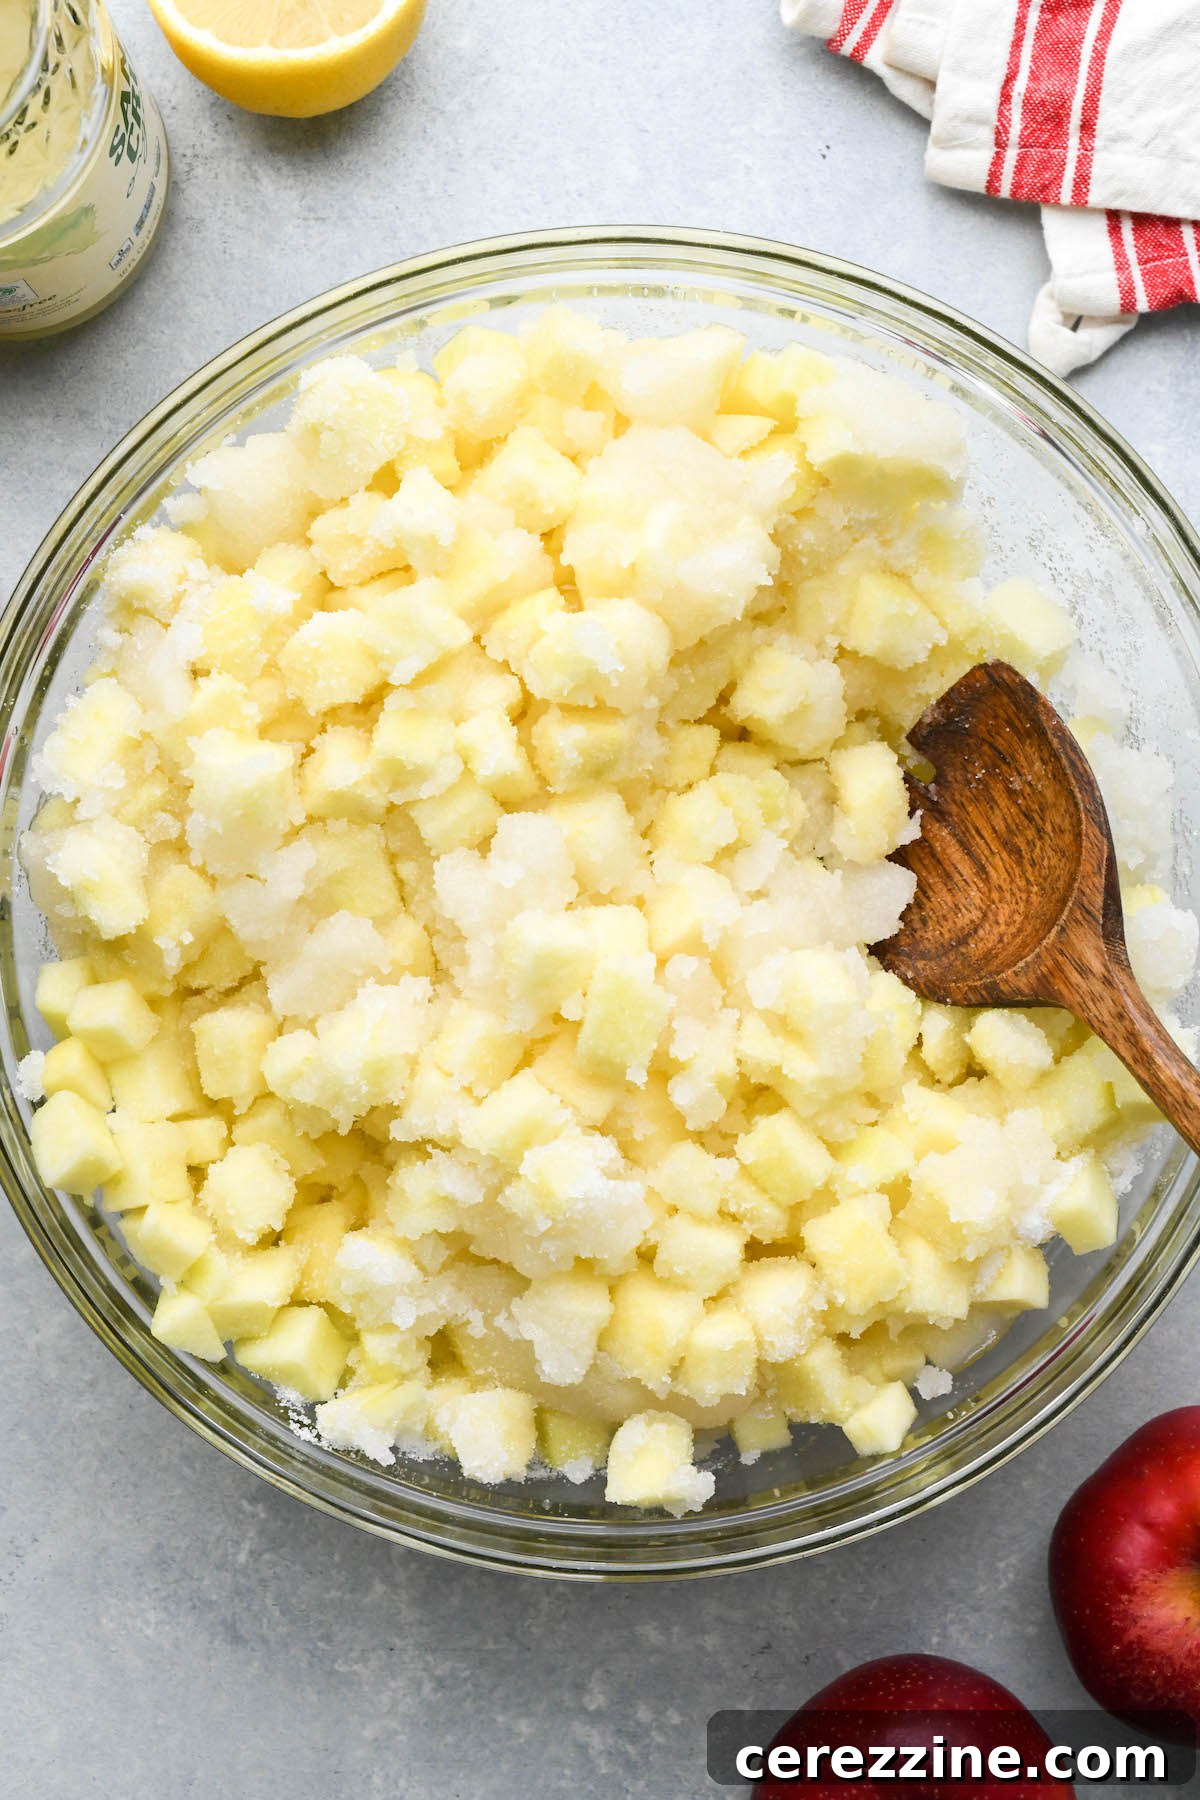
With your apples meticulously diced, transfer them to a large, non-reactive bowl. Evenly sprinkle 4 cups of granulated sugar and 1/2 cup of bottled lemon juice over the apple pieces. Gently stir or toss the mixture to ensure every piece of fruit is thoroughly coated with the sugar and lemon juice. This initial step kickstarts the maceration process, beginning to draw out the apples’ natural juices and infuse them with flavor. Cover the bowl securely and place it in the refrigerator. For optimal results, allow the apples to macerate overnight, which gives them ample time to firm up and absorb the flavors. If time is a constraint, aim for a minimum of four hours in the fridge.
Once the apples have completed their maceration, it’s time to separate the fruit from its flavorful liquid. Carefully strain the diced apple pieces through a large, fine-mesh sieve, positioning it over a sturdy jam pot or a deep saucepan. The liquid that collects will form the base of your jam syrup, while the now-firmer apple pieces will be added back in later. Set the macerated diced apple pieces aside, keeping them within easy reach for the next crucial cooking step.
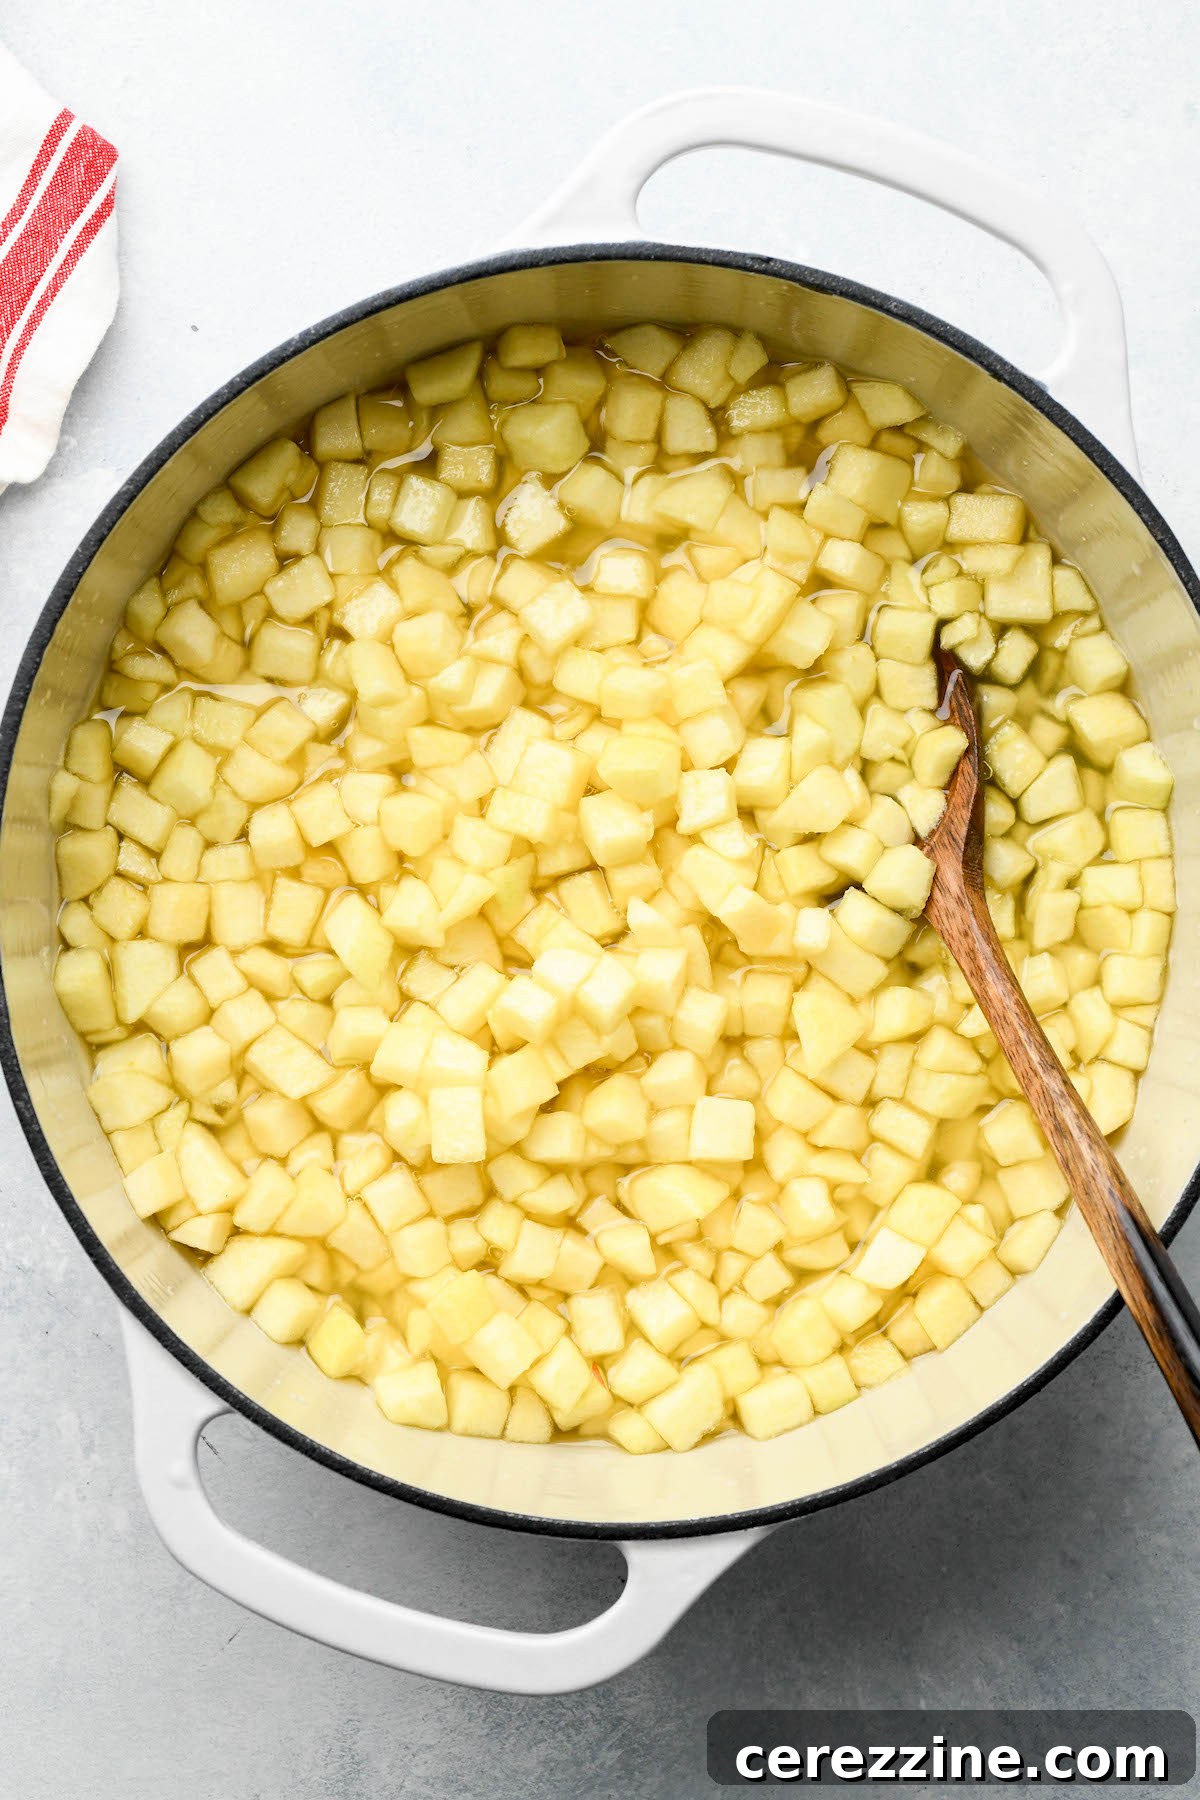
Now, pour the reserved, apple-infused juices into your jam pot or saucepan. Bring this liquid to a vigorous, rolling boil over high heat. Once boiling, carefully add the reserved diced apple pieces to the hot syrup. Exercise caution during this step to prevent any hot syrup from splashing onto your skin. The intense heat will quickly begin to cook the apple pieces and further develop the jam’s consistency and flavor profile.
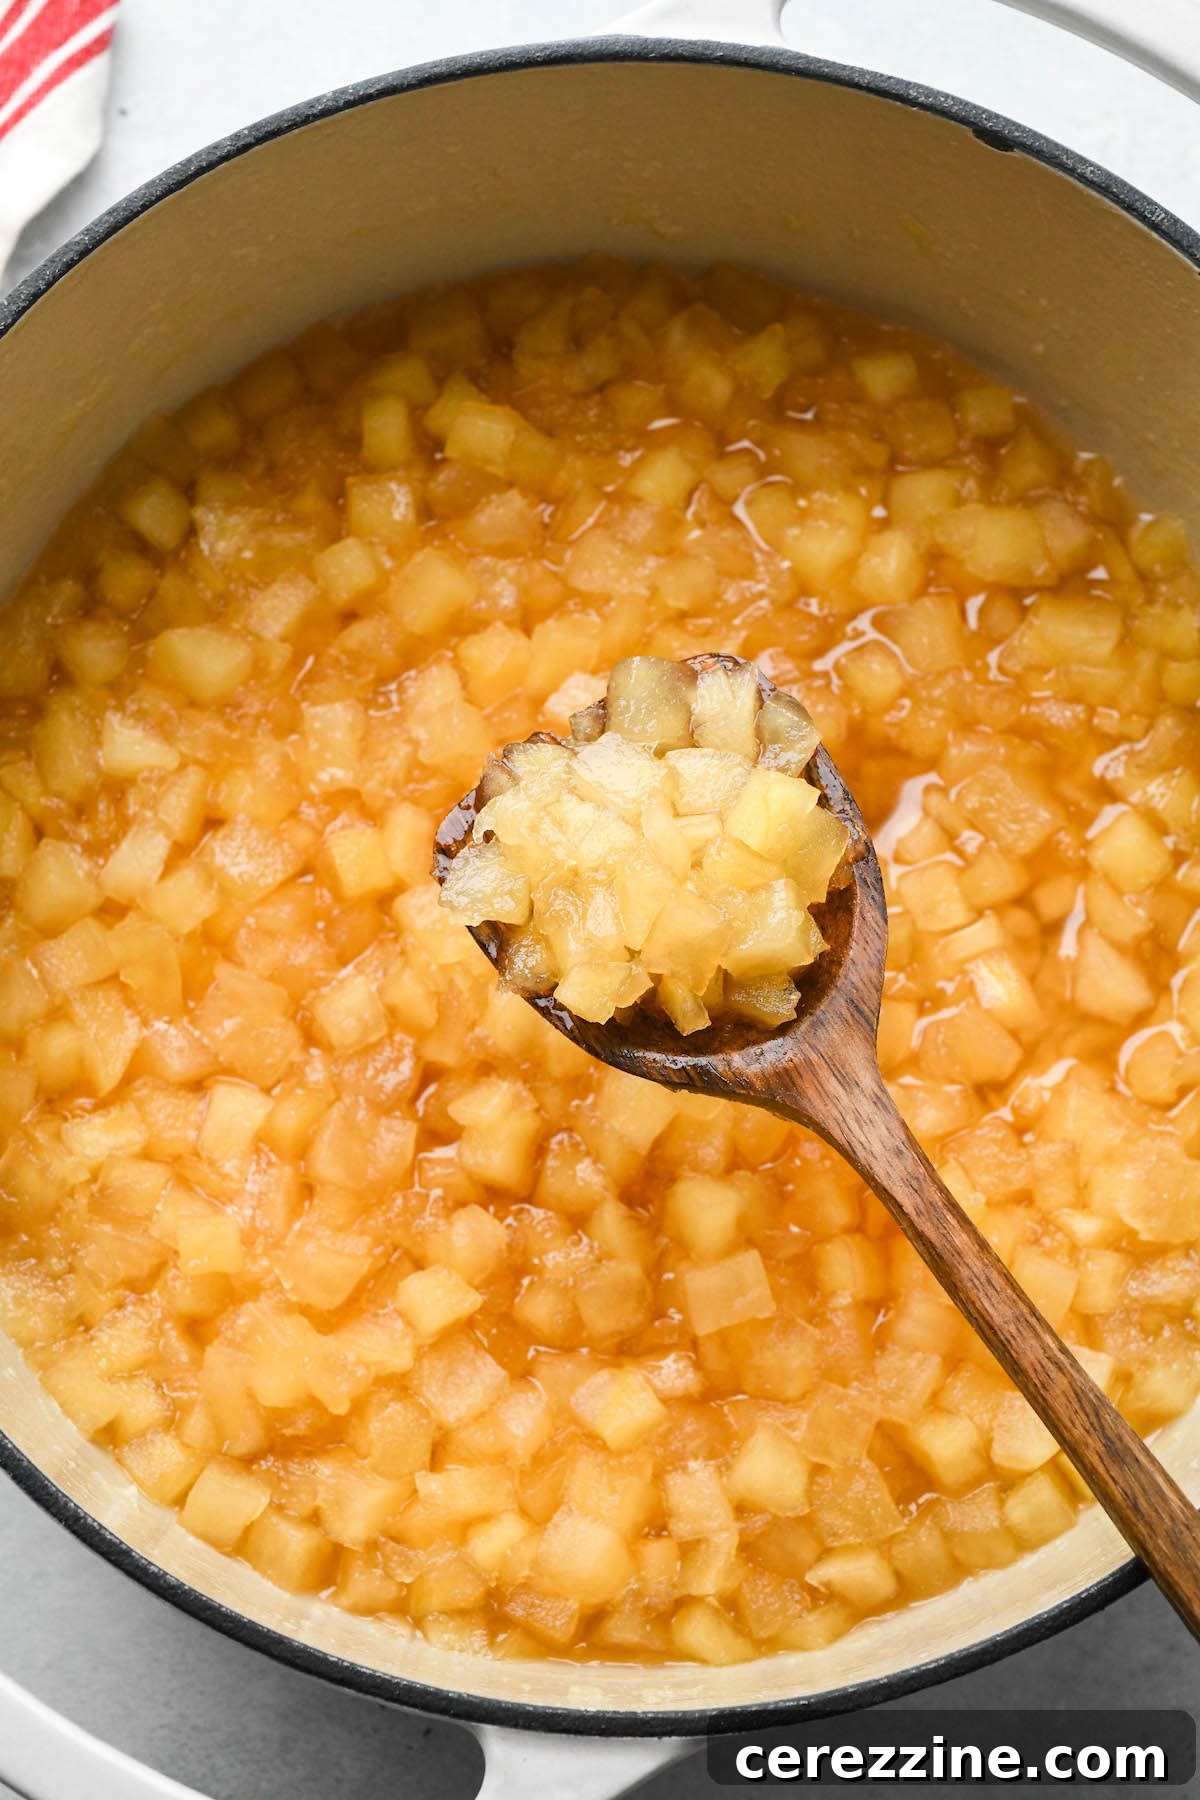
Continue cooking the apples over medium-high heat, ensuring you stir them frequently to prevent any scorching or sticking to the bottom of the pan. This gentle, consistent stirring also helps the apples cook evenly and promotes the formation of that characteristic jam consistency. After approximately 20 minutes of cooking, your **homemade apple jam** should begin to thicken, and you can start testing it to see if it has reached its optimal gelling point. It’s important to note that achieving the perfect gel can sometimes take up to 30 minutes, or even a bit longer, so don’t be discouraged if your initial tests indicate more cooking time is needed. Patience is key to perfect jam!
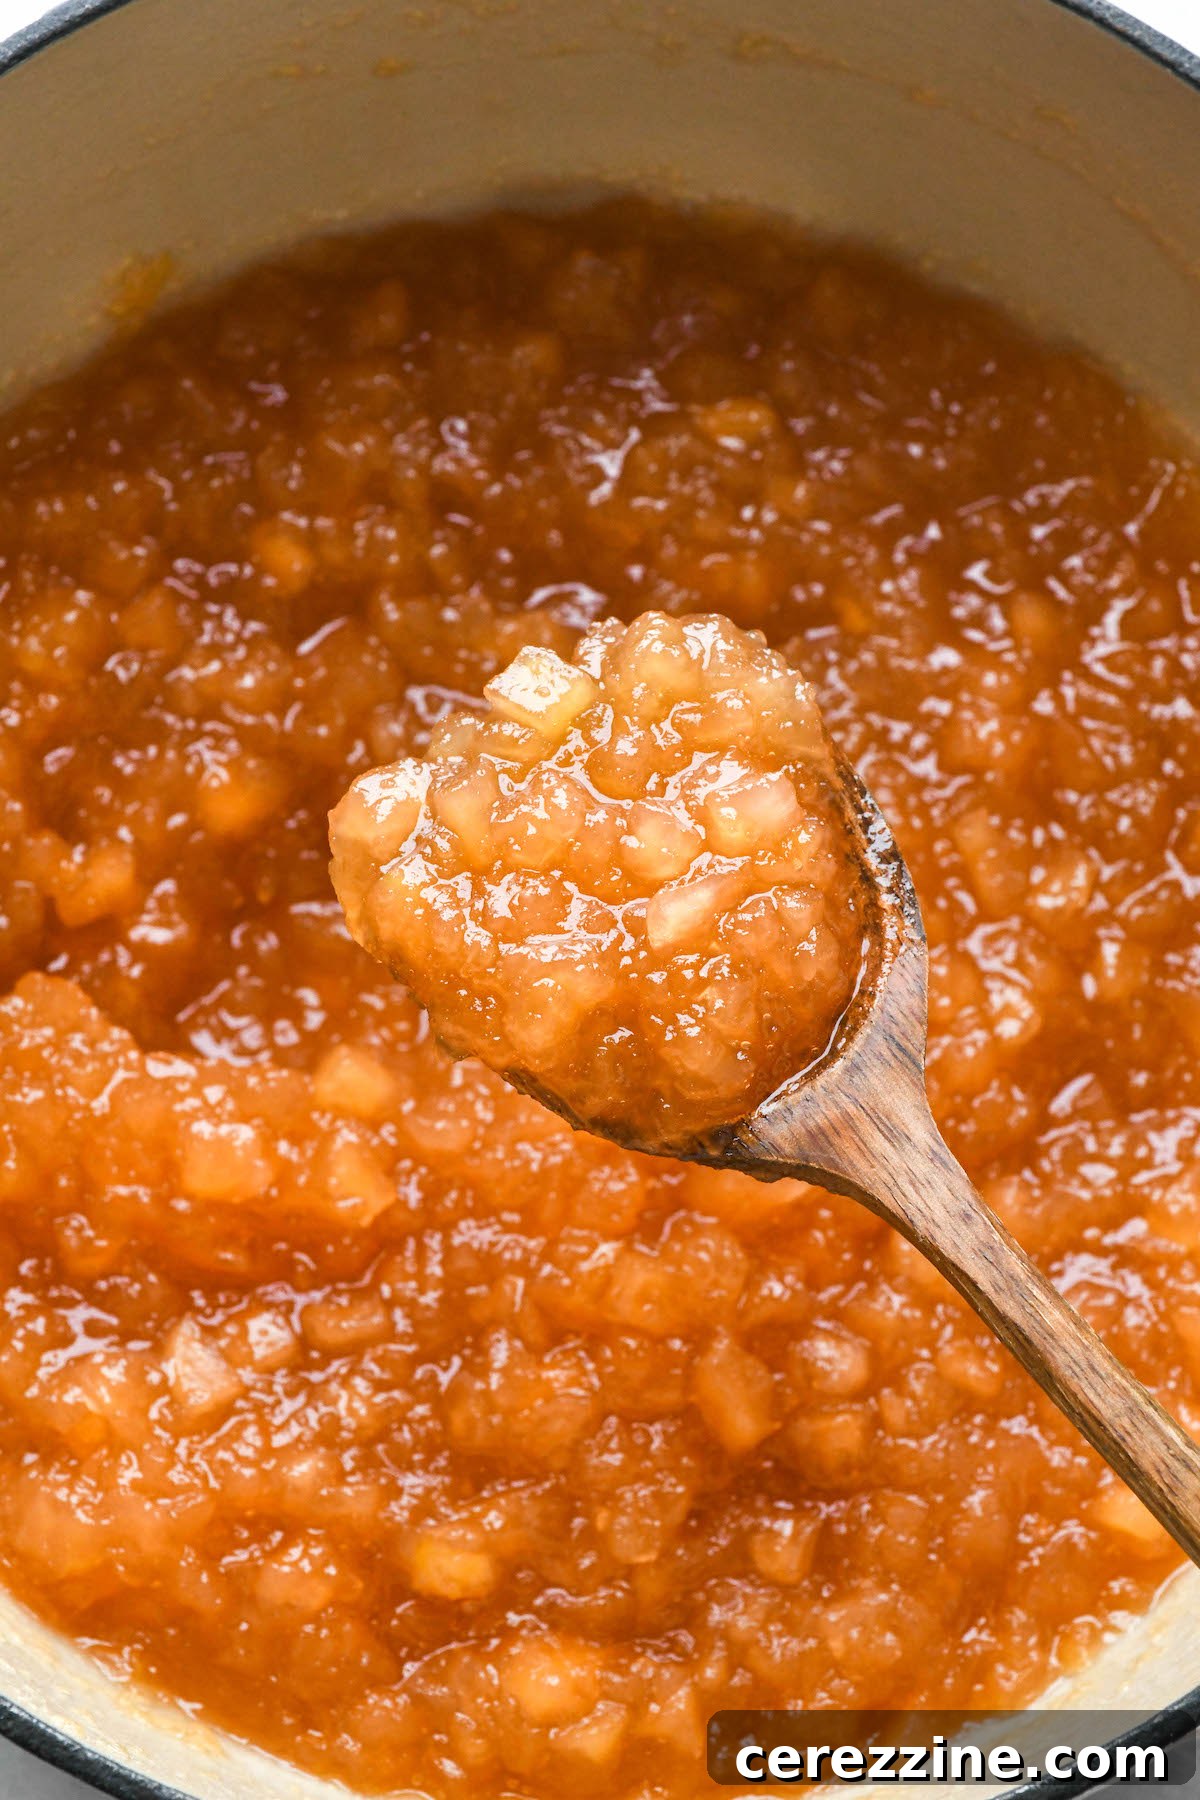
To accurately test for the gelling point, grab a small plate that has been chilling in your freezer for at least an hour. Drizzle a small spoonful of the hot apple jam onto the cold surface of the plate. Allow it to cool for a moment. Once cooled, gently push the jam with your finger. If it wrinkles or forms a skin, it has reached a good gelling consistency. This “wrinkle test” is a reliable indicator of the jam’s viscosity at that moment. Whether your preference is for a thicker, more spoonable jam or a slightly looser, thinner spread, once the **apple jam** achieves your desired texture, promptly remove the saucepan from the heat. At this point, it’s time to prepare your work area and equipment for the crucial water bath canning process, ensuring everything is sanitized and ready for preserving your delicious creation.
Exciting Apple Jam Variations to Explore
If you’re fortunate enough to be working with exceptionally beautiful and flavorful apples, I wholeheartedly recommend letting their natural essence shine through in this **easy apple jam recipe**, without any additional ingredients. The pure taste of quality apples is often more than enough. However, if you’re feeling adventurous and wish to elevate your homemade apple jam with a touch of extra flair, consider incorporating some complementary add-ins. These additions can transform the flavor profile, adding warmth, spice, or a hint of sophistication.
- **Split Vanilla Bean:** For an aromatic and subtly sweet undertone, add a split vanilla bean towards the very end of the cooking process. Its delicate fragrance will permeate the warm jam.
- **3 to 4 Cardamom Pods:** Introduce an exotic, fragrant note by adding whole cardamom pods at the beginning of the cooking process. Their earthy, citrusy spice pairs wonderfully with apples.
- **Cinnamon Stick:** A classic pairing, a cinnamon stick added at the beginning of cooking will infuse the jam with cozy, familiar warmth. Remove it before jarring for a pure apple flavor with a spicy essence.
- **Crystallized Ginger:** For a delightful zing and a hint of warmth, add finely chopped crystallized ginger at the start of cooking. It provides both flavor and a pleasant chew.
- **Splash of Rum or Brandy:** Introduce a sophisticated depth of flavor with a splash (about 1-2 tablespoons) of rum or brandy during the final stages of cooking. The alcohol will cook off, leaving behind a rich, warm note that complements the apples beautifully. Consider a dark rum for a caramel undertone or a good brandy for a fruity, oaky hint.
Safely Canning Your Homemade Apple Jam
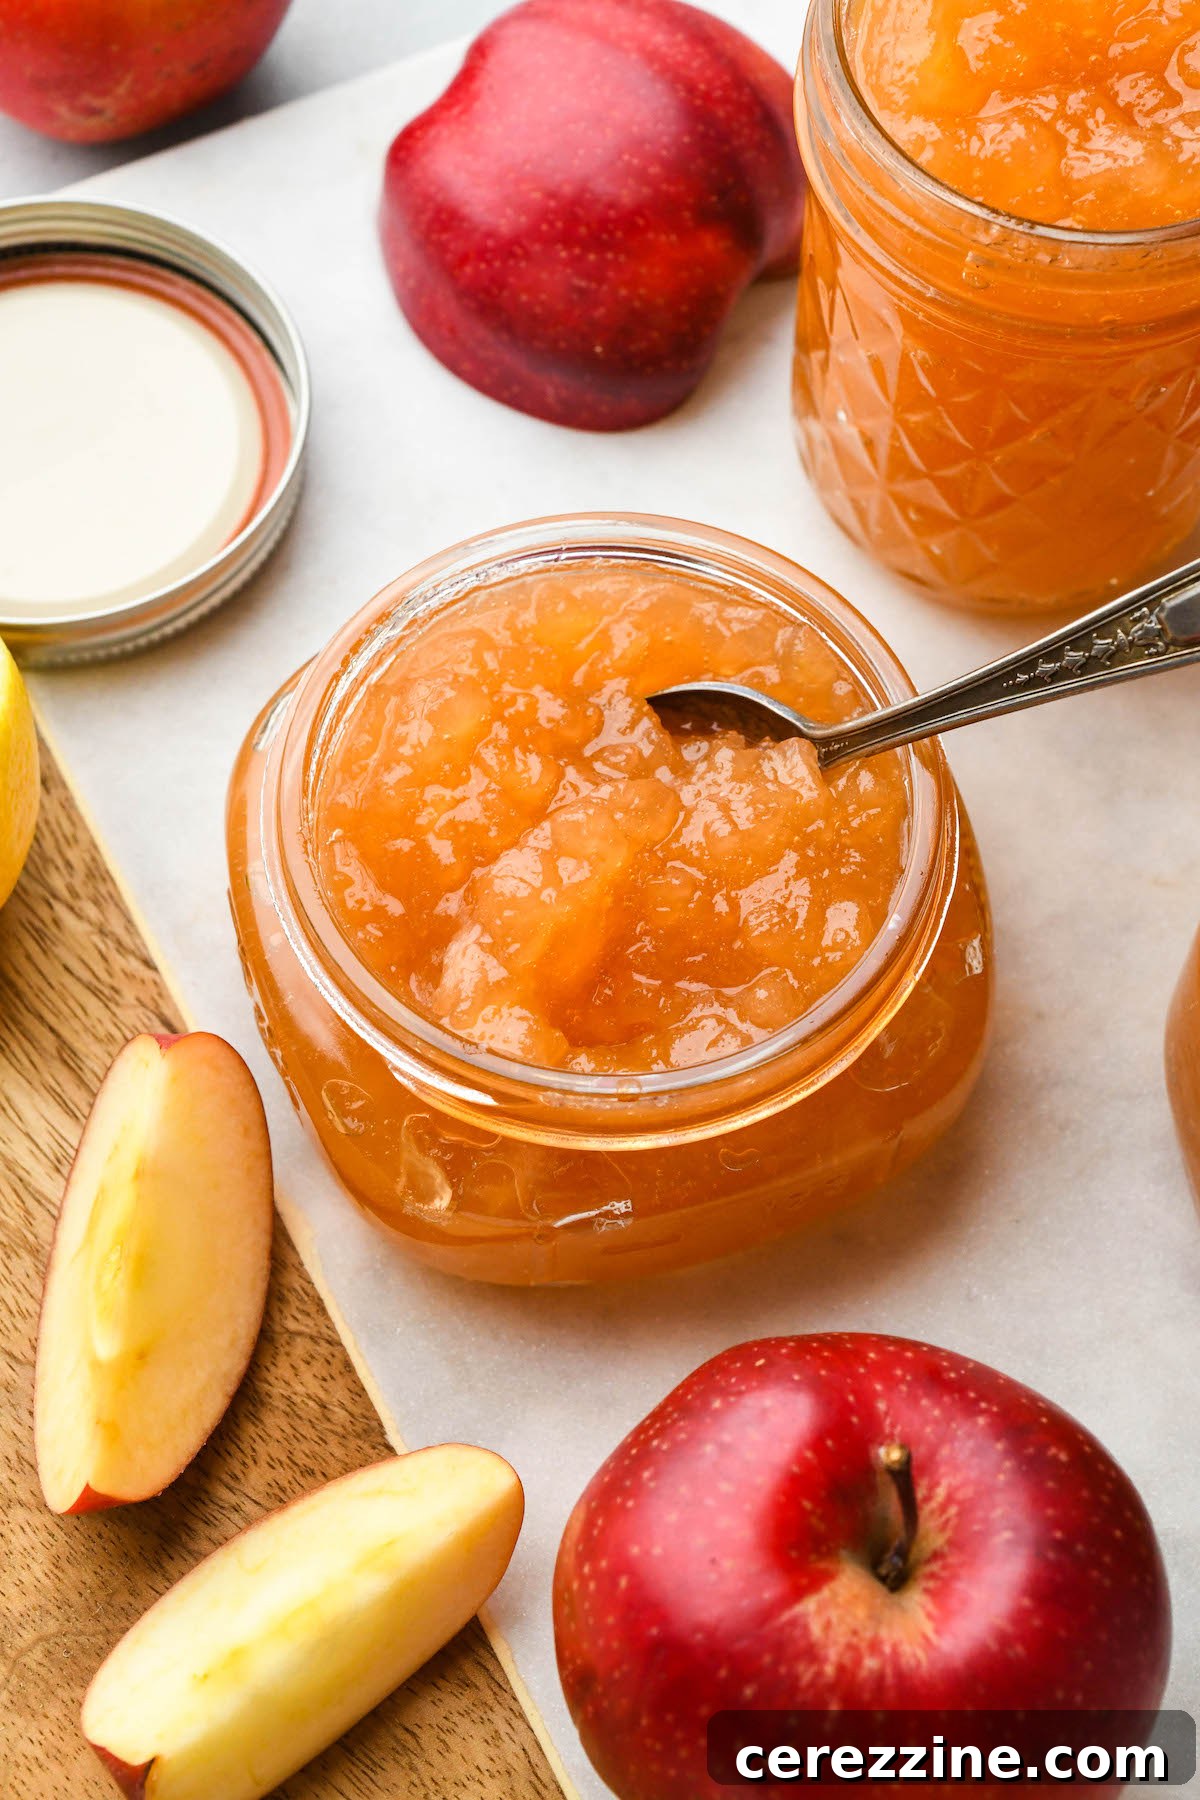
Once your delectable **apple jam** has reached its perfect consistency, it’s time to preserve it for long-term enjoyment using the reliable water bath canning method. Begin by carefully filling your prepared, sterilized half-pint jars with the hot apple jam, ensuring you leave precisely 1/4-inch headspace. Using a canning funnel with headspace measurements is incredibly helpful here, as consistent headspace is crucial for proper sealing and food safety. This small gap allows for the expansion of food during processing and the creation of a strong vacuum seal.
Because apple jam is wonderfully thick, it’s essential to remove any trapped air bubbles. Use a clean spatula or a chopstick to gently dislodge air pockets from the sides of the jar. After de-bubbling, recheck the headspace and add more jam if necessary to maintain that critical 1/4-inch measurement. Next, wipe the rims of each jar with a clean, damp kitchen towel. This removes any sugary residue that could interfere with the seal. Apply two-piece canning lids, adjusting the ring piece until it is “fingertip tight”—meaning snug but not overly tightened, allowing air to escape during processing.
Carefully lower the filled jars into a hot water bath canner, ensuring they are fully submerged by at least one inch of water. Bring the water to a rolling boil and process the jars for 10 minutes. When the processing time is complete, turn off the heat, but don’t remove the jars immediately. Instead, let them sit undisturbed in the hot canner for an additional 5 minutes. This crucial extra time allows the jam to cool down gradually, significantly reducing the risk of siphoning—where the contents might bubble out of the jars—which can lead to a messy situation and potentially compromised seals.
After the resting period, carefully remove the jars from the canner using a jar lifter and place them on a clean surface, ideally lined with a clean dish towel. Ensure there’s at least one inch of space between each jar to allow for even cooling. Let the jars cool completely to room temperature over the next 12 to 24 hours. During this cooling period, you might hear satisfying “pings” as the lids seal. Once fully cooled, check the seal of each jar. A properly sealed jar will have a lid that is concave (curved inwards) and does not flex when pressed in the center. Any unsealed jars should be moved to the refrigerator immediately, where they will keep for another week or two. Properly sealed jars of your delightful **homemade apple jam** can be stored in a cool, dry, and dark location for up to 18 months, ready to be enjoyed whenever the craving for autumn flavors strikes.
Delightful Ways to Enjoy Your Apple Jam
While apples are frequently associated with sweet desserts, **apple jam** is a surprisingly versatile condiment that extends far beyond the breakfast table. Its balanced sweet and tangy profile, combined with lovely texture, makes it suitable for an astonishing array of both sweet and savory applications. Don’t limit your imagination—this jam can truly enhance countless dishes:
- **Layered into baked goods:** Swirl it into muffin batter, fill turnovers, or create elegant layer cakes.
- **Spread onto sandwiches:** A classic pairing with peanut butter or a delicious accompaniment to sharp cheddar cheese on a rustic bread.
- **Swirled into oatmeal:** A spoonful transforms a simple bowl of oatmeal into a comforting, flavorful breakfast.
- **Stuffed into French toast:** A hidden burst of apple goodness within golden-brown French toast.
- **A topping for pancakes and waffles:** Elevate your weekend brunch with a generous dollop of warm apple jam.
- **On a cheese and charcuterie board:** A sophisticated addition that pairs beautifully with aged cheddar, nutty Gouda, or even a creamy brie, offering a sweet counterpoint to savory meats and cheeses.
- **A topping for baked brie:** Warm brie with a sweet apple jam topping is an irresistible appetizer.
- **A filling for apple fritters or doughnuts:** Inject a taste of homemade comfort into your fried treats.
- **Served beside pork or wild boar:** The sweetness and acidity of the apple jam cut through the richness of these meats, creating a harmonious and memorable meal.
- **Spoon into jam tarts:** Create individual, rustic tarts with a buttery crust and a sweet apple filling.
- **Rolled into sticky buns:** Add another layer of flavor and moisture to your homemade sticky buns.
- **Or shaken into a jam cocktail!** Experiment with mixology to create unique and flavorful drinks.
More Apple Canning Recipes
Apple Butter
Canning Apple Cider
Cranberry Apple Jam
Beyond Jam: Creative Ways to Preserve Apples
Extend the beautiful flavor of autumn’s bounty throughout the entire year with these ingenious and unique ideas for preserving apples:
- Dehydrated Apples: A simple and healthy snack, perfect for adding to trail mixes or rehydrating for baking.
- How to Make Apple Cider Vinegar: Transform apple scraps into a versatile pantry staple with numerous health benefits.
- How to Make Apple Sugar: A unique sweetener that adds a delicate apple flavor to baked goods and beverages.
24
servings, Makes 4 to 5 half pint jars
Homemade Apple Jam
Ashley Adamant
4
hrs
30
mins
10
mins
4
hrs
40
mins
Ingredients
- 6 lbs apples, makes about 16 cups apple pieces peeled, cored & cut into 1/4 to 1/2-inch dice (4 lbs prepared, from about 6 lbs whole apples as purchased)
- 4 cup sugar
- 1/2 cup lemon juice, fresh or bottled
Instructions
-
Add diced apples to a large bowl. Sprinkle with sugar and lemon juice, gently stir to combine. Cover bowl and place it in the fridge for at least 4 hours or overnight for best results.
-
Drain the macerated fruit in a large fine mesh sieve over a jam pot or saucepan.
-
Bring the leftover liquid from the fruit to a boil in the saucepan.
-
Add the diced apples to the boiling liquid. Reduce heat to medium-high and cook for 20 to 30 minutes or until the desired texture is achieved. Stir occasionally to prevent scorching.
-
Pack prepared jars with hot jam, leaving 1/4-inch headspace. Debubble the jam with a spatula or chopstick and adjust headspace as needed. Apply two-piece canning lids until fingertip tight.
-
Load jars into a hot bath canner and process for 10 minutes. When the timer goes off, turn off the heat and let the jars sit in the hot water for another 5 minutes.
-
Remove jars from water canner and transfer to a clean surface lined with a kitchen towel, leaving 1 inch of space between each jar. Let the jars come to room temperature.
-
Test the seal on each jar, storing any improperly sealed jars in the fridge for 1 to 2 weeks. Sealed jars of apple jam can be stored in a cool, dry location away from direct light for up to 18 months.
Nutrition
Calories:
188
kcal
,
Carbohydrates:
49
g
,
Protein:
0.3
g
,
Fat:
0.3
g
,
Saturated Fat:
0.03
g
,
Polyunsaturated Fat:
0.1
g
,
Monounsaturated Fat:
0.01
g
,
Sodium:
2
mg
,
Potassium:
127
mg
,
Fiber:
3
g
,
Sugar:
45
g
,
Vitamin A:
62
IU
,
Vitamin C:
7
mg
,
Calcium:
7
mg
,
Iron:
0.2
mg
Nutrition information is automatically calculated, so should only be used as an approximation.
More Inspiring Apple Canning Recipes
If you’ve enjoyed making this delicious **apple jam** and are looking for more ways to preserve the bounty of apples, explore these other fantastic canning recipes:
- Canned Applesauce: A timeless classic, perfect for snacks or as a baking ingredient.
- Cranberry Apple Jam: A vibrant and festive jam combining the tartness of cranberries with sweet apples.
- Canned Apple Butter: A smooth, spiced spread that’s utterly comforting.
Embrace Tradition with Old-Fashioned Jam Recipes (Pectin-Free)
Are you a connoisseur of jams made the traditional way, without the addition of boxed pectin? Discover the simple magic of fruit, sugar, and natural pectin with these beloved old-fashioned jam recipes:
- Raspberry Jam: Bursting with bright, berry flavor, a true summer delight.
- Persimmon Jam: A unique and subtly sweet jam, perfect for fall harvests.
- Green Tomato Jam: An unexpected yet delightful preserve, offering a tangy and sweet complexity.
- Apricot Jam: A golden, fragrant jam that embodies the taste of sunshine.