
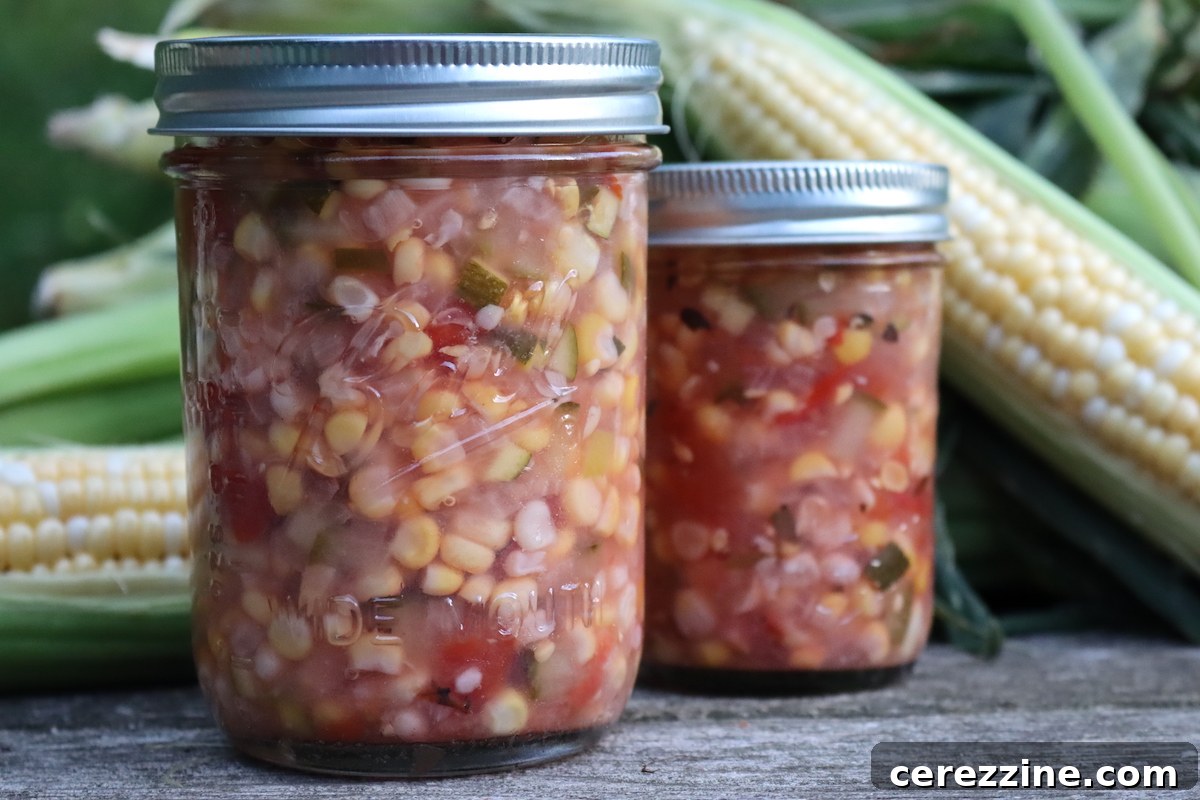
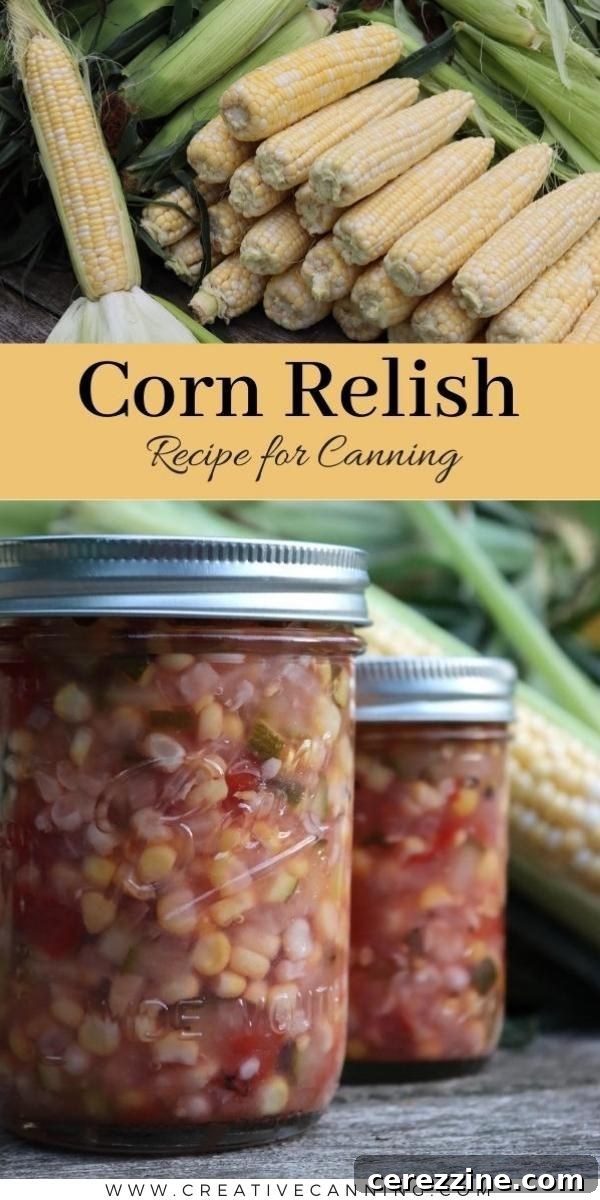
Corn relish is a delightful and versatile condiment, perfect for elevating almost any dish. Its bright, tangy, and sweet profile makes it an especially fantastic accompaniment to summer grilling recipes, bringing a burst of seasonal flavor to your plate.
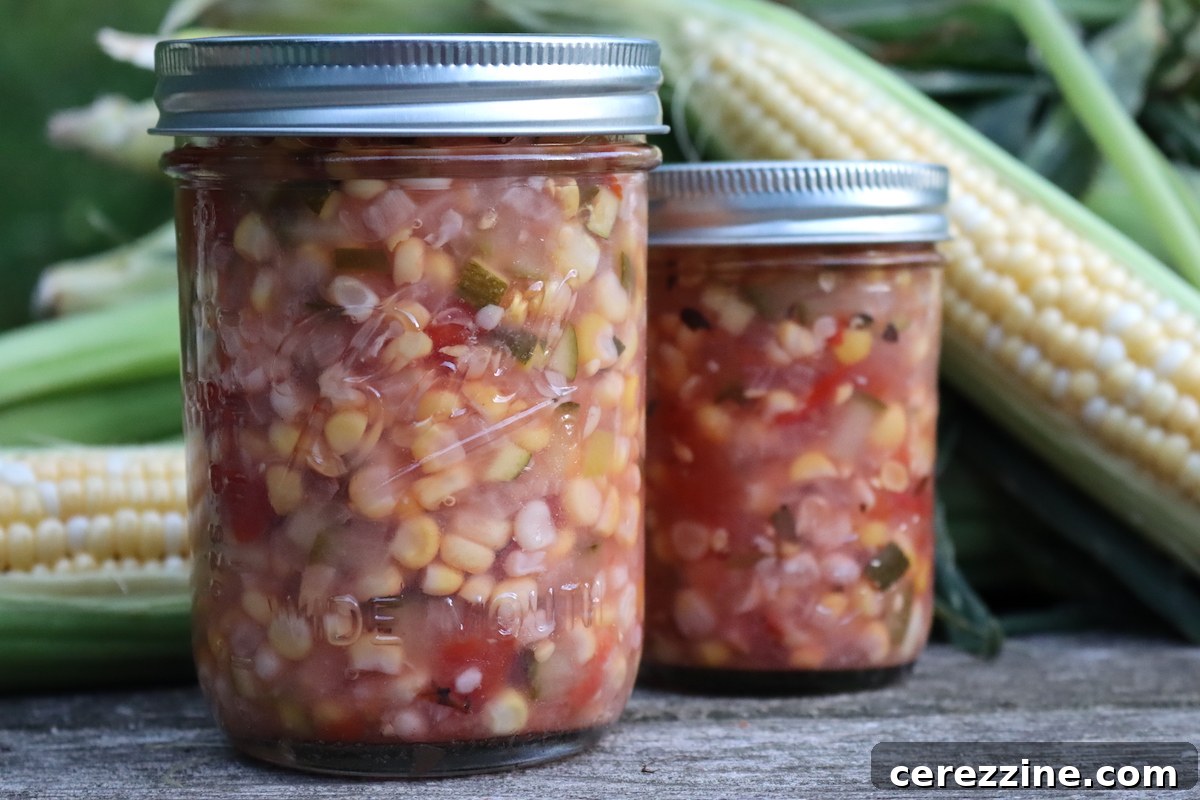
The Ultimate Guide to Canning Delicious Homemade Corn Relish
As the peak of summer brings an abundance of fresh, sweet corn, many home cooks find themselves with more kernels than they can possibly enjoy in the moment. While traditional methods like pressure canning plain corn kernels or creamed corn are effective for long-term storage, there’s a unique joy in creating something more elaborate. For those seeking innovative ways to preserve this golden harvest, canning corn relish stands out as an incredibly rewarding endeavor.
Beyond the simple preservation of corn, many enthusiasts specifically request corn canning recipes that utilize a water bath canner. The convenience and accessibility of water bath canning appeal to those who might not own a pressure canner or prefer a less involved process. It allows you to capture the vibrant essence of summer with just a few pints of fresh flavor, without the complexities often associated with pressure canning.
This past summer, I delved into my extensive collection of canning literature to unearth the quintessential corn relish recipe. The goal was to find a blend that struck the perfect balance – not overwhelmingly spicy, nor excessively sweet, but rather a harmonious medley designed to complement any summer cookout. After much experimentation, I discovered a recipe that truly stands out.
While some relish variations lean heavily into intense spice, like pickled peppers or even candied jalapeños, my preference lies in a more nuanced flavor profile. I seek a relish that offers a delicate interplay of sweetness, a hint of warmth, and enough zesty acidity to keep the palate intrigued. This particular corn relish recipe achieves just that, making it an absolute favorite.
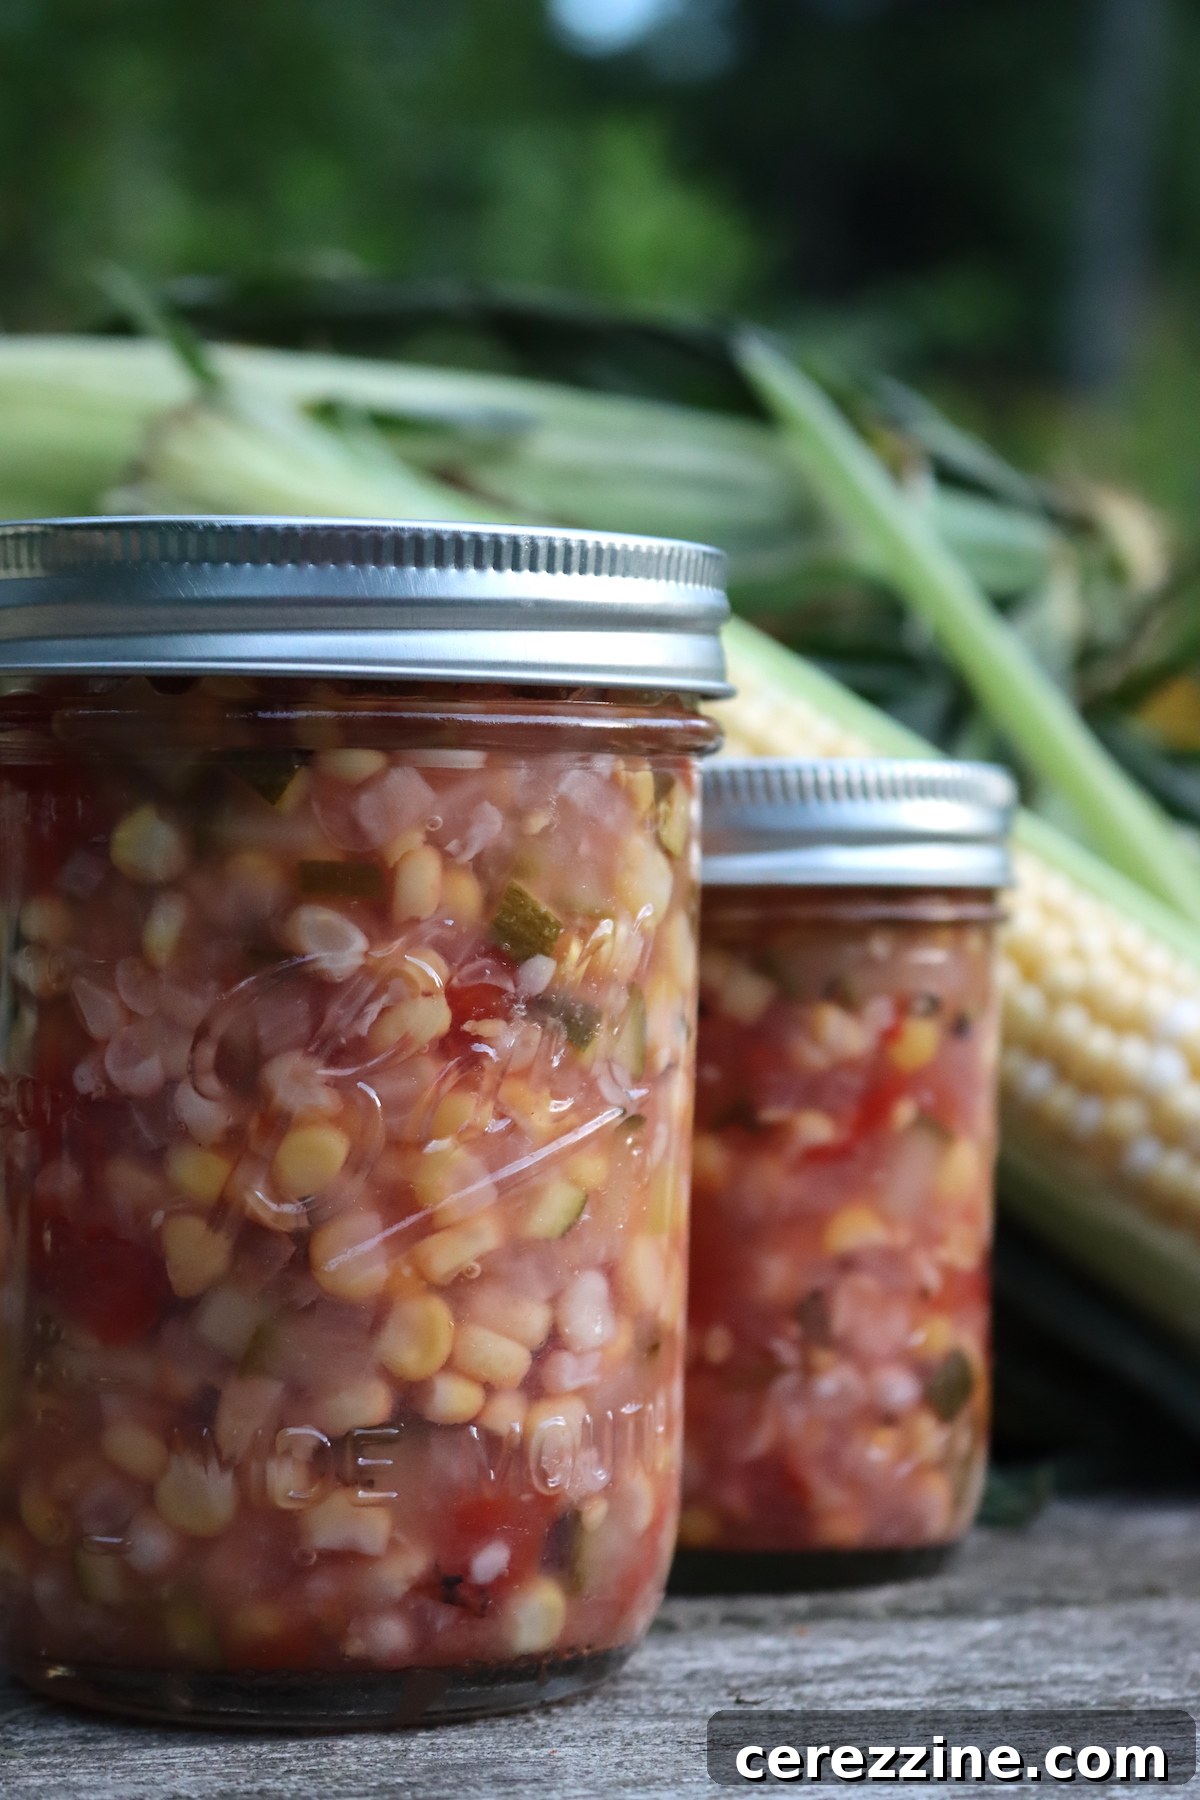
It’s important to note that when it comes to canning corn relish, only a handful of safe, scientifically tested recipes exist. The recipe I’m sharing is one of these approved methods, and it happens to be my personal top choice. However, taste is subjective, and what one person finds perfect, another might wish to tweak. To cater to diverse preferences, I’ve also included details for two other thoroughly tested corn relish canning recipes further down this guide. While their ingredient lists and seasonings vary slightly, the fundamental water bath canning instructions remain consistent across all three, ensuring safe preservation regardless of your chosen flavor profile.
Ingredients for My Favorite Corn Relish
Crafting exceptional corn relish is an art of balance. The inherent sweetness of fresh corn is complemented by additional sugar, ensuring that this delightful characteristic perdures even after the tart vinegar is introduced. A touch of salt enhances the overall flavor without overwhelming it, making it less intensely salty than a traditional pickle. Thoughtfully chosen seasonings add layers of complexity, transforming simple vegetables into a truly interesting condiment.
While corn is undeniably the star, a thoughtful mix of other vegetables contributes significantly to the relish’s vibrant color and engaging texture. Here are the ingredients for my preferred corn relish recipe, designed for a delightful blend of sweet, tangy, and crunchy:
- 4 cups fresh corn kernels: This typically equates to the kernels from about 6 medium-sized ears of sweet corn. Freshness is key for the best flavor.
- 2 cups diced bell pepper: A mix of green, red, or yellow bell peppers adds both color and a gentle sweetness.
- 2 cups diced onion: Sweet, white, yellow, or red onions can be used, contributing a pungent base note that mellows with cooking.
- 2 cups apple cider vinegar (5% acidity): The essential acidic component for tang and safe canning. Ensure it’s 5% acidity for food safety.
- 1 cup diced cucumber (unpeeled): Keeping the peel on adds a lovely contrasting green color and a pleasant crunch to the relish.
- 1 cup sugar: Balances the tartness of the vinegar and enhances the natural sweetness of the corn.
- 2 Tbsp canning salt: Specifically formulated for canning, it’s free of anti-caking agents. For a lower sodium version, you can reduce this to 1 Tbsp.
- 3 cups diced, seeded, peeled tomatoes: These are added towards the end of the cooking process to maintain their texture and prevent them from disintegrating.
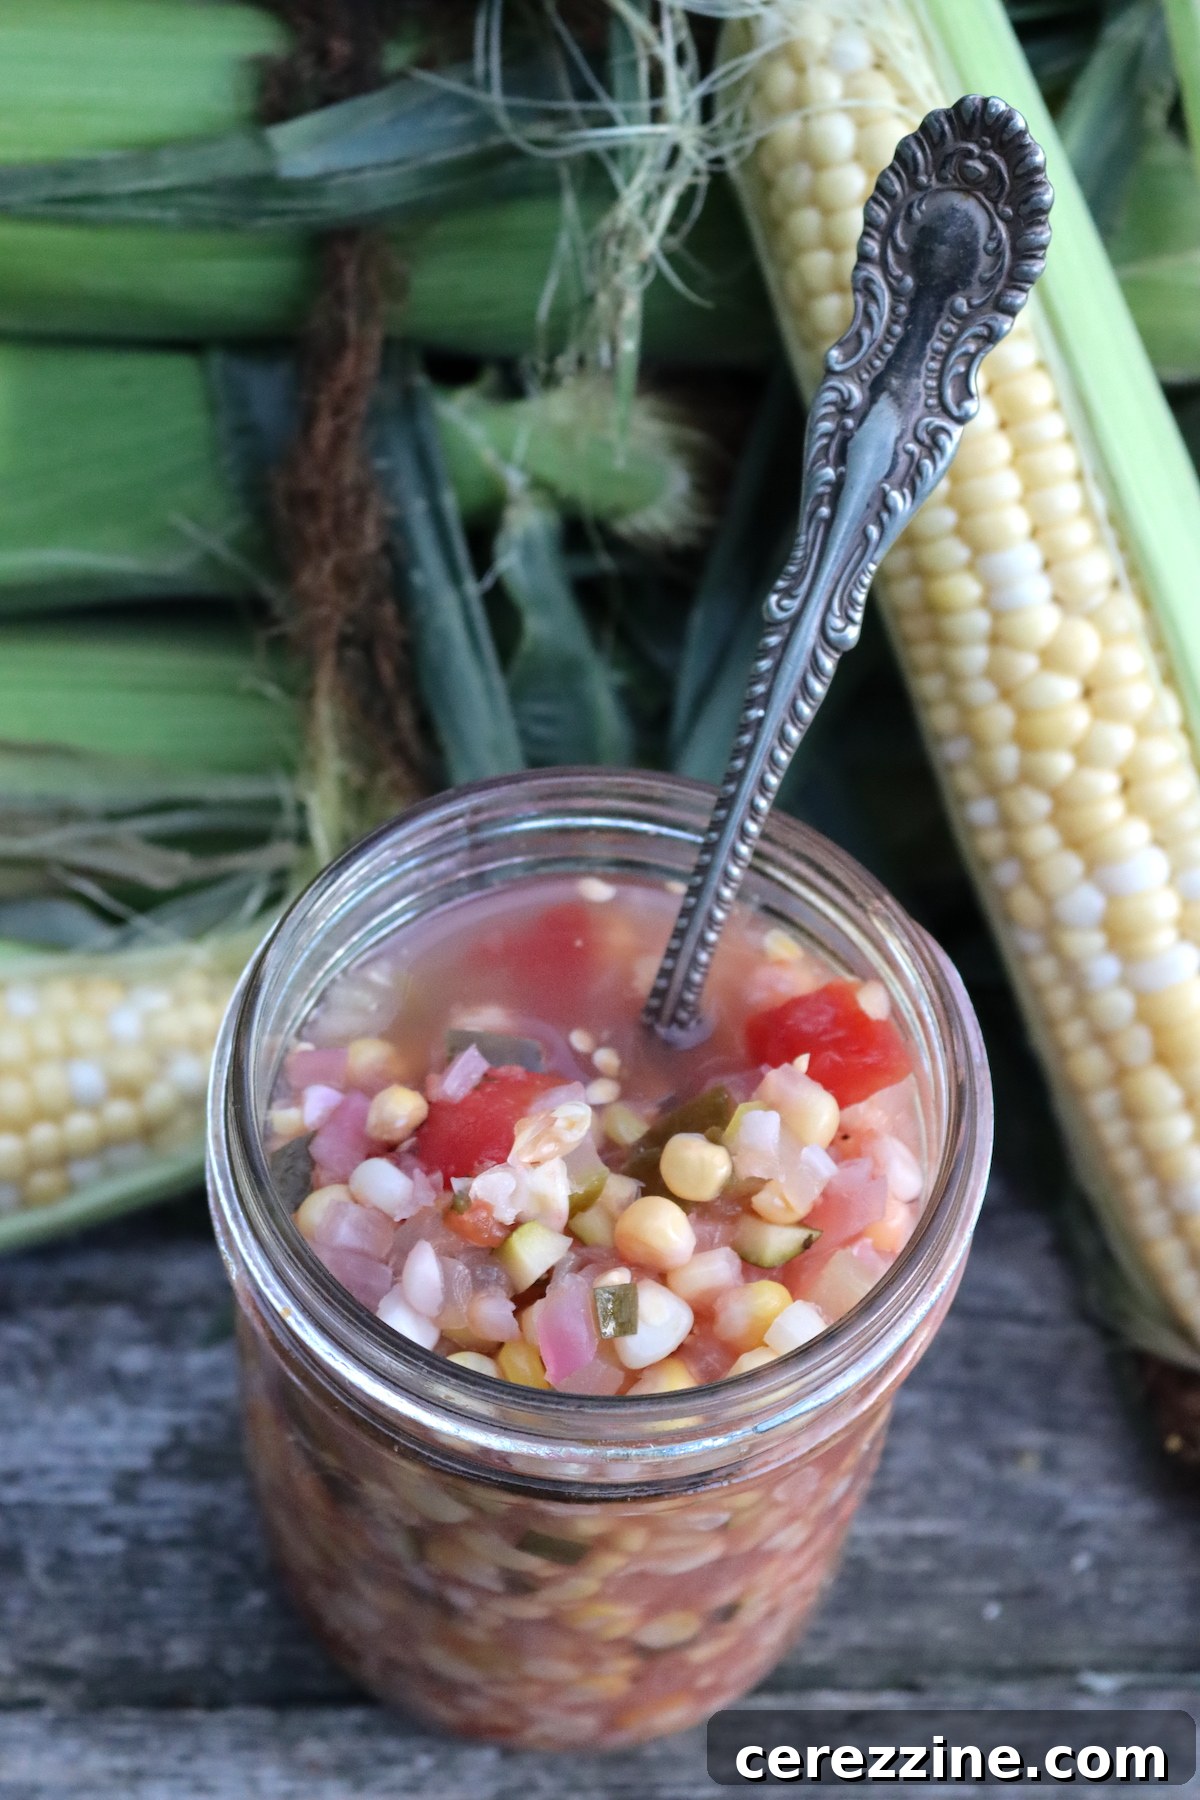
How to Make Homemade Corn Relish
The process of making this corn relish is remarkably straightforward, requiring minimal fuss for such a flavorful outcome. The primary steps involve combining the ingredients and simmering them gently to allow the flavors to meld before the canning stage.
- Initial Simmer: Begin by adding all ingredients except the diced tomatoes to a large, heavy-bottomed pot or Dutch oven. Bring the mixture to a gentle simmer. Continue to simmer for 10 minutes, stirring occasionally. This crucial step allows the sugar and salt to fully dissolve and enables the vinegar’s tang to thoroughly infuse into the vegetables, creating a rich flavor base.
- Adding Tomatoes: Next, carefully incorporate the diced tomatoes into the simmering mixture. Return the relish to a simmer and cook for an additional 5 minutes. It’s important to add the tomatoes later in the cooking process. This preserves their integrity and prevents them from breaking down excessively, ensuring they retain some texture rather than turning into a smooth sauce.
- Ready for Jars: Once the relish is heated through and the flavors have blended, it’s ready to be carefully ladled into your prepared canning jars.
Mastering Water Bath Canning for Corn Relish
All three corn relish recipes discussed in this guide have been rigorously tested and approved for water bath canning, ensuring their safety for home preservation. While canning offers the convenience of pantry storage and year-round enjoyment, it’s worth noting that canning is entirely optional. You can certainly prepare these recipes as a refrigerator relish, storing them in your fridge for immediate use. Personally, I opt for canning to relish the vibrant taste of summer corn long after the season ends. There’s nothing quite like pulling out a jar of homemade relish in early summer to accompany grilled dishes, especially when fresh corn is still months away.
If you’re new to the world of home canning, I highly recommend consulting a reliable beginner’s guide to water bath canning before you embark on this recipe. Understanding the fundamental principles will ensure a safe and successful canning experience.
Equipment and Jar Preparation
Before you begin cooking the relish, ensure your canning setup is ready:
- Water Bath Canner: Fill your water bath canner with water and bring it to a simmer (approximately 180°F or 82°C). This prepares it for a hot pack process.
- Jars, Lids, and Rings: Wash pint (or quart) jars thoroughly. Sterilize them if processing for less than 10 minutes, or simply keep them hot if processing for 10 minutes or more (the processing itself will sterilize them). Prepare new canning lids according to manufacturer instructions (often a gentle simmer), and ensure your screw bands (rings) are clean and ready.
The Canning Process Explained
Once your corn relish is prepared and still hot:
- Carefully ladle the hot corn relish into your prepared canning jars, ensuring you leave 1/2 inch of headspace (the space between the food and the rim of the jar).
- Use a non-metallic utensil (like a plastic spatula) to gently remove any air bubbles trapped in the relish. This is called “debubbling.”
- Wipe the rims of the jars thoroughly with a clean, damp cloth to remove any food residue that could interfere with the seal.
- Center a prepared lid on each jar, and then screw on the band “finger-tight.” This means tightening until you feel resistance, but not overtightening.
- Using a jar lifter, carefully place the jars into the simmering water bath canner, ensuring they are fully submerged by at least 1 inch of water.
- Bring the water to a rolling boil and process the jars for the recommended time, adjusting for your altitude.
- Once the processing time is complete, turn off the heat and allow the jars to stand in the canner for an additional 5 minutes. This helps prevent siphoning (liquid loss) and ensures a strong seal.
- Carefully remove the jars from the canner using a jar lifter and place them upright on a towel-lined counter, leaving space between them for air circulation. Let them cool undisturbed for 12-24 hours.
- After 24 hours, check the seals. Lids should be concave and not flex when pressed. Any unsealed jars should be refrigerated immediately and used within a few weeks. Properly sealed jars can be stored in a cool, dark pantry for 12-18 months.
Altitude Adjustments for Safe Canning
It is critical to adjust processing times based on your elevation to ensure proper food safety. Boiling points are lower at higher altitudes, requiring longer processing times.
- 0 to 1,000 Feet elevation: Process pint jars for 15 minutes and quart jars for 20 minutes.
- 1,001 to 3,000 feet elevation: Process pint jars for 20 minutes and quart jars for 25 minutes.
- 3,001 to 6,000 feet elevation: Process pint jars for 25 minutes and quart jars for 30 minutes.
- Above 6,000 feet elevation: Consult specific canning guides for additional time adjustments.
Exploring Other Trusted Corn Relish Variations
While my personal recipe for corn relish offers a widely appealing flavor, it’s excellent to have choices! There are a limited number of safe, tested recipes for canning corn relish available in reputable canning literature. After thoroughly reviewing numerous canning books (a passion of mine!), I’ve identified two other widely recognized and tested variations, both of which are excellent in their own right. These recipes also yield approximately 5 pints and follow the same water bath canning times and 1/2-inch headspace requirements as my favorite recipe.
1. Eastern Shore Corn Relish: A Taste of New England
This variation, often found in The All-New Ball Book of Home Canning, is sometimes called “Eastern Shore Corn Relish.” It’s characterized by the addition of Old Bay seasoning, which imparts a distinctive, savory, and slightly spicy flavor reminiscent of a New England clam bake. While I often omit it for broader versatility, if you’re a fan of Old Bay, this version is a must-try. Just remember to adjust the salt content as Old Bay is quite salty.
Key Ingredients Include:
- 4 cups fresh corn kernels
- 2 cups diced bell pepper
- 2 cups diced onion
- 2 cups apple cider vinegar (5% acidity)
- 1 cup diced cucumber (unpeeled)
- 1 cup sugar
- 1 Tbsp canning salt (reduced if adding Old Bay)
- 2 Tbsp Old Bay Seasoning (optional, if used, reduce canning salt to 1 Tbsp total)
- 3 cups diced, seeded, peeled tomatoes
The preparation and canning process are identical to the recipe outlined above.
2. Traditional Corn Relish: Classic and Hearty
Found in classics like The Ball Book of Home Preserving (often referred to as the “old” Ball book), this traditional recipe offers a different textural and flavor profile. It incorporates finely chopped cabbage, adding a unique crispness and depth, along with a more complex blend of classic pickling spices.
Ingredients for Traditional Corn Relish:
- 9 cups corn kernels
- 3 cups finely chopped cabbage
- 1 cup finely chopped onion
- 1 cup finely chopped, seeded red bell pepper
- 4 cups white vinegar (5% acidity)
- 3 cups sugar
- 1 cup water
- 2 Tbsp dry mustard
- 1 Tbsp celery seeds
- 1 Tbsp mustard seeds
- 1 Tbsp salt
- 1 Tbsp ground turmeric
Combine all ingredients in a large pot, bring to a boil, then reduce heat and simmer for about 10 minutes, or until vegetables are tender-crisp. Ladle into prepared jars and process as directed for corn relish.
3. Homestyle Corn Relish: Thickened for Texture
Another variation from The Ball Book of Home Preserving, this “Homestyle Corn Relish” swaps cabbage for diced celery and introduces a canning-approved thickener called Clearjel. This results in a thicker, gel-like consistency, somewhat akin to homemade pie fillings. While some prefer this thicker texture, others might find it different from a looser relish. It’s a great option if you desire a more substantial condiment.
Ingredients for Homestyle Corn Relish:
- 4 cups white vinegar (5% acidity)
- 1 1/2 cups sugar
- 2 Tbsp salt
- 8 cups corn kernels
- 4 cups diced seeded bell peppers (red and green)
- 1 3/4 cups diced celery
- 1 cup finely chopped onion
- 2 Tbsp dry mustard
- 2 tsp celery seeds
- 2 tsp ground turmeric
- 1/4 cup water
- 2 Tbsp Clearjel, cook type for canning
For this recipe, add all ingredients (except Clearjel and the 1/4 cup water) to a large pot and simmer for a few minutes. In a separate bowl, whisk the Clearjel with the 1/4 cup water to form a smooth paste. Stir this paste into the simmering relish mixture. Continue to simmer for another 5 minutes, stirring constantly to ensure the Clearjel is evenly distributed and the relish thickens. Then, ladle into canning jars and process as usual.
Beyond Relish: Other Ways to Preserve Your Corn Harvest
While corn relish is an outstanding way to enjoy corn year-round, there are many other excellent methods to preserve your sweet corn bounty. Exploring different preservation techniques can help you utilize your entire harvest and diversify your pantry offerings.
- Freezing Corn: A simple and popular method that maintains much of corn’s fresh flavor and texture.
- Dehydrating Corn: A space-saving method that results in a chewy, intensely flavored corn, perfect for soups and stews.
- Corn Cob Wine: For the adventurous preserver, transforming corn cobs into a unique homemade wine!
More Delightful Summer Canning Recipes
Summer offers an abundance of fresh produce, making it the ideal season for home canning. If you’re eager to expand your pantry with more preserved goodness, explore these other fantastic seasonal canning recipes:
- Canning Peaches: Capture the sweet essence of summer peaches in a jar.
- Canning Whole Tomatoes: Perfect for making sauces, soups, and stews all winter long.
- Canning Blueberries: Enjoy fresh blueberries in pies and desserts anytime.
- Canning Blackberries: Preserve these juicy berries for jams, cobblers, and more.
- Dill Pickle Recipe for Canning: Crisp, tangy dill pickles are a pantry staple.
- Bread and Butter Pickles: A classic sweet and tangy pickle that’s incredibly versatile.
Frequently Asked Questions (FAQs) About Corn Relish
- How long does canned corn relish last?
- When properly water bath canned and sealed, corn relish can be stored in a cool, dark pantry for 12 to 18 months without significant loss of quality. Once opened, it should be refrigerated and consumed within a few weeks.
- Can I use frozen corn for corn relish?
- While fresh corn is ideal for the best texture and flavor, you can use frozen corn. Ensure it is thawed and drained thoroughly before using. The texture might be slightly softer than with fresh corn.
- Is it safe to reduce the sugar or salt in the recipe?
- You can often slightly reduce the amount of sugar without compromising safety, as vinegar is the primary preserving agent. However, significantly altering the salt or vinegar ratios in canning recipes is not recommended, as these are critical for food safety. Always stick to tested recipes for safety.
- What can I serve corn relish with?
- Corn relish is incredibly versatile! It’s fantastic with grilled meats (chicken, pork, sausages), hot dogs, hamburgers, or even as a vibrant topping for tacos and nachos. It also makes a great side dish, a spread for sandwiches, or mixed into potato or pasta salads.
- Why is headspace important in canning?
- Headspace is crucial for creating a proper vacuum seal. Too little headspace can cause food to boil out during processing, leading to poor seals. Too much headspace can result in air trapped in the jar, which can lead to discoloration and reduced vacuum.
Conclusion: Savoring Summer All Year Round
Canning homemade corn relish is more than just a culinary task; it’s a way to encapsulate the essence of summer and enjoy its vibrant flavors long after the season has passed. Whether you choose my favorite balanced recipe or explore the traditional or homestyle variations, you’re guaranteed a delicious and versatile condiment that will brighten any meal. Embrace the rewarding process of home preservation, and delight in the taste of your hard work throughout the year. Happy canning!