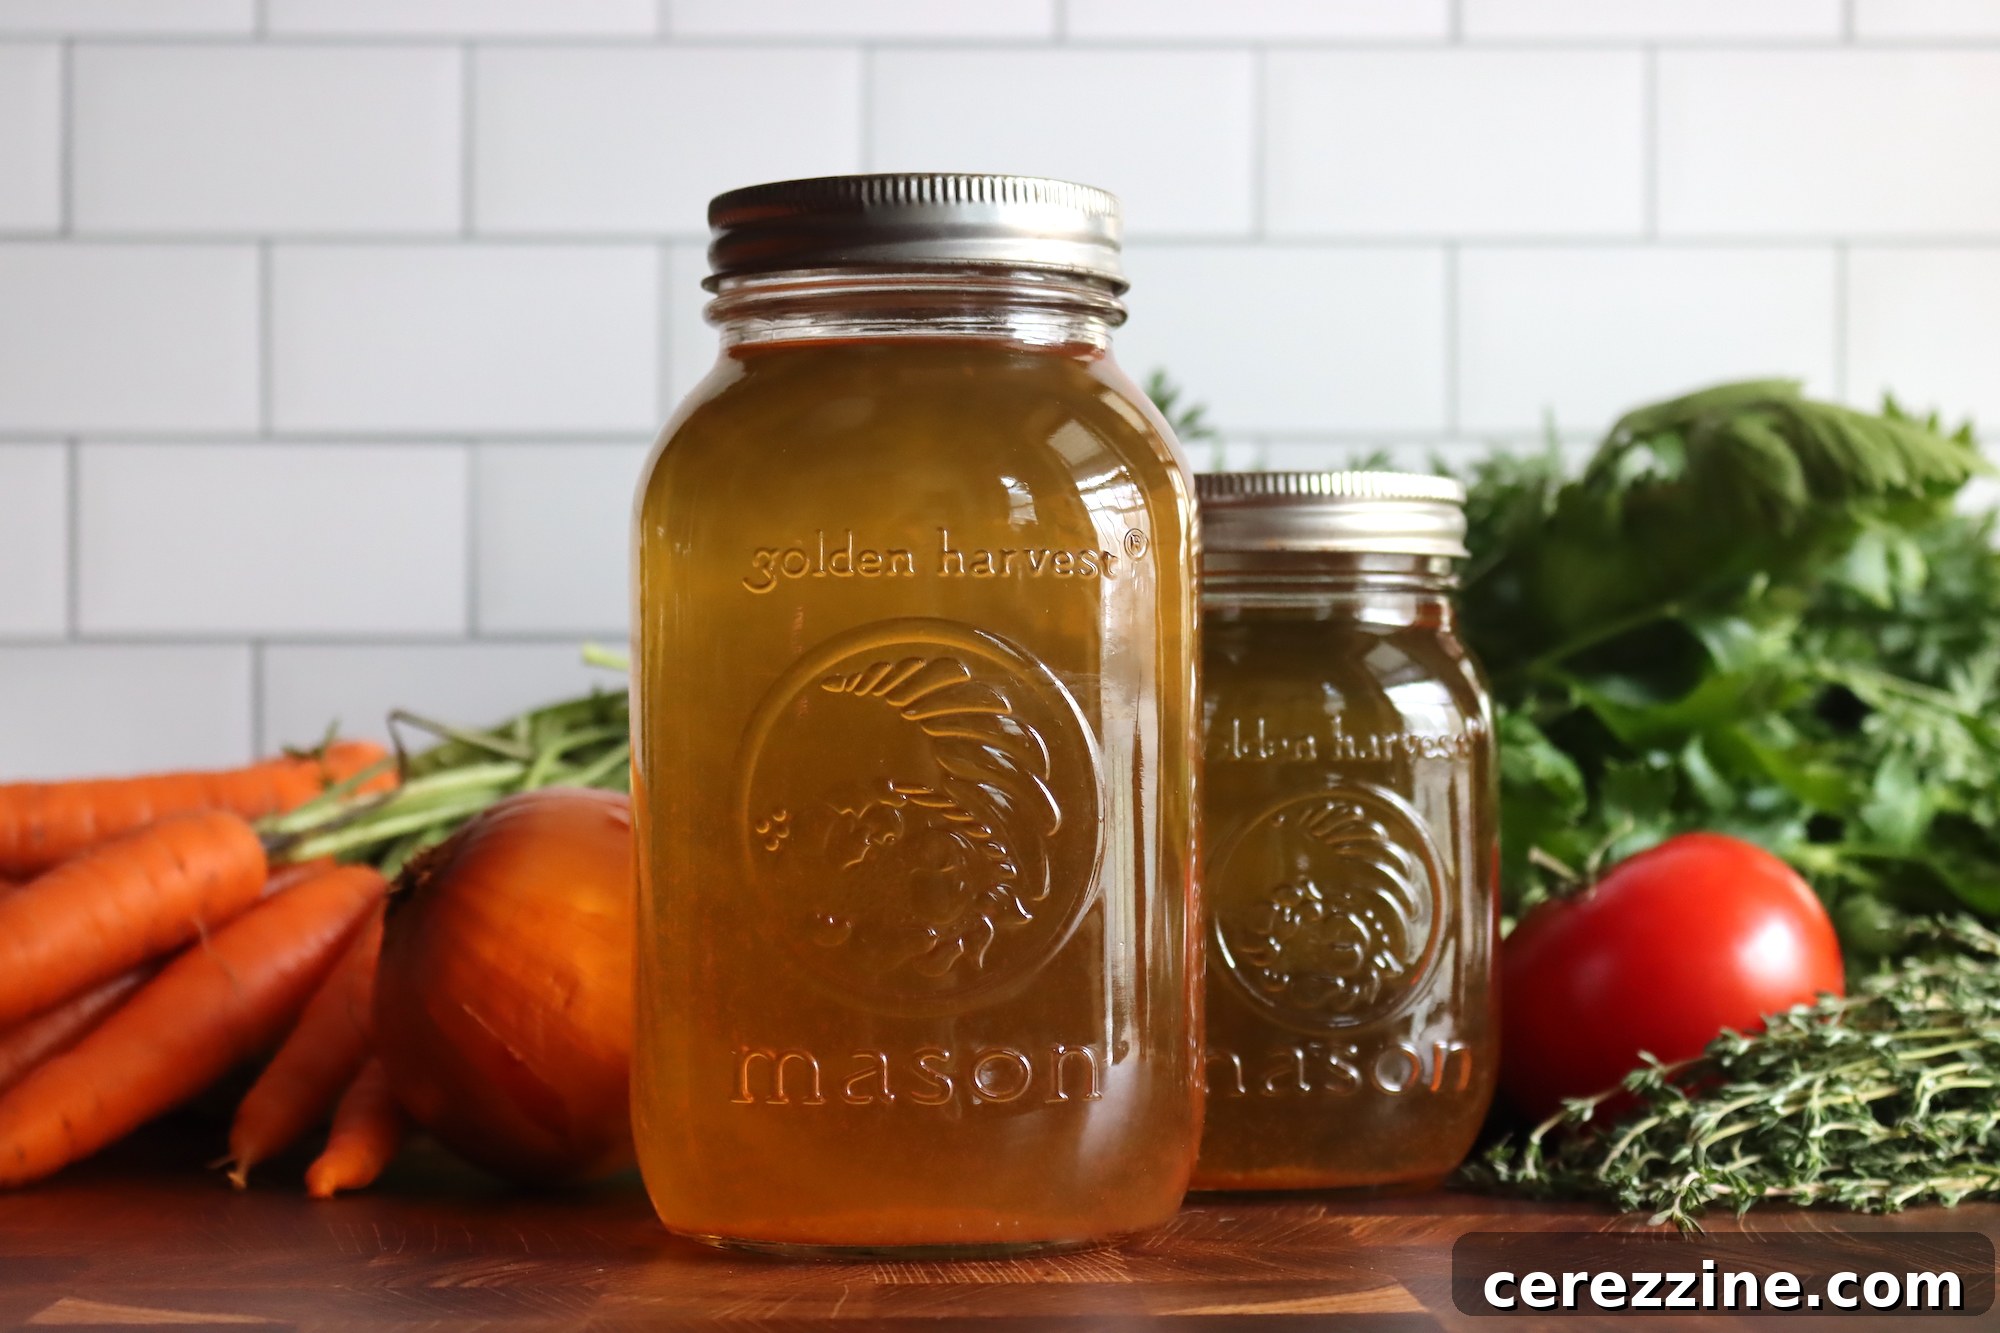
Unlock a world of rich flavors and culinary convenience by canning your own homemade vegetable broth. This guide empowers you to stock your pantry with a versatile, nutritious base for countless meals, ready whenever inspiration strikes.
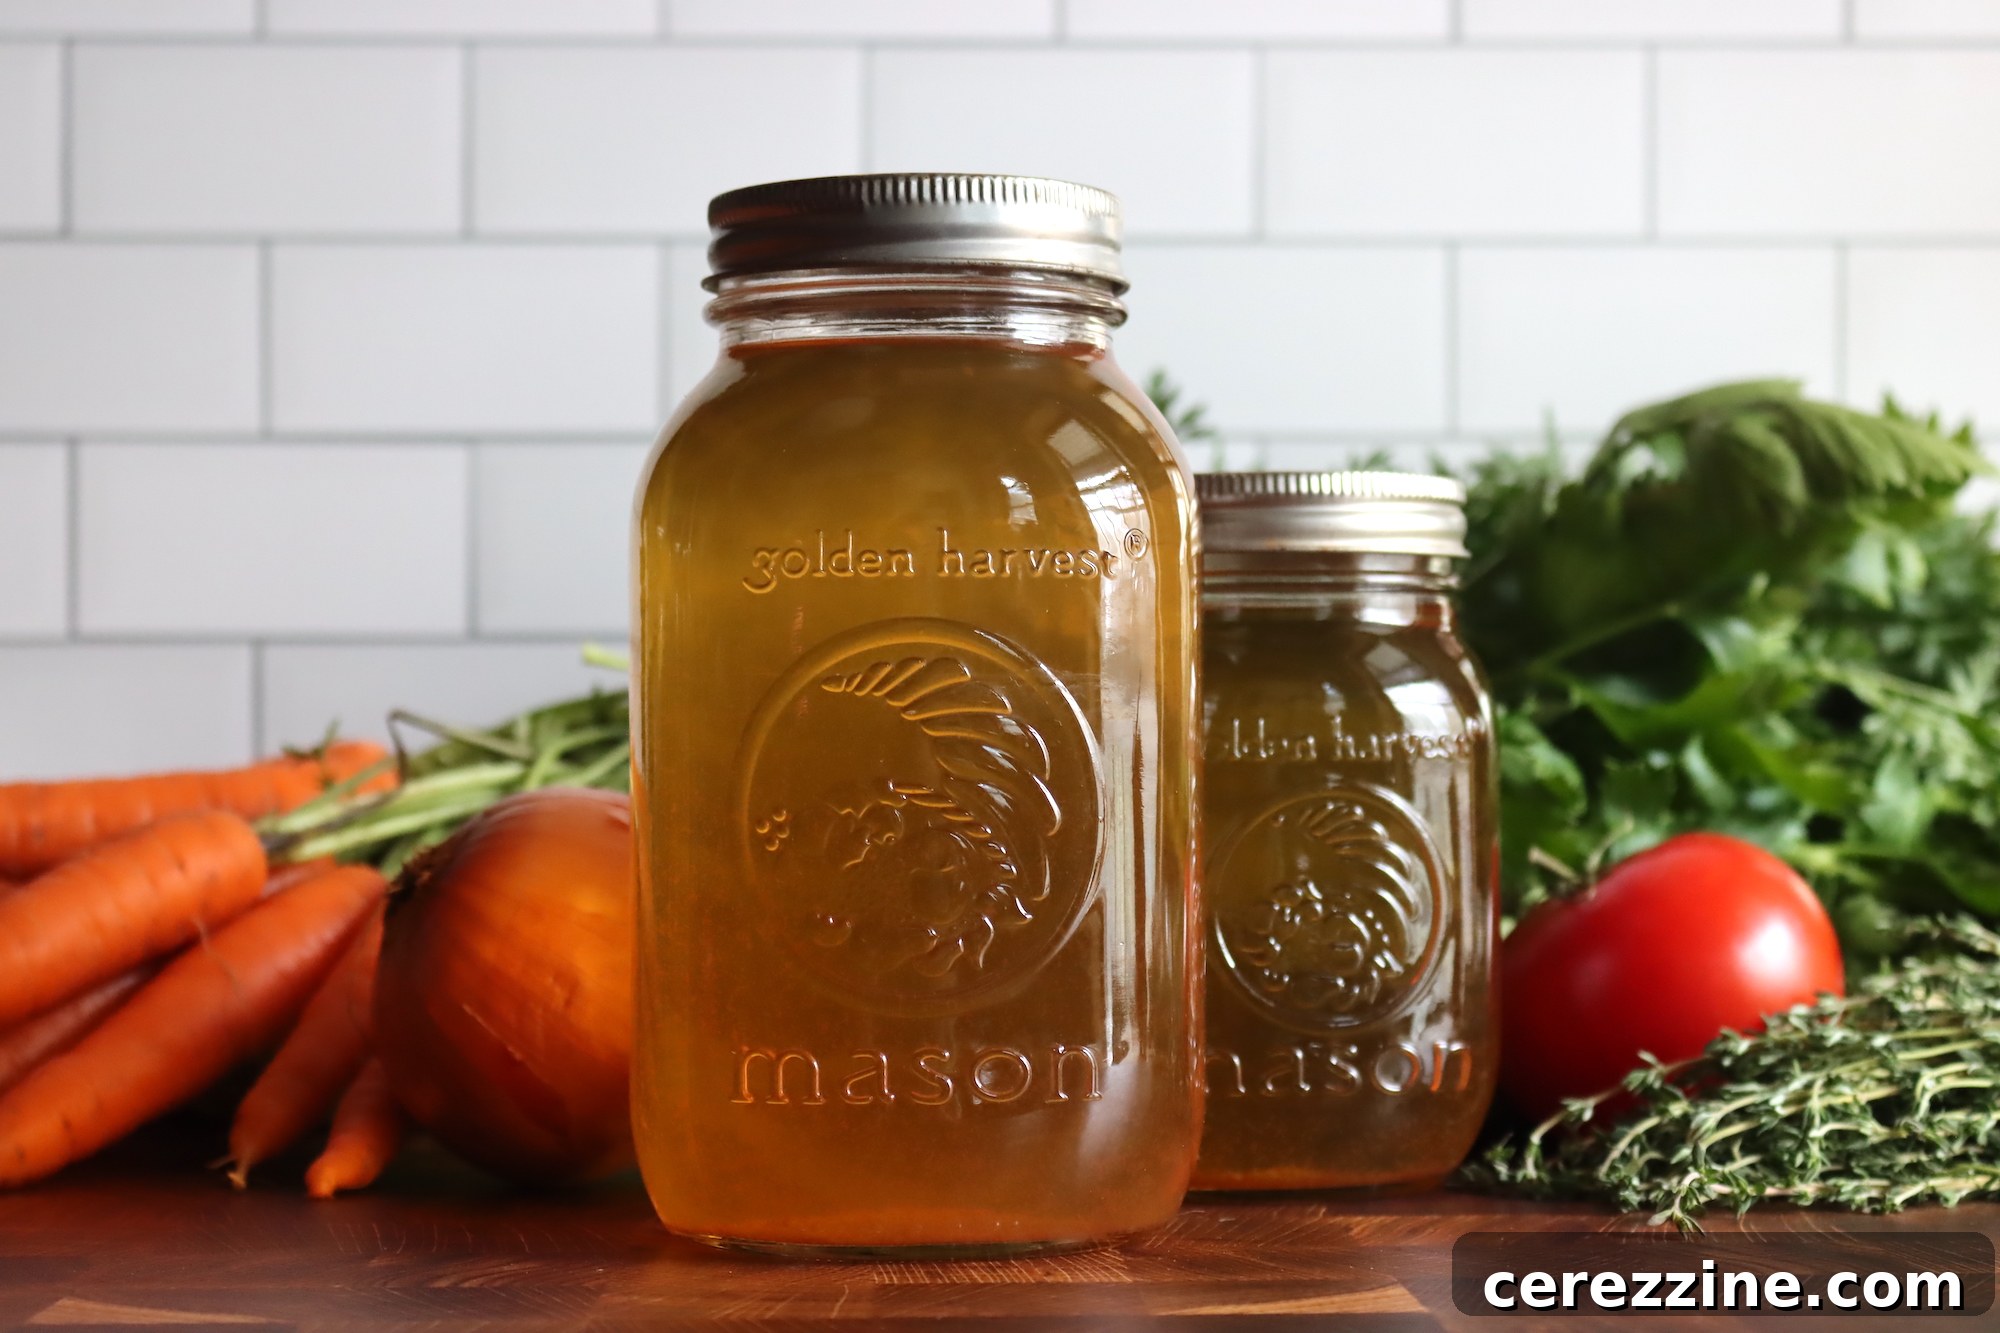
As the cooler seasons draw near, there’s nothing quite as comforting or convenient as having a ready supply of wholesome, homemade vegetable broth. Far beyond just a delicious addition to your favorite soups and stews, this liquid gold can transform various dishes, offering a depth of flavor and nutrients that store-bought alternatives often lack. Imagine a steaming mug of warm broth on a chilly evening, a true hug in a cup.
While supermarket shelves offer numerous broth options, crafting your own vegetable broth at home presents a healthier, more sustainable, and often more economical choice. It allows you to control the ingredients, avoid artificial additives, and utilize fresh produce, even vegetable scraps, reducing food waste.
This comprehensive guide will walk you through the rewarding process of pressure canning your homemade vegetable broth. We’ll cover everything from selecting the best ingredients and preparing your flavorful concoction to the essential steps of safe pressure canning and creative ways to incorporate your preserved broth into your daily cooking. Get ready to transform your kitchen into a hub of flavor and self-sufficiency.
Why Make and Can Your Own Vegetable Broth?
The benefits of making and canning your own vegetable broth extend far beyond mere convenience. It’s a practice that embraces flavor, nutrition, economy, and environmental consciousness:
- Unmatched Flavor and Quality: Homemade broth offers a freshness and complexity of flavor that simply cannot be replicated by commercial varieties. You control the blend of vegetables and herbs, tailoring it to your exact preferences.
- Nutrient-Rich Goodness: By simmering fresh, wholesome vegetables, you extract valuable vitamins, minerals, and antioxidants into your broth, creating a nourishing foundation for any meal.
- Cost-Effective Cooking: Making broth from scratch, especially by utilizing vegetable scraps (like onion skins, carrot tops, and celery ends), is an excellent way to save money and get the most out of your produce budget.
- Reduced Food Waste: Canning broth is an ideal solution for preserving excess garden produce or giving a second life to vegetable trimmings that might otherwise be discarded.
- Pantry Staple for Preparedness: A well-stocked pantry of canned broth ensures you always have a healthy base for quick meals, even on busy weeknights or during unexpected situations.
- Control Over Ingredients: Avoid unwanted sodium, preservatives, and artificial flavors found in many store-bought broths. You dictate what goes into your jars, making it perfect for those with dietary restrictions or allergies.
Essential Ingredients for a Flavorful Vegetable Broth
The beauty of homemade vegetable broth lies in its versatility. While you can indeed adapt almost any vegetable broth recipe for canning, the key is to ensure robust flavor extraction and proper preparation for safe preservation. A fundamental rule for canning broth is to strain out all solids before processing, leaving a clear liquid.
One crucial consideration when selecting vegetables for your broth is to avoid starchy varieties, such as potatoes, corn, or winter squash. These vegetables can release significant amounts of soluble starch during simmering, which not only leads to a cloudy broth but can also interfere with the canning process, potentially affecting heat penetration and safety. Stick to non-starchy vegetables for optimal results.
This particular recipe, a trusted favorite, is adapted from the authoritative The Ball Blue Book Guide to Preserving, a gold standard in home canning. A very similar, equally reliable recipe can also be found in Angi Schneider’s excellent resource, Pressure Canning for Beginners and Beyond.
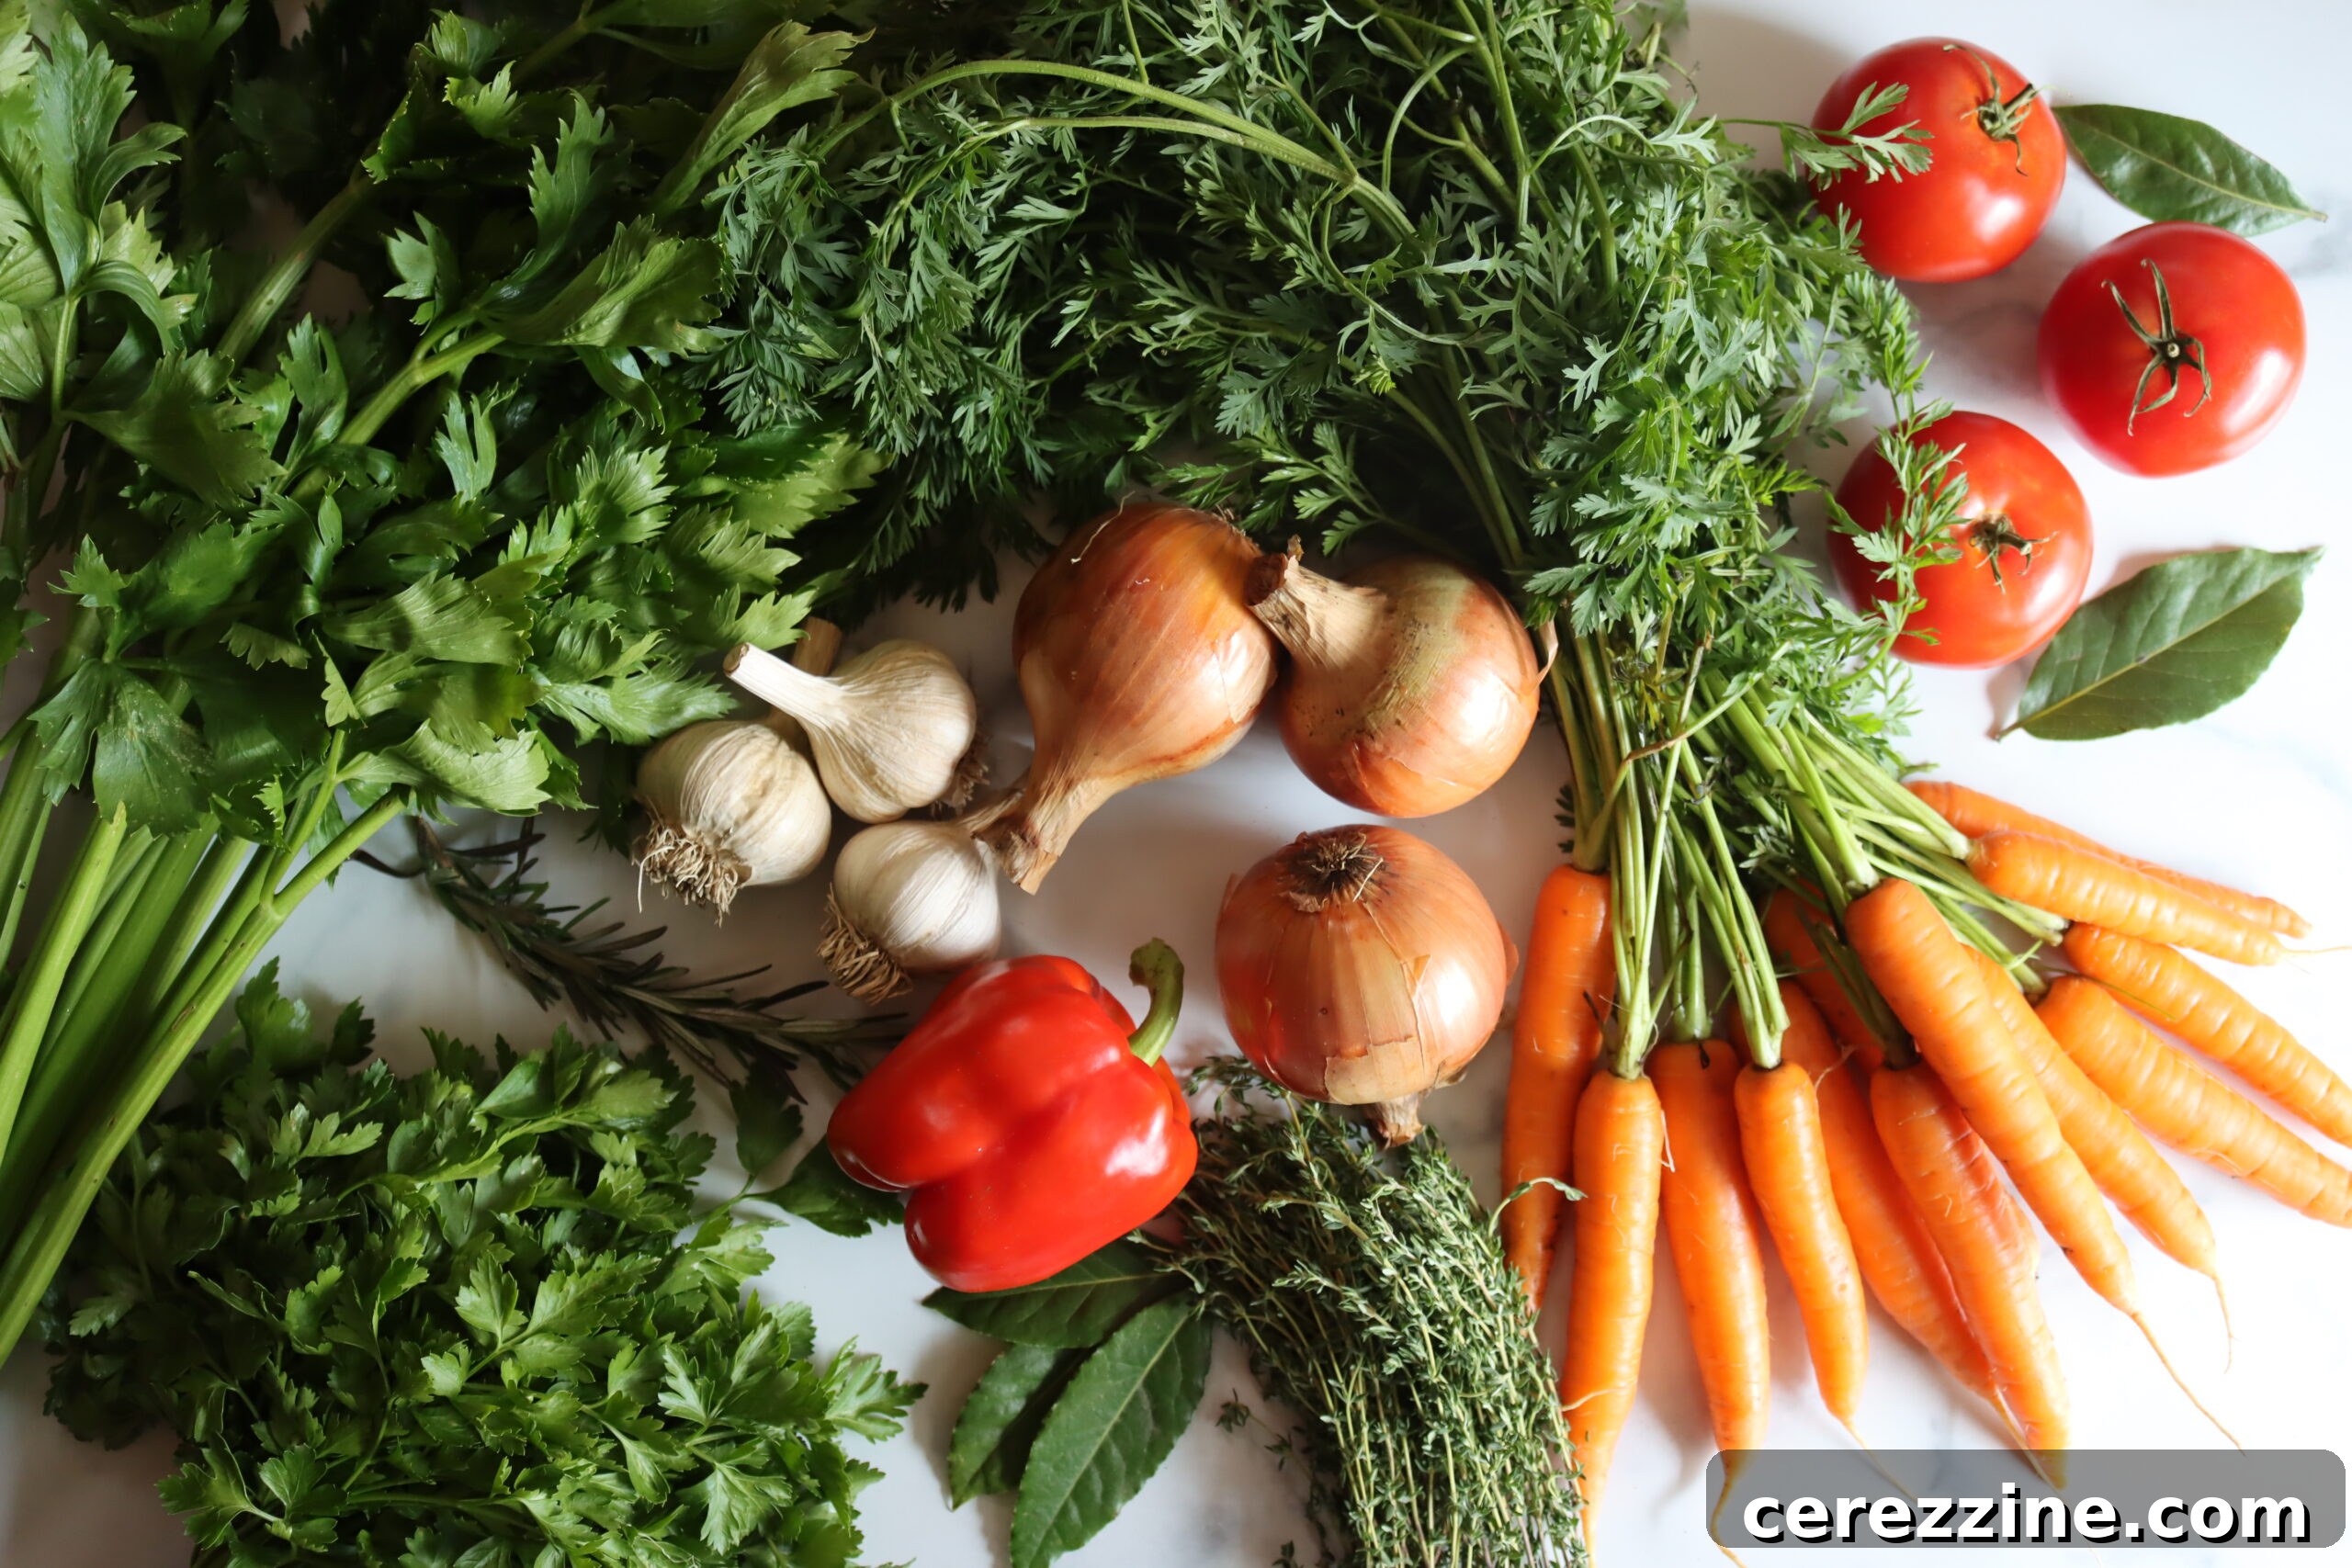
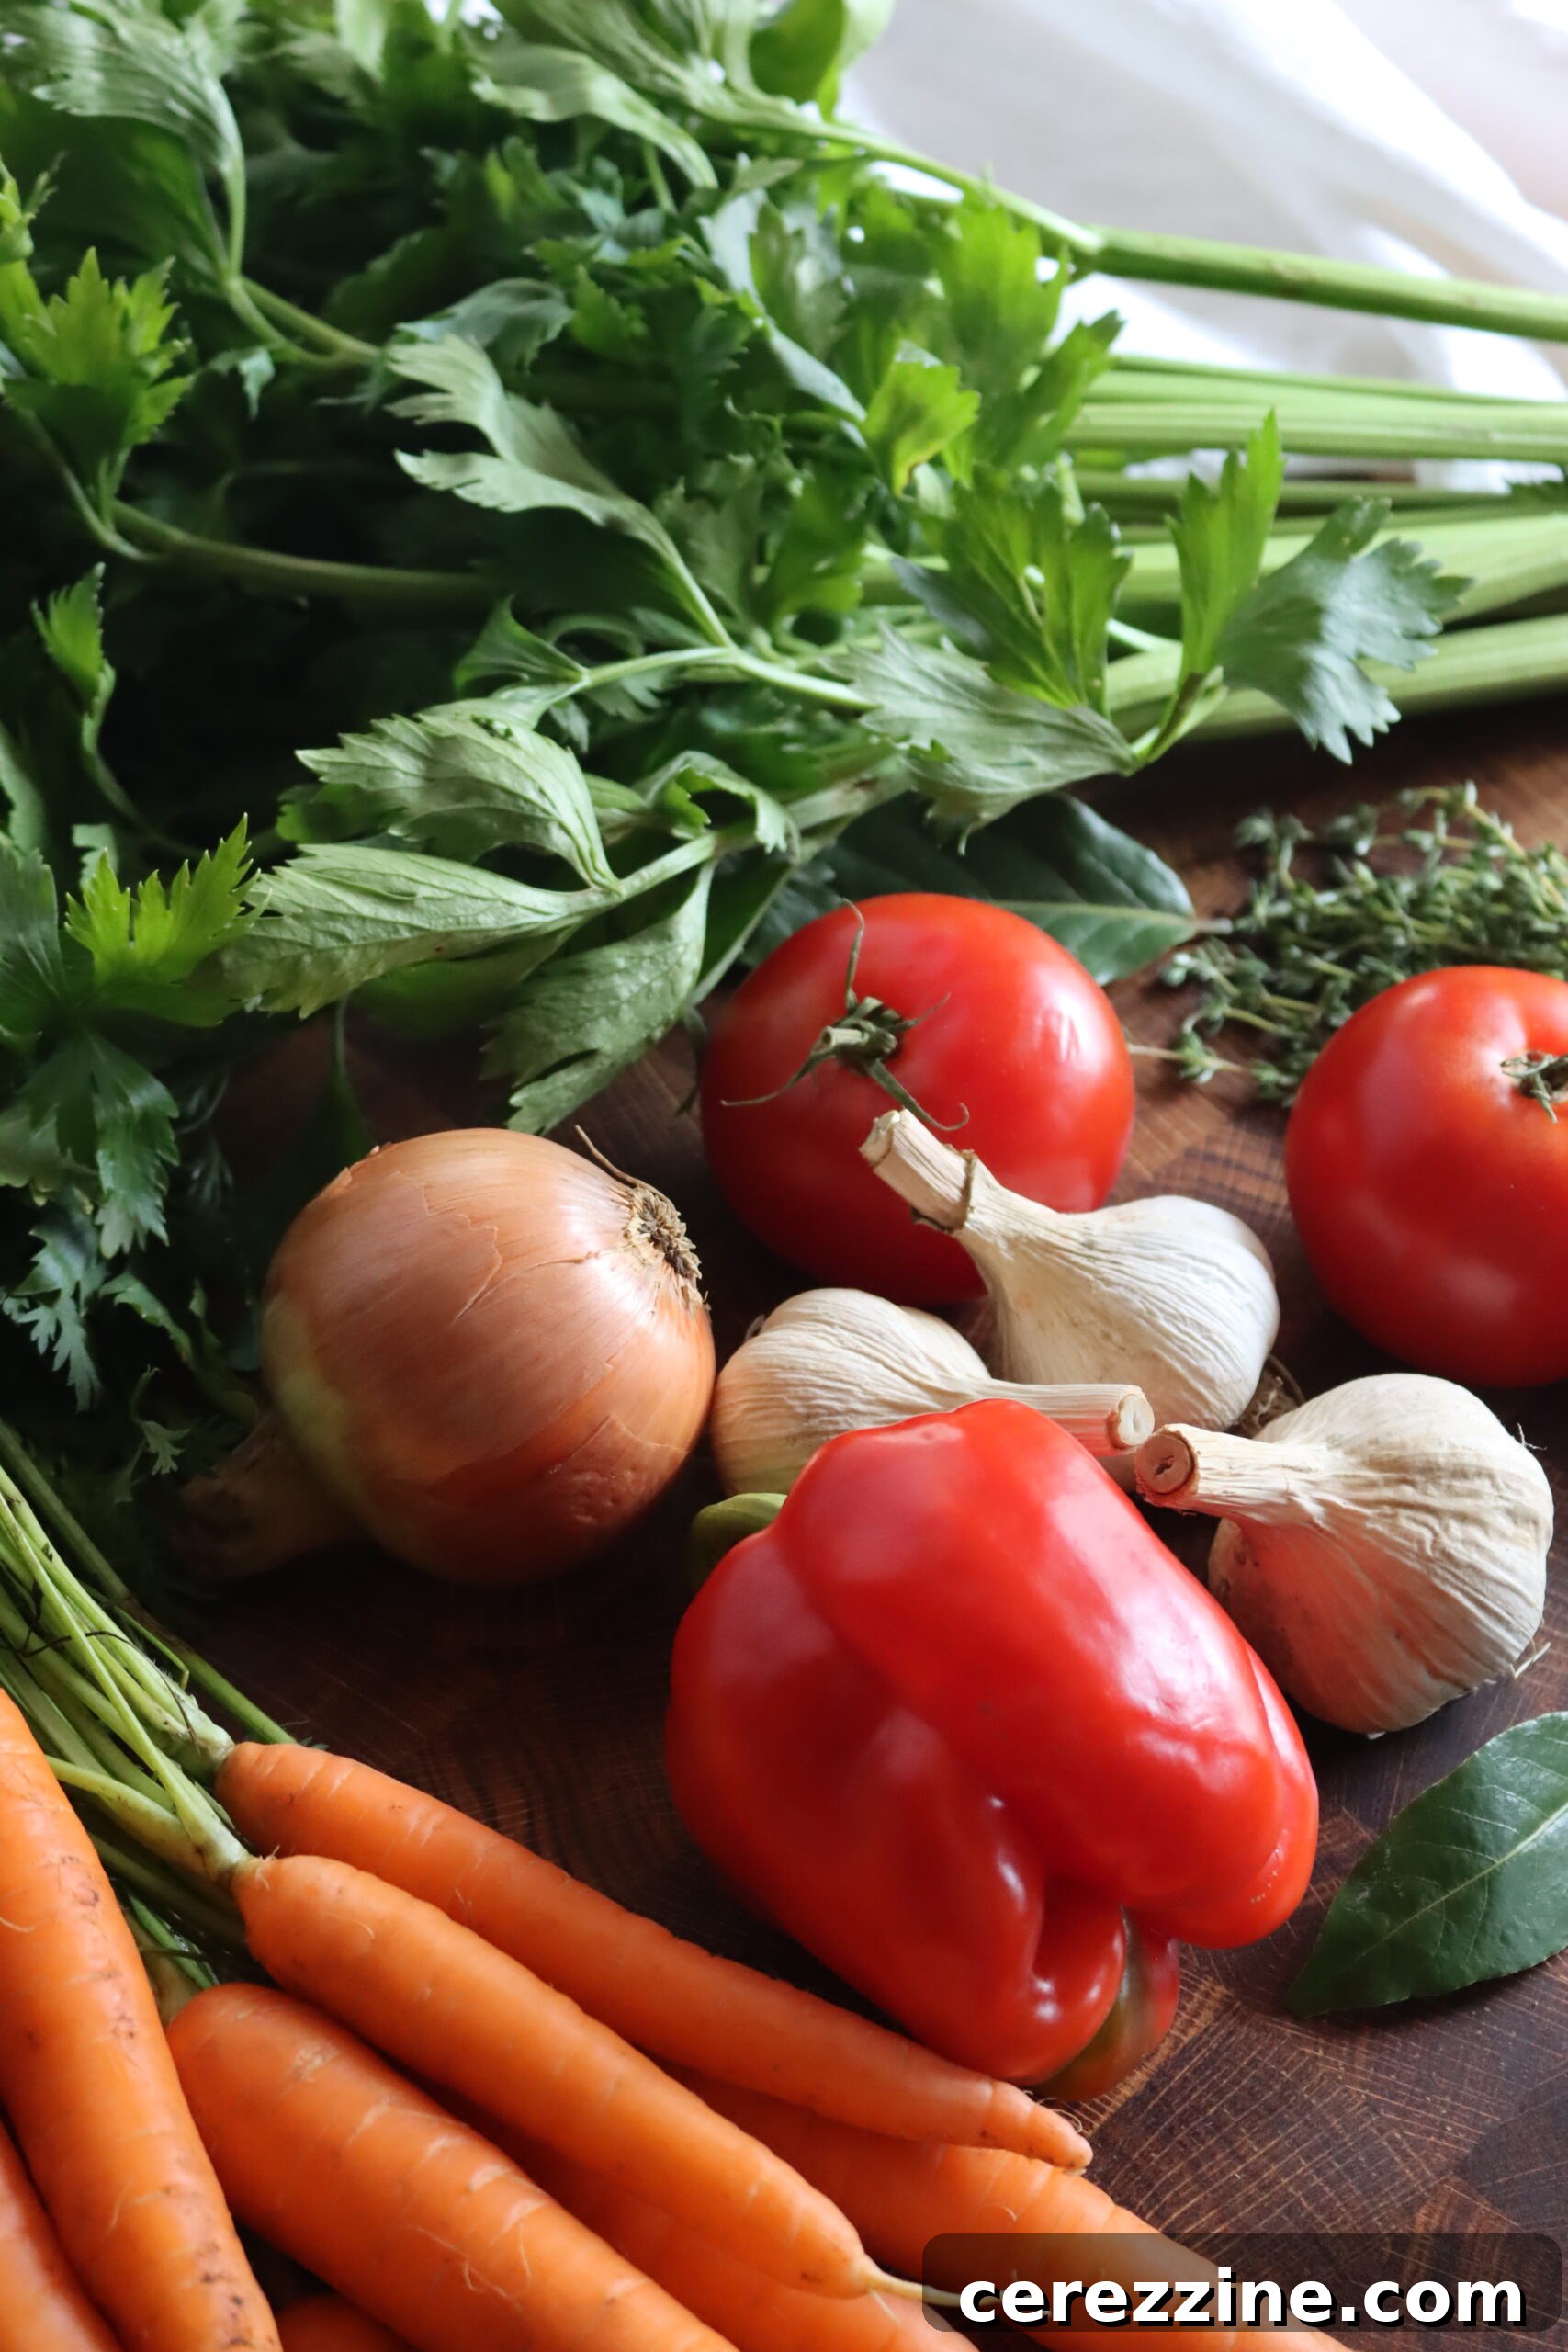
To prepare a canner batch, yielding approximately 14 pints or 7 quarts of exquisite vegetable broth, gather the following fresh ingredients:
- 3 cups (384 grams) sliced carrots (approximately 1 ¼ lbs unprepared)
- 2 lbs (907 grams) quartered onions (about 3-4 whole onions)
- 3 cups (303 grams) celery (six to seven celery ribs)
- 2 medium red bell peppers, chopped
- 2 large tomatoes, chopped and seeded
- 3 bay leaves
- 3 cloves garlic, crushed
- 1 tsp dried thyme (or 2-3 fresh sprigs)
- 1 tsp dried rosemary (or 1-2 fresh sprigs)
- 1 tsp dried parsley (or a small fresh bunch)
- 10 whole peppercorns
- 2 gallons (7.6 L) water
Tips for Ingredient Selection:
- Choose fresh, high-quality vegetables. Organic produce can enhance the flavor profile.
- Don’t be afraid to use vegetable scraps! Onion skins (washed thoroughly) add color and flavor. Celery ends, carrot peels, and herb stems are perfect for broth.
- For a slightly different flavor, consider adding a parsnip, leek greens, or a handful of mushroom stems. Experiment with your favorite aromatics!
- Avoid broccoli, cauliflower, cabbage, or Brussels sprouts, as they can impart a strong, sometimes overpowering, sulfuric flavor to the broth during long simmering.
Adapting for Meat Broth:
Should you wish to create a rich beef or chicken broth instead of a purely vegetable one, this recipe can be easily adapted. Simply halve the amount of vegetables listed above and introduce three to four pounds of raw chicken or beef bones (with any attached meat scraps) into your stockpot alongside the vegetables. The long simmering process will extract collagen and minerals from the bones, resulting in a deeply flavorful and nutritious bone broth.
The Art of Crafting Your Vegetable Broth
Creating a robust and flavorful vegetable broth is a simple yet rewarding process. The long simmer allows the natural essences of the vegetables and herbs to meld, creating a foundational liquid for countless dishes. Here’s how to prepare your broth before canning:
- Preparation is Key: Begin by thoroughly washing and rinsing all your vegetables and herbs under cold running water. Ensure they are free of any dirt or debris. There’s no need to meticulously peel the vegetables, as all solids will be strained out later, but chopping them into roughly uniform pieces will aid in even flavor extraction.
- Combine and Simmer: Place all your prepared ingredients—carrots, onions, celery, bell peppers, tomatoes, bay leaves, crushed garlic, dried thyme, dried rosemary, dried parsley, whole peppercorns, and two gallons of water—into a large stockpot.
- Bring to a Boil: Place the stockpot over medium-high heat and bring the mixture to a rolling boil.
- Gentle Simmer: Once boiling, reduce the heat to low, cover the pot, and allow the broth to gently simmer for a minimum of two hours. This extended simmering time is crucial for extracting the maximum flavor from your vegetables and herbs. Resist the urge to boil vigorously, as a gentle simmer ensures a clearer, more refined broth.
Mastering the Pressure Canning Process for Broth
Pressure canning is the only safe method for preserving low-acid foods like vegetable broth. This process ensures that harmful bacteria, such as Clostridium botulinum, are destroyed. Always follow tested recipes and manufacturer’s instructions for your specific pressure canner. Safety and precision are paramount.
- Prepare Your Pressure Canner: Before you begin, thoroughly wash your pressure canner and its interior rack. Place the bottom rack inside the canner. Fill the canner with a few inches (approximately 8 cm) of water. The exact water level will depend on your canner’s manufacturer’s recommendations; always consult your instruction manual. Place the canner on the stove over low heat to begin warming while you prepare the broth and jars. For hot pack canning, which this recipe uses, the water in the canner should be approximately 180°F (82°C) when you load your hot jars.
- Sterilize and Inspect Jars: Wash your canning jars, lids, and bands in hot, soapy water. Rinse them thoroughly. Carefully inspect each jar for any nicks, cracks, or imperfections, especially around the rim, as these can prevent a proper seal. Place the clean jars in the warming canner or in a separate pot of hot water to keep them hot until ready for filling. Set the clean lids and bands aside; lids typically do not require pre-sterilization but should be kept warm.
- Strain the Broth: Once your broth has simmered for two hours, carefully remove the stockpot from the heat. Place a colander lined with several layers of cheesecloth over a second large, clean stockpot. Ladle the hot broth into the cheesecloth-lined colander, allowing it to drain completely. Resist the temptation to press or mash the solids, as this can force fine particles through the cheesecloth and result in a cloudy broth. Discard the spent vegetables and herbs.
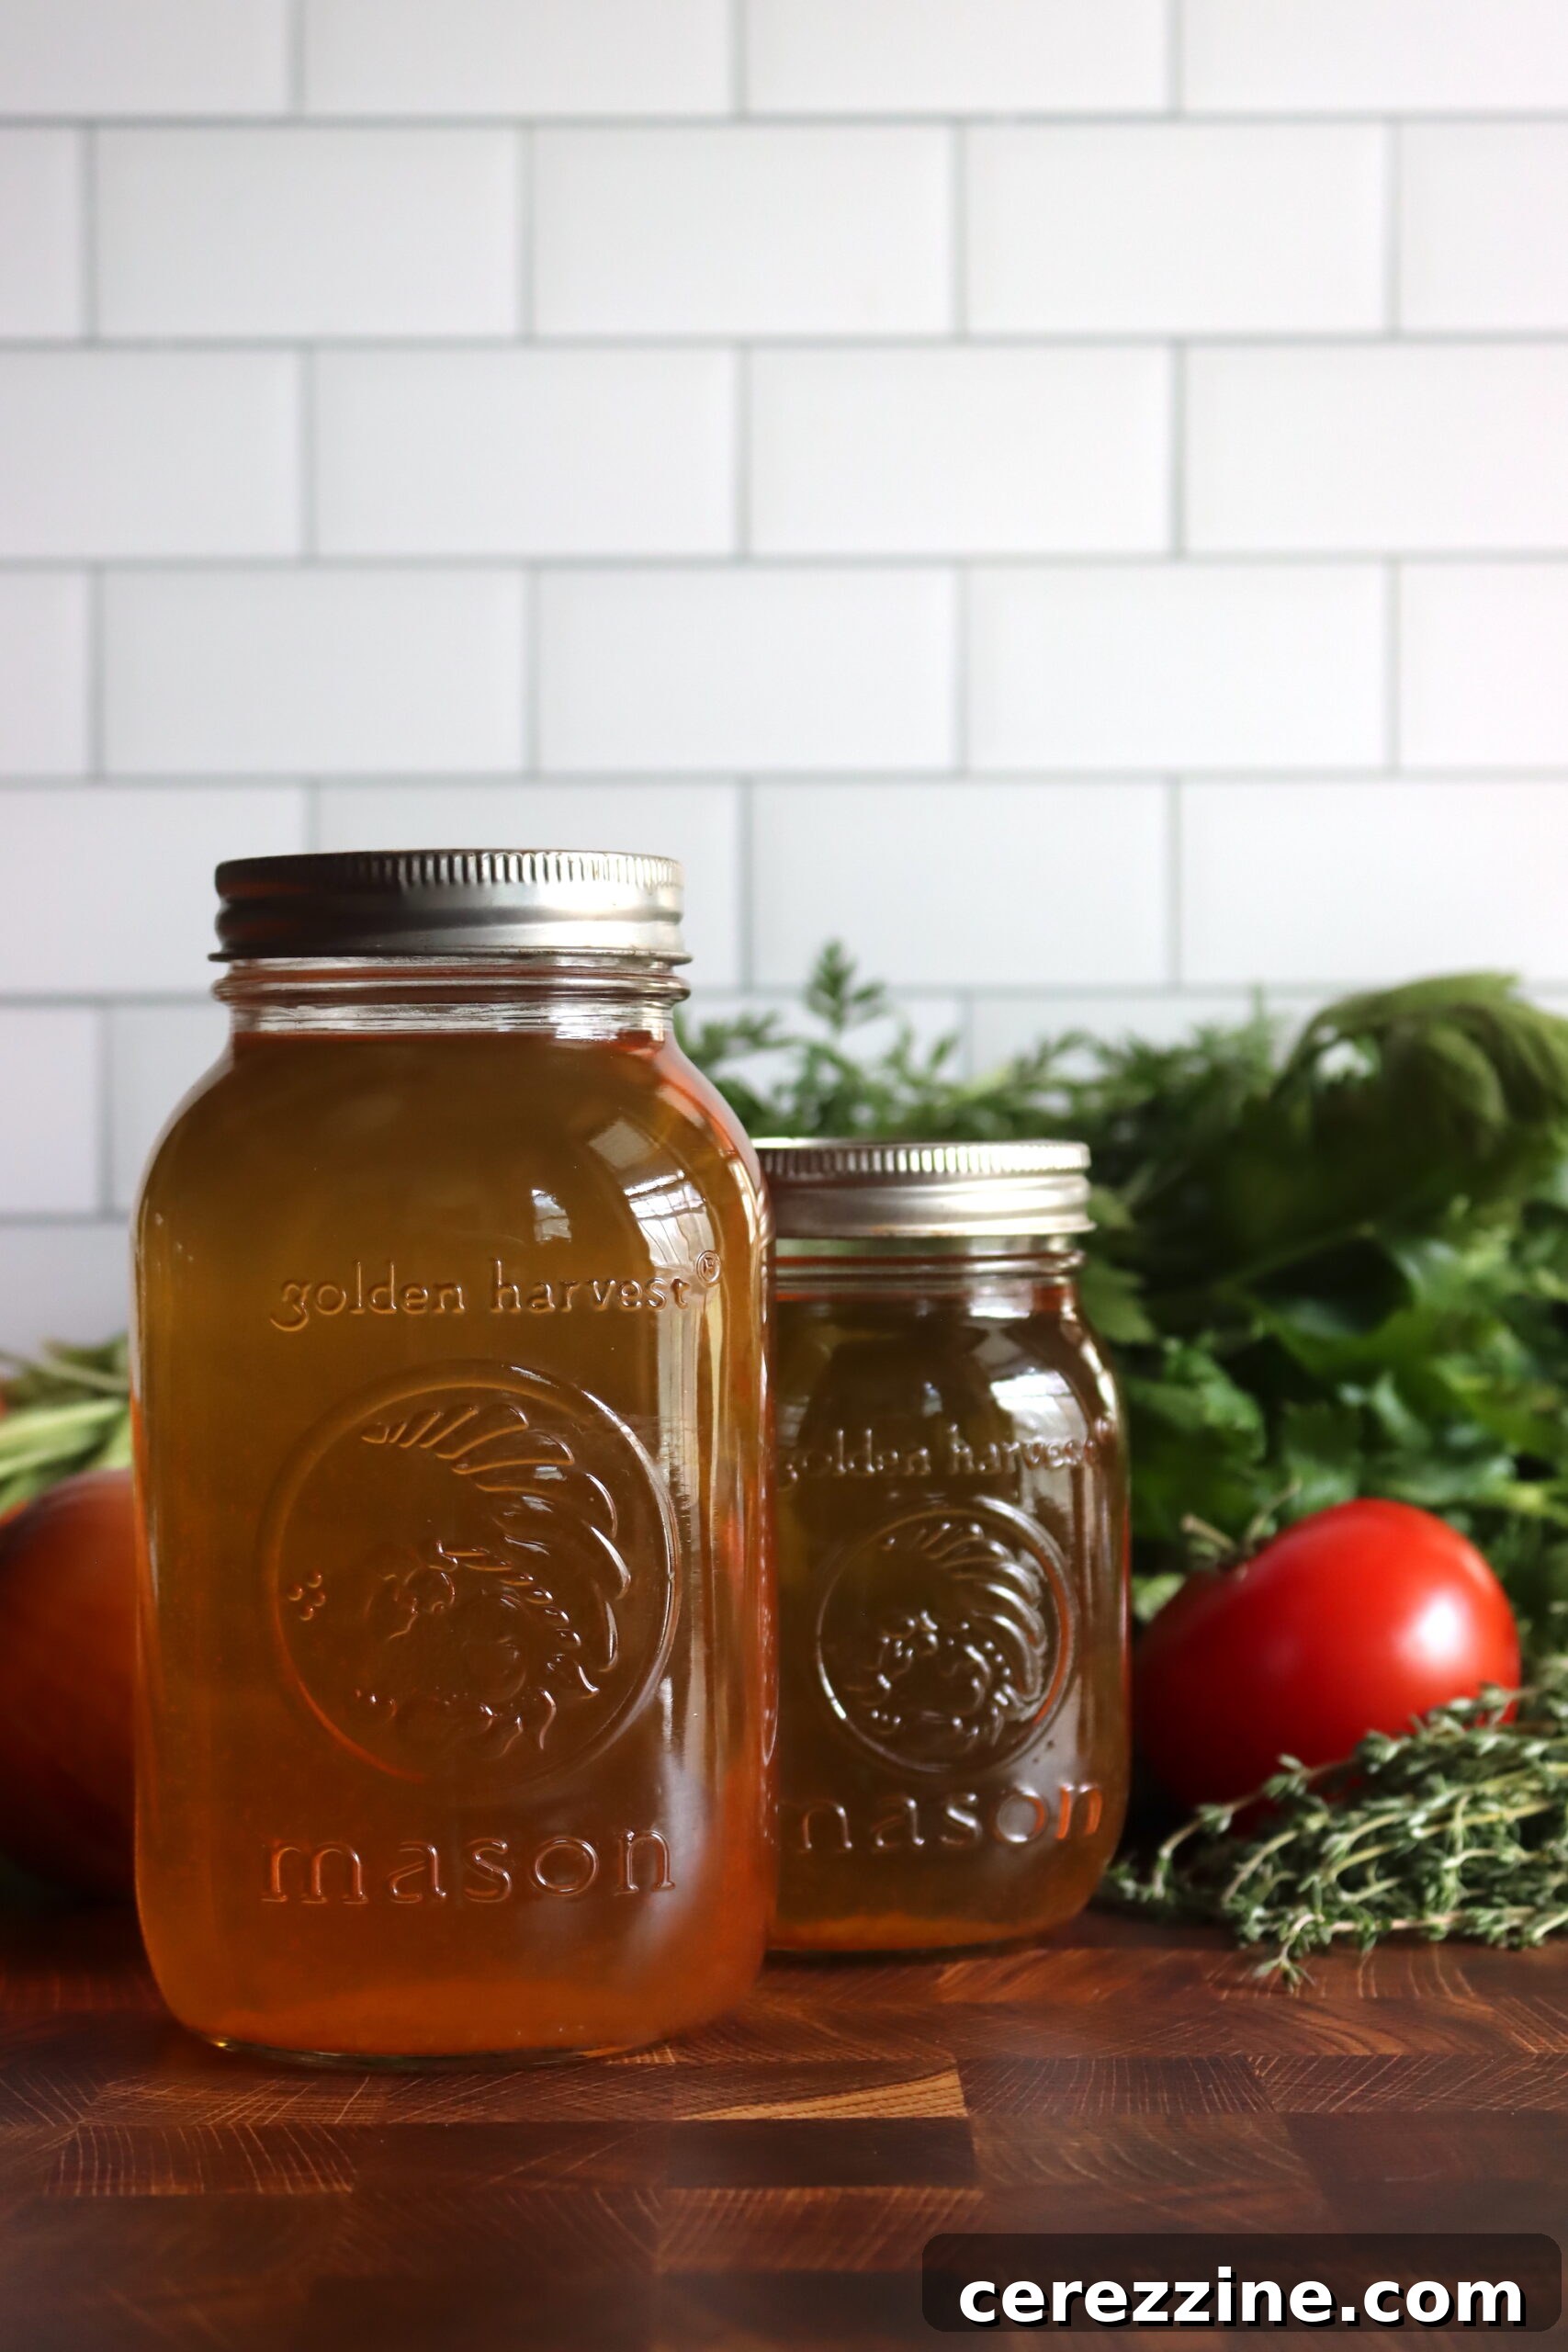
- Reheat and Fill Jars: Return the strained, clear broth to the stove and reheat it until it reaches a rolling boil. Promptly remove it from the heat. Carefully ladle the boiling hot broth into your prepared hot jars, leaving precisely one inch (2.5 cm) of headspace. Headspace is critical for proper sealing and preventing siphoning during processing.
- Clean Rims and Secure Lids: Using a clean, damp cloth, carefully wipe the rims of each jar to remove any broth residue. Even a tiny bit of food on the rim can prevent a secure seal. Place the clean, warm lids centered on the jars, followed by the screw bands. Tighten the bands to “fingertip-tight”—this means tightening until resistance is met, then giving just a slight extra turn. Do not overtighten, as air needs to escape during processing for a proper vacuum seal.
- Load the Canner and Process: Carefully place the filled, lidded jars onto the rack in the pressure canner, ensuring they are not touching each other or the sides of the canner. Secure the canner lid, aligning any markings. Follow your pressure canner’s instructions for bringing it to pressure. Once the canner has vented steam for the recommended time (usually 10 minutes), close the vent and allow the pressure to build. Process pints at 10 lbs pressure for 30 minutes, and quarts at 10 lbs pressure for 35 minutes. Always adjust processing pressure for your altitude as necessary (see the table below).
- Cool Down Naturally: When the processing time is complete, turn off the heat and allow the pressure canner to depressurize naturally. Do not try to rush this process by opening the vent or cooling the canner with water, as this can cause siphoning, liquid loss, and seal failure. Once the pressure gauge reads zero, wait an additional 5-10 minutes before carefully removing the lid, tilting it away from your face to avoid steam.
- Final Cooling and Storage: Using a jar lifter, carefully remove the hot jars from the canner and place them on a towel-lined counter or wire rack, ensuring there is space between each jar for air circulation. Let the jars cool undisturbed for 12 to 24 hours. During this time, you should hear satisfying “ping” sounds as the lids seal. After cooling, check each seal by pressing on the center of the lid; it should be concave and not flex up and down. If a lid did not seal, refrigerate the broth and use it within a week, or reprocess the jar with a new lid within 24 hours (following all canning steps again). Label your sealed jars with the contents and date, and store them in a cool, dark, dry place for up to one year.
Altitude Adjustments for Canning Vegetable Broth
While the canning time for vegetable broth remains constant regardless of your altitude, the processing pressure must be increased if you are canning above 1,000 feet (305 meters) in elevation. This is because water boils at a lower temperature at higher altitudes, requiring higher pressure to reach the necessary internal temperature for safe preservation. Refer to the tables below to determine the correct processing pressure for your location.
For Dial Gauge Pressure Canners:
- 0 to 2,000 feet in elevation – 11 lbs pressure
- 2,001 to 4,000 feet in elevation – 12 lbs pressure
- 4,001 to 6,000 feet in elevation – 13 lbs pressure
- 6,001 to 8,000 feet in elevation – 14 lbs pressure
For Weighted Gauge Pressure Canners:
- 0 to 1,000 feet in elevation – 10 lbs pressure
- Above 1,000 feet – 15 lbs pressure
Enjoying Your Homemade Canned Vegetable Broth
Your homemade canned vegetable broth is a truly versatile ingredient, ready to elevate a wide array of culinary creations. Its rich, nuanced flavor will become a secret weapon in your kitchen:
- Warming Beverage: On its own, gently heated, it makes a comforting, nourishing beverage, especially on cold days or when you need a pick-me-up.
- Soup and Stew Base: This is its most classic use. It forms the perfect flavorful foundation for any soup, stew, chili, or chowder recipe.
- Sauces and Gravies: Use it to deglaze pans, thin out sauces, or create rich, savory gravies. It adds body and depth without extra fat.
- Cooking Grains: Replace water with vegetable broth when cooking rice, quinoa, couscous, or pasta to infuse them with extra flavor and nutrients.
- Braising Meats and Vegetables: It’s an excellent liquid for slow-cooked dishes, adding moisture and taste to braised meats, roasted vegetables, or pot roasts.
- Flavor for Mashed Potatoes: Instead of milk or cream, use a splash of warm broth for lighter, more flavorful mashed potatoes.
Flavor Adjustment Tip: Homemade broth, especially for canning, is typically made without added salt. This gives you complete control over the final seasoning of your dishes. When using your canned broth in a recipe, always do a taste test before adding any additional salt or other seasonings. You might find it already sufficiently flavorful from the vegetables and herbs.
Storage and Shelf Life
Proper storage is essential to ensure the longevity and safety of your home-canned vegetable broth. Once jars are sealed and cooled:
- Check Seals: Reconfirm that all jars are properly sealed by pressing on the center of the lid. If a lid flexes, the jar is not sealed and should be refrigerated for immediate use or reprocessed with a new lid.
- Label Clearly: Label each jar with the contents (e.g., “Vegetable Broth”) and the date it was canned. This helps with inventory management and ensures you use the oldest broth first.
- Optimal Storage Conditions: Store canned broth in a cool, dark, and dry place. Ideal storage temperatures are between 50-70°F (10-21°C). Avoid storing jars near heat sources (like ovens or direct sunlight) or in areas prone to temperature fluctuations (like uninsulated garages or attics), as extreme temperatures can degrade the quality of the food and potentially compromise seals.
- Shelf Life: Properly canned vegetable broth, stored under optimal conditions, maintains its best quality for up to one year. While it may remain safe to consume beyond this period, its flavor and nutritional value may diminish.
Troubleshooting Common Canning Issues
Even experienced canners encounter occasional issues. Here are some common problems and how to address them:
- Cloudy Broth: This often occurs if solids were mashed during straining or if starchy vegetables were used. While not unsafe, it indicates suspended particles. Ensure you strain carefully without pressing.
- Liquid Loss (Siphoning): If some liquid is lost from the jars during processing, it can be due to rapid temperature changes (e.g., opening the canner too soon, not depressurizing naturally), fluctuating pressure, or overfilling jars. While a small amount of loss is usually fine if the jar seals, significant loss can leave food exposed to air, increasing spoilage risk.
- Unsealed Jars: This is the most common issue. Reasons include nicks on the jar rim, loose bands, faulty lids, or incorrect headspace. If a jar doesn’t seal, refrigerate the contents and use within a few days, or reprocess within 24 hours with a new lid and a properly prepared jar.
- Mold or Off-Odor: If you observe any mold, bubbling, or an off-odor in your canned broth, DO NOT TASTE IT. Discard the contents immediately. This indicates spoilage and potential botulism risk.
Canning vegetable broth is a simple, economical, and deeply satisfying way to ensure a steady supply of nourishing and delicious homemade broth right at your fingertips. With this detailed guide, you can confidently produce your very own canned vegetable broth to enjoy throughout the year, enriching your meals and embracing the rewards of home preservation.
Your Homemade Vegetable Broth Recipe
Canning Vegetable Broth
By Ashley Adamant
Canning Vegetable Broth gives you a rich base for your meals, right off your pantry shelf.
Yields: 28 servings, Makes 14 pints or 7 quarts
Prep Time: 10 minutes
Cook Time: 3 hours
Additional Time: 20 minutes (for straining and reheating)
Total Time: 3 hours 30 minutes
Equipment
- Pressure Canner
- Large Stockpot (at least 2 gallons capacity)
- Second large stockpot
- Colander
- Cheesecloth
- Canning Jars (pint or quart size) with new lids and bands
- Jar Lifter
- Canning Funnel (optional, but recommended)
Ingredients
- 3 cups (384 grams) sliced carrots
- 2 lbs (907 grams) quartered onions
- 3 cups (303 grams) celery
- 2 medium red bell peppers, chopped
- 2 large tomatoes, chopped and seeded
- 3 bay leaves
- 3 cloves garlic, crushed
- 1 tsp dried thyme (or 2-3 fresh sprigs)
- 1 tsp dried rosemary (or 1-2 fresh sprigs)
- 1 tsp dried parsley (or a small fresh bunch)
- 10 whole peppercorns
- 2 gallons (7.6 L) water
Instructions
- Thoroughly wash and rinse all your vegetables and herbs to remove any debris.
- Combine all prepared ingredients (carrots, onions, celery, bell peppers, tomatoes, bay leaves, crushed garlic, dried thyme, dried rosemary, dried parsley, whole peppercorns, and water) in a large stockpot.
- Bring the mixture to a boil over medium-high heat, then reduce the heat and simmer gently for two hours.
- Prepare your pressure canner by washing it and its rack. Place the bottom rack inside and fill with a few inches (approximately 8 cm) of water, according to your manufacturer’s recommendations. Place the canner on the stove over low heat to warm. Ensure the water in the canner reaches about 180°F (82°C) before loading jars.
- Wash canning jars in hot, soapy water and inspect each one for nicks or cracks. Keep jars hot in the canner or a separate pot of hot water. Wash lids and bands in hot, soapy water and set aside.
- Carefully strain the solids from the broth. To do this, place a colander lined with cheesecloth over a second clean stockpot. Ladle the broth into the colander and allow four minutes for it to completely drain. Do not mash the solids, as this can make the broth cloudy. Discard the strained solids.
- Return the clear broth to the stove and reheat until it is boiling, then remove the stockpot from the heat.
- Ladle the boiling hot broth into the prepared hot jars, leaving one inch (2.5 cm) of headspace.
- Wipe the rims of the jars with a clean, damp cloth to ensure a perfect seal. Place the lids and screw bands on the jars, tightening them to “fingertip-tight.”
- Load the jars into the preheated pressure canner. Process pints at 10 lbs pressure for 30 minutes and quarts at 10 lbs pressure for 35 minutes. Adjust pressure for altitude if necessary (refer to the altitude adjustment tables in the article).
- Once processing is complete, turn off the heat and let the canner depressurize naturally. Do not open the vent.
- After the pressure gauge reads zero, wait an additional 5-10 minutes, then carefully remove the canner lid. Using a jar lifter, remove the jars and place them on a towel-lined counter or wire rack to cool undisturbed for 12 to 24 hours.
- After cooling, check all jar seals. Label your sealed jars with the contents and date, then store them in a cool, dark, dry place for up to one year.
Nutrition Information (per serving, approximate)
Calories: 12 kcal, Carbohydrates: 3g, Sodium: 940mg, Sugar: 2g, Vitamin A: 501 IU
Nutrition information is automatically calculated, so should only be used as an approximation.
Like this recipe? We’d love to hear your thoughts! Leave a comment below!
More Canning Inspiration: Vegetarian Recipes
Looking for additional ways to preserve the bounty of your garden or local market? Explore these delicious vegetarian canning recipes:
- Canning Carrot Soup
- Canning Butternut Squash Soup Base
- Canning Butternut and White Bean Soup
- Canning Thai Coconut Squash Soup
More Canning Inspiration: Stock and Broth Recipes
Homemade broths and stocks are fundamental building blocks for incredible meals, and pressure canning makes preserving them simple and safe:
- Canning Beef Broth
- Canning Pork Stock
- Canning Chicken Broth