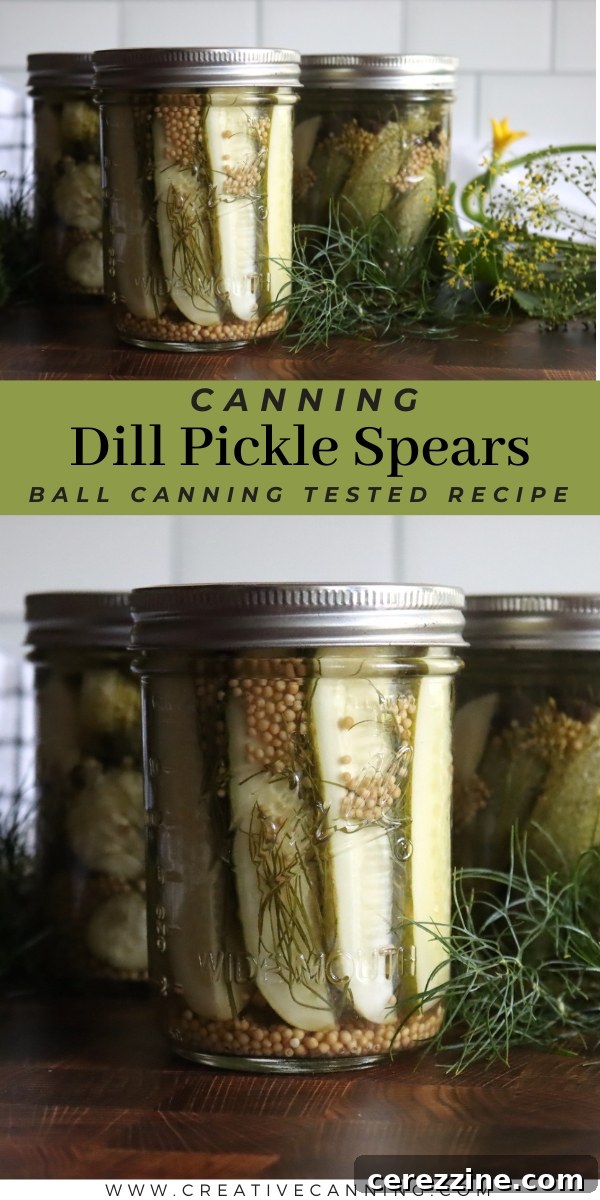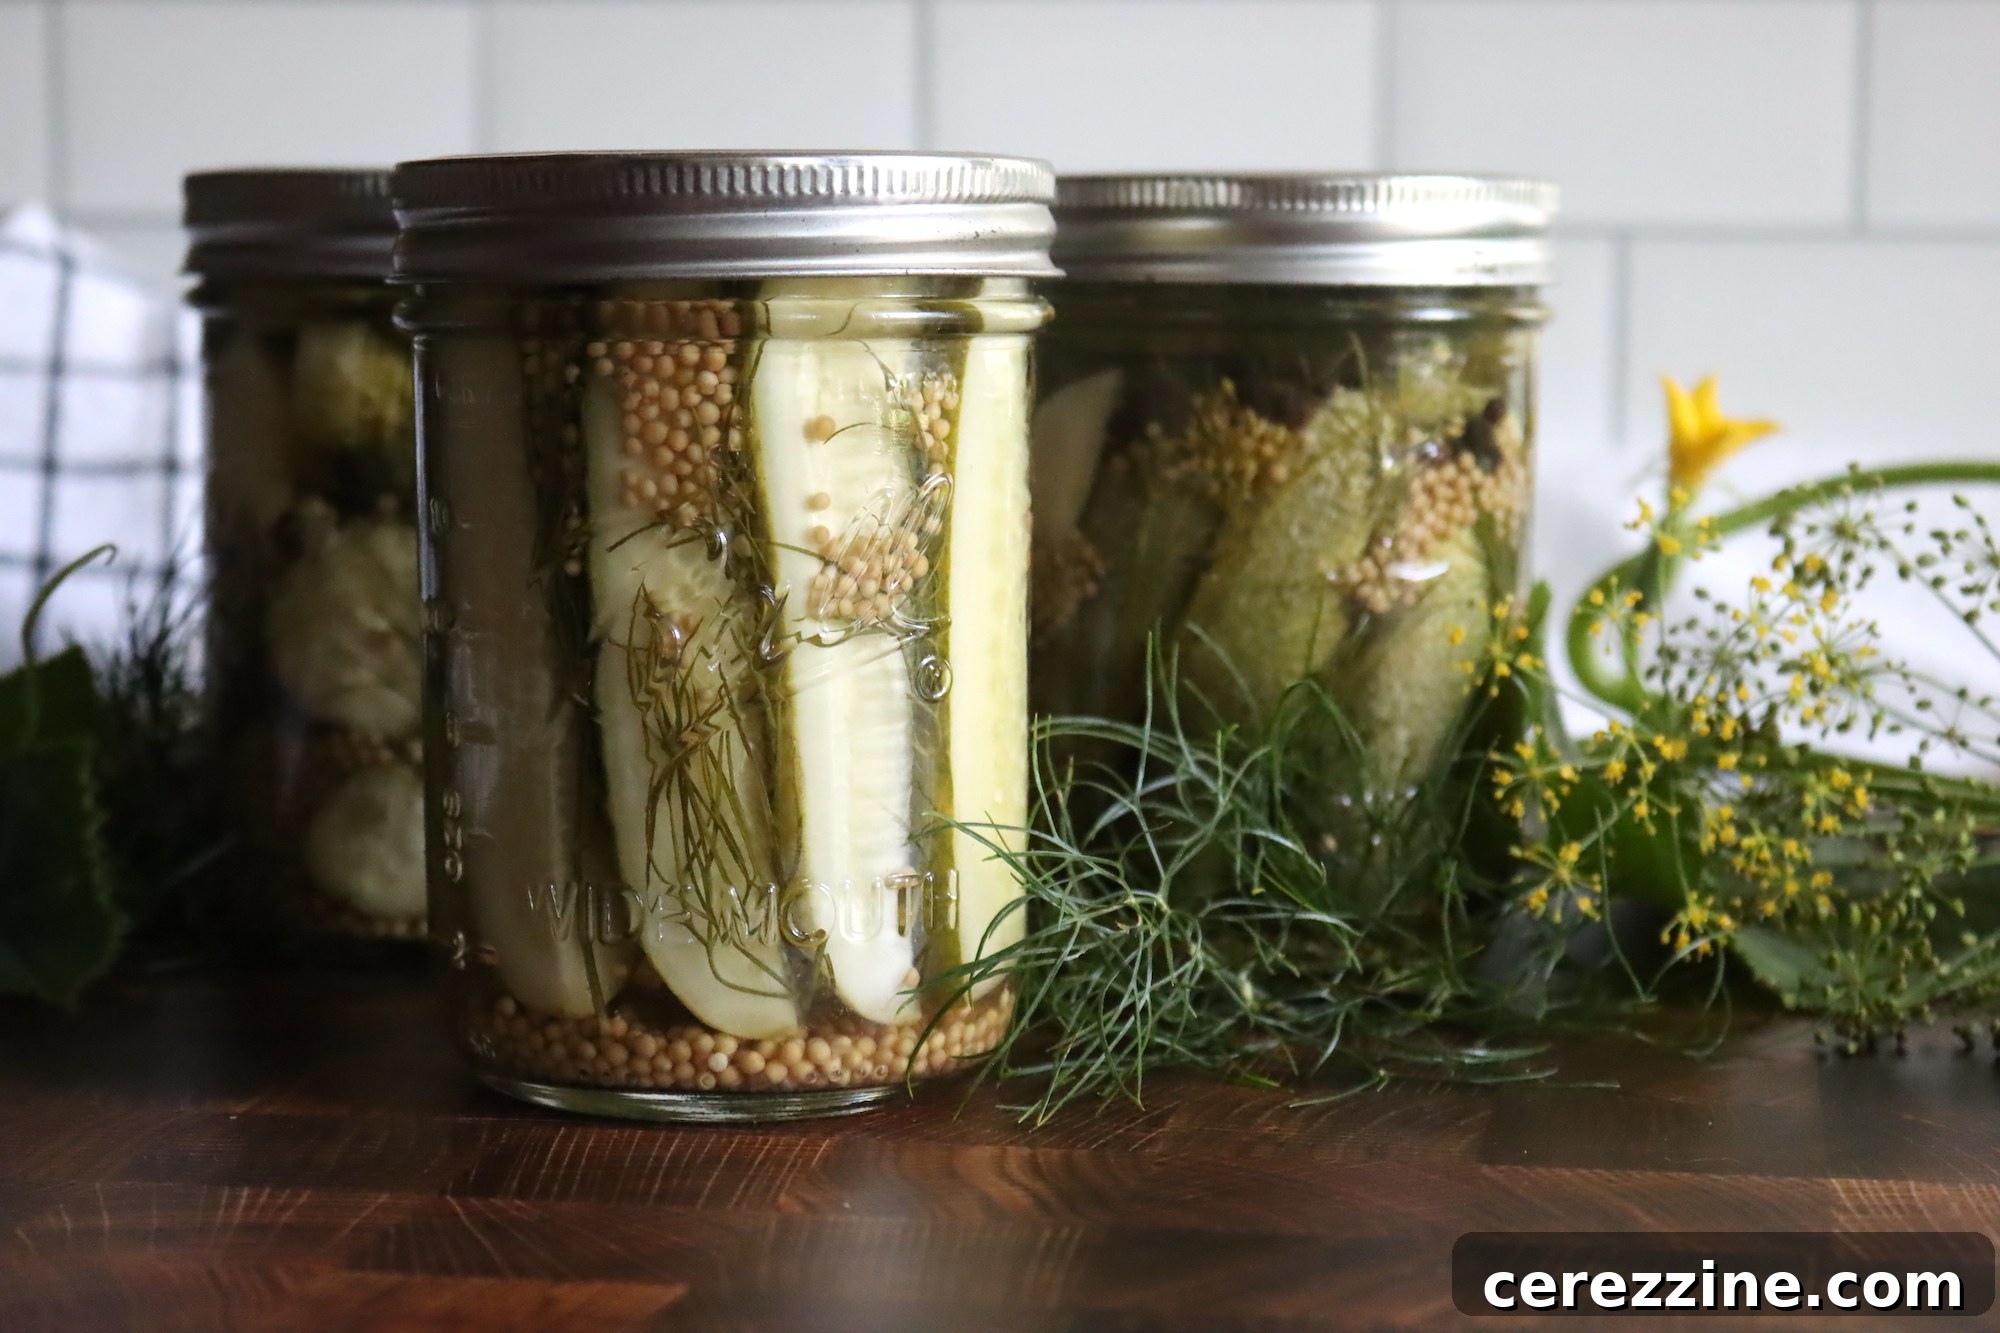
There’s a unique satisfaction that comes with crafting something delicious from scratch, especially when it involves preserving the bounty of your garden. Homemade dill pickle spears are a prime example – crisp, tangy, and bursting with flavor, they transform an ordinary sandwich into a gourmet experience or make for a delightful snack on their own. This comprehensive guide will walk you through making perfect dill pickle spears, whether you prefer the convenience of refrigerator pickles or the long-term storage of water bath canning. Our recipe, a carefully adapted version of a tested Ball Canning classic, ensures excellent results every time, focusing on achieving that coveted crisp texture and vibrant dill flavor.
Embracing Cucumber Season: The Joy of Homemade Pickles
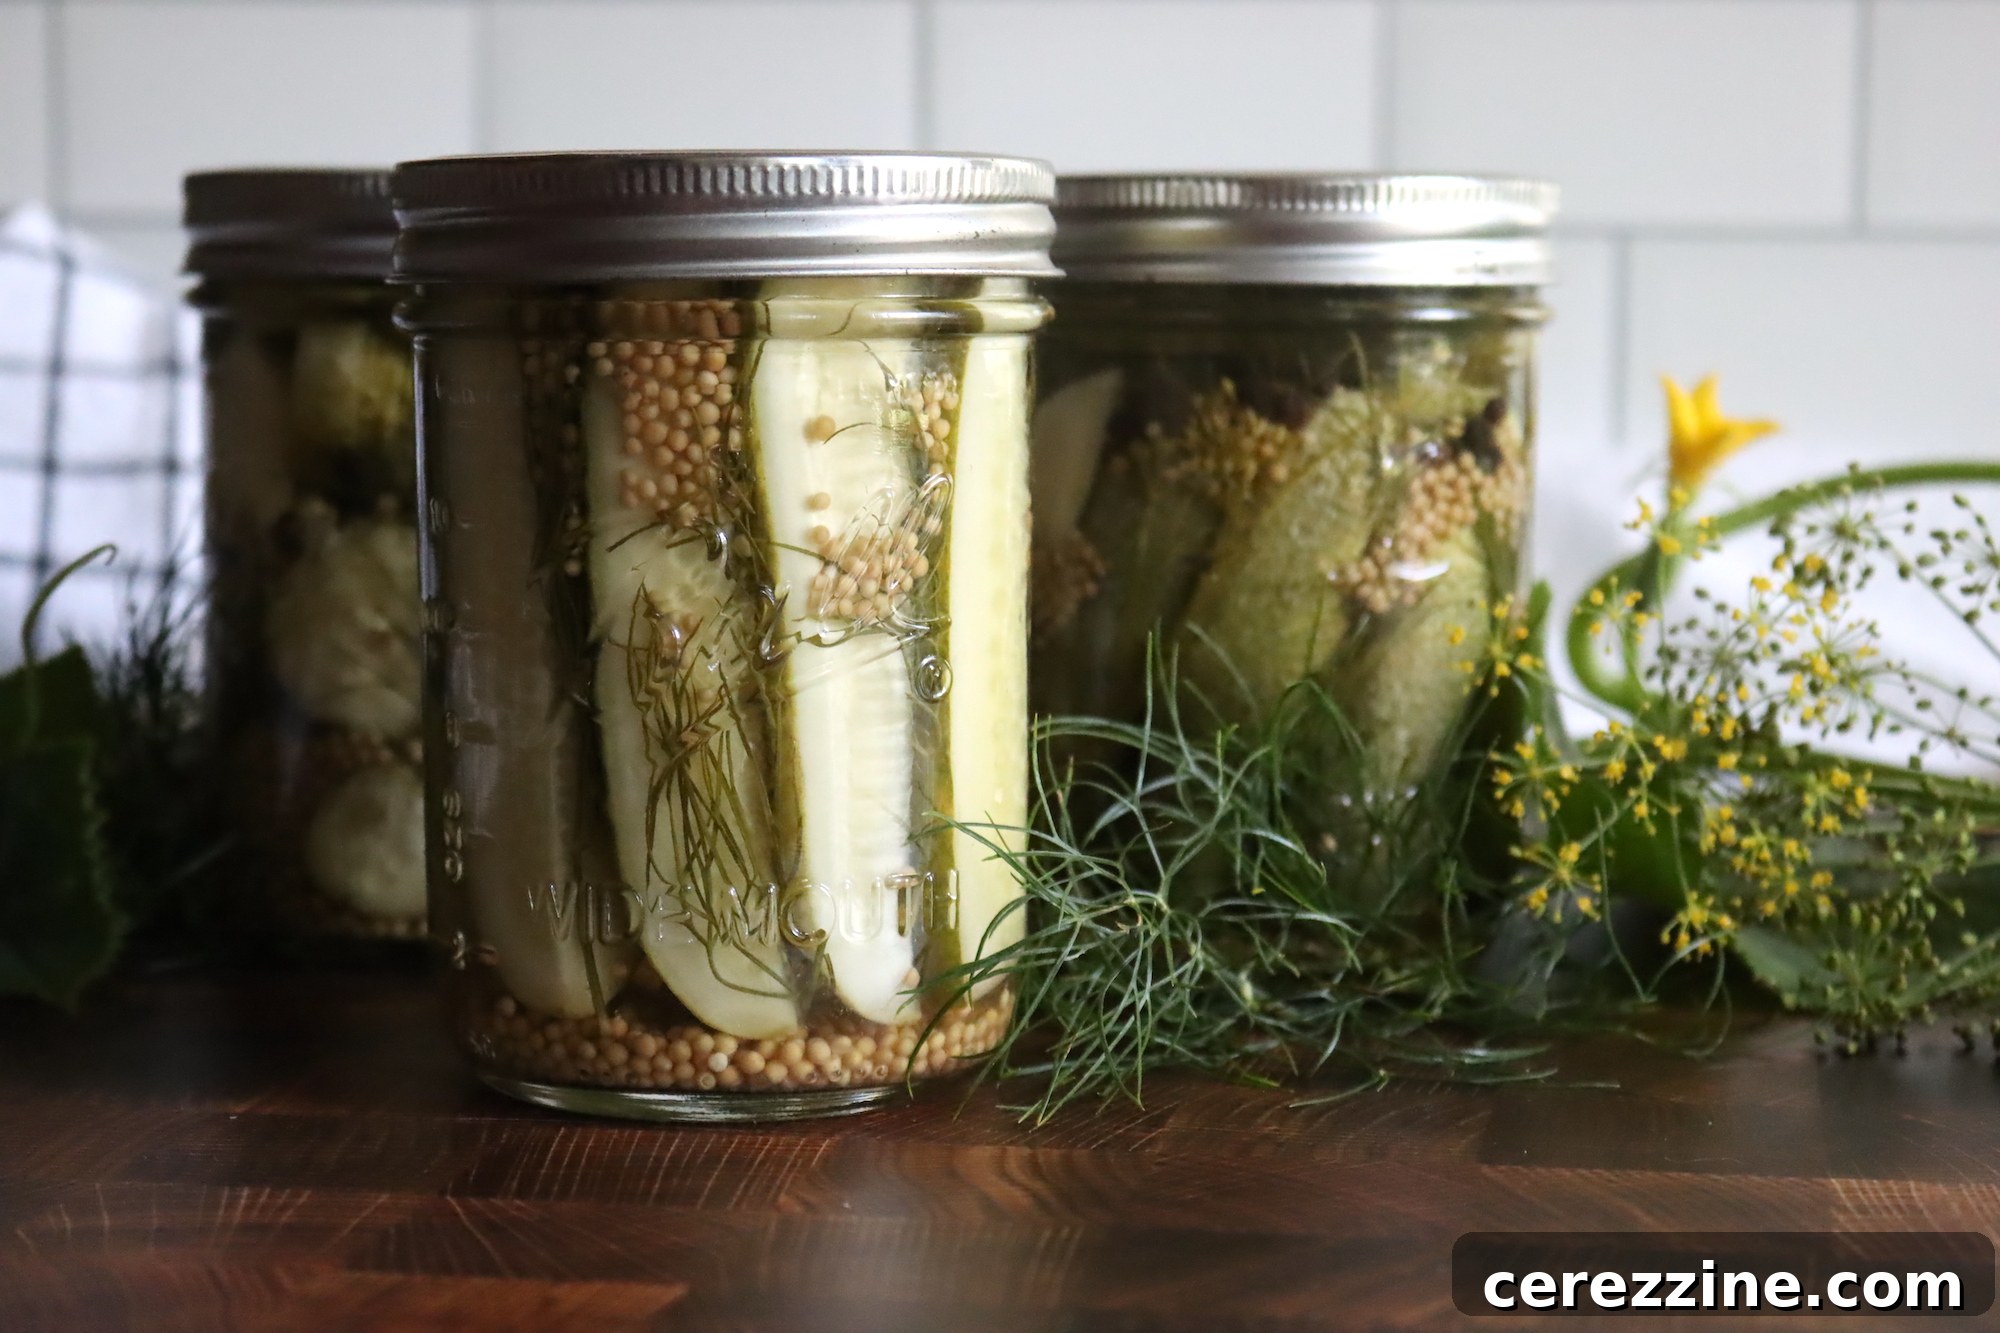
Mid-summer brings an abundance of cucumbers, and while there are countless ways to preserve cucumbers, transforming them into homemade pickles remains a favorite tradition. Beyond the popular bread and butter pickle slices and dill pickle slices for canning, making whole pickles and pickle spears offers a satisfying variety for your pantry. There’s a tangible difference in quality and taste when you make your own, a freshness that store-bought options simply can’t match. Plus, the process of pickling is a rewarding journey that connects you directly to your food source, providing delicious sustenance for months to come.
Selecting the Perfect Cucumbers for Dill Pickle Spears
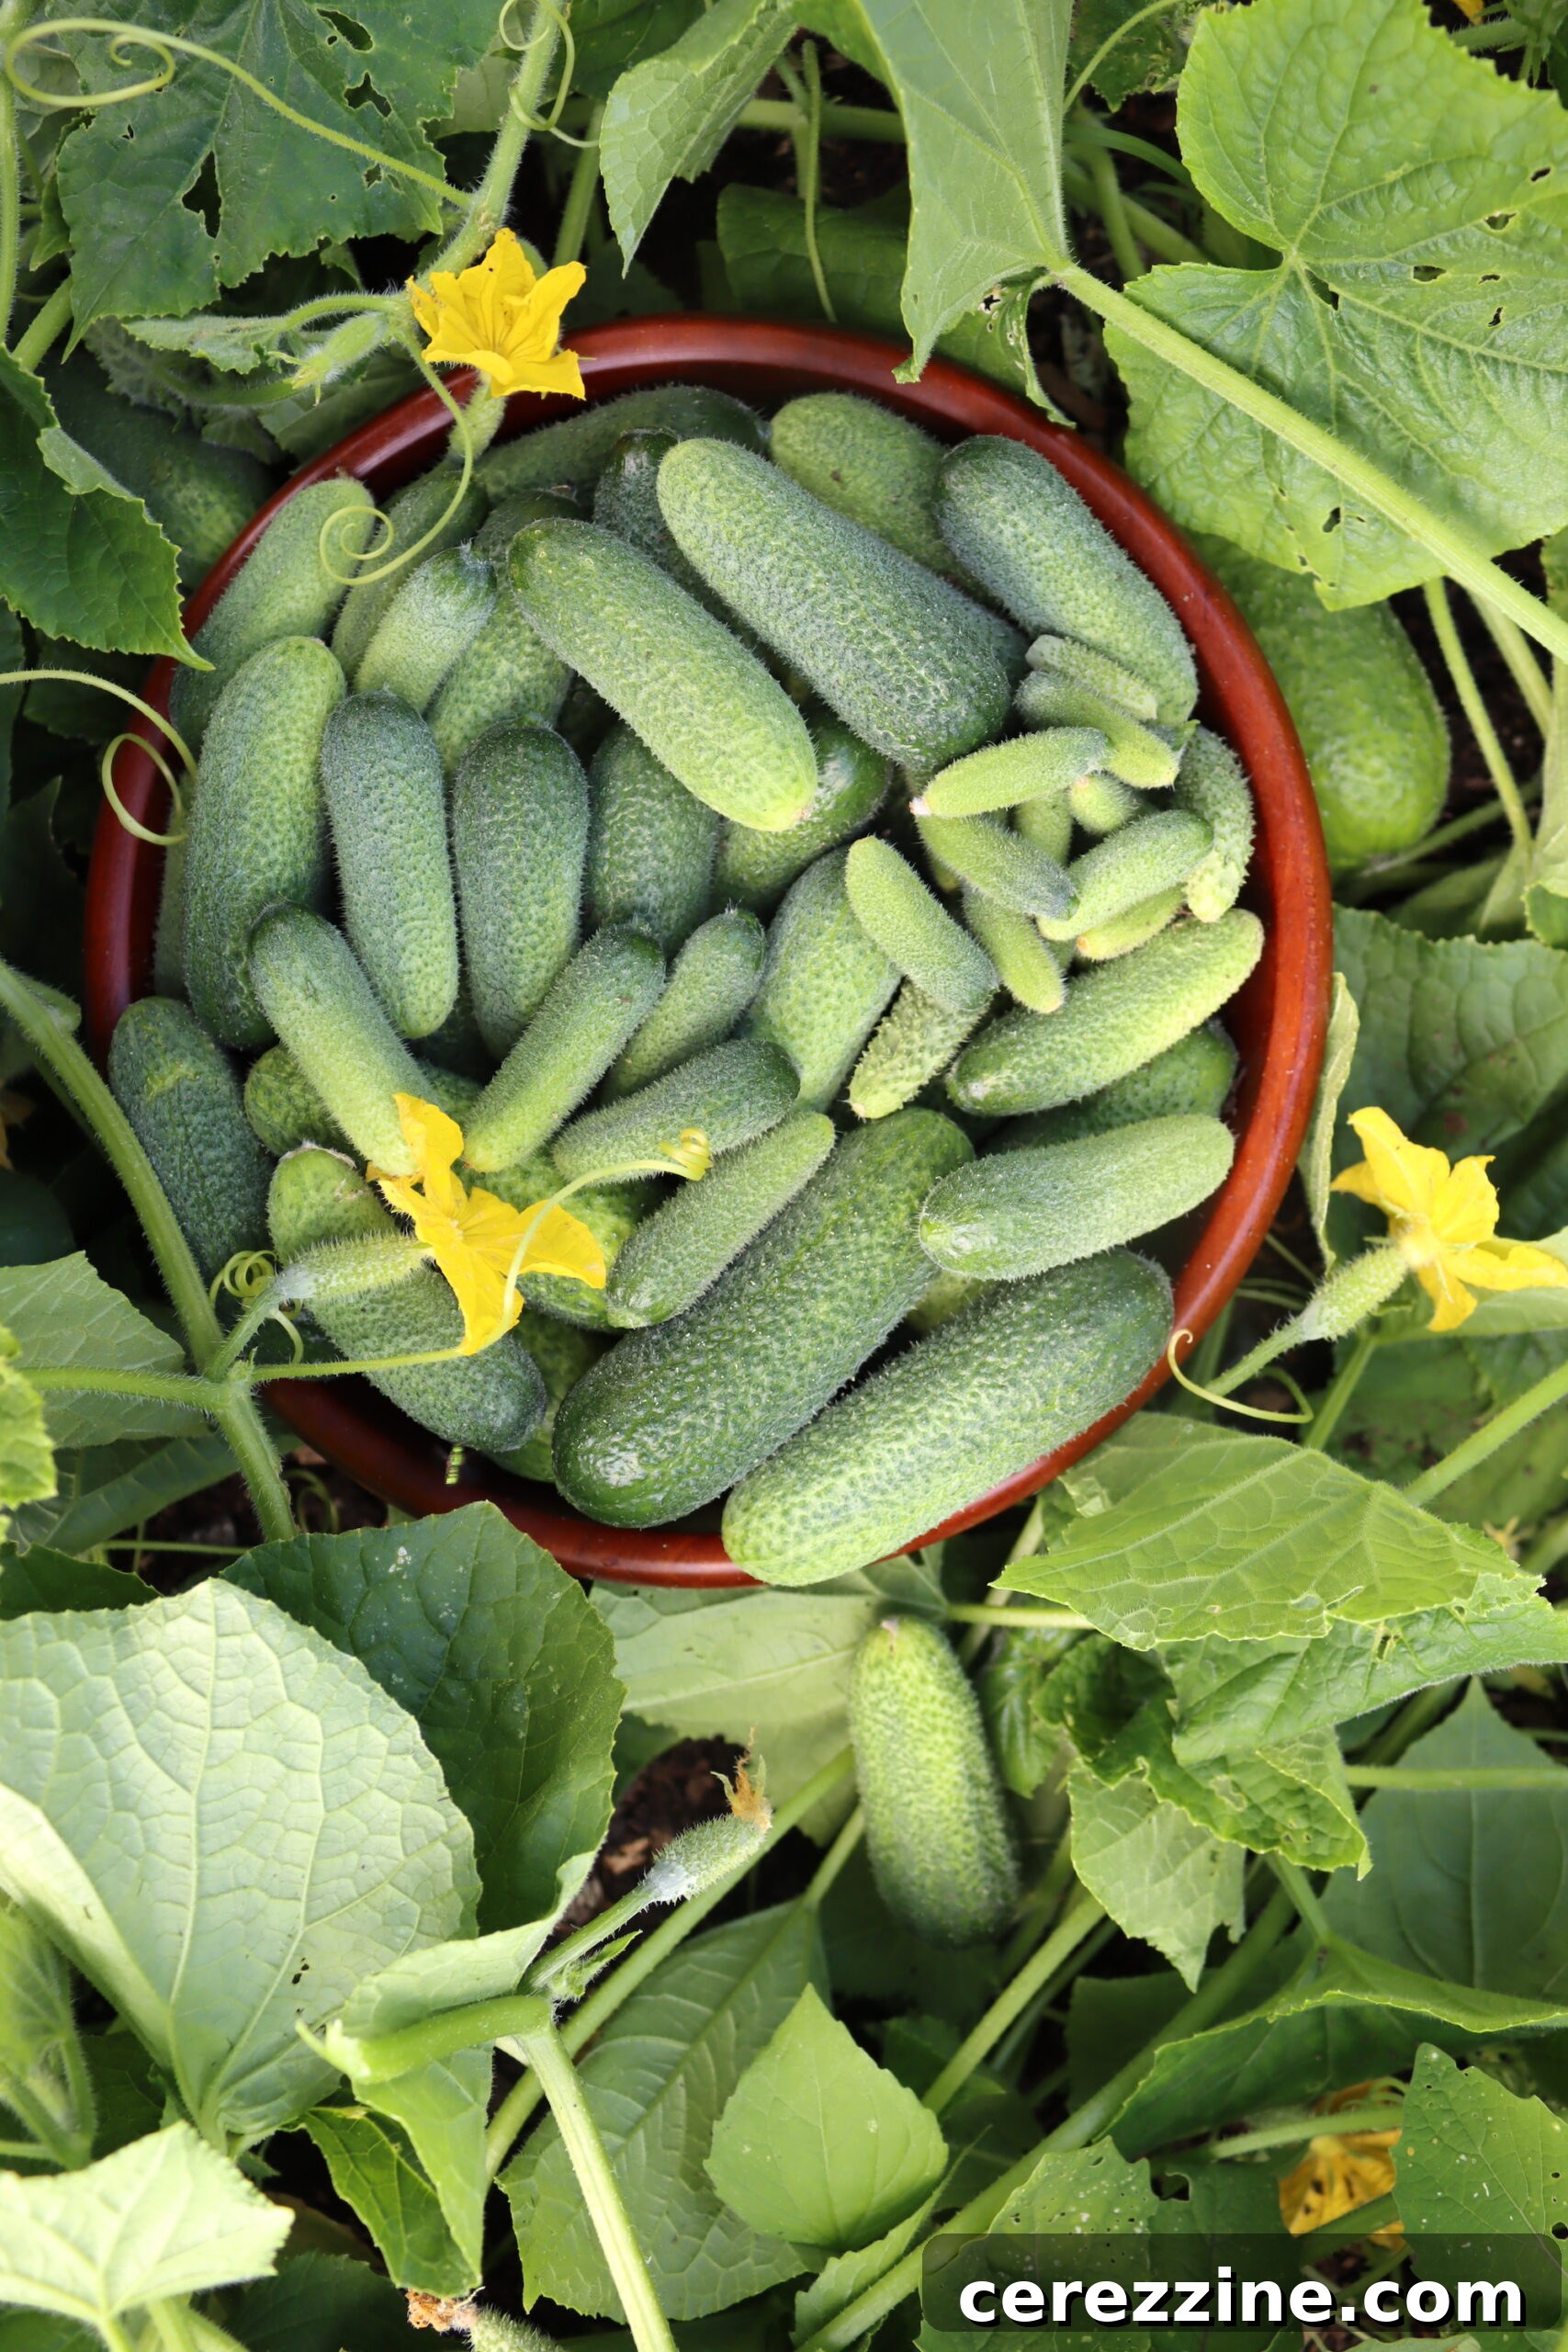
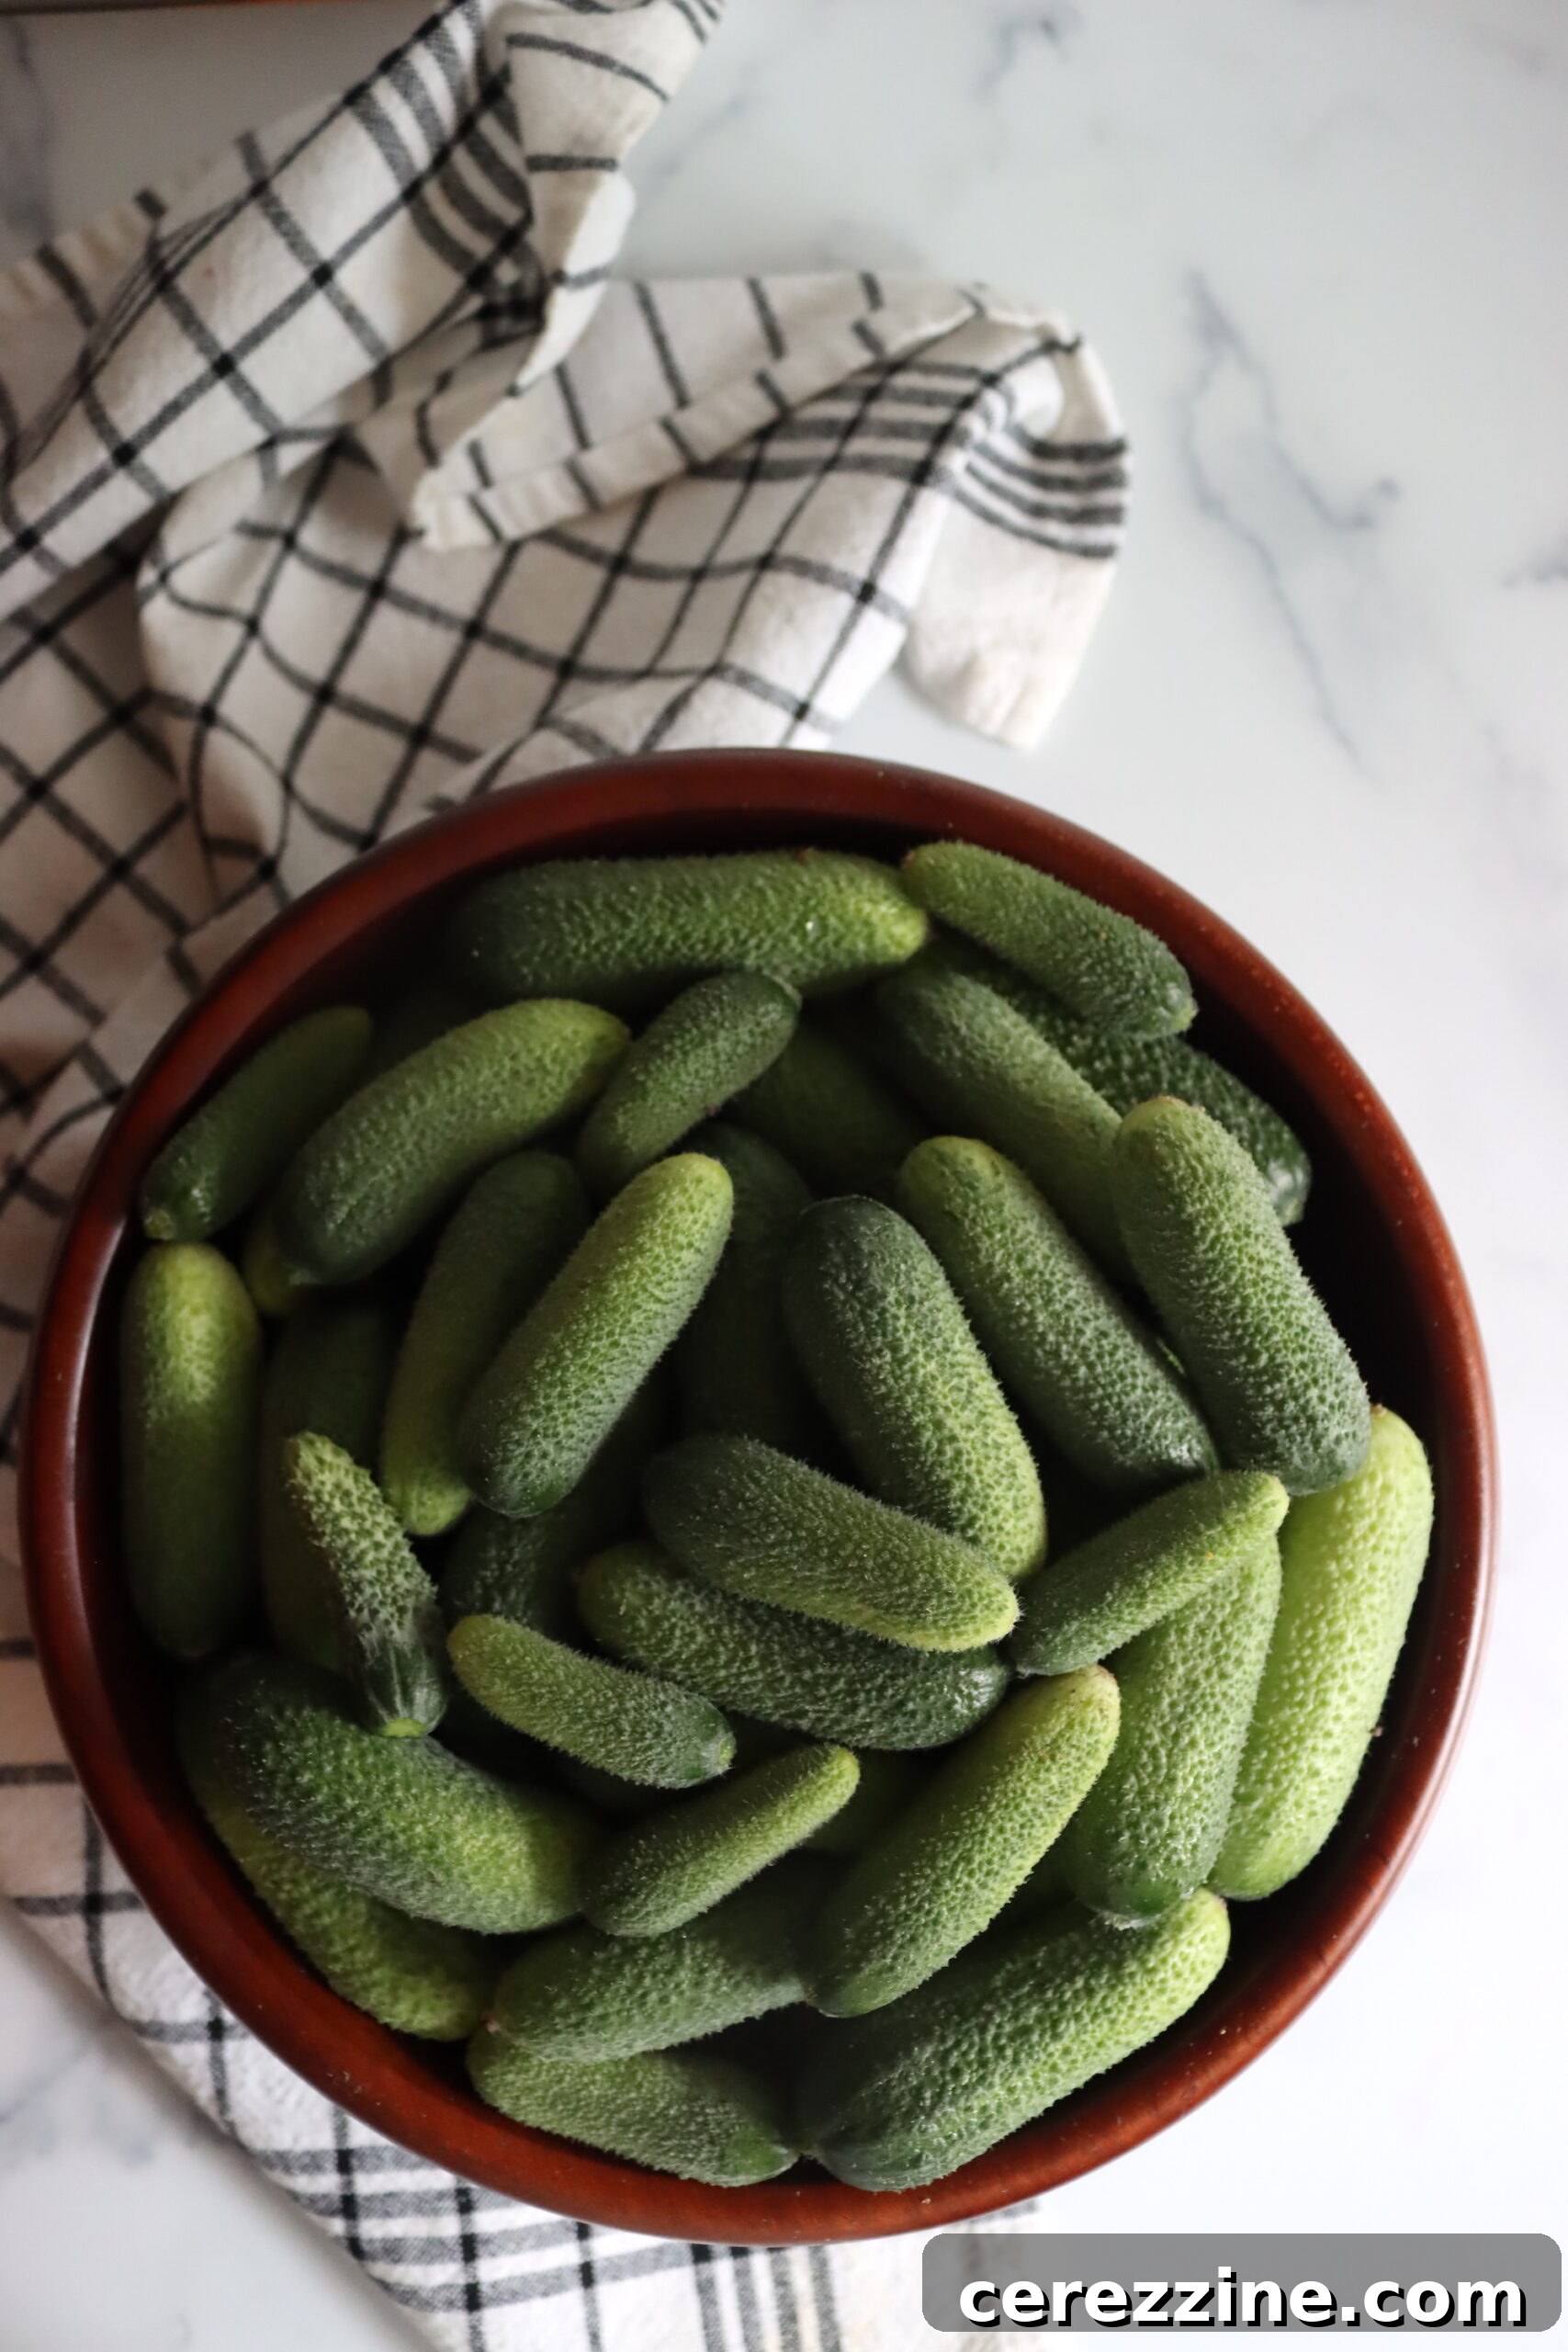
The secret to exceptional dill pickle spears begins with the right cucumbers. Our garden beds often overflow with various sizes, each suited for different pickling adventures. For tiny, flavorful French Cornichons, we choose cucumbers around 1 1/2 to 2 inches. Slightly larger ones, about 2 to 3 inches, are ideal for old-fashioned sweet gherkins. But for the ultimate dill pickle spears, look for firm, unblemished pickling cucumbers ranging from 3 to 5 inches in length. These dimensions allow them to fit perfectly into wide-mouth pint jars once cut.
It’s crucial to avoid overly large cucumbers, those often “lost” under leaves in the garden, for spears. While suitable for classic bread and butter pickles or even old-fashioned fermented dill pickles, their higher water content and larger seed cavities can lead to mushy pickles – a common pitfall we want to avoid. The fresher the cucumbers, the crisper your pickles will be, so aim to transform your harvest into pickle spears on the very same day you pick them.
Essential Ingredients for Crispy Dill Pickle Spears
This recipe is designed for safe and delicious canning, adapted from a trusted source, The All New Ball Book of Canning and Preserving. The ingredient proportions are carefully balanced to create a flavorful brine while ensuring proper acidity for preservation, especially when targeting wide-mouth pint jars.
A key modification in this recipe involves the vinegar-to-water ratio in the brine. Traditional canning wisdom dictates a minimum 1:1 ratio of vinegar to water for safe pickle preservation. While some “tested” recipes might deviate slightly, increasing the vinegar to match the water volume ensures optimal safety without significantly altering the beloved dill pickle flavor. Our adjusted brine reflects this best practice, providing both safety and taste.
To prepare approximately six wide-mouth pint jars of delectable dill pickle spears, you will need the following high-quality ingredients:
For the Cucumber Pre-Soak:
- 4 lbs. (approx. 1.8 kg) pickling cucumbers, 3 to 5 inches (7.5 to 12.5 cm) long
- 6 Tbsp. canning salt
- 1 gallon cold water
Ingredients Packed Directly into Jars:
- Trimmed and pre-soaked cucumber spears
- 12 fresh dill sprigs (or 6 tsp. dried dill seeds)
- 6 tsp. whole mustard seeds
- Pickle crisp (1/8 tsp. per pint jar, optional)
For the Flavorful Pickling Brine:
- 3 1/2 cups water
- 3 1/2 cups white vinegar (5% acidity is crucial for canning safety)
- 1/4 cup canning salt (or kosher salt, ensuring it’s iodine-free)
- 2 Tbsp. granulated sugar
- 1 Tbsp. Pickling Spice (see note on customization)
A quick note on pickling spice: This aromatic blend typically includes whole allspice, coriander, mustard seeds, and cloves, often with bits of bay leaves and cinnamon sticks. Some mixes might also incorporate ginger or red pepper flakes for a subtle heat. You can opt for a pre-made blend or craft your own personalized mix. Remember, the pickling spice is purely for flavor and does not affect the safety of your canned pickles. Feel free to adjust or omit any spices to suit your preference.
The initial 24-hour salt water soak for the cucumbers is a non-negotiable step. This critical pre-treatment draws out excess water, helping to maintain the cucumbers’ firm texture and prevent them from becoming soggy during the canning process. Skipping this step often results in disappointing, soft pickles. While it imparts some saltiness, most of this is rinsed away, and the pickling brine itself contains the main salt component.
Adding dill, mustard seeds, and the optional pickle crisp directly into each jar ensures even distribution of flavor and crispness across all your pickle spears. Pickle crisp, primarily calcium chloride, is a tasteless calcium-based salt that strengthens cucumber cell walls, helping them remain firm through the canning process. It’s an excellent addition for consistently crisp results.
Preparing Cucumbers for Perfect Dill Pickle Spears
Proper preparation of your cucumbers is foundational to achieving crunchy, delicious dill pickle spears. The process is straightforward but requires attention to detail.
Begin by thoroughly washing and gently scrubbing the cucumbers to remove any dirt or spines. Next, trim the ends and cut each cucumber vertically into quarters, forming spears. These spears will then undergo the essential 24-hour saltwater soak.
The Importance of the Saltwater Soak: As mentioned, this soak is paramount. It’s the primary defense against soggy pickles, drawing out excess moisture and contributing to a firm final product. Do not be tempted to skip this step!
When trimming the cucumbers, always cut off the blossom end, not the stem end. The blossom end contains enzymes that can cause pickles to soften, even after they’ve been processed. A minimum of 1/16 of an inch should be trimmed. For pickle spears destined for pint jars, you’ll also trim them to length, ensuring they fit perfectly while leaving the required 1/2-inch headspace. Most pint jars offer just over 4 inches of usable space for contents once headspace is factored in, so adjust your cucumber spear length accordingly.
Once trimmed and quartered, place your cucumber spears in a large, clean bowl. Dissolve 6 tablespoons of canning salt in 1 gallon of cold water, then pour this solution over the cucumbers, ensuring they are fully submerged. Allow them to soak for a full 24 hours. After this period, drain the cucumbers thoroughly, and they will be ready for packing.
Step-by-Step Guide: How to Make Dill Pickle Spears
After the crucial 24-hour soak, your cucumbers are ready to be transformed into flavorful dill pickle spears. Follow these steps carefully for the best results.
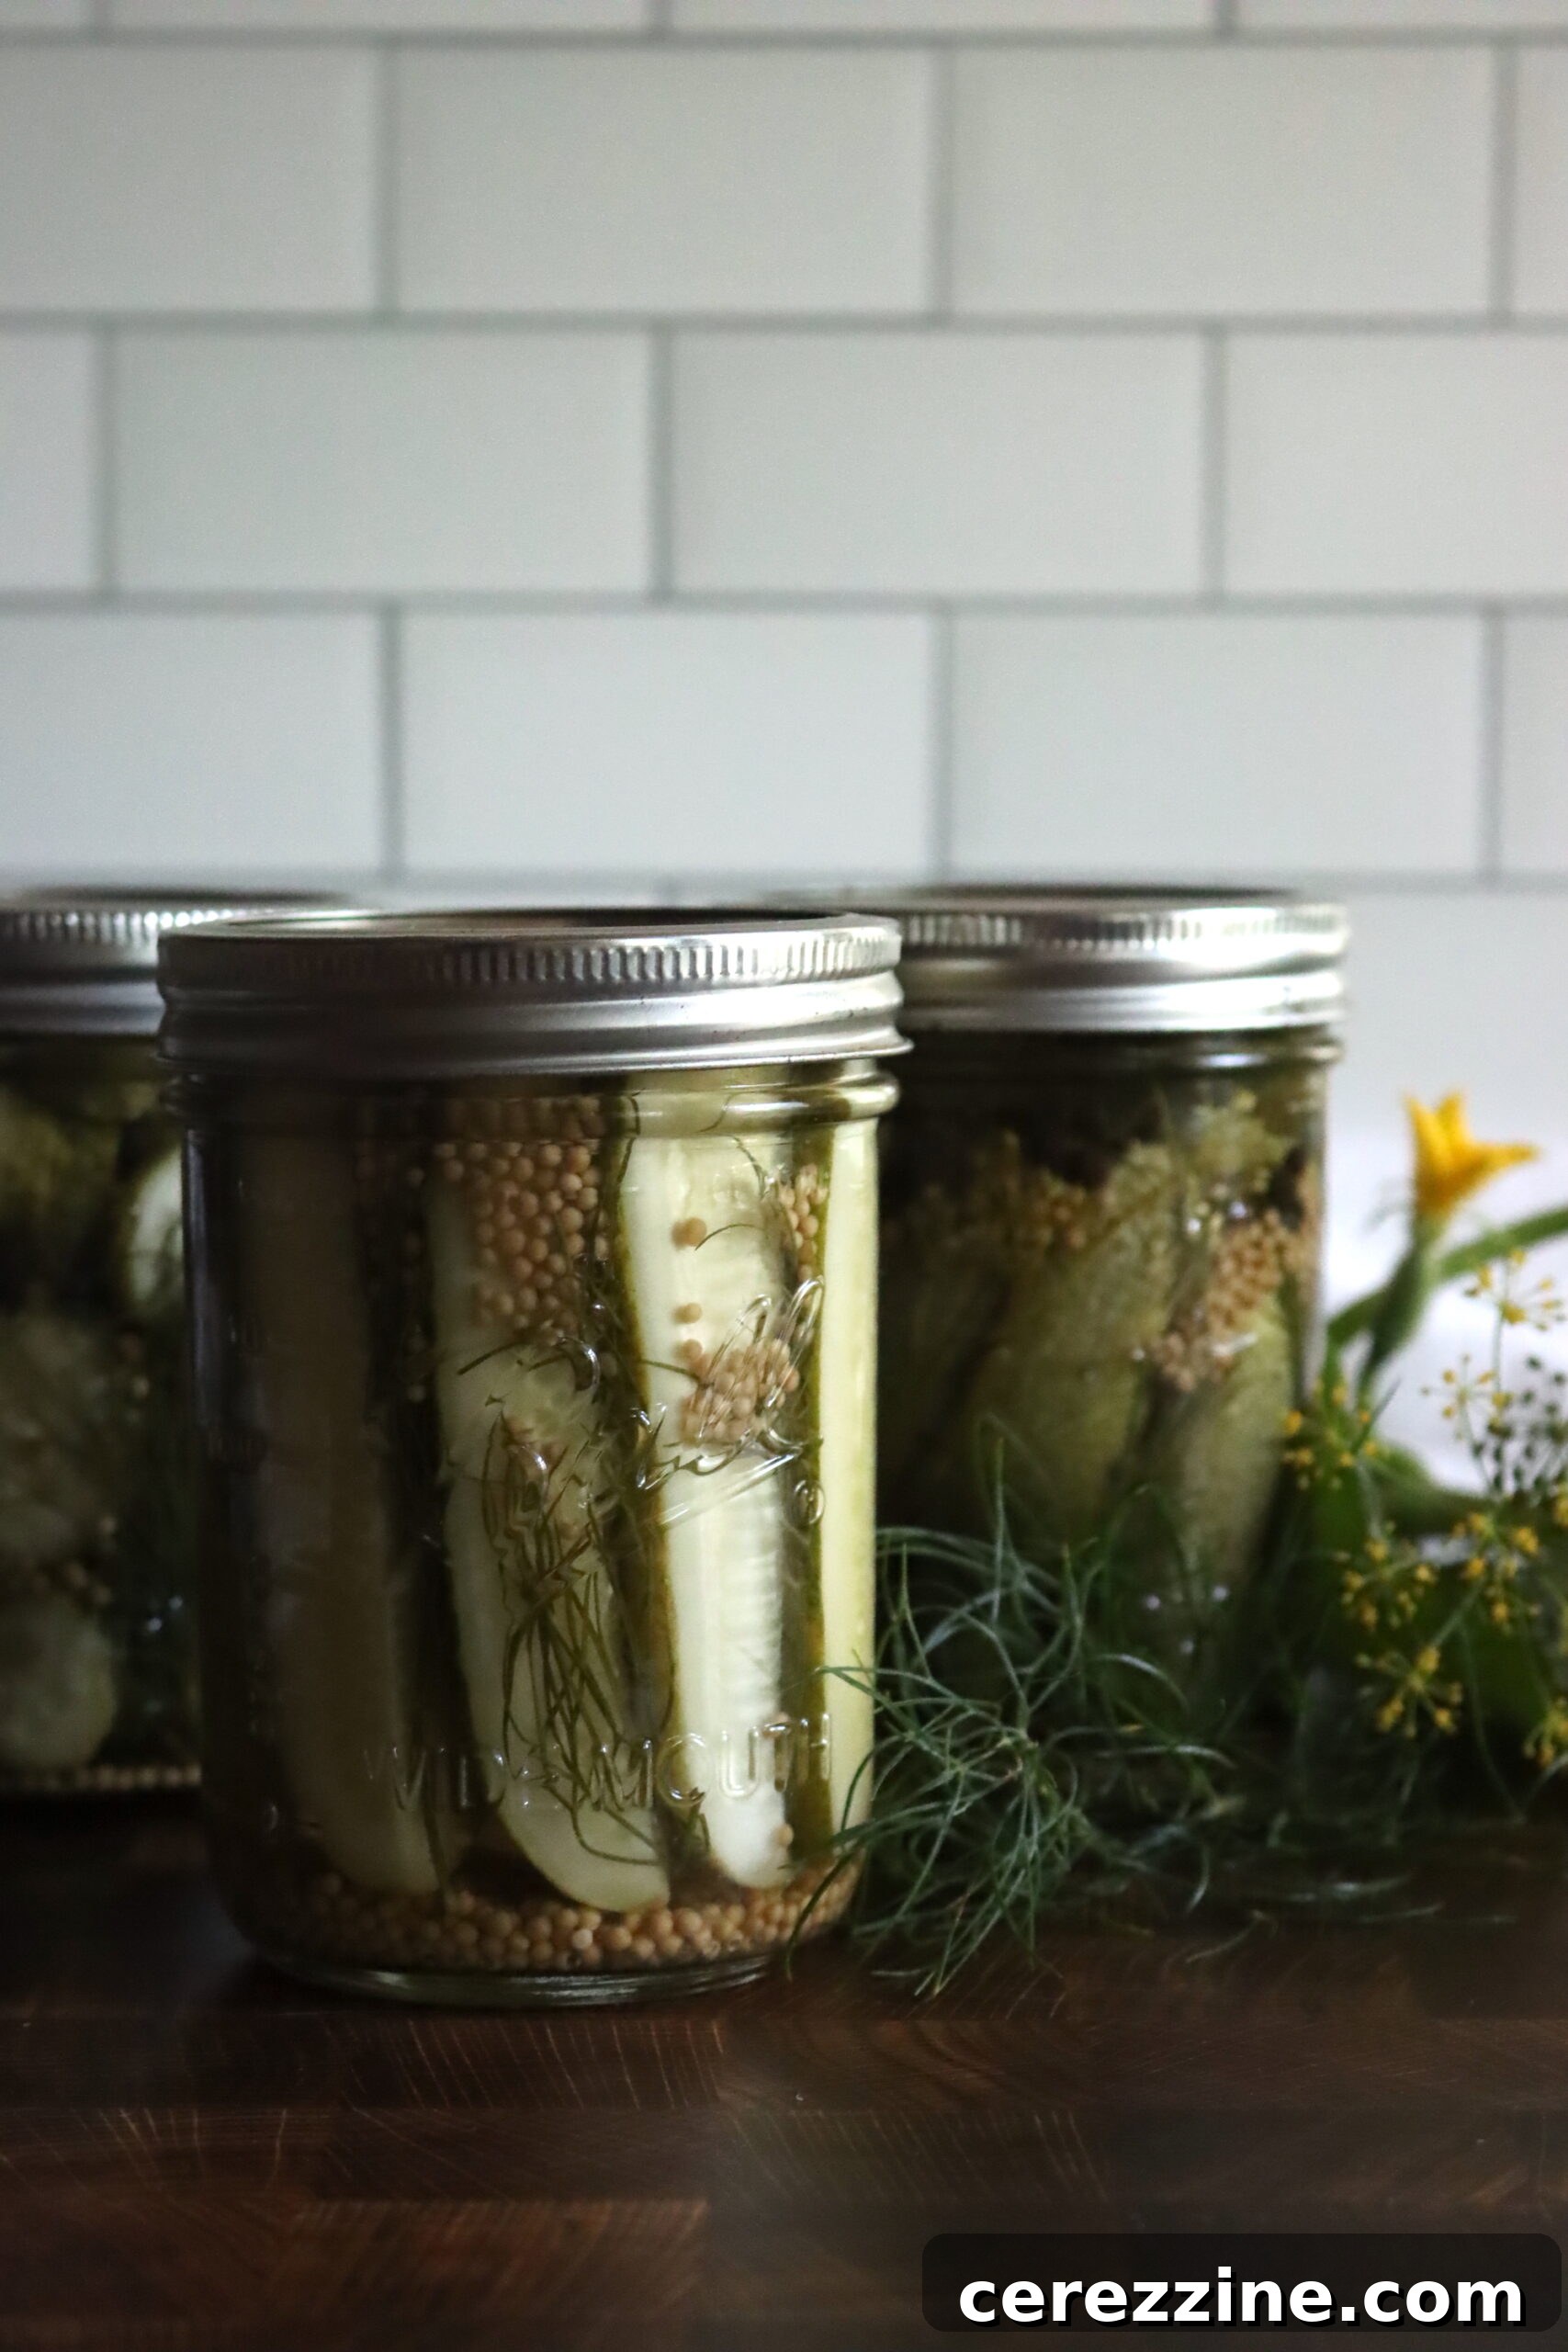
1. Pack the Jars: Drain the soaked cucumber spears completely. Carefully pack them vertically into clean, wide-mouth pint mason jars, leaving a consistent 1/2-inch headspace. Wide-mouth jars are highly recommended for spears, as narrow-mouth jars make packing much more challenging. Avoid using quart jars for spears, as their longer processing time can lead to softer, mushier pickles. Sticking to 3-5 inch cucumbers for pint jars is key for crispness.
2. Add Flavorings: To each packed jar, add 1 teaspoon of whole mustard seeds and 2 fresh dill sprigs. If fresh dill is unavailable, 1 teaspoon of dried dill seed per jar is a suitable substitute. If you’re using pickle crisp for extra firmness, add 1/8 teaspoon to each pint jar at this stage.
3. Prepare for Canning (Optional): If you plan to water bath can your pickles for shelf stability, begin preparing your water bath canner now. Ensure it’s filled with water and heating to a simmer while you prepare the brine.
4. Make the Pickling Brine: In a non-reactive saucepan, combine the brine ingredients:
- 3 1/2 cups water
- 3 1/2 cups white vinegar (5% acidity)
- 1/4 cup canning salt (or kosher salt)
- 2 Tbsp. granulated sugar
- 1 Tbsp. Pickling Spice
Bring this mixture to a rolling boil, stirring continuously until both the salt and sugar are completely dissolved.
5. Fill Jars with Brine: Carefully pour the boiling hot pickling brine over the cucumber spears in each jar, ensuring all spears are submerged. Maintain the essential 1/2-inch headspace. This means there should be 1/2 inch of space between the top of the brine and the rim of the jar.
6. Refrigerator Pickles vs. Canning:
- For Refrigerator Pickles: Simply cap the jars tightly with two-part canning lids. Allow them to cool completely at room temperature, then transfer them to the refrigerator. They will be ready to enjoy after 1-2 weeks, allowing the flavors to meld and deepen. Store in the refrigerator for up to 2-3 months.
- For Canned Pickles: Proceed immediately to the canning instructions below to ensure long-term, shelf-stable storage.
Canning Dill Pickle Spears for Shelf Stability
Canning your dill pickle spears allows you to enjoy them year-round, extending the freshness of your harvest. Adhering to proper canning procedures is crucial for food safety.
1. Prepare the Canner: Before you even start making the pickle brine, ensure your water bath canner is prepared. Fill it with enough water to cover the jars by at least 1-2 inches, and bring the water to a simmer (around 180°F / 82°C). Keep your jars clean and sterilized.
2. Load the Canner: After pouring the hot brine into the jars (ensuring 1/2-inch headspace), wipe the jar rims clean with a damp cloth. Place two-part canning lids (flats and rings) on the jars and tighten the rings to “finger-tight.” This means tightening until you feel resistance, then giving a gentle quarter-turn more. Over-tightening can prevent proper sealing. Using a jar lifter, carefully load the capped jars into the simmering water bath canner.
3. Process the Jars: Ensure the jars are fully submerged, adding more hot water if necessary. Bring the canner to a full, rolling boil. Once boiling, start your timer and process pint jars for 10 minutes (see altitude adjustments below). For quart jars, which are not recommended for spears due to potential mushiness, the processing time is 15 minutes.
4. Cool Down: After the processing time is complete, turn off the heat but leave the jars in the canner for an additional 5 minutes. This allows for a gradual temperature change, which helps prevent siphoning (liquid loss from the jars) and contributes to better seal rates.
5. Remove and Cool: Using your jar lifter, carefully remove the hot jars from the canner and place them on a clean towel on your countertop, ensuring they are not touching each other. Allow them to cool undisturbed for 12 to 24 hours. You’ll often hear a satisfying “ping” sound as the jars seal.
6. Check Seals and Store: After the cooling period, check the seals. The center of each lid should be concave (curved inwards) and not flex when pressed. If any jar has not sealed properly, store it in the refrigerator and consume within a few weeks. Properly sealed jars of dill pickle spears will maintain peak quality on the pantry shelf for approximately 12 months. Once opened, always refrigerate any remaining pickles.
Altitude Adjustments for Canning Dill Pickle Spears
Altitude affects boiling points, which in turn impacts canning times. It’s crucial to adjust your processing time based on your elevation to ensure food safety.
- Below 1,000 feet: Process pint jars for 10 minutes. (Quart jars: 15 minutes, though not recommended for spears).
- 1,000 to 6,000 feet: Process pint jars for 15 minutes. (Quart jars: 20 minutes).
- Above 6,000 feet: Process pint jars for 20 minutes. (Quart jars: 25 minutes).
Rating: 5 out of 5 stars (from 2 votes)
Dill Pickle Spears
Rate
Equipment
- Water Bath Canner
- Wide Mouth Pint Mason Jars
- Wide Mouth Canning Lids
Ingredients
For the Cucumber Pre-Soak:
- 4 lbs. pickling cucumbers, 3 to 5 inches long
- 6 Tbsp. canning Salt
- 1 gallon water
Packed into jars:
- Cucumbers, Trimmed and soaked cucumbers from above
- 12 fresh dill sprigs, or 6 tsp. dried dill seeds
- 6 tsp. whole mustard seeds
- Pickle crisp, 1/8 tsp. per pint, optional
Pickling Brine
- 3 1/2 cups water
- 3 1/2 cups white vinegar, 5% acidity
- 1/4 cup canning salt, or kosher salt
- 2 Tbsp. sugar
- 1 Tbsp. Pickling Spice, see note
Instructions
-
Wash the cucumbers, gently scrubbing to remove any spines. Cut the cucumbers lengthwise into quarters to form spears.
-
Dissolve 6 Tbsp. salt in 1 gallon of cold water.
-
Place the cucumbers in a bowl and pour the cold salt water over them. Allow them to soak for 24 hours.
-
Drain the soaking water and pack the cucumbers into wide-mouth pint jars. Trim off the cucumber if necessary to ensure they fit, leaving 1/2 inch headspace.
-
Add 1 tsp mustard seeds and 2 dill sprigs to each jar. Lacking fresh dill sprigs, you can add 1 tsp dried dill seed to each jar instead. Add pickle crisp if using at a rate of 1/8 tsp per pint jar.
-
At this point, prepare a water bath canner if canning.
-
Make the pickle brine by bringing the brine ingredients to a boil in a pot, stirring to dissolve the sugar and salt.
-
Pour the boiling brine over the top of the cucumbers in the jars, maintaining 1/2 inch headspace. Cap with 2 part lids.
-
If making refrigerator pickles, allow the jars to cool completely before storing in the refrigerator.
-
If canning, process the jars in a water bath canner for 10 minutes. Turn off the heat and allow the jars sit in the canner for an additional 5 minutes before removing them to cool completely on a towel on the counter.
-
Wait 12-24 hours, then check seals. Store any unsealed jars in the refrigerator and use first.
-
Properly canned and sealed jars of dill pickle spears will maintain peak quality on the pantry shelf for 12 months, and be safe to eat so long as they’re sealed. Refrigerate after opening.
-
For the best flavor, allow the jars to sit for at least 1-2 weeks before enjoying, so they have time to properly developed a pickled flavor.
Notes
If you measure in kilograms instead of pounds, that’s about 1.8 kg, and the cucumbers should be roughly 7.5 to 12.5 cm long.
Pickling spice mixes usually include whole allspice, coriander, mustard seeds, and cloves, along with broken or crumbled bay leaves and cinnamon sticks. They also sometimes include ginger or red pepper flakes for heat.
You can make your own pickling spices, or use a store bought mix. You can also just toss in a pinch of each of the spices listed and call it good. When making pickles, the spice mix is totally up to you and does not impact canning safety. It’s totally just a flavor thing, and if you don’t like an ingredient in the pickling spice mix, just leave it out.
In this particular recipe, the cucumbers are soaked in salt water for 24 hours before they’re packed into jars, and that’s to keep them from tasting soggy. The saltwater soak really does make a difference when you’re making pickle spears, so don’t skip it!
Dill, mustard seeds and pickle crisp is added directly to each jar rather than adding it to the pickling brine. This ensures an even amount in each jar.
Pickle crisp is optional, but it helps firm the pickles. It’s Calcium chloride or just a calcium-based salt. The calcium helps strengthen the cell walls of the cucumbers and keeps them crisp during canning (and no, it doesn’t taste salty, it’s completely tasteless).
The original tested recipe included 4 cups water and 3 cups vinegar in the brine, and while that may be the “tested” ratio for this recipe, I’ve always been taught that you need a minimum of a 1:1 ratio of vinegar to water to properly preserve pickles. I’ve increased the vinegar slightly, which ensures safe preservation (and gives you pretty much the same flavor). The recipe now has 3 1/2 cups water and 3 1/2 cups vinegar to make a standard pickle brine.
Nutrition
Calories: 14kcal, Carbohydrates: 2g, Protein: 0.3g, Fat: 0.1g, Saturated Fat: 0.02g, Polyunsaturated Fat: 0.01g, Monounsaturated Fat: 0.004g, Sodium: 1749mg, Potassium: 74mg, Fiber: 0.4g, Sugar: 2g, Vitamin A: 39IU, Vitamin C: 2mg, Calcium: 16mg, Iron: 0.2mg
Nutrition information is automatically calculated, so should only be used as an approximation.
We hope this detailed guide empowers you to create your own batches of irresistible dill pickle spears. There’s truly nothing quite like the satisfaction of a homemade pickle, knowing exactly what went into it and preserving the flavors of the season for months to come. Happy pickling!
More Delicious Pickling Recipes to Explore
If you’ve enjoyed making dill pickle spears, you’ll love exploring other simple pickling recipes to diversify your pantry!
- Pickled Corn Salad
- Pickled Three Bean Salad
- Pickled Green Tomatoes
- Pickled Green Beans (Dilly Beans)
- Pickled Jalapenos
- Pickled Fiddleheads