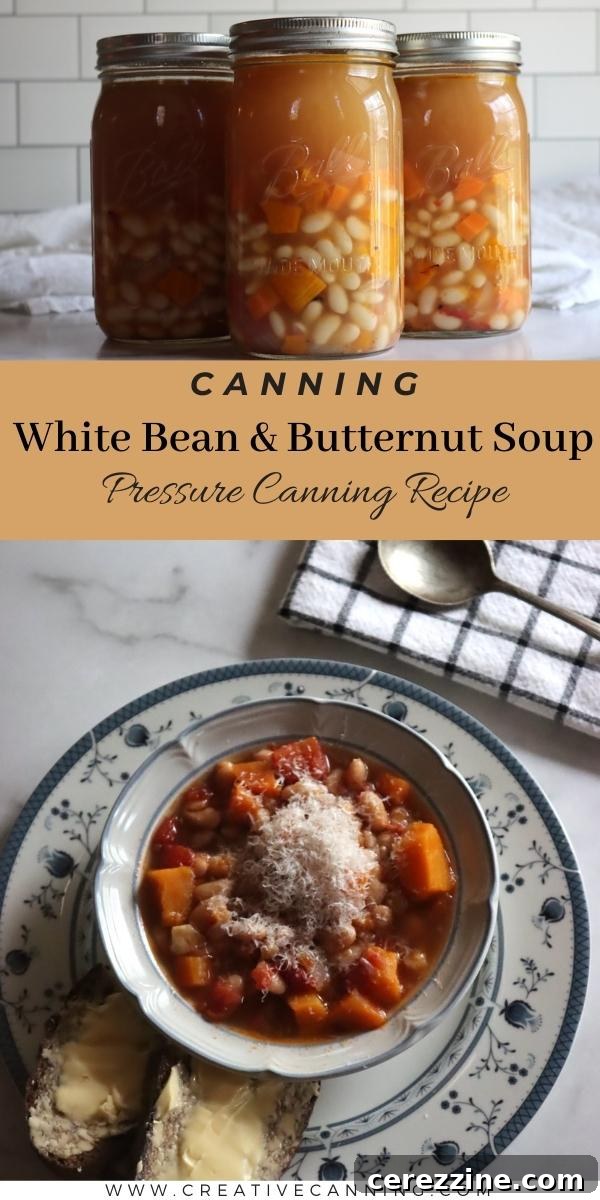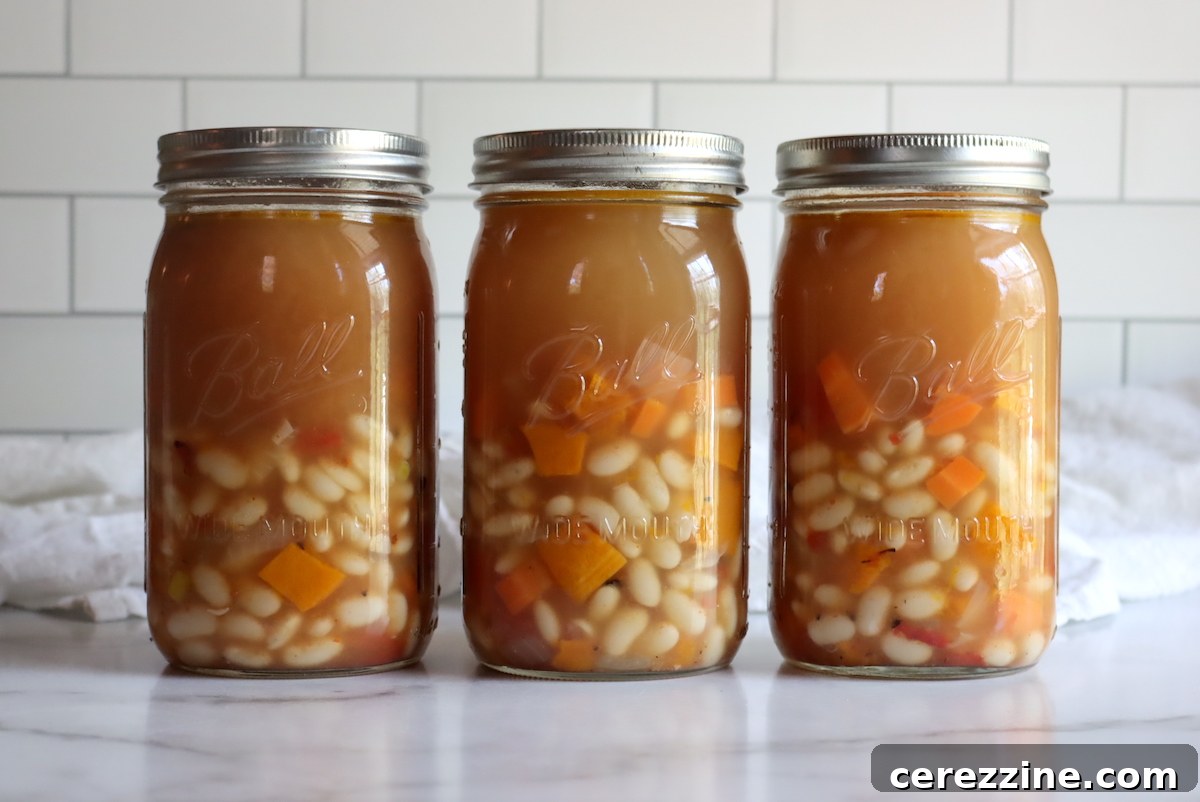
White bean soup and butternut squash are paired perfectly in this simple soup canning recipe, offering a hearty and wholesome meal for any season.
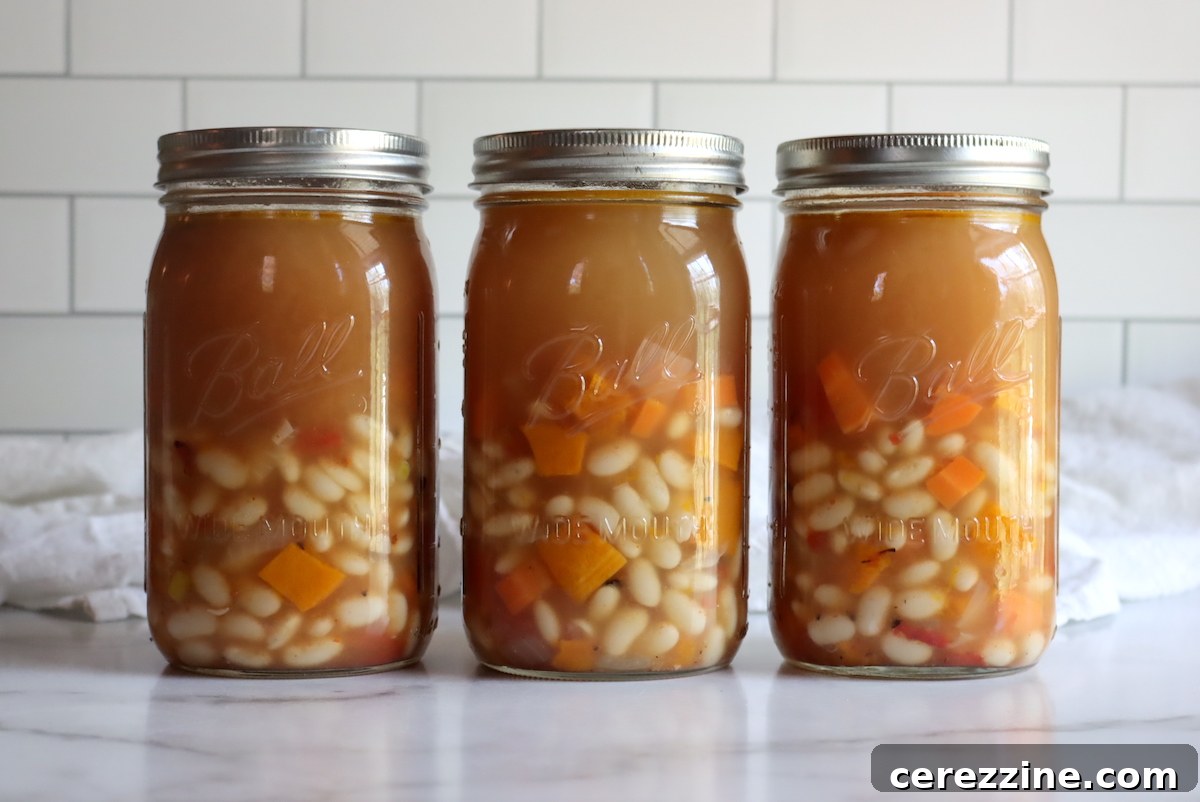
Canning Butternut Squash and White Bean Soup: Your Ultimate Comfort Meal
Soup holds a special place in our hearts as the ultimate comfort food, providing warmth and nourishment with every spoonful. Among the myriad of hearty and wholesome options, Butternut Squash and White Bean Soup stands out as a truly exceptional choice, especially when prepared for your pantry through home canning. This particular vegetarian soup canning recipe combines the subtly sweet, earthy notes of butternut squash with the creamy texture of white beans, creating a harmonious blend that’s both satisfying and incredibly flavorful.
The addition of vibrant tomatoes introduces a gentle acidity, perfectly balancing the sweetness of the squash and tying all the components together into a cohesive, delicious experience. This recipe goes beyond just canning butternut squash soup by incorporating the substantial goodness of white beans, transforming it into a more filling and robust meal. It harks back to comforting, old-world flavors that evoke a sense of homeliness and tradition.
While various delightful soup canning options exist, from the exotic Thai Spiced Butternut Soup to simpler bases, this specific version holds a special appeal. It’s a foundational recipe that allows for creative customization while ensuring a consistently delicious result. Imagine having jars of this nourishing soup readily available, offering a quick and healthy meal solution on busy weeknights or a soul-warming treat during chilly evenings. This guide will walk you through everything you need to know to successfully can this incredible Butternut Squash and White Bean Soup, making it a staple in your home pantry.

Why Embrace Home Canning for Your Soup?
Canning your own butternut squash and white bean soup offers a multitude of benefits that extend beyond mere convenience. It’s an empowering way to take control of your food supply, ensuring you always have wholesome, homemade meals on hand. Here’s why home canning this delightful soup is a fantastic idea:
Long-Term Food Storage: Canning allows you to preserve the peak freshness of seasonal ingredients, locking in flavors and nutrients for months, or even years. This means you can enjoy the delicious taste of autumn butternut squash well into the winter and beyond.
Cost-Effective Meal Prep: Buying ingredients in bulk when they are in season can significantly reduce your grocery bill. Canning transforms these raw ingredients into ready-to-eat meals, saving you time and money compared to purchasing store-bought canned soups.
Control Over Ingredients: When you can at home, you dictate exactly what goes into your soup. This is particularly beneficial for those with dietary restrictions or who prefer to avoid artificial preservatives, excessive sodium, or unhealthy additives often found in commercial products. This recipe, for instance, focuses on fresh, natural components.
Emergency Preparedness: A well-stocked pantry of home-canned goods provides peace of mind, offering a reliable food source during unexpected emergencies or power outages.
Unmatched Flavor: There’s an undeniable difference in taste between homemade and commercially produced soups. The slow-cooked flavors, combined with carefully selected ingredients, result in a depth and richness that simply can’t be replicated by mass-produced alternatives. The roasting of the butternut squash in this recipe, for example, contributes significantly to this superior flavor.
Embracing pressure canning, especially for a recipe as versatile and satisfying as this Butternut Squash and White Bean Soup, is a rewarding skill that enhances your culinary independence and provides delicious, healthy meals for your family.
Ingredients for Butternut Squash and White Bean Soup: Crafting Flavor from Scratch
This exceptional recipe for canning Butternut Squash and White Bean Soup is thoughtfully adapted from Pressure Canning for Beginners and Beyond by Angi Schneider, a highly recommended and trusted resource in the world of pressure canning. Angi’s recipes are renowned for their precision and delicious outcomes, and this soup is no exception. It masterfully balances the natural sweetness of butternut squash with the savory depth of white beans, all harmonized by a rich chicken or vegetable stock. The inclusion of a touch of apple cider vinegar is purely for enhancing the flavor, adding a bright note that makes the other ingredients pop, rather than for preservation purposes—which is solely handled by the pressure canning process itself.
To prepare a full canner batch, which typically yields eight pints or four quarts of this delicious soup, gather the following high-quality ingredients:
- Butternut Squash: 2 lbs (907 g) peeled, cubed, and deseeded butternut squash. Ensure cubes are roughly 1-inch (2.5 cm) for even cooking and texture. You’ll need approximately 3 lbs (1.4 kg) of whole butternut squash to yield 2 lbs of prepared cubes.
- Dried Cannellini Beans: ¾ lbs (339 g) dried cannellini beans, meticulously presoaked. This step is crucial for proper rehydration and cooking during the canning process.
- Olive Oil: 2 tbsp (30 ml) of good quality olive oil for roasting the squash, which amplifies its natural sweetness and adds depth.
- Yellow Onions: 2 cups (320 g) chopped yellow onions. About ¾ lb (340 g) of unprepared onions will yield this amount. While yellow onions offer a mild, sweet flavor ideal for this soup, white onions can also be used as a substitute.
- Carrots: 1 cup (128 grams) diced carrots, adding a touch of sweetness and vibrant color.
- Broth: 6 cups (1.4 L) of high-quality chicken or vegetable broth. Choose a broth that complements the other flavors without overpowering them.
- Tomatoes: 5 cups (1.3 kg) peeled and crushed tomatoes. You can use fresh, ripe tomatoes from your garden or high-quality canned crushed tomatoes. To yield this amount, you’ll need about 3 ⅓ lbs (1.6 kg) of unprepared fresh tomatoes.
- Garlic: 4 cloves of fresh garlic, minced, for an aromatic base.
- Apple Cider Vinegar: 1 tbsp (15 ml) apple cider vinegar, essential for that flavor boost.
- Non-Iodized Salt: 1 tbsp (18 g) non-iodized salt (canning salt). Non-iodized salt is preferred in canning as iodine can sometimes cause discoloration.
- Dried Thyme: 1 tsp dried thyme, adding a classic, herbaceous note that pairs wonderfully with squash and beans.
When selecting your squash, feel free to experiment! While butternut is specified, other winter squashes like acorn or hubbard can be used as creative variations. If you opt to make this recipe without tomatoes, simply adjust by adding more chicken or vegetable broth to ensure the proper 1-inch headspace in your jars.
The Importance of Pre-Soaking Beans
Do not underestimate the importance of soaking your dried beans before you begin this recipe. This step is vital for proper hydration and ensures the beans cook evenly and safely during the pressure canning process, preventing them from absorbing too much liquid during canning and potentially siphoning or creating dense, undercooked beans. Ideally, soak them overnight. If you forget, a quick soak method can be used:
- Bring the dried beans to a rolling boil for 2 minutes.
- Turn off the heat and allow them to soak for at least an hour in the hot water.
- Drain thoroughly before proceeding with the recipe.
Whichever method you choose, ensure your beans are adequately pre-soaked to avoid any delays or issues with your canning project.
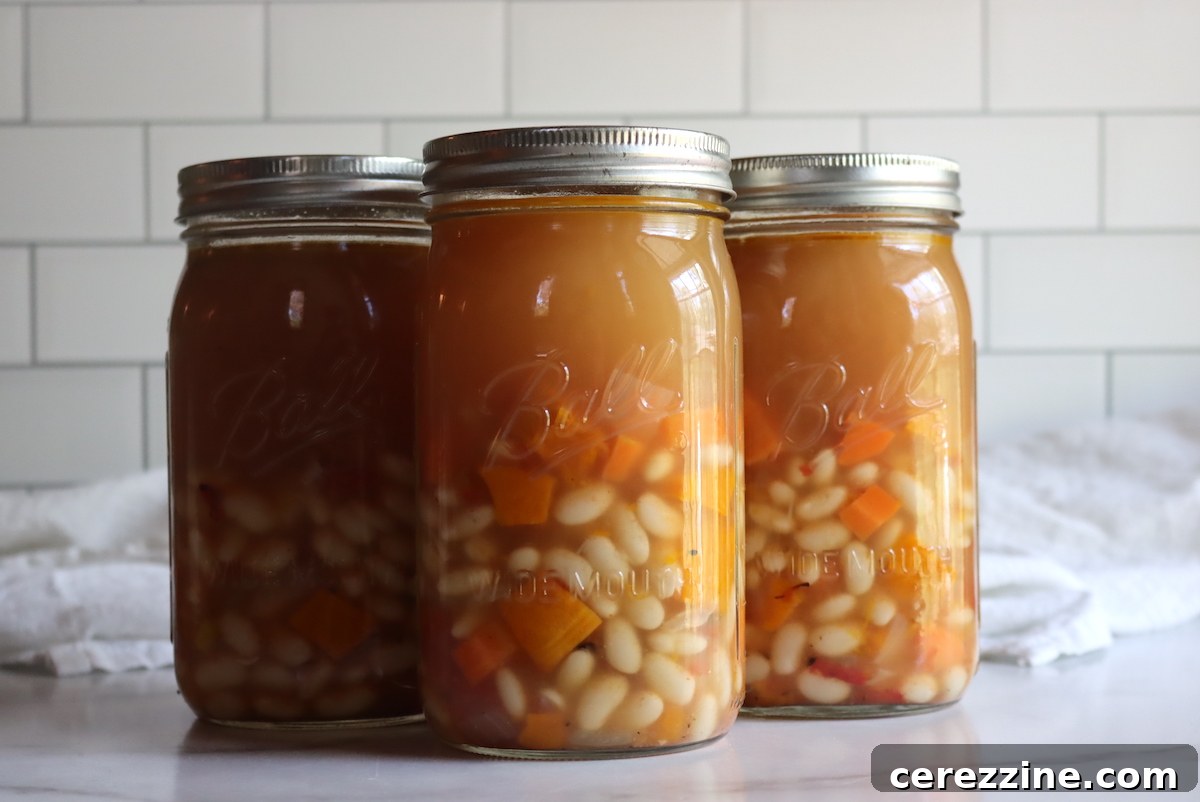
Canning Butternut Squash and White Bean Soup: A Step-by-Step Guide
Pressure canning is a safe and effective method for preserving low-acid foods like this delicious Butternut Squash and White Bean Soup. Following these steps carefully will ensure a successful and safe canning experience, yielding beautiful, ready-to-eat jars for your pantry.
-
Prepare Your Canning Equipment: Begin by gathering and preparing your pressure canner, canning jars, and lids. For this recipe, you will need eight 1-pint jars or four 1-quart jars. Wash your jars and lids thoroughly. Fill your pressure canner with the recommended amount of water, typically a few inches (about 8 cm), as per your manufacturer’s instructions. Place the clean jars inside the canner and heat them over low heat to keep them hot. This is crucial for a “hot-pack” recipe, where the water in the canner should be around 180 degrees Fahrenheit (82 degrees Celsius) when jars are loaded, to prevent thermal shock and jar breakage.
-
Roast the Butternut Squash: Preheat your oven to the broil setting. Lightly coat the cubed butternut squash with a tablespoon of olive oil and spread them evenly on a baking sheet. Broil the squash cubes until they are nicely browned, which usually takes about three to five minutes. Keep a close eye on them to prevent burning. While not all cubes may brown perfectly evenly, the goal is to develop flavor through caramelization without fully cooking the squash, as it will continue to cook during the pressure canning process. Skipping this roasting step is an option, but roasting truly enhances the depth of flavor in the final soup.
-
Prepare the Beans: Drain the water from your presoaked cannellini beans. Transfer them to a large stockpot and cover them with fresh water. Bring the beans to a boil, then immediately remove them from the heat and drain the water once more. This second draining helps remove any lingering starches and prepares the beans for combining with the other ingredients.
-
Combine and Simmer the Soup Base: Return the drained beans to the large stockpot on the stovetop. Add the roasted butternut squash cubes, chopped onions, diced carrots, chicken or vegetable broth, peeled and crushed tomatoes, apple cider vinegar, canning salt, and dried thyme, along with the minced garlic. Bring this entire mixture to a rolling boil over high heat. Once boiling, reduce the heat to a gentler boil and simmer for approximately five minutes. Remember, the squash and beans will not be fully cooked at this stage, and that’s perfectly fine. Overcooking them now will result in a mushy texture after the prolonged high-pressure canning process.
-
Fill the Jars: Carefully remove the stockpot from the heat. Ladle the hot soup into your prepared hot jars, ensuring an even distribution of both solids and liquid. After filling, use a bubble removal tool (or a non-metallic spatula) to gently remove any trapped air bubbles by running it around the inside of each jar. Check the headspace, aiming for precisely 1 inch (2.5 cm) from the rim of the jar to the top of the soup. If you find yourself short on liquid, you can top off the jars with boiling water or hot chicken/vegetable broth to achieve the correct headspace. Proper headspace is vital for a good seal and safe processing.
-
Seal and Process: Before applying the lids, wipe the rims of each jar with a clean, damp cloth to remove any food residue that could interfere with the seal. Place the clean, warm lids on the jars, followed by the screw bands, tightened finger-tip tight. Load the prepared jars into the preheated pressure canner.
-
Pressure Canning: Secure the canner lid according to your manufacturer’s instructions. Bring the canner up to pressure. Process 1-pint jars at 10 lbs of pressure (69 kPa) for 75 minutes, and 1-quart jars for 90 minutes. It is crucial to adjust the pressure based on your altitude, as outlined in the “Altitude Adjustments” section below, and always refer to your specific pressure canner’s guidelines.
-
Cool Down and Store: Once the processing time is complete, turn off the heat and allow the pressure canner to depressurize naturally and completely on its own. Do not try to force it open. Once the pressure gauge reads zero and the safety lock disengages, carefully remove the lid. Using a jar lifter, remove the hot jars and place them on a towel-lined counter or a wire rack, ensuring they are not touching each other, to cool undisturbed for 12 to 24 hours. You will hear satisfying “ping” sounds as the jars seal. After cooling, check all seals. Lids should be concave and not flex when pressed. Remove the bands, wipe down the jars, label them with the contents and date, and store them in a cool, dark place.
Following these detailed instructions will enable you to safely preserve this delicious soup, allowing you to enjoy homemade goodness whenever you desire.
Altitude Adjustments for Canning Soup
When pressure canning, maintaining the correct pressure is critical for food safety, especially at higher altitudes. While processing times remain constant, the required pressure must be adjusted. Refer to these guidelines:
For dial gauge pressure canners:
- 0 to 2,000 feet in elevation – 11 lbs pressure
- 2,001 to 4,000 feet in elevation – 12 lbs pressure
- 4,001 to 6,000 feet in elevation – 13 lbs pressure
- 6,001 to 8,000 feet in elevation – 14 lbs pressure
For weighted gauge pressure canners:
- 0 to 1,000 feet in elevation – 10 lbs pressure
- Above 1,000 feet – 15 lbs pressure
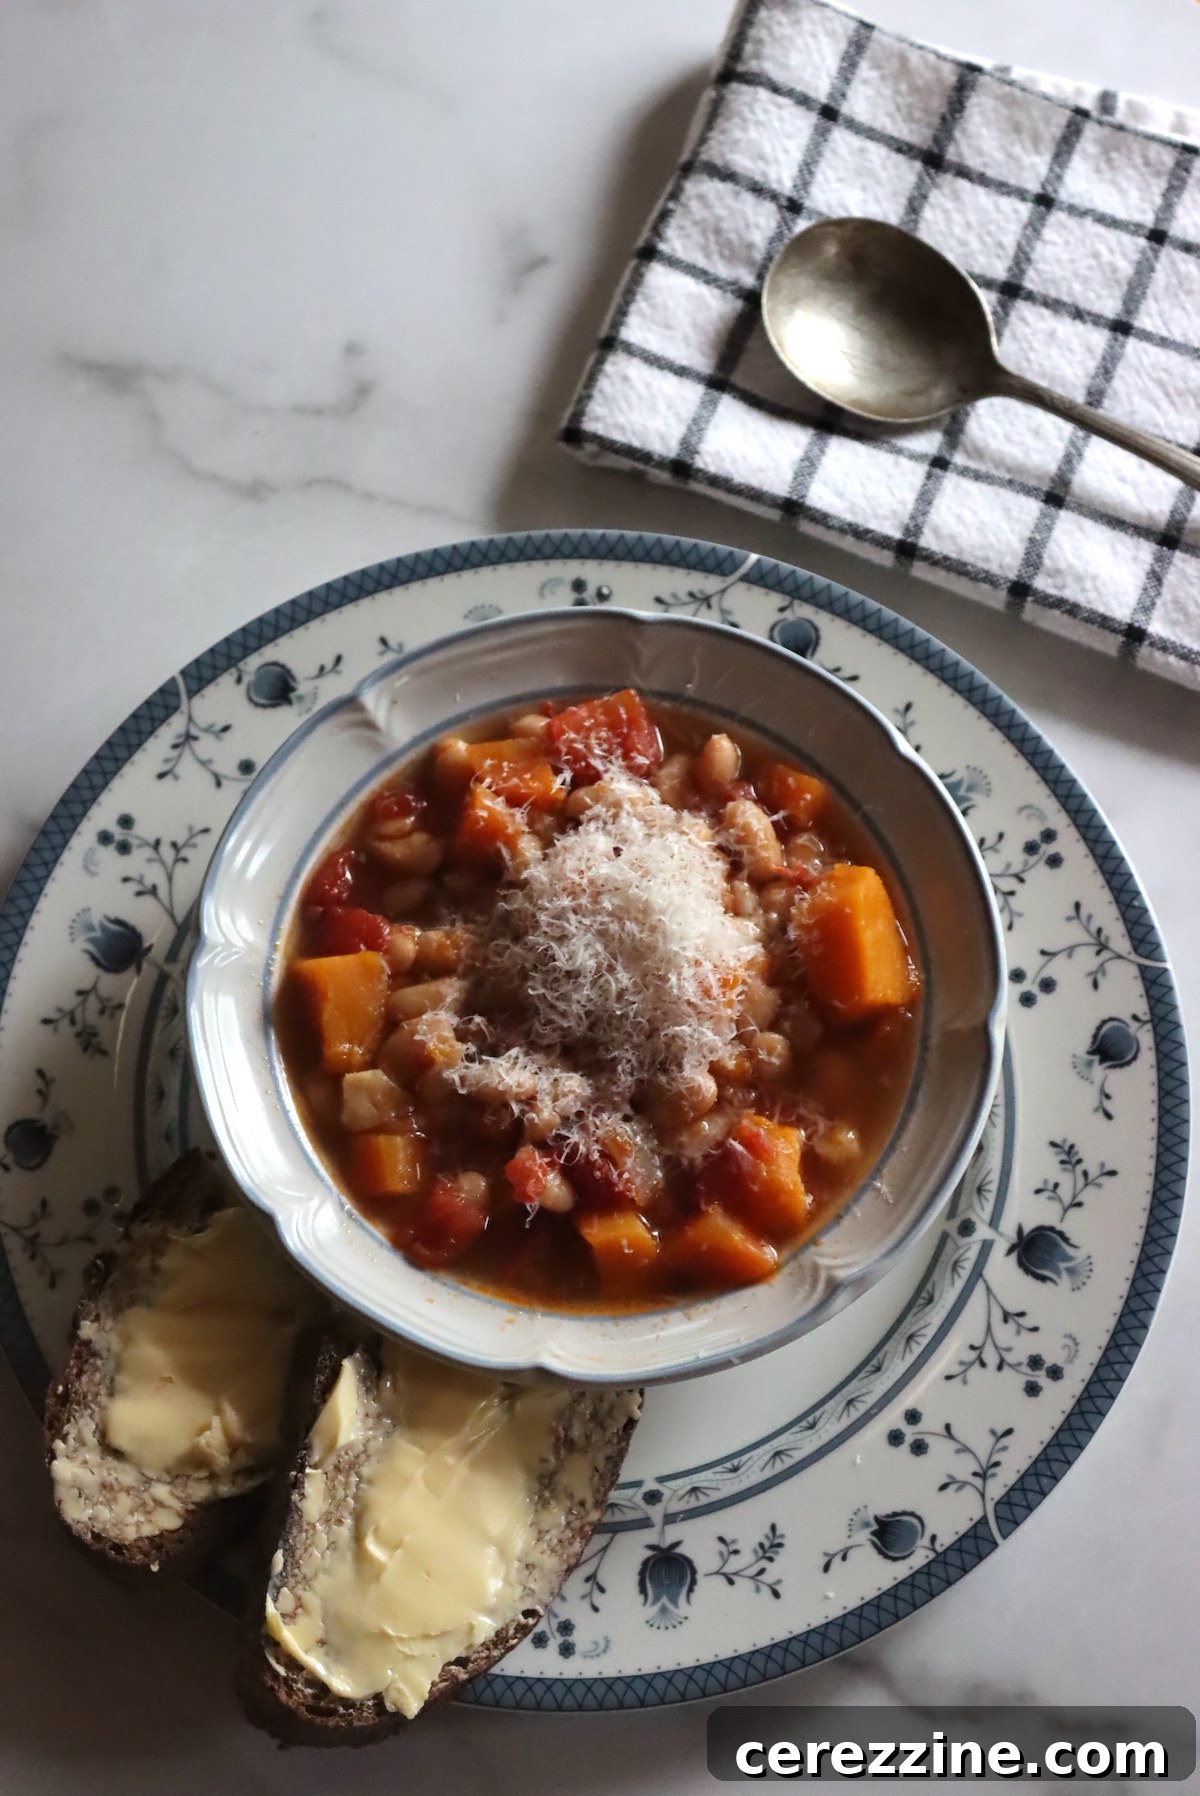
Serving Butternut Squash and White Bean Soup: Elevate Your Meal
Once you’ve successfully canned your Butternut Squash and White Bean Soup, you have the luxury of a delicious, ready-to-eat meal at your fingertips. The beauty of this soup lies in its versatility; it’s a complete meal on its own, packed with flavor and nutrition, yet it also serves as a fantastic base for further culinary creativity. Reheating is simple: gently warm it on the stovetop over medium heat until simmering, or use a microwave for a quicker option. Within minutes, you’ll have a wholesome, comforting meal ready to enjoy.
Enhance Your Serving Experience:
- Bread and Crackers: Pair the soup with a slice of warm, crusty bread for dipping, or a handful of your favorite crackers. The contrast in texture and the ability to soak up the rich broth is delightful.
- Fresh Salad: For a balanced and lighter meal, serve alongside a crisp green salad with a vinaigrette dressing.
- Creamy Indulgence: For an extra layer of richness and velvety texture, consider stirring in about ¼ cup (60 ml) of heavy cream per serving just before serving. This transforms the soup into an even more decadent experience.
- Fresh Herbs and Toppings: A sprinkle of fresh chopped green onions or chives adds a wonderful burst of color and a subtle oniony zest that complements the soup beautifully. Alternatively, a grating of your favorite hard cheese, like Parmesan or Pecorino Romano, melts into the hot soup, adding a savory, umami depth that is simply irresistible. A drizzle of good quality olive oil can also enhance the flavors.
- Spice It Up: If you enjoy a bit of heat, a pinch of red pepper flakes or a dash of hot sauce can add an exciting kick to each bowl.
Whether you choose to enjoy it in its pure, comforting form or dress it up with additional garnishes, your home-canned Butternut Squash and White Bean Soup promises a delicious and satisfying experience. It’s the perfect antidote to a long day, or a welcoming meal on a cold winter night.

Canning White Bean Soup with Butternut Squash
Ingredients
- 2 lbs butternut squash, peeled, cubed, and de-seeded, cut into 1-inch or 2.5 cm cubes
- ¾ lbs dried cannellini beans, presoaked
- 2 tbsp olive oil
- 2 cups onions, diced
- 1 cup carrots, peeled and diced
- 6 cups broth, chicken or vegetable
- 5 cups tomatoes, peeled and crushed, fresh or canned
- 4 cloves garlic, minced
- 1 tbsp apple cider vinegar
- 1 tbsp canning salt
- 1 tsp dried thyme
Instructions
-
Prepare the pressure canner, jars, and lids. You will need eight 1-pint jars or four 1-quart jars. Fill your canner with a few inches (about 8 cm) of water, depending on the instructions from your manufacturer, and place the canner on the stovetop over low heat with the jars inside to keep them hot. Heat the water to about 180 degrees Fahrenheit (82 degrees Celsius).
-
Put the oven on the broil setting, then coat the butternut squash cubes in oil and spread them on a baking sheet.
-
Broil the cubes in the oven until they are fully browned. This will take around five minutes.
-
Drain the water from the beans you soaked. Place them in a large stockpot and cover them with fresh water, then bring the beans to a boil.
-
Remove from the heat and drain the water.
-
Put the beans back in the stockpot on the stove. Add the roasted butternut squash cubes, along with the onions, carrots, broth, tomatoes, vinegar, spices, and garlic.
-
Bring the mixture to a boil over high heat, then reduce it to a gentler boil for about five minutes.
-
Take the stockpot off the heat. Then, ladle the soup into jars, putting the solids in evenly and using a bubble removal tool to get rid of any bubbles.
-
Check for headspace, aiming for about 1 inch (2.5 cm) of headspace.
-
If you find yourself short on liquid, add boiling water or hot chicken or vegetable broth.
-
Before putting the lids on the jars, wipe the rims with a clean, damp cloth. Place the bands and lids on the jars and load them into the pressure canner.
-
Process the jars at 10 lbs of pressure for 75 minutes (69 kPa) for 1-pint jars and 90 minutes for 1 quart jars. Adjust for altitude or for your manufacturer’s instructions if necessary.
-
When the time has elapsed, turn the heat off and allow the canner to depressurize on its own. Then, remove the jars and allow them to cool for 12 hours before storing.
Notes
- ¼ cup (60 ml) heavy cream
- Chopped green onions or chives
Altitude Adjustments for Canning Soup
With pressure canning, the processing times stay the same at higher altitudes, but the pressures change. Here are the altitude adjustments for pressure canning soup:
For dial gauge pressure canners:
- 0 to 2,000 feet in elevation – 11 lbs pressure
- 2,001 to 4,000 feet in elevation – 12 lbs pressure
- 4,001 to 6,000 feet in elevation – 13 lbs pressure
- 6,001 to 8,000 feet in elevation – 14 lbs pressure
For weighted gauge pressure canners:
- 0 to 1,000 feet in elevation – 10 lbs pressure
- Above 1,000 feet – 15 lbs pressure
Nutrition
Nutrition information is automatically calculated, so should only be used as an approximation.
Troubleshooting Common Canning Issues
While pressure canning is generally straightforward, occasionally you might encounter issues. Here are some common problems and how to address them:
- Jars Not Sealing: This is a common issue. Ensure jar rims are clean before placing lids. Check lids for defects or previous use. Make sure screw bands are fingertip tight, not overtightened. The processing time and pressure must be accurately maintained. If a jar doesn’t seal, you can reprocess it within 24 hours (with a new lid) or store it in the refrigerator for immediate consumption.
- Siphoning (Loss of Liquid): Some liquid loss during canning is normal, but excessive siphoning can indicate problems. This can be caused by packing jars too tightly, inadequate headspace, processing at too high a temperature too quickly, or rapid changes in pressure. Always ensure 1 inch of headspace and allow the canner to cool naturally.
- Cloudy Liquid: Cloudy liquid is usually harmless and often caused by starchy foods (like beans) or minerals in your water. It can also indicate a jar that didn’t seal properly or minor spoilage, so if in doubt, check the seal and smell the contents.
- Food Discoloration: While visually unappealing, some discoloration is natural during canning, especially with vegetables. It doesn’t necessarily mean spoilage. Proper blanching and filling techniques can minimize this.
Always prioritize safety. If you have any doubts about a jar’s seal or the quality of its contents, it’s best to discard it.
Creative Variations and Customizations
This Butternut Squash and White Bean Soup recipe is wonderfully adaptable, allowing you to customize it to your taste or what you have on hand. Here are a few ideas to inspire your culinary creativity:
- Different Squashes: While butternut squash is fantastic, feel free to substitute with other winter squashes like acorn, delicata, or even pumpkin. Each will lend a slightly different flavor profile.
- Bean Alternatives: Great Northern beans, navy beans, or even chickpeas can be used in place of cannellini beans, offering a varied texture and subtle flavor shift. Remember to pre-soak all dried beans appropriately.
- Spice It Up: Beyond thyme, consider adding other herbs and spices to the initial mixture. A pinch of nutmeg complements butternut squash beautifully. Sage, rosemary, or a touch of smoked paprika could also add intriguing layers of flavor. For a spicier kick, a small amount of cayenne pepper or a chopped jalapeño could be included.
- Greens Addition (Post-Canning): To add fresh nutrients and vibrant color, stir in a handful of baby spinach or chopped kale into the soup after reheating. The residual heat will wilt the greens perfectly.
- Roasting Vegetables: For even deeper flavor, consider roasting the carrots and onions along with the butternut squash before adding them to the stockpot.
These variations allow you to keep the core comfort of the soup while exploring new dimensions of flavor. Remember, always adhere to safe canning practices, especially concerning ingredient quantities and processing times for low-acid foods. Any additions not listed in a tested canning recipe should be added *after* the canning process, during reheating, to ensure safety.
Frequently Asked Questions About Canning Butternut Squash and White Bean Soup
Here are some common questions about canning this delicious soup:
- Can I use already canned beans? For pressure canning recipes, it is generally recommended to start with dried, pre-soaked beans. Canned beans can become overly mushy during the long pressure canning process, and may not have been tested for safe processing in combination with other ingredients for this specific recipe.
- Is it safe to add meat to this recipe? This recipe is specifically formulated as a vegetarian soup. Adding meat, especially poultry or red meat, would require different processing times and pressures to ensure safety, as meats are low-acid foods with different density characteristics. If you wish to add meat, it’s best to consult a tested recipe specifically designed for canning meat and vegetable soup. Alternatively, cook and add meat to your soup after opening a jar and reheating it.
- Can I use a water bath canner for this soup? No, this recipe involves low-acid ingredients (butternut squash, white beans, and broth), which require a pressure canner for safe preservation. A water bath canner is only suitable for high-acid foods. Using a water bath canner for low-acid foods like this soup poses a risk of botulism.
- What if I don’t have fresh tomatoes? You can absolutely substitute with high-quality canned crushed tomatoes. Ensure they are plain crushed tomatoes without added herbs or seasonings unless you are sure they won’t interfere with the canning process or flavor profile.
Always consult reputable canning guides, such as those from the National Center for Home Food Preservation (NCHFP), for additional safety information and approved recipes.
Conclusion: A Taste of Homemade Comfort, Preserved
Canning Butternut Squash and White Bean Soup is more than just a recipe; it’s an investment in homemade comfort, a testament to self-sufficiency, and a culinary delight. By following the detailed steps and safety guidelines outlined here, you can confidently transform fresh, wholesome ingredients into shelf-stable jars of deliciousness. This hearty, flavorful soup, with its perfect balance of sweet squash and creamy beans, becomes a convenient and nutritious option for any meal, anytime. Embrace the joy of preserving, and savor the rich rewards of your efforts with every comforting bowl.
Like this? Leave a comment below!
More Soup Canning Recipes to Explore
If you enjoyed canning this Butternut Squash and White Bean Soup, you’ll be delighted to discover the vast world of soup canning recipes. Expanding your pantry with homemade canned soups ensures a constant supply of quick, nutritious, and delicious meals. Here are a few more fantastic options to consider for your next canning project:
- Hearty Sausage, Potato, and Kale Soup: A robust and flavorful soup, perfect for colder days.
- Sweet and Simple Carrot Soup: A vibrant and naturally sweet option, great as a starter or a light meal.
- Classic Split Pea Soup: A comforting and protein-rich soup, a timeless favorite.
- Nourishing Homemade Chicken Soup: The ultimate cold remedy and comfort food, always a good idea to have on hand.
Each of these recipes offers a unique flavor profile and can be a wonderful addition to your home-canned food collection. Happy canning!