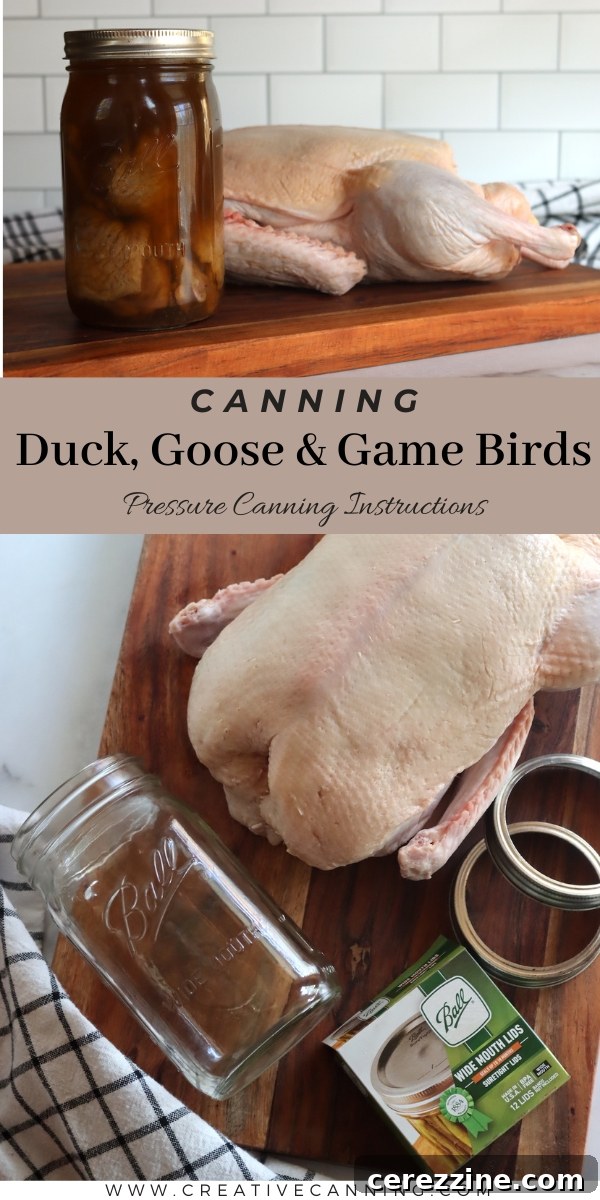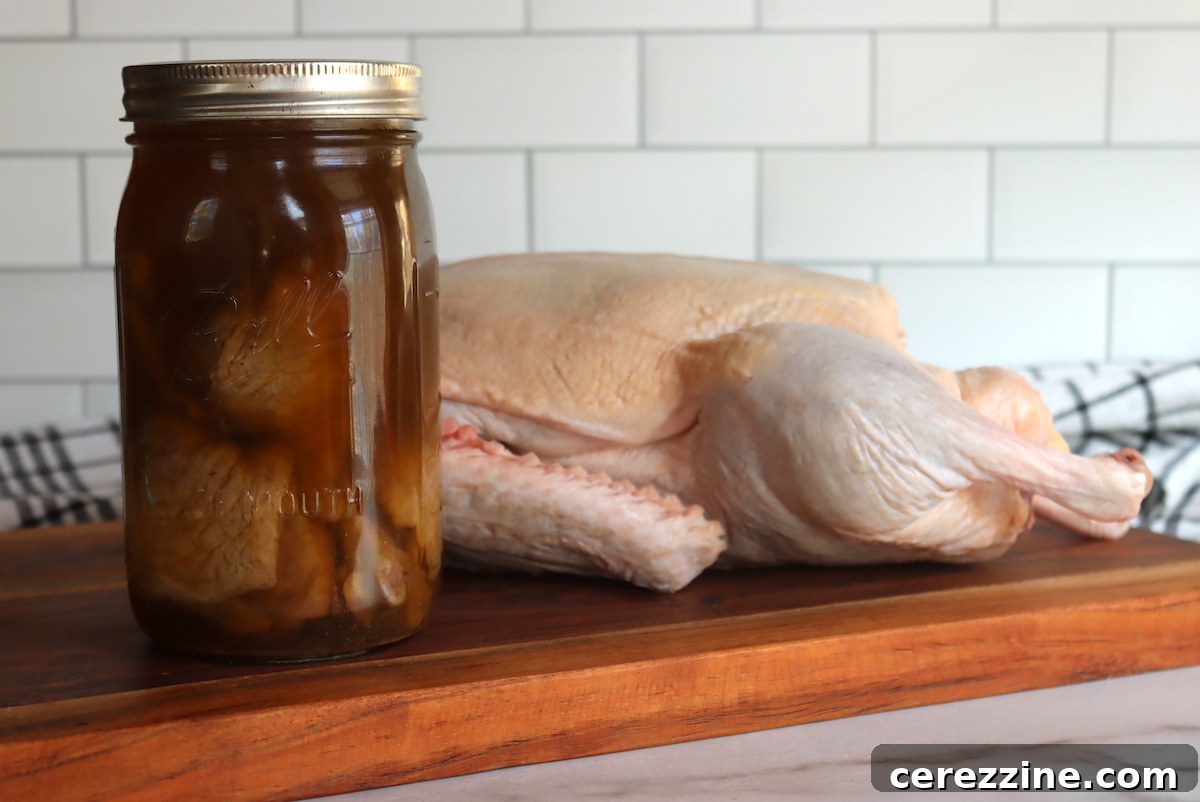
Canning duck or goose is an incredibly rewarding and efficient way to preserve these rich, flavorful meats. Whether you’ve harvested a wild game bird or purchased a domestic fowl, home canning allows you to extend its shelf life, locking in its delicious taste and making it readily available for meals throughout the year. This traditional preservation method ensures you can enjoy tender, succulent duck and goose meat whenever the craving strikes, without needing constant refrigeration.
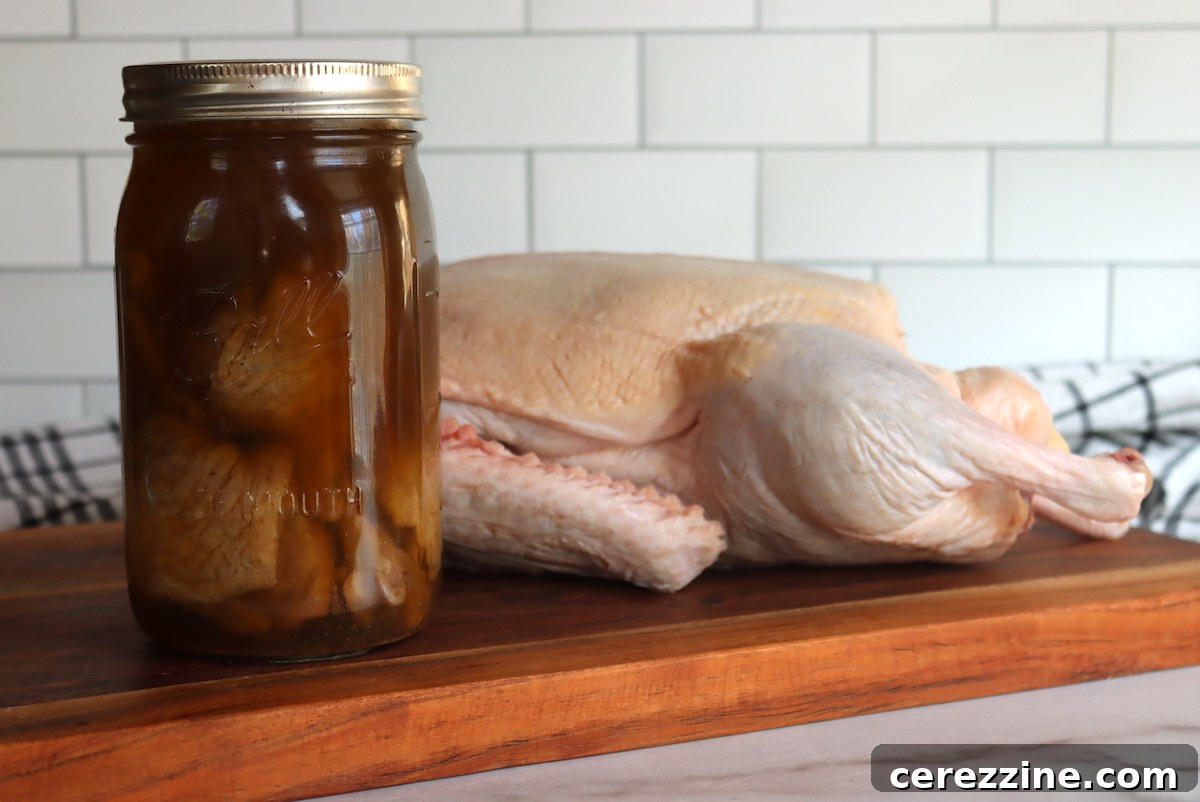
Duck and goose are highly prized for their distinctive, robust flavor and dense, nutrient-rich meat. While freezing is a common preservation method, canning offers unparalleled convenience, transforming your poultry into shelf-stable pantry staples. This guide will walk you through the simple and safe process of pressure canning duck and goose, ensuring a high-quality product ready for a variety of culinary applications.
The principles of canning duck and goose are similar to canning chicken or canning turkey, focusing on proper preparation, packing, and precise pressure canning to guarantee food safety and optimal quality. By following these steps, you’ll be able to enjoy your bounty of duck or goose long after the hunting season ends or your market purchase is made.
Essential Ingredients for Canning Duck and Goose
The beauty of canning duck and goose lies in the simplicity of the ingredients. You only need the meat itself, and optionally, salt and a liquid medium like broth or hot water. Focusing on these core elements allows the natural flavors of the poultry to shine through.
- Dressed Duck or Goose: This can be wild-hunted game, domestically raised birds, or commercially purchased poultry. Ensure the birds are freshly killed and properly dressed (cleaned, plucked, and gutted).
- Salt (Optional): Used purely for flavor enhancement, not for preservation. If you are watching your sodium intake, feel free to omit it.
- Hot Water or Broth (Optional): This liquid is essential for ensuring proper heat distribution during processing and for maintaining the meat’s quality and moisture content, particularly in hot pack methods. Homemade poultry broth will add richer flavor.
The quantity of meat you’ll need will vary based on whether you process bone-in or boneless pieces, and the size of the birds. As a general estimate, approximately 24 pounds of dressed duck or goose typically yield about 10 pint jars or 5 quart jars of canned meat. Feel free to scale this recipe up or down according to your needs. Since salt and liquid are optional for safety (though recommended for quality), adjusting quantities will not compromise the safety of the canning process.
Step-by-Step Guide to Canning Duck and Goose
Canning duck and goose involves careful preparation and precise pressure canning. Adhering to these steps will ensure a safe and delicious product.
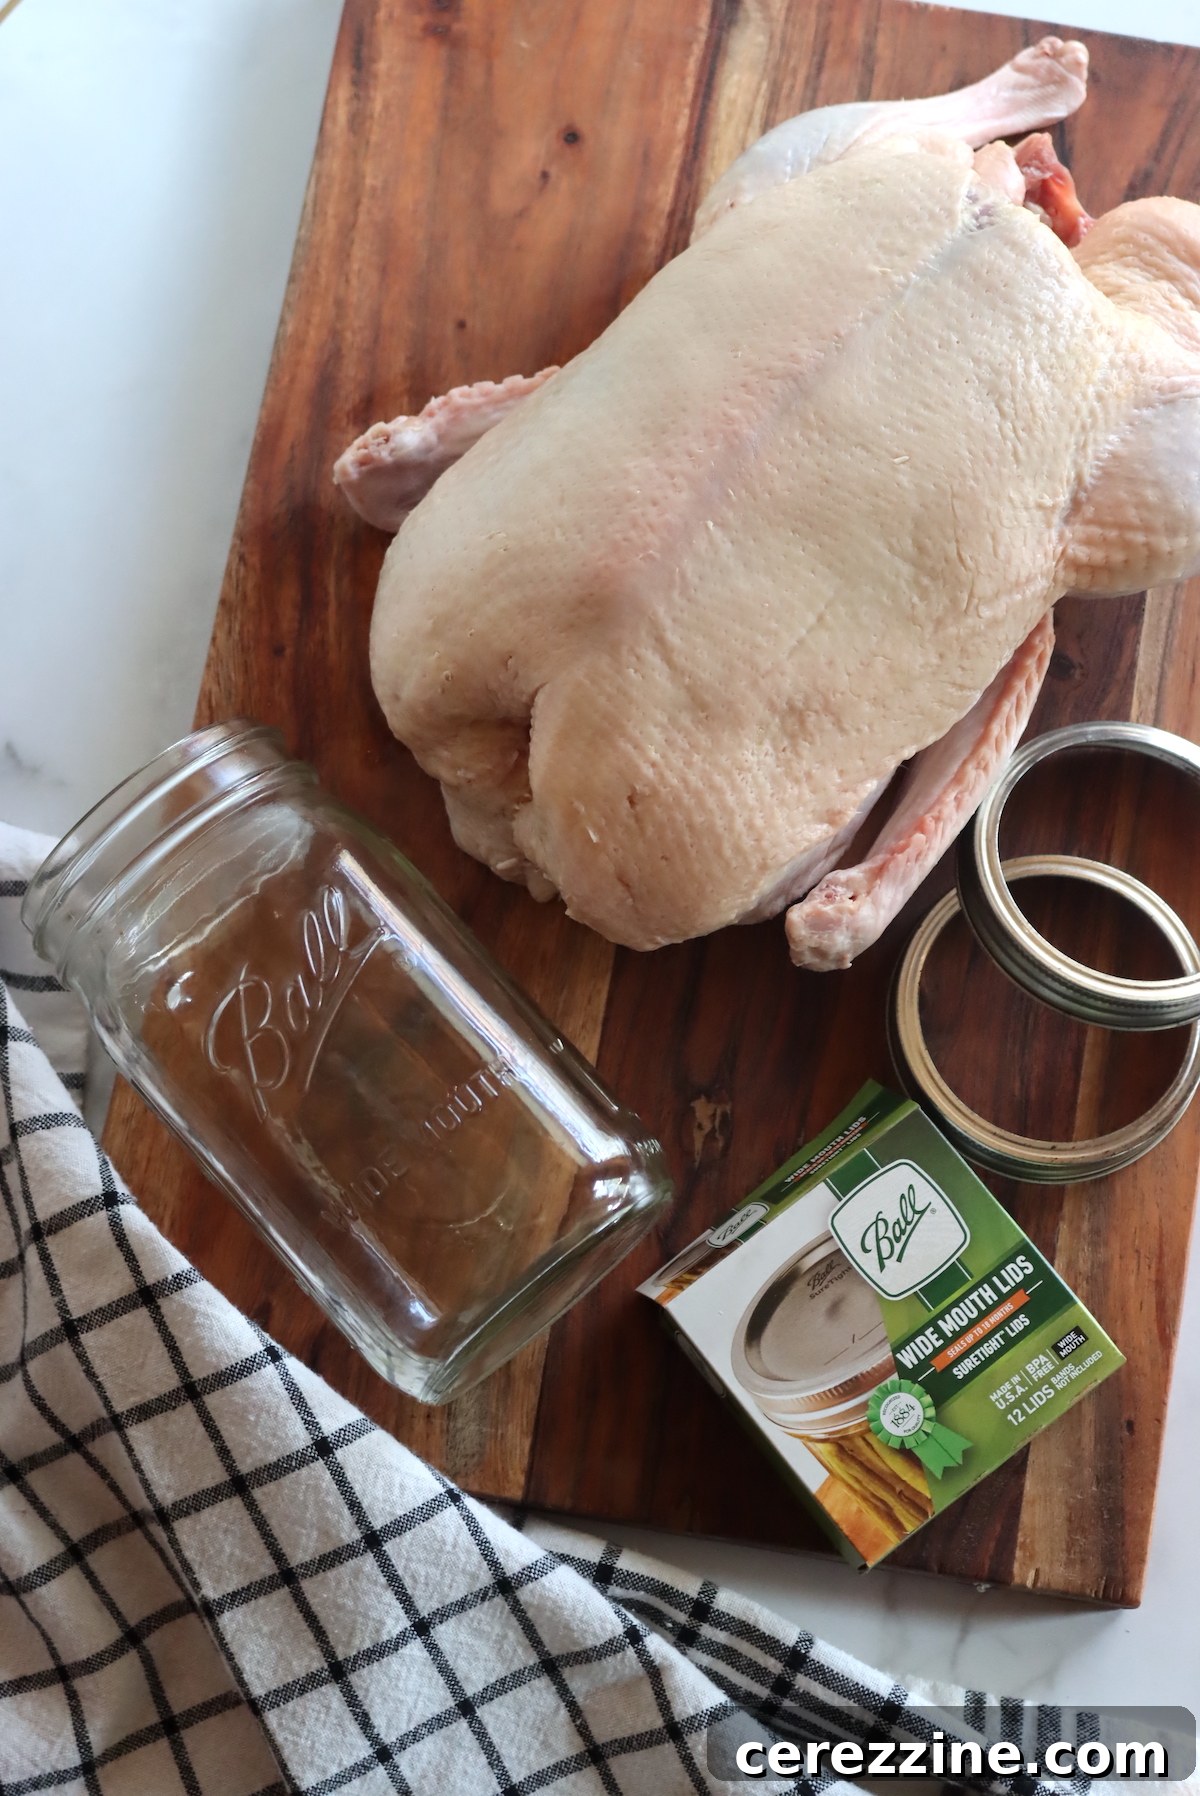
Equipment You’ll Need:
- Pressure Canner: This is non-negotiable for canning low-acid foods like meat.
- Canning Jars: Pint or quart-sized, clean, and free of nicks or cracks.
- New Lids and Rings: Always use new self-sealing lids for each canning session. Rings can be reused if they are in good condition.
- Jar Lifter: For safely handling hot jars.
- Canning Funnel: To minimize mess when filling jars.
- Headspace Tool: Crucial for accurate headspace measurement.
- Large Pot: For cooking meat (hot pack) or heating broth/water.
- Basic Kitchen Tools: Sharp knives, cutting board, bowls.
Preparation of the Birds:
Start with freshly killed, properly dressed birds. If using frozen commercial poultry, ensure it is fully thawed in the refrigerator before beginning the canning process. For freshly dressed wild game or home-raised birds, chilling them for six to twelve hours prior to canning is highly recommended. This chilling period allows the muscles to relax, resulting in a more tender and flavorful finished product once canned.
Before cutting, meticulously remove any excess fat. Duck and goose tend to be fatty birds, and too much fat in the jars can interfere with the sealing process and may affect the overall quality and texture of the meat over time. Cut the meat into manageable pieces, typically 1 to 2 inches, suitable for fitting comfortably into your canning jars. You can choose to process the meat with or without bones, as long as all pieces fit well within the jars while maintaining the required headspace.
Choosing Your Packing Method: Hot Pack or Raw Pack
There are two safe methods for packing duck and goose meat into jars: hot pack and raw pack. While both are safe, the hot pack method is generally preferred as it yields a superior quality product with better liquid cover, which helps prevent discoloration and drying of the meat during storage.
Hot Pack Method:
For the hot pack method, the meat is partially cooked before being packed into jars. This pre-cooking helps to shrink the meat slightly, allowing for a denser pack and encouraging the meat to release its own juices, which contributes to better liquid coverage in the jar.
- Pre-cook the Meat: Boil, bake, or steam the duck or goose meat until it is about two-thirds cooked through. This means it should no longer be raw and pink but not fully cooked either.
- Add Salt (Optional): If desired, add a teaspoon of canning salt per quart jar, or half a teaspoon per pint jar, for flavor.
- Pack the Jars: Carefully pack the partially cooked meat pieces into clean, hot canning jars.
- Add Hot Liquid: Ladle hot broth (preferably homemade or low-sodium commercial broth) or boiling water over the meat, ensuring that you leave precisely 1 inch of headspace. This headspace is crucial for proper sealing and to prevent liquid from siphoning out during processing.
Raw Pack Method:
The raw pack method is quicker as it skips the pre-cooking step. However, it often results in less liquid in the jar, which can lead to some meat being exposed above the liquid line, potentially causing discoloration and a drier texture over extended storage. While safe, the overall quality might be slightly lower than hot-packed meat.
- Add Salt (Optional): If desired, add a teaspoon of canning salt per quart jar, or half a teaspoon per pint jar. Remember, salt is for flavor only, not for preservation.
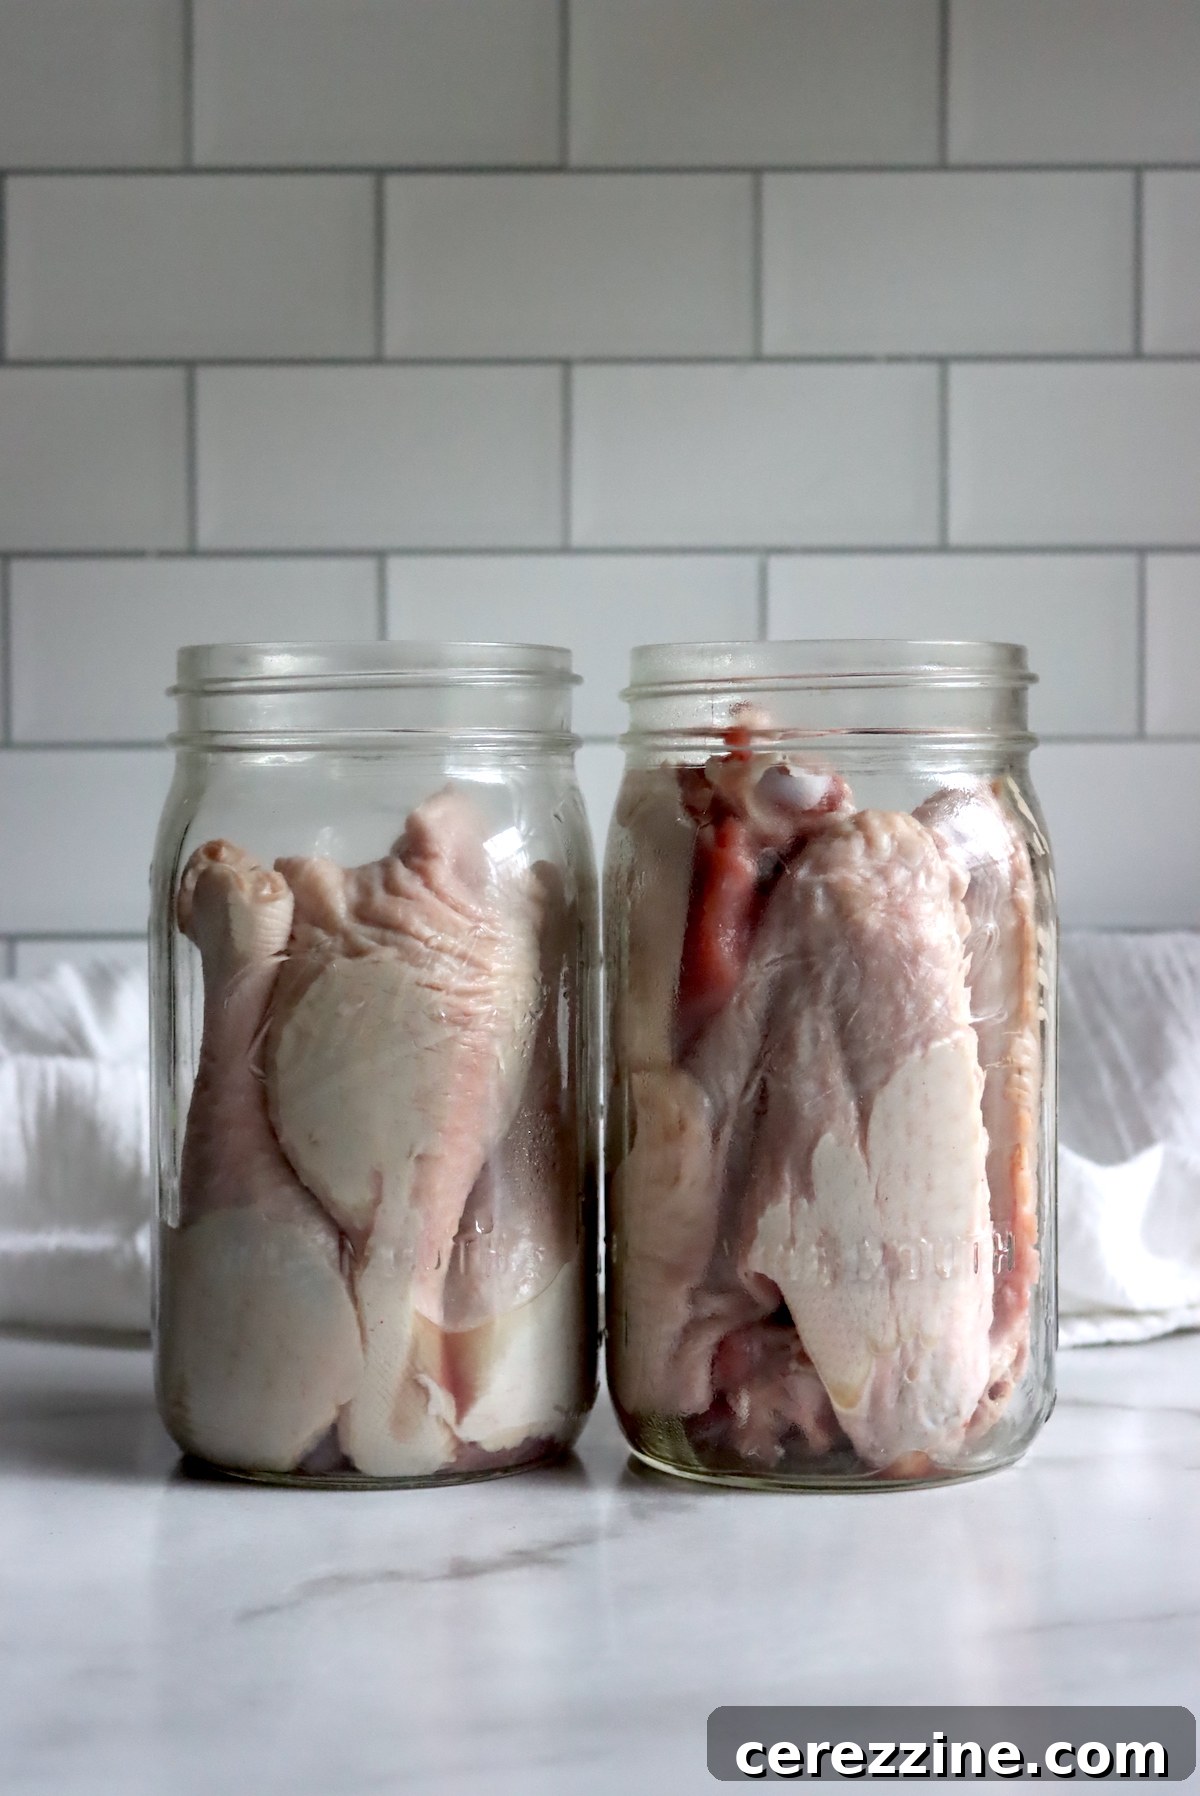
- Pack the Jars: Firmly pack raw duck or goose meat pieces into clean, hot canning jars.
- Add Hot Liquid: Ladle boiling water or hot broth over the raw meat, leaving 1 inch of headspace.
- Raw Pack Without Added Liquid (Optional, for boneless only): It is also an accepted method to raw pack boneless poultry without adding liquid. In this case, you rely on the meat to release its own juices during processing. For best results with this method, choose juicier cuts and ensure the meat is boneless. Be aware that this method often results in even less liquid cover, leading to more exposed meat and potentially lower quality over time.
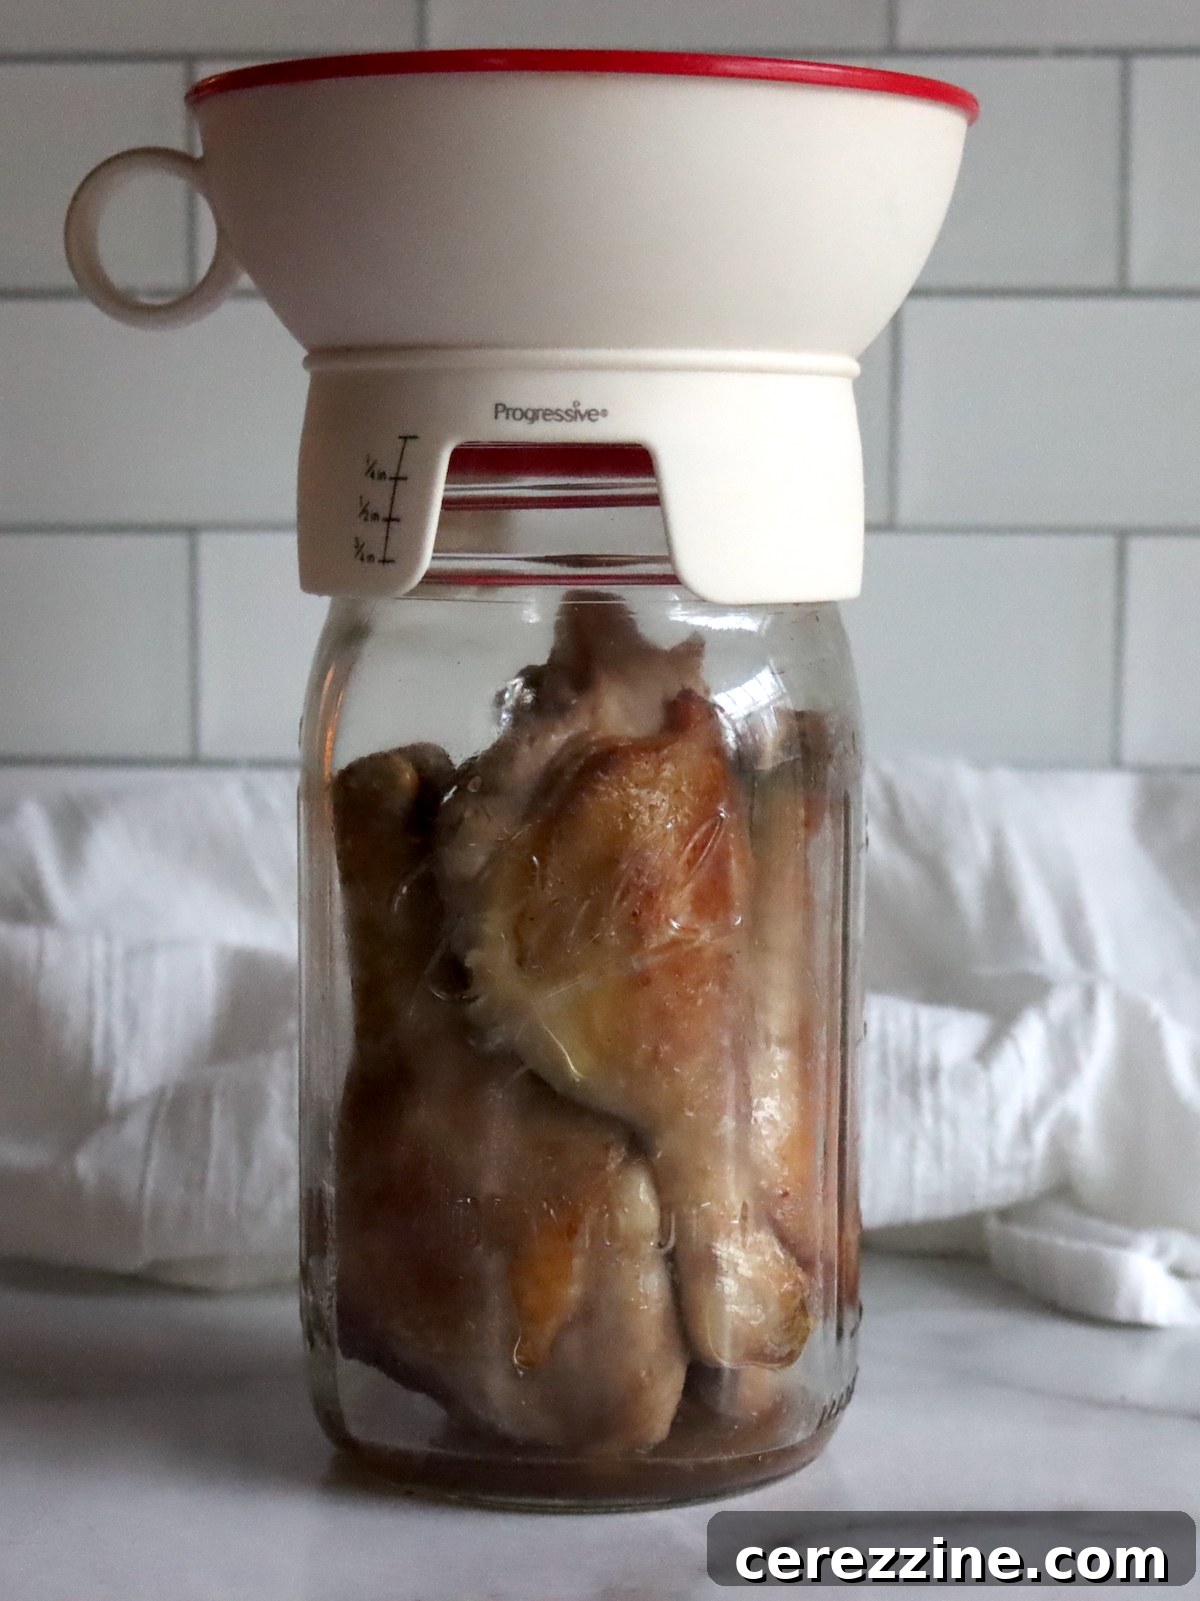
Regardless of the packing method, any meat that is not fully submerged in liquid after processing may discolor and dry out slightly over time. This does not affect the safety of the canned product but can impact its aesthetic appeal and texture. For optimum quality, a hot pack with added broth is generally recommended.
Processing in a Pressure Canner:
Proper pressure canning is critical for safety when preserving low-acid foods like duck and goose. This ensures that harmful bacteria, including those that cause botulism, are destroyed.
- Prepare Jars for Canner: Wipe the rims of the filled jars clean to ensure a good seal. Place new, pre-warmed lids on the jars and secure them with rings tightened to fingertip-tight.
- Load the Canner: Place the jars into the pressure canner on the rack provided, ensuring they do not touch each other. Add the amount of water recommended by your canner manufacturer (usually 2-3 inches).
- Vent Steam: Lock the canner lid into place. Turn the heat to high and allow steam to vent steadily from the canner’s vent port for a full 10 minutes. This purges air from the canner, which is vital for reaching the correct internal temperature.
- Bring to Pressure: After venting, place the weighted gauge or dial gauge cover over the vent port. Allow the canner to come up to the recommended pressure.
Processing Times and Pressures:
The processing times vary based on jar size and whether the meat is bone-in or boneless, as bones conduct heat more efficiently, reducing the required processing time.
- For Dial Gauge Canners (at 0-2,000 feet elevation):
- With Bones: Pints for 65 minutes, Quarts for 75 minutes at 11 lbs pressure.
- Without Bones: Pints for 75 minutes, Quarts for 90 minutes at 11 lbs pressure.
- For Weighted Gauge Canners (at 0-1,000 feet elevation):
- With Bones: Pints for 65 minutes, Quarts for 75 minutes at 10 lbs pressure.
- Without Bones: Pints for 75 minutes, Quarts for 90 minutes at 10 lbs pressure.
Maintain the specified pressure consistently throughout the entire processing time. Adjust heat as necessary to keep the pressure steady.
Cooling and Storage:
Once the processing time is complete:
- Turn Off Heat: Turn off the heat source, but do not move the canner.
- Natural Depressurization: Allow the pressure canner to depressurize naturally until the pressure indicator returns to zero. This typically takes 30-60 minutes. Do not try to force the depressurization process by opening the vent or cooling the canner.
- Wait Before Opening: Once depressurized, wait an additional 5 minutes before carefully removing the lid. Open the lid away from your face to avoid steam burns.
- Cool Jars: Let the jars sit in the canner for another 10 minutes to allow them to equalize temperature gradually.
- Remove Jars: Using a jar lifter, carefully remove the hot jars from the canner and place them upright on a towel or cooling rack on a counter, ensuring they are not touching each other and are away from drafts.
- Final Cooling and Checking Seals: Let the jars cool undisturbed for 12-24 hours. You should hear the “ping” sound as lids seal. After cooling, check the seals by pressing the center of each lid; it should not flex. If a lid did not seal, refrigerate the contents and consume within a few days, or reprocess within 24 hours with a new lid (after reheating the contents if needed).
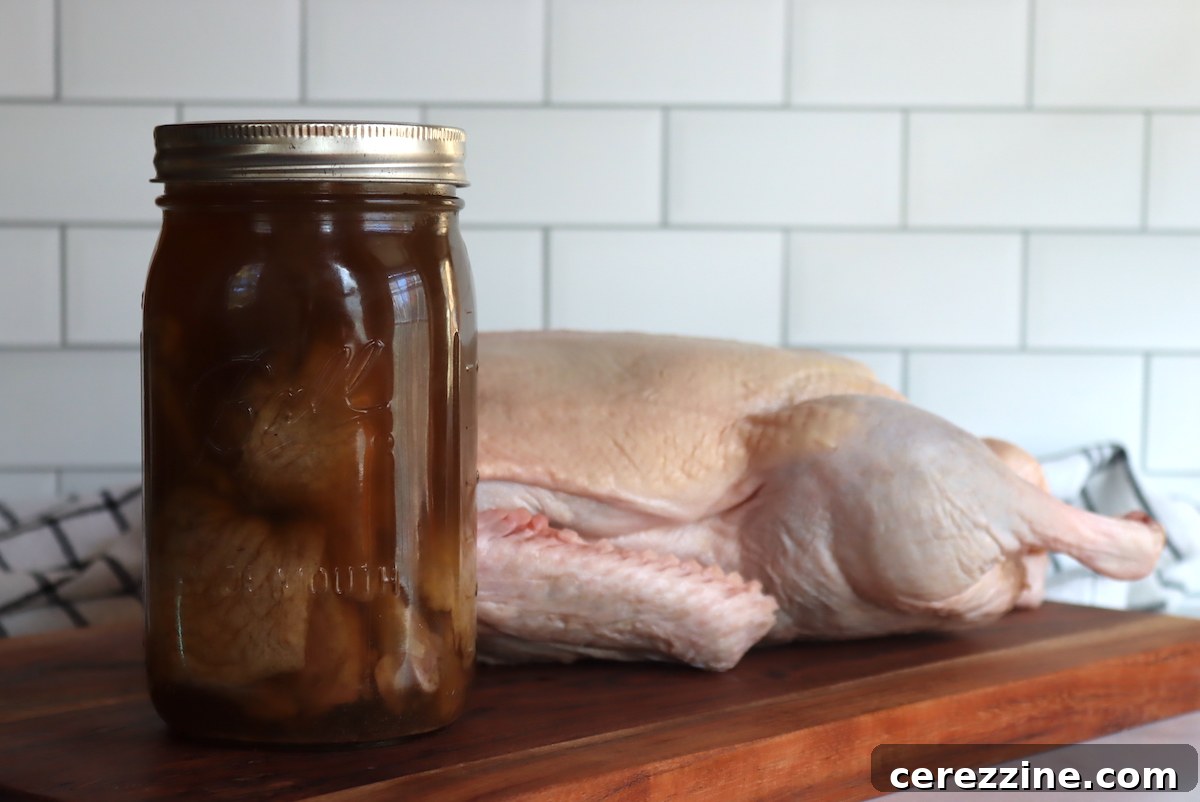
- Label and Store: Remove the rings (they can trap moisture and cause rust or false seals), wipe down the jars, label them with the contents and date, and store in a cool, dark, dry place for up to one year.
Altitude Adjustments for Pressure Canning
When pressure canning, processing times remain constant regardless of altitude, but the pressure must be adjusted to compensate for lower atmospheric pressure at higher elevations. Always check your local altitude and adjust accordingly for safety.
For Dial Gauge Pressure Canners:
- 0 to 2,000 feet in elevation – 11 lbs pressure
- 2,001 to 4,000 feet in elevation – 12 lbs pressure
- 4,001 to 6,000 feet in elevation – 13 lbs pressure
- 6,001 to 8,000 feet in elevation – 14 lbs pressure
For Weighted Gauge Pressure Canners:
- 0 to 1,000 feet in elevation – 10 lbs pressure
- Above 1,000 feet – 15 lbs pressure
Creative Ways to Serve Canned Duck and Goose
Canned duck and goose are incredibly versatile, offering a ready-to-eat protein source that can elevate countless dishes. While you can enjoy them straight from the jar, a little extra preparation can truly bring out their best qualities. Their rich flavor makes them a fantastic substitute for other poultry in many recipes.
Consider shredding the meat and adding it to vibrant salads, hearty sandwiches, or flavorful tacos. It can be tossed with pasta for a quick and satisfying meal, used as a gourmet pizza topping, or incorporated into savory pastries and pot pies. For a comforting classic, serve it alongside creamy mashed potatoes and tender green beans, or with fluffy rice and steamed vegetables. The possibilities are truly endless, encouraging culinary experimentation.
To enhance the flavor profile, gently heat the canned meat with aromatics like minced garlic, sautéed onions, fresh herbs, or bay leaves. Simmering it in a touch of broth, red wine, or even a robust gravy can infuse additional depth and moisture. If you’re pairing it with pasta or rice, consider stirring it into a rich sauce or quickly stir-frying it with colorful vegetables for a complete, nutritious meal. Canned duck and goose simplify meal preparation, allowing you to create impressive dishes with minimal effort.
More Poultry Canning Recipes
Canning Chicken and Mushrooms in Garlic Sauce
Canning Chicken Curry (Ball Canning Recipe)
Canning Chicken Marsala
Chicken Vegetable Soup
Canning Duck or Goose Recipe
A versatile way to preserve duck and goose meat, ready for quick and easy meals right from your pantry!
- Author: Ashley Adamant
- Prep Time: 30 mins
- Cook Time: 1 hr 30 mins (approximate processing time)
- Total Time: 2 hrs (not including depressurization and cooling)
- Yield: Varies (approximately 10 pints or 5 quarts from 24 lbs meat)
Equipment
- Pressure Canner
- Canning Jars (Pint or Quart)
- New Canning Lids and Rings
- Jar Lifter
- Canning Funnel
- Headspace Tool
- Large Pot
- Sharp Knives
- Cutting Board
Ingredients
- Dressed duck or goose, cleaned and prepared
- Salt (optional, for flavor)
- Hot water or broth (optional, for quality)
Instructions
- Begin by selecting freshly killed, dressed animals. Alternatively, fully thaw store-bought birds in the refrigerator.
- Chill the dressed bird for six to twelve hours before canning to relax muscles for a more flavorful, tender finished product.
- Remove any excess fat and cut the meat into pieces suitable for canning jars. Meat can be bone-in or boneless.
- To Hot Pack: Boil, bake, or steam the meat until it’s cooked about two-thirds of the way through.
- Add a teaspoon of salt per quart (or half a teaspoon per pint) to each jar if desired. Fill the jars with partially cooked meat pieces and hot broth or water, leaving 1 inch of headspace.
- To Raw Pack: Add a teaspoon of salt per quart (or half a teaspoon per pint) if desired. Fill the jars with raw meat pieces, leaving 1 inch of headspace. Cover with boiling water or broth. (Raw packing boneless meat without added liquid is also an option, relying on natural juices, though quality may vary).
- Wipe jar rims, place new lids on the jars, and tighten the rings to fingertip-tight.
- Load the jars into the pressure canner, ensuring the manufacturer’s recommended water level is met.
- Securely lock the pressure canner lid.
- Vent steam steadily for 10 minutes, then place the weight or cover the vent and bring the canner up to pressure.
- For Dial Gauge Canners:
- With Bones: Process pints for 65 minutes, quarts for 75 minutes at 11 lbs pressure.
- Without Bones: Process pints for 75 minutes, quarts for 90 minutes at 11 lbs pressure.
- For Weighted Gauge Canners:
- With Bones: Process pints for 65 minutes, quarts for 75 minutes at 10 lbs pressure.
- Without Bones: Process pints for 75 minutes, quarts for 90 minutes at 10 lbs pressure.
- Adjust canning pressure for your altitude as specified in the “Altitude Adjustments” section below.
- After the canning time is complete, turn off the heat but do not move the canner. Let it depressurize naturally until the gauge reads zero.
- Wait five minutes after depressurization, then remove the lid carefully, opening it away from your face.
- Wait another 10 minutes before removing the jars from the canner. Place them on a towel or rack at room temperature to cool undisturbed for 24 hours.
- Check seals, remove rings, label the jars, and store in a cool, dark, dry place for up to one year.
Notes: Please refer to the “Altitude Adjustments” section in the main article for precise pressure settings based on your elevation. Nutrition information is an approximation.
Nutrition
Nutrition information is automatically calculated and should be used as an approximation.
- Calories: 283kcal
- Protein: 8g
- Fat: 28g
- Saturated Fat: 9g
- Polyunsaturated Fat: 4g
- Monounsaturated Fat: 13g
- Cholesterol: 53mg
- Sodium: 44mg
- Potassium: 146mg
- Vitamin A: 118IU
- Vitamin C: 2mg
- Calcium: 8mg
- Iron: 2mg
More Meat Canning Recipes
Beyond poultry, a well-stocked pantry can include a variety of other canned meats. Explore these meat canning recipes to expand your home preservation skills and ensure you always have delicious, convenient options on hand:
- Canning Beef
- Canning Ground Beef
- Canning Leftover Turkey
- Canning Beef Pot Pie Filling