
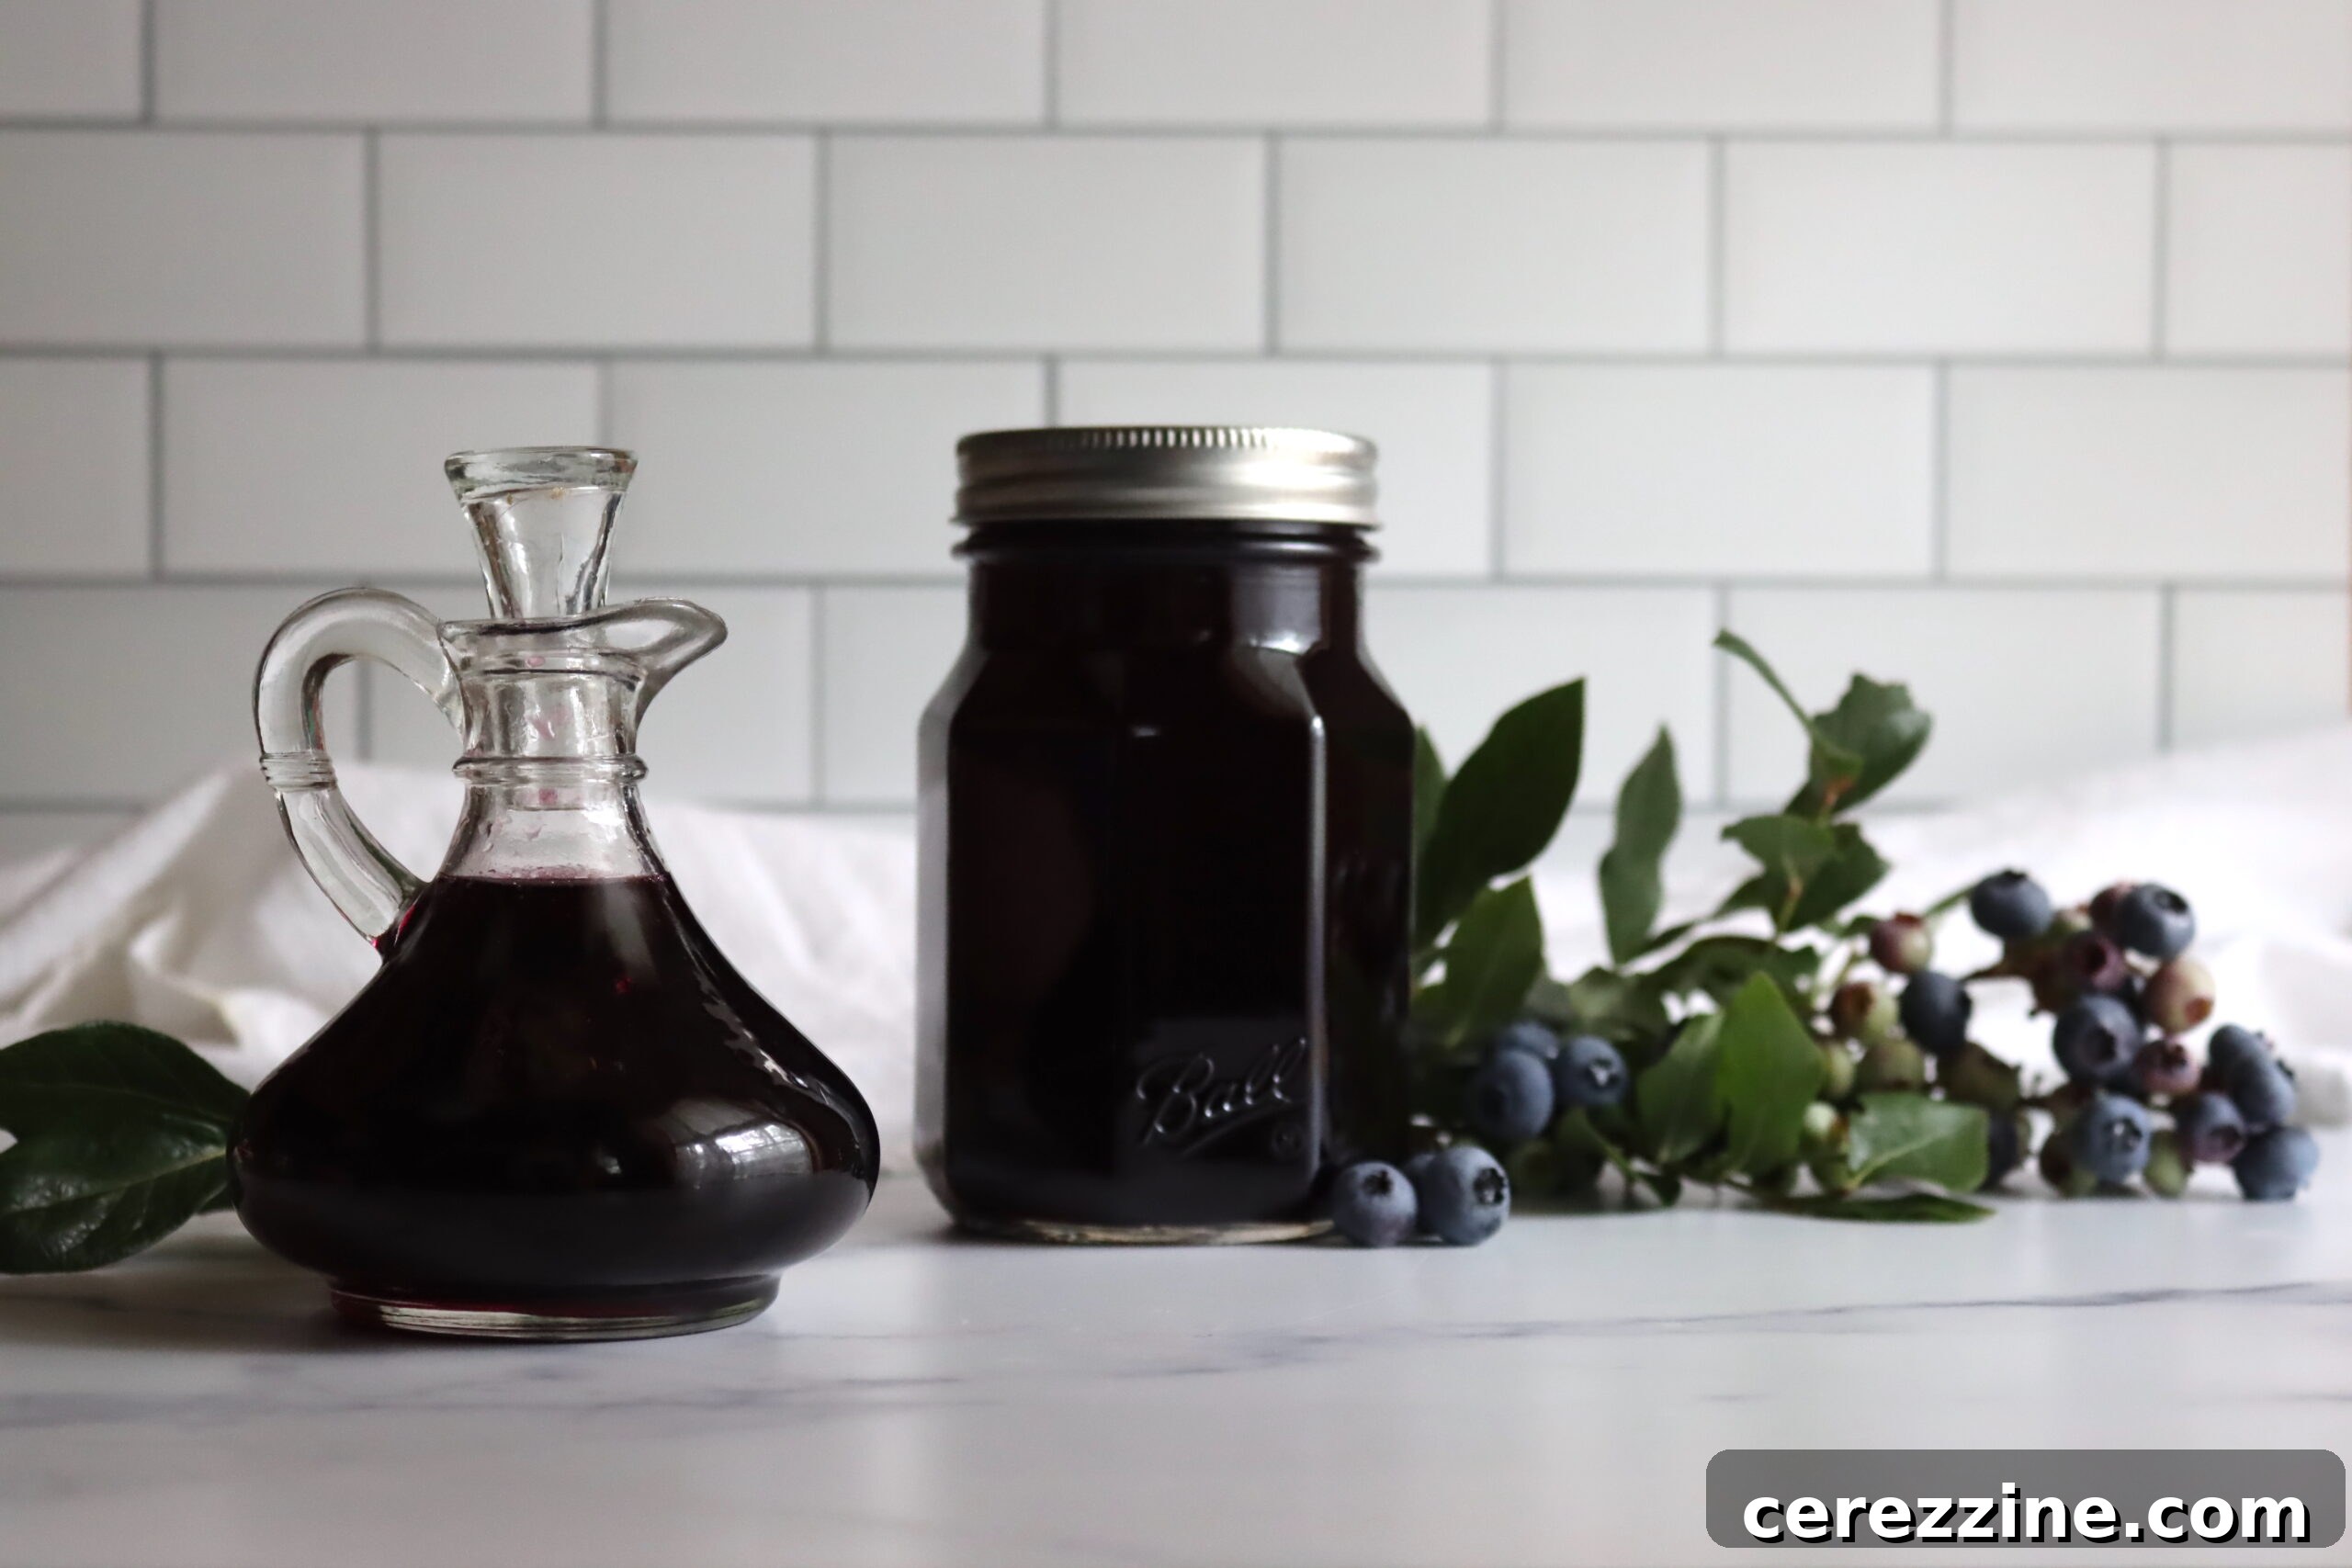
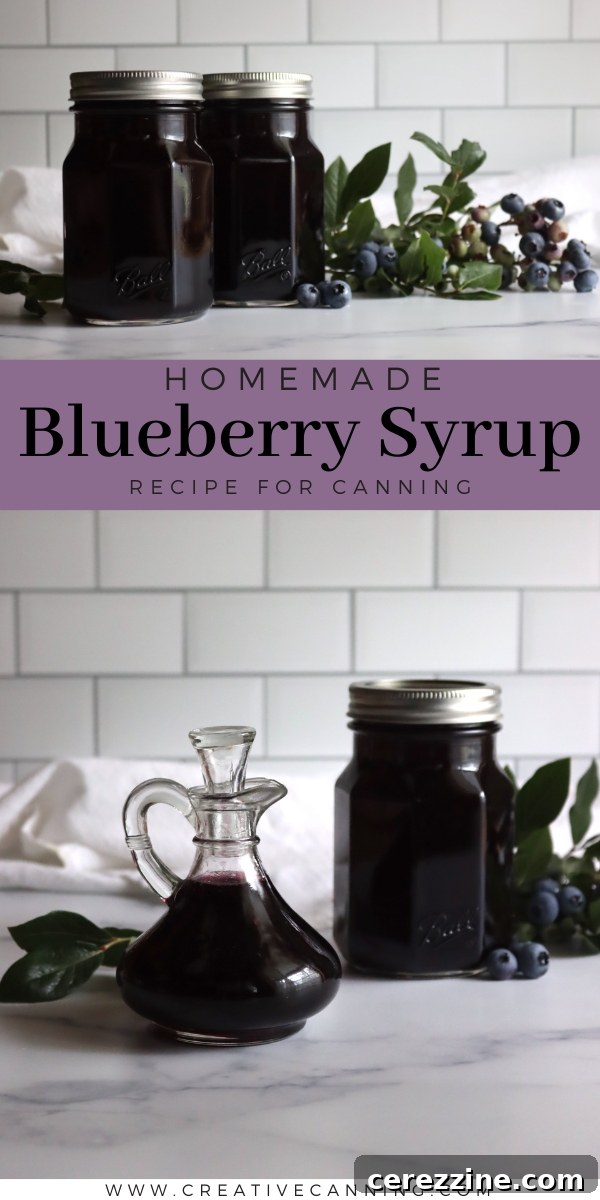
Experience the unparalleled joy of homemade blueberry syrup, a truly divine creation that elevates everything from breakfast staples to decadent desserts and sophisticated mixed drinks. Crafting this luscious syrup from scratch is remarkably simple, whether you use fresh, plump blueberries picked at their peak or convenient frozen berries. The best part? You can easily preserve this liquid gold through canning, ensuring you have a taste of summer’s bounty to savor all year long.
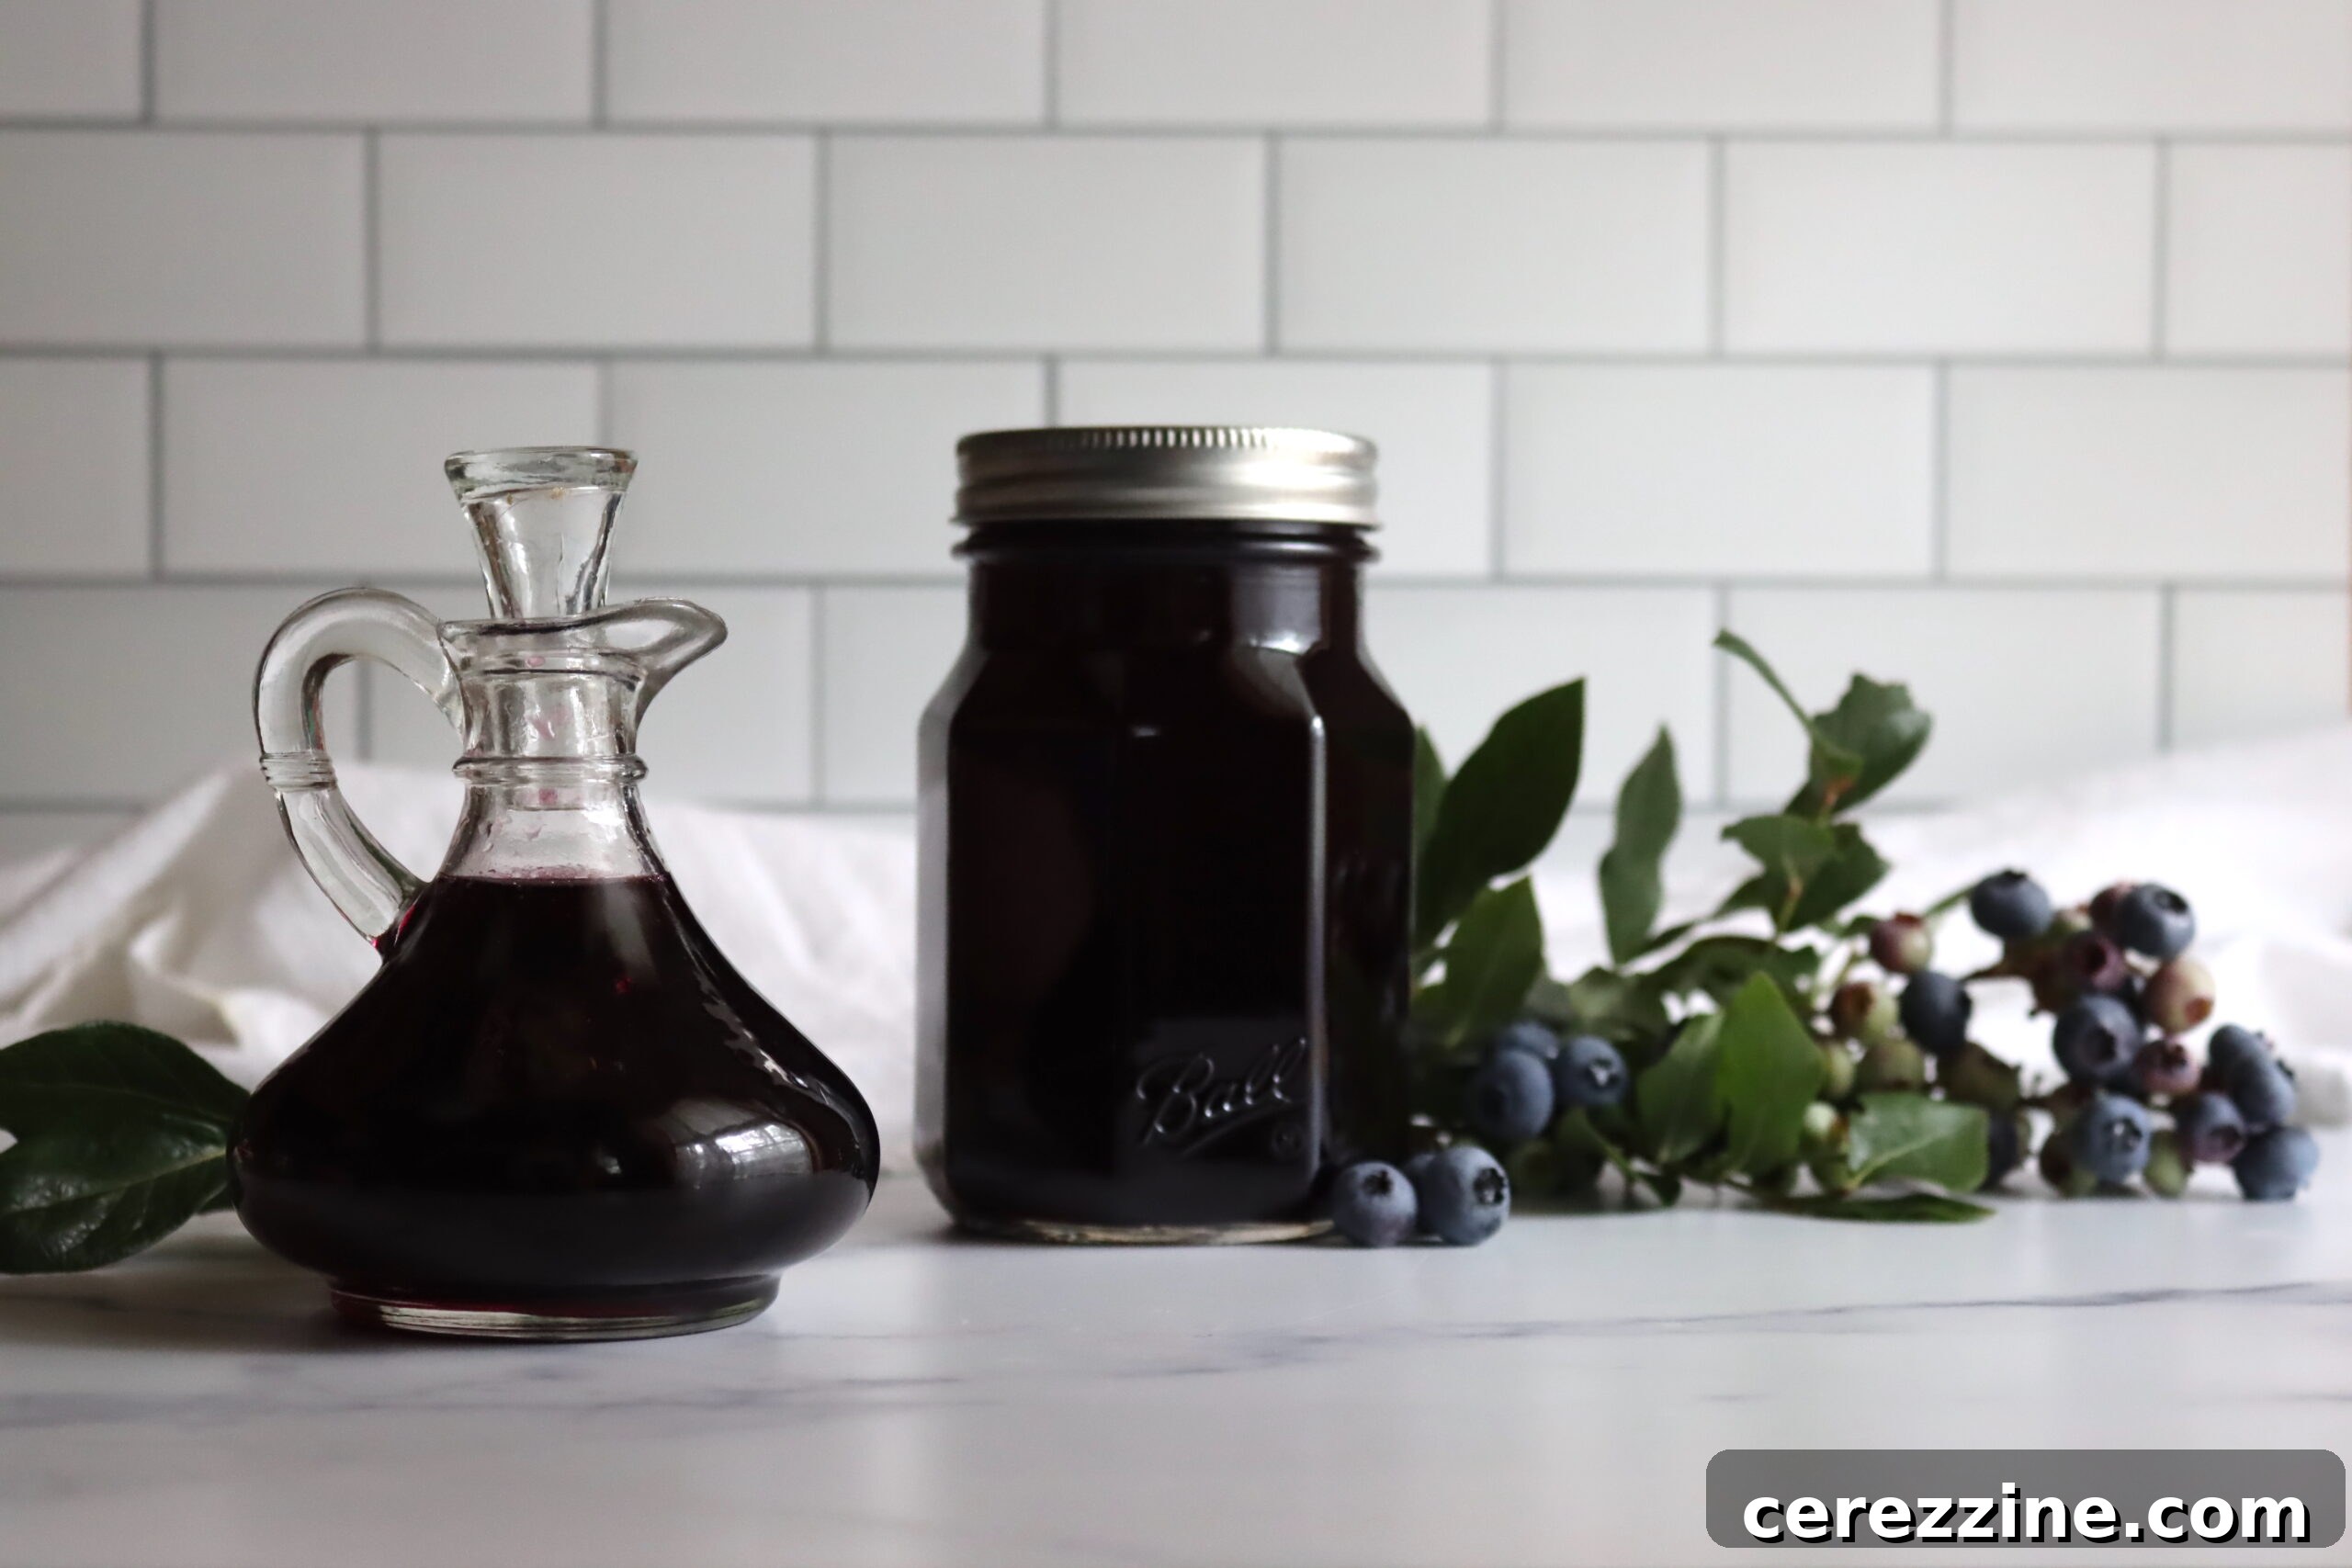
Homemade Blueberry Syrup: Your Ultimate Guide to Canning and Year-Round Enjoyment
Blueberries are more than just a delicious fruit; they are tiny powerhouses of flavor and nutrition, bursting with antioxidants and natural sweetness. For aficionados of this vibrant berry, transforming them into a rich, homemade blueberry syrup is an absolute must. This delightful condiment not only captures the essence of fresh blueberries but also offers a versatile way to infuse your culinary creations with their tantalizing taste.
While blueberry season might be fleeting, the desire to enjoy their captivating flavor certainly isn’t. This is where the magic of canning comes in. Preserving blueberry syrup through home canning allows you to lock in that vibrant, fruity taste, making it available for countless uses throughout the entire year. Imagine drizzling warm, homemade blueberry syrup over fluffy pancakes on a chilly winter morning, or adding a splash to your favorite cocktail during an autumn evening. This guide will walk you through every step of making and canning your own blueberry syrup, ensuring a safe, delicious, and lasting product perfect for pancakes, waffles, French toast, ice cream, and so much more.
Why Embrace Homemade Blueberry Syrup?
Opting for homemade blueberry syrup over store-bought alternatives comes with a host of benefits. Firstly, you have complete control over the ingredients, allowing you to choose organic berries, adjust sugar levels to your preference, and avoid any artificial preservatives or colors. This means a purer, more natural flavor that truly shines. Secondly, it’s a wonderfully rewarding culinary project. The aroma of simmering blueberries filling your kitchen is an experience in itself, and the satisfaction of seeing beautifully sealed jars of your own handcrafted syrup lined up in the pantry is unmatched. Finally, homemade syrup is often more cost-effective, especially if you can source blueberries in bulk during peak season or grow them yourself.
The Art of Canning: Preserving Summer’s Sweetness
Canning is an age-old preservation method that extends the shelf life of seasonal produce, making it possible to enjoy fresh flavors long after their natural season has passed. For blueberry syrup, water bath canning is a safe and effective technique. This process involves heating sealed jars in boiling water, which creates a vacuum seal as they cool, preventing spoilage and maintaining the syrup’s quality for months, even years. It’s a simple process that, once mastered, opens up a world of seasonal preservation possibilities.
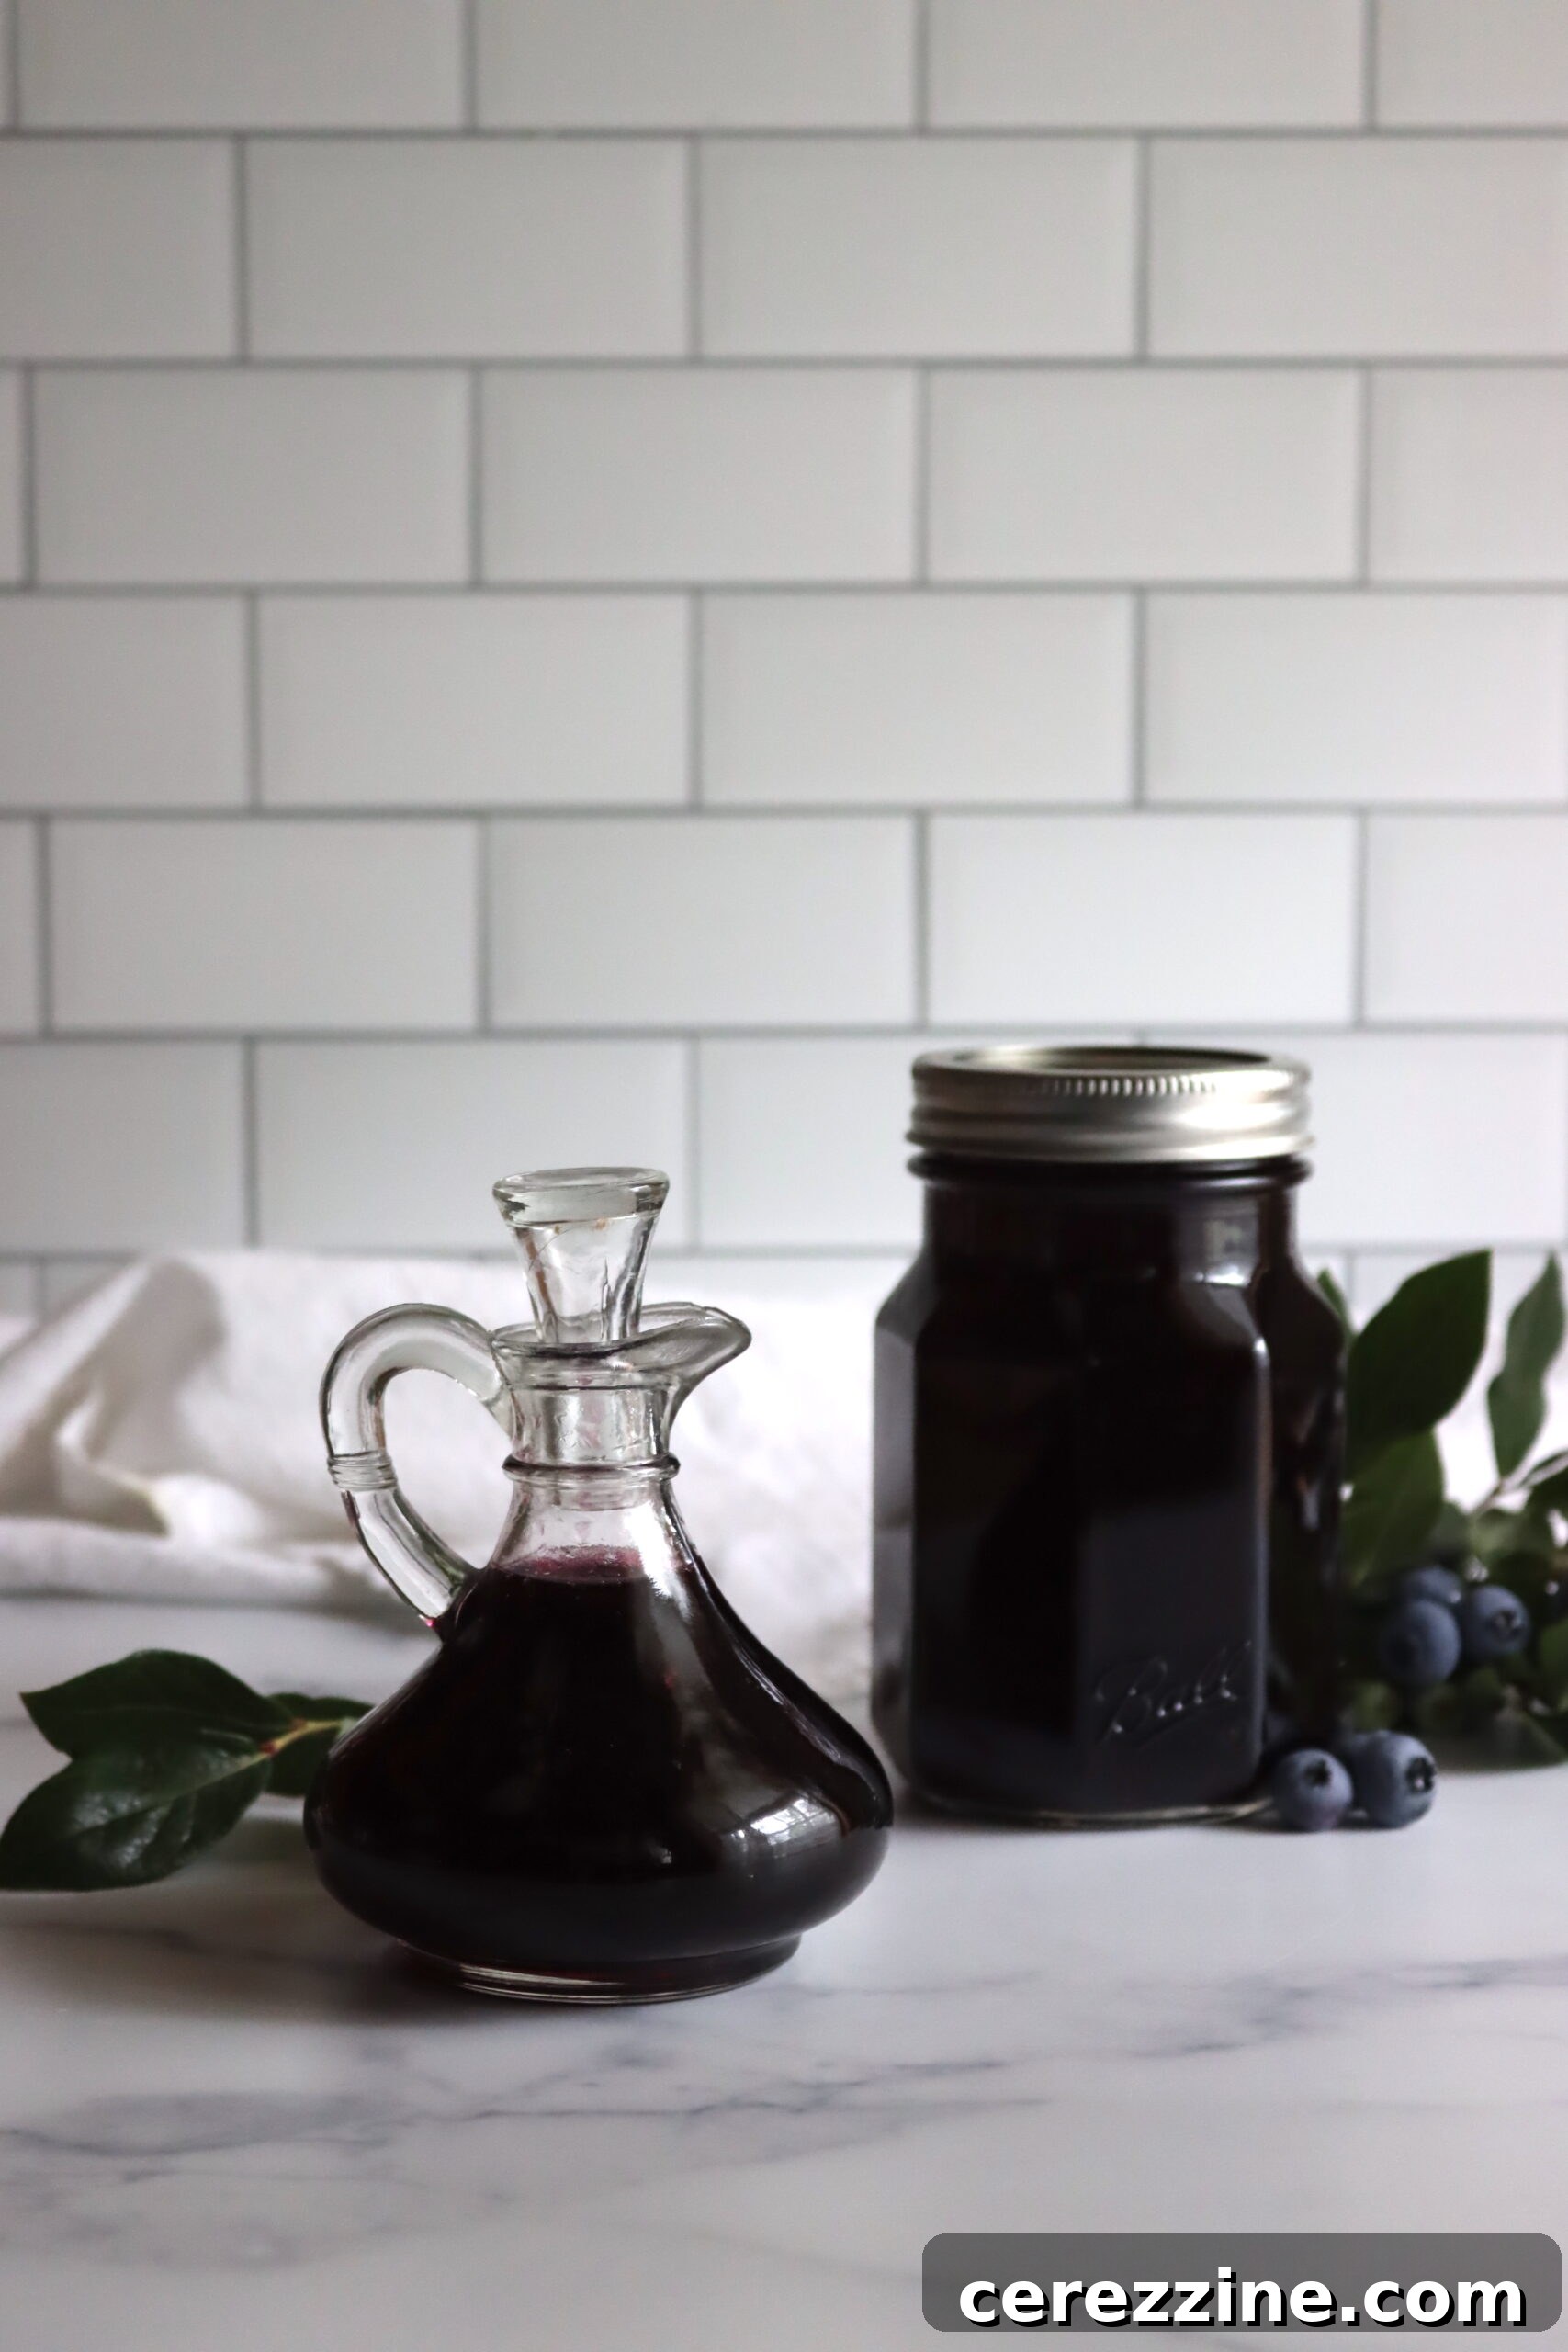
Essential Ingredients for Your Perfect Blueberry Syrup
This reliable canning recipe is adapted from a tested method by Ball Canning, ensuring safety and quality. The original recipe, found in “The All New Ball Book of Canning and Preserving,” ingeniously uses blueberry juice for the syrup, reserving the delicious pulp for making blueberry butter—another delightful spread perfect for pancakes.
To prepare a canning batch yielding four ½ pint (250 ml) jars of exquisite blueberry syrup, you will need straightforward ingredients:
- 4 ¼ lb (2 kg) fresh or frozen blueberries
- 3 cups (750 ml) water, divided
- 3 cups (375 ml) granulated sugar
- 1 ½ tbsp (22 ml) bottled lemon juice (essential for canning safety)
- Cheesecloth
As a bonus, this recipe leaves you with several cups of flavorful blueberry pulp, a fantastic byproduct that can be used in smoothies, or transformed into additional batches of blueberry jam or rich blueberry butter, maximizing your harvest.
Choosing the Best Blueberries for Syrup
The foundation of exceptional blueberry syrup lies in the quality of your berries. Whether you opt for fresh or frozen, select blueberries that are plump, firm, and richly colored. If you’re using fresh berries, look for ones without any signs of mold or bruising. Hand-picking from your garden or a local farm guarantees peak freshness and flavor. For the best results, ensure your chosen berries are fully ripe, as this is when their natural sweetness and complex flavors are most pronounced. Before you begin, always rinse your berries thoroughly under cold water and remove any lingering stems or leaves.
Understanding the Role of Each Ingredient
Each ingredient in this recipe plays a crucial role:
- Blueberries: The star of the show, providing the main flavor and vibrant color. Fresh berries offer the brightest taste, but frozen berries work just as well and are convenient for year-round syrup making.
- Water: Used to help extract the juice from the blueberries and later to form the syrup base with sugar.
- Granulated Sugar: Essential for both flavor and preservation. It gives the syrup its characteristic sweetness and helps achieve the desired thick consistency. Sugar also acts as a preservative in canned goods, inhibiting microbial growth.
- Bottled Lemon Juice: This is a critical ingredient for canning safety. Lemon juice provides the necessary acidity to ensure a safe pH level for water bath canning. Always use bottled lemon juice, as its acidity is standardized, unlike fresh lemon juice which can vary.
- Cheesecloth: Used for straining the blueberry pulp from the juice, resulting in a clear, smooth syrup.
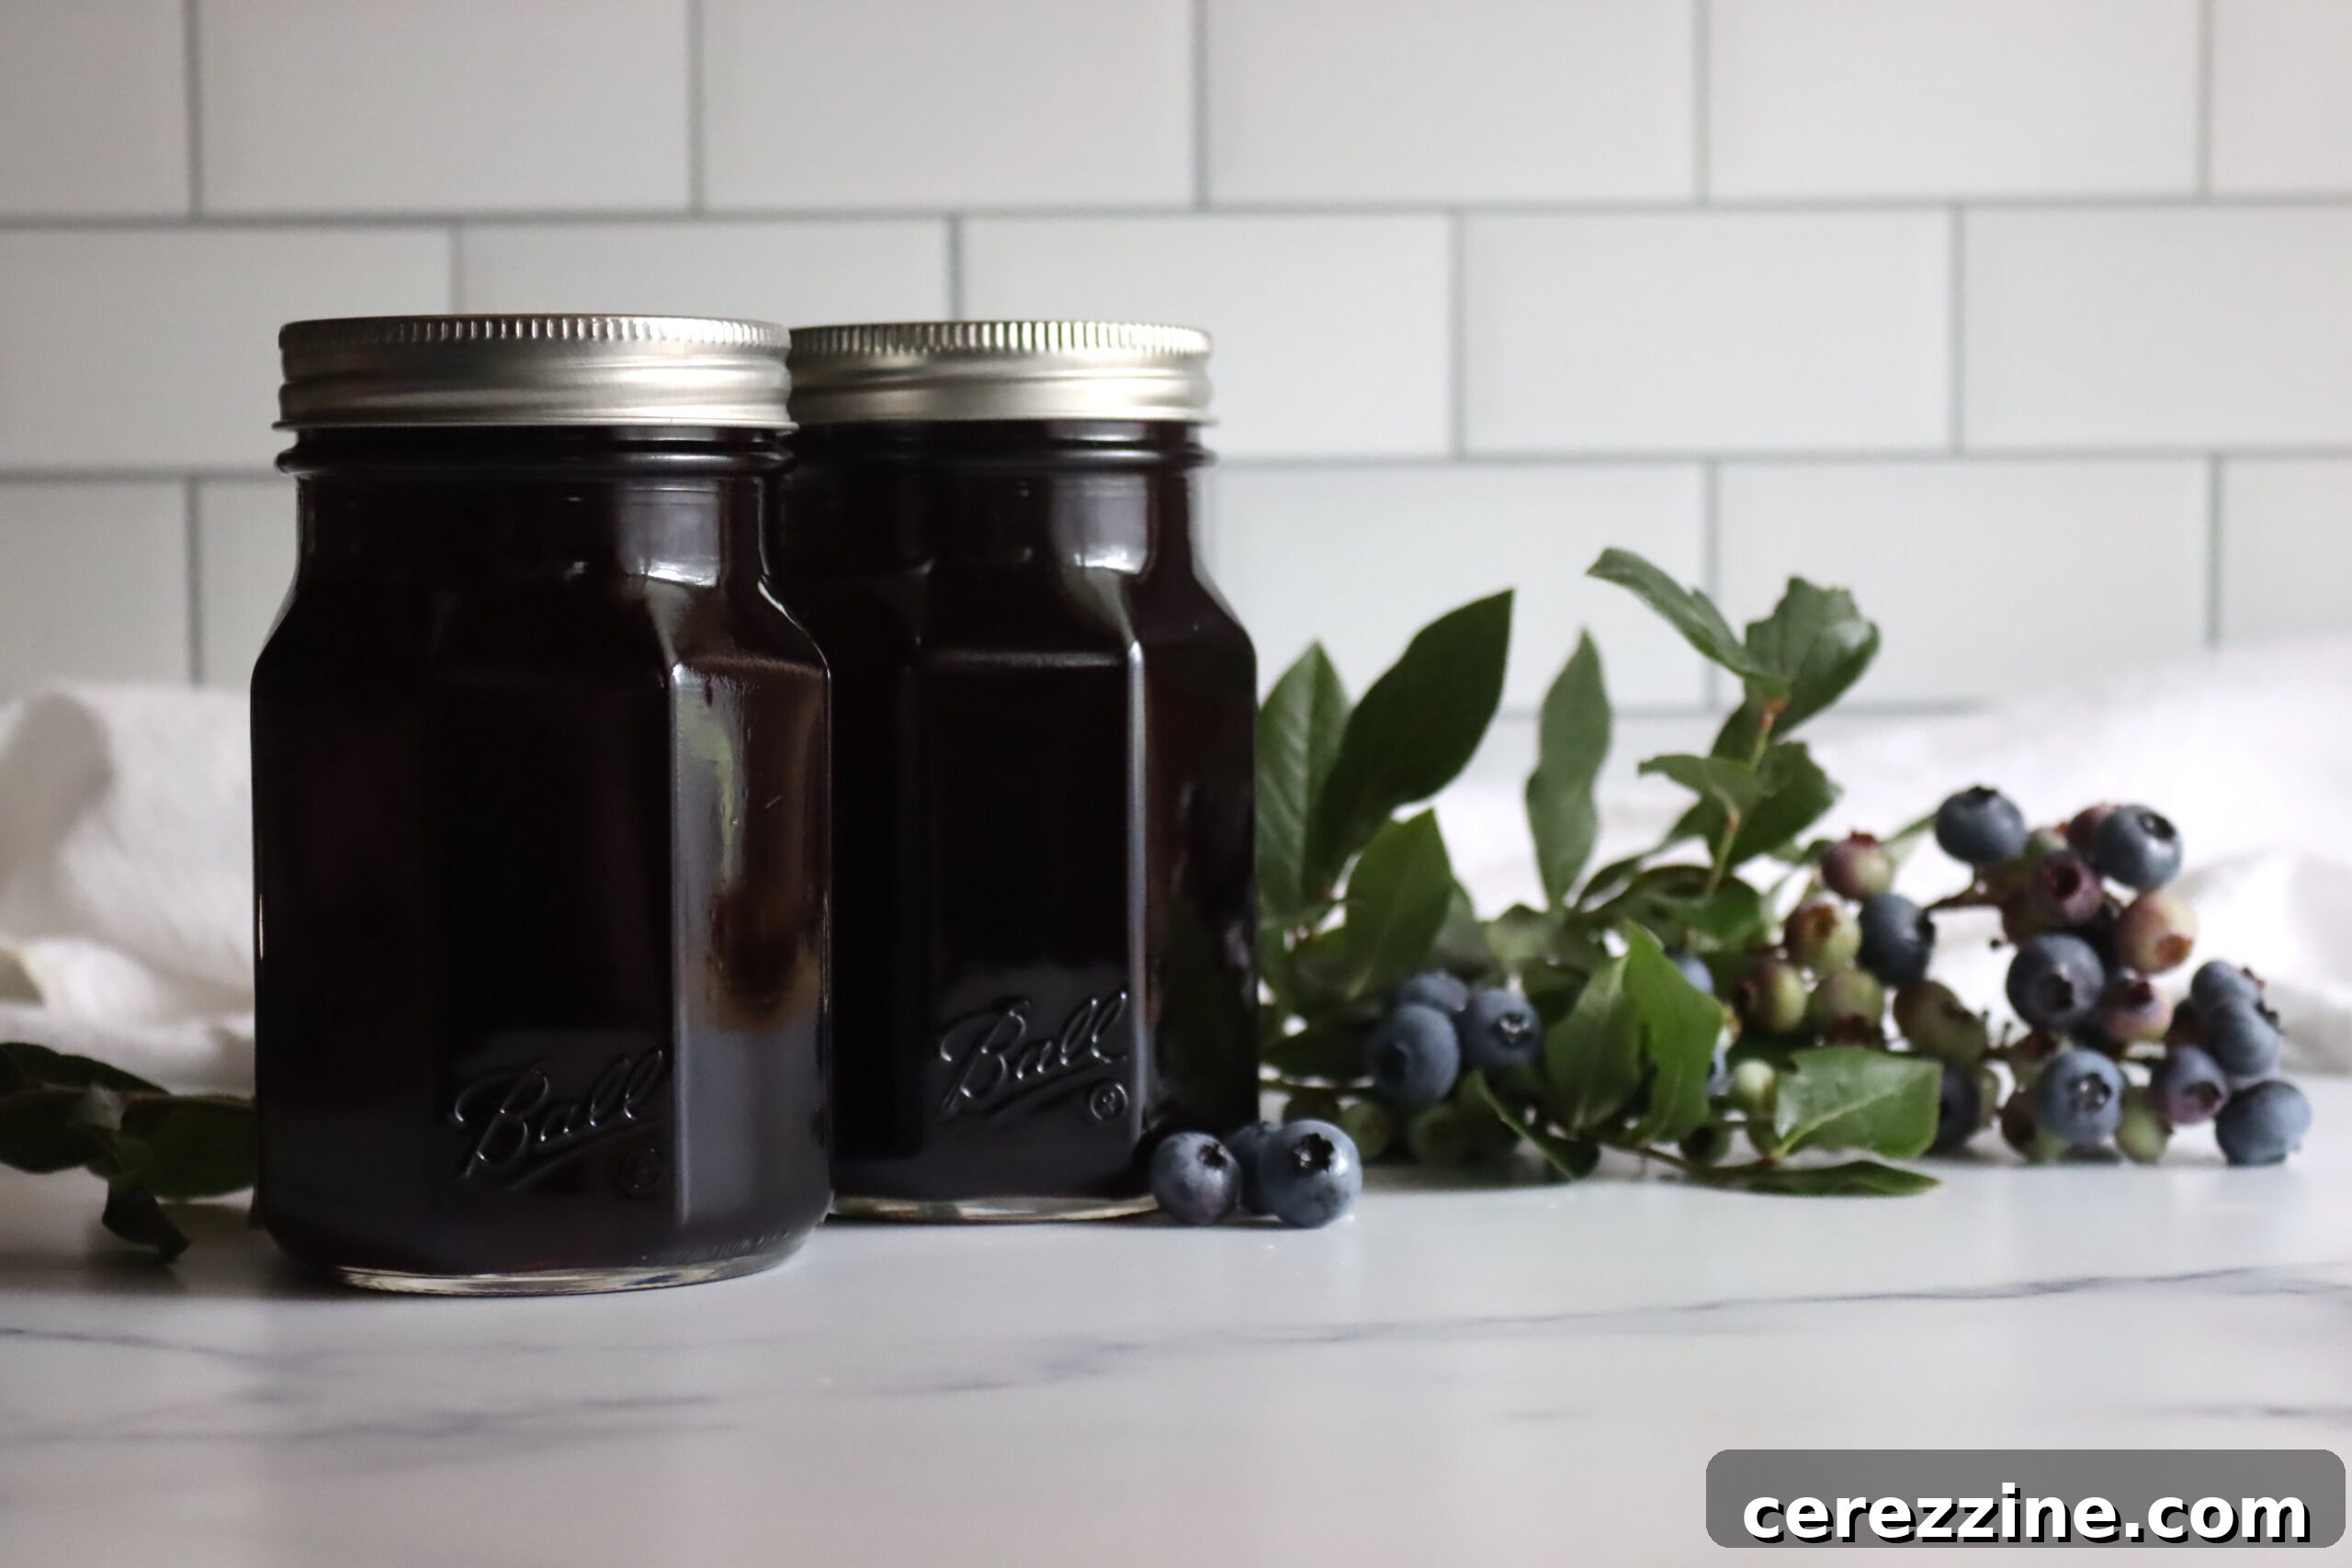
Step-by-Step Guide: Crafting and Canning Your Blueberry Syrup
Making homemade blueberry syrup and preserving it through canning is a straightforward process that yields incredibly rewarding results. Follow these steps carefully to ensure a delicious and safely canned product.
Phase 1: Preparing Your Equipment and Berries
Before you even touch the blueberries, it’s crucial to prepare your canning equipment. If you plan to can your syrup immediately, set up your water bath canner, sterilize your jars, and have new lids and bands ready. Wash and drain your chosen blueberries thoroughly, removing any unwanted stems or leaves.
Add the washed blueberries to a large eight-quart (eight-liter) stainless steel or enameled Dutch oven. Pour in two cups of water. Bring this mixture to a rolling boil over medium-high heat. As it heats, use a potato masher to gently crush the berries, releasing their flavorful juices. Once boiling, reduce the heat and let it simmer for about 12 minutes, stirring frequently to prevent sticking and ensure even cooking.
Phase 2: Extracting the Pure Blueberry Juice
The next step is to separate the juice from the pulp for a clear, smooth syrup. Line a fine wire-mesh strainer with three layers of damp cheesecloth. Position this strainer over a large, clean bowl. Carefully pour the hot blueberry mixture into the prepared strainer.
Resist the urge to press down on the pulp. While it might seem like you’re extracting more juice, pressing can force tiny pulp particles through the cheesecloth, resulting in a cloudy syrup. Allow the mixture to stand undisturbed for about 30 minutes, or until you’ve collected approximately 2.5 cups (625 ml) of pure blueberry juice. The dripping will naturally slow and stop when most of the juice has been extracted. Remember to reserve the leftover blueberry pulp – about 5.5 cups (1.3 liters) – it’s perfect for making blueberry butter, jam, or adding to smoothies.
Phase 3: Creating the Rich Syrup Base
Now it’s time to transform the juice into syrup. In a large stainless steel saucepan, combine three cups of granulated sugar and the remaining one cup of water. Bring this mixture to a boil over medium-high heat, stirring continuously until all the sugar has completely dissolved. Continue to boil the mixture, uncovered, for about 20 minutes, or until it reaches 220 degrees Fahrenheit (104 Celsius) on a candy thermometer. Stir often during this stage to prevent the sugar from scorching at the bottom of the pan. This temperature ensures the syrup reaches the proper consistency. Once the sugar mixture reaches temperature, stir in your collected blueberry juice and the bottled lemon juice.
Return the combined mixture to a boil, then reduce the heat and let it simmer, uncovered, for approximately five more minutes. Give it one final stir, then remove it from the heat. At this point, you might see some foam on the surface; use a spoon to skim it off and discard it, as this will ensure a clearer, more appealing finished product.
Phase 4: Mastering the Water Bath Canning Process
With your syrup ready, it’s time for canning. Ladle the hot syrup into your prepared hot jars, making sure to leave ¼ inch (.5 cm) of headspace from the rim of the jar. This headspace is crucial for proper sealing and to allow for expansion during processing. Use a non-metallic tool to gently remove any trapped air bubbles by running it around the inside of the jar. Wipe the rims of the jars meticulously with a clean, damp cloth to remove any syrup residue, which could prevent a proper seal. Center the lids on the jars, then apply the bands and adjust them until they are fingertip-tight – snug but not overly tight.
Carefully place the filled jars into your boiling water bath canner. Ensure the jars are fully submerged by at least an inch of water. Bring the water to a rolling boil, and only then begin timing. Process the jars for 10 minutes. If you are at an elevation above 6,000 feet, increase the canning time to 15 minutes to account for lower boiling points. After the processing time is complete, turn off the heat and remove the canner lid. Allow the jars to rest in the hot water for five minutes before carefully removing them. This helps prevent siphoning and aids in a better seal.
Ensuring a Proper Seal: Your Canning Success Check
Transfer the hot jars from the canner to a towel-lined countertop, leaving at least an inch of space between each jar. Let them cool undisturbed for 12 to 24 hours. During this cooling period, you should hear satisfying “pop” or “ping” sounds, indicating that the vacuum seal has formed. After 12-24 hours, check each jar’s seal by pressing firmly on the center of the lid. If the lid is firm and doesn’t flex or pop up and down, the jar is properly sealed. If a lid yields when pressed, it means the jar hasn’t sealed correctly. Any unsealed jars should be immediately refrigerated, and their contents consumed within a few weeks. Label your sealed jars with the contents and date, and store them in a cool, dark place away from direct sunlight.
Elevate Your Meals: Creative Ways to Enjoy Blueberry Syrup
Now that you have your beautifully canned blueberry syrup, the possibilities for enjoyment are endless. This versatile condiment can transform ordinary dishes into extraordinary culinary experiences.
Classic Pairings and Beyond
The most iconic use for blueberry syrup is, of course, as a decadent topping. Drizzle it generously over a stack of warm, fluffy pancakes, crispy waffles, or golden French toast. But don’t stop there! It’s equally delightful poured over a bowl of creamy yogurt or hot oatmeal, adding a burst of natural sweetness and fruit flavor to your breakfast. For dessert, elevate a scoop of vanilla ice cream, a slice of cheesecake, or even a simple panna cotta with a generous swirl of this vibrant syrup. It also makes a fantastic glaze for baked goods or a delightful addition to fruit salads.
Sweet & Savory Adventures
Feeling adventurous? Blueberry syrup isn’t just for sweet treats. Its fruity tang can beautifully complement savory dishes. Try drizzling it over roasted vegetables like carrots or sweet potatoes for a unique sweet-and-savory twist. It can also be incorporated into marinades for chicken or pork, adding a delightful complexity to grilled or roasted meats. Imagine a blueberry balsamic glaze for a gourmet touch!
Cocktails and Beverages
Beyond food, blueberry syrup shines in beverages. It’s an excellent natural sweetener for iced tea or lemonade, adding a refreshing fruity note. For a sophisticated alcoholic treat, concoct a blueberry-lemon cocktail. In a shaker filled with ice, combine 1 oz of gin, 1 oz of fresh lemon juice, 1 oz of your homemade blueberry syrup, and a dash of orange bitters. Shake well until thoroughly chilled, then strain into an ice-filled glass. Garnish with a lemon twist or fresh blueberries for an elegant presentation. It’s also fantastic in non-alcoholic mocktails or sparkling water.
Can you serve canned blueberry syrup cold? Absolutely! It’s perfectly delicious straight from the jar. However, if you prefer it warm, simply heat it gently in a saucepan over medium heat. For an extra layer of flavor, stir in a pinch of cinnamon or nutmeg while warming. This transforms it into a luscious blueberry sauce, ready to serve whenever a craving strikes.
Blueberry Syrup Recipe
This recipe yields approximately 4 half-pint jars (8 oz each), providing around 64 servings (1 tablespoon per serving).
Prep Time: 10 minutes | Cook Time: 10 minutes | Additional Time: 10-30 minutes (straining)
Equipment
- Water Bath Canner (with rack)
- Canning jars (four ½ pint or 250 ml), new lids, and bands
- Large stainless steel or enameled Dutch oven (8-quart/8-liter capacity)
- Fine wire-mesh strainer
- Cheesecloth
- Potato masher
- Large stainless steel saucepan
- Candy thermometer (optional, but recommended for accuracy)
- Canning funnel
- Jar lifter
- Bubble remover/headspace tool
- Clean cloths/towels
Ingredients
- 4 ¼ lb (2 kg) fresh or frozen blueberries
- 3 cups (750 ml) water, divided
- 3 cups (375 ml) granulated sugar
- 1 ½ tbsp (22 ml) bottled lemon juice
- Cheesecloth
Instructions
- If canning, prepare your water bath canner, sterilize jars, and have lids and rings ready according to manufacturer’s instructions before you begin making the syrup.
- Wash and drain the blueberries thoroughly. Remove any stems or leaves.
- Add the washed blueberries to an eight-quart (eight-liter) stainless steel or enameled Dutch oven along with two cups of water.
- Bring the mixture to a boil over medium-high heat. As it heats, use a potato masher to crush the berries, releasing their juices. Once boiling, reduce the heat and simmer for 12 minutes, stirring often.
- Line a fine wire-mesh strainer with three layers of damp cheesecloth. Place the strainer over a large bowl to collect the juice.
- Pour the hot blueberry mixture into the prepared strainer. Do not press down on the pulp, as this can force small particles into the syrup, making it cloudy.
- Allow the mixture to stand for 30 minutes, or until you’ve collected about 2.5 cups (625 ml) of juice (or until the mixture no longer drips). Reserve the blueberry pulp to make jam, butter, or for other uses (you will have approximately 5.5 cups or 1.3 liters of pulp).
- In a large stainless steel saucepan, combine three cups of sugar and the remaining one cup of water. Bring to a boil over medium-high heat, stirring until the sugar completely dissolves.
- Boil uncovered for 20 minutes, or until the mixture reaches 220 degrees Fahrenheit (104 Celsius) on a candy thermometer. Stir often to prevent scorching. Then, stir in the collected blueberry juice and bottled lemon juice.
- Return the entire mixture to a boil, then reduce the heat and simmer, uncovered, for about five minutes. Stir once, then remove it from the heat. Skim off and discard any foam that has formed on the surface.
- Ladle the hot syrup into your prepared hot jars, leaving ¼ inch (.5 cm) of headspace. Use a bubble remover to remove any air bubbles. Wipe the jar rims clean with a damp cloth. Center the lids on the jars, apply the bands, and adjust them until they are fingertip-tight.
- Process the jars in a boiling water bath for 10 minutes. Remember to only start timing when the water in the canner reaches a rolling boil. For altitudes above 6,000 feet, increase processing time to 15 minutes.
- After 10 minutes, turn off the heat and remove the canner lid. Wait five minutes before carefully removing the jars from the canner.
- Place the hot jars on a towel-lined countertop, leaving space between them, and let them cool undisturbed for 12 to 24 hours. You should hear the lids “pop” as they seal.
- After cooling, check the seals by pressing the center of each lid. If it’s firm and doesn’t flex, the jar is sealed. Label and store sealed jars in a cool, dark place. Refrigerate any unsealed jars and consume within a few weeks.
Nutrition Information (per serving, approximately)
Nutrition information is automatically calculated and should be used as an approximation only. Individual results may vary based on specific ingredients and preparation methods.
- Calories: 53 kcal
- Carbohydrates: 14 g
- Protein: 0.2 g
- Fat: 0.1 g
- Saturated Fat: 0.01 g
- Polyunsaturated Fat: 0.04 g
- Monounsaturated Fat: 0.01 g
- Sodium: 1 mg
- Potassium: 24 mg
- Fiber: 1 g
- Sugar: 12 g
- Vitamin A: 16 IU
- Vitamin C: 3 mg
- Calcium: 2 mg
- Iron: 0.1 mg
Explore More Blueberry Canning Adventures
If you’ve enjoyed making and canning blueberry syrup, you’ll be thrilled to discover the myriad of other ways to preserve these versatile berries in a jar. Expand your canning repertoire with these fantastic blueberry recipes:
- Canning Blueberry Pie Filling: Prepare delicious pie filling ahead of time.
- Blueberry Butter: A rich, smooth spread for toast or pastries.
- Blueberry Lemonade Concentrate: Perfect for refreshing drinks all summer long.
- Blueberry Rhubarb Jam: A delightful combination of sweet blueberries and tart rhubarb.
- Simple Blueberry Jam (without Pectin): A classic jam with minimal fuss.
Happy canning!