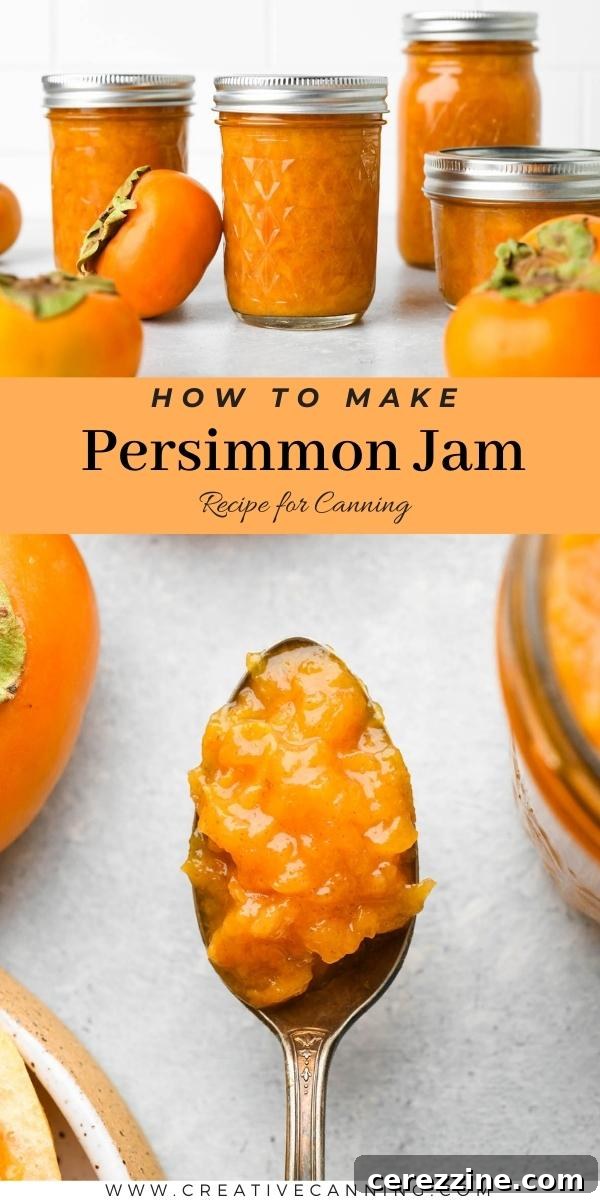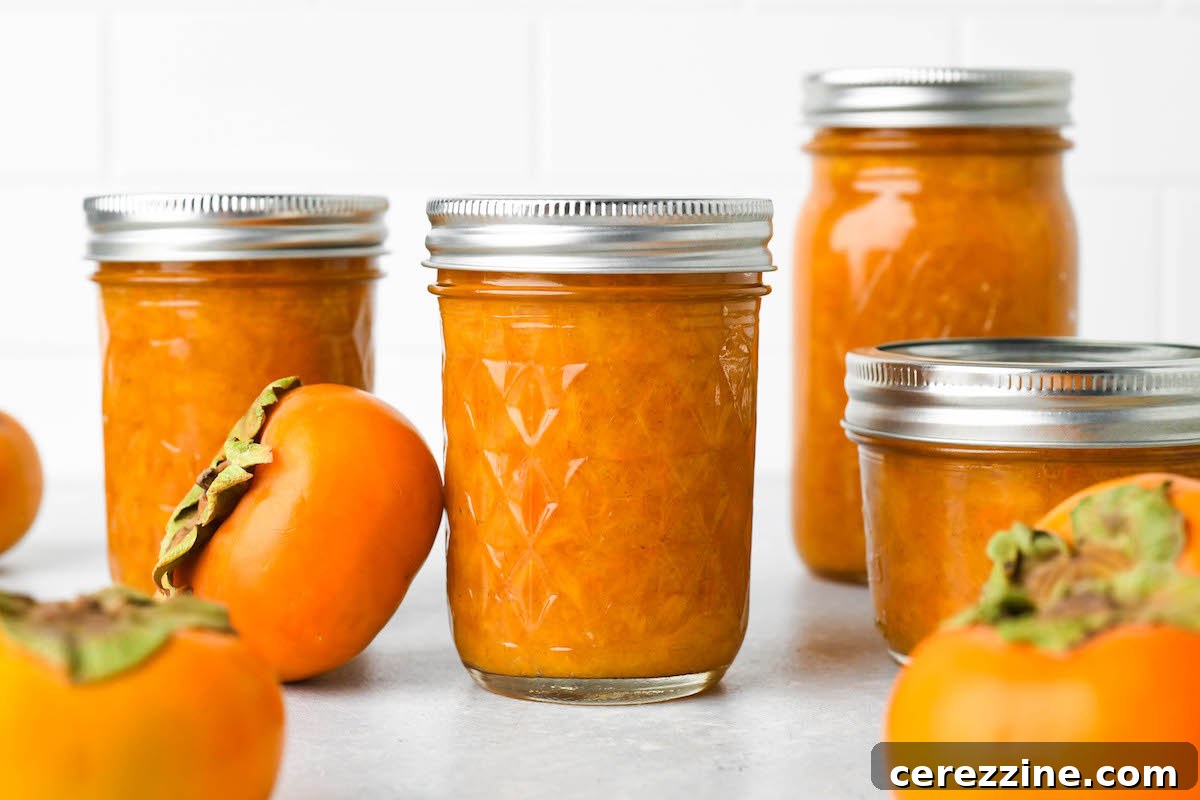
Persimmon jam is more than just a preserve; it’s a culinary treasure that captures the fleeting sweetness of the season. With its vibrant color and unique flavor profile, homemade persimmon jam stands out as a delightful way to enjoy these autumnal fruits. Best of all, it comes together quickly with just a few simple ingredients, making it an incredibly rewarding project for any home preserver.
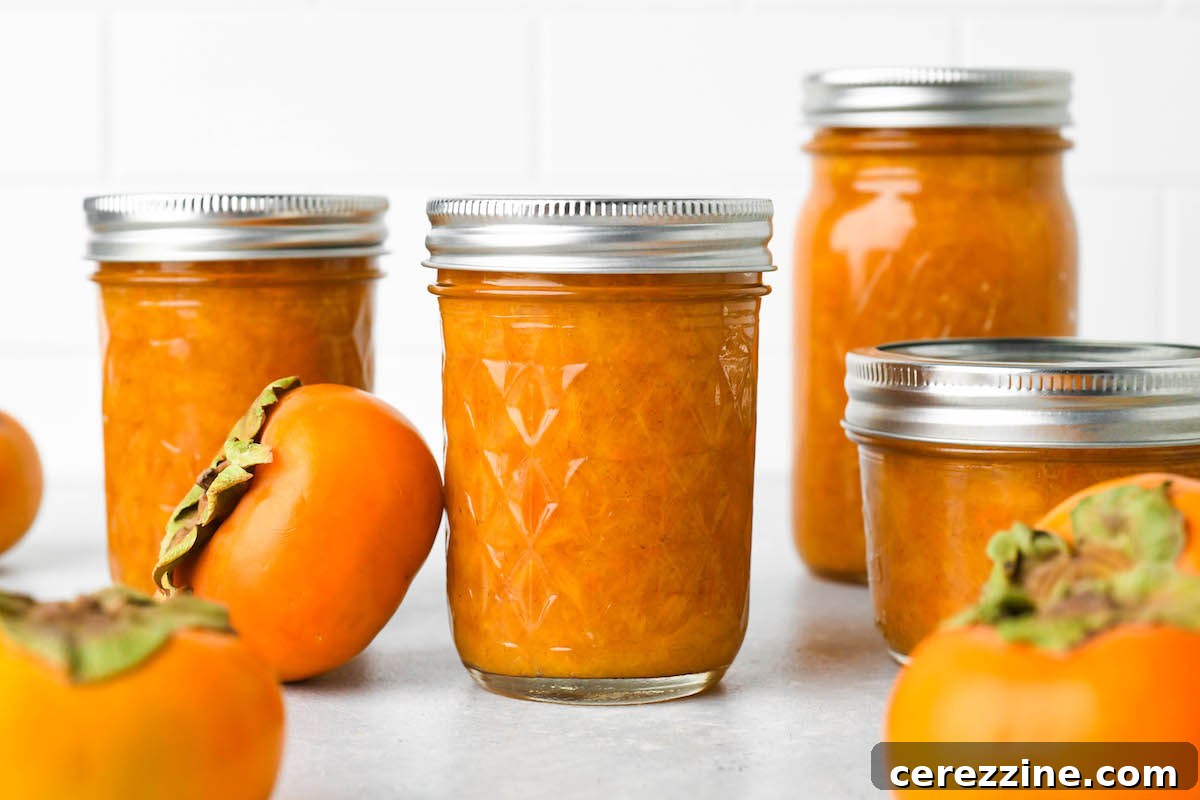
The Allure of Homemade Persimmon Jam: A Taste You Can’t Buy
In a world filled with countless jam varieties available at every grocery store, persimmon jam remains a rare gem. It’s truly one of those special preserves that you won’t typically find on store shelves, and that’s precisely what makes making it at home so incredibly satisfying. Crafting this jam allows you to experience a taste that simply isn’t commercially available – a unique sweetness and subtle spice that can only be achieved through thoughtful, homemade preparation. It’s a labor of love that results in a gift, whether for yourself or a loved one, that truly comes from the heart.
Persimmons enjoy a relatively short season, often peaking right around the festive holiday period. This timing imbues their flavor with a sense of seasonal cheer and comforting warmth, making persimmon jam an ideal addition to your holiday breakfast table or as a thoughtful homemade present. Beyond its delicious taste, the process of making persimmon jam is surprisingly straightforward, thanks to the fruit’s natural abundance of pectin, the gelling agent that helps jams set beautifully without requiring commercial additives.
With just three core ingredients – ripe persimmons, a touch of sugar, and a splash of lemon or lime juice – you can create a truly exceptional preserve that boasts a perfect set and a balanced flavor. The citrus juice not only enhances the fruit’s inherent sweetness and brightens its flavor but also plays a critical role in ensuring the jam is safe for long-term preservation through canning.
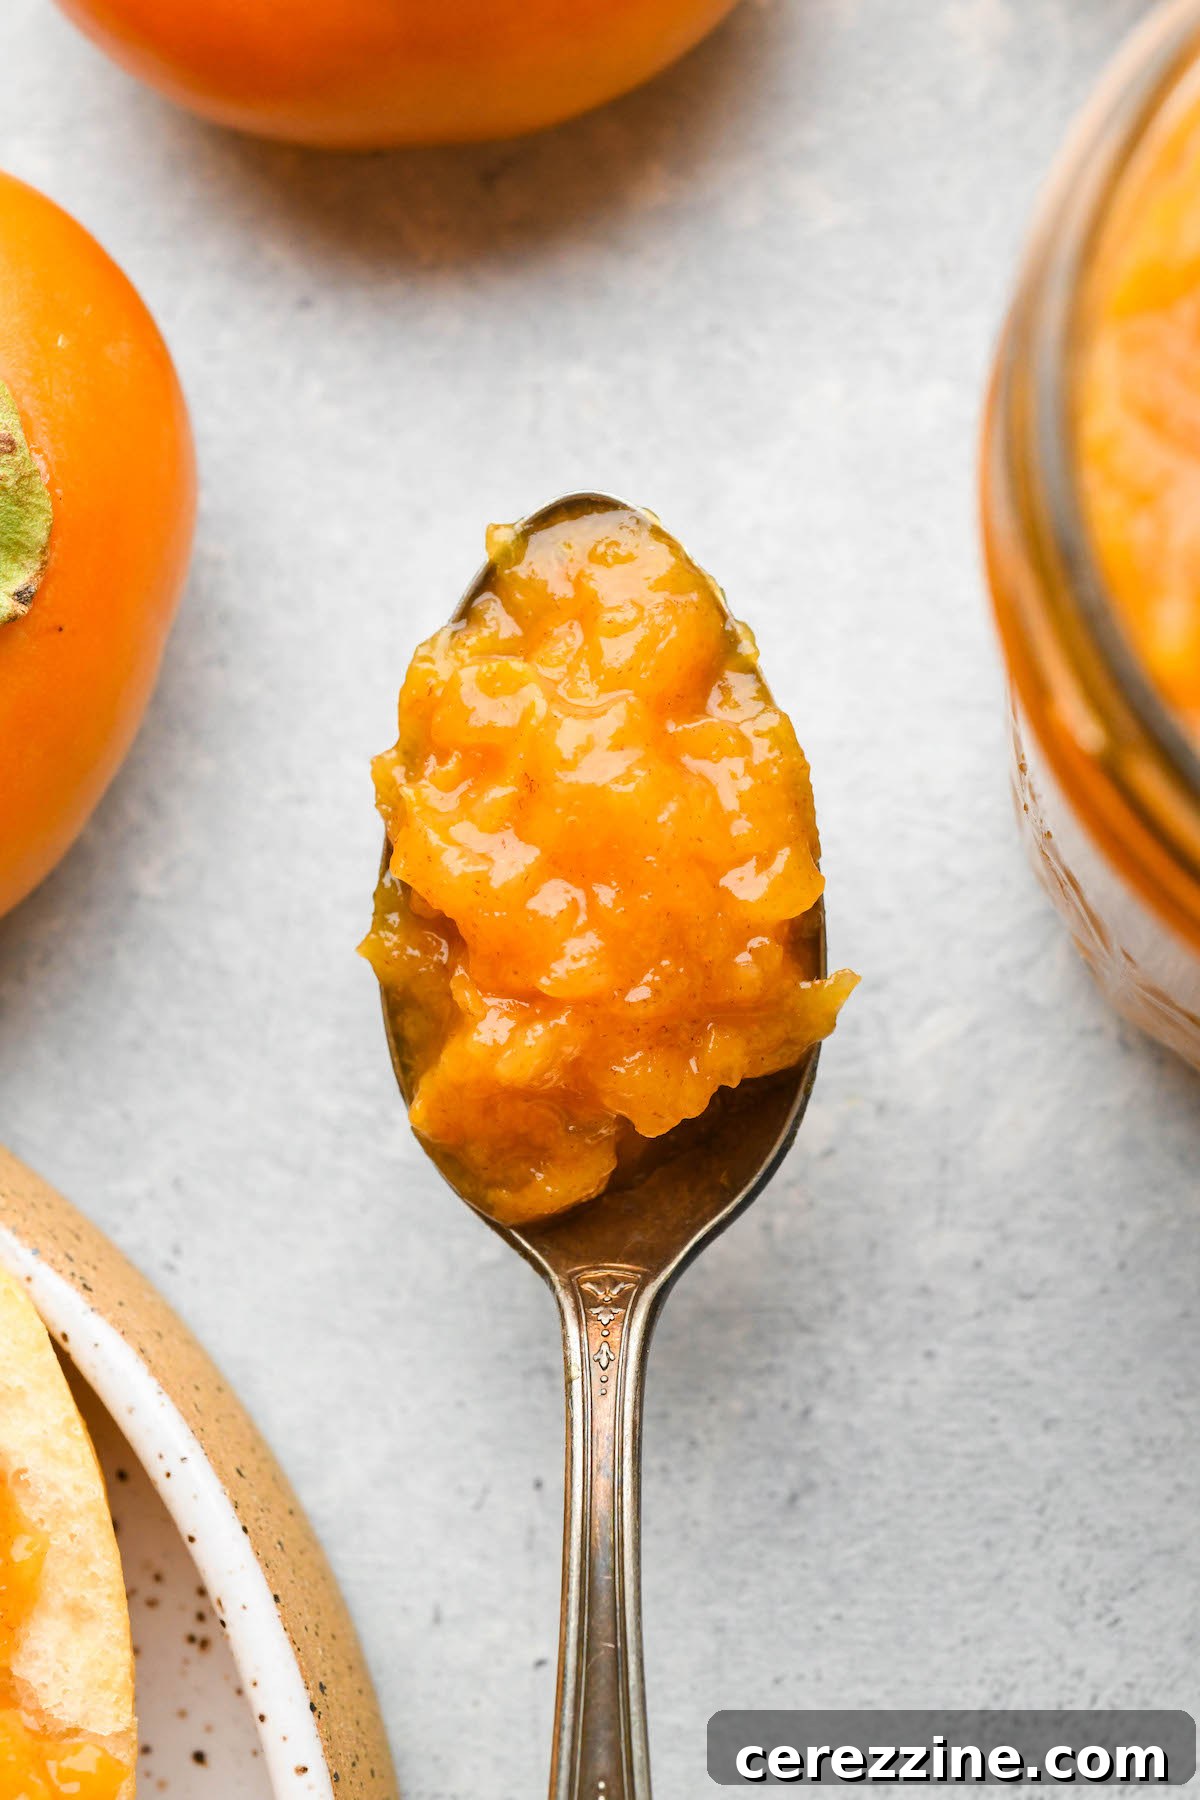
Is Persimmon Jam Safe for Canning? Understanding Acidity and pH
When it comes to safely preserving fruits through water bath canning, acidity is paramount. Fruits must possess a pH of 4.6 or lower to prevent the growth of harmful bacteria, particularly *Clostridium botulinum*. Persimmons often hover right around this critical threshold, with their pH levels generally ranging between 4.4 and 4.7. While many individual persimmons might fall below the 4.6 mark, even a few slightly less acidic fruits within a batch can elevate the overall pH, pushing your jam into an unsafe zone for water bath canning.
This is precisely why incorporating a significant amount of citrus juice – be it lemon or lime juice – into your persimmon jam recipe is not just recommended, but absolutely essential if you plan to can it. The added acidity from the citrus juice effectively lowers the pH of the entire batch, transforming it into a reliably **canning-safe recipe for persimmon jam**. Beyond its role in safety, the bright, tangy notes from lemon or lime juice wonderfully complement the sweet, mellow flavor of persimmons, creating a more balanced and vibrant jam that truly sings on your palate. Even if you don’t intend to can your jam, the citrus still dramatically improves the flavor and helps the jam set due to the natural pectin in the fruit and citrus. Therefore, while optional for refrigerator jam, it is a non-negotiable ingredient for safe, shelf-stable canning.
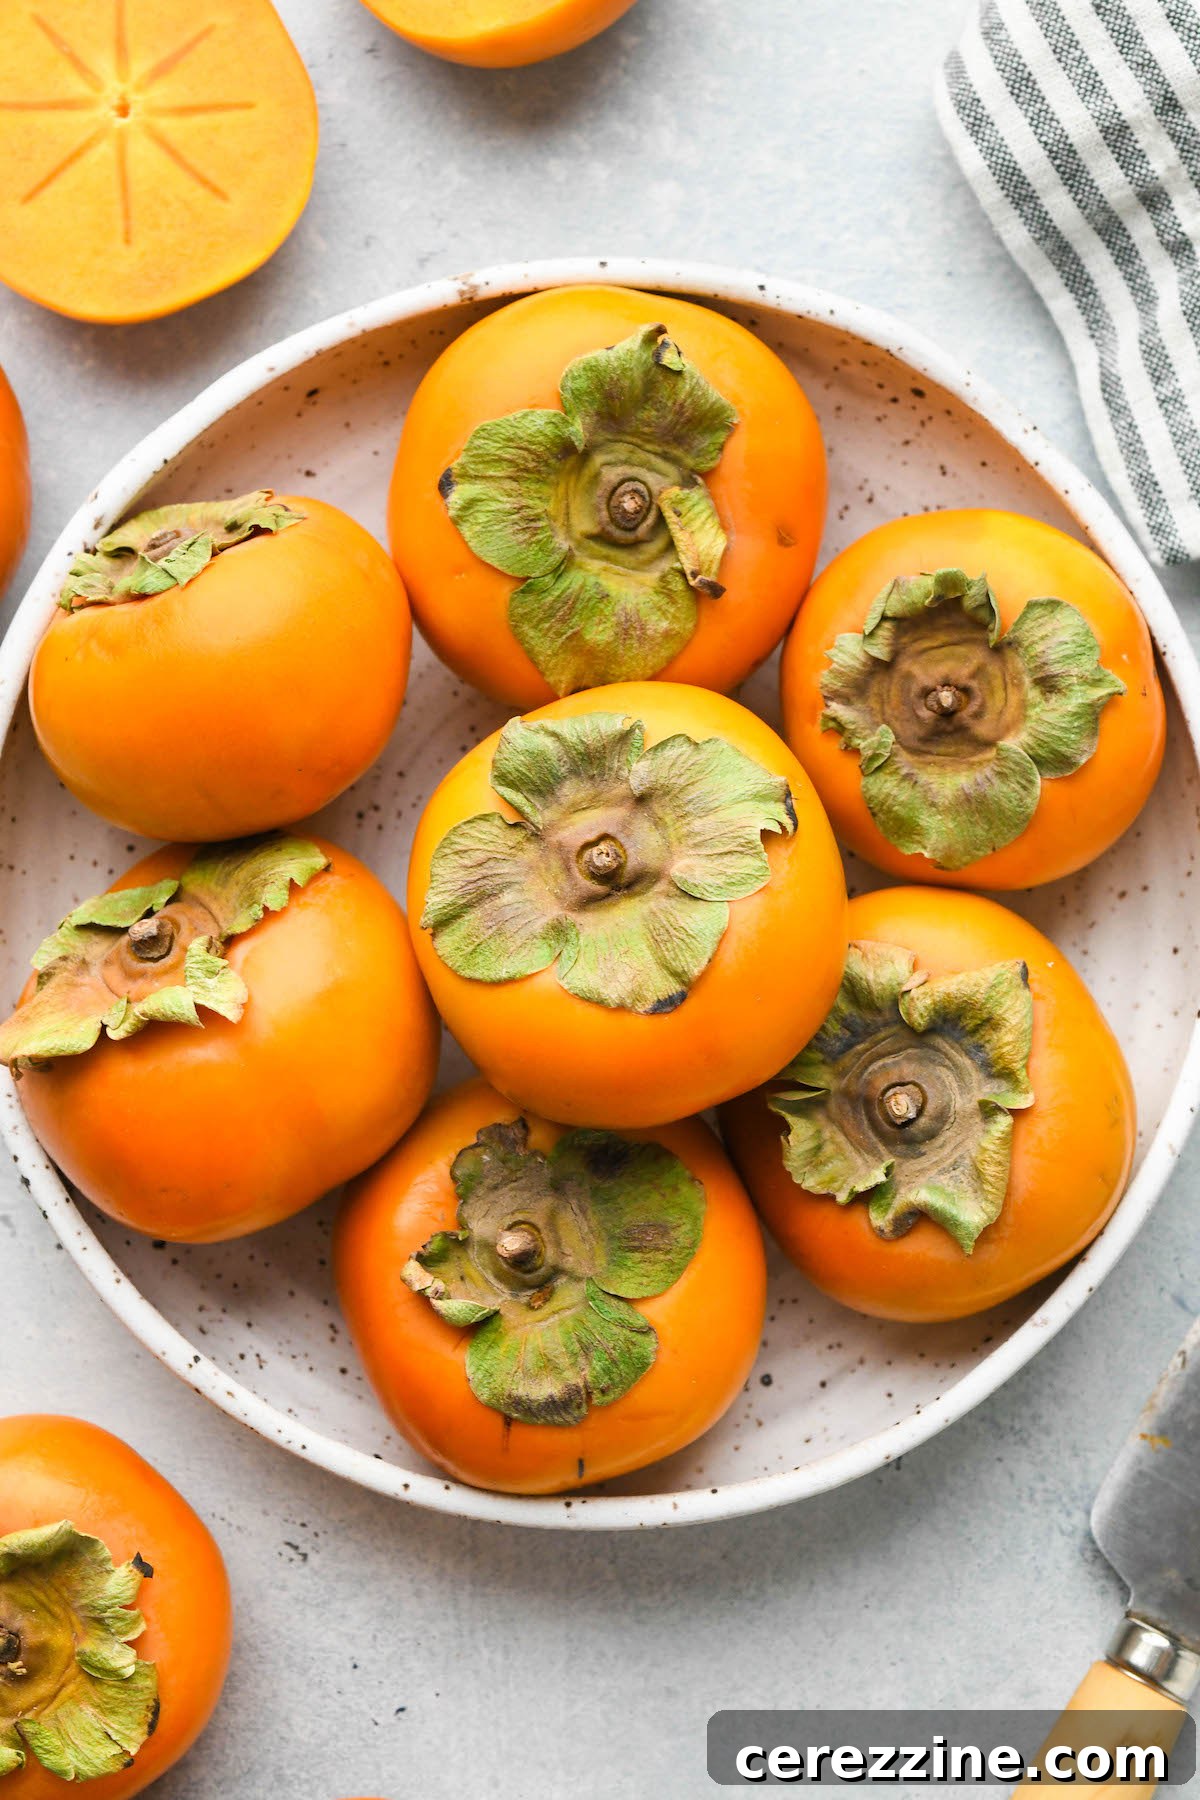
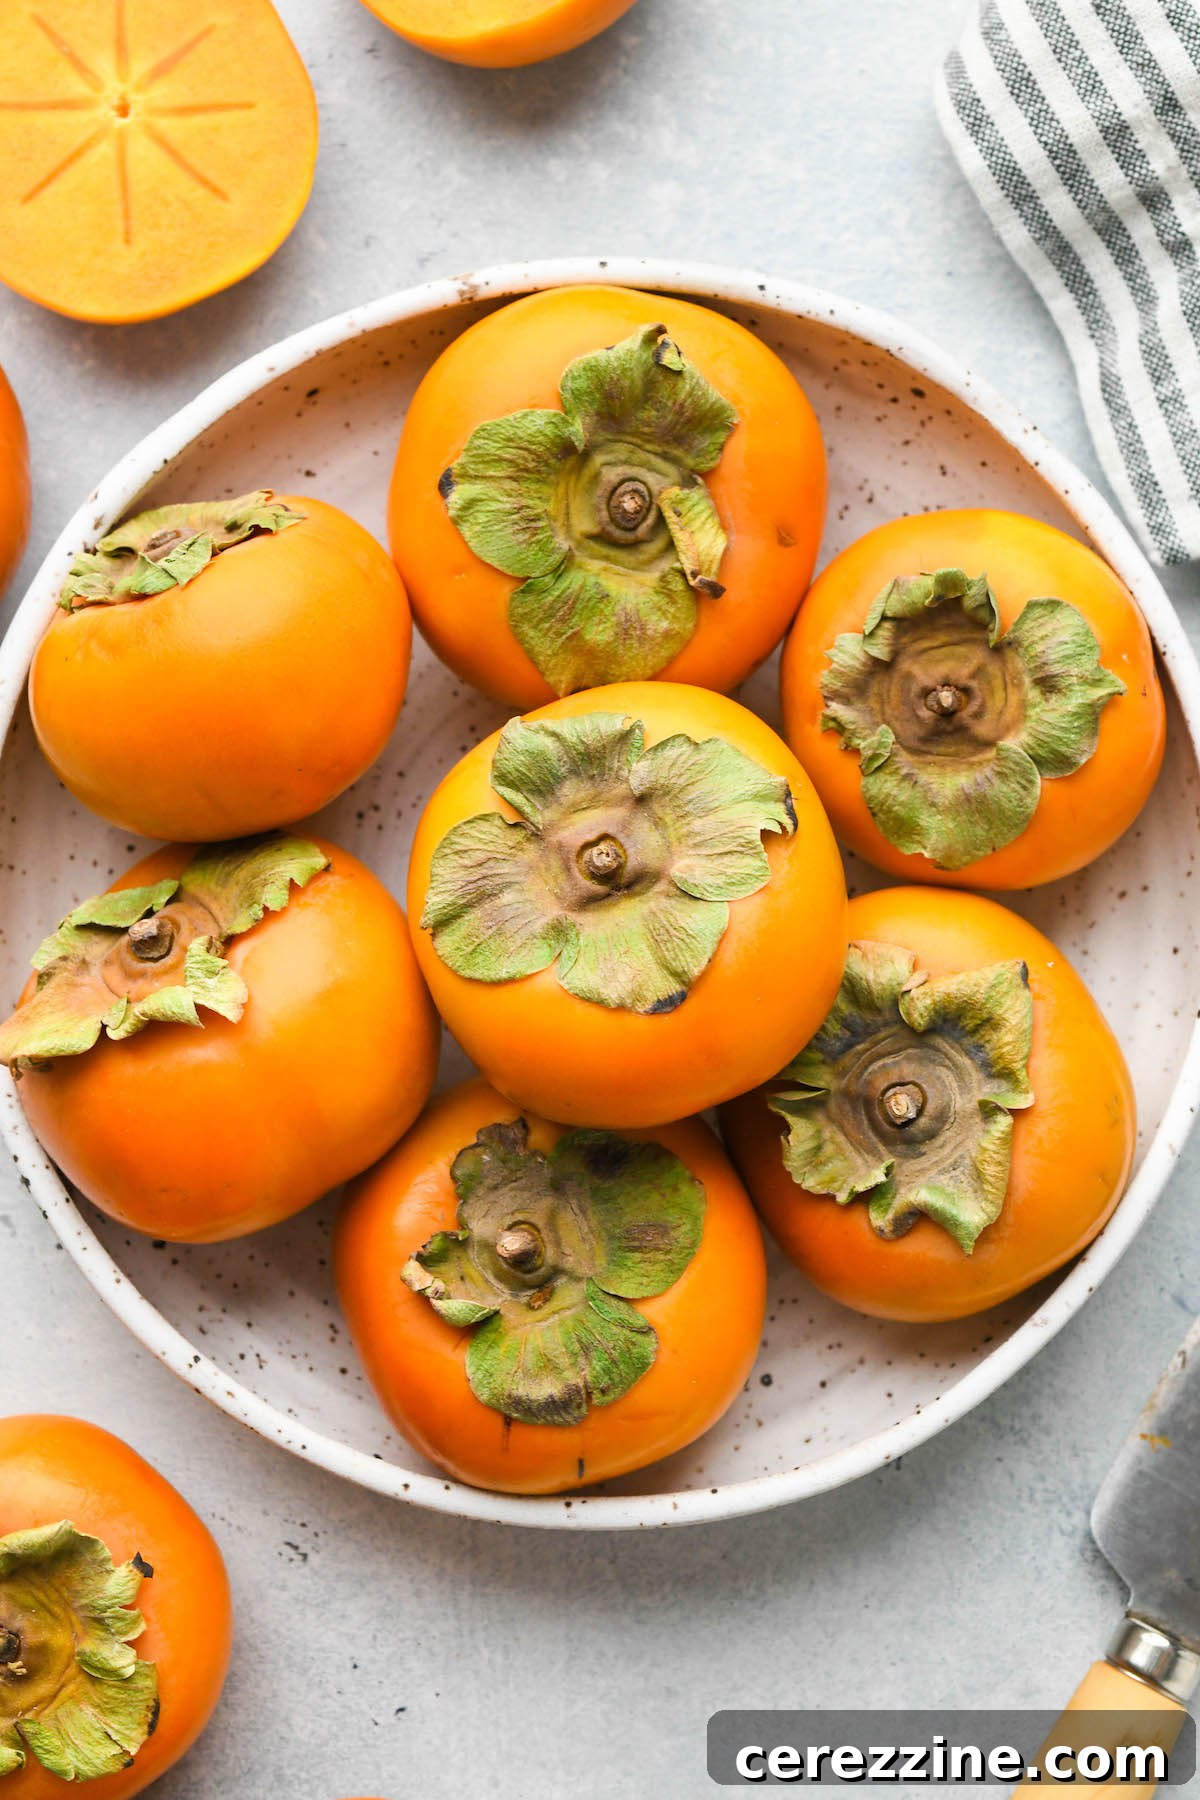
Choosing Your Persimmons: Fuyu, Hachiya, and Wild Varieties
The type of persimmon you choose will influence the preparation and final texture of your jam. While this recipe is versatile enough to work with various persimmon types, understanding their distinct characteristics will help you achieve the best results.
Fuyu Persimmons: The Firm and Friendly Choice
Fuyu persimmons are perhaps the most common variety found in North American grocery stores. They are easily recognizable by their firm texture and flattened, somewhat UFO-like shape. Unlike their astringent counterparts, Fuyu persimmons can be enjoyed while still crisp, much like an apple or an Asian pear. They are ripe when they have a slight give when gently squeezed and possess a sweet, subtly crunchy bite. Their firm flesh holds up well during cooking, and their skin is thin enough to be left on, adding lovely flecks of color and a bit of rustic texture to your finished jam.
Hachiya Persimmons: The Astringent Beauty
Hachiya persimmons present a stark contrast to Fuyus. These acorn-shaped fruits are highly astringent when firm and unripe, meaning they will leave an unpleasant, dry sensation in your mouth. For jam making, it is absolutely crucial that Hachiya persimmons are fully ripe and incredibly soft. At their peak ripeness, their flesh will transform into a luscious, pudding-like consistency, easily spooned out of the skin. The astringency will have completely mellowed, revealing a rich, deep sweetness. Patience is key with Hachiyas; wait until they are almost bursting at the seams before using them for jam.
Wild American Persimmons: A Forager’s Delight
Wild American persimmons (Diospyros virginiana) are smaller than their Asian cousins and typically ripen to a very soft, almost gooey texture, much like Hachiyas. Their flavor and level of astringency can vary considerably from tree to tree. If you’re foraging for these, it’s wise to sample the fruit from a particular tree before committing to a large batch for jam. Like Hachiyas, ensure they are thoroughly ripe and soft to avoid any astringency. Due to their softer nature, if using American or Hachiya persimmons, you’ll find they pack more densely into a measuring cup. Therefore, you might need approximately 8-10 cups of fruit pulp from these varieties, compared to the 11-12 cups of sliced Fuyu persimmons to reach the desired 4 lbs weight.
Essential Ingredients for Your Luscious Persimmon Jam
Creating a delicious batch of persimmon jam requires just a handful of quality ingredients. For a batch that yields approximately 4 to 5 half-pint (8 oz) jars, you will need:
- 4 lbs Persimmons: This translates to roughly 10-12 large Fuyu persimmons or about 11-12 cups of sliced fruit. If using softer Hachiya or wild American persimmons, you might need slightly fewer cups by volume due to their denser pulp when soft, but always aim for the 4 lbs weight.
- 1 to 2 cups Sugar: Persimmons are naturally quite sweet, so you have flexibility here. For a jam with a subtle sweetness that truly highlights the persimmon flavor, start with 1 cup. If you prefer a more traditional, “jammy” sweetness, use 2 cups. Avoid excessive sugar, as it can overpower the delicate fruit notes.
- 1/4 to 1/2 cup Lemon or Lime Juice: This is a critical ingredient for both flavor and safety. Both lemon and lime juice work wonderfully. Lime juice often offers a unique, complementary zest to persimmons. For canning, a minimum of 1/4 cup is required (which equates to about 1 tablespoon per pound of fruit) to ensure safe pH levels. However, for enhanced flavor balance and a better set, I personally prefer using 1/2 cup.
Choosing Your Citrus: Lemon vs. Lime
Both lemon and lime juice serve the essential purpose of adding acidity and a natural pectin boost to your jam. Lemon juice provides a classic bright, tangy note. Lime juice, often slightly more acidic than lemon juice, introduces a distinct, aromatic zest that beautifully complements the sweet floral undertones of persimmons. The choice is yours, based on your preference for a flavor profile. Whichever you choose, remember its crucial role, especially if canning.
Substituting Citric Acid for Lemon/Lime Juice
If you prefer to avoid the distinct flavor of citrus juice but still need to ensure adequate acidity for canning safety and optimal jam set, you can substitute food-grade citric acid granules. Citric acid is a potent acidifier, much stronger than citrus juice, so it’s used in smaller quantities.
The general conversion rate is 1/4 teaspoon of citric acid for every 1 tablespoon of lemon or lime juice in a recipe. Since this recipe requires at least 1 tablespoon of citrus juice per pound of fruit, for a 4-lb batch, you would need a minimum of 1 teaspoon of citric acid. To incorporate it, dissolve the citric acid granules in 1/4 to 1/2 cup of water before adding it to your fruit mixture. This ensures even distribution and prevents scorching, especially before the persimmons release their own juices.
Step-by-Step Guide: How to Make Irresistible Persimmon Jam
Making persimmon jam is a rewarding process that transforms fresh fruit into a delectable preserve. Follow these steps for a perfect batch:
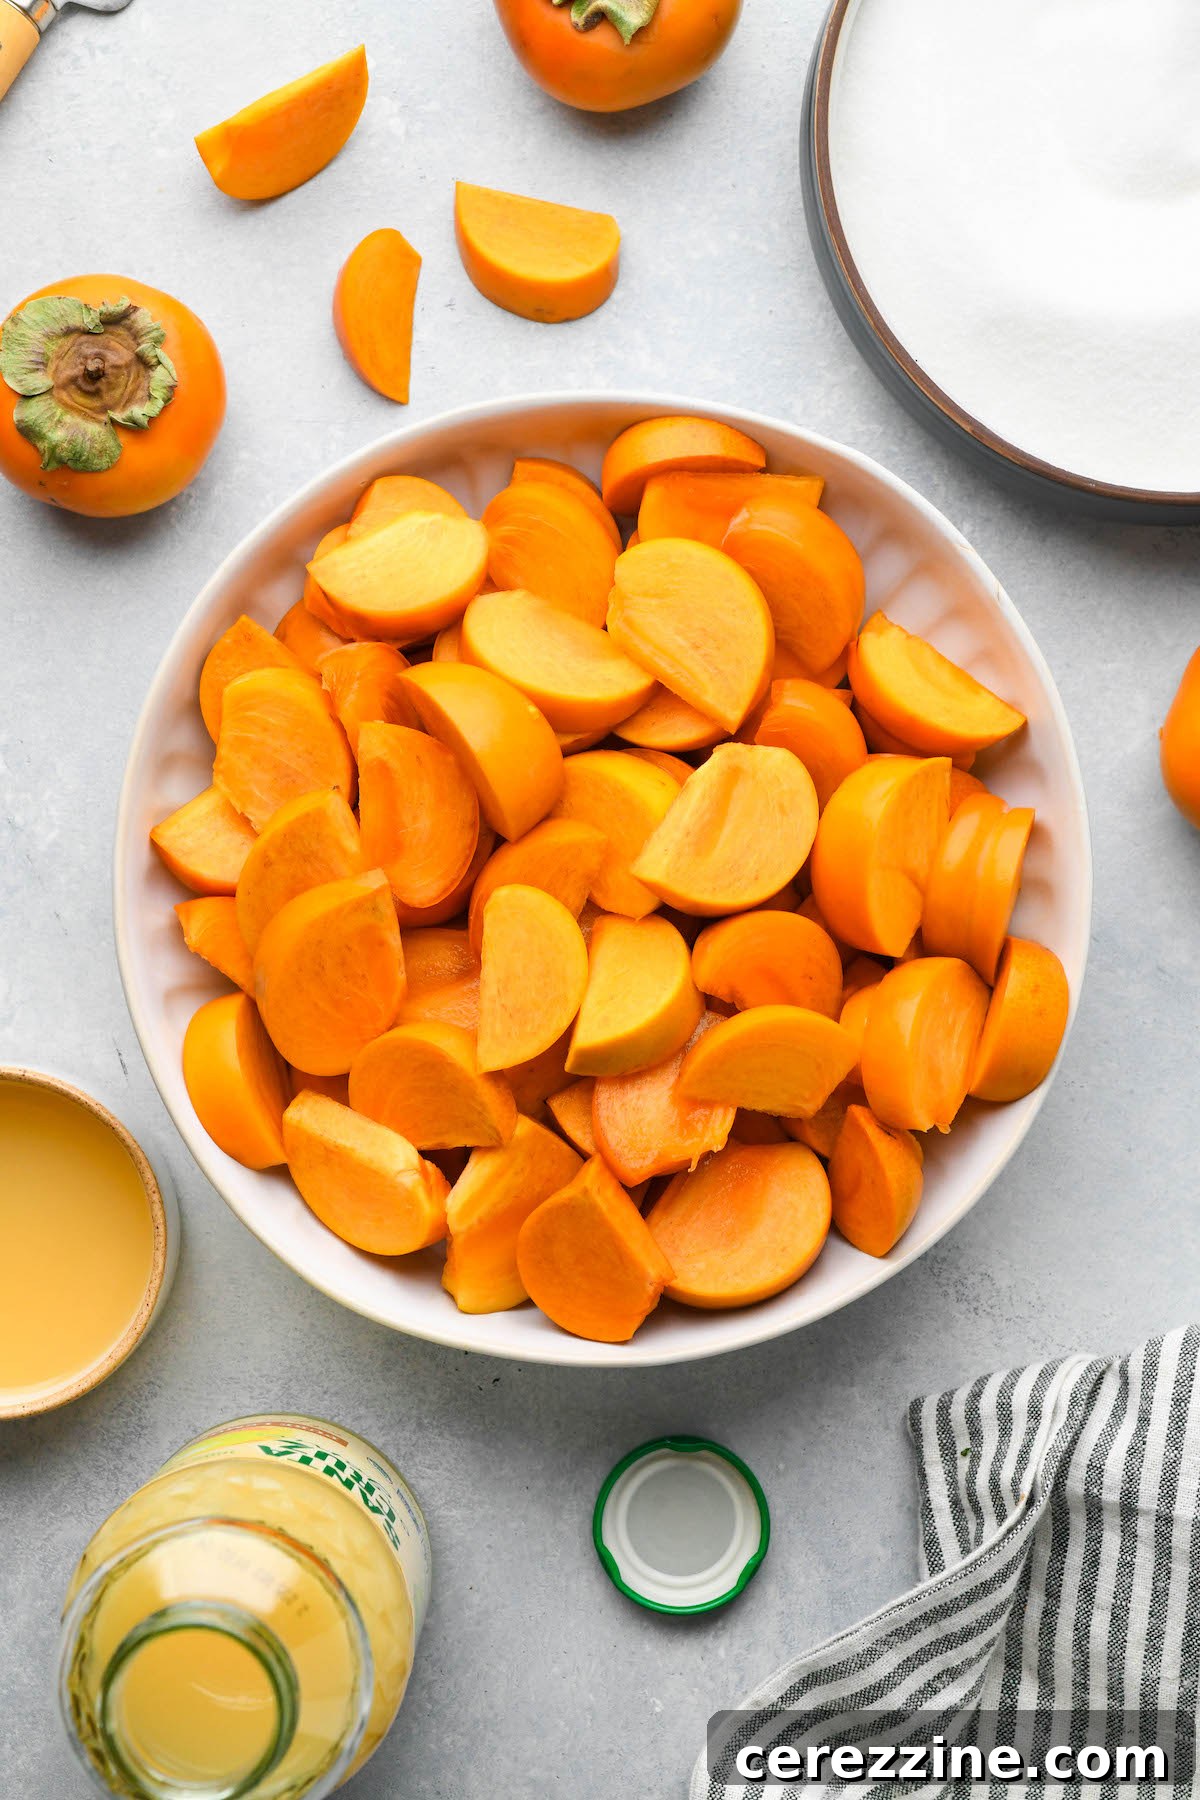
- Prepare Your Persimmons: Begin by washing your persimmons thoroughly. If you’re using firm Fuyu persimmons, simply remove the tops and slice them into uniform pieces. The skin of Fuyus is thin and adds a pleasant texture to the finished jam, so peeling is optional. For softer Hachiya or wild American persimmons, it’s often easier to peel them, or simply scoop out the soft pulp, as their skins can be thicker or more prone to breaking down unevenly. For a 4-pound batch, you’ll aim for about 11-12 cups of sliced Fuyus, or approximately 10-11 cups if finely diced for a smoother jam.
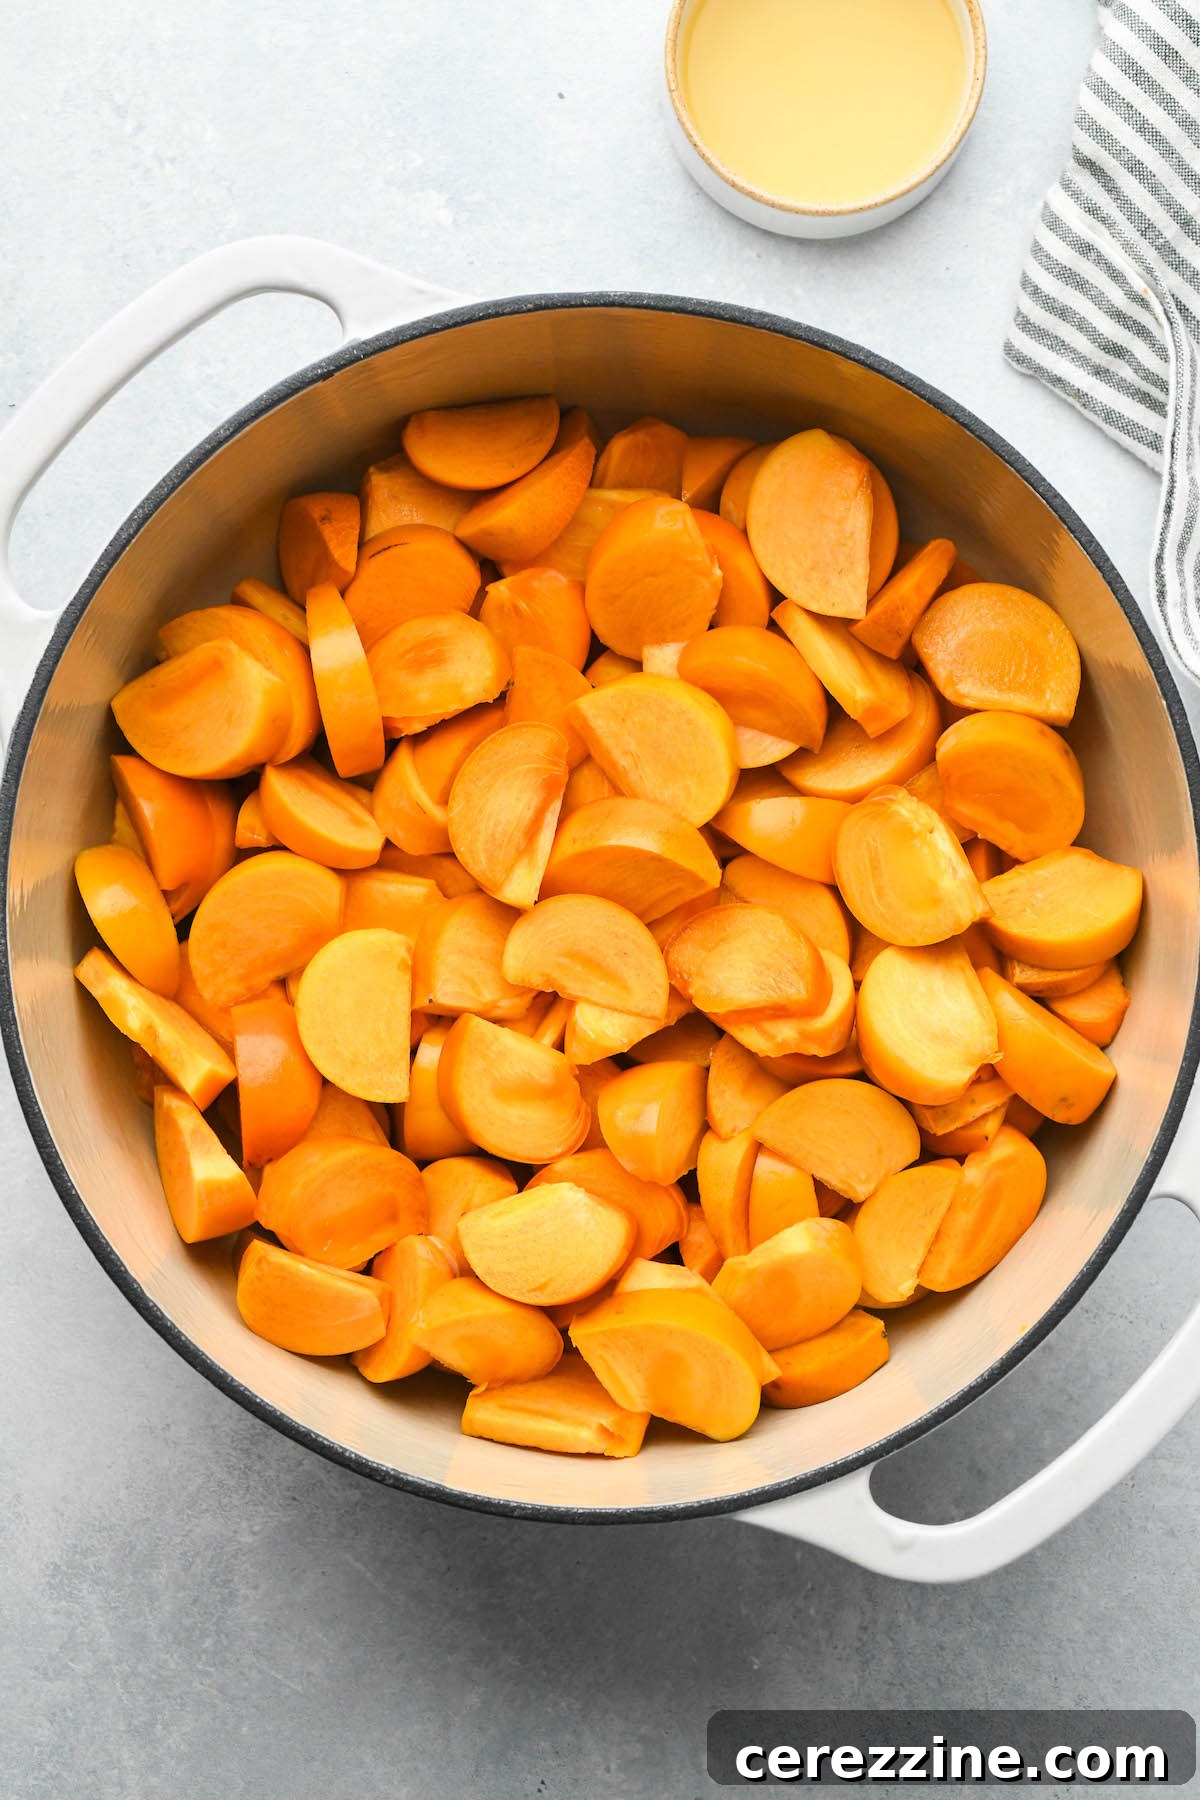
- Initial Cook: Place the prepared persimmons into a large, heavy-bottomed Dutch oven or stockpot. Add the lemon or lime juice at this stage. (If using citric acid, dissolve it in 1/4 to 1/2 cup of water and add this liquid now. This bit of initial liquid helps prevent the fruit from sticking and scorching before it releases its own juices.)

- Hold the Sugar: It’s crucial not to add the sugar yet! Sugar has a firming effect on fruit, and if added too early, your persimmons won’t break down properly. You’ll end up with hard chunks floating in syrup rather than a beautifully homogenous jam.
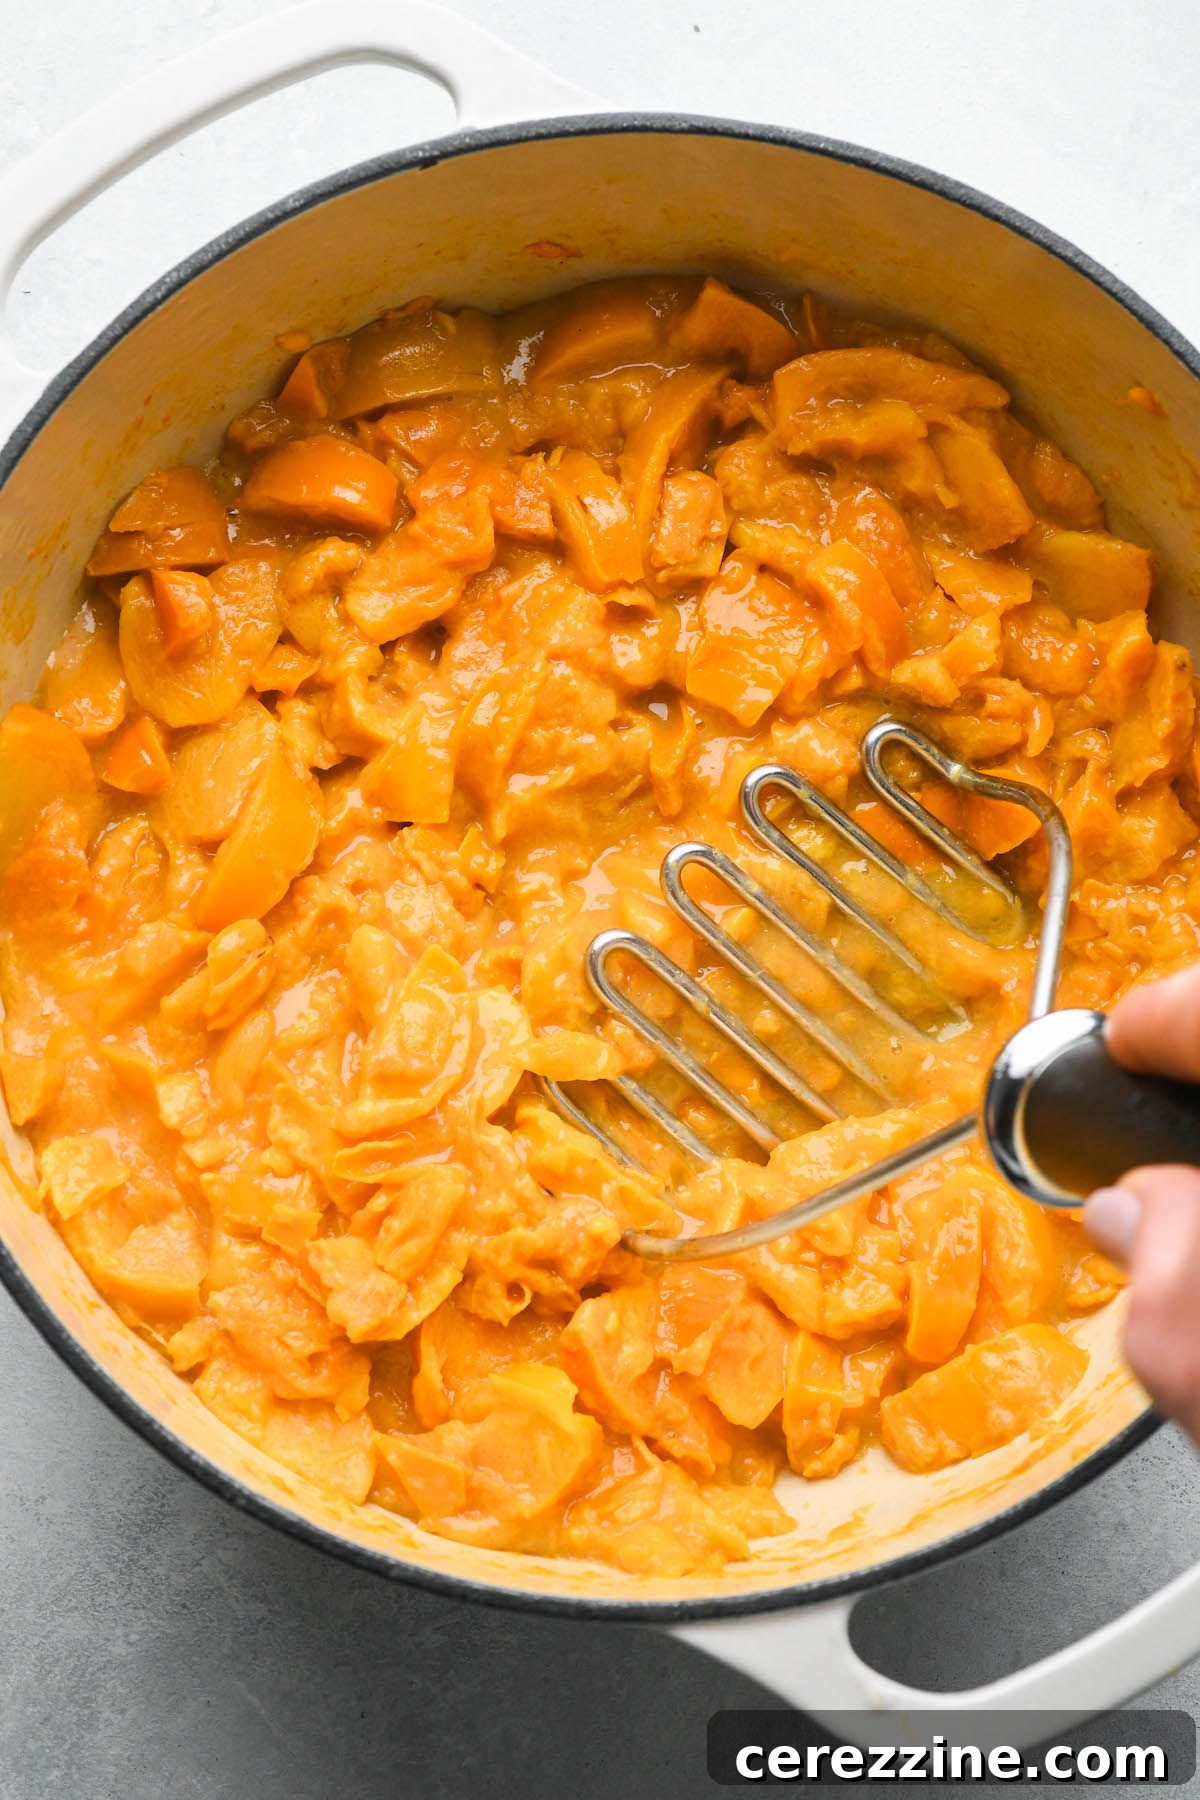
- Gentle Simmer: Turn the heat to medium-low and begin to cook the persimmons. Stir frequently to prevent sticking. As the fruit heats, it will soften and start to release its juices. Use a potato masher or the back of a spoon to gently mash the fruit as it cooks, encouraging it to break apart. This initial cooking phase should take about 15 minutes. By the end, the fruit should be largely broken down, with some small chunks and visible skins (if left on) still present, but the overall consistency will be much softer.
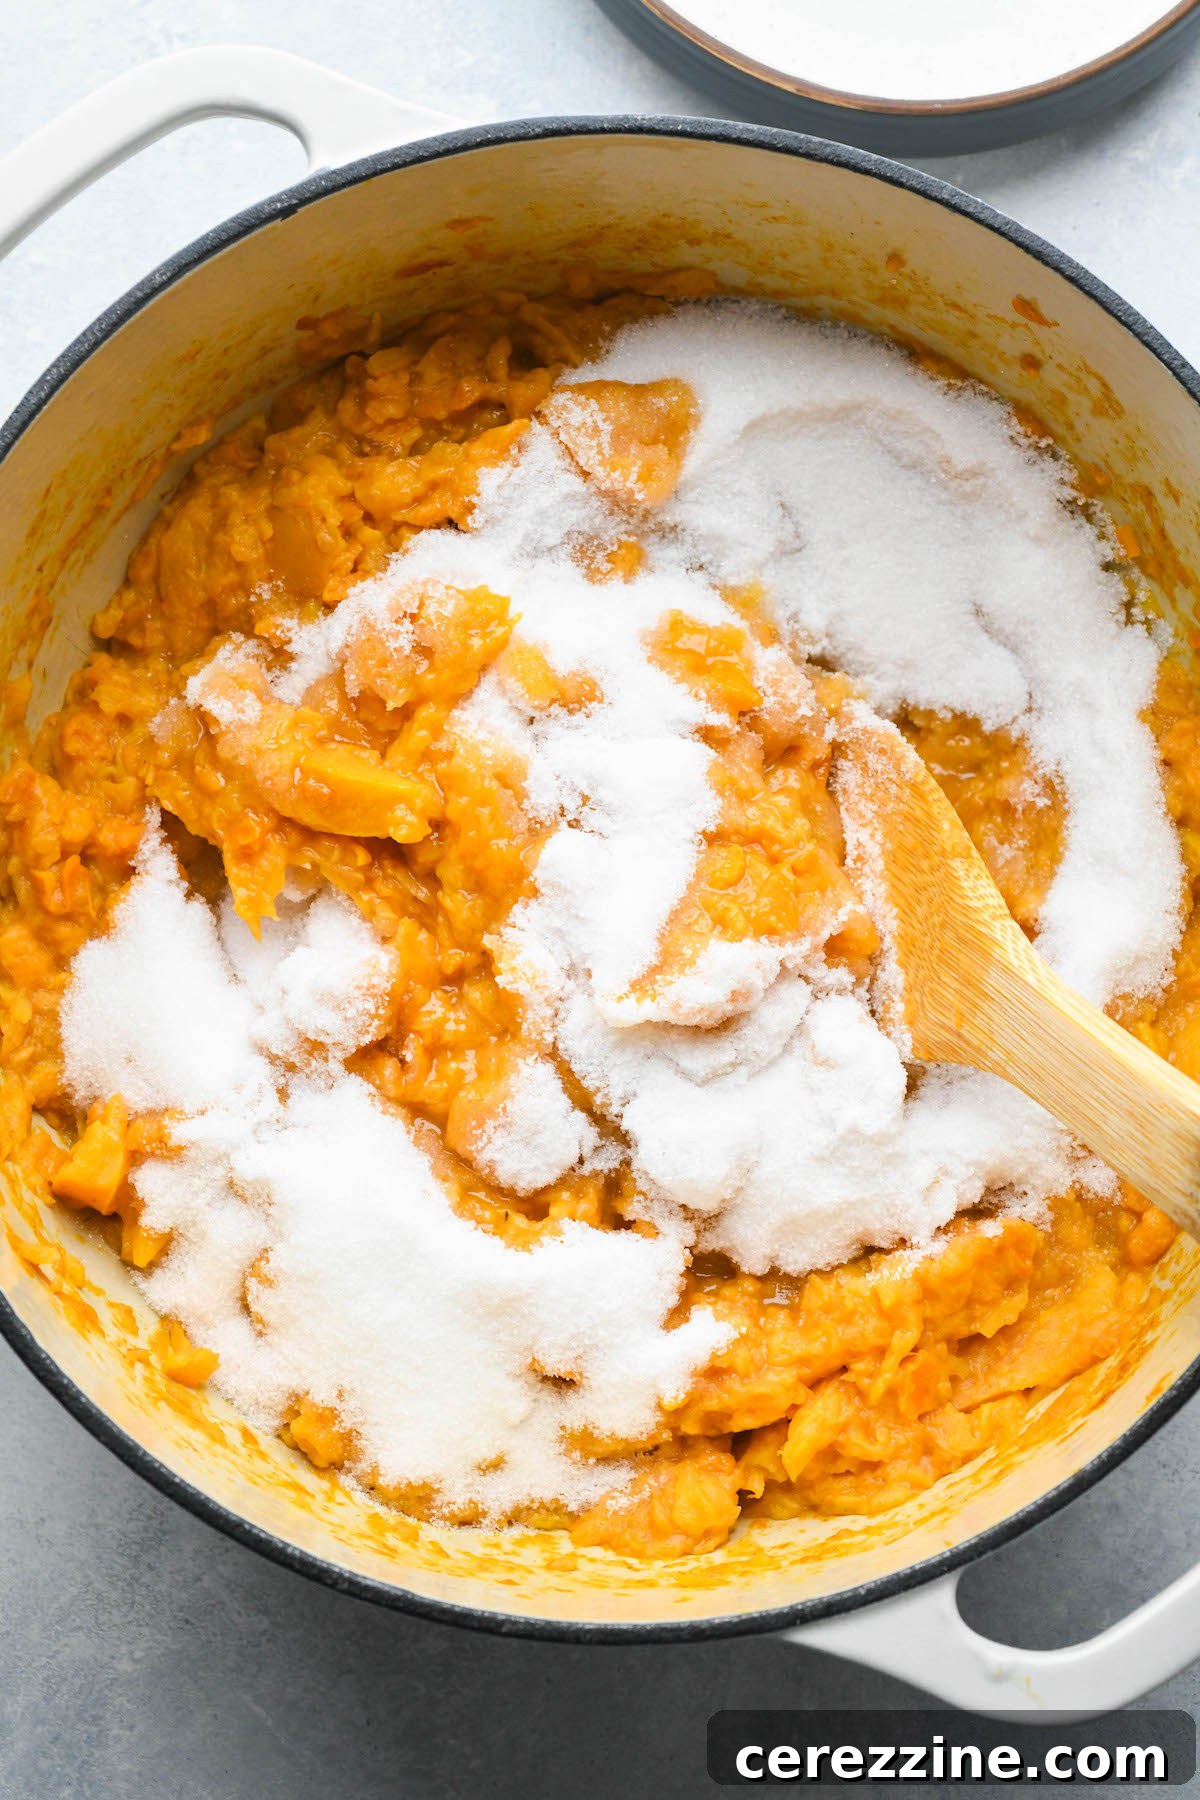
- Add the Sugar: Now that the persimmons have softened, it’s time to add the sugar. Decide if you prefer 1 cup for a subtly sweet jam or 2 cups for a more traditional sweetness. You can always start with 1 cup, taste the jam towards the end of cooking, and add more if desired. Stir the sugar into the warm persimmon pulp until it completely dissolves.
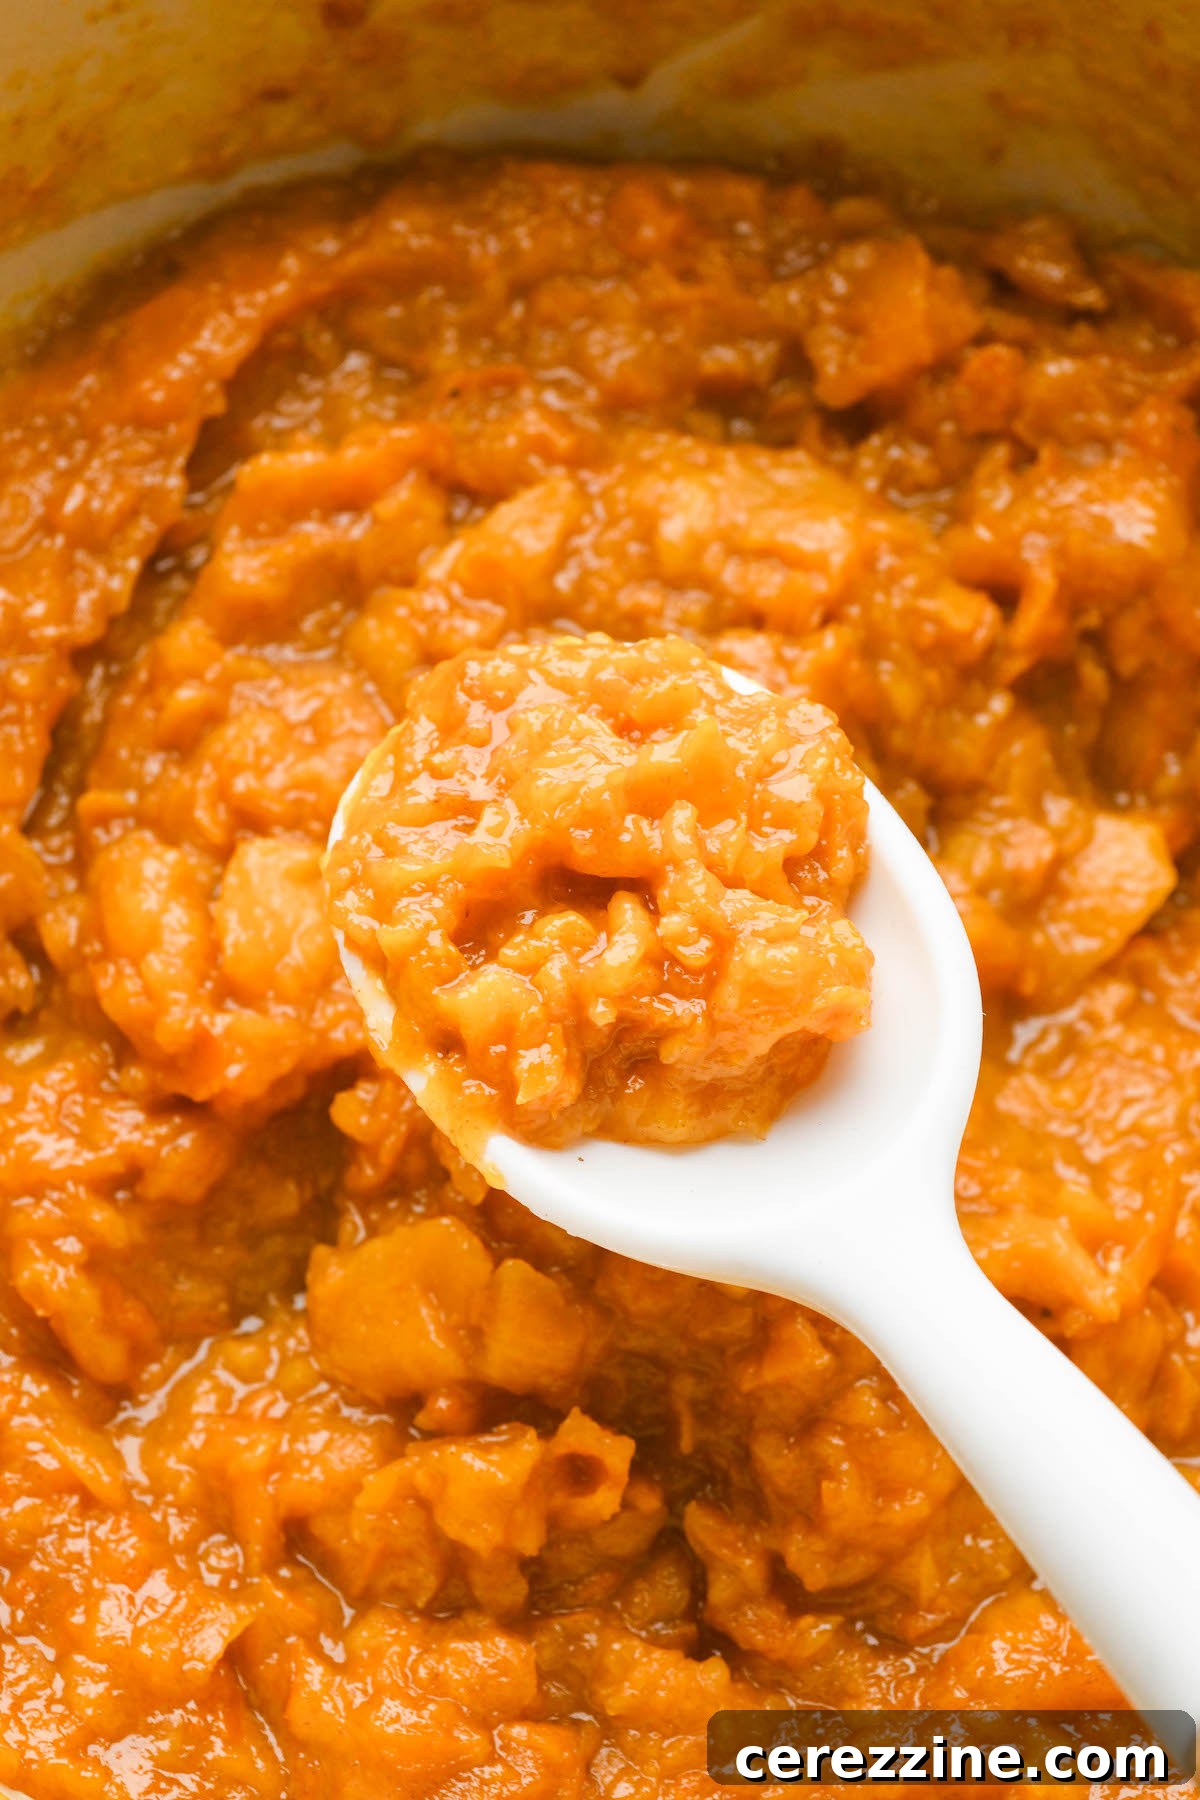
- Thicken the Jam: Once the sugar is added, the mixture will temporarily thin out as the sugar draws out more liquid from the fruit. Increase the heat slightly to medium and continue cooking for another 20 to 30 minutes, stirring frequently to prevent scorching on the bottom of the pot. The jam will gradually thicken. The total cooking time after adding sugar is roughly 30 minutes, but stovetops vary, so vigilance is key.
- Testing for Set: Unlike some jams that rely on a specific temperature (like 220°F/104°C), persimmon jam often sets beautifully without reaching such high temperatures due to its natural pectin. Instead, focus on visual cues. The jam should appear thick and cling to the back of a spoon. A classic “plate test” can also be useful: spoon a small amount of hot jam onto a chilled plate, let it cool for a minute, then push it with your finger. If it wrinkles, it’s ready. Remember, the jam will thicken significantly as it cools in the jars, so err on the side of a slightly looser consistency when hot.
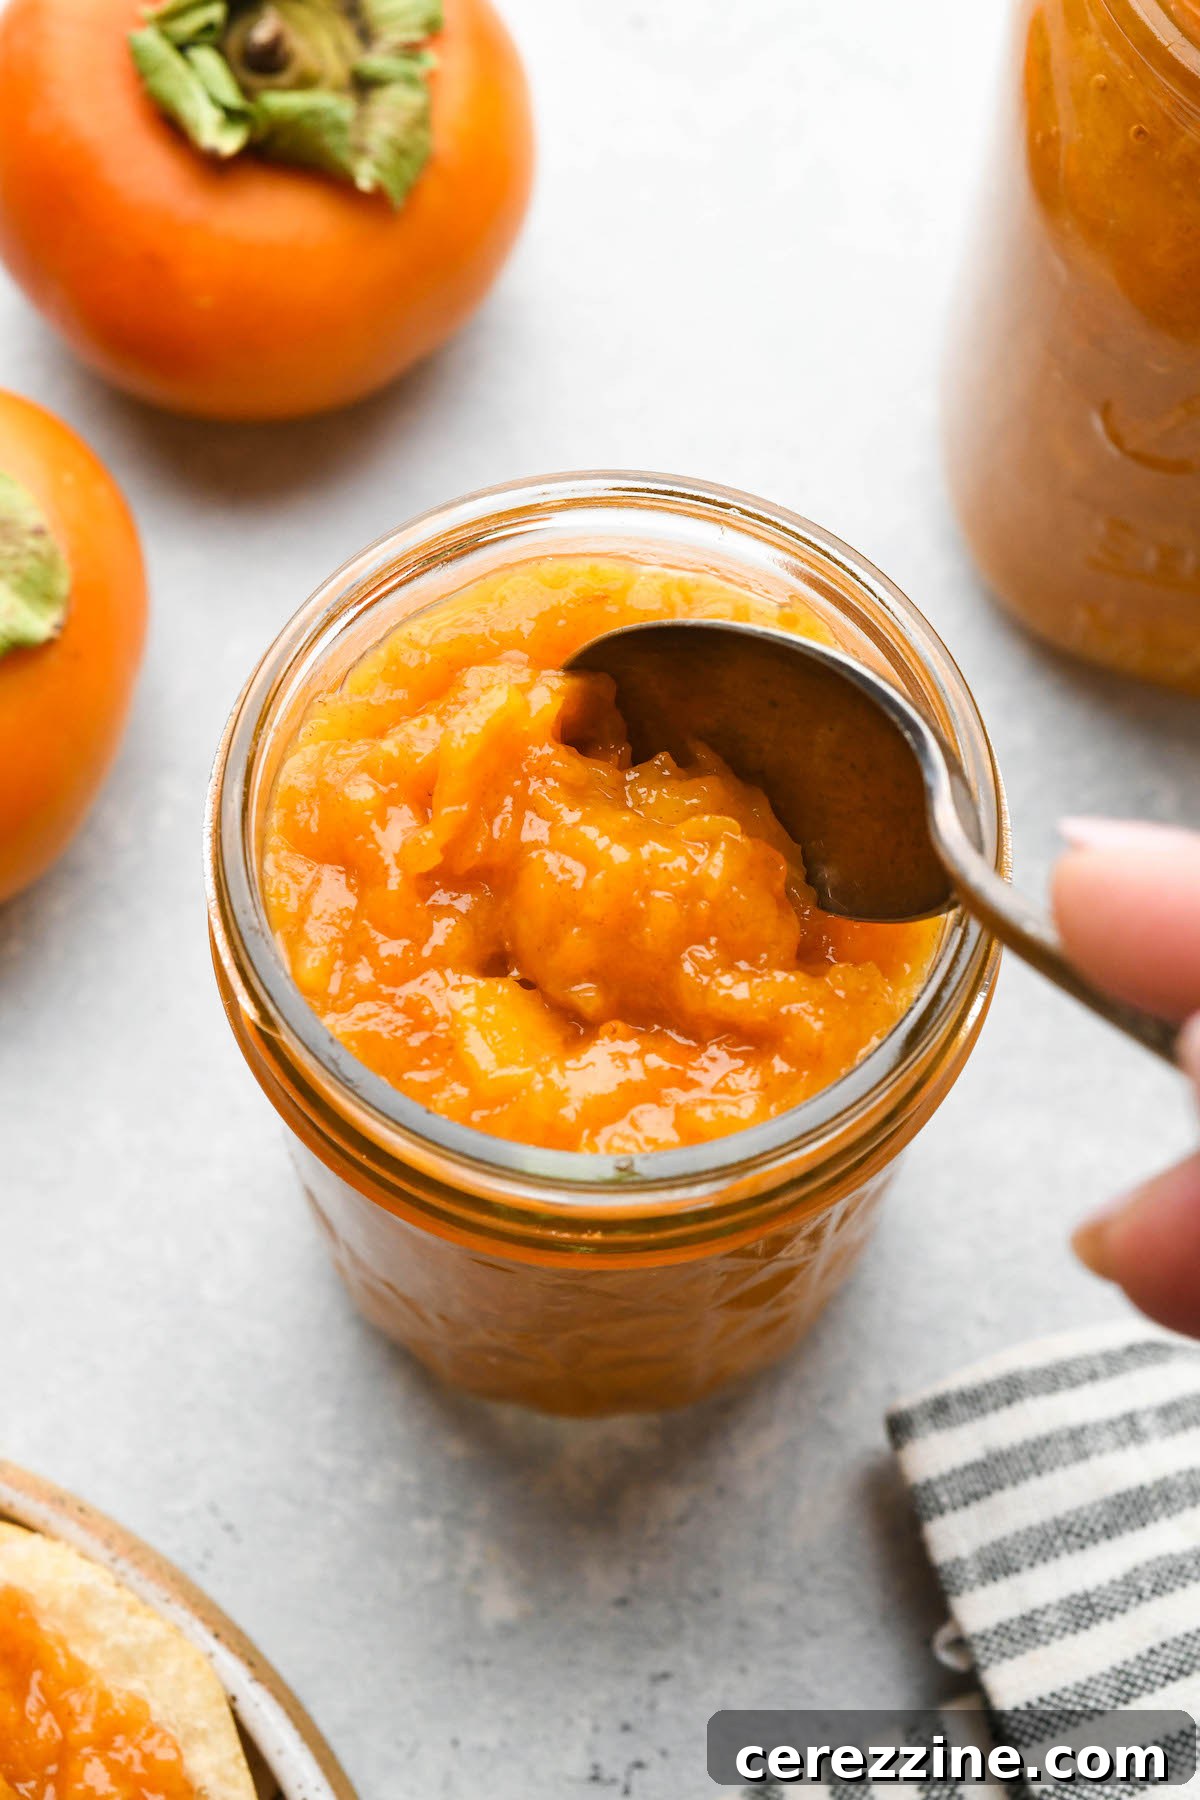
- Jarring the Jam: Once your jam has reached your desired consistency, remove it from the heat. Carefully ladle the hot jam into your prepared jars, leaving 1/4 inch of headspace at the top.
- Storage Options: If you’re making refrigerator jam, simply cap the jars and allow them to cool completely on the counter before transferring them to the refrigerator. They will keep for 1-2 weeks when refrigerated. For longer storage, freeze the jam in freezer-safe jars for up to 6 months. (Ensure you leave extra headspace if freezing, as the jam will expand.)
Canning Persimmon Jam: A Guide to Safe Long-Term Preservation
While enjoying persimmon jam fresh from the refrigerator is delightful, canning allows you to extend its shelf life significantly, letting you savor this seasonal treat all year long. It also makes for wonderful homemade gifts during the holidays or any time of year.
Preparing for Water Bath Canning
Before you even start cooking your jam, it’s essential to prepare your canning equipment. You will need a water bath canner, canning jars (half-pint or pint are ideal), new two-piece canning lids (flats and rings), and basic canning tools like a jar lifter, funnel, and headspace tool.
- Sterilize Jars: While sterilization isn’t strictly necessary for jams processed for 10 minutes or more, it’s good practice. Wash jars in hot soapy water or run them through a dishwasher cycle. Keep them hot until filling.
- Prepare Lids: Follow the manufacturer’s instructions for your canning lids. Typically, this involves simmering the flats in warm (not boiling) water to soften the sealing compound.
- Fill Canner: Fill your water bath canner halfway with water and bring it to a simmer (180°F/82°C) while your jam cooks.
Processing Your Persimmon Jam
Once your jam is cooked and ready:
- Fill Jars: Ladle the hot persimmon jam into the prepared, hot jars, leaving precisely 1/4 inch of headspace. This headspace is crucial for proper sealing and creating a vacuum.
- Remove Air Bubbles: Use a non-metallic tool (like a plastic spatula) to gently remove any trapped air bubbles by running it around the inside of the jar.
- Wipe Rims: Clean the rims of the jars thoroughly with a damp cloth to remove any jam residue. This ensures a clean seal.
- Apply Lids: Center a warm lid flat on each jar, then screw on the band fingertip tight (just until resistance is met, no overtightening).
- Load Canner: Carefully place the filled and lidded jars into the hot water bath canner, ensuring they are fully submerged by at least 1-2 inches of water. Add more hot water if needed.
- Process: Bring the water in the canner to a full, rolling boil. Once boiling vigorously, start your timer. Process half-pint or pint jars for 10 minutes. Adjust processing time if you live at a higher altitude (add 1 minute for every 1,000 feet above sea level).
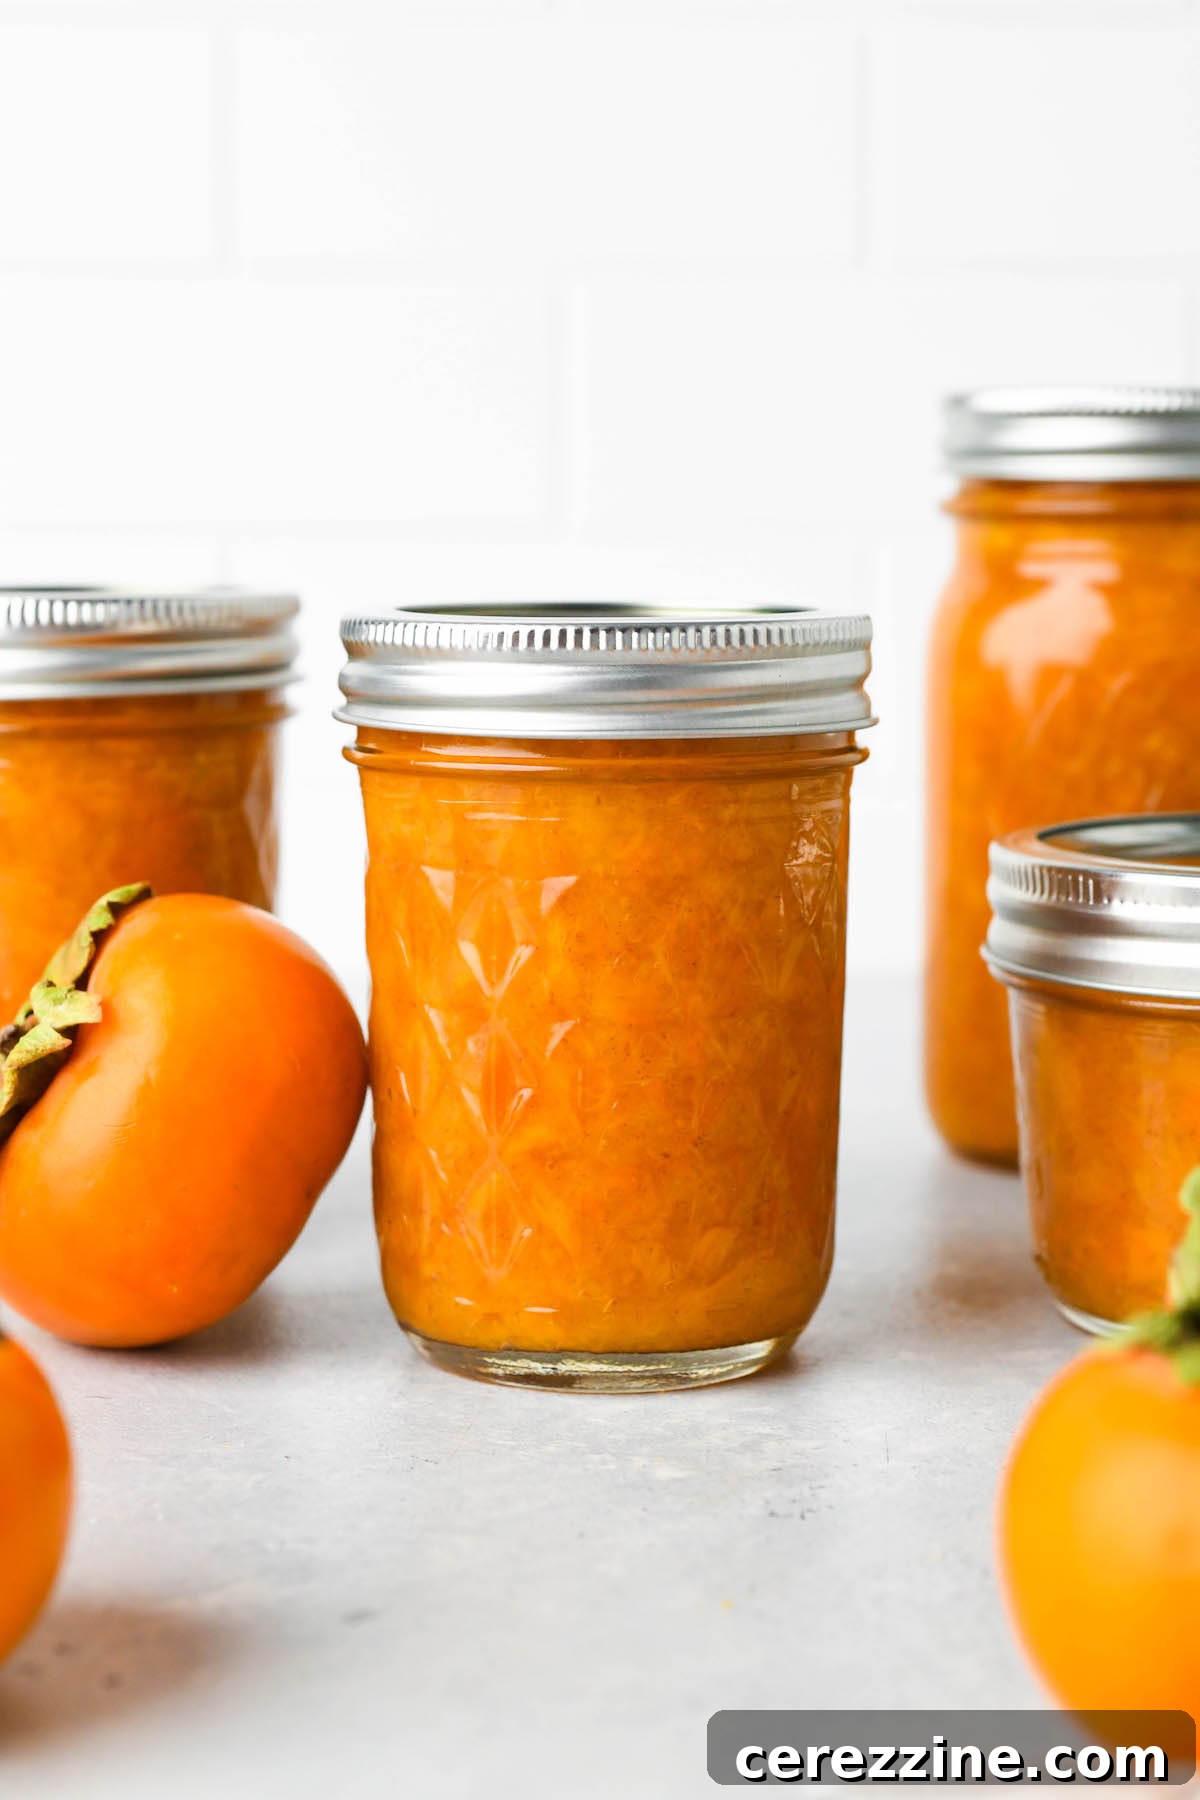
- Cool and Store: After 10 minutes, turn off the heat and carefully remove the canner lid. Let the jars sit in the hot water for another 5 minutes to equalize temperature. Then, using a jar lifter, carefully remove the hot jars and place them on a towel-lined counter, spaced apart, to cool undisturbed for 12-24 hours.
Checking Seals and Storage
Once completely cool, check the seals on your jars. The center of the lid should be concave and not flex when pressed. If any jar did not seal, place it in the refrigerator for immediate consumption (within 1-2 weeks) or reprocess it with a new lid within 24 hours. Properly sealed jars can be stored in a cool, dark place, like a pantry, for up to 18 months, maintaining peak quality for at least a year. Always refrigerate after opening.
Beyond the Spoon: Creative Ways to Use Persimmon Jam
Once you’ve successfully crafted your homemade persimmon jam, the culinary possibilities are endless! Its unique, subtly sweet, and aromatic flavor makes it incredibly versatile, going far beyond a simple spread on toast. Here are some inspiring ways to incorporate this delightful preserve into your meals and treats:
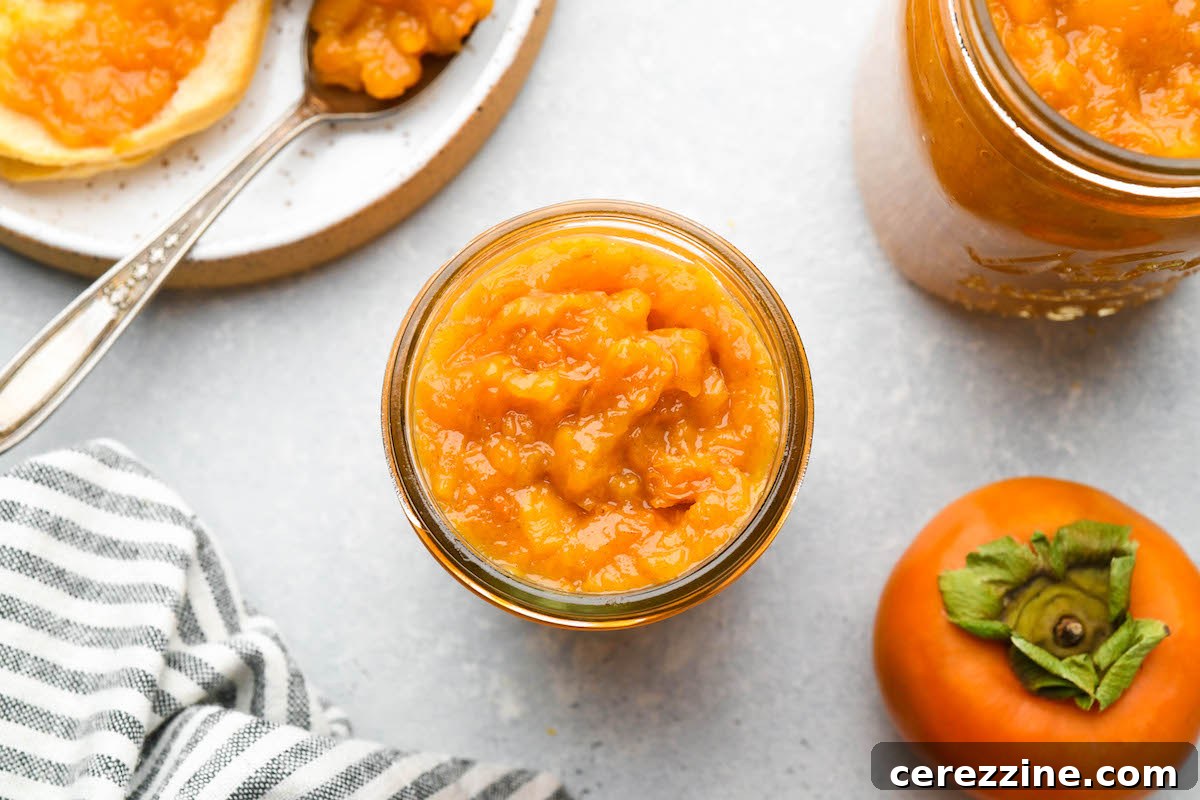
- Classic Breakfasts: Slather it generously over warm, flaky biscuits, fluffy pancakes, or golden waffles. Stir a spoonful into your morning oatmeal or swirl it into plain yogurt for an instant flavor boost.
- Elegant Desserts: Use it as a vibrant filling between layers of a vanilla or spice cake. Create beautiful jam thumbprint cookies, where the persimmon jam shines. It’s also a fantastic topping for creamy cheesecakes, panna cotta, or a scoop of vanilla bean ice cream. For a sophisticated dessert, warm it slightly and serve over baked brie with crackers.
- Savory Pairings: Don’t limit persimmon jam to sweet dishes! Its subtle sweetness and hint of spice make it an excellent accompaniment to savory meats. Serve it alongside roasted pork or chicken, or dollop it on a charcuterie board with sharp cheeses and crackers. It can also be incorporated into glazes for ham or poultry.
- Beverages: Stir a teaspoon into hot tea for a comforting autumn drink, or mix it into sparkling water with a squeeze of lime for a refreshing non-alcoholic spritzer.
Essentially, wherever you would use another fruit jam, persimmon jam offers a delightful, unexpected twist that is sure to impress.
Frequently Asked Questions About Persimmon Jam
Q: Can I make persimmon jam without added pectin?
A: Yes, absolutely! Persimmons, especially when combined with citrus juice, contain enough natural pectin to set a beautiful jam. This recipe specifically guides you through making jam without relying on commercial pectin, resulting in a pure, fruit-forward flavor.
Q: How do I know when persimmons are ripe enough for jam?
A: For Fuyu persimmons, they should be slightly soft to the touch with a vibrant orange color, similar to a ripe tomato. For Hachiya and wild American persimmons, they must be extremely soft, almost to the point of bursting, and pudding-like in consistency. Using these varieties when they are still firm will result in an unpleasant astringent taste.
Q: My jam didn’t set. What went wrong?
A: A common reason for runny jam is insufficient cooking time or not enough acidity. Ensure you cook the jam long enough to evaporate excess liquid and activate the pectin. Also, confirm you’ve added the minimum required lemon or lime juice for the batch size. Sometimes, simply reprocessing the jam with an additional tablespoon of lemon juice and cooking for a few more minutes can help.
Q: Can I reduce the sugar amount even further?
A: While persimmons are naturally sweet, sugar plays a role in the jam’s texture and preservation. Reducing sugar too much, especially for canning, can affect the set and potentially the safety if not properly acidified. For refrigerator jam, you have more flexibility, but the jam might be thinner. Always ensure sufficient acidity if canning with less sugar.
Q: How long does homemade persimmon jam last?
A: Refrigerated jam will last about 1-2 weeks. Frozen jam can last up to 6 months. Properly water bath canned and sealed jars, stored in a cool, dark place, maintain peak quality for 18 months and are often safe to consume for several years beyond that.
Q: Can I add spices to my persimmon jam?
A: Absolutely! Persimmon jam pairs beautifully with warm spices. Consider adding a pinch of cinnamon, nutmeg, ginger, or cloves during the cooking process for an extra layer of flavor. Start with small amounts and taste as you go.
48 servings, Makes 4 to 5 half pint (8 oz) jars
Persimmon Jam (Recipe for Canning)
Ashley Adamant
5
45
10
1
Equipment
-
Water Bath Canner
-
Large, heavy-bottomed pot or Dutch oven
-
Canning jars (half-pint or pint) with lids and bands
-
Jar lifter, canning funnel, headspace tool
Ingredients
- 4 lbs persimmons, about 10-12 large Fuyu persimmons, or about 11-12 cups sliced
- 1 to 2 cups sugar, adjust to your tastes
- 1/4 to 1/2 cup lemon or lime juice, see note on canning safety
Instructions
-
If you plan to can the jam, prepare a water bath canner and sterilize jars according to recommended canning guidelines before you begin cooking the jam. Canning is optional.
-
Wash persimmons and remove the tops/leaves. Slice Fuyu persimmons; if using Hachiya or wild American persimmons, peel and scoop out the soft pulp. You should have approximately 11-12 cups of sliced fruit from 4 lbs.
-
Place the prepared persimmons in a deep, heavy-bottomed stock pot or Dutch oven.
-
Add the lemon or lime juice to the pot. Do not add sugar yet.
-
Turn the stove to medium-low heat and cook the persimmons for about 15 minutes. Stir frequently to prevent scorching and mash the fruit as it cooks to encourage it to break apart.
-
After about 15 minutes of cooking, the fruit should have mostly softened and broken apart. Add your chosen amount of sugar (1 to 2 cups) and stir until it completely dissolves into the fruit pulp.
-
Continue cooking the jam over medium heat for another 20 to 30 minutes, stirring frequently. The jam will thicken gradually. Perform a set test (e.g., plate test) to determine when it reaches your desired consistency. Remember, it will thicken further as it cools.
-
When the jam reaches your desired consistency, remove the pan from the heat.
-
Ladle the hot, finished persimmon jam into prepared jars, leaving 1/4 inch headspace. Wipe rims clean and cap with two-part canning lids (flats and bands).
-
If canning: Load the jars into a preheated water bath canner. Ensure jars are covered by 1-2 inches of water. Bring the canner to a full rolling boil. Once boiling, process the jars for 10 minutes, adjusting for altitude (add 1 minute for every 1,000 feet above sea level). Turn off heat, remove canner lid, and let jars sit for 5 minutes. Carefully remove jars and place them on a towel-lined counter to cool for 12-24 hours. Check seals: lids should be concave and not flex when pressed. Store properly sealed jars in a cool, dark pantry for up to 18 months. Refrigerate any unsealed jars for immediate use. Refrigerate after opening.
-
If making refrigerator jam: After filling jars and applying lids, simply let the jars cool completely on a towel-lined counter before refrigerating. Consume within 1-2 weeks.
Notes
Sugar
For a subtly sweet jam that highlights the natural persimmon flavor, use 1 cup of sugar. For a more traditional, sweeter jam, opt for 2 cups. The final yield of jam will be slightly higher with more sugar.
Lemon or Lime Juice
Persimmons are low in acid, making the addition of citrus juice crucial. It not only provides tart flavor notes to balance the sweetness but also boosts the natural pectin, aiding in the jam’s set. Lime juice can be used interchangeably with lemon juice and offers its own distinct aromatic flavor.
For refrigerator jam, the citrus juice is highly recommended for both flavor enhancement and improved set, though technically optional.
If you are canning your jam, the lemon or lime juice is NOT optional. It is absolutely required to lower the pH of the fruit to safe levels for water bath canning. You must use at least 1/4 cup per batch (for 4 lbs of fruit), which equates to approximately 1 tablespoon of citrus juice per pound of fruit.
For a more pronounced tart flavor that brings out the best in persimmons, I personally prefer using 1/2 cup of citrus juice, which is about 2 tablespoons per pound of fruit.
Citric Acid Substitution
If you wish to avoid the flavor contribution of citrus juice but still need to ensure proper acidity for safe canning, food-grade citric acid granules can be used.
Citric acid is significantly stronger than citrus juice. Use it at a rate of 1/4 teaspoon of citric acid in place of each 1 tablespoon of lemon or lime juice specified in the recipe.
For this recipe, requiring at least 1 tablespoon of citrus juice per pound of fruit, a 4-lb batch would need a minimum of 1 teaspoon of citric acid.
To use, dissolve the citric acid in 1/4 to 1/2 cup of water and add this solution to the persimmons at the same step where the citrus juice would be added. This ensures even distribution and helps prevent scorching before the fruit releases its own juices.
Nutrition
Carbohydrates: 17g,
Protein: 0.3g,
Fat: 0.2g,
Polyunsaturated Fat: 0.001g,
Sodium: 0.4mg,
Potassium: 119mg,
Fiber: 0.03g,
Sugar: 4g,
Vitamin A: 0.2IU,
Vitamin C: 26mg,
Calcium: 11mg,
Iron: 1mg
Nutrition information is automatically calculated and should only be used as an approximation.
Enjoyed this recipe? Leave a comment below!
The absolutely stunning photos in this recipe are by Nyssa Tanner from Nyssa’s Kitchen.
More Seasonal Canning Recipes for Autumn
Persimmons ripen later in the season, typically in November and even stretching into December, making them a perfect fruit for late-autumn preserving. But they’re not the only delicious fruits available during this cozy time of year! Expand your preserving repertoire with these other seasonal favorites:
- Homemade Cranberry Sauce
- Fragrant Quince Jam
- Bright Kumquat Jam
- Canning Quince (Recipe coming soon!)
Embrace Tradition: Old-Fashioned Jam Recipes Without Pectin
There’s a special charm in making jam the old-fashioned way, relying on the natural pectin of the fruit rather than boxed additives. If you appreciate the pure taste and authentic texture of homemade preserves, explore these other traditional, pectin-free jam recipes:
- Old Fashioned Strawberry Jam
- Old Fashioned Grape Jam (featuring whole fruit skins for extra flavor and pectin)
- Classic Raspberry Jam (No Pectin Added)