
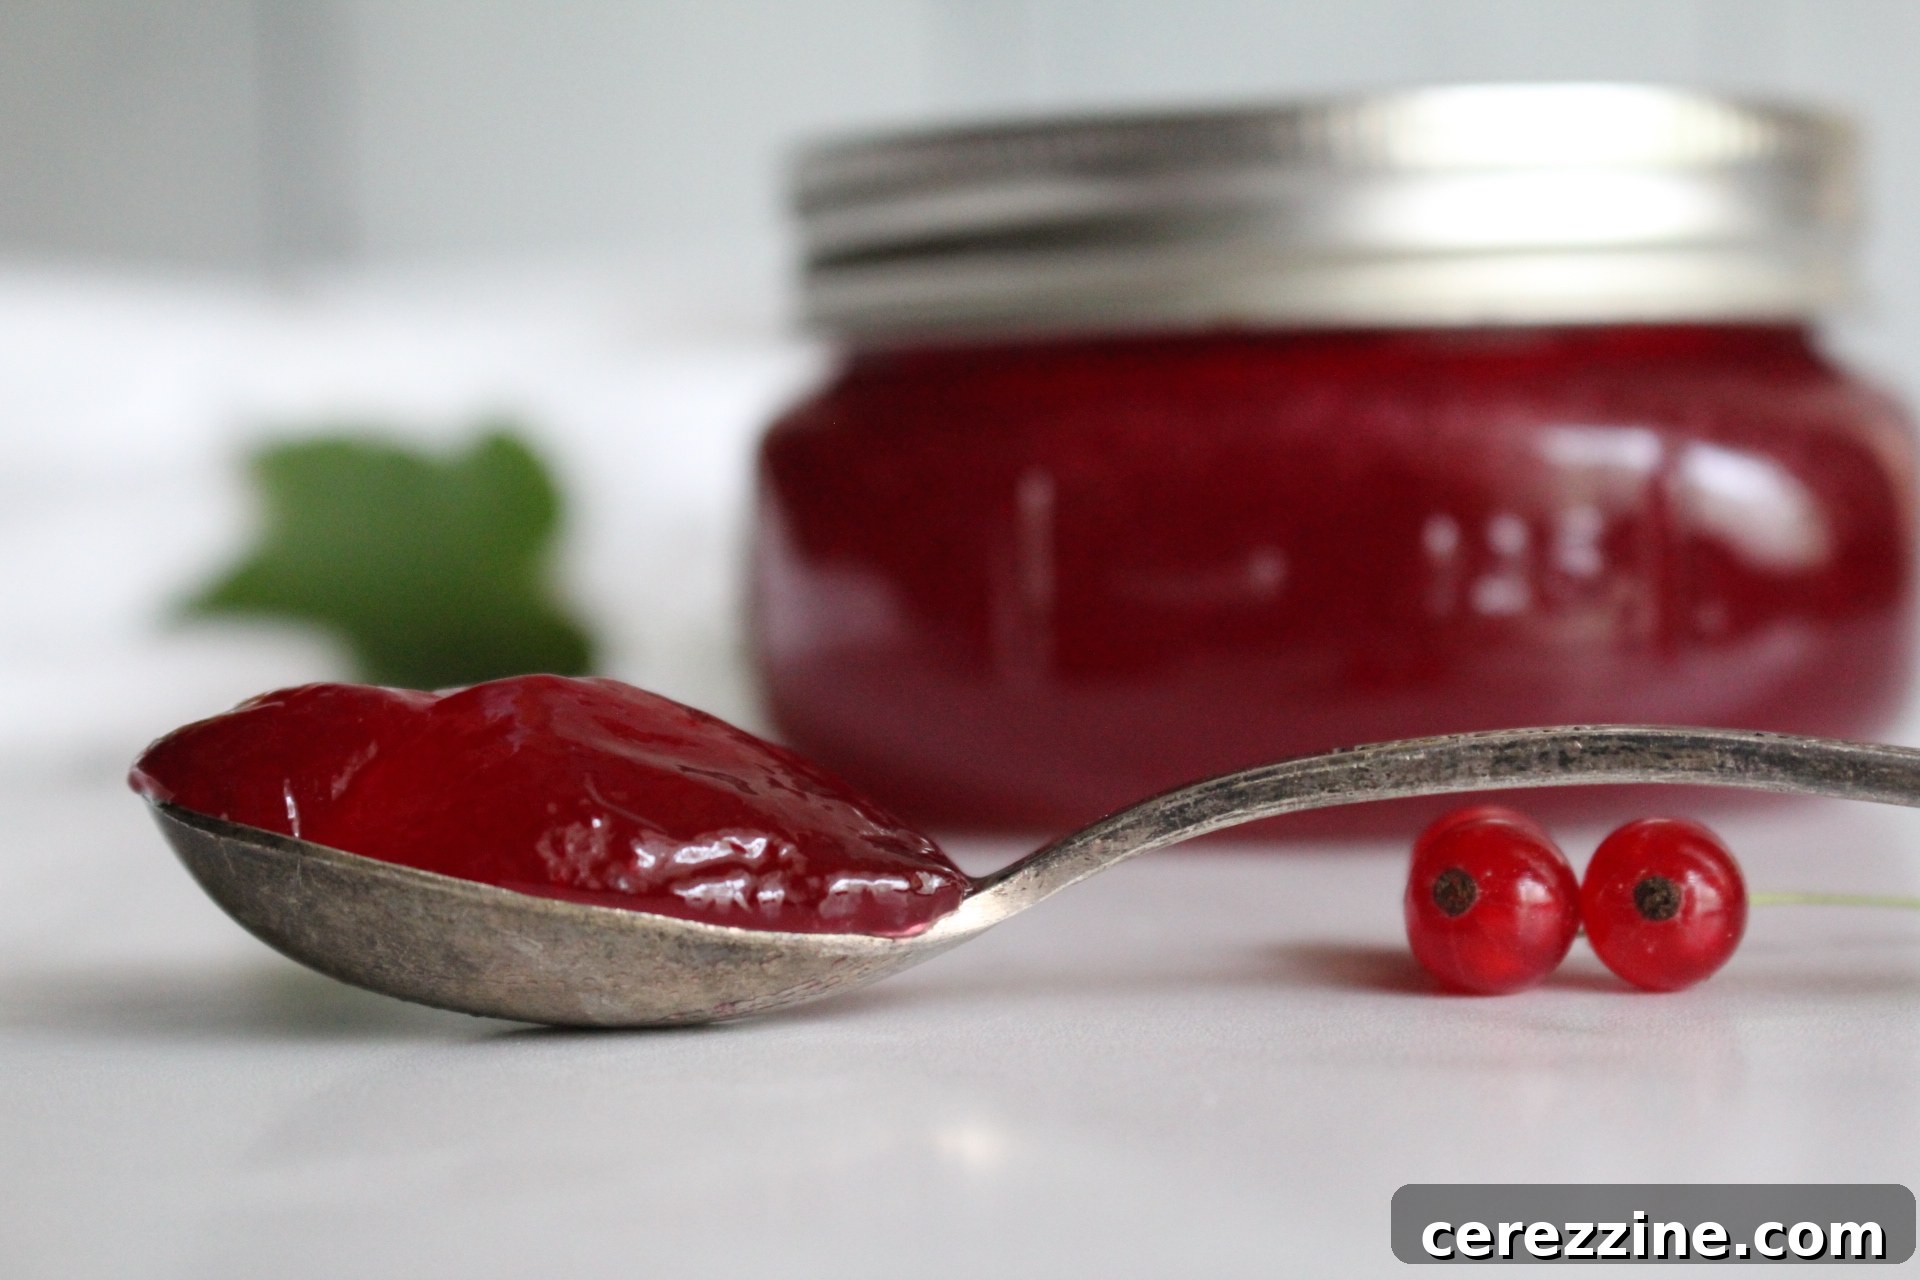
There’s little as disheartening for a home canner as opening a jar of homemade jelly, only to find a runny, syrupy liquid instead of the firm, shimmering gel you envisioned. The frustration of a jelly that doesn’t set is incredibly common, experienced by both novice and seasoned preservers alike. But here’s the encouraging truth: in most instances, the recipe itself isn’t to blame. More often, the culprit is a subtle oversight in the process – perhaps the timing of the boil, the age of your pectin, or the precise acidity of your fruit.
Understanding the fundamental principles behind jelly setting – the intricate interplay of pectin, sugar, and acid – is your most powerful tool. Once you demystify what causes unset jellies, you gain the confidence to not only salvage a soft batch but also to prevent future disappointments. This comprehensive guide will walk you through the common pitfalls, offer expert troubleshooting tips for various pectin types, and provide actionable steps to rescue your precious preserves, ensuring perfect gels every time.
Over two decades of crafting hundreds of batches of jelly, both with and without commercial pectin, I’ve encountered very few failures – a testament to the fact that mastering a few key details makes all the difference. My early experiences with unset jellies taught me valuable lessons. For instance, one batch of blackcurrant jelly, made without added pectin, mysteriously set perfectly in the extra jars not destined for the canner, while those that underwent water bath processing turned back into syrup. This sometimes happens: the extended heat from processing can, on occasion, break down the delicate bonds of natural pectin, even in naturally high-pectin fruits. (It’s worth noting that this particular issue is far less common when using boxed pectin, unless the processing time is excessively long).
Another challenge came with a wild grape jelly, which simply lacked sufficient natural pectin for gelling. Wild grapes are only moderate in pectin content, and in hindsight, a boost from a few tart green apples would have been ideal. These days, for more dependable results, I often prepare that same recipe using a reliable boxed pectin.
Indeed, a crucial observation from my extensive experience is this: I have never had a jelly made with boxed pectin fail to set when the instructions were followed meticulously. Commercial pectins are engineered for dependability; standard varieties can even gel plain sugar water, and low-sugar pectins are formulated to set with minimal or no added sugar. The key lies in precise adherence to the directions and using fresh, properly stored pectin. If these conditions are met, your jelly will almost invariably set. (My personal go-to is Sure Jel Low Sugar; it delivers consistently excellent results, whether I’m making low-sugar or high-sugar recipes. I’ve even successfully tested it with boxes found years past their expiry date! Simply follow the instructions, and it ALWAYS gels).
If your jelly, despite using boxed pectin, didn’t set, the odds are it’s not a flaw in the recipe but rather an issue with the execution of the process or the quality of the pectin itself. Let’s delve into the most common reasons for jelly setting failure, explore effective troubleshooting strategies, and outline what adjustments you can make to ensure success in your next batch.
Decoding Jelly Set Failure: The Most Common Culprits
When a batch of homemade jelly doesn’t achieve that coveted firm set, it almost invariably traces back to one of several identifiable issues. While we’ll explore all potential causes in detail, these are the factors most frequently responsible for a syrupy outcome:
- Compromised Pectin: Pectin, whether natural or commercial, is the gelling agent. Its efficacy diminishes significantly over time and with improper storage, especially when exposed to heat or humidity. Always prioritize fresh, in-date pectin at the start of each canning season for optimal results.
- Incorrect Ingredient Sequence: The order in which pectin, sugar, and fruit are combined is critical, varying specifically between powdered and liquid pectin. Powdered pectin is typically mixed with fruit/juice before boiling and sugar added later, whereas liquid pectin is introduced after sugar has dissolved in the boiling fruit mixture. A simple mix-up here can prevent proper gel formation.
- Imprecise Boil Time: Pectin requires a vigorous, “full rolling boil” for a specific duration (often around one minute) to properly activate its gelling properties. Boiling for too short a time won’t activate it sufficiently, while prolonged boiling can actually break down the activated pectin structure, leading to a runny result.
- Inadequate Sugar or Acid Levels: For standard high-sugar pectins, both sugar and acid are indispensable. Sugar plays a crucial role in forming the gel, and acid is necessary to create the optimal environment for pectin activation. Deviating from the recommended amounts, such as significantly reducing sugar or omitting bottled lemon juice when specified, will often result in a syrupy consistency.
- Overly Large Batches: Attempting to double or triple a jelly recipe, even with boxed pectin, can lead to uneven heating. This means certain parts of the mixture may not reach the critical temperature required for pectin activation, hindering the overall set.
- Excessive Processing: If canning your jelly, leaving jars in the water bath canner for too long, or allowing them to cool slowly within the hot water after processing, can degrade the pectin. This can weaken the gel structure, causing a soft or unset jelly.
- Suboptimal Fruit Selection (for no-added-pectin jellies): The natural pectin content of fruit varies greatly depending on the type and ripeness. Overripe fruits contain less pectin, and some fruits (like strawberries or peaches) are naturally low in pectin. This is almost exclusively a problem when making traditional jellies without commercial pectin.
These are the primary suspects when your jelly doesn’t set as expected. Beyond these general issues, the specific type of pectin you’re using (or the decision to forego it entirely) introduces its own set of unique considerations.
Troubleshooting Jellies with Regular Boxed Pectin (Standard/High-Sugar)
Regular powdered or liquid pectins – commonly found as Sure-Jell, Ball Real Fruit Classic Pectin, or Certo Liquid Pectin – are meticulously formulated to achieve a firm gel under precise conditions: a specific ratio of sugar to fruit juice, coupled with a brief, intense boil. When a jelly made with these dependable pectins fails to set, the root cause almost always lies within the execution of the process rather than a flaw in the recipe itself.
Compromised Pectin: Age and Storage
One of the most frequent culprits behind a failed set is old, expired, or improperly stored pectin. Pectin is a natural carbohydrate, and like many food products, its gelling power diminishes significantly over time. Exposure to heat, humidity, or even direct sunlight can accelerate this degradation, causing the pectin to lose its ability to form a proper gel. Always check the expiry date on your pectin package and ensure it has been stored in a cool, dry place. If you’ve meticulously followed every instruction for your pectin type and still face a runny result, the pectin itself is a strong candidate for the problem.
The Criticality of Ingredient Order
The sequence of operations is paramount when using boxed pectin, as powdered and liquid varieties require different approaches due to their chemical structures. For powdered pectin, it is typically mixed thoroughly with the fruit or juice before the mixture comes to a boil. The sugar is then added only after the mixture reaches a full rolling boil, followed by a vigorous one-minute hard boil to activate the pectin. Conversely, liquid pectin works in reverse: you first dissolve the sugar into the boiling fruit or juice, and then, and only then, is the liquid pectin stirred in, followed by another minute of hard boiling. Swapping these critical steps or shortening the crucial boil time can easily lead to a soft or unset jelly.
- Powdered Pectin Sequence: Combine pectin with fruit/juice first → achieve a full rolling boil for 1 minute → incorporate sugar → return to a hard boil for 1 minute.
- Liquid Pectin Sequence: Fully dissolve sugar in the boiling fruit/juice first → add liquid pectin → bring to a hard boil for 1 minute.
The Essential Full Rolling Boil
Another common misstep is failing to reach or adequately maintain a true rolling boil. Most boxed pectins specifically instruct you to bring the mixture to a full rolling boil for precisely one minute to activate the pectin. What constitutes a “full rolling boil”? It’s a vigorous boil that cannot be stirred down, meaning even when you stir, the bubbles continue to rise and break rapidly across the entire surface of the pot. This intense heat is essential for activating the pectin molecules and enabling them to form the gelling network. If the mixture can be easily stirred down, it simply hasn’t boiled long enough or hot enough for the pectin to properly activate.
On the other hand, overcooking can be equally detrimental. While it takes concerted effort, prolonged boiling can actually break down the delicate gel structure entirely. The goal is to hit that sweet spot: a full rolling boil for approximately one minute. While precision down to the exact second isn’t always achievable in a busy kitchen, there’s a significant difference between a one-minute boil and a five-minute boil – a difference that often determines whether you end up with a beautifully set jelly or a syrupy liquid.
The Perfect Balance: Sugar and Acid Requirements
For standard, “regular” pectins, both sugar and acid are non-negotiable components required for a successful set. Pectin, sugar, and acid work in concert to form the gel. Generally, a 1:1 ratio of fruit juice to sugar by volume is a common starting point for traditional recipes. A typical batch using standard pectin might look like this:
- 4 cups prepared fruit juice
- 4 cups granulated sugar
- 1 box (1.75 ounces) powdered pectin
It is crucial to understand that if you wish to prepare a reduced-sugar batch, you MUST use a pectin specifically formulated for low or no sugar. Attempting to reduce the sugar content with regular pectin will almost invariably result in a failure to set, as the pectin’s gelling mechanism relies heavily on the presence of a certain sugar concentration.
Similarly, the acidity level is vital. Omitting bottled lemon juice when a recipe calls for it, or using very ripe, naturally low-acid fruit, can disrupt the pH balance necessary for pectin to set properly. While many modern boxed pectins now include added citric acid (and can indeed set even plain water, as demonstrated by recipes like corn cob jelly which is inherently non-acidic), some bulk pectins (such as bulk apple pectin and Pomona’s pectin) do not. In these cases, adherence to recommended acid levels through lemon juice is critical, especially when working with low-acid or overripe fruits.
The Pitfalls of Large Batches
Counterintuitively, boxed pectins are quite sensitive to batch size. It is a common temptation to double or triple a recipe for efficiency, but this is a critical mistake. Larger volumes of liquid in a single pot heat unevenly. This uneven heating means that while some parts of your jelly mixture might reach the crucial temperature required for pectin activation, other parts may remain below it. Consequently, the “1 minute boil” instruction might not uniformly activate the pectin throughout the entire batch, leading to areas that are undercooked and areas that are overcooked – both scenarios preventing a proper set. For consistent and reliable results, it is always better to make two smaller, separate batches rather than attempting one large one.
The Impact of Overprocessing
If you are preserving your jelly via water bath canning, precise adherence to the recommended processing times is essential. Overcanning – leaving the jars in the canner for too long, or allowing them to sit in the hot water after the heat has been turned off – can denature the pectin. This means the prolonged exposure to high temperatures can break down the pectin molecules, weakening or even destroying their ability to form a stable gel. While a minute or two over the recommended time is unlikely to cause significant issues, accidentally doubling the processing time (e.g., 10 minutes instead of 20 minutes) can easily transform your perfectly cooked jelly into a runny syrup.
Troubleshooting Jellies with Low-Sugar / No-Sugar Pectin
Low- and no-sugar pectins, such as Sure-Jell Low Sugar, Ball Low or No Sugar Needed, or Pomona’s Universal Pectin, represent a distinct category in the world of preserving. These formulations differ significantly from standard pectins, relying on alternative mechanisms like calcium or specialized pectin blends to achieve a set without the traditional high sugar content. While incredibly reliable when used correctly, each brand operates on its own unique principles, and misunderstandings of these differences are often where problems arise.
Many of the issues that affect regular pectins also apply to low-sugar varieties. You’ll still need to be vigilant about:
- Old or Damaged Pectin
- Wrong Order of Operations (crucially important here!)
- Acid Levels (even if not sugar-dependent, acidity can still play a role)
- Batch Size
- Cook Time (especially the initial boil for activation)
- Overcanning
However, low-sugar pectins also come with their own set of specific considerations, primarily concerning brand-specific instructions and the unique role of calcium.
Brand-Specific Instructions and Order of Operations
The cardinal rule for low-sugar pectins is to meticulously follow the exact directions on the box for the specific brand you are using. Generic advice for standard pectin will not suffice. For example, brands like Sure-Jel Low Sugar, Mrs. Wages “Lite” Pectin, and Ball’s low-sugar pectin are designed to set during a rolling boil, much like traditional pectins, albeit with different sugar ratios. For these, the order of operations typically mirrors standard powdered pectin:
- Ball/Sure Jel/Mrs. Wages Low Sugar Pectin: Mix pectin thoroughly with fruit/juice first → bring to a full rolling boil for 1 minute → add sugar (if any) → boil hard for 1 minute.
Pomona’s Universal Pectin stands out as a unique product that utilizes calcium to form its gel structure. This means the interaction between pectin and calcium is a specific chemical reaction, and both ingredients must be introduced in the correct sequence and proportions for successful gelling. A common mistake is overlooking or incorrectly preparing the calcium water solution that is integral to Pomona’s system.
I’ve dedicated an entire article to how to effectively use Pomona’s pectin, but in summary, its proper use involves two critical preliminary steps: First, prepare the calcium water solution according to the package directions. Second, this calcium water must be thoroughly mixed into your prepared fruit or juice before any pectin is added. The pectin powder itself is then typically blended separately with the sweetener (or a small portion of the fruit mixture) to prevent clumping, before being stirred into the hot fruit mixture. Once all components are combined, the mixture is brought to a full rolling boil for 1 to 2 minutes, with constant stirring, and then proceeded to jar and process as directed. The most frequent cause of failure with Pomona’s recipes is either skipping or inaccurately measuring the calcium water. Remember to always stir the calcium water solution thoroughly before use, as the calcium can settle at the bottom!
- Pomona’s Universal Pectin: Prepare and mix calcium water into fruit/juice → blend pectin powder with sweetener → add to hot fruit mixture → bring to a full rolling boil for 1–2 minutes, stirring constantly → jar and process.
Optimizing Acid and Calcium Ratios
While low-sugar pectins significantly reduce or eliminate the reliance on sugar for thickening, they still generally require the correct acidity level to facilitate gel formation and ensure product stability. Most commercial low-sugar pectins include citric acid to ensure this proper acidity. However, a brand like Pomona’s, which relies on calcium, typically does not include added acid. Therefore, when using Pomona’s pectin, if your recipe specifies bottled lemon juice or citric acid, it is crucial not to omit it. This acid not only aids in stabilizing the pectin network but also contributes to the shelf life of your preserves. And, of course, the calcium water remains an absolutely indispensable component for Pomona’s to set.
If you prefer a sweeter jelly and consider increasing the sugar beyond the tested recipe for low-sugar pectins, be mindful that significant adjustments can sometimes lead to an overly stiff or slightly grainy set. For optimal results, it’s best to adhere to the tested ratios provided by the pectin manufacturer and then adjust sweetness to taste by stirring in extra sugar at the time of serving, rather than altering the core recipe.
Troubleshooting No-Added-Pectin (Natural Pectin) Jellies
Old-fashioned jellies made without commercial pectin represent the traditional art of preserving, where the success of the gel hinges entirely on the natural pectin and inherent acid present within the fruit itself. This natural reliance introduces a greater degree of variability from one batch to the next. Without the standardization provided by boxed pectin, seemingly minor factors such as fruit ripeness, juice concentration, or precise cooking time can dramatically sway the outcome between a beautifully firm jelly and a disappointing, runny syrup.
If your natural pectin jelly hasn’t set, the initial troubleshooting steps should focus meticulously on your fruit selection and your extraction and cooking process. Key questions to consider are: Was the fruit sufficiently underripe to provide adequate natural pectin? Did you inadvertently dilute the juice too much during extraction? Was the mixture cooked long enough to reach the critical gel stage, or conversely, boiled for an excessive period, which can break down the precious natural pectin?
The Critical Role of Fruit Ripeness and Pectin Content
The natural pectin content in fruit is highest in slightly underripe fruit and progressively declines as the fruit matures and ripens. For consistently dependable results when making jelly without added pectin, it is often recommended to use a blend of approximately ¼ underripe and ¾ ripe fruit. This balance ensures a sufficient pectin supply while still capturing peak fruit flavor. Some fruits are naturally abundant in pectin, making them excellent candidates for traditional jellies, such as crabapples, currants, quince, and tart apples. Other fruits, however, like strawberries, blueberries, or peaches, are inherently low in pectin and will rarely form a firm gel on their own without the assistance of added commercial pectin or a high-pectin fruit blend.
Therefore, if you’re committed to making a no-added-pectin jelly, selecting high-pectin fruits at the optimal stage of ripeness is paramount. This factor is, by far, the most common reason why traditional, all-natural jellies fail to set.
Preventing Over-Extraction or Diluted Juice
The process of extracting fruit juice is delicate. Using an excessive amount of water during the initial cooking phase, or simmering the fruit for too long, can have two negative effects: it can dilute the natural pectin content, making the final jelly too thin, and it can also break down the pectin itself, diminishing its gelling ability. It’s crucial to adhere to the water amounts specified in your recipe and to avoid overcooking the fruit during the juice extraction process.
For most jelly recipes, the fruit is cooked just long enough to soften and release its juices – and no longer. Overcooking can either destroy the pectin or, paradoxically, cause the pectin to set within the fruit pulp itself before you even have a chance to strain it. (I’ve heard stories of canners ending up with a thick hawthorn sauce in their jelly bag, with no liquid to drip out!).
Aim to cook soft fruits like berries for only about 5 minutes, or until they begin to break apart and release their juice. Firmer fruits, such as apples, might require up to 20 minutes. The notable exception to this rule is quince, which actually benefits from a longer cook time to coax out its maximum pectin content for quince jelly. For virtually all other fruits, a quick cook followed by straining is the best approach.
Addressing Insufficient Acidity
Acid is a vital catalyst that helps pectin molecules form the intricate network responsible for a gel. Without an adequate level of acidity, the pectin simply won’t activate and the jelly will remain unset. It’s a good practice to taste your fruit juice before cooking. If it lacks a noticeable tartness, it likely needs an acid boost. A general guideline is to add 1 tablespoon of bottled lemon juice for every cup of fruit juice. A simple taste test can confirm: if your juice doesn’t possess a tartness akin to a mixture of 1 teaspoon lemon juice, 3 tablespoons water, and ½ teaspoon sugar, then it requires more acid. Bottled lemon juice is preferred over fresh for canning due to its consistent acidity level.
Precision in Cooking Time and Gel Tests
Achieving the perfect gel stage for natural pectin jellies is a delicate balance. Undercooking prevents sufficient water from evaporating, meaning the sugar concentration won’t reach the critical point needed for gelling, resulting in a thin syrup. Conversely, overcooking can be equally problematic, as prolonged high heat can actually break down the natural pectin entirely, again leading to a runny result. To mitigate these risks, always keep batches small – ideally no more than 4 to 6 cups of juice at a time – to ensure even heating and consistent evaporation.
Employ reliable doneness tests to confirm when your jelly has reached its gel point. The most common and effective methods include:
- Temperature Test: For most jellies, a temperature of 220°F (104°C) at sea level indicates the gel point. Remember to adjust this temperature for your specific altitude (typically by subtracting 2°F for every 1,000 feet above sea level, or simply by noting the boiling point of water at your location and adding 8°F).
- Sheet or Spoon Test: Dip a cool metal spoon into the hot jelly mixture, lift it out, and hold it horizontally. Allow the mixture to drip off the side of the spoon. If it drips off in separate drops, it’s not ready. If two drops run together and form a “sheet” or a “flake” off the edge of the spoon, the jelly has reached its gel point.
- Freezer Plate Test: Place a small ceramic plate in the freezer before you start cooking. When you suspect the jelly is ready, place a teaspoonful of the hot mixture onto the cold plate. Let it sit for 30-60 seconds, then push it with your finger. If the surface wrinkles, it’s ready. If it’s still liquid, continue cooking and retest.
Using a combination of these tests provides the most accurate assessment of doneness, helping you avoid both undercooked and overcooked batches.
Rescuing Runny Jellies: How to Save a Batch That Didn’t Set
Even with the best intentions and careful adherence to recipes, syrupy jellies happen. While a soft set can be disappointing, it’s certainly not the end of the world. These delicious, albeit unset, preserves can be repurposed wonderfully as toppings for pancakes, waffles, or ice cream, swirled into yogurt, or even used as a base for glazes and cocktails. However, if your heart is set on achieving that firm gel, there are several effective methods to salvage an unset batch.
The Power of Patience (and Waiting)
Before you jump into “fixing” a seemingly unset jelly, remember that pectin requires time to fully set. Most commercial pectins take a minimum of 24 to 72 hours to reach their final set, and it’s perfectly normal for your jelly to appear quite liquid right out of the canner, or even a few hours later. Jellies or marmalades that incorporate lemon rind or other citrus peels can take even longer – sometimes up to a full week – to set completely, as the pectin is slowly released into the mixture even after processing. As a general rule of thumb, resist the urge to remake or adjust a batch of jelly until at least 3 full days after canning. In many cases, patience is indeed a virtue, and your jelly will firm up beautifully on its own.
Remaking Jellies That Didn’t Set Successfully
If, after sufficient waiting time, your jelly still hasn’t set to your desired consistency, it can often be successfully remade. Begin by accurately measuring the amount of unset jelly you intend to recook. Remember the lesson on batch size: process no more than 4 to 6 cups at a time, as larger quantities are notoriously difficult to re-gel evenly. Before you start, ensure you are comfortable with the basics of using a boiling water canner and review current safe canning guidelines, especially if this is your first time reprocessing a product. This will ensure both safety and success.
Remaking with Powdered Pectin
To remake unset jelly using powdered pectin, follow these precise steps: For each quart (approximately 4 cups) of unset jelly, combine ¼ cup granulated sugar, ½ cup water, 2 tablespoons bottled lemon juice, and 4 teaspoons powdered pectin in a large, clean pot. Bring this mixture to a rolling boil over high heat, stirring constantly until the pectin is fully dissolved. Once boiling, add the measured soft jelly to the pot. Continue stirring vigorously and bring the entire mixture back to a full, hard rolling boil. Boil hard for exactly 30 seconds, then immediately remove the pot from the heat. Quickly skim off any foam that forms on the surface. Ladle the hot, re-gelled jelly into clean, sterile jars, leaving ¼ inch of headspace. Wipe the rims thoroughly, apply new lids, and secure with bands. Process the jars in a boiling water bath canner for the recommended time (typically 10 minutes for jellies at sea level, adjusting for altitude).
Remaking with Liquid Pectin
If you prefer to use liquid pectin for remaking your unset jelly, here’s the method: For each quart (approximately 4 cups) of unset jelly, measure ¾ cup granulated sugar, 2 tablespoons bottled lemon juice, and 2 tablespoons (one pouch) liquid pectin. Bring the unset jelly just to a boil over high heat in a large pot, stirring constantly. Immediately remove the pot from the heat and quickly stir in the measured sugar, lemon juice, and liquid pectin until fully dissolved. Return the mixture to high heat and bring it to a full, hard rolling boil, stirring continuously. Boil hard for precisely one minute. Remove from heat, quickly skim off any foam, and fill sterile jars, maintaining ¼ inch of headspace. Wipe rims, apply new lids, and process as recommended in a boiling water bath canner.
Remaking Without Added Pectin (for natural jellies)
For those aiming to remake a natural pectin jelly without introducing commercial pectin, the process focuses on concentrating the existing pectin and acid: For each quart (approximately 4 cups) of unset jelly, add 2 tablespoons of bottled lemon juice directly to the jelly in a large pot. Bring the mixture to a brisk boil. Continue to boil for 3 to 4 minutes, or until the mixture reaches the critical jellying point. This can be confirmed by a temperature reading of about 220°F (104°C) at sea level (or 8°F above the boiling point of water at your specific altitude), or by employing the reliable sheet or freezer plate tests described earlier. Pay meticulous attention during this phase, ensuring the jelly consistently passes the gelling test before proceeding. Once the jelly has visibly thickened and passed your chosen test, remove it from the heat. Quickly skim off any foam, then ladle the hot jelly into sterile jars, leaving ¼ inch headspace. Adjust new lids and process according to safe canning recommendations.
Embracing the Outcome: When to Rename Your Preserve
Sometimes, despite all best efforts, your spread lands somewhere between a true gel and a pourable syrup. This is not a failure; it’s an opportunity for culinary creativity! If your preserve tastes absolutely fantastic but simply hasn’t achieved a firm set, don’t despair – rename it! Think of it as a delicious fruit sauce, a decadent pancake or waffle syrup, a luxurious ice-cream topping, a vibrant yogurt swirl, an intriguing cocktail mixer, or even a savory meat glaze. You’ve still successfully preserved the peak flavor of fresh fruit, just in a more versatile, pourable form. Embrace it and enjoy!
Foolproof Tips to Prevent Soft Jellies in the Future
Experiencing a batch of jelly turn out too soft or syrupy is a common rite of passage for many home canners. However, armed with knowledge and a few mindful practices, most of these issues are entirely preventable. Keep these essential tips in mind for your upcoming jelly-making adventures to ensure consistently perfect gels:
- Prioritize Fresh, In-Date Pectin: Always begin each canning season with fresh pectin. Pectin’s gelling power significantly weakens with age and improper storage, especially if exposed to heat or humidity. Check expiry dates and store packages in a cool, dry place.
- Strictly Follow Pectin-Specific Instructions: The order of operations is not universal. Powdered pectin typically goes into the fruit/juice first, before sugar; liquid pectin is added after the sugar is dissolved in the boiling fruit. Swapping these critical steps is a primary cause of weak or failed sets. Read your pectin package carefully!
- Ensure a Vigorous, Full Rolling Boil: Pectin requires intense heat for proper activation. Aim for a boil that cannot be stirred down, with continuous, rapid bubble formation across the entire surface of the pot. Boil hard for the exact duration specified (usually a full minute). Undercooking prevents gel formation, while overcooking can degrade the pectin.
- Resist the Urge to Double Batches: Jelly recipes, particularly those using boxed pectin, are formulated for specific volumes to ensure even heating and proper gel development. Large quantities heat unevenly, making it difficult for the pectin to activate uniformly. Stick to small, consistent batches, typically no more than 4–6 cups of juice at a time.
- Accurate Measurement of Sugar and Acid: For standard pectins, both sugar and acid are indispensable. Sugar isn’t just for sweetness; it plays a critical chemical role in gel formation. Acid provides the necessary environment for pectin activation. Deviating from recommended amounts, whether by reducing sugar or omitting essential bottled lemon juice, will almost certainly lead to runny results. If reducing sugar, use a specific low-sugar pectin.
- Avoid Overprocessing During Canning: If you’re water bath canning your jellies, adhere strictly to the recommended processing times. Leaving jars in the canner for too long, or allowing them to cool very slowly in the hot water, can expose the pectin to excessive heat, causing it to break down and soften the set.
- Be Mindful of Environmental Humidity: High atmospheric humidity can subtly influence jelly setting. On very humid days, your jelly mixture may require a slightly longer cooking time to evaporate enough water and reach the gel point. Furthermore, high humidity during storage can sometimes lead to a slight softening of jellies in their jars.
- Allow Ample Setting Time: Patience is crucial! Many jellies, particularly those relying on natural pectin or containing citrus rind (like marmalades), require considerable time – often 24 to 72 hours, and sometimes up to a full week – to achieve their final, firm set. Avoid judging your jelly too soon after canning.
Remember, a jelly that doesn’t set perfectly on the first try is not a failure; it’s an invaluable part of the learning journey in home canning. With a bit of informed troubleshooting and a healthy dose of patience, most unset jellies can be successfully salvaged. And even when they maintain a pourable consistency, they remain incredibly delicious as versatile syrups or flavorful sauces. Once you grasp the fundamental science behind how pectin, sugar, and acid interact, you’ll be empowered to fine-tune each batch, confidently achieving that perfect, shimmering gel every single time.