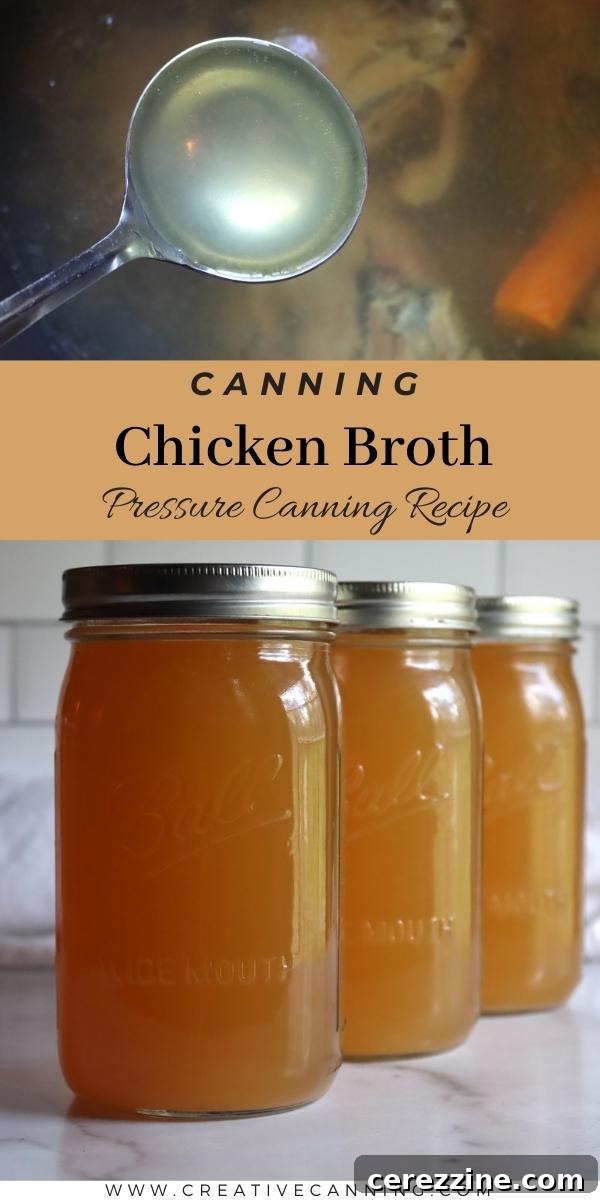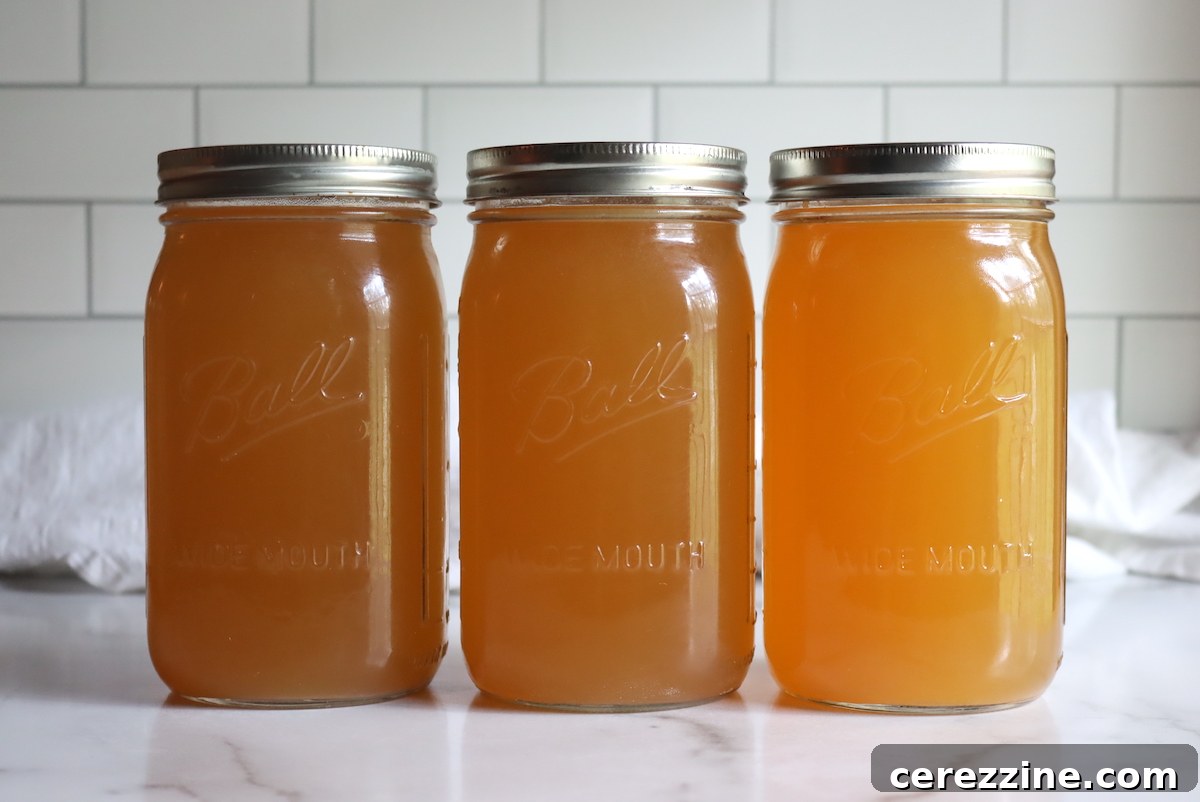
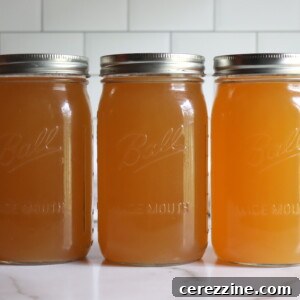
Canning homemade chicken broth is an incredibly efficient and rewarding way to preserve one of your kitchen’s most versatile staples. This method allows you to enjoy the rich flavor and nutritional benefits of homemade bone broth without consuming precious freezer space. It’s a straightforward process when using a pressure canner, requiring only 20 minutes for pint jars and 25 minutes for quart jars, making it a quick and accessible preservation technique for any home cook.
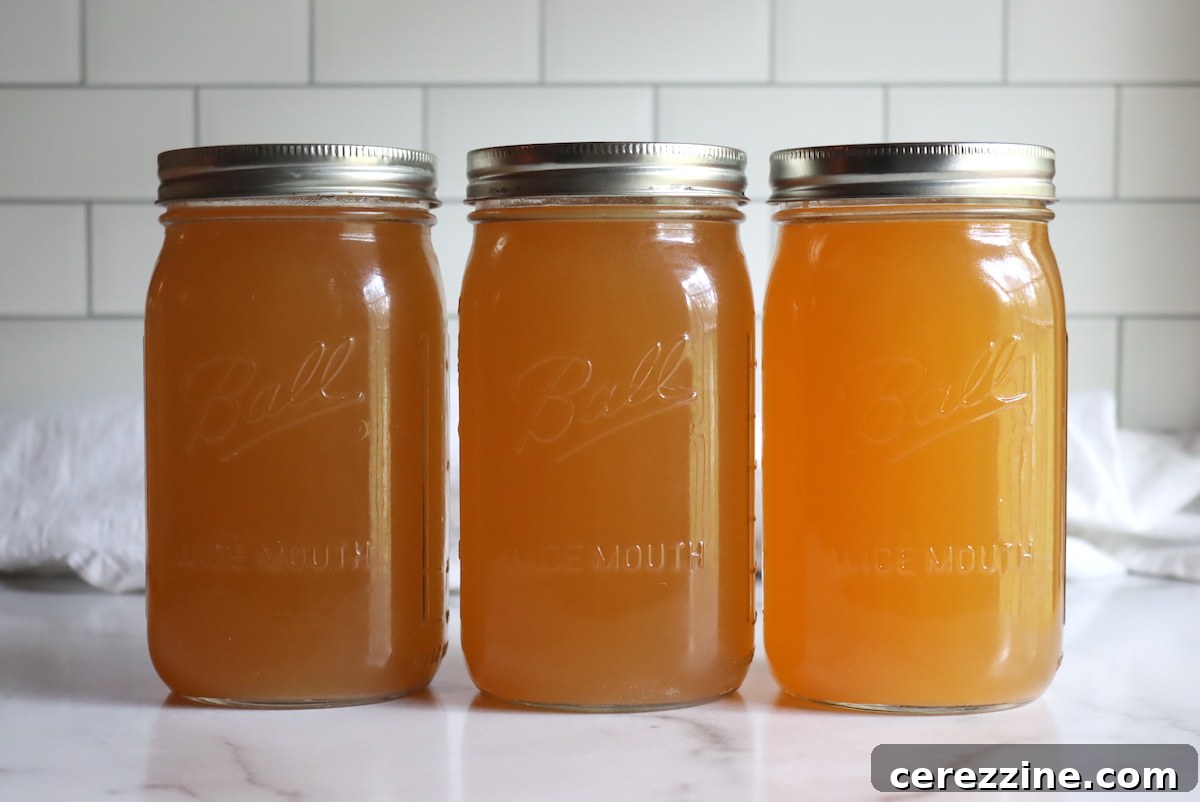
Transforming leftover chicken bones into a nutritious, shelf-stable broth is a testament to sustainable cooking and smart pantry management. By utilizing every part of your chicken, you’re not only reducing food waste but also extracting valuable vitamins, minerals, and collagen that are essential for good health. This process ensures you always have a deeply flavorful base for soups, stews, risottos, or simply a comforting cup to sip on, ready at a moment’s notice.
This comprehensive guide will walk you through everything you need to know about making chicken bone broth from scratch and safely pressure canning it at home. While we’ll provide a fantastic base recipe, remember that the beauty of homemade broth lies in its flexibility. Feel free to adapt the broth recipe to your taste, as long as you follow the crucial canning instructions for safety and longevity.
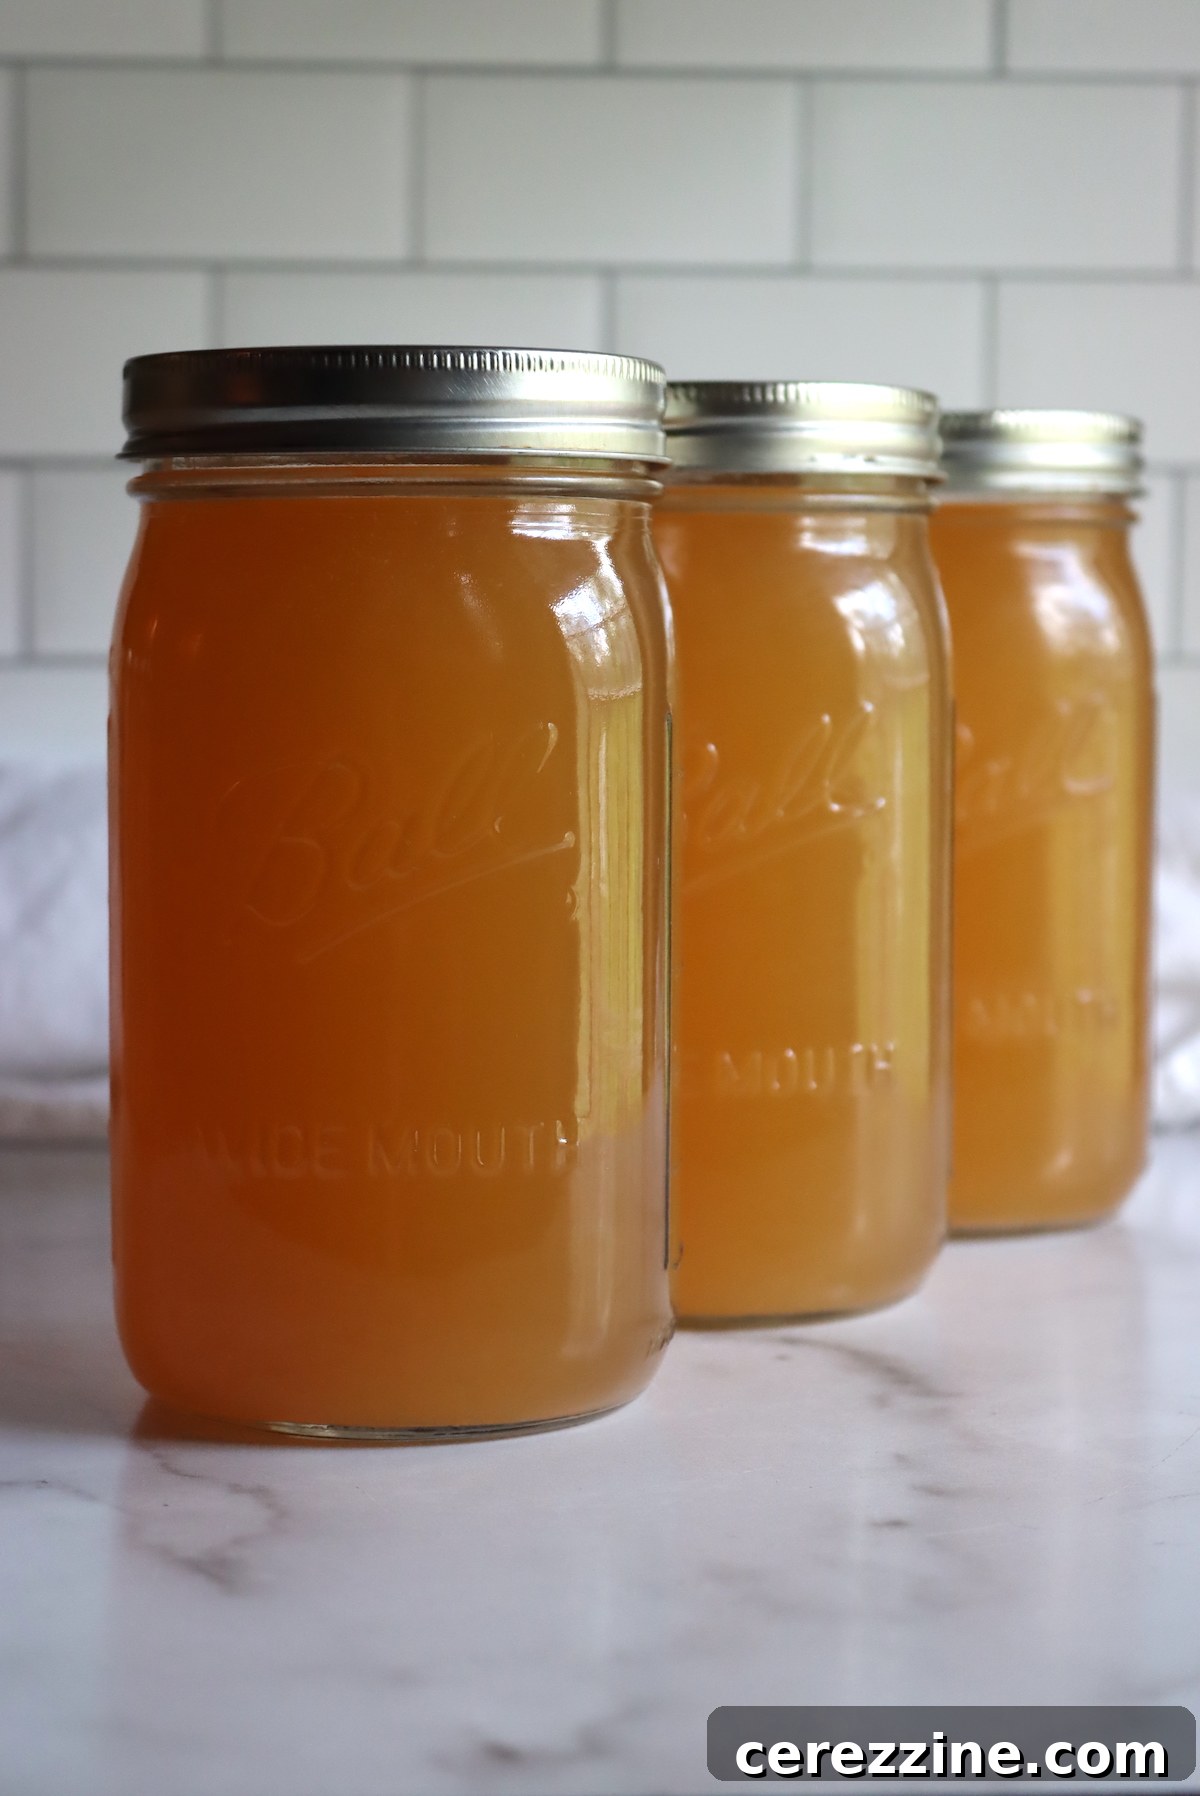
Why Can Chicken Broth? The Benefits of Preserving Liquid Gold
Preserving chicken broth through canning offers a multitude of advantages that extend beyond mere convenience. Firstly, it liberates your freezer. Freezers are often at a premium for storing meats, vegetables, and pre-made meals. Canning allows you to store your homemade broth on a pantry shelf, freeing up valuable frozen real estate for other essentials. This makes meal planning simpler and more efficient, as you won’t need to remember to thaw broth hours in advance.
Secondly, homemade chicken broth is far superior to store-bought varieties in terms of flavor and nutritional value. When you make it yourself, you control the ingredients, avoiding excessive sodium, artificial flavors, and preservatives. Bone broth, in particular, is rich in collagen, gelatin, amino acids, and minerals like calcium and magnesium, all of which are beneficial for gut health, joint support, and glowing skin. Canning locks in these nutrients, ensuring that every jar is a powerhouse of goodness.
Finally, the economic benefits are significant. Making broth from leftover chicken carcasses, bones, and vegetable scraps is an excellent way to stretch your food budget. Instead of discarding these components, you transform them into a valuable commodity that can be used in countless recipes, enhancing their flavor profile and nutritional content. Having a steady supply of canned chicken broth means you’re always prepared for delicious, healthy meals, rain or shine.
Understanding Chicken Bone Broth: From Carcass to Culinary Essential
While often used interchangeably, there’s a subtle but important distinction between chicken broth and chicken bone broth. Traditional chicken broth is typically made from meat and some bones, simmered for a shorter period, resulting in a lighter flavor. Chicken bone broth, however, focuses on slow-simmering bones (often roasted first) for an extended period – sometimes 12-24 hours. This prolonged cooking time extracts maximum nutrients, including gelatin from collagen, marrow from bones, and trace minerals, giving the broth a richer body and a more profound flavor profile.
The resulting liquid is not just a cooking liquid; it’s a nutritional tonic. The gelatin in bone broth, which often causes it to set into a jelly-like consistency when cooled, is fantastic for digestive health, helping to heal and seal the gut lining. The amino acids, such as glycine and proline, support various bodily functions, from detoxification to immune response. Moreover, the slow extraction process ensures that the broth is packed with robust, umami flavors that elevate any dish it’s added to.
For canning, whether you make a lighter chicken broth or a collagen-rich bone broth, the preservation steps remain the same. The key is to ensure your final product is free of any solid food particles before canning to guarantee safety and proper processing times.
Essential Ingredients for Your Homemade Chicken Broth
The beauty of making chicken broth is its simplicity and flexibility. While we’ll provide a guideline recipe, remember that this is a starting point. Your favorite family recipe will work just as well, provided it results in a thoroughly strained liquid. This particular recipe from “The Ball Blue Book of Canning” is designed for a smaller batch, perfect for using the bones from a single roast chicken, yielding about two quarts (or four pints).
To make this canner batch, you will need:
- Picked bones from 1 roast chicken (approximately 4-5 lbs or 2-2.25 kg before cleaning)
- 1 Tbsp (15 ml) salt (adjust to taste, or omit entirely)
- 2 large carrots, chopped
- 2 bay leaves
- 1 large onion, chopped
- 2 quarts (2 L) water (or enough to cover bones)
- 1 Tbsp (15 ml) apple cider vinegar (helps extract minerals from bones)
This ingredient list serves as a versatile foundation. If you process chickens on a larger scale, like on a homestead, you might find yourself with plenty of chicken backs, necks, and feet. These parts are excellent for creating larger, incredibly gelatinous batches of broth. Don’t hesitate to scale up the recipe to fill a large stockpot, or even make a 14-quart batch if you have the resources. Feel free to customize your broth with additional vegetables like celery, parsnips, or leeks, and various herbs such as parsley, thyme, or peppercorns. The only non-negotiable aspect is that the finished broth must be impeccably strained before canning to ensure safe processing.
Crafting the Perfect Chicken Broth: Step-by-Step Guide
Making a flavorful and clear chicken bone broth is a simple yet artful process that begins even before the simmering. The goal is to extract maximum flavor and nutrients while maintaining clarity, which is crucial for canning.
The Art of Roasting Bones
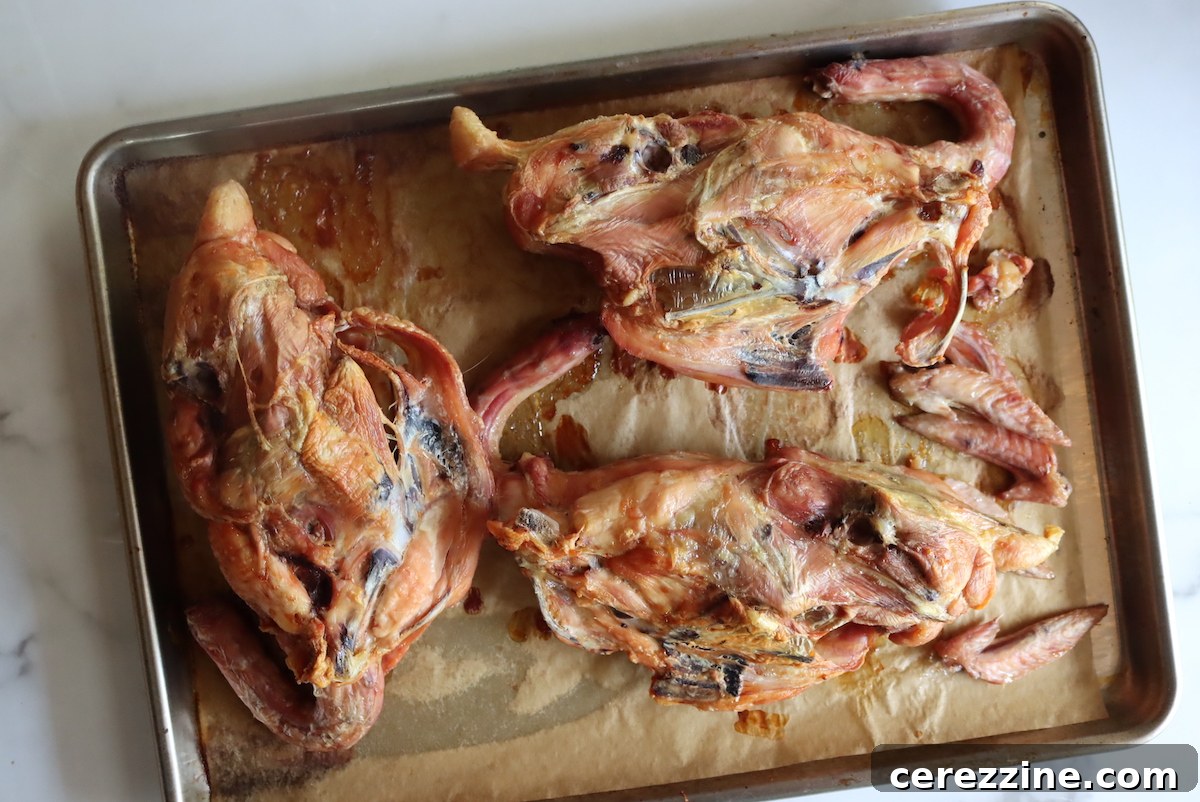
The first and often overlooked step to a superior chicken broth is roasting the bones. This simple technique contributes significantly in three key ways:
- **Depth of Flavor:** Roasting caramelizes the bones and any residual meat, creating rich, complex flavors that translate into a much deeper, more robust broth.
- **Golden Hue:** The roasting process imparts a beautiful golden color to the bones, which then leaches into the broth, giving it an appetizing amber tint.
- **Exceptional Clarity:** Most importantly, roasting helps to set any remaining proteins or blood on the bones. If raw or under-roasted bones are added directly to water, these proteins can coagulate and cloud your broth. Roasting minimizes this, leading to a crystal-clear finished product.
Even if you’re using a carcass from an already roasted chicken, it’s beneficial to roast the bones again for an additional 20 to 30 minutes at 350°F (175°C) to achieve optimal browning and flavor. If you’re starting with raw carcasses, such as those from home-processed chickens, ensure they are thoroughly cooked and well-browned before proceeding. This might take longer, depending on the size and quantity of the bones.
Slow Simmering for Superior Flavor and Nutrients
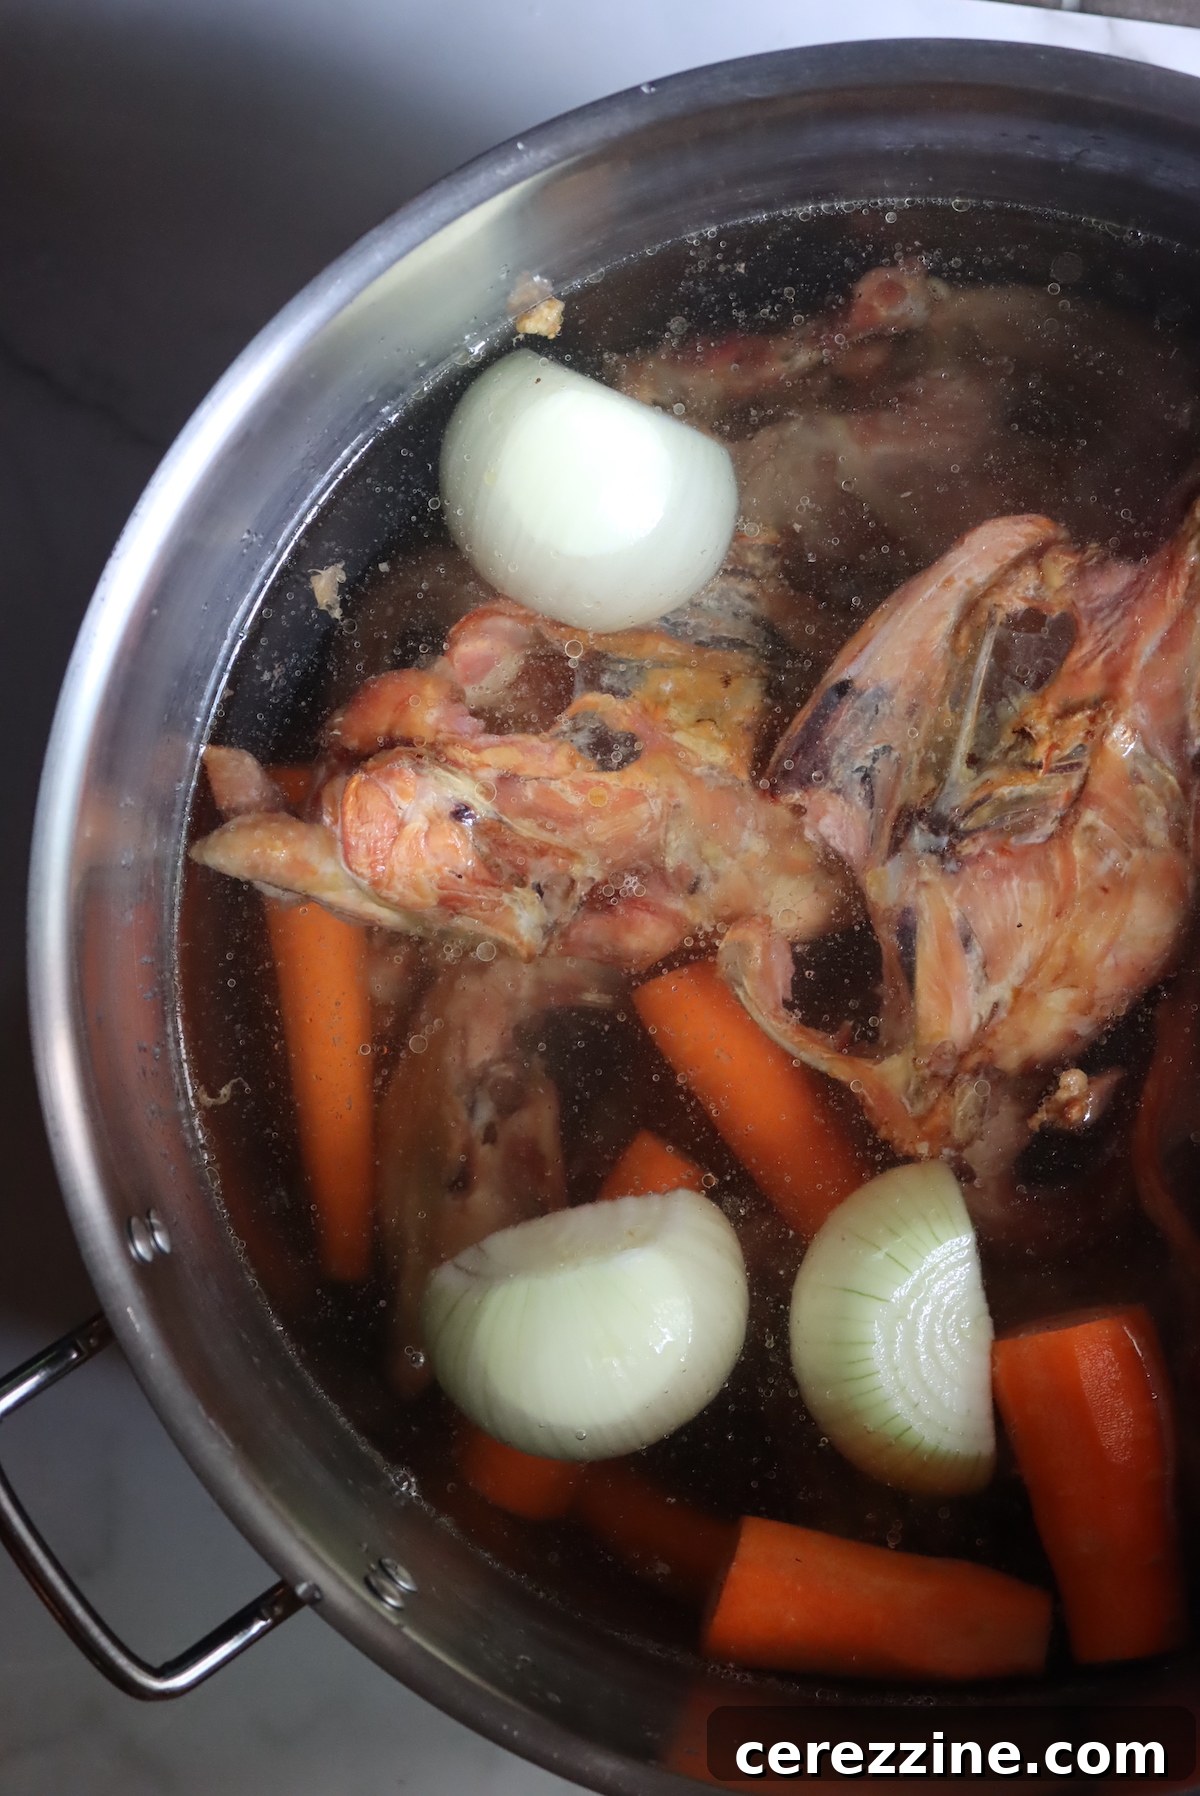
Once your bones are perfectly roasted, it’s time to combine them with water and other ingredients. The method of simmering plays a vital role in the final quality of your broth. The cardinal rule for clear, high-quality stock is: never let it come to a rolling boil. A gentle simmer for many hours slowly coaxes out all the collagen, gelatin, and minerals from the connective tissues and bones, without emulsifying fats or breaking down proteins in a way that would cloud the liquid.
While stovetop simmering is common, controlling the temperature to avoid a hard boil can be tricky. For guaranteed slow, even cooking, the Ball Blue Book of Canning suggests an oven method using a Dutch oven. This method is especially effective for smaller batches, allowing you to create the best possible bone broth from a single chicken carcass. For larger batches, a slow cooker or a stovetop pot carefully monitored can also work.
Here are the instructions from the Ball Blue Book for making bone broth in the oven:
- Preheat your oven to 225°F (107°C).
- Place all your roasted bones and other ingredients (carrots, onion, bay leaves, salt, apple cider vinegar, water) into a large stainless steel pot or an enameled Dutch oven. Ensure the bones are fully submerged in water.
- Bake everything, covered, for seven hours at 225°F (107°C).
- After seven hours, reduce the oven temperature to 180°F (90°C) and continue baking for another seven hours. Check periodically and add more water if necessary to keep the bones covered.
- Alternatively, you can use a slow cooker, cooking on low for approximately 12 hours.
Straining for Clarity: A Crucial Step
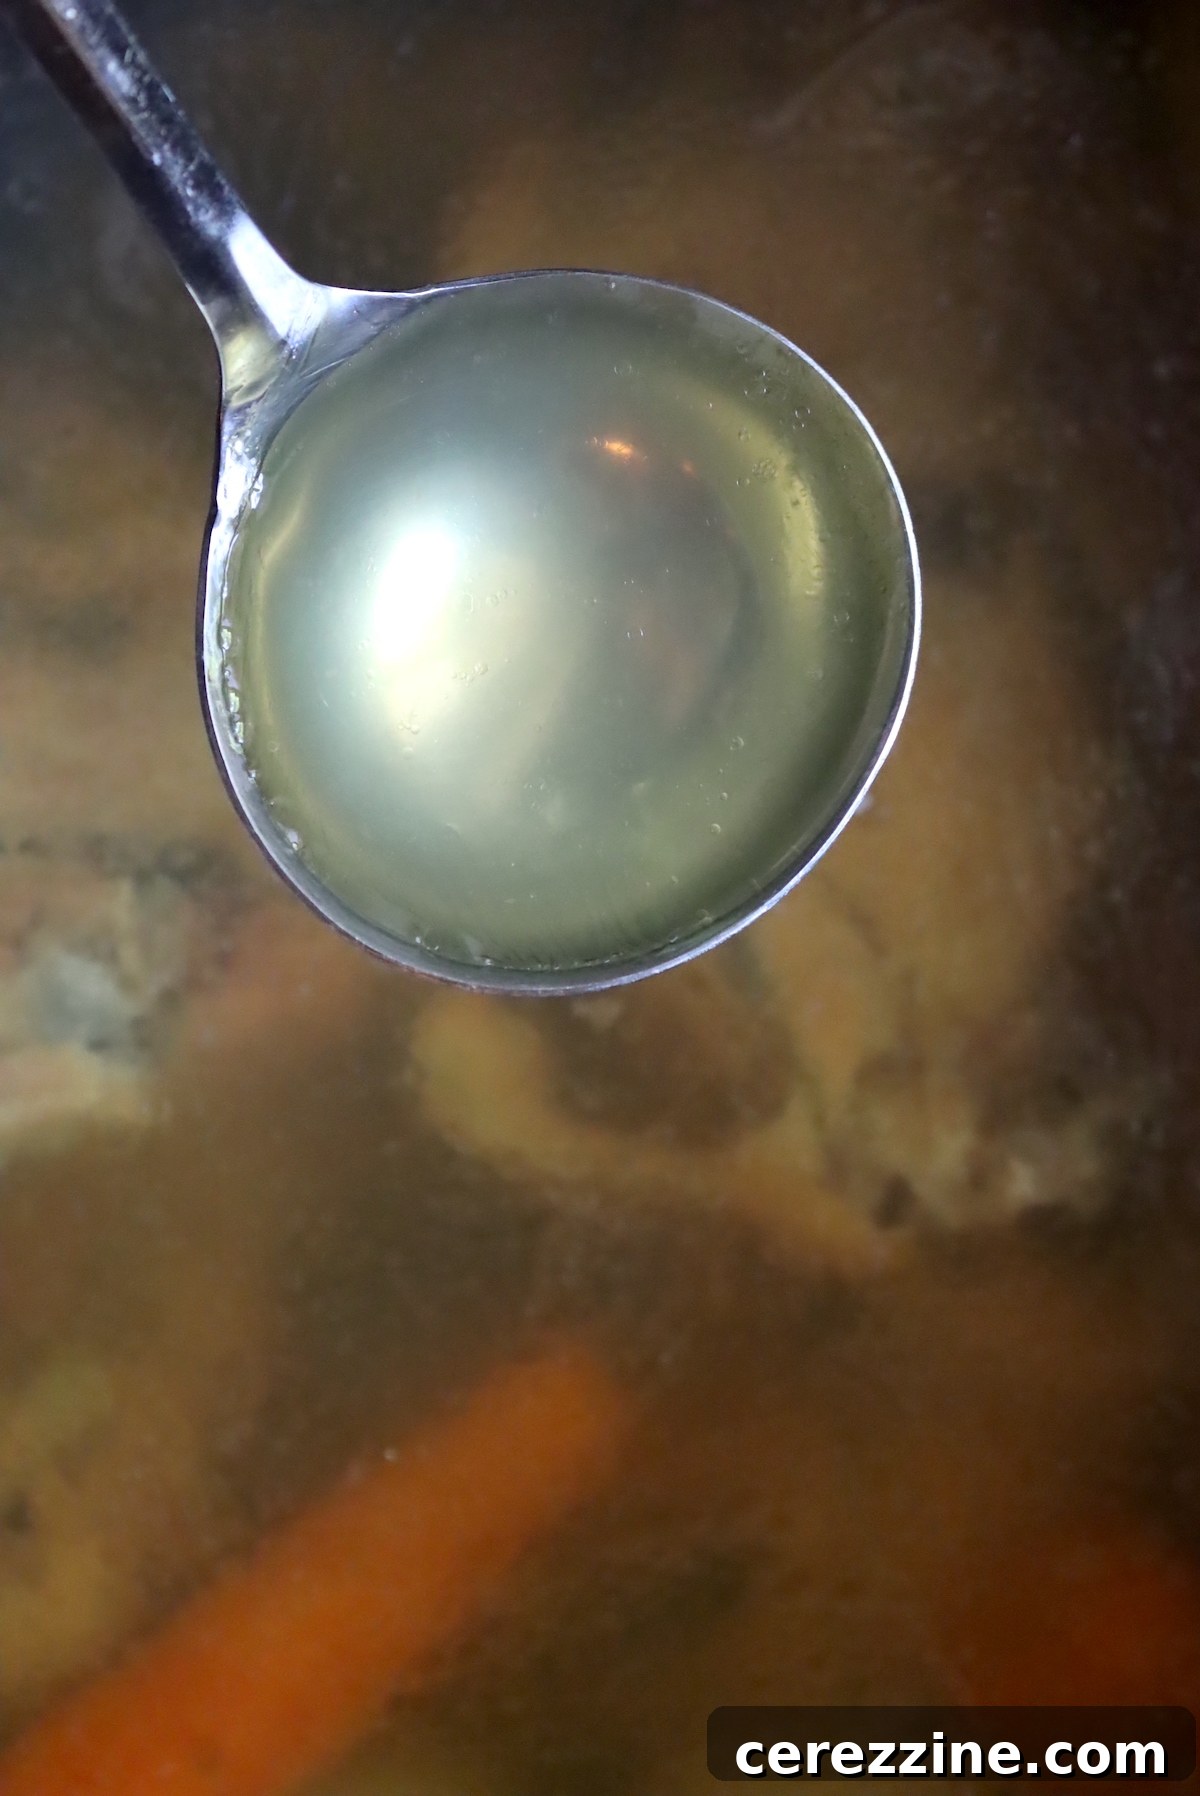
Once your broth has simmered to perfection, it’s time for the final, critical step before canning: straining. Carefully remove all the bones and large solids from the broth. Then, pour the broth through a fine-mesh wire strainer to remove any smaller particles. For an even clearer broth, you can line the strainer with cheesecloth. Discard all solids. Allow the broth to cool slightly, then skim off any excess fat from the surface. You should be left with a beautifully clear, light golden amber liquid. Measure your broth; if needed, add water to reach your desired volume (e.g., two quarts or two liters) before it’s ready for canning.
Pressure Canning Chicken Broth: Safe & Effective Preservation
Regardless of your broth-making method, the pressure canning instructions are paramount for safe, shelf-stable preservation. Always consult your pressure canner’s manufacturer’s instructions for specific model guidelines, but the general hot pack process outlined below applies to most canners.
Preparing Your Canner and Jars
First, prepare your pressure canner. Place the bottom trivet inside and add 2-3 inches of water. Bring this water to a gentle simmer (around 180°F or 82°C) and keep it warm while you prepare your jars. Next, ensure your canning jars (pints or quarts) are clean and sanitized, along with their lids and bands. While newer canning lids only require washing, check your specific lid manufacturer’s recommendations; some may still suggest simmering to soften the sealing compound.
Filling and Sealing Jars Correctly
Return your prepared chicken broth to a pot and bring it back to a simmer. Ladle the hot broth into your warm, sanitized jars, leaving an inch (2.5 cm) of headspace from the rim. Headspace is crucial for proper sealing and preventing siphoning. Use a bubble remover tool (or a clean, non-metallic utensil) to remove any trapped air bubbles from the jars, gently sliding it along the inside wall of the jar. Recheck the headspace and add more broth if necessary. Wipe the rim of each jar meticulously with a clean, damp cloth to remove any food residue that could interfere with the seal. Center a clean lid on each jar, then apply a screw band fingertip tight – meaning snug but not overly tight. Repeat this process for all your jars.
The Pressure Canning Process: Step-by-Step
Carefully load the filled and sealed jars into the simmering pressure canner, ensuring they don’t touch each other. Place the canner lid on securely and lock it into position according to your model’s instructions. Increase the heat to medium-high. Allow steam to vent steadily from the canner’s vent port for a full 10 minutes. This “venting” step is critical to remove all air from the canner, ensuring the internal temperature accurately corresponds to the pressure. After venting, place the weighted gauge or counterweight on the vent port. Bring the canner up to the required pressure: 10 lbs for a weighted-gauge canner or 11 lbs for a dial-gauge canner (adjust for altitude, as noted below).
Once the correct pressure is reached and maintained, begin your processing time:
- Pint jars: Process for 20 minutes.
- Quart jars: Process for 25 minutes.
Maintain a consistent pressure throughout the entire processing time, adjusting heat as necessary. Do not let the pressure drop below the recommended level. If it does, you must restart the timing from the beginning.
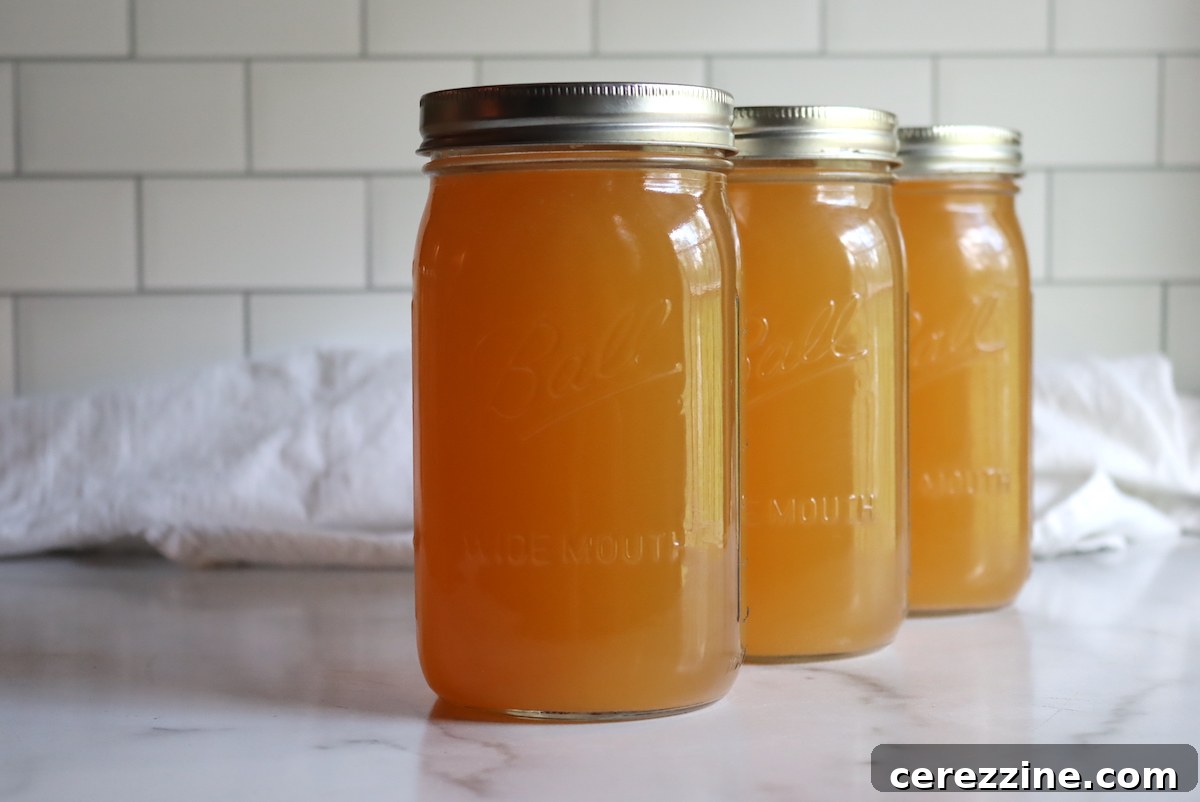
After the processing time has elapsed, turn off the heat and allow the canner to depressurize naturally until the pressure gauge reads zero or the airlock indicator drops. Do not attempt to force the depressurization by opening the vent. Once depressurized, wait an additional five minutes before carefully removing the canner lid, tilting it away from your face to avoid steam burns. Let the jars cool in the canner for 10 minutes, then remove them and place them on a towel-lined counter, spaced apart, to cool undisturbed for 12 to 24 hours. After cooling, check the seals (lids should be concave and not flex when pressed). Wipe the jars clean, label them with the contents and date, and store them in a cool, dark place.
Altitude Adjustments for Pressure Canning Chicken Broth
It is crucial to understand that while the canning time for chicken broth remains constant regardless of your altitude, the processing pressure must be increased as your elevation rises. This adjustment compensates for the lower boiling point of water at higher altitudes, ensuring your food reaches a safe internal temperature for proper sterilization.
Use the following table to determine the correct processing pressure if you are above 1,000 feet in elevation:
For dial gauge pressure canners:
- 0 to 2,000 feet in elevation – 11 lbs pressure
- 2,001 to 4,000 feet in elevation – 12 lbs pressure
- 4,001 to 6,000 feet in elevation – 13 lbs pressure
- 6,001 to 8,000 feet in elevation – 14 lbs pressure
For weighted gauge pressure canners:
- 0 to 1,000 feet in elevation – 10 lbs pressure
- Above 1,000 feet – 15 lbs pressure
Serving Chicken Bone Broth: Versatile Culinary Uses
Once you have a pantry stocked with homemade, canned chicken bone broth, a world of culinary possibilities opens up. The comforting flavor of this nourishing liquid makes it incredibly versatile, suitable for both simple sips and complex gourmet creations.
For a light, restorative meal, simply heat your chicken bone broth and savor it on its own. Add a pinch of sea salt, a dash of black pepper, and perhaps a sprinkle of fresh chopped chives or parsley for an instant pick-me-up. It’s especially soothing during cold weather or when you’re feeling under the weather.
To transform it into a heartier dish, consider adding your favorite noodles, rice, or small pasta shapes. A handful of fresh or frozen vegetables like spinach, peas, diced carrots, or mushrooms can turn a simple broth into a complete and satisfying meal. For an even more filling option, combine the broth with cooked grains such as quinoa, farro, or barley. The broth infuses these ingredients with incredible depth of flavor.
Beyond drinking and simple additions, chicken bone broth serves as an exceptional base for a multitude of recipes. Use it as the liquid for creamy risottos, fluffy couscous, or savory polenta. It’s perfect for braising meats or simmering dried beans. Elevate your gravies, sauces, and pan reductions with its rich essence. You can even use it to steam vegetables, infusing them with a delicate chicken flavor. Don’t be afraid to experiment! Whether it’s a gourmet soup or a quick weeknight dinner, your homemade chicken bone broth is sure to satisfy everyone at your table and become an indispensable ingredient in your cooking repertoire.
Recipe Card: Canning Chicken Broth
Canning Chicken Broth
Equipment
-
Pressure Canner
Ingredients
- 1 Picked carcass from 1 roast chicken, about 4-5 lbs (2-2.25 kg) before cleaning
- 1 Tbsp salt
- 2 large carrots, chopped
- 2 bay leaves
- 1 large onion, chopped
- 2 Quart water
- 1 Tbsp apple cider vinegar, 15 ml
Instructions
Making Chicken Broth (Small Batch)
-
Preheat the oven to 225 degrees Fahrenheit, or 107 Celsius.
-
Put all of your ingredients in an enameled Dutch oven. Bake everything, covered, for seven hours at 225 Fahrenheit.
-
Reduce the oven temperature to 180 degrees Fahrenheit (90 degrees Celsius) and bake for another seven hours.
-
Take the bones out of the broth, then pour the broth through a fine wire mesh strainer.
-
Pour into a glass measuring cup or a large bowl. Discard the solids.
-
Skim off the fat and add water until you have two quarts (two liters) of broth.
Canning Chicken Broth
-
Prepare a pressure canner for hot pack according to the manufacturer’s instructions. For most models, this means adding the bottom trivet along with 2-3 inches of water. Next, bring it to a gentle simmer and keep it warm while you get the broth into jars.
-
Rinse out the Dutch oven, then return the broth to the oven and bring to a simmer.
-
Ladle the hot broth into prepared and sanitized jars. Leave an inch (2.5 cm) of headspace.
-
Remove air bubbles with a bubble remover tool, then check to make sure you still have the proper headspace. Wipe the jar rim to remove any food residue, then put the lid and band on the jar.
-
Adjust to fingertip tight, then repeat until all of your jars are filled.
-
Load the jars into the pressure canner, adding two inches (five centimeters) of simmering water.
-
Put the lid on the canner, then turn it to the locked position.
-
Adjust the heat to medium-high, then vent steam for 10 minutes.
-
Put the weighted gauge or the counterweight on the vent, then bring the pressure to 10 lbs for a weighted-gauge canner or 11 lbs for a dial gauge. Altitude adjustments below in the notes.
-
Process pints for 20 minutes and quarts for 25 minutes.
-
Once the time has elapsed, turn off the heat, then allow the canner to depressurize on its own. Let the canner sit for five more minutes after that before removing the lid.
-
Cool the jars in the canner for 10 minutes, then remove them from the pressure canner and let them continue cooling on the counter.
-
After 12 hours, store the jars, checking the seals and labeling each one with the date before you do so.
Notes
Chicken broth is always processed in a pressure canner for 20 minutes for pints and 25 minutes for quarts, with 1-inch headspace.
Altitude Adjustments for Canning Chicken Broth
Canning time remains the same regardless of altitude. However, the processing pressure increases as altitude increase.
Use the following table to determine the correct processing pressure if you’re above 1,000 feet in elevation.
For dial gauge pressure canners:
- 0 to 2,000 feet in elevation – 11 lbs pressure
- 2,001 to 4,000 feet in elevation – 12 lbs pressure
- 4,001 to 6,000 feet in elevation – 13 lbs pressure
- 6,001 to 8,000 feet in elevation – 14 lbs pressure
For weighted gauge pressure canners:
- 0 to 1,000 feet in elevation – 10 lbs pressure
- Above 1,000 feet – 15 lbs pressure
Nutrition
Nutrition information is automatically calculated, so should only be used as an approximation.
Explore More Canning Recipes
Once you’ve mastered canning chicken broth, you’ll find the world of home preservation incredibly rewarding. Expand your pantry with these delicious and practical canning recipes:
Stock and Broth Canning Recipes
- Canning Beef Broth
- Canning Pork Stock
- Canning Vegetable Stock
- Canning Turkey Broth
Chicken Canning Recipes
- Canning Chicken
- Canning Chicken Soup (Classic Version)
- Chicken Chili Verde
- White Chicken Chili
- Thai Red Curry Chicken (or Duck)
- Chicken Pot Pie Filling
Meat Canning Recipes
Chicken isn’t the only meat you can preserve in a jar! Keep your pantry stocked with these meat canning recipes:
- Canning Beef
- Canning Ground Beef
- Canning Leftover Turkey
- Canning Beef Pot Pie Filling
Pressure Canning Recipes for Your Pantry
Fill your pressure canner again with these simple pressure canning recipes, perfect for expanding your home-preserved food supply:
- Canning Beef
- Canning Potatoes
- Canning Pumpkin
- Canning Sweet Potatoes
- Canning Corn